Metalwork

Looking hot

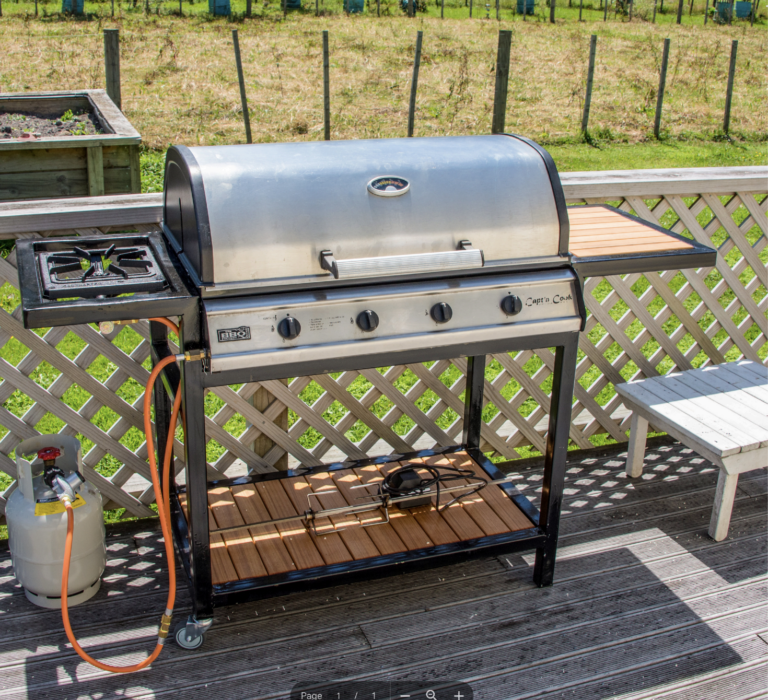
I began by careful measurement of the existing barbecue and designed a framework around it. At the same time I decided to upgrade and purchased a reasonably cheap single burner that didn’t have a long burner tube to contend with.
The framework is essentially just four legs with a couple of bars to sit the barbecue on, two outriggers that can be used for the side burner and a table for placing meat before and after cooking. The barbecue is attached to the base by four screws through the lid hinge.
I cut all the parts on the bandsaw, starting with all the bevelled parts. I elected to make the four legs contiguous with the arms of the outriggers so they are welded together as one piece, rather than making the outriggers as separate pieces and welding them to the tops of the legs.

READ MORE »

Along for the ride

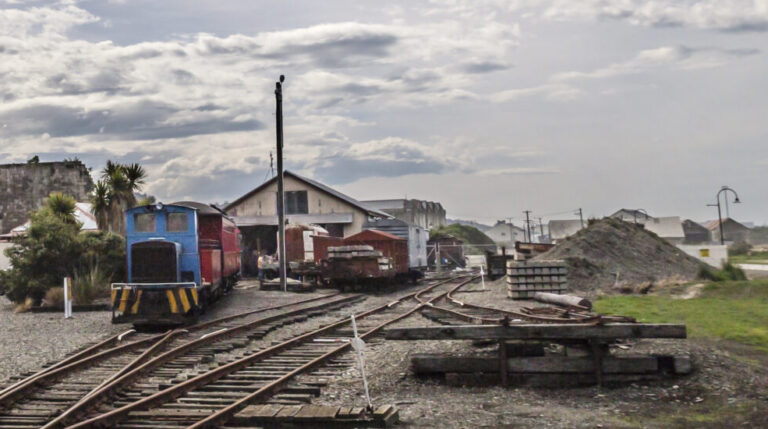
Every Wednesday and Saturday morning about 20 retired tradesmen leave their lunch boxes in the Oamaru Steam and Rail smoko room, shrug themselves into their overalls, and head for the old railway workshop to get on with the day’s tasks.
They might be restoring turn-of-the-20th century railway carriages, stripping down a locomotive or installing wiring systems. Each man brings a lifetime’s worth of skills and the willingness to learn something new.
They work out of the old New Zealand Rail wagon workshop, or lifting shop as it was called, at the back of Oamaru’s historic precinct. The Oamaru Steam and Rail Society Inc took over the building in 1989. Most of the tools and equipment needed to complete the volunteers’ first major project were on hand so they rebuilt the 60mx12m workshop which had been partially demolished by NZ Rail when they decamped.

READ MORE »

New life for old stuff

Broken blades, tired tools, worn washers, grimy gears. These are sorry sights for most sheddies, but for Bruce Derrett they are the treasures of his trade. The Motueka metal artist combines his skill wielding a MIG welder with a highly fertile imagination to turn other people’s junk into quirky creatures, funky furniture, and striking sculptures.
Bruce, who ironically failed metal work at school, has always had an eye for mechanical bits and pieces. “As a kid I was always pulling things apart, like clocks and radios. It used to really frustrate my mum,” he says. Now he puts things back together again, albeit it in a very different form.

READ MORE »

Making a kayak anchor

This simple and effective rebar anchor is perfect for small boats and kayaks and is the result of welding $30-40 worth of materials. If you are a small boat and kayak enthusiast, fabricator or just want to learn some new metalwork skills, this two-hour project will be great for you; it needs few welding skills. Remember that the construction is modular and can be made to fit your needs.
With a net weight of only 7 kg, the anchor will not weigh down a boat or kayak. Anyone can pull it up, but it will still catch the seabed.

READ MORE »

Frozen in time

I just love nosing around other people’s workshops to see what they are making and what gear they have, and I’ve just had the special opportunity to look at a manufacturing workshop that was about to be sold up and, as a bonus, learn about its history.
Macdonald Refrigeration surely has a place in Auckland’s heritage as a pioneer in its field. The factory has been closed for some time now and it has been hard for the family to let go of all the gear, but it is filling a lot of valuable space.

READ MORE »

On the road

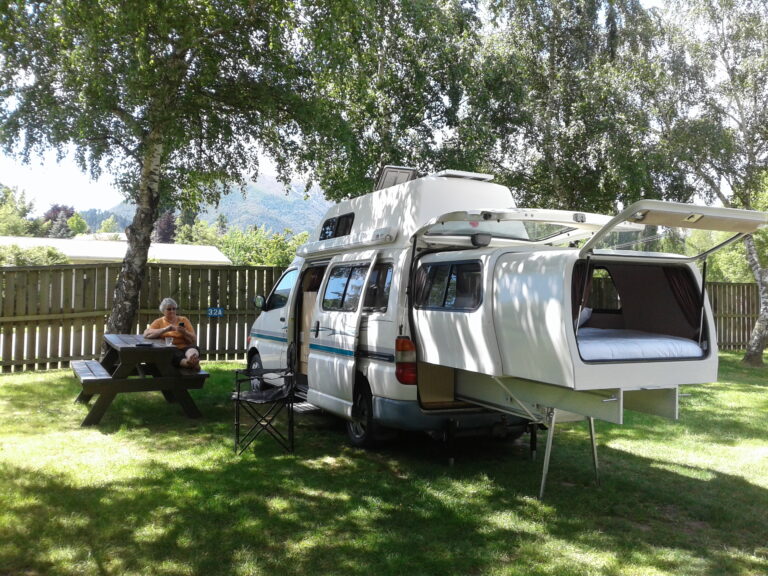
When Des and Kath Thomson decided to take to the road in their retirement, they wanted a campervan that was comfortable. They didn’t want to be clambering up ladders, tangoing at tea-time in too-narrow aisles, or struggling to turn tables into beds at night. But nor did they want to trundle around the countryside in a cumbersome mobile mansion.
They wanted a small, manoeuvrable vehicle that had masses of space inside. Space for everything, including the kitchen sink plus another in the bathroom, a separate shower, toilet, cooker, microwave, barbecue, table and chairs, wardrobe, drawers, hot and cold water on tap, plenty of storage…oh, and a queen-size bed.

READ MORE »

The right stuff – part 2

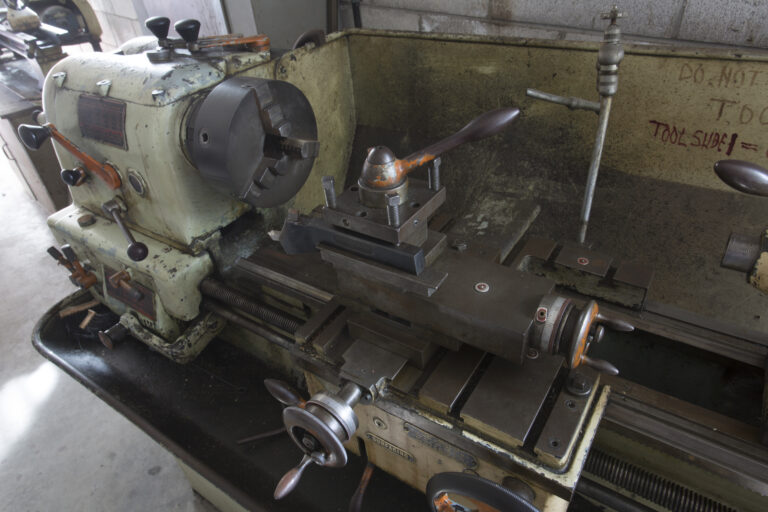
If you have followed our Metalworking Lathe 101 series in The Shed magazine, you will have a grasp of the basics, so here are some helpful tips to improve your lathe experience and make those projects a bit easier to do.
Quite often the material or item we need to hold in the chuck is delicate, either due to a fine finish that we do not want to put chuck jaw marks on or due to it being thin walled. For jobs with a surface finish that you need to protect it is handy to have some strips of aluminium to put between the chuck jaws and the job material. These are mostly used when holding in a 4 jaw chuck as the job will need to be “clocked up” using a dial indicator to get it running true.
The thickness of the aluminium strips cannot be relied on to be consistent as they squish up a bit with the tightening of the chuck jaws, so when using a 3 jaw chuck the auto centring effect is not so good.

READ MORE »

The right stuff – part one

These tips are a random collection of thoughts that I have grouped under the classification of things that relate to working at a bench using hand tools, rather than using a lathe, mill or other machine tool. So if you have only a workbench with some hand tools in your shed, this is meant to be useful for you too.

READ MORE »

Metal spinning lives

The exact origins of metal spinning are unknown but the craft can be dated back to ancient Egypt where examples of spun vessels have been found. Metal spinning today differs little from the past with the only real advance being that an electric motor is used to drive the chuck instead of manpower or water power.
Before the advent of power presses, metal spinning was used to make almost all round sheet metal objects such as pots, pans, lampshades and wheel rims.
The principle of metal spinning is simple: a disc of metal is clamped between the tailstock and a former or mandrel. The disc is spun and the operator then uses a lever to manually work the metal down onto the mandrel. The process helps maintain the structure of the material and does not stress it, resulting in a stronger and more stable product than if it was pressed.
While metal spinning by hand does not generally alter the thickness of the material, hydraulic-powered tools can be used to flow-form products making sections thinner where required.

READ MORE »

Rolling stool build

My wife, Rosaleen, loves to cook, and will happily spend an afternoon in the kitchen cooking meals to be frozen and given to our daughters and their friends whenever the need arises or opportunity presents.
However, arthritis makes standing in one position for long periods difficult for her. She wanted a stool for the kitchen, but ours is a galley-style layout and quite narrow. It’s wide enough for one person to walk past another working in the space, but the presence of a stool would present a major obstacle. “Why don’t you invent something?” she said.
I love a challenge like that.

READ MORE »

Engines on the move

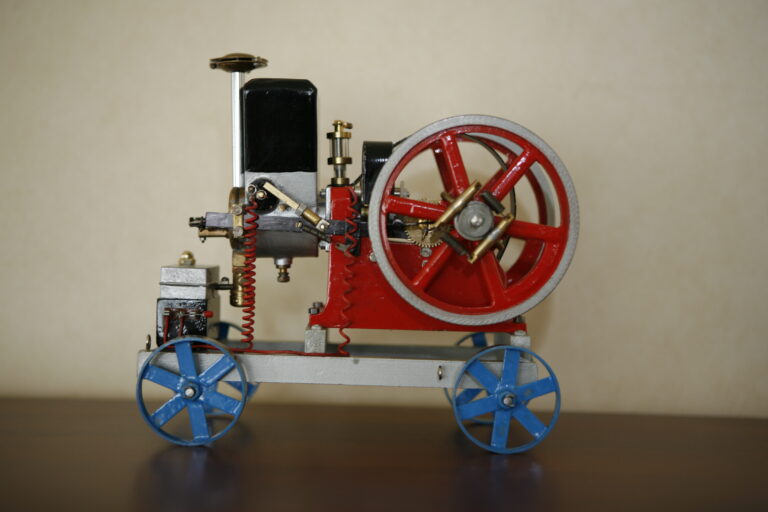
Something that many shed owners must face at some time is how to maintain their hobby if they have to downsize their property. Owen White is one person who has successfully achieved this by not only downsizing the house but downsizing the hobby. Instead of restoring old internal combustion engines he now makes scale models of them.
In the 1960s, Owen got hold of a 1930s 9 hp Briggs and Stratton stationary engine to restore and was bitten by the vintage engine bug. It sparked a 50-year passion for old combustion engines, and for repairing, restoring and running them at vintage engine shows. Owen joined the Vintage Engine Restorers Club in 1985 after attending their third meeting and remains an active member.

READ MORE »

Make your own backyard forge

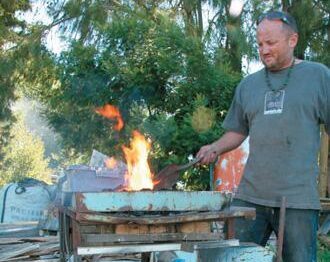
This is one of the very basic forges for heating metal bars. There are many other types of forge out there and Youtube can show you how to build and use them. My forge was made of scrap steel from my workshop and the local recycling centre.
The forge essentially consists of a fireplace or “bowl” in firebricks which are held firmly together in a brace or strap. They sit on top of a steel plate. Another steel plate sits on top of the bricks, with a large square in it to allow access to the firebowl.
A small, round, high-grade steel grate with several holes in it sits at the bottom of the brick bowl. Below this fireplace, a vertical pipe-fitting is welded into the supporting steel plate. The bottom of the pipe is an ash trap, and the ash can be dropped out by opening a small trapdoor.

READ MORE »

Going glamping

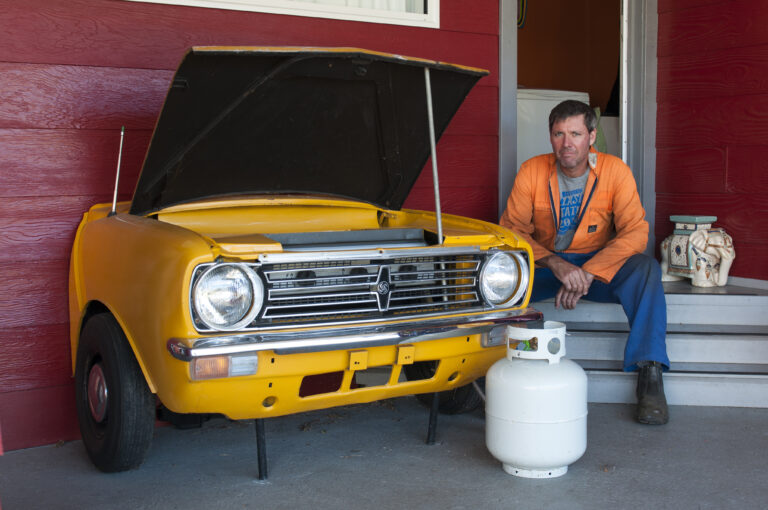
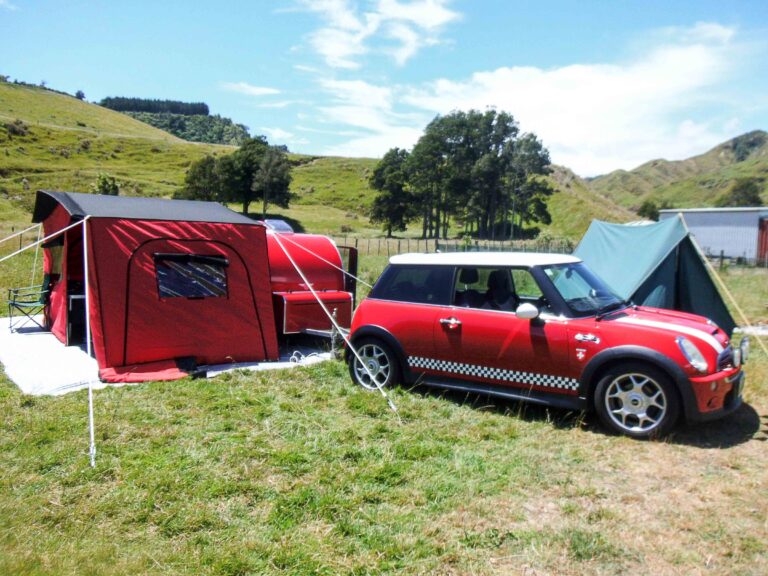
What do you do if you want a caravan but drive a Mini? You make one to fit. That’s just what Michael Wolfe of New Plymouth did – turning out a real dinky little teardrop-shaped caravan that matches his 2004 Cooper S and has all the mod cons for a decent holiday.
Michael saw pictures of little campers on the net and decided that was what he wanted – a cross between a caravan and a tent.
“I got some ideas from little caravans online and decided to go a bit more high-tech,” he says.
He built it to have the same lines, wheels and colour as his car and it looks just the part.
“I never really planned it in detail. I sketched it out originally and a lot of the construction I worked out as I went along.”

READ MORE »

Cutting threads by hand

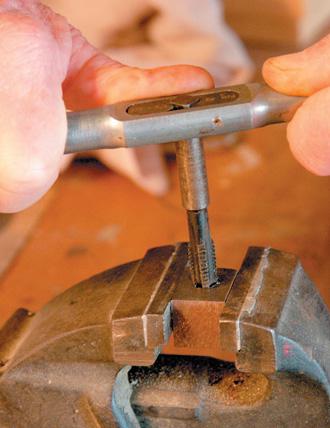
From time to time in the home workshop, you may need to make a new threaded hole for a bolt and create the threads on the bolt itself. It’s handy to know how to use the dies that are rotated onto a bolt blank to make these threads, and to know how to use the taps that create the threaded holes. This skill will be especially good for those interested in model engineering, go-karts or light engineering, but who have not been trained in the use of hand tools for making threads. 
There are many different thread sizes. These are made to international standards. In all cases, the size of a thread eg, 6mm or ½ inch and so on, is determined by the diameter of the rod or bar on which it may be cut.

READ MORE »

Up the wall

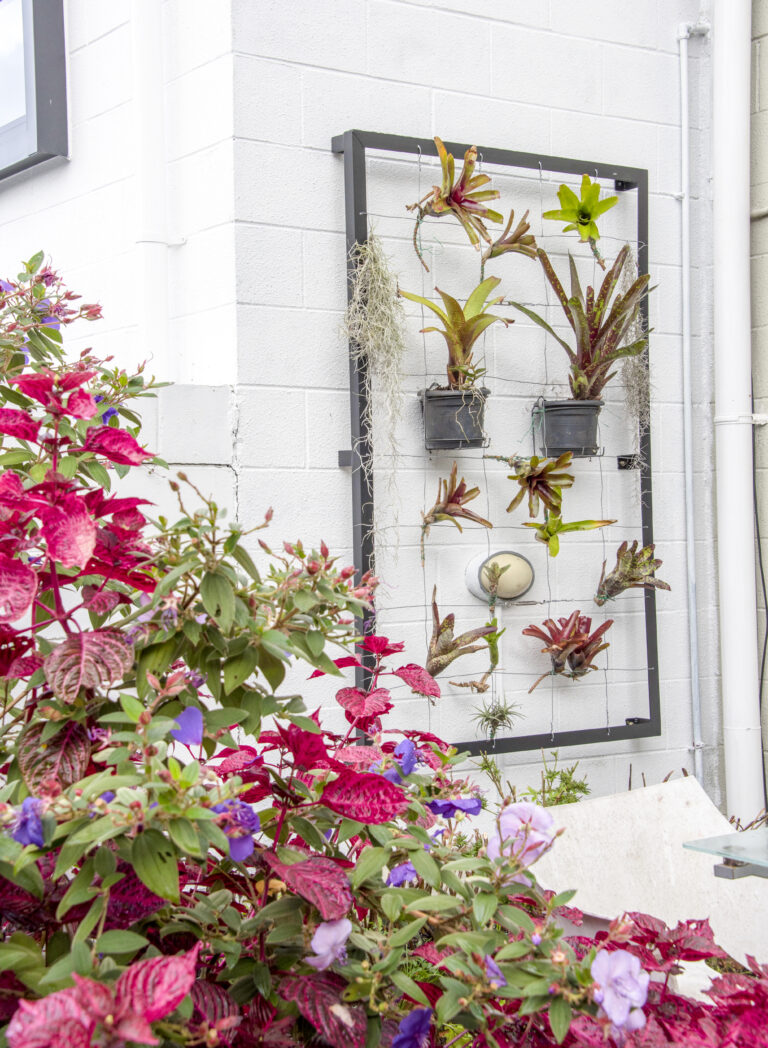
A friend loves gardening and has always wanted a vertical garden or ‘living wall’. She has been pestering me to build one ever since I started doing the welding articles for The Shed. I looked at a few and developed a simple concept that is simply an angle iron frame with a wire lattice.
I measured the wall it was to fit on and arrived at a final size of 1m x 1.6m. I
happened to have that on hand in 3mm angle iron. The vertical garden needs
to be offset to the wall to allow for air circulation and watering. I decided to offset it
by 60mm so that required 100mm feet.

READ MORE »