The Shed Logo
Search
Close this search box.

On the road

When Des and Kath Thomson decided to take to the road in their retirement, they wanted a campervan that was comfortable. They didn’t want to be clambering up ladders, tangoing at tea-time in too-narrow aisles, or struggling to turn tables into beds at night. But nor did they want to trundle around the countryside in a cumbersome mobile mansion. They wanted a small, manoeuvrable vehicle that had masses of space inside. Space for everything, including the kitchen sink plus another in the bathroom, a separate shower, toilet, cooker, microwave, barbecue, table and chairs, wardrobe, drawers, hot and cold water on tap, plenty of storage...oh, and a queen-size bed.

A former engineer and mechanical designer uses his skill set to create the ultimate spacious campervan 
By Sue Allison 
Photographs: Juliet Nicholas

When Des and Kath Thomson decided to take to the road in their retirement, they wanted a campervan that was comfortable. They didn’t want to be clambering up ladders, tangoing at tea-time in too-narrow aisles, or struggling to turn tables into beds at night. But nor did they want to trundle around the countryside in a cumbersome mobile mansion.
They wanted a small, manoeuvrable vehicle that had masses of space inside. Space for everything, including the kitchen sink plus another in the bathroom, a separate shower, toilet, cooker, microwave, barbecue, table and chairs, wardrobe, drawers, hot and cold water on tap, plenty of storage…oh, and a queen-size bed. 
Kath was confident that her ingenious husband could achieve the apparently unachievable, and she was right. A year later they were rolling down the driveway in a compact converted campervan that, like Mary Poppins’ carpet bag, appeared to contain the impossible.

The fully expanded camper van with telescopic pod supported by jacks and legs
View in from the side door to the back

A bit about Des
Des started working life as a meat inspector in Southland. “After nine years I realised I was a square peg in a round hole,” he says. He took a correspondence course in mechanical design and engineering drafting, along the way inventing a charcoal-driven car in the days of fuel shortages.
His invention appeared on the motoring pages of the Southland Times, fortuitously just before he fronted up for an interview for a job as a mechanical design draughtsman with New Zealand Aluminium Smelters in Invercargill. They snapped him up and he began the “wonderful job” of inventor and ideas man for the smelter’s production department.
“They would ask you to come up with a concept design and, if they liked it, would give you the money to build it.” 
When the engineering department closed down 23 years later, he moved into trade training, working with mechanical apprentices until another restructure saw him shift into the realm of health and safety. “The smelter had the worst safety record of the Australasian group,” says Des, who helped get the figure of 50 lost-time injuries a year to zero in three years.
The company was starting an alumina refinery on Australia’s Gold Coast and asked Des to go over to set up the health and safety system. He and Kath, whose three sons had left home, spent four years in Gladstone, but when their first grandchild arrived they were keen to head back to New Zealand where Des had earlier built a house in Christchurch. 
His health and safety expertise was soon sought by a multinational engineering firm, Fluor, which was opening a gold and copper mine in central Australia. Des spent three years flying between South Australia and Christchurch on a two-week-on, one-week-off roster, followed by a stint in Saudi, a year-long project in Korea, and four years in Abu Dhabi. 
By then 62, he decided it was time to retire and settle permanently in Christchurch. Soon after his return, he discovered the Halswell Menzshed. “It was an absolute blessing,” says Des, who goes down at least twice a week and is a supervisor trainer and on the steering committee.

First coat of paint

The Pod
The magic component of the space-defying vehicle, aptly nicknamed The Tardis, is a telescopic two-piece pod which cantilevers out the back. The extension perfectly fits a queen-size bed without encroaching on the living space. The bed stays made up and the mattress squabs simply fold over for speedy get-away and set-up.
“It was Kath’s idea to make a pull-out. I said ‘oh yeah’…?” It got Des thinking, and for a guy with a background in mechanical design and engineering, his wife’s proposed pod posed a challenge but not a problem.
Des started with a 2003 Toyota Hiace SBV van, an ex-Kea rental with 130,000km on the clock. “We decided on the Hiace because it was easy to drive, park and store, and we wanted something that could be used as a second vehicle when required. It didn’t make sense to have a large campervan that was only used a couple of times a year,” says Des.
Des gutted the van, designed a new interior and made almost all the components himself, from bolts and brackets to the molded plastic fittings. 

The framework of the first pod takes shape
The second pod ready for the installation of the bendy ply
Gluing the upholstery fabric to the pod interior

Dry as
The pod’s framework is 25mm square pine covered in ‘bendy ply’.
“It’s amazing stuff I learned about from one of our joiners down at the Hallswell Menzshed.”  He bent it over a frame, screwing and gluing it into place, and secured the joints – always an area of weakness – with fibreglass weave. The pod is finished with spray-on acrylic enamel. 
“Originally we weren’t going to have two slide-outs, but we needed it for length,” says Des. “There was lot of added complexity in making a double slide-out.”
The main bearing beam is 18mm plywood with a steel rail bolted onto it. The pull-out runs on two sets of bearings with a shaft running through to lock it in place. The first and heaviest extension sits on a pair of sprung lift-and-lock legs, which Des made using components out of a car jack, while the second one sits on simple folding legs. The whole pod weighs only 100kg.
Des made all the brackets, locks, and fittings but says the trickiest part was sealing the extension with rubber compression seals. “But we’ve been in some really heavy rainstorms and it hasn’t leaked.” 
Attention to detail means every bit of space in the van has been cleverly used to ensure the living area functions well and, at the same time, seems surprisingly spacious. “It’s a matter of thinking each detail through,” says Des. “I would get Kath to come out and give me advice.  A lot of this is her inspiration.”

Eight ball bearings mounted on stell brackets support the slide out
Nylon blocks provide side support
When fully extended the pod makes electrical contact for the LED lights
Retracting the pod and packing up
A light push is all that's required to open and close

BOX:

Composting toilet 
Des made his own composting toilet, vacuum molding the plastic components. “To buy it would be around $2000 while this one cost $300 to make,” he says.
It involves divisions to separate solids from liquids into different compartments, the former going into the composting area. “We use coconut coir in the solids compartment and this will last up to four weeks when we are on the road. It uses no chemicals and has no smell when operating,” says Des. A small 12v fan runs continuously, extracting air from the toilet to the outside of the van. “The toilet is really only necessary for night use or when freedom camping. During the day while travelling, we use public toilets.” 
For background on composting toilets, Des recommends the following website. “Mine is basically a copy of the design and it works very well.”  www.gonewiththewynns.com/all-composting-toilet

Storage, storage, storage
Storage is paramount and the interior configuration includes push-button drawers made from 50mm plywood, all of which have two tiers which slide independently to double the capacity. There is a wardrobe big enough to hang clothes, a linen cupboard in the bathroom and a long sliding storage ‘coffin’ under the bed, including space for a fully enclosed awning which they put up if stopping for a few days.
Des made bearing housings for the under-bed storage unit on a homemade press tool, using 1.2mm thick stainless steel. “I made them to minimise the amount of space required for the drawer runners,” he says. “They are recessed into the bottom plywood of the drawer making it possible to have minimal clearance but still have the drawer running smoothly and able to take heavy loads.”
Des also made the vacuum moldings for the shower tray, basins and composting toilet. He even designed and molded a covered toilet roll holder to stop the paper getting soggy when showering. The kitchen sink, molded from a surgical tray, has hinged flaps each side which lift to become benches. The table, which fits into a tubular steel moving arm, fits into a recess under the bed and can be used outdoors by attaching four legs.

All interior joinery is 12mm lightweight ply with a Formica wood veneer finish
The kitchen drawers
The overhead drawers are made from 3mm ply – light and strong
View from the bed towards the front with the door open into the toilet and shower area

Water, power and finish
Des fitted the van with a 14-litre gas and electric Truma hot water boiler, as well as a 53-litre, fresh-water tank, and 67-litre one for grey water. “Because it needed to be a special shape I made my own fresh-water tank doing all my own plastic welding. Normally a plastic welder costs around $600 but I bought some stainless steel welding nozzles and a cheap ToolShed hot-air gun and had everything I needed for $130.”  
He reinstalled all the 240-volt wiring and had it recertified, adding several 12v USB points along with wiring for lights. A 500-watt inverter means things can be charged when the van is parked, while a solar panel on the roof keeps the house battery topped up. A 2000-watt gas heater vented from a side locker and with a thermostat control keeps the van warm on chilly days.
The interior is finished with Formica veneer plywood and the walls and ceiling lined with 25mm foam-backed fabric. “It’s well-insulated and cosy,” says Des, who picked up the sliding side windows from a ute at a wreckers’ yard and added insect screens.
His ingenuity extends to the exterior of the van. Des picked up a nifty Italian boat barbecue on Trade Me for $12.50 and fitted it into the side of the van. He devised a telescopic extension to keep the gas cooker a safe distance from the vehicle and adapted it to double as a grill. Rather than carry a separate gas bottle, the barbecue hose plugs into a bayonet fitting on the side of van which connects to the main supply bottle.
Even the cab has not escaped his attention with a spirit level beside driver’s seat to make it easy to park the campervan on a level site.
When the couple headed off on their five-week maiden expedition around the North Island following the Lord of the Rings trail, the revamped vehicle – which is fully certified for freedom camping – passed the acid test. “Kath and I were still talking at the end,” says Des.

The back...
...and front of the MFD mould that formed the camper van sink
Ciutting off excess acrylic for the handbasin
The sliding bech housing an italian barbeque
The barbeque is made of marine grade steel
The awning is lightweight – only 7kgs – and takes less than 10 mins to set up
Relaxing in comfort after a day on the road

Vacuum molding
Des got into vacuum molding when he started thinking about making the composting toilet for the campervan. “I did some research on the net and it seemed like a pretty simple process.” 
His first effort was making the toilet bowl using a sheet of acrylic shower lining from a local supplier who sells off-cuts. 
He first makes the plug or pattern in MDF, finishing the form with fibreglass filler and undercoat paint to ensure a smooth surface. The pattern has rows of small holes strategically placed to suck the warm plastic around the form once the vacuum has been created. 
The pattern sits in a box which has holes in the bottom chamber to fit a pair of vacuum cleaner nozzles. 
A sheet of plastic, held in a wooden frame, is positioned about half a metre above a pair of double-bar heaters laid on their backs. When the plastic begins to sag, Des lowers it over the form in the box and turns on the vacuum cleaners which suck it around the form.
“It’s very low-tech,” says Des, who emphasises that people normally should never disable safety devices on heaters. “It was necessary in this case so I could use the heaters horizontally, but the arrangement I use should never be left unattended. When vacuum molding, the heaters only run for about 5 minutes so it is safe. The MDF panels on the temporary enclosure hardly get warm.”
The process only takes a few minutes, after which he trims off the excess plastic with his homemade bandsaw.

Des’s shed 
When not at the Halswell Menzshed, Des can usually be found in his converted garage-cum- workshop at home. He has built many of his machines and tools from scratch, including a dual-purpose bandsaw, press tool and foundry. A fleet of recycled vacuum cleaners are hooked up to a home-built dust extraction system that he has replicated down at the Halswell shed.
“I made the cyclone dust collectors because I hate dust in the workshop,” says Des. “Because they are so easy to make I’ve fitted them to all the machines and several of the Menzshed members have made them as well. If you buy commercial units they are over $100 each but cost next to nothing using scrap.”
His bandsaw has three cast aluminium wheels and a two-speed drive system allowing cutting of mild steel and wood. “It takes just a couple of minutes to change from one to the other. The dust extraction system and a 12v LED work lightstrip starts with the saw and is very effective.”  
Des used his homemade press tool to make the stainless steel bearing housings for his campervan’s under-bed storage ‘coffin’. 
“I made the tool out of scrap steel welded together. It was the first press tool I’ve made and there was probably quite a lot of dumb luck involved. The press uses an air-operated, 20-tonne hydraulic jack and since building it I wonder how I got by without it.”

The foundry
Foundry work has been one of Des’s hobbies for the past 30 years. “When I discovered aluminium casting it opened up a whole world of possibilities of what is able to be made in the home workshop,” he says. 
His current furnace is made from an old hot water cylinder, lined with Kaowool and coated with a ceramic slurry. The furnace, which runs on LPG or used engine oil, easily gets to 1100°C and will melt bronze and aluminium.
“The design of the used-engine oil burner is my adaption of one I saw when visiting a traditional knife-maker in Japan. The burning is super-clean with no soot or smoke.” 
The burner uses 15 psi compressed air to lift the oil from the reservoir and atomize it. LPG is used to preheat the furnace for five minutes but after that it is not required. Des also designed the LPG burner.
“I’ve used the foundry many times for making my workshop equipment and now my nephew is using it to make patterns for a linisher he wants to construct,” says Des, who uses green sand in a pit for casting and makes all his own patterns.
Des plans to move his foundry equipment to the Halswell Menzshed as soon as there is space for it.

Share:

More Posts

The Shed September/October 2021 Issue 98 is on sale now

Glen Macmillan works between his two sheds creating sculptures from recycled waste. His junk of choice is gardening tools, landscaping equipment, and farming equipment — particularly the older kind of hand tools that were made to last and had a bit of styling.

A scooter carrier for a campervan

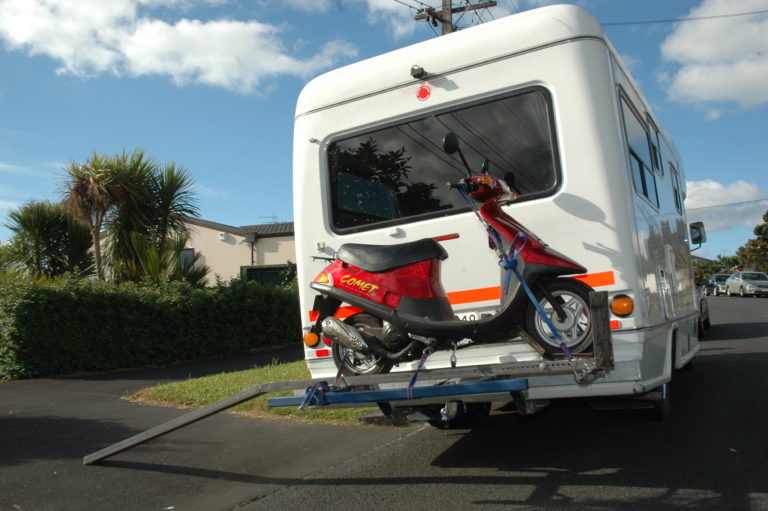
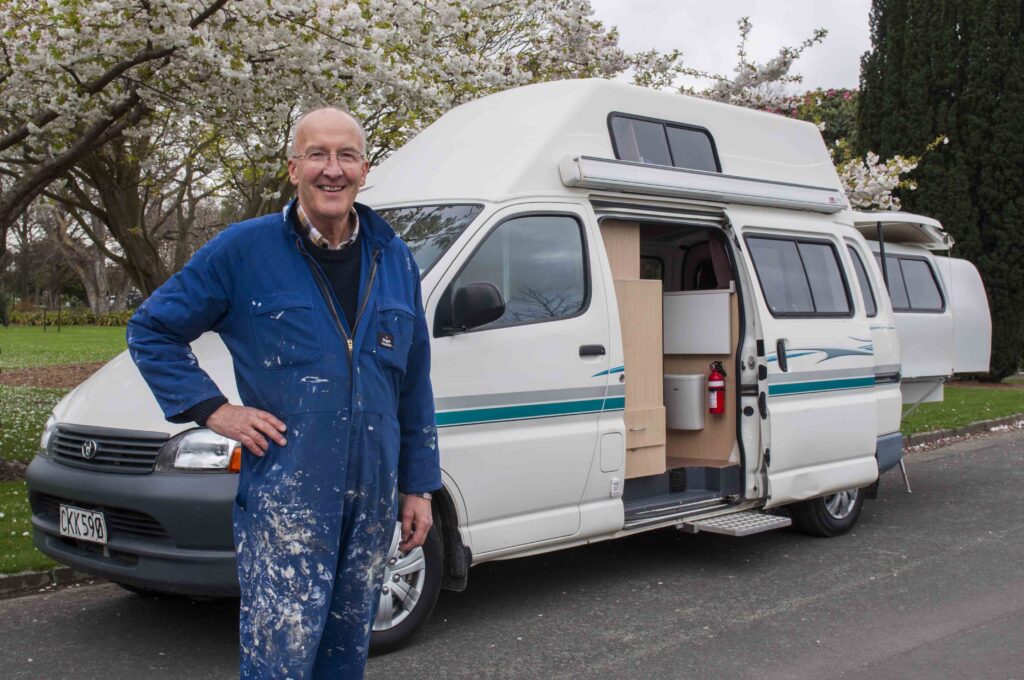
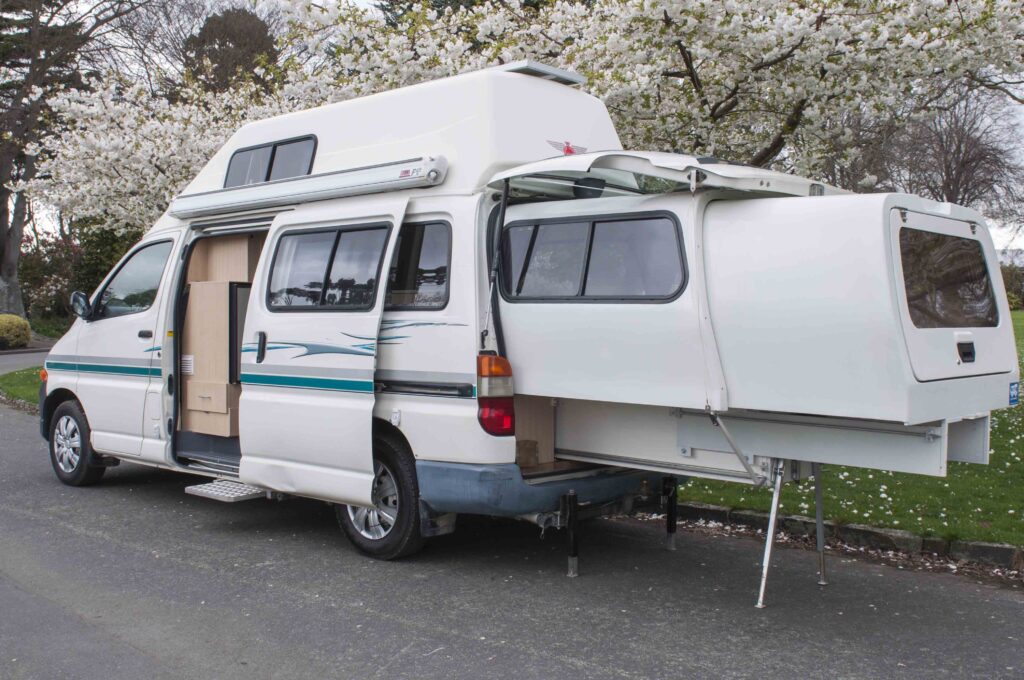
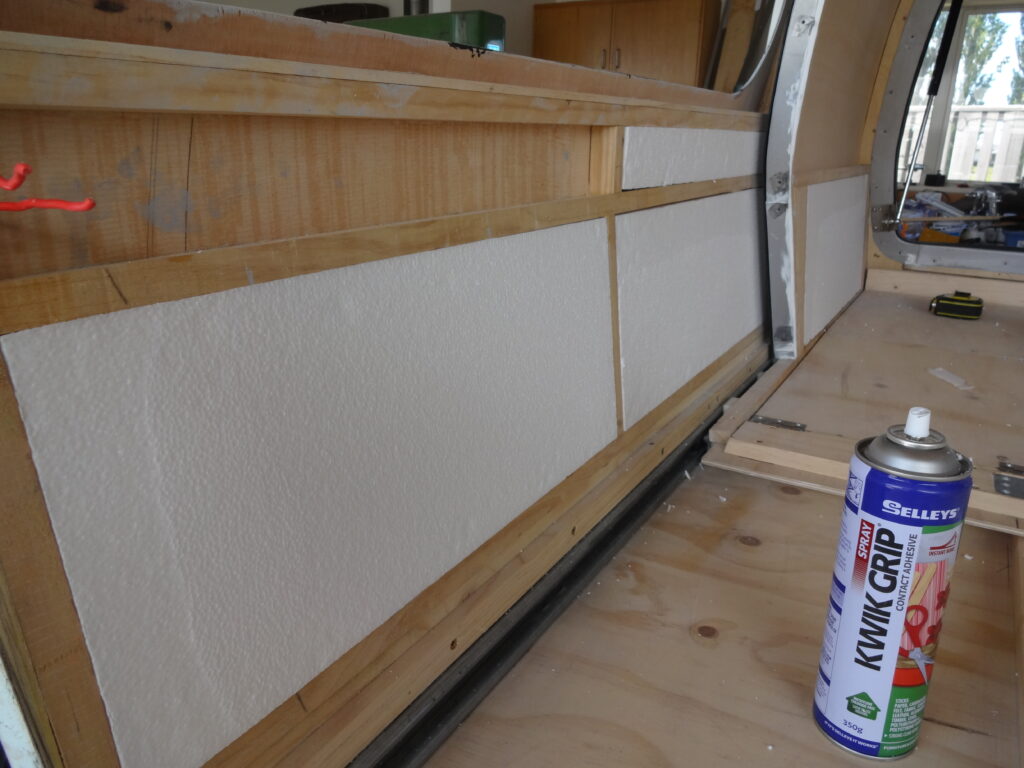
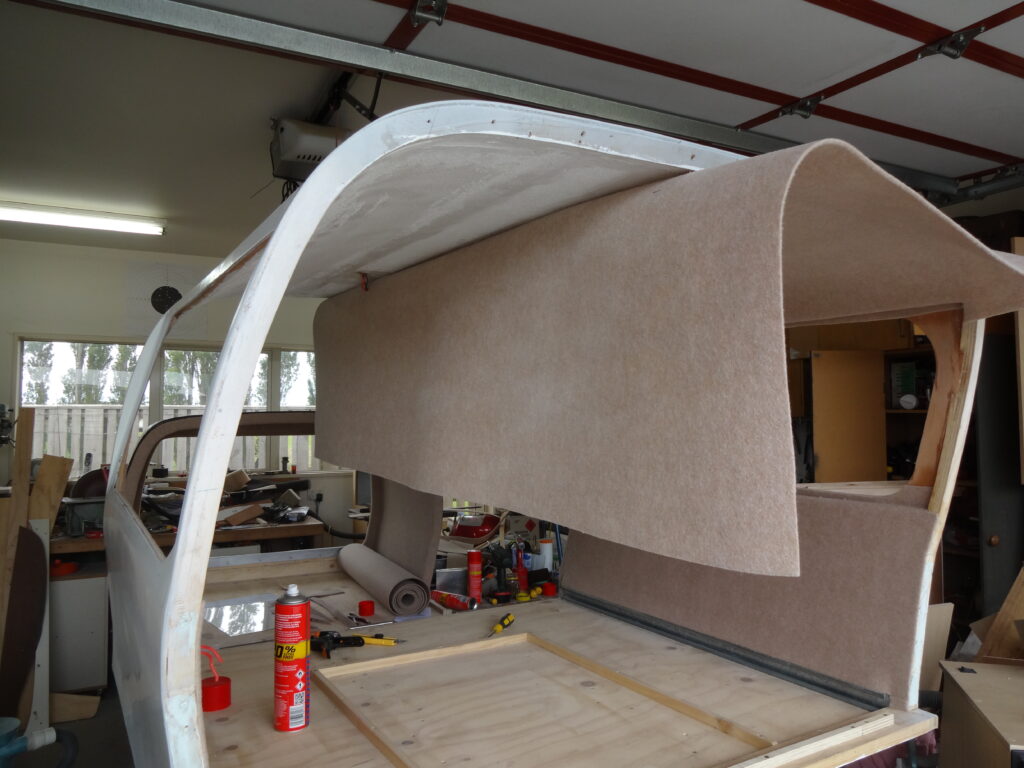
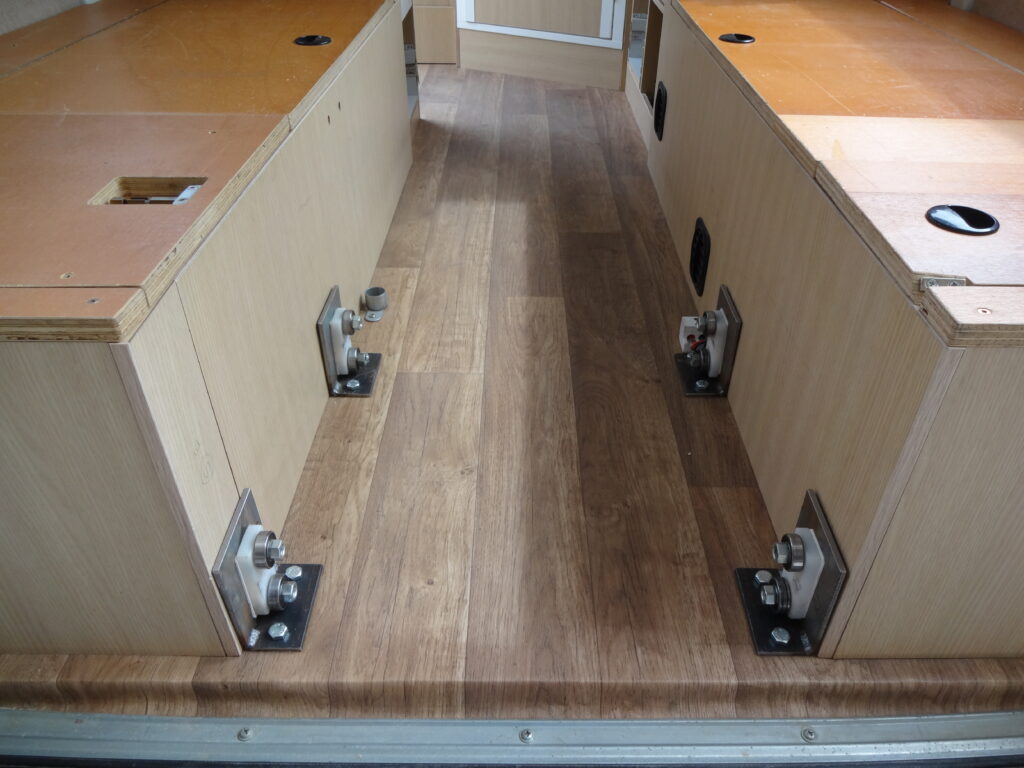
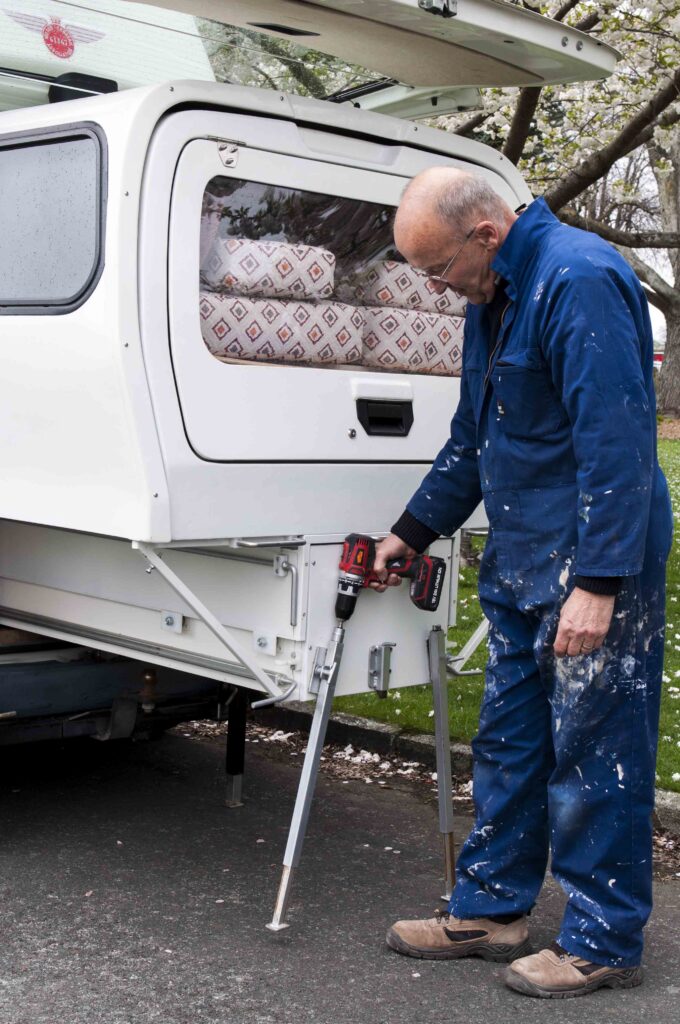
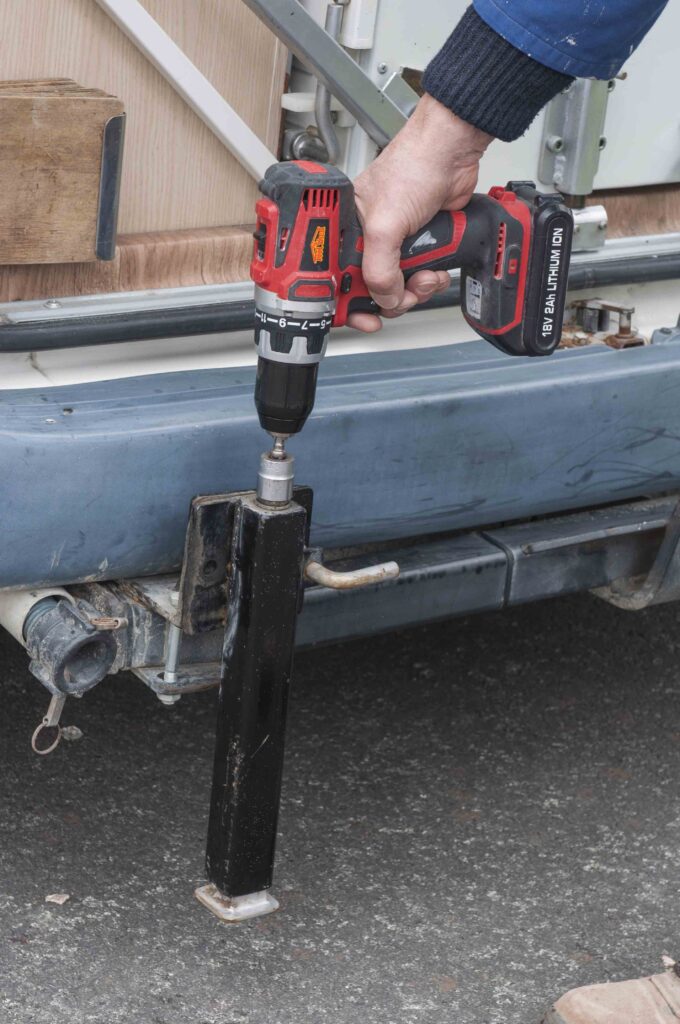
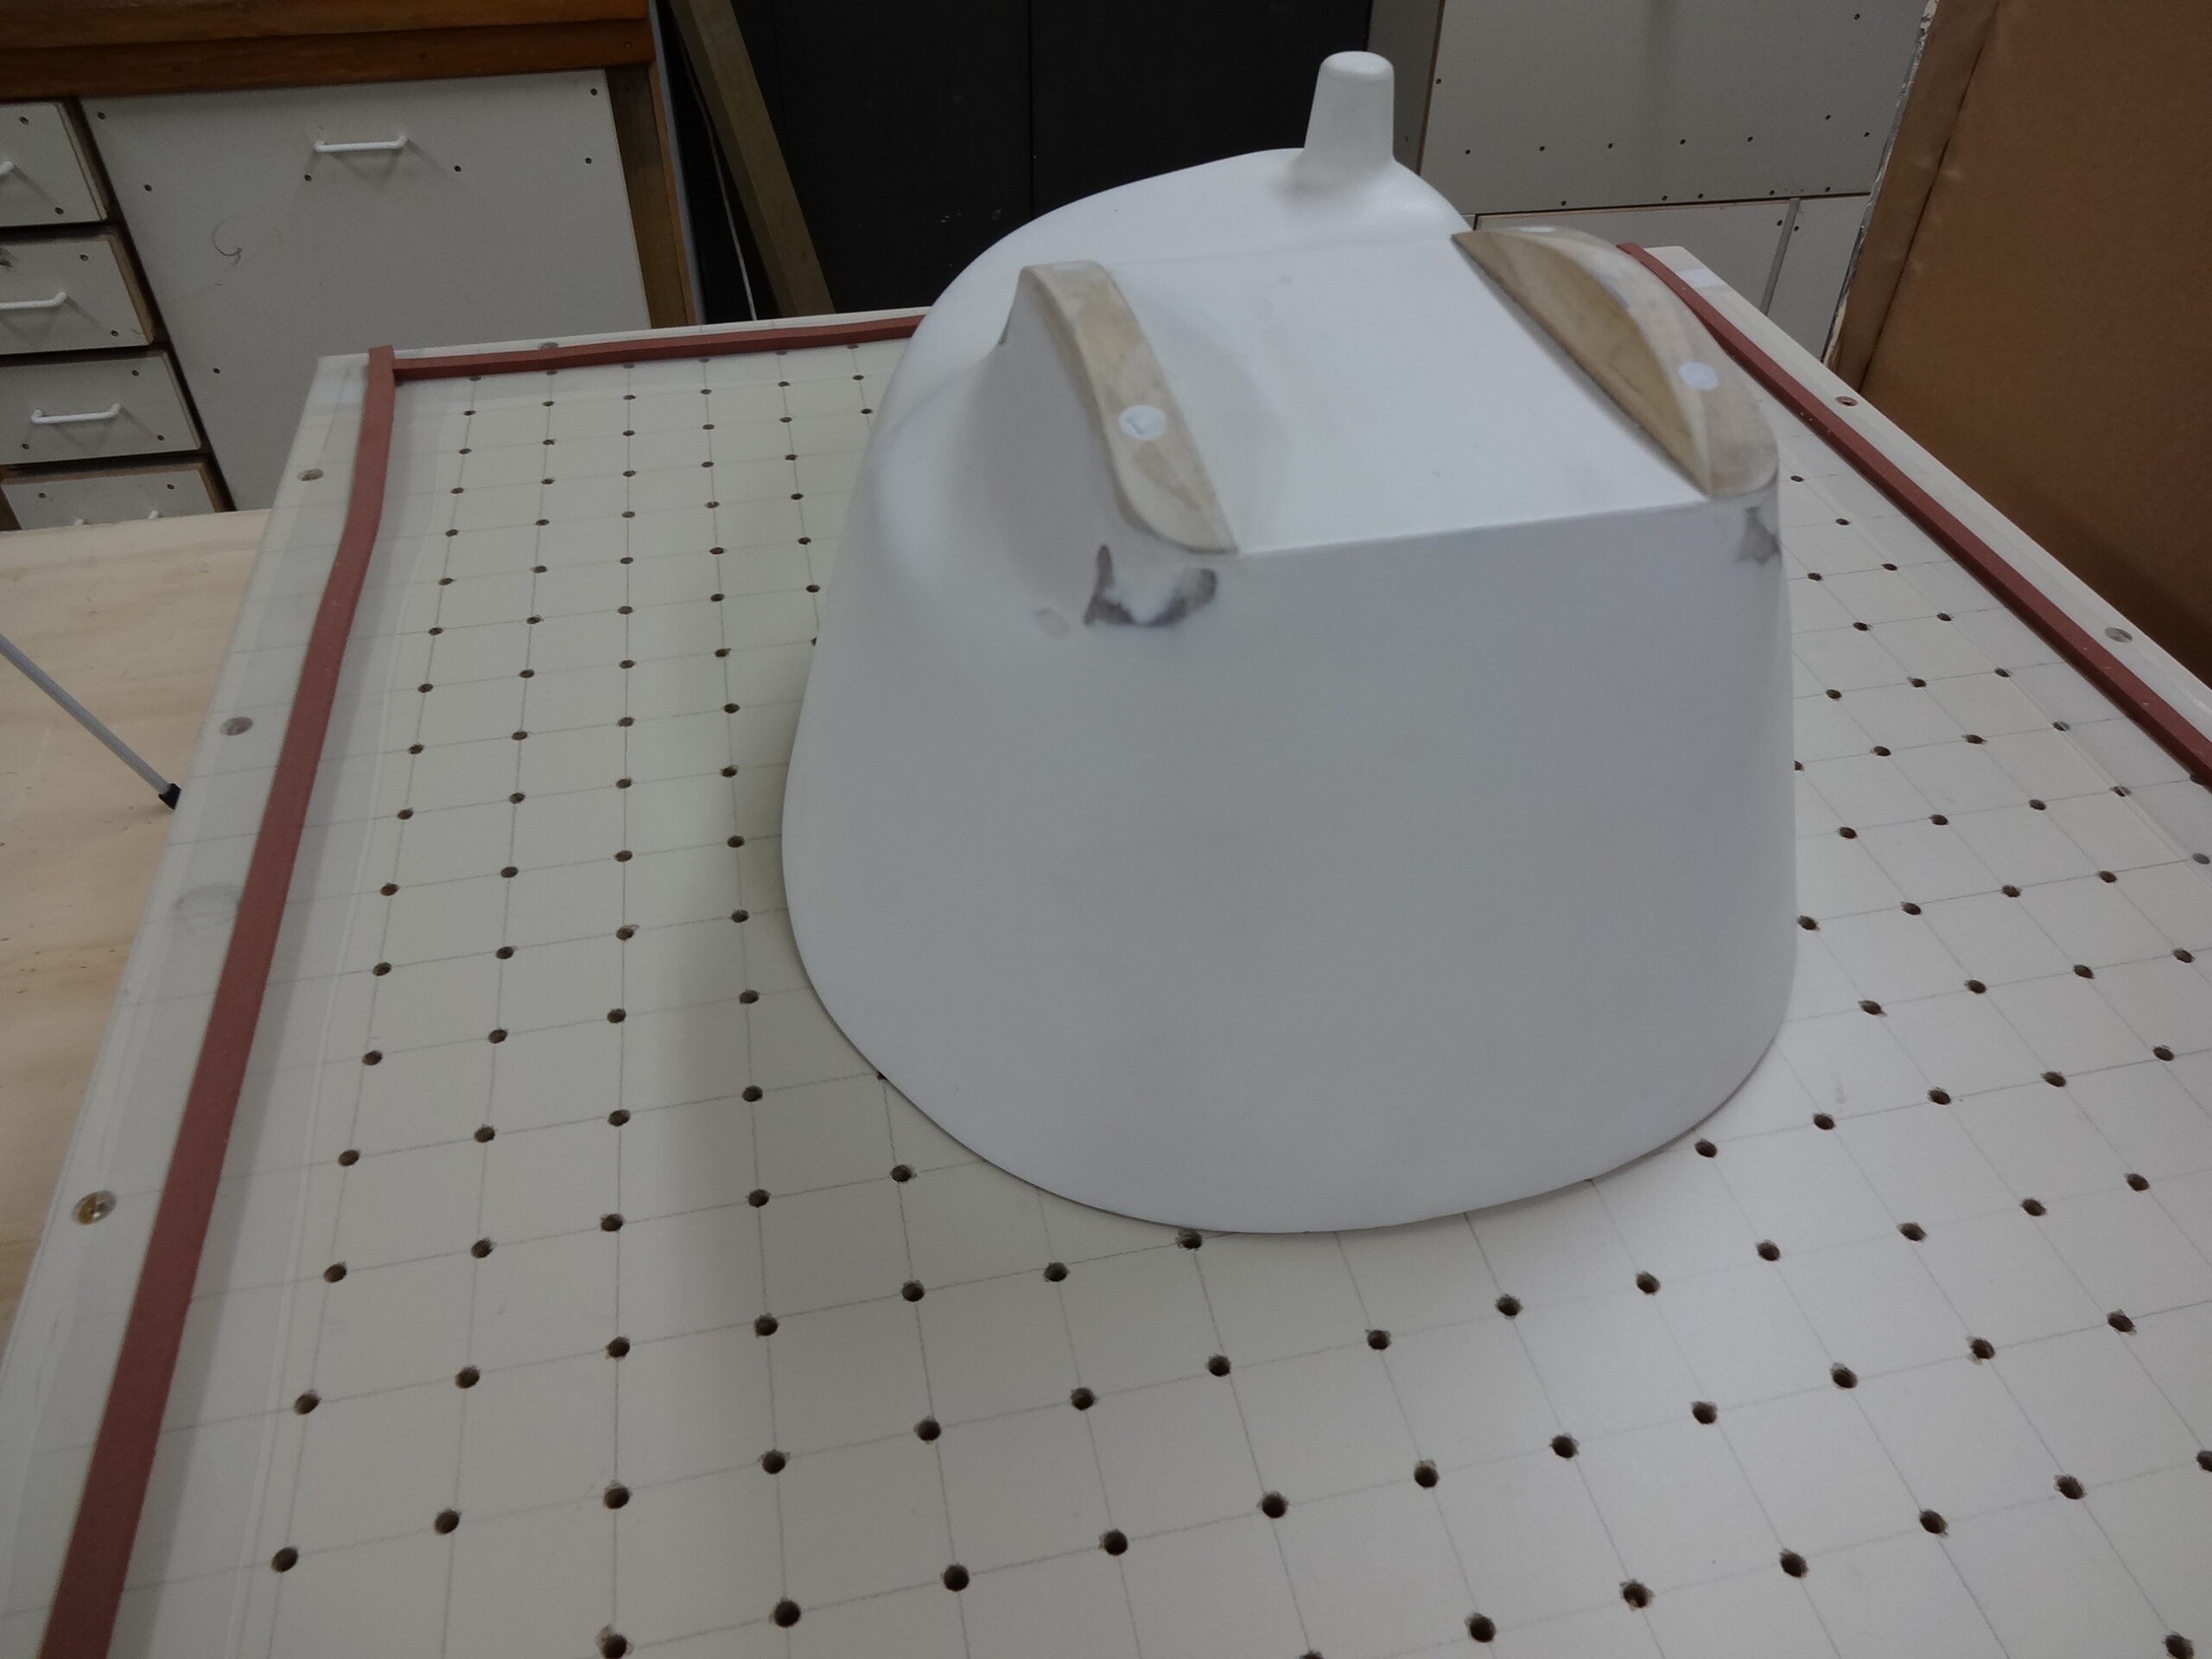
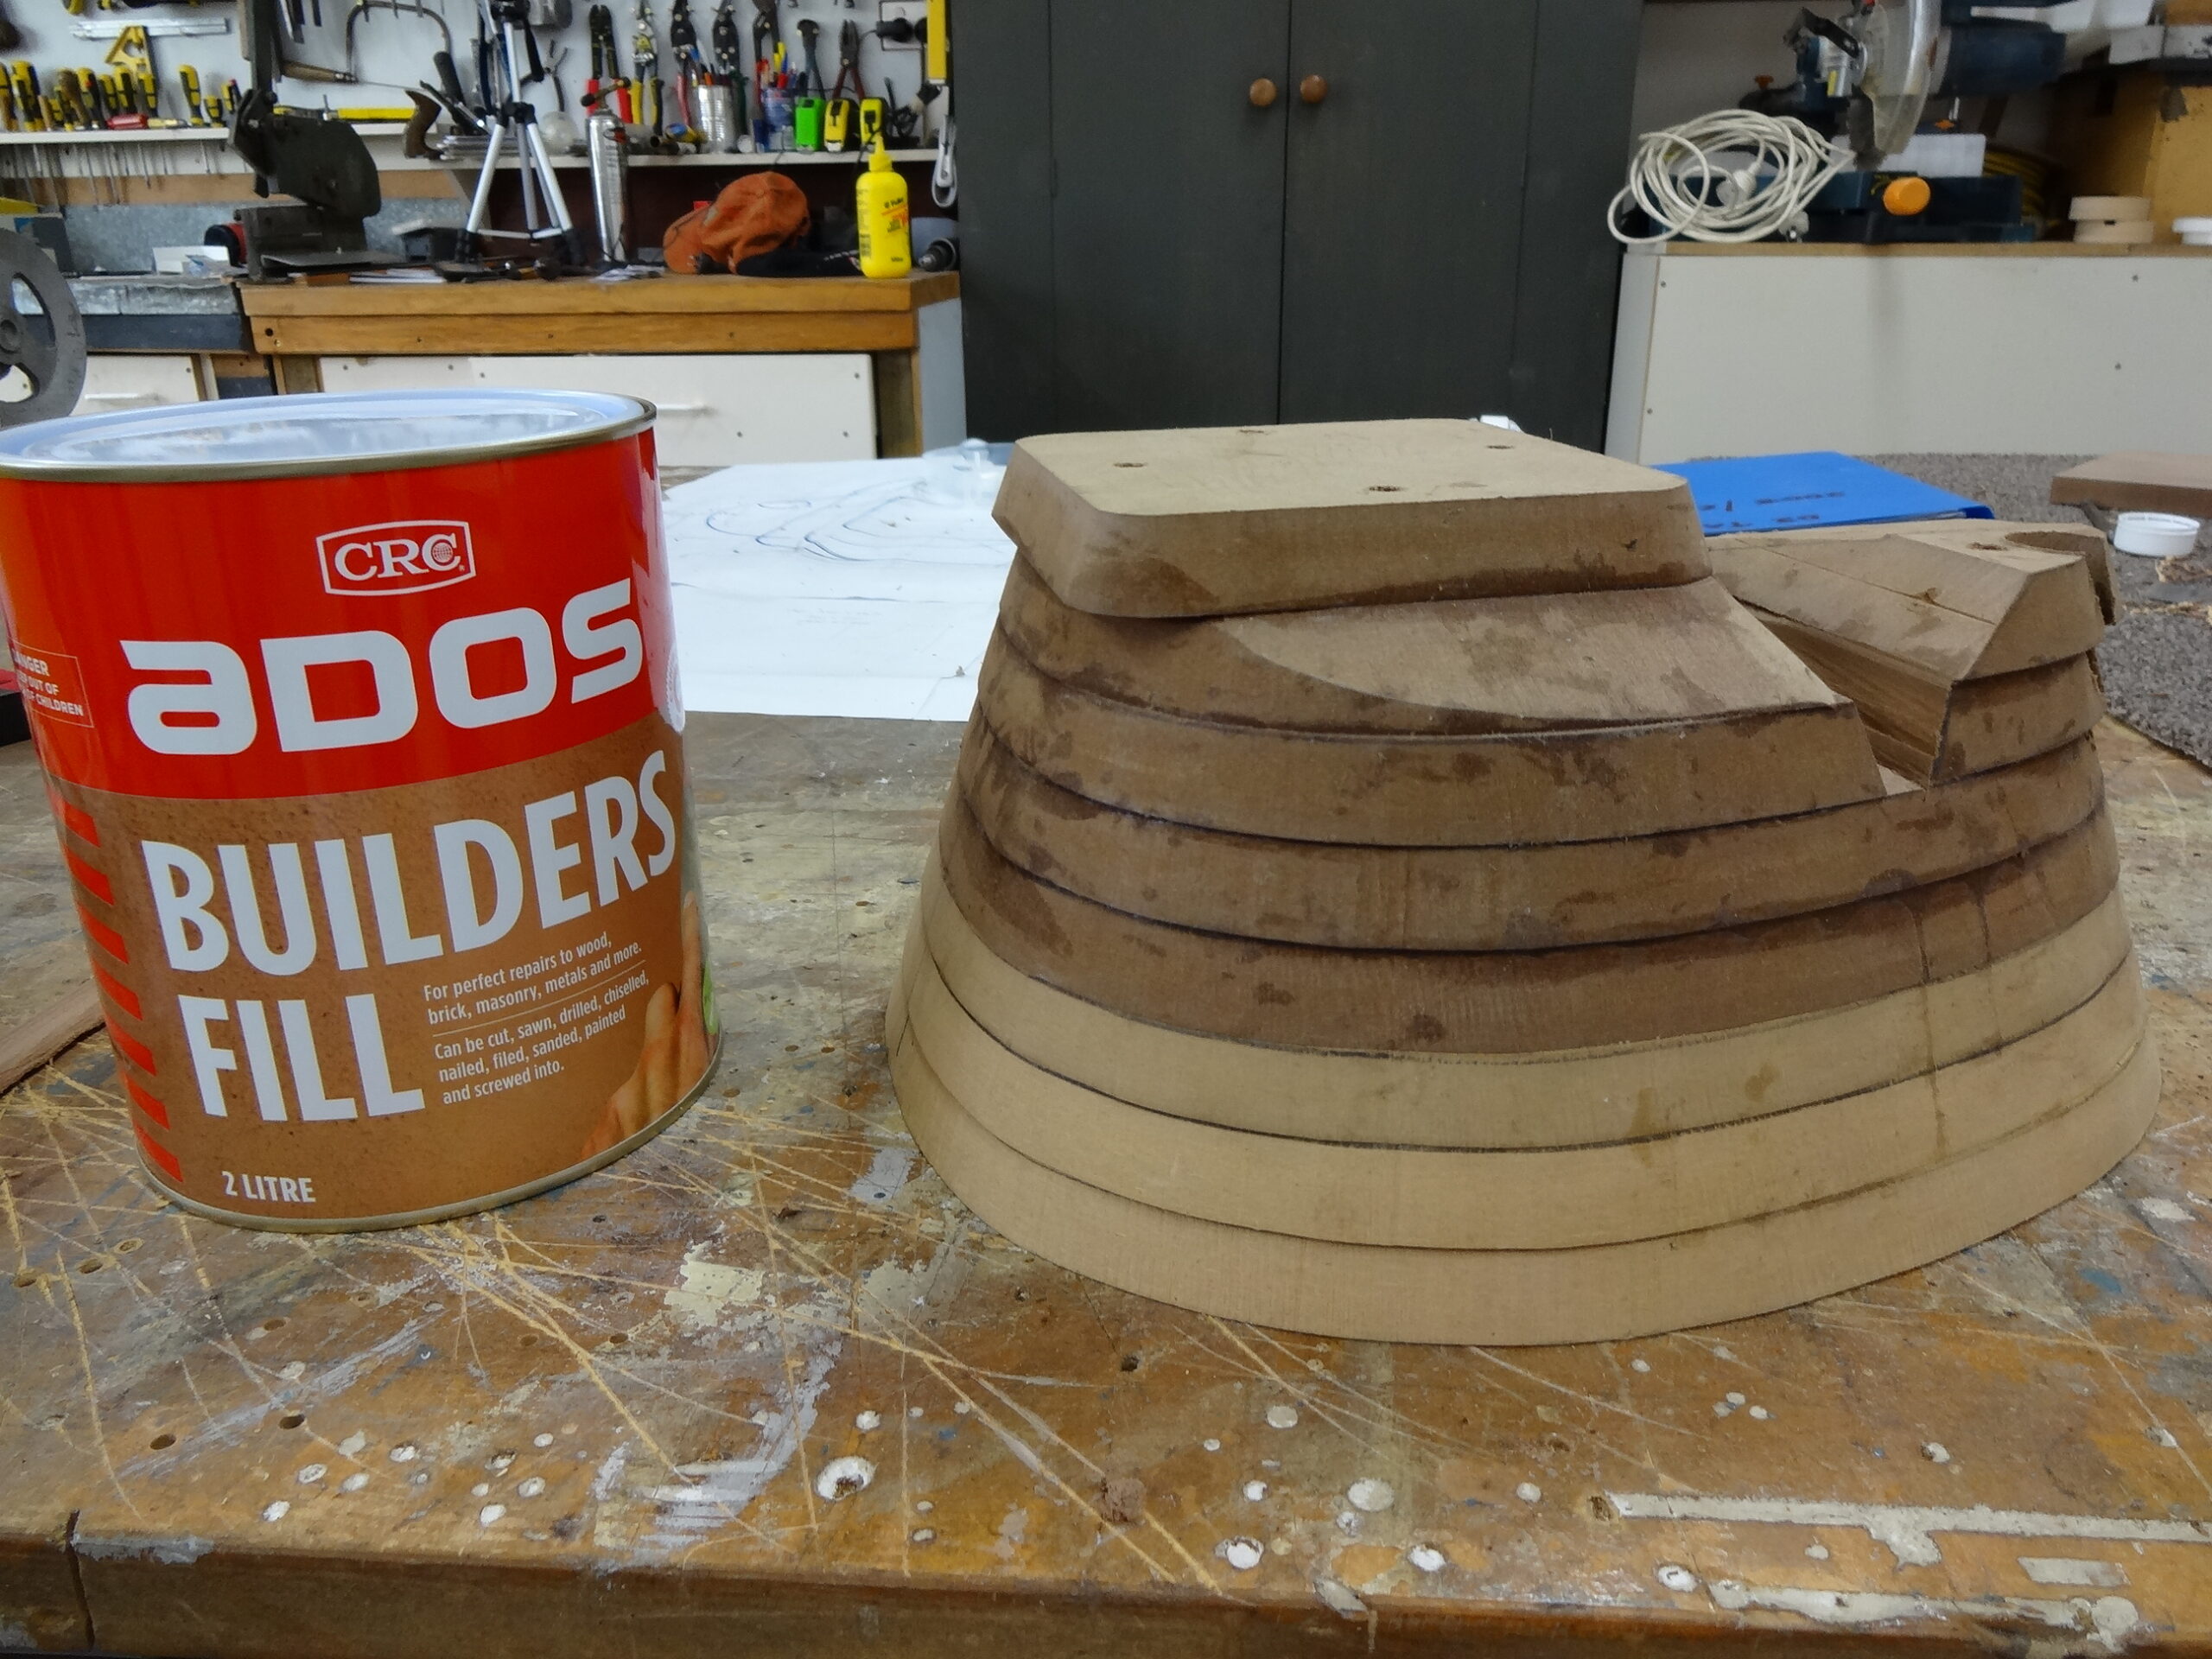
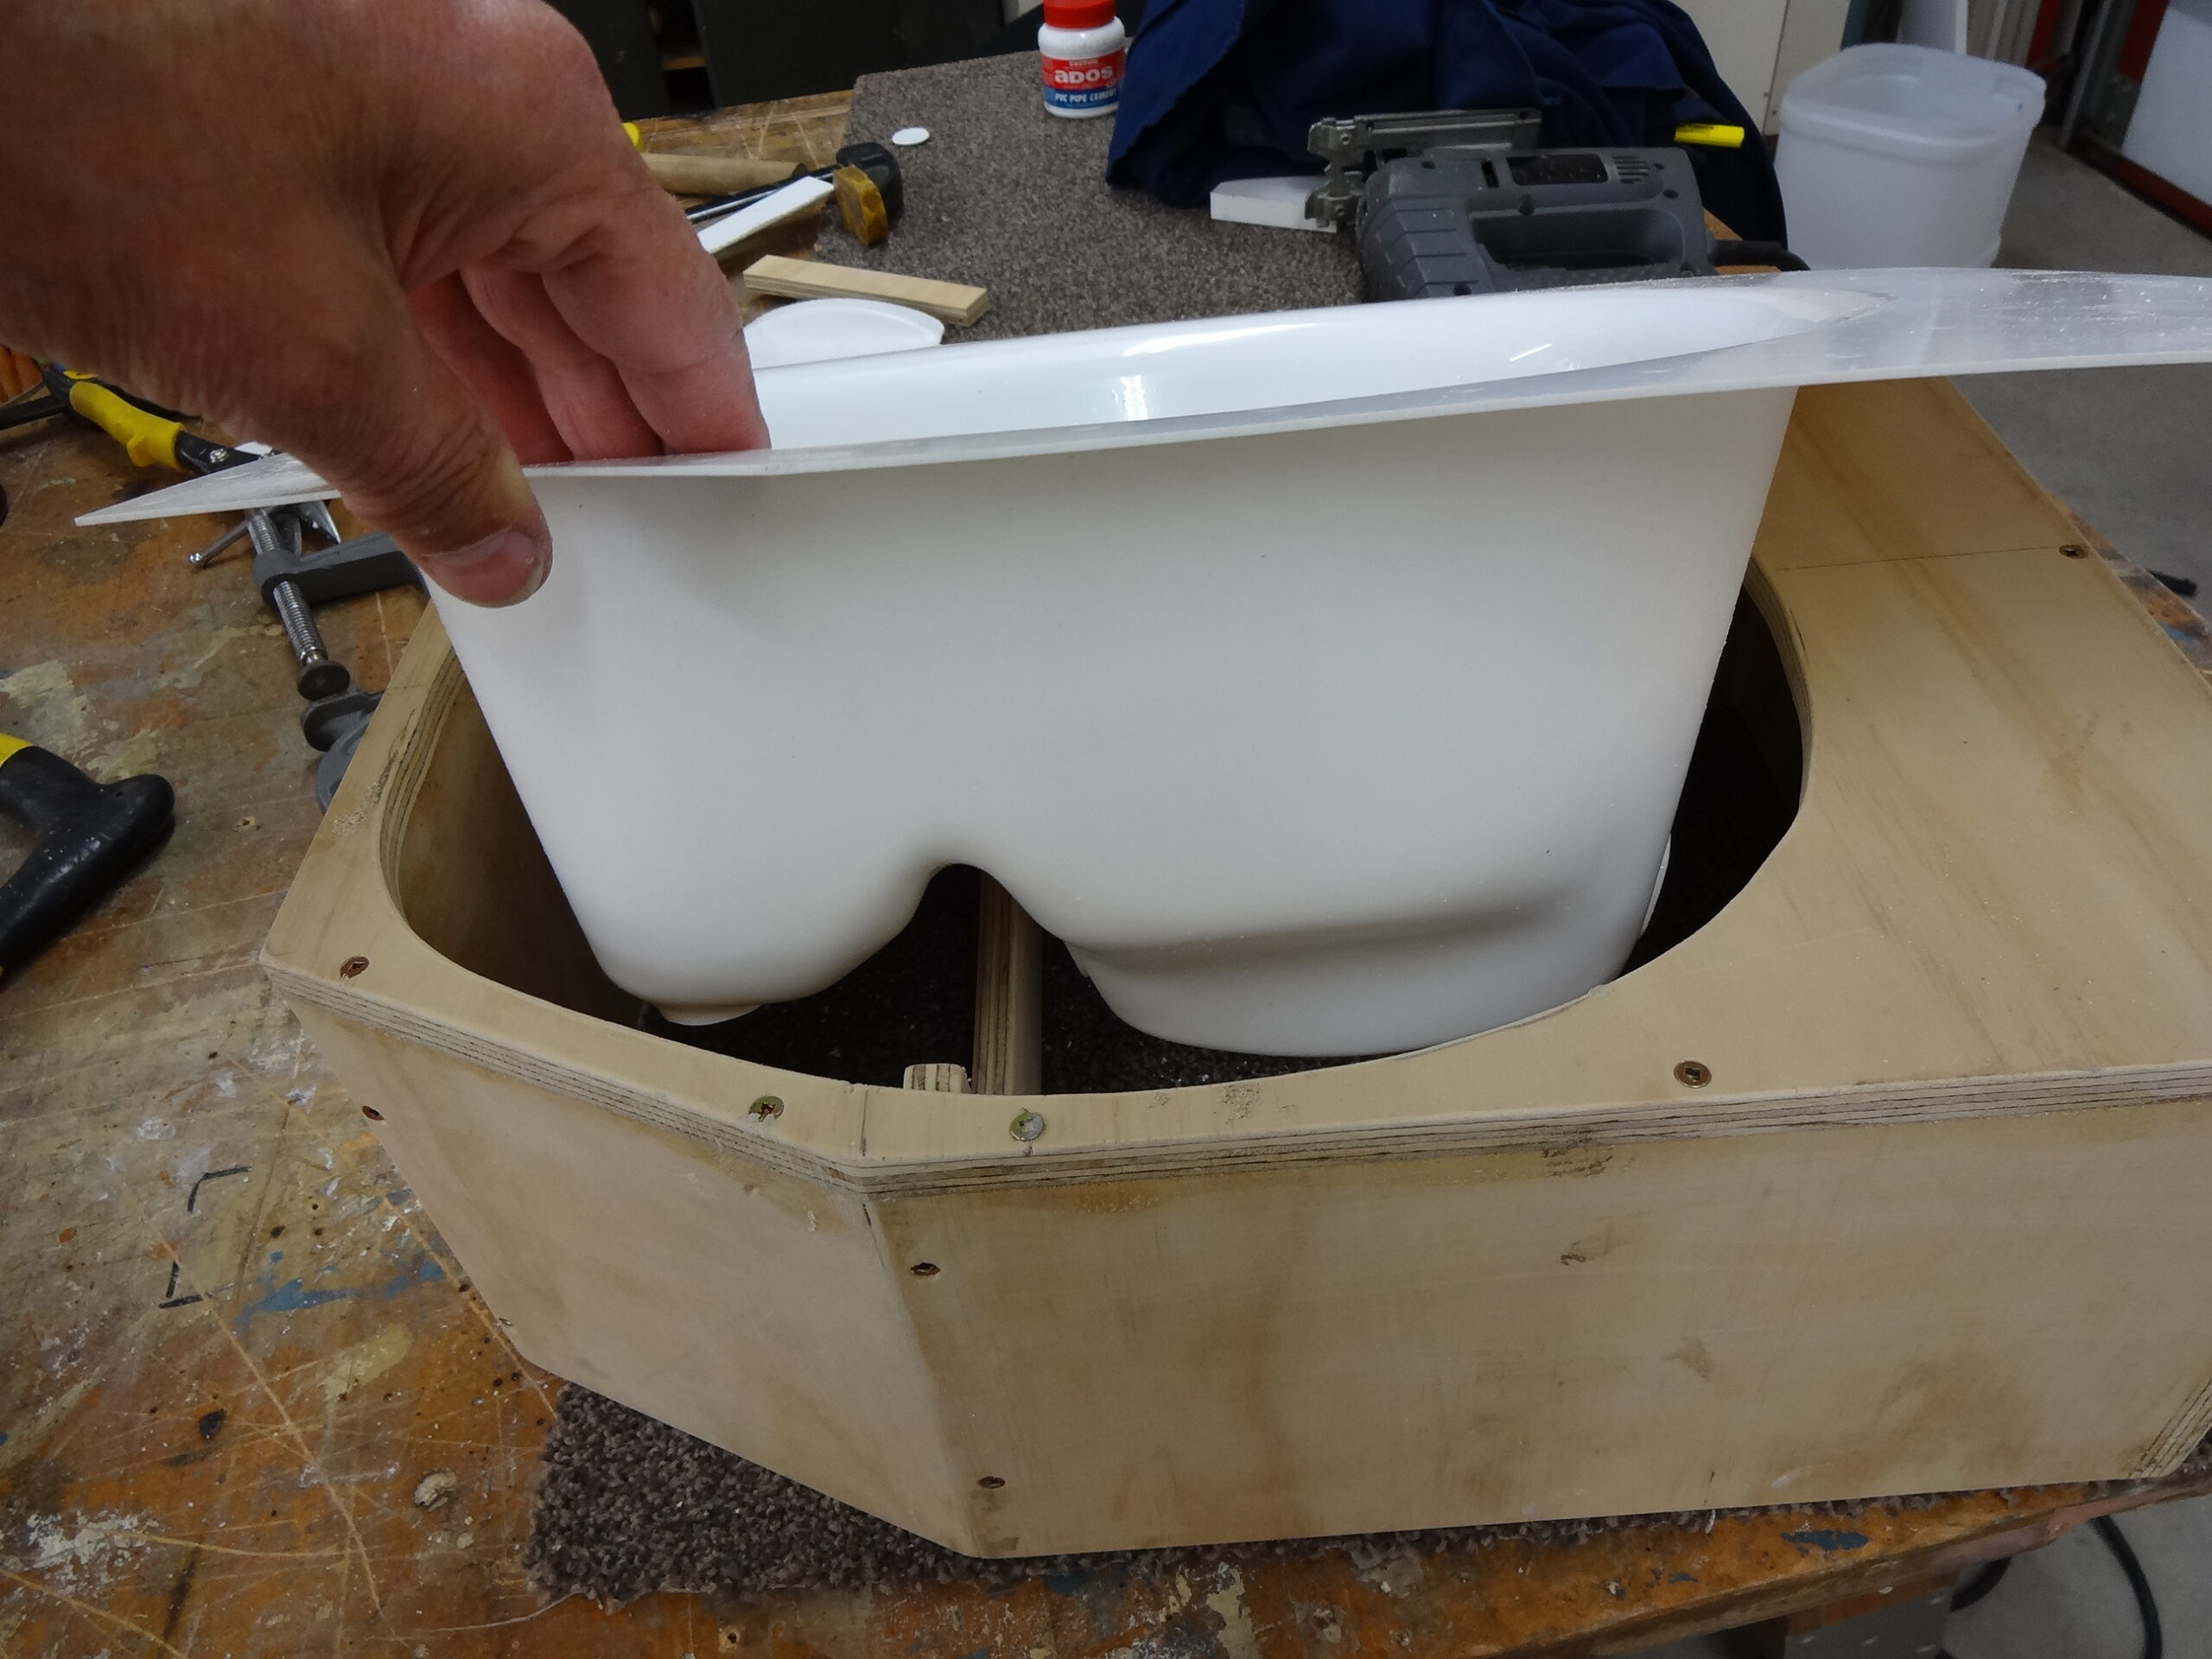
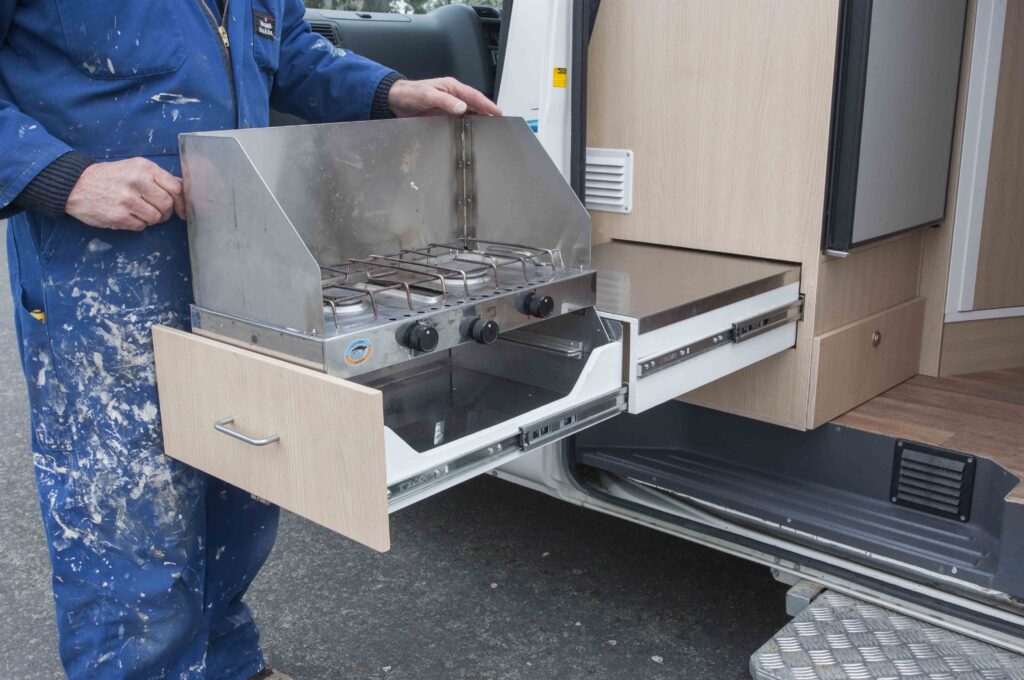
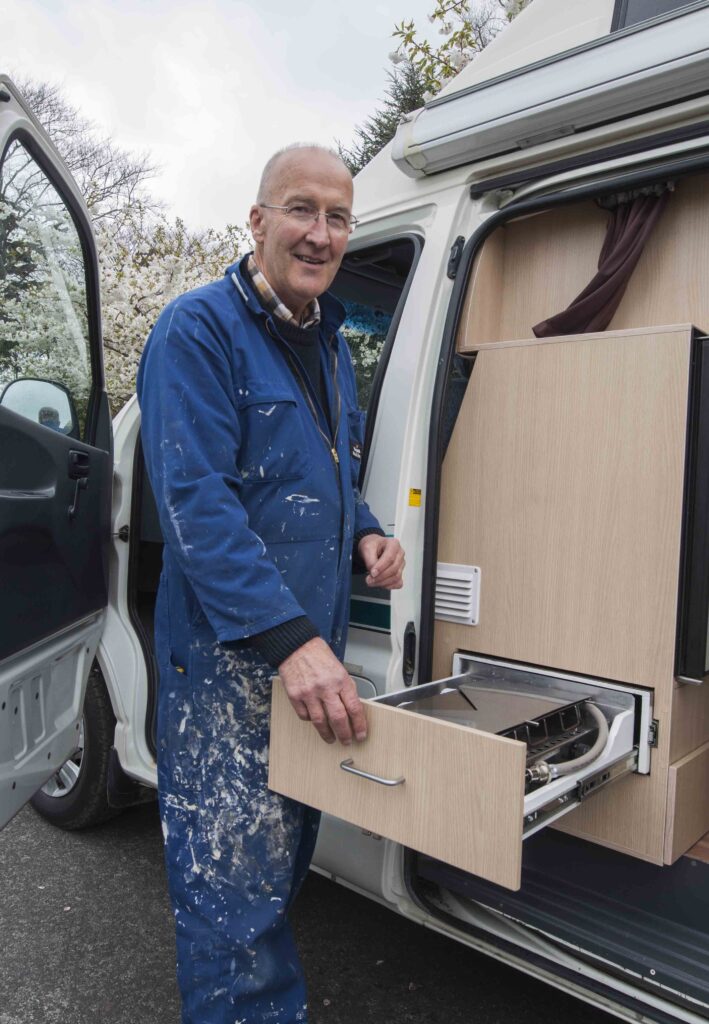
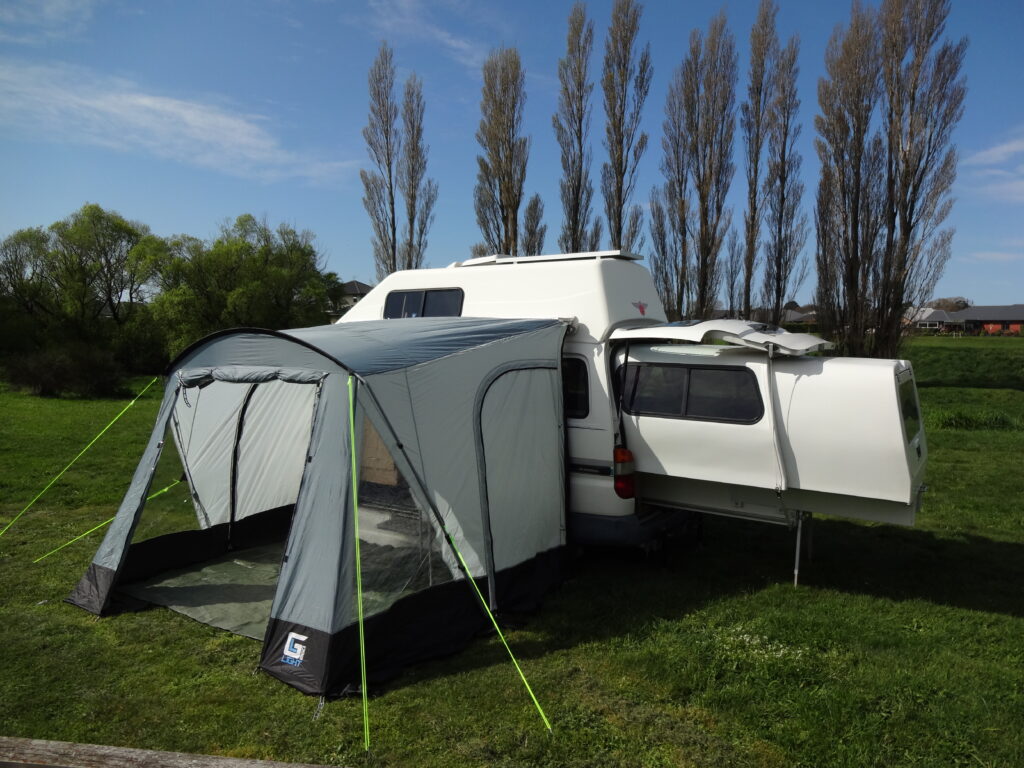
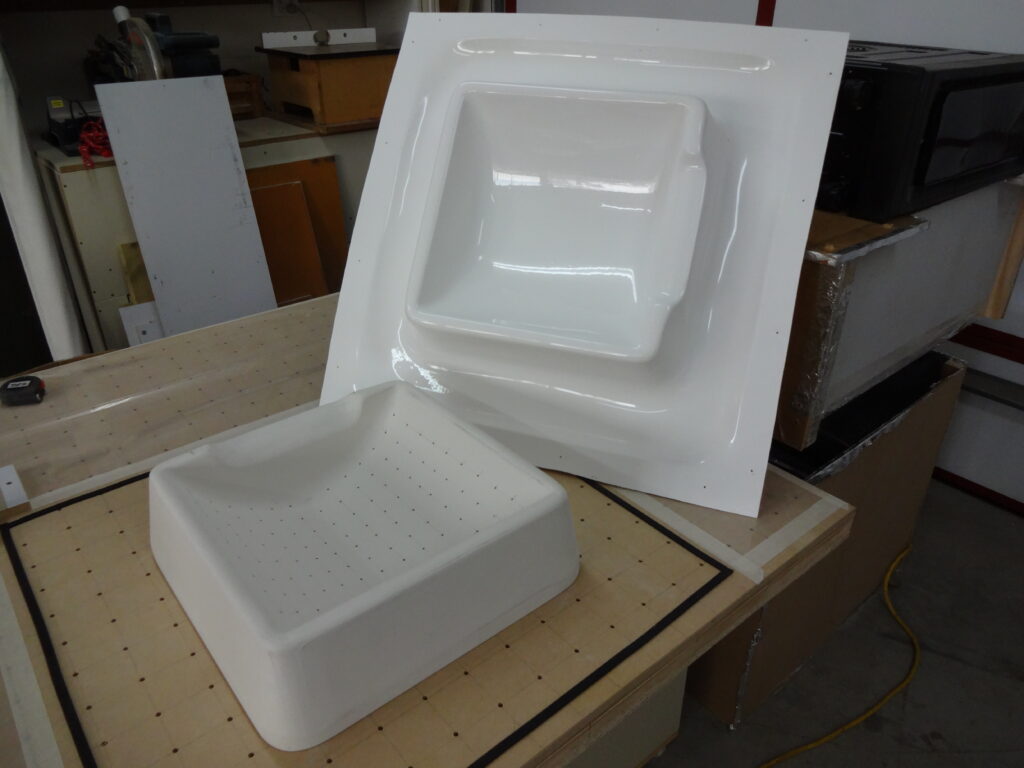
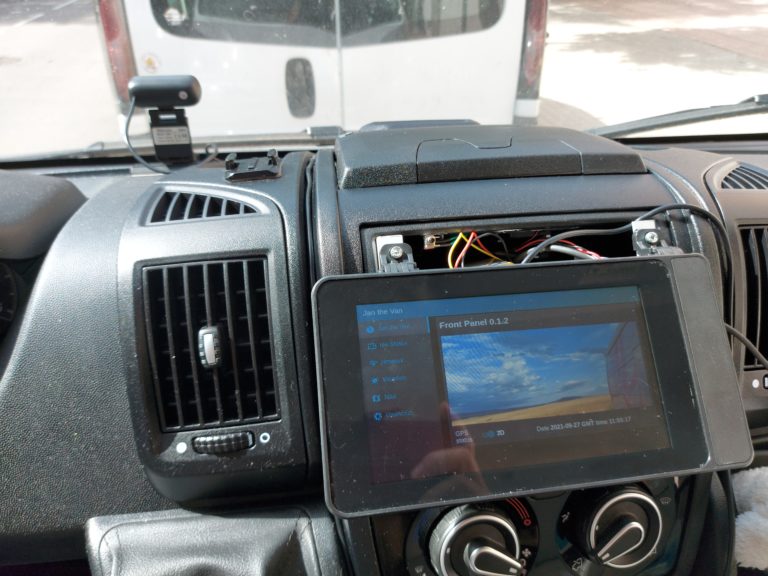
Owning a campervan means you can take your house on holiday with you. The downside is you need to pack up your whole holiday site when you want to drive off and get some fish and chips for dinner. I considered towing a car behind the campervan but that was impractical. I use a scooter for commuting so the solution was obvious—put a scooter carrier on the campervan to give us an easy transport option on holiday.

Video of Enrico on the road

This is a short video of the campervan hi-tech modifications series written by Enrico Miglino as featured in the magazine. This film covers the articles in Issues 98-100