More of Bob’s Tips for your Metalworking Lathe
By Bob Hulme
Photographs: Bob Hulme
If you have read our Metalworking Lathe 101 series in The Shed magazine, you will have a grasp of the basics.
So, here are some helpful tips to improve your lathe experience and make those projects a bit easier to do.
Chucking
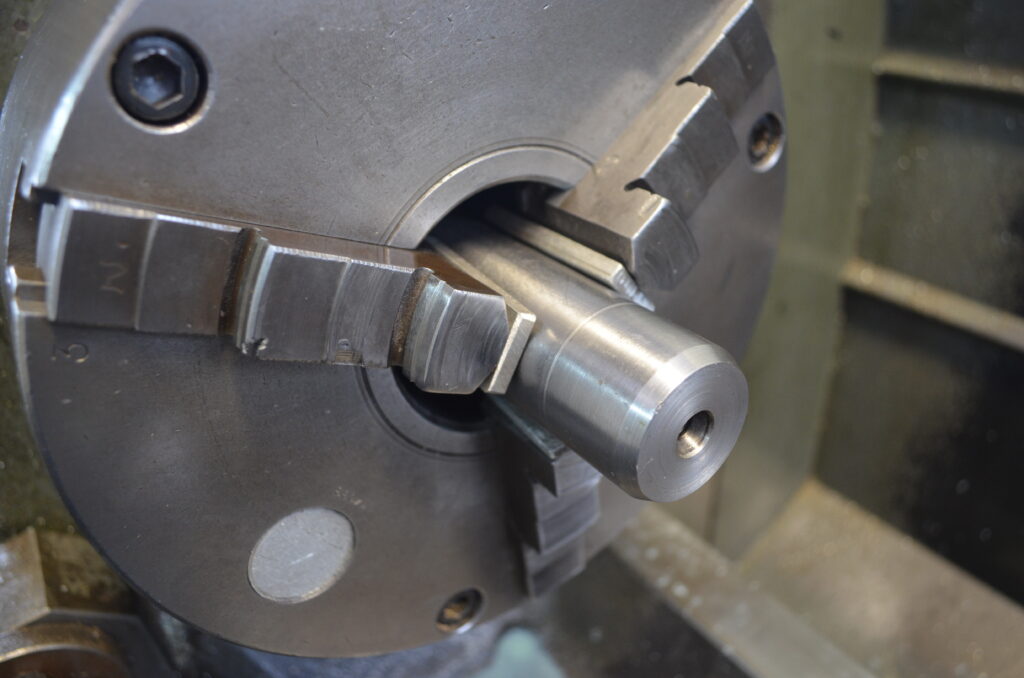
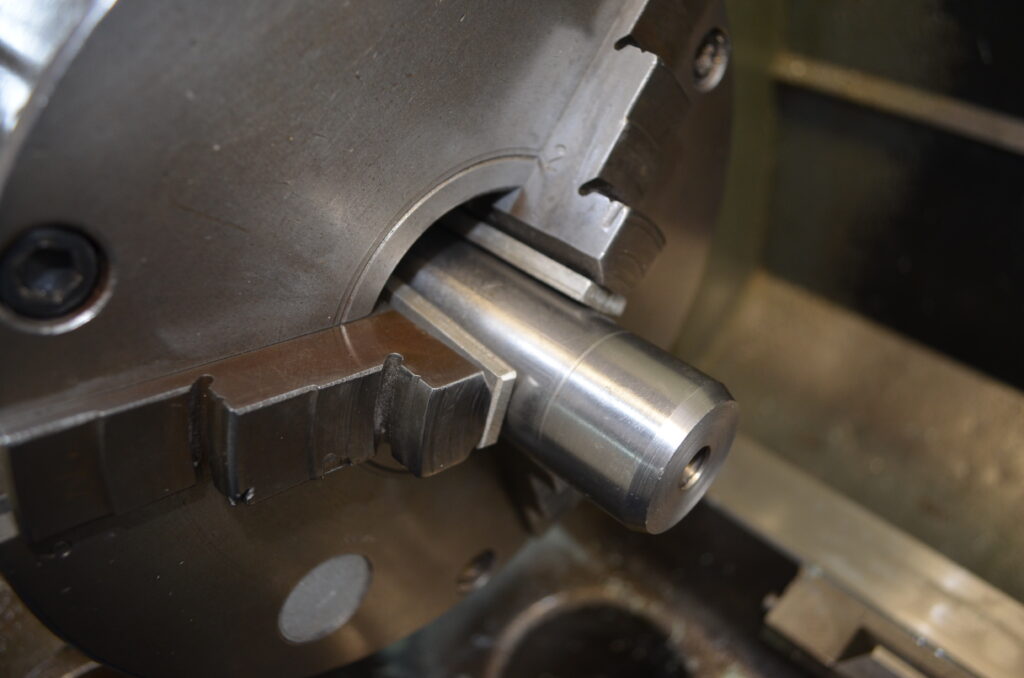
Quite often the material or item we need to hold in the chuck is delicate, either due to a fine finish that we do not want to put chuck jaw marks on or due to it being thin walled. For jobs with a surface finish that you need to protect it is handy to have some strips of aluminium to put between the chuck jaws and the job material. These are mostly used when holding in a 4 jaw chuck as the job will need to be “clocked up” using a dial indicator to get it running true.
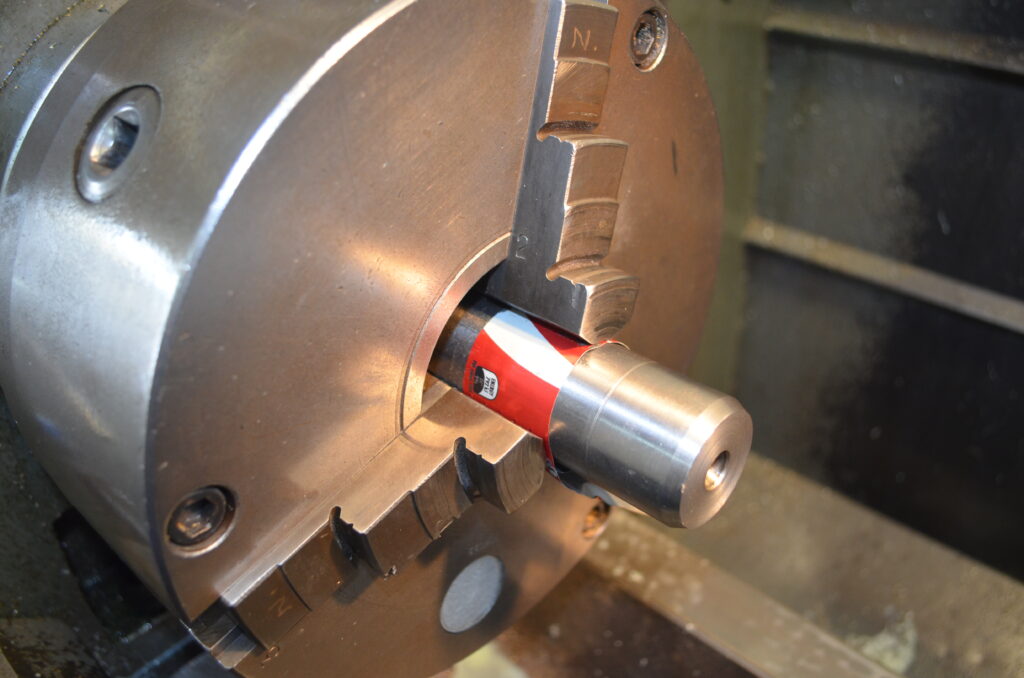
The thickness of the aluminium strips cannot be relied on to be consistent as they squish up a bit with the tightening of the chuck jaws, so when using a 3 jaw chuck the auto centring effect is not so good. If you want to use a 3 jaw chuck, then instead of the aluminium strips, use an aluminium drink can. Just cut the top and bottom out, slit the cylinder left behind and cut it to suit the size of the job you are to hold in the chuck. Being quite thin the aluminium layer will not adversely affect the centring with the 3 jaw chuck action all that much. 3 jaw chucks do not centre material perfectly anyway and are a good approximation only.
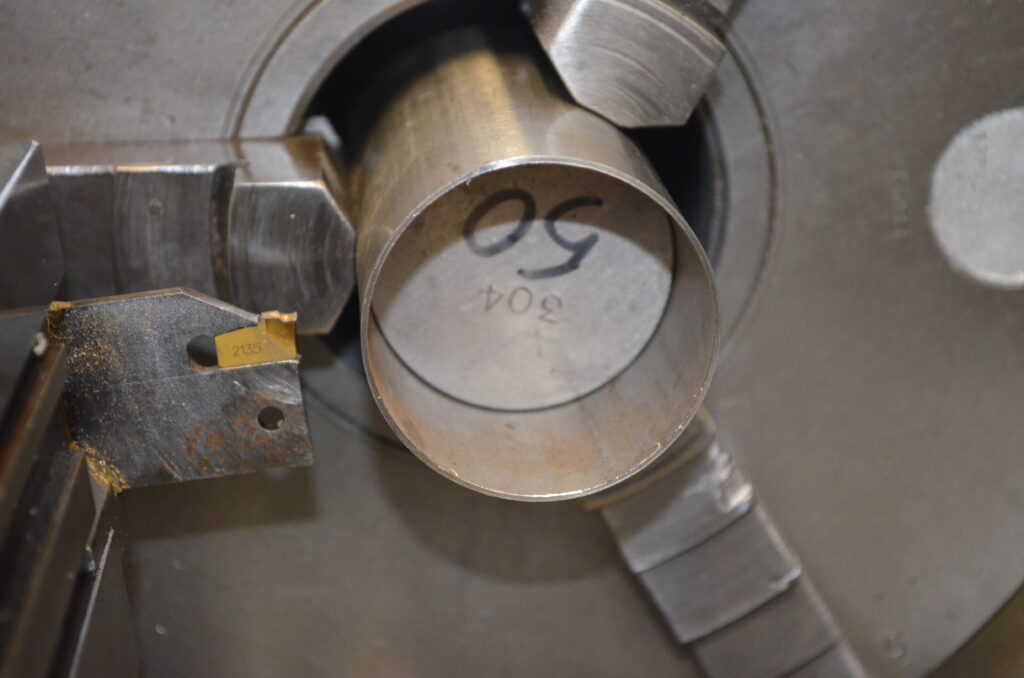
For holding thin walled material such as tube you will need to turn up a mandrel or plug to snuggly fit inside it to prevent it from collapsing inwards when the chuck jaws are wound down on it. The plug does not need to be very long. Just long enough for the length of the chuck jaws. If you don’t use a plug then the tube will go out of shape and it will not be held well enough to prevent slipping against the jaws when you are machining. Parting off is particularly difficult with thin walled tube (3mm or less) and a plug or mandrel is absolutely essential then. Be sure to make you parting off cut as close to the end of the plug as possible to provide the best support for the tube.
The Finish
Achieving a fine finish can be a challenge, particularly if you are working with a lathe which is a bit old and worn or if it is lightly built so that rigidity is less than desirable. Ideally we would all be using top of the line lathes built from heavy castings with high precision slides, etc. However budget and shed space constraints are the reality we all have to fit around so here are some ideas on how to achieve a good finish on those jobs where it is needed..
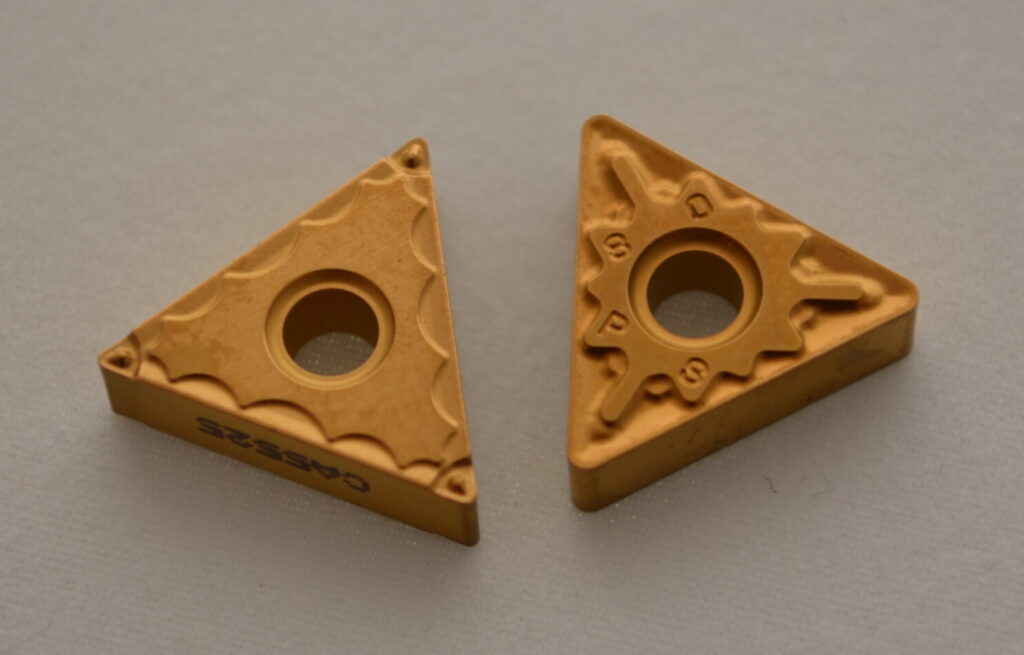
If you are using tungsten carbide insert tooling to do the cutting then you are partway there. These have been developed over many years and after much research as different manufacturers strive to be ahead of each other in a competitive market. You can spend less money by using HSS (high speed steel) tool bits and grinding them yourself, but it does take skill to get the geometry right and the edge life is less than for tungsten carbide. (I should just qualify this comment as I do find that hand ground HSS cutting tools are still best for machining materials such as plastics and aluminium.) As a rule of thumb for selecting tungsten carbide inserts when turning on a lathe, select a nose radius that is larger for roughing (say 0.8mm dia) and smaller for a better finish (say 0.4mm dia).
Correct speed
Speeds and feed rates have an impact on surface finish too. A coarse feed is best for roughing and removing material quickly and the opposite is true for achieving a fine finish. However its not so clear cut for speed (rpm). Too fast a speed and you will get chattering on the surface. This will also be apparent by a high pitched squealing noise when machining. Too slow a speed and the finish will be rough due to the material tearing instead of cutting cleanly. It’s a bit like using a rotary lawn mower. It relies on the blade spinning around fast to whack the grass fast enough to cut it rather than chew it. The grass does not have time to bend over.
Clearly some experimentation is needed to find the optimum speed for the lathe you are using and the type of material you are cutting. Start off by using recommended cutting speeds from charts or reference books such as the Engineers Black Book. Use the roughing cuts to experiment so that when the last cut is to be done you will have it sussed!
Some cleaning advice
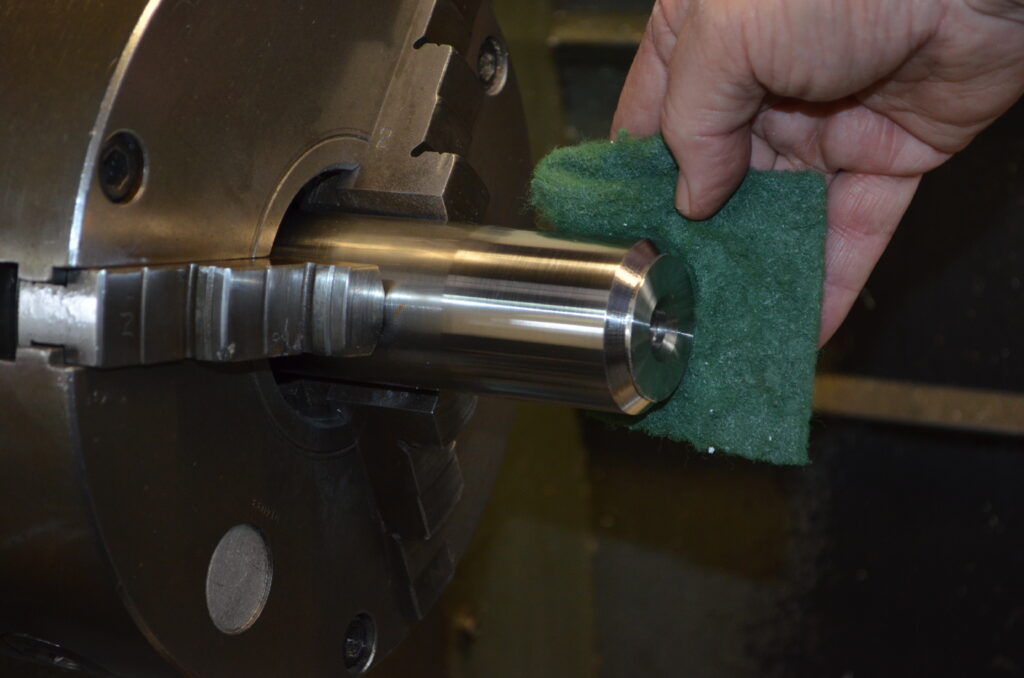
OK, so the last cut has been taken and the finish is not too awful, but could be better. There are ways to fix this, but be aware that the size (diameter) is going to get a little smaller as a result. One of those plastic scouring pads that are used for cleaning pots and pans can be good for running over the surface to give it a shine and take off the tops of the roughness. However be very careful as it can grip on the spinning job and snatch your hand too. Under no circumstance use a lathe wearing gloves! It’s impossible to pull your hand away from a glove once it tries to wrap itself around a spinning job in a lathe. (or a drill for that matter).
You could also use emery tape to improve the finish. The same safety precautions apply. Push from one side only and do not wrap the tape around the job. It will grab in a flash and pull your hand in too. Cleaning your lathe after using emery tape is a priority as there will be abrasive grains dropped onto the slide surfaces which will accelerate wear if not cleaned off.
Save Time
It is a myth that you can take your time when working on a project for yourself in your home workshop. At least that’s what I have found out. Time is always a valuable commodity no matter what you are making or fixing. There are always plenty of other things that need to be done. (including time to do nothing!)
When turning a job on the lathe it’s often the case that the piece of material you have available is much larger than the item you want to make, particularly when you have to work with whatever you have available at the time in your shed. So, machining away all that unwanted material needs to be done as quick as possible.
Machining the diameter down (turning) is always going to be faster than cutting over the end face (facing) of a piece of material in the lathe. This is because deeper cutting depths are possible and most of the cutting is done at the largest diameter where the cutting speed (metres/min) is achieved.
With facing, every cut has a chunk of time spent when the cutting tool is close to the centre of the end face where cutting speed is nearly zero.
Clearing the swarf
When drilling deep holes into the centre of a job it is necessary to keep retracting the drill to clear the swarf from the hole and the deeper the hole gets, the more frequently it needs to be cleared. Failure to do this will result in the drill jamming inside the hole due to all the swarf jamming around it. Don’t keep winding the tailstock handwheel out to clear the drill. Instead release the lever that clamps the tailstock to the lathe bed and slide the whole tailstock back. Once the swarf has dropped away , slide the tailstock back again, being careful not to bang the drill too hard into the end of the hole. Feed the drill to cut the hole deeper with the tailstock handwheel, then repeat the process until the full required depth is reached.
Know your oils
Use an appropriate cutting oil when machining as this will improve cutting tool life and surface finish. It takes time to stop and resharpen cutting tools or to undo and index around tungsten carbide inserts. This can be frustrating as well as the extra cost.
As a general purpose cutting oil, a soluble oil type mixed with water is good as this lubricates as well as cools effectively. Ideally if you don’t have a lathe with a pump unit for coolant/cutting oil you can buy separate units as an add on. The soluble type of cutting oil is especially good for materials such as stainless steel which is not a good conductor of heat, so the area where the cutting is taking place gets very hot and the cutting tool softens and wears quicker if not cooled. The best soluble cutting oils are a mixture of mineral and synthetic oils.
Straight (non-soluble) cutting oils are good for tapping threads, screwcutting and there are some very good oils purely for aluminium. Brass is happy when machined dry. A downside of the soluble cutting oil is that it can stagnate and smell. This is caused by anaerobic bacteria which grow in the absence of oxygen. The best way to combat this is to simply pump the oil/water mixture around for about half an hour each week. The splashing oxygenates it and the bacteria do not flourish. Some people even install a fish aquarium aerator in the tank and this is very effective.
I hope these tips inspire you to do more with your home workshop lathe.
For more metal workshop advice, see part 1 of this series