

Restoring motorbikes is what South Island sheddie Hayden Tasker loves to do in his workshop, but not just any motorbike.
Restoring motorbikes is what South Island sheddie Hayden Tasker loves to do in his workshop, but not just any motorbike.
If you have followed our Metalworking Lathe 101 series in The Shed magazine, you will have a grasp of the basics, so here are some helpful tips to improve your lathe experience and make those projects a bit easier to do.
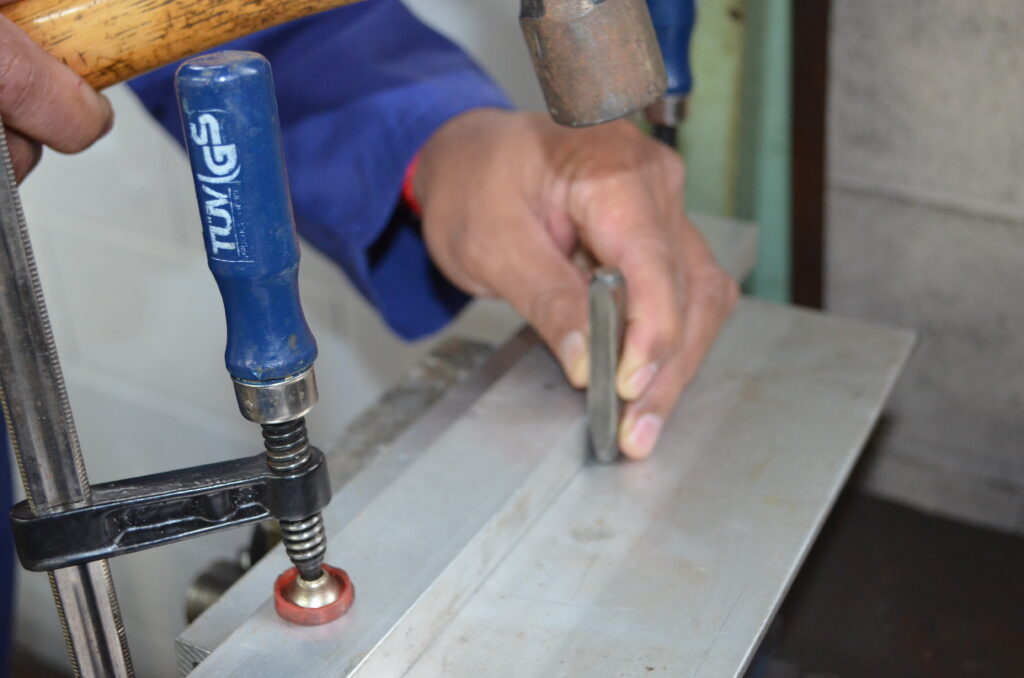
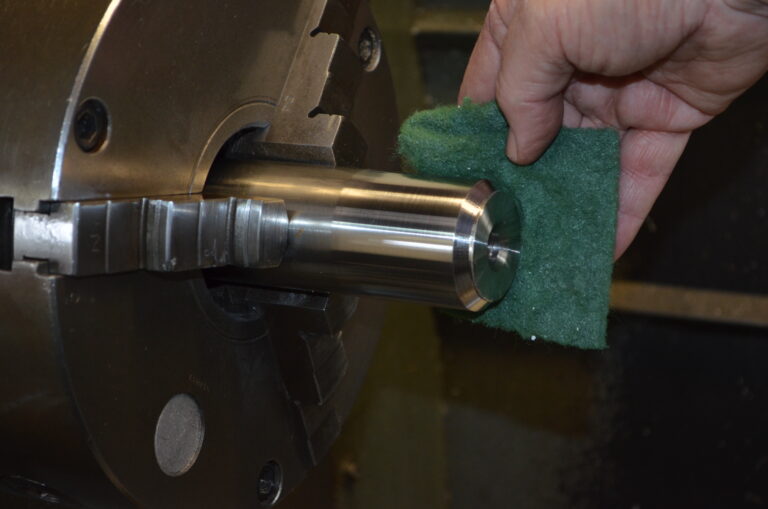
Quite often the material or item we need to hold in the chuck is delicate, either due to a fine finish that we do not want to put chuck jaw marks on or due to it being thin walled. For jobs with a surface finish that you need to protect it is handy to have some strips of aluminium to put between the chuck jaws and the job material. These are mostly used when holding in a 4 jaw chuck as the job will need to be “clocked up” using a dial indicator to get it running true.
The thickness of the aluminium strips cannot be relied on to be consistent as they squish up a bit with the tightening of the chuck jaws, so when using a 3 jaw chuck the auto centring effect is not so good.