milling

Milling Part 3, cutting, clogging, and cleaning

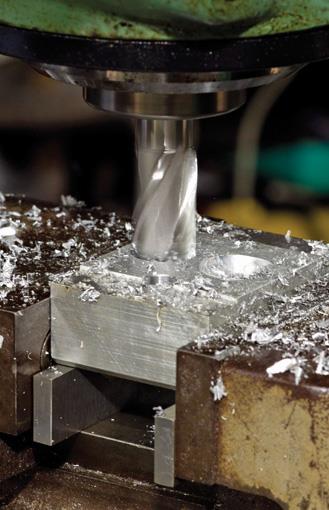
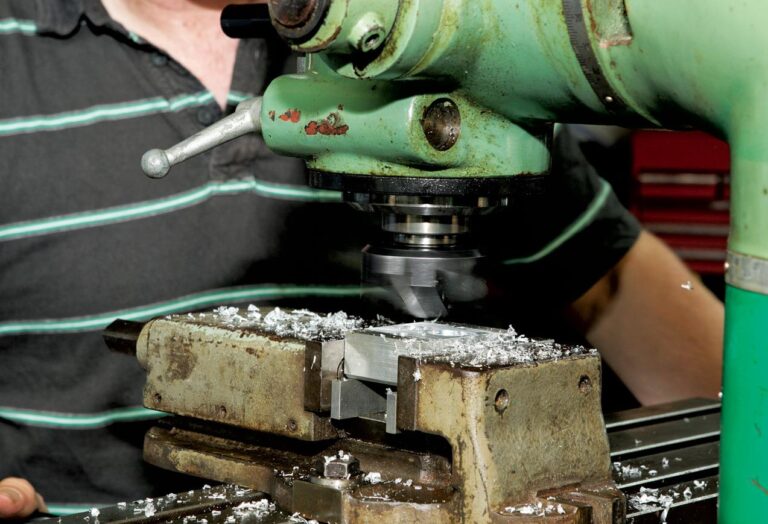
Once your component is securely clamped (see “Showing restraint” Part 2, www.the-shed.nz), ensure the cutting tool is held correctly in its chuck or collet holder, keeping tool overhang or stick-out to a minimum. Being rigid and stable applies as much to tooling as it does to the workpiece. Drill chucks are NOT designed to take side loads induced by milling and are exclusively for drills. Milling cutters should be held in a collet chuck or other suitable holder.

READ MORE »

Milling – showing restraint

In Part One of this series on the milling machine we put the milling machine in the workshop and had it levelled. Before you use the machine, it is important to check the alignment of the spindle. Then comes understanding the importance of preparing the workpiece. Work to be milled or drilled on the milling machine has to be set up so that it does not move during the job. This is one of the most important things you can do if you don’t want an important component or workpiece to end up as scrap because it moved.

READ MORE »

Time for a milling machine?

In a typical home engineering workshop progression, you buy a bench vise, some hand tools, and possibly a bench grinder. After you buy a small pillar drill then comes a big leap — buying a centre lathe.
Along the way you acquire more small tooling, drills, turning tools, etc. You make many useful items and produce a fair bit of scrap.
But then you find the lovely pieces you are turning out on your lathe require other features, especially holes more accurately positioned than you can mark out and drill on your pillar drill. As good as you have become with a file, that flat section needed on the shaft really needs to be machined. And how are you going to make a slot for that keyway?

READ MORE »