By Jude Woodside
The “Leader of the Opposition” has pointed me to the great outdoors and is making noises about things to house the shrubbery that materialises from the garden centre every weekend

This garden planter makes an elegant solution. It doesn’t require a shed full of machinery either. In fact, I have created this with a table saw and a drill press. This is only a basic shape and you can alter the size and dimensions to suit your particular purpose. The dimensions aren’t critical either indeed these have been derived by what I had to hand. I have made the corner posts 45mm square and the rails are 25mm x 40mm.
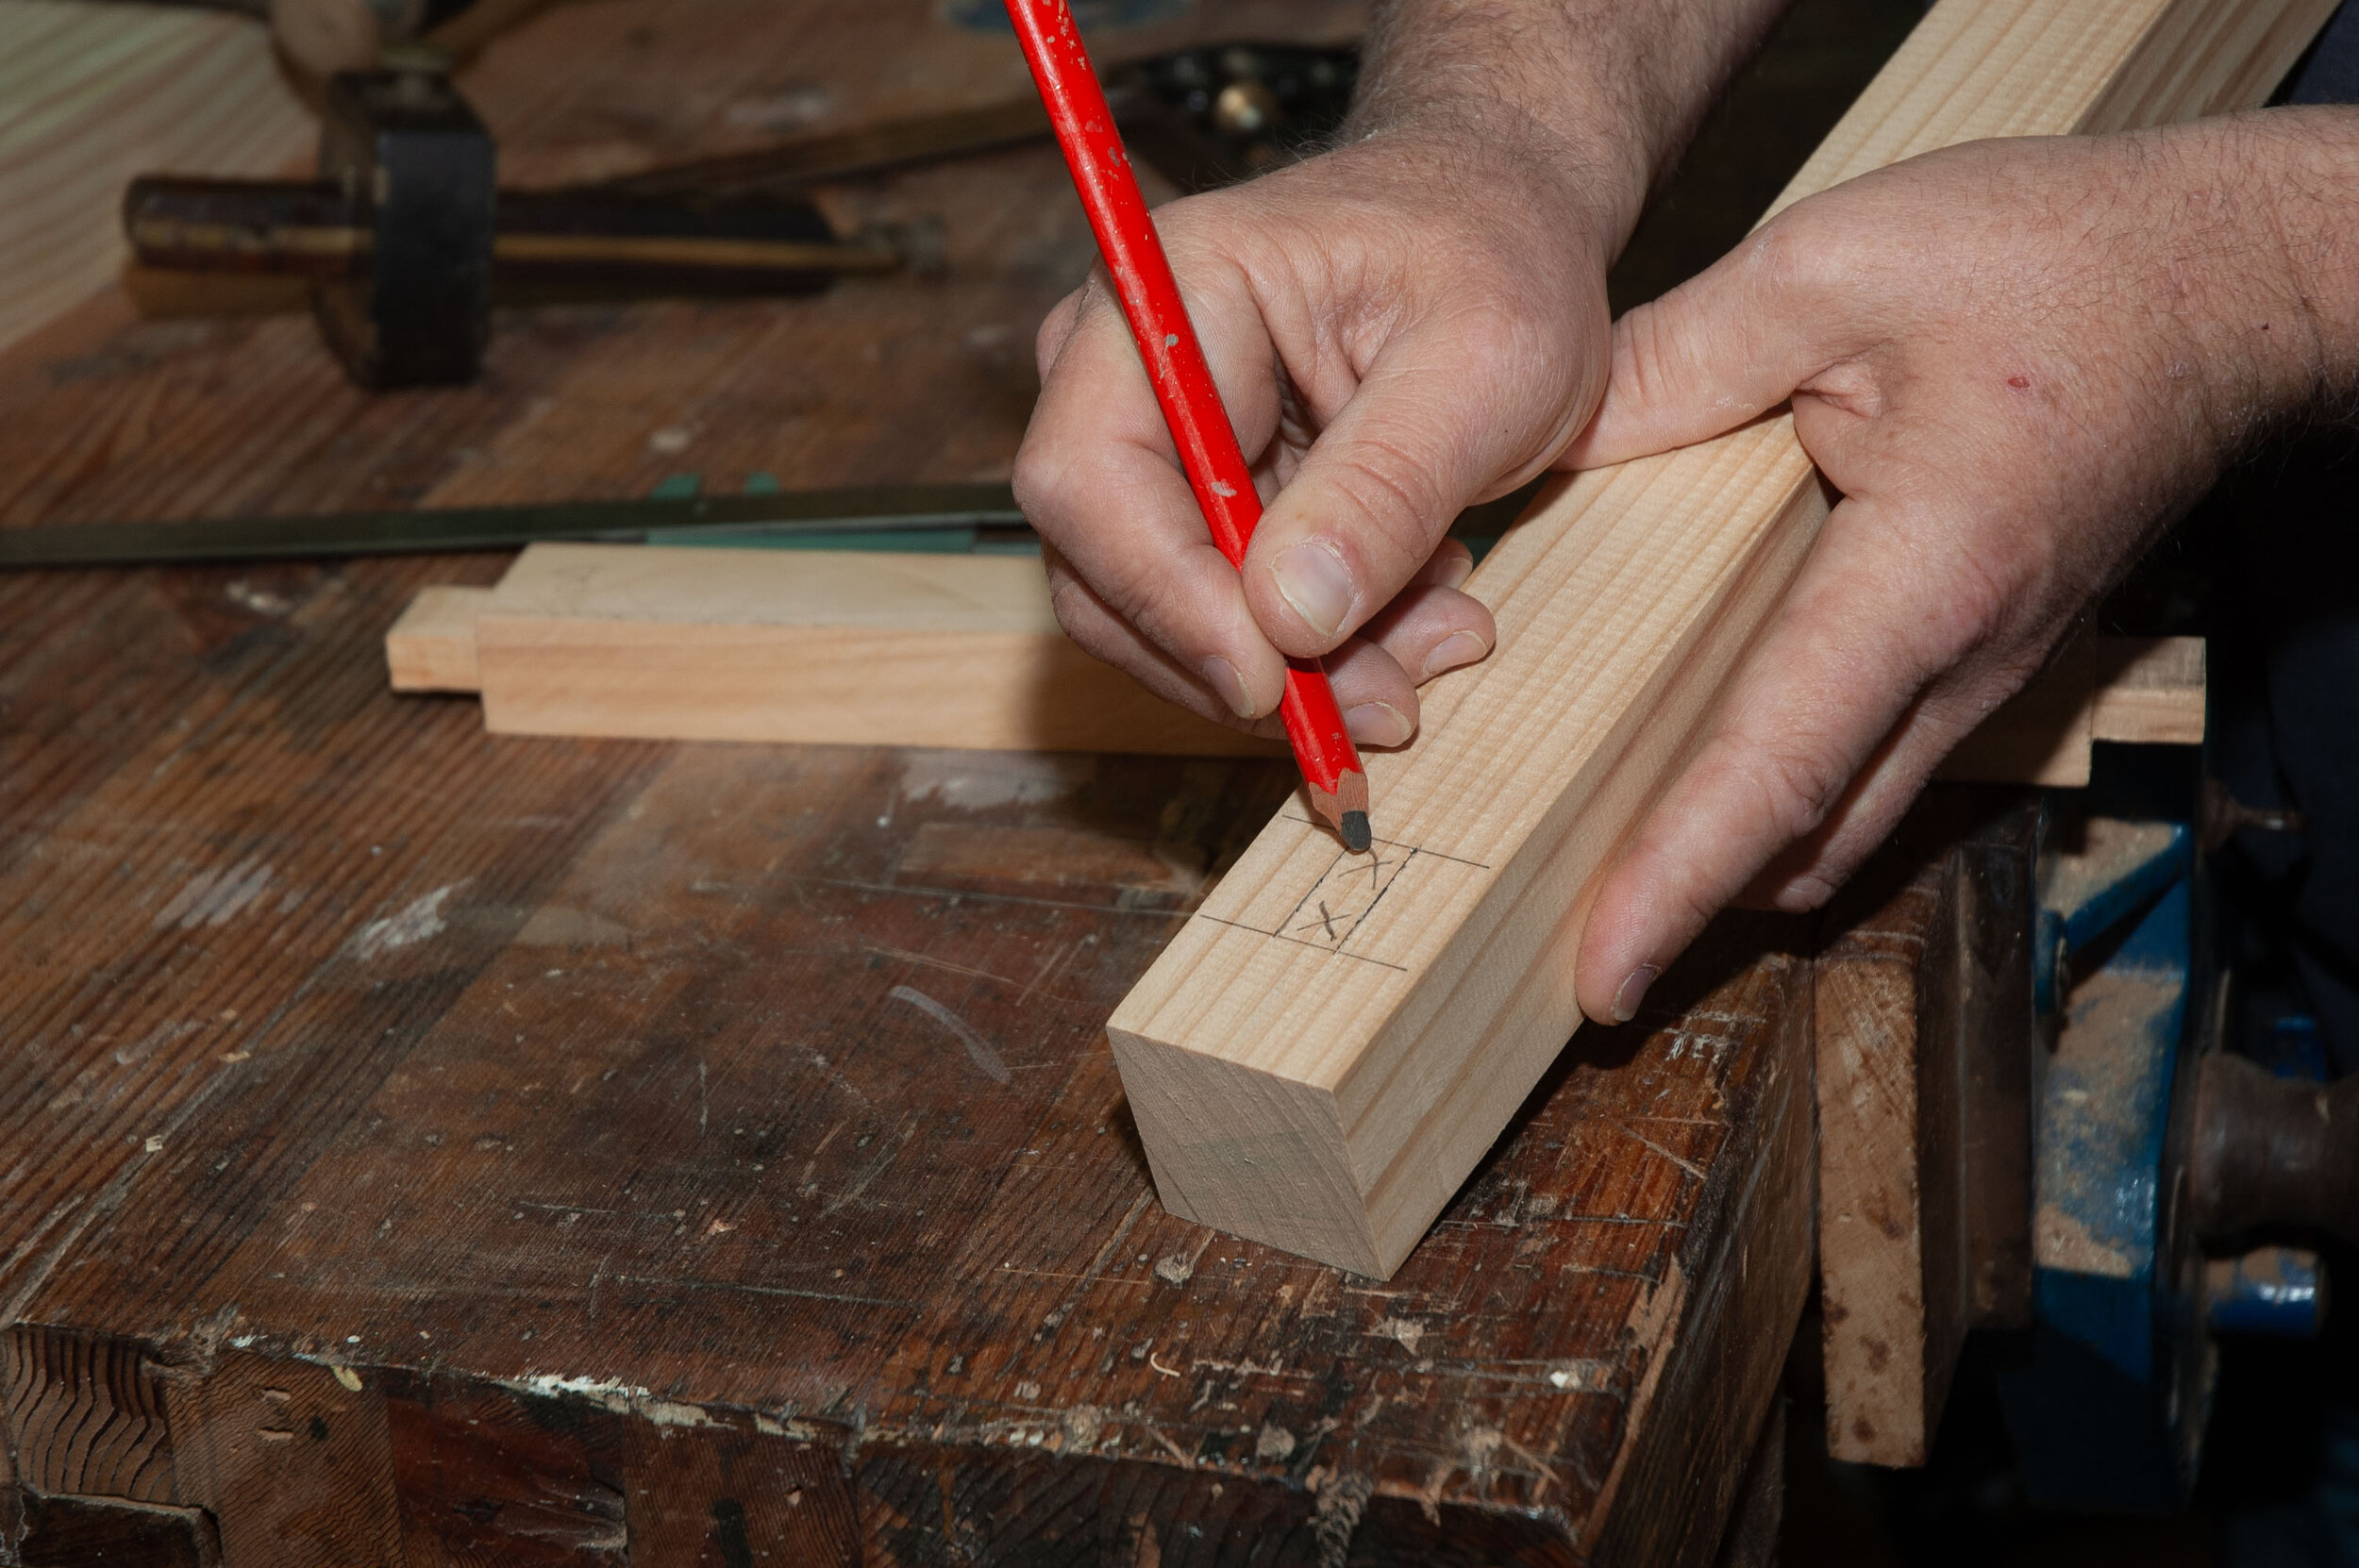
Begin by cutting the four corner posts to size. Determine which faces will be the outside faces and mark the outside corner, top, and bottom. Lay the posts out with one inner face facing up, and mark the position of the mortises across all faces at once. The mortises are set 27mm in and I made the mortise length 25mm.
Turn the pieces to reveal the other inner face and repeat the process. It is useful to make the mortises in some sort of sequential order, according to which post they are on and which post they face. This will make the next stages easier. I tend to keep the system simple and number them according to the face side they will form.
Mark out the mortises with a marking gauge. Use the outside face as a reference to ensure that the reveal remains even. The mortises can now be bored out on the drill press with a 10mm dowel point bit.

Cutting Tenons
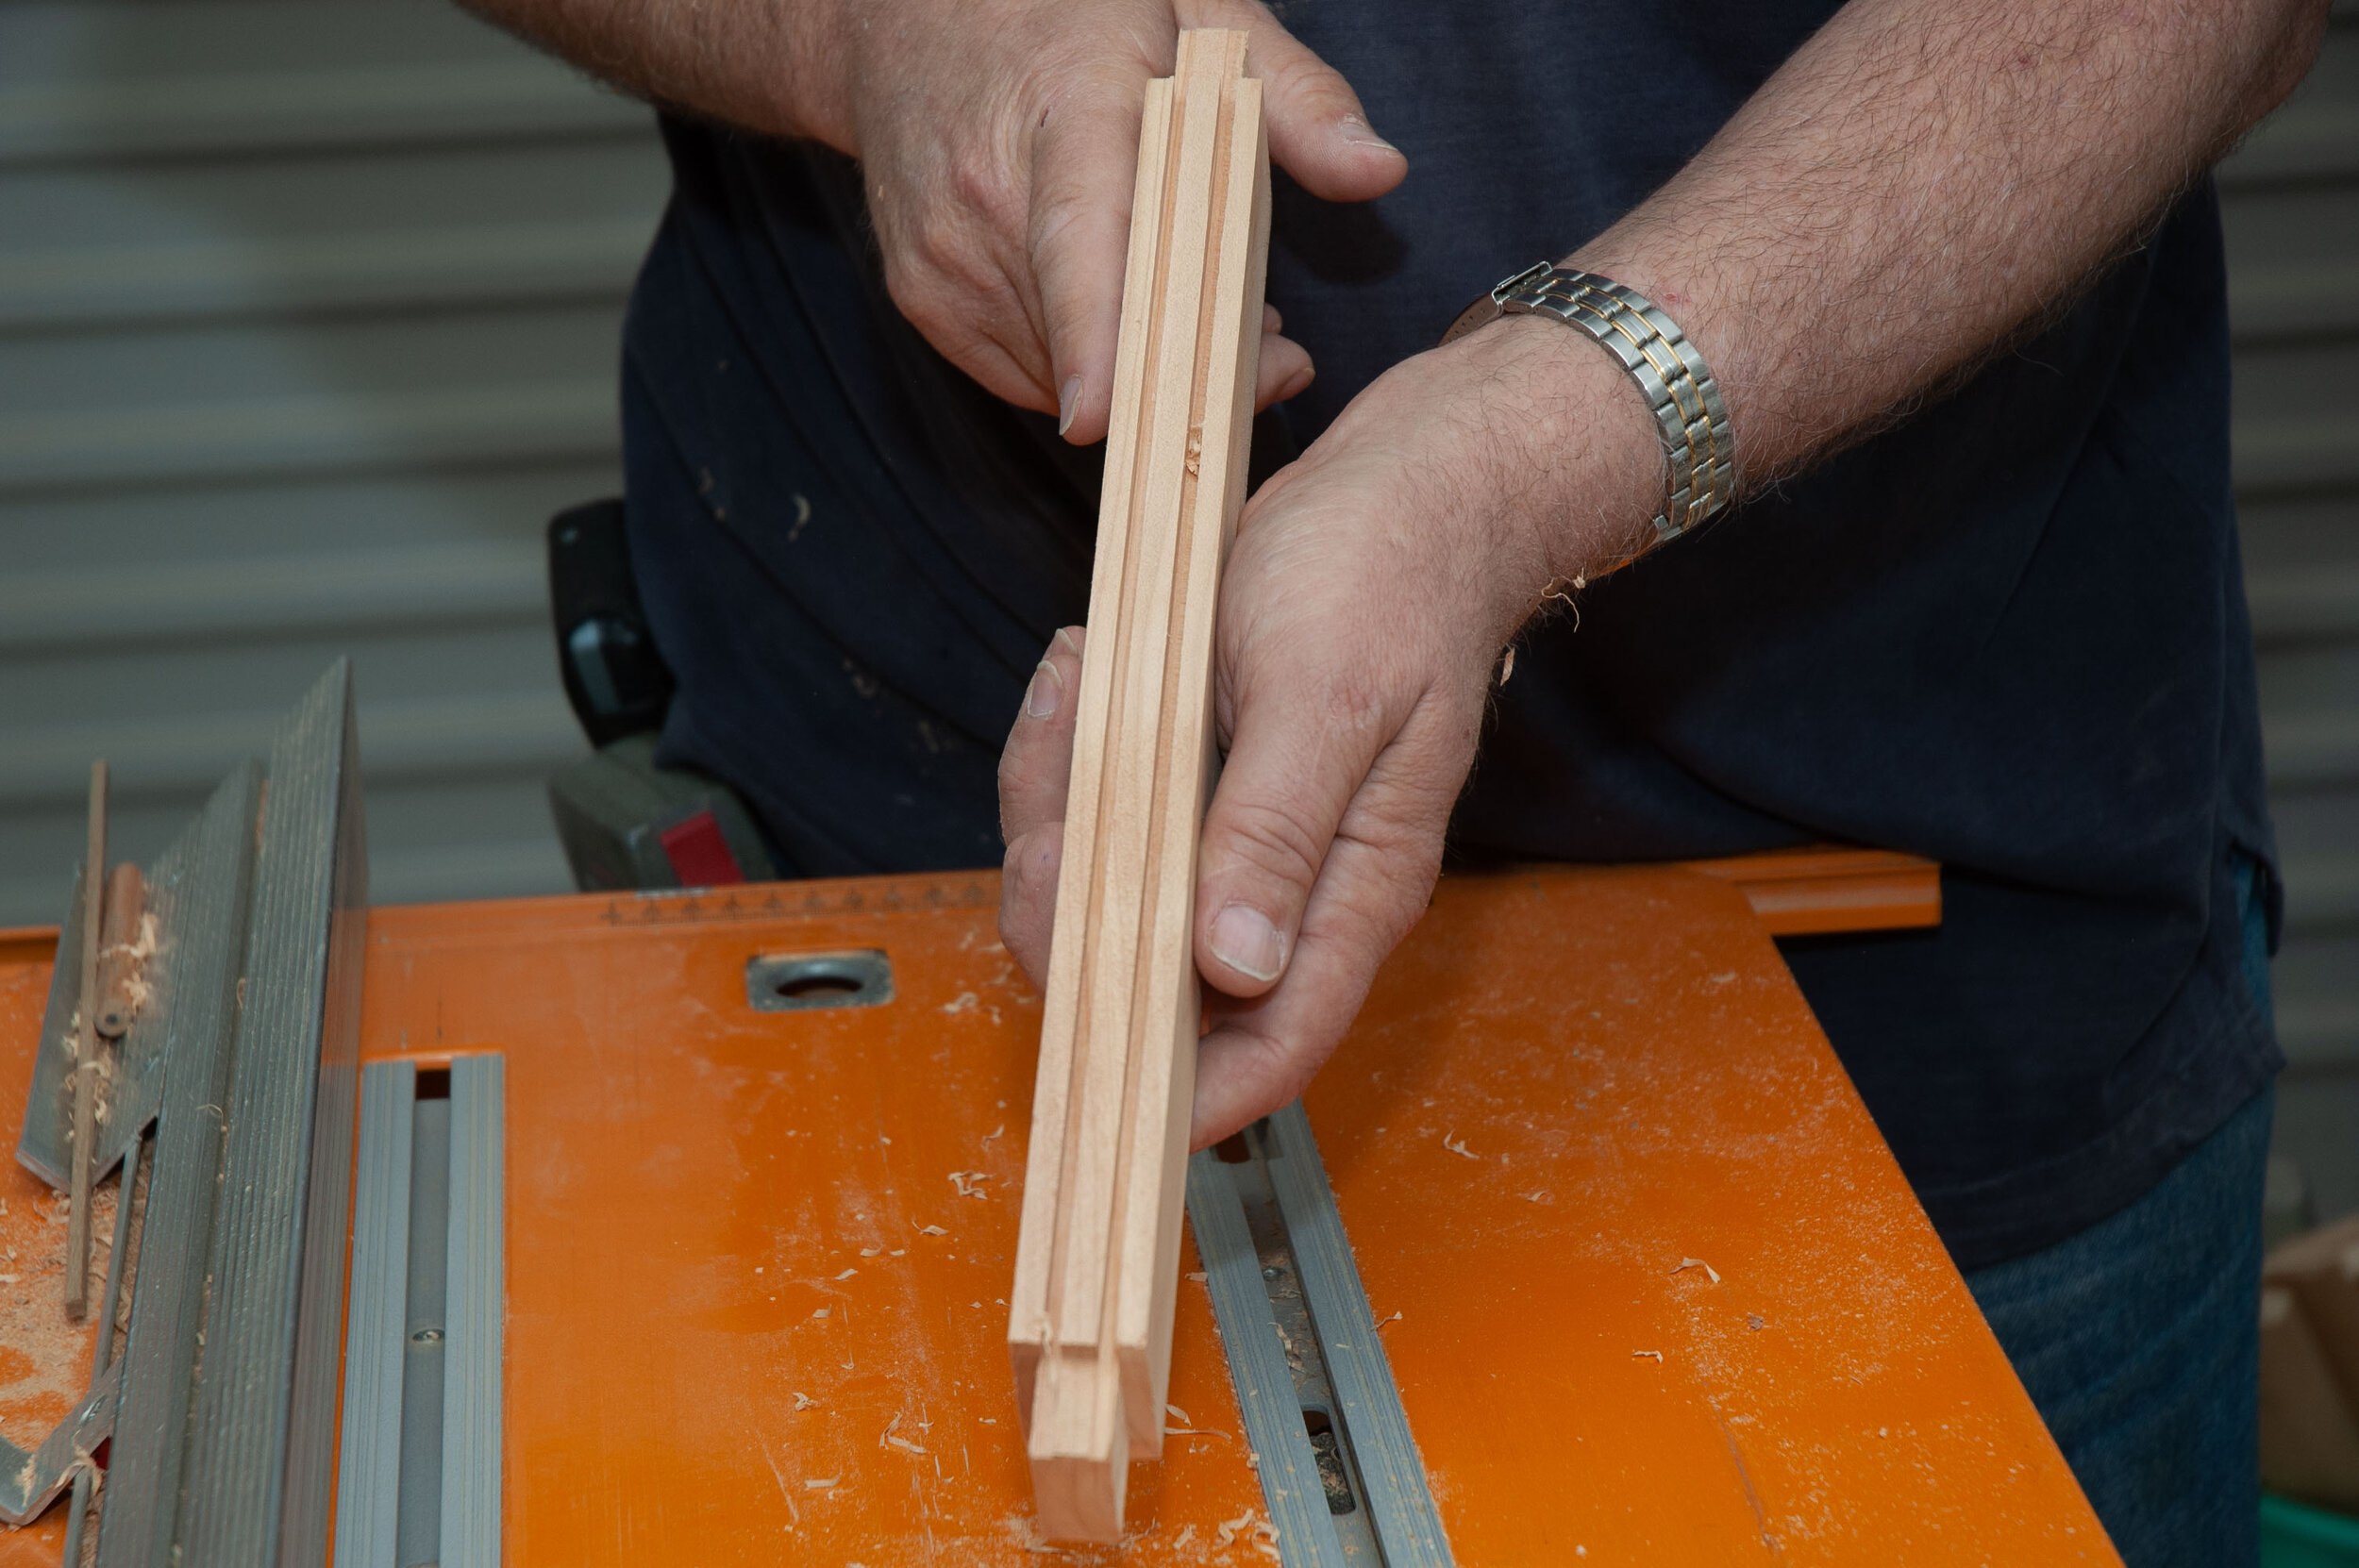
Cut the rails to size allowing for the tenons. I have cut these to 350mm allowing for a 20mm tenon at each end, leaving an overall width of 310mm.
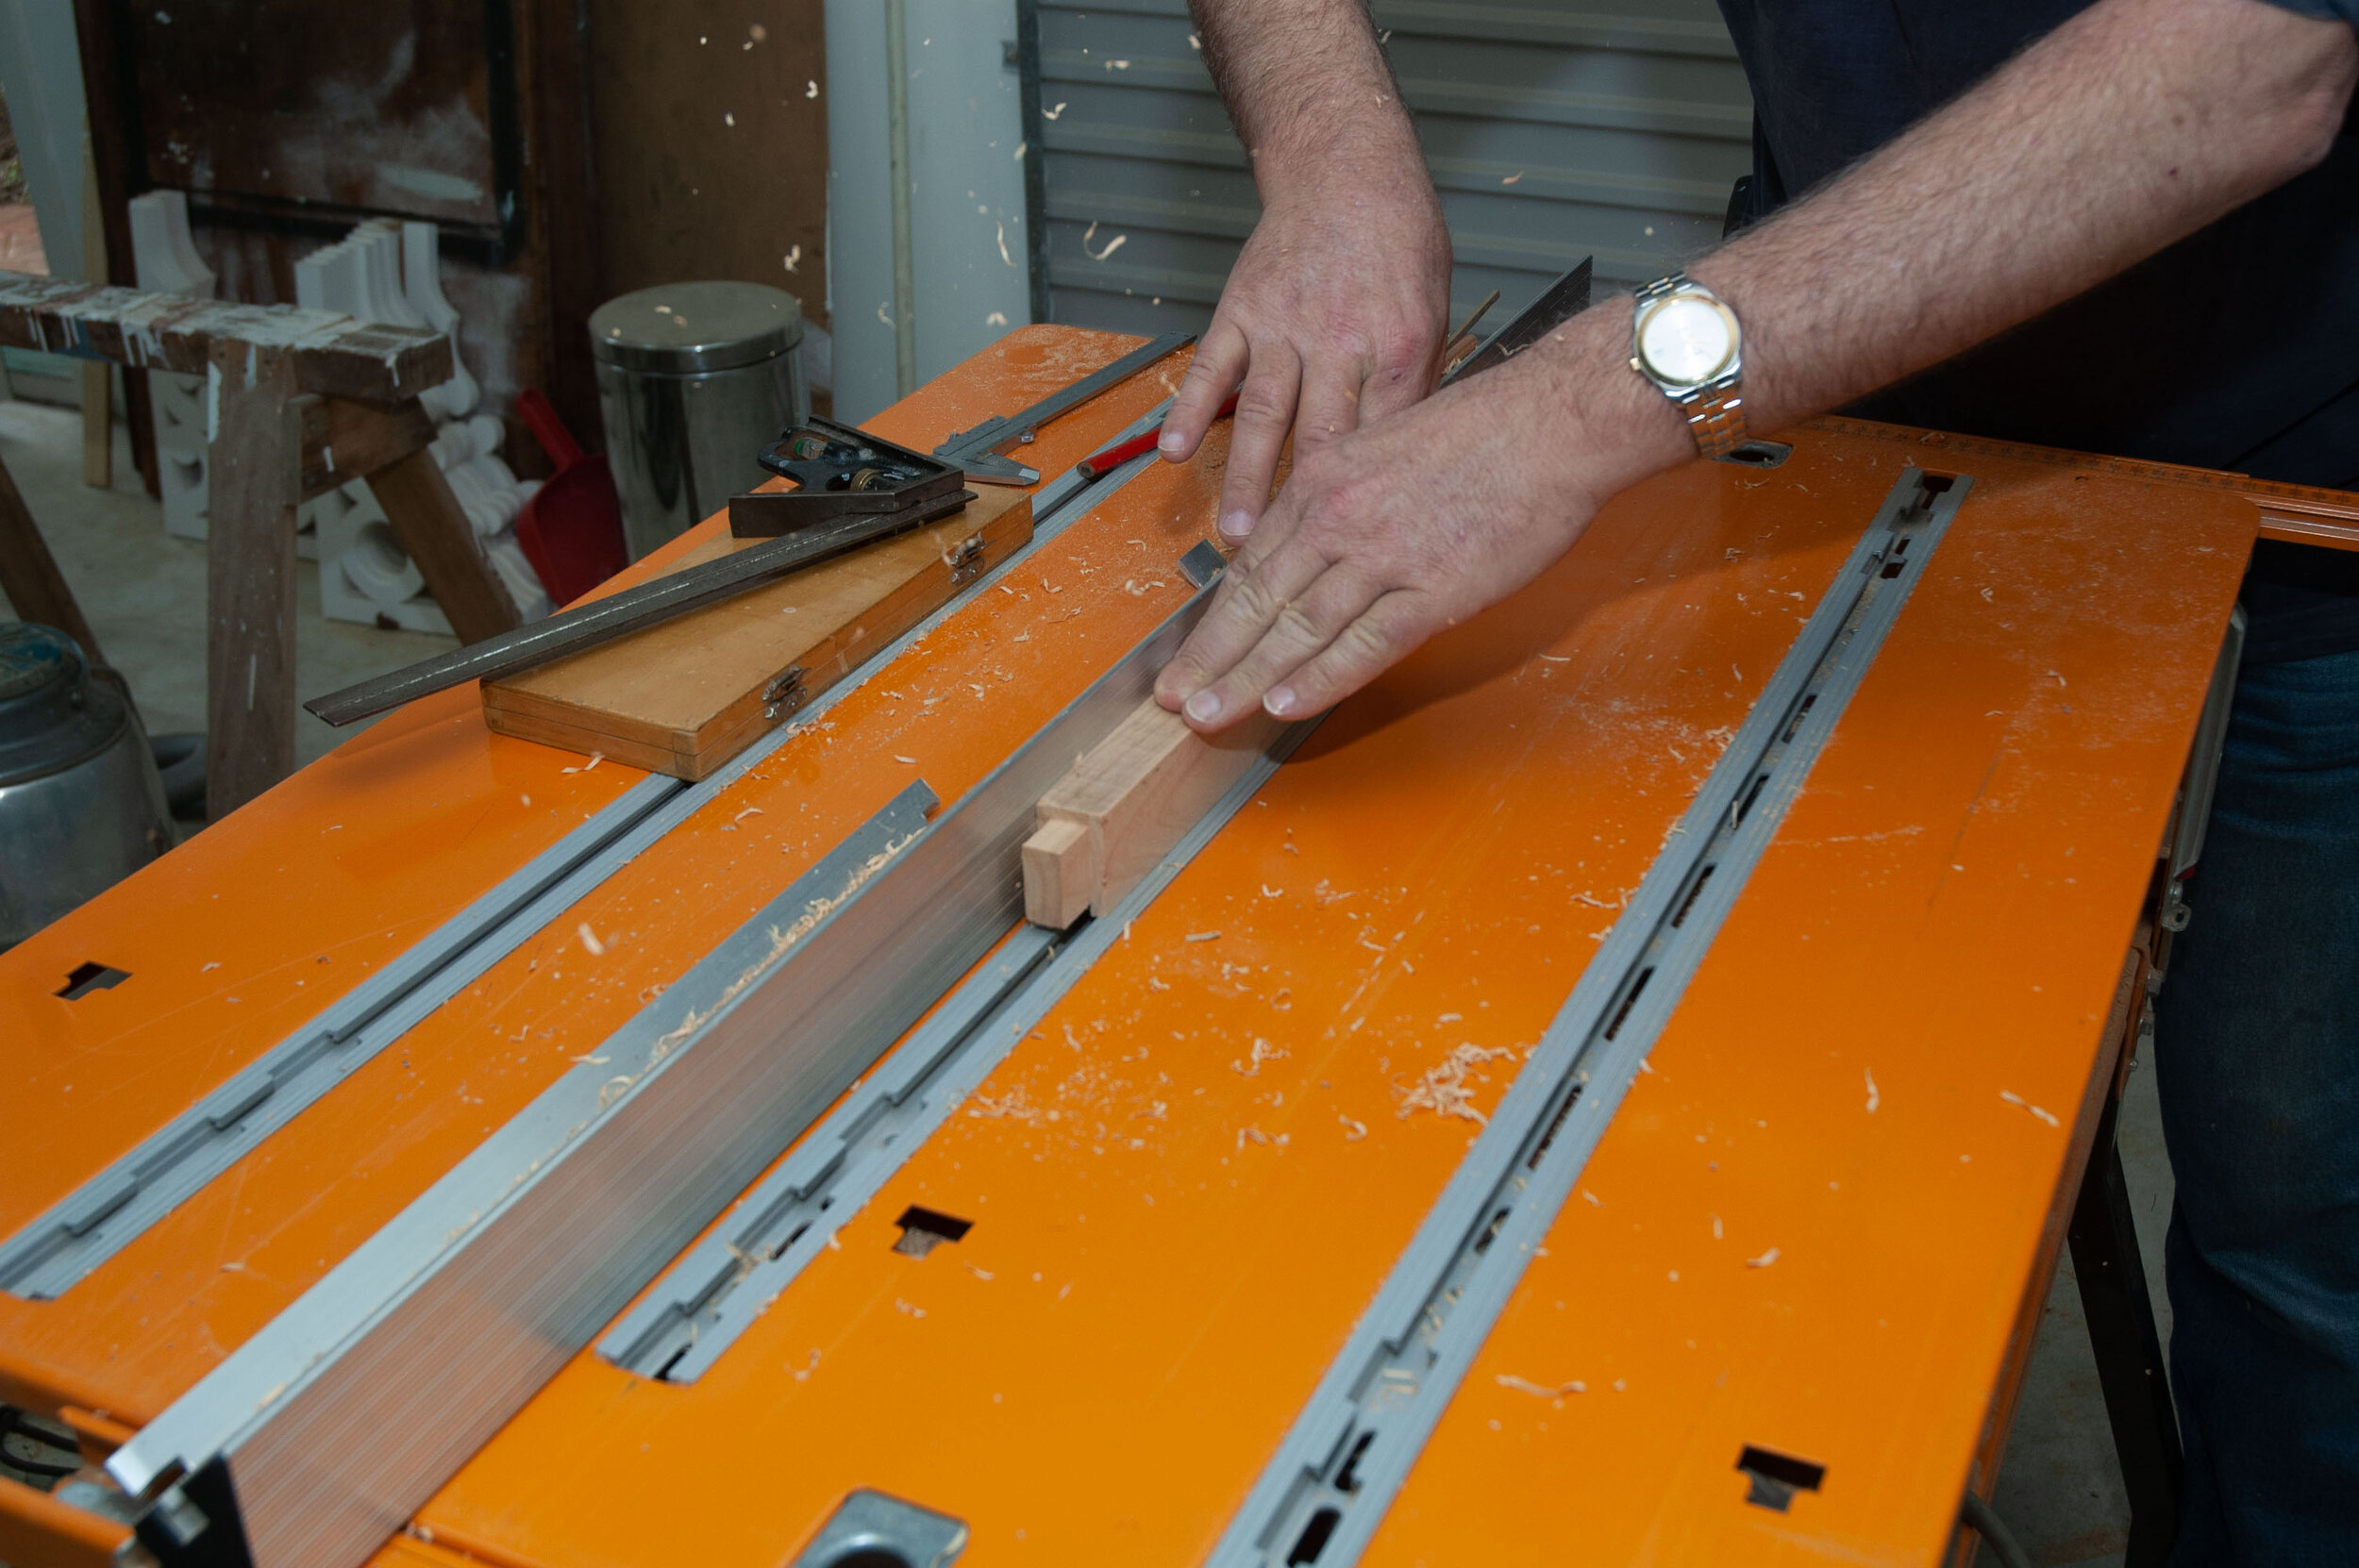
To cut the tenons on the table saw, set the blade to 7mm and the fence to 20mm allowing for the width of the saw kerf. My saw has a 3mm kerf so the fence is set to 17mm.
Check that the mitre gauge is set square to the fence, too, and that it runs smoothly and easily. It pays to run a scrap through to check those settings. I usually spray some lubricant on the table surface and the fence to ensure that the pieces will run smoothly.
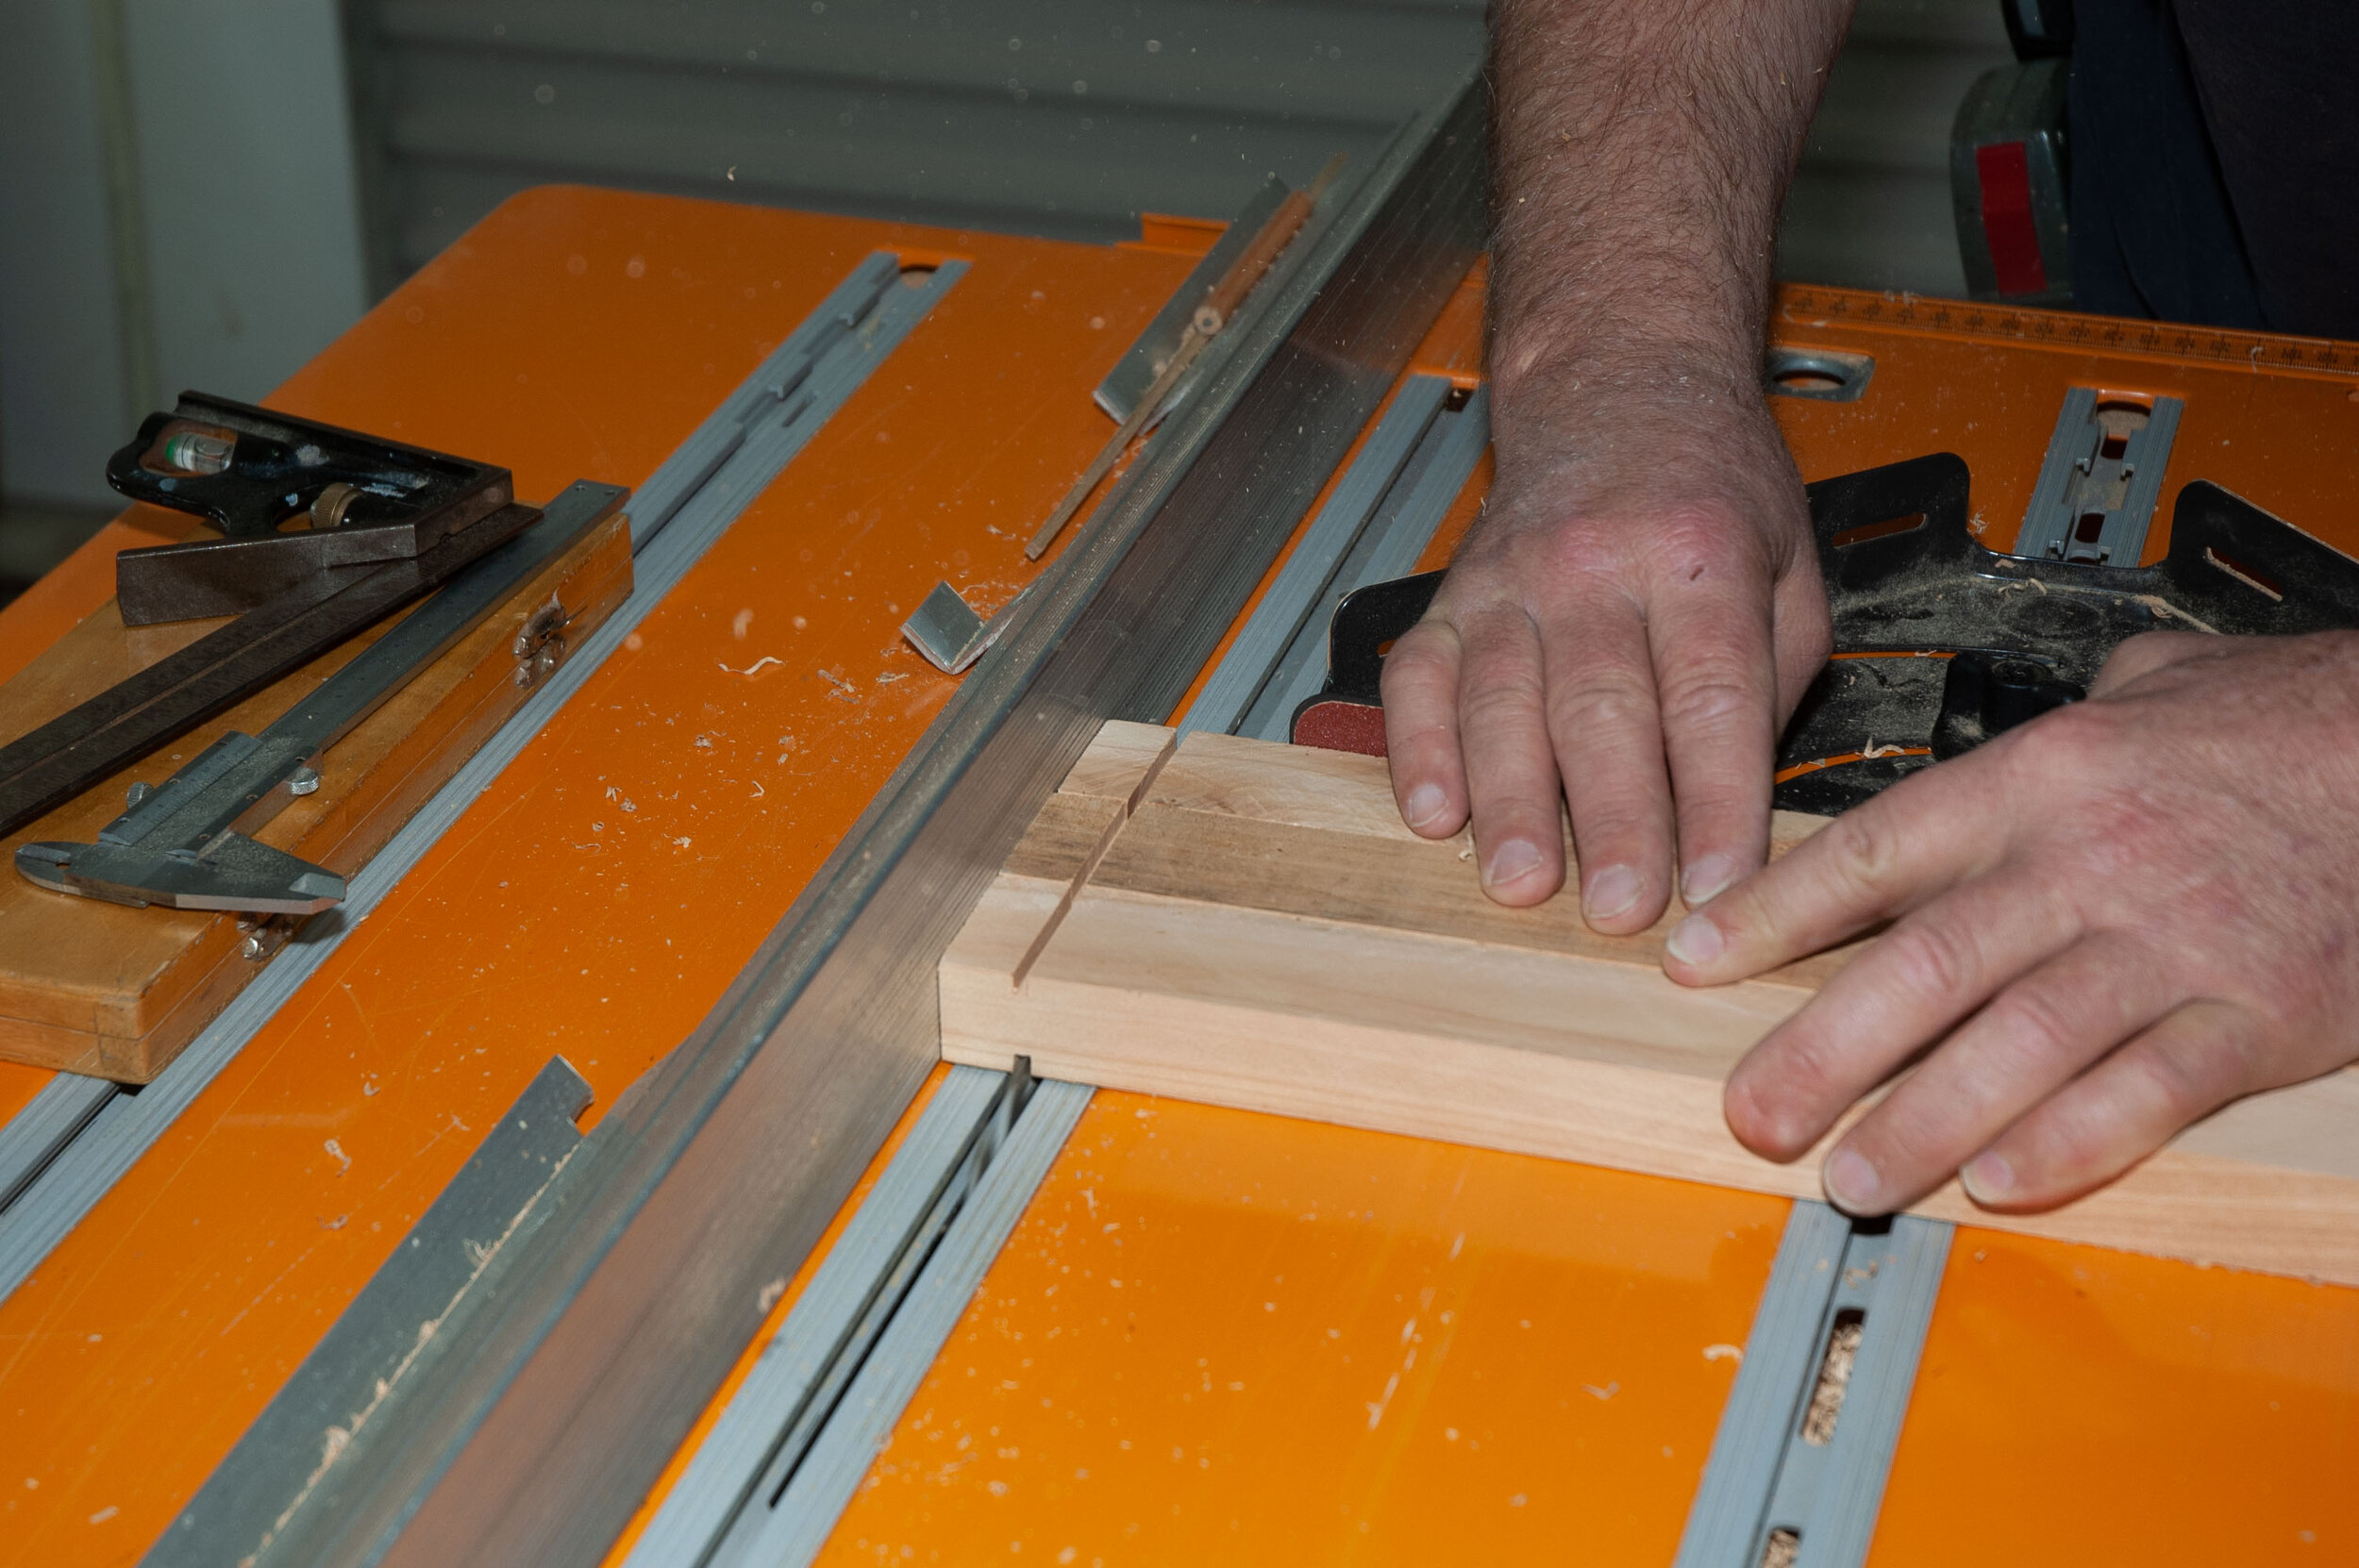
Now run all the rails through the saw on each side to cut the shoulders. They can be run through four at a time so long as you take care to keep them square to the fence and snug to the mitre gauge. At this point, you have a number of options. The tenons can be finished either by hand saw, bandsaw or with a router. but as this isn’t fine cabinet work, I tend to just finish them on the table saw. It’s a bit tedious and the neighbours don’t love it, but it does save a lot of fiddly work.
Simply run the piece repeatedly through the blade starting at the far end, and incrementally moving the piece toward to the fence by a kerf width on each pass.
Doing three or four together saves time and the neighbours’ sensibilities. Ensure that dust and particles don’t accumulate under the pieces as you run them through the saw. This is a fairly rough-and-ready method. Any minor variations can be cleaned up later with a chisel.

Trenching on the Table saw
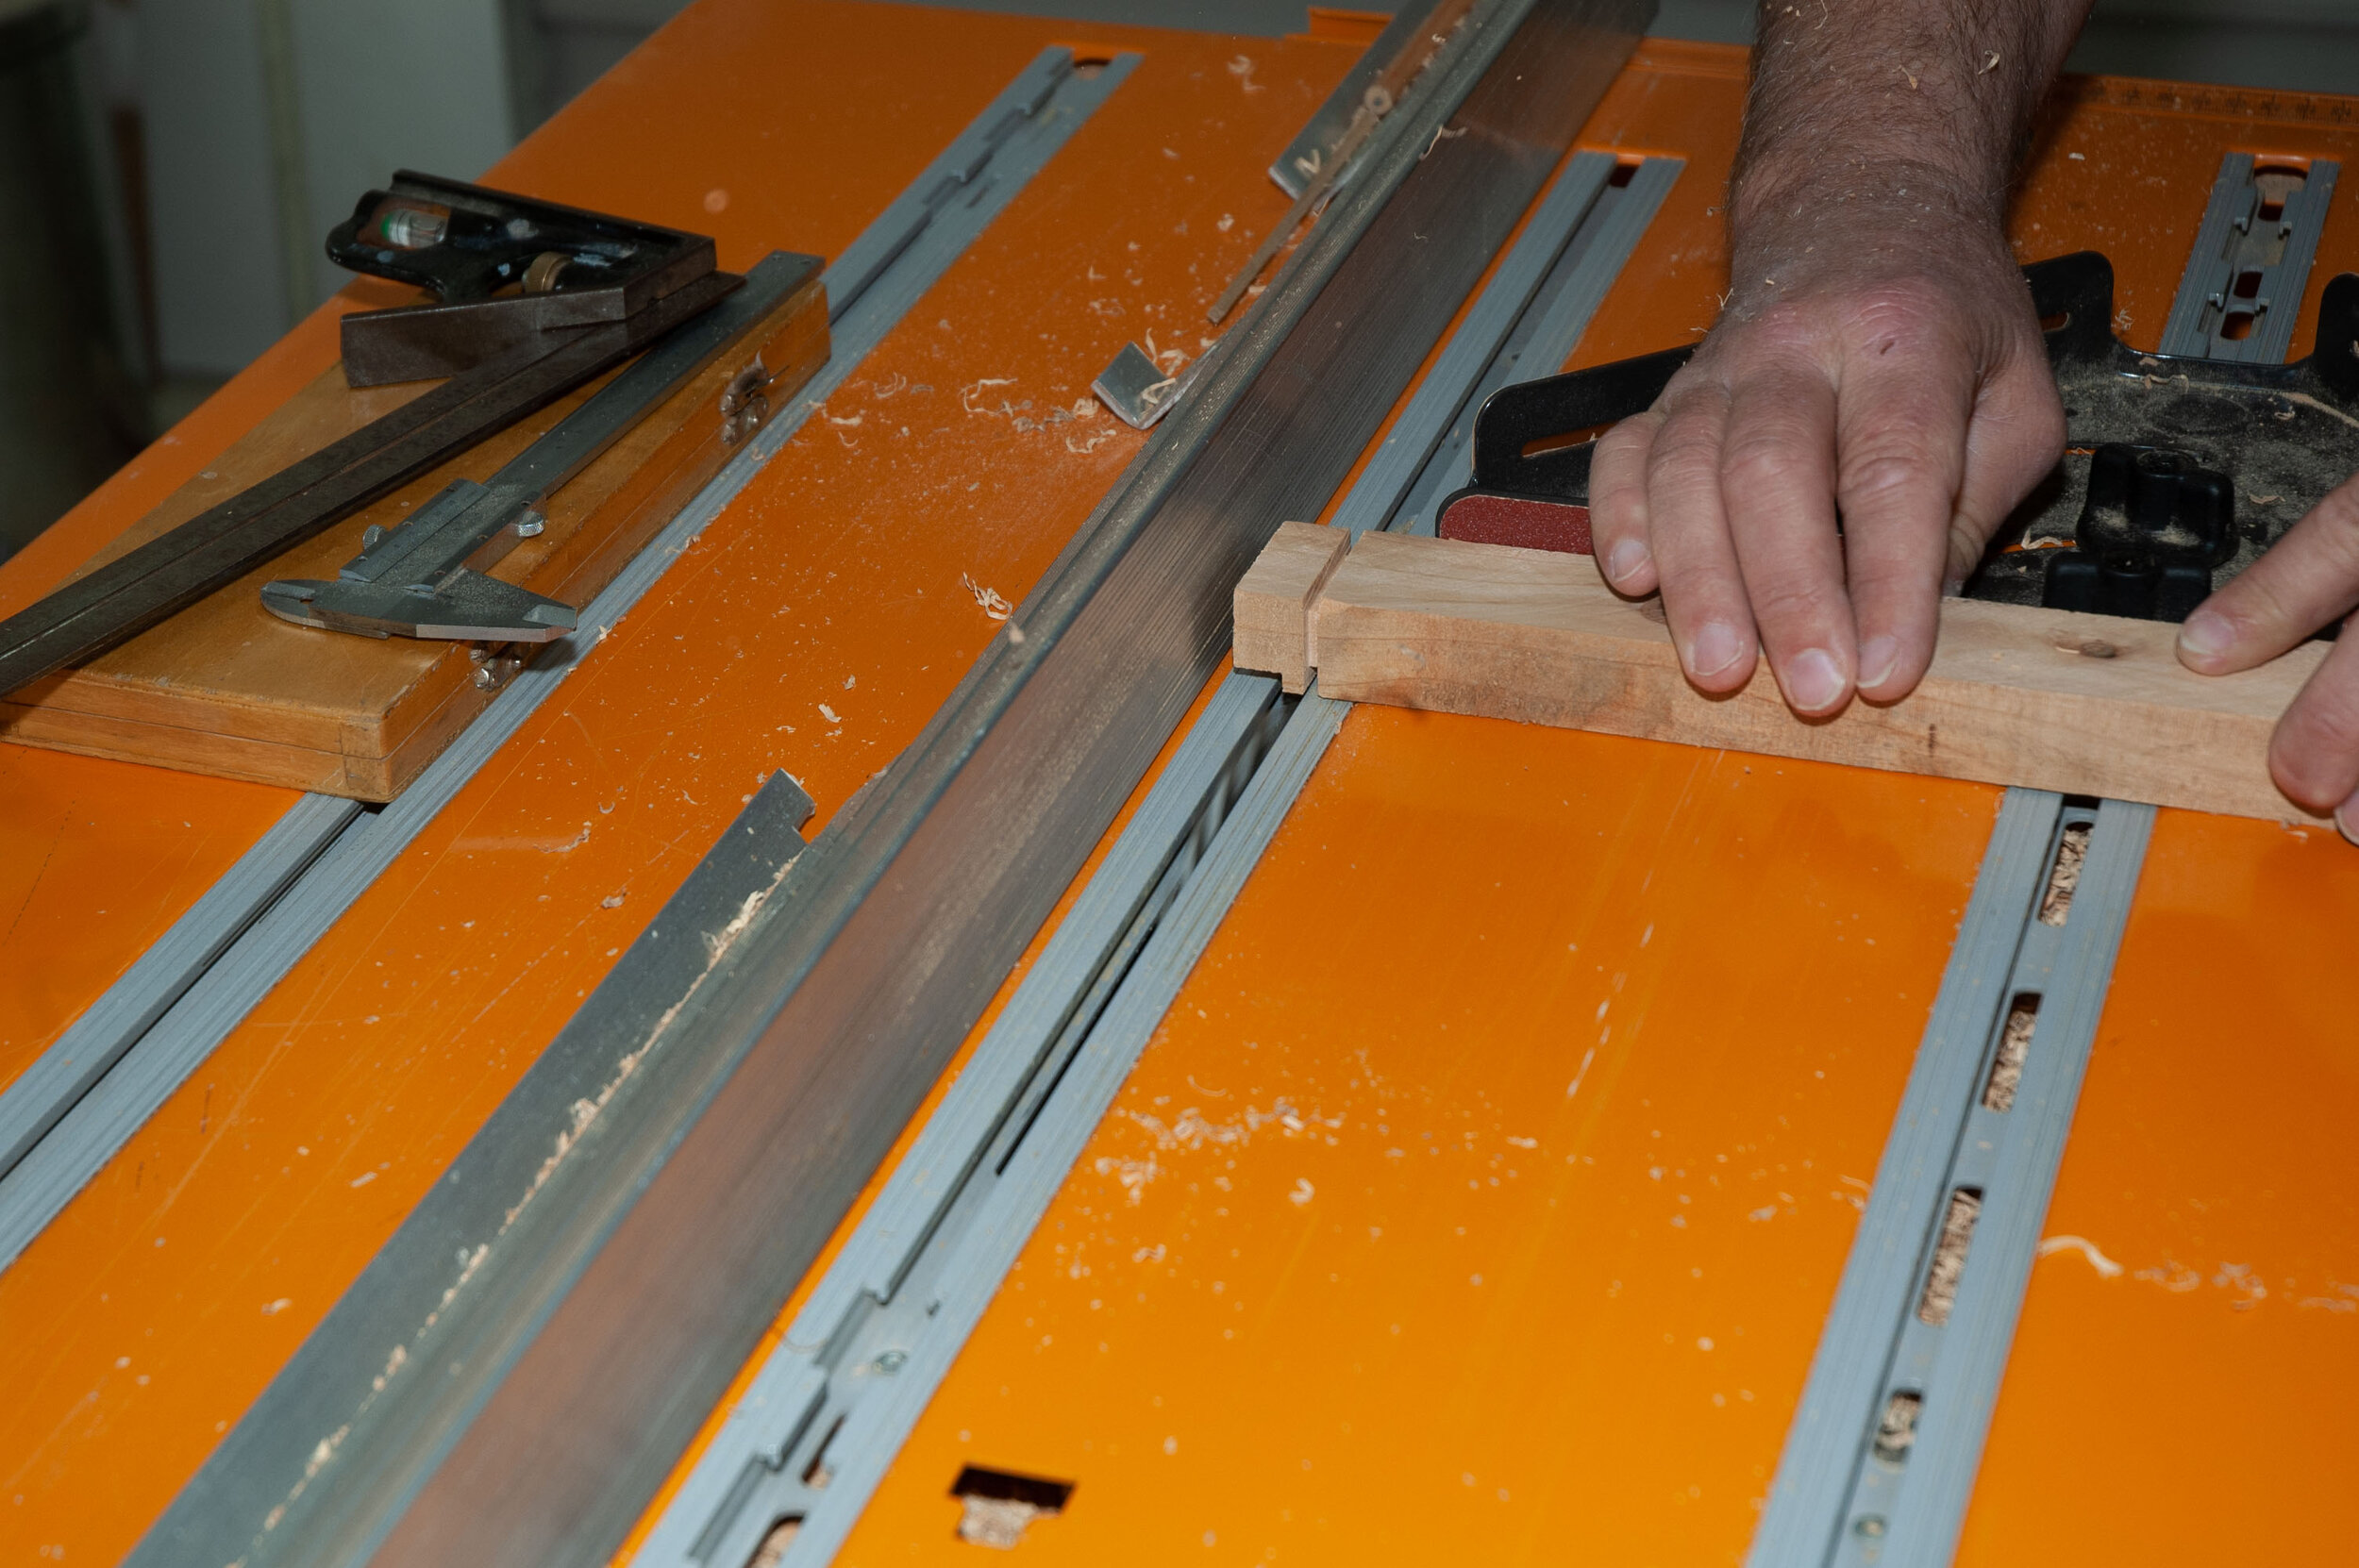
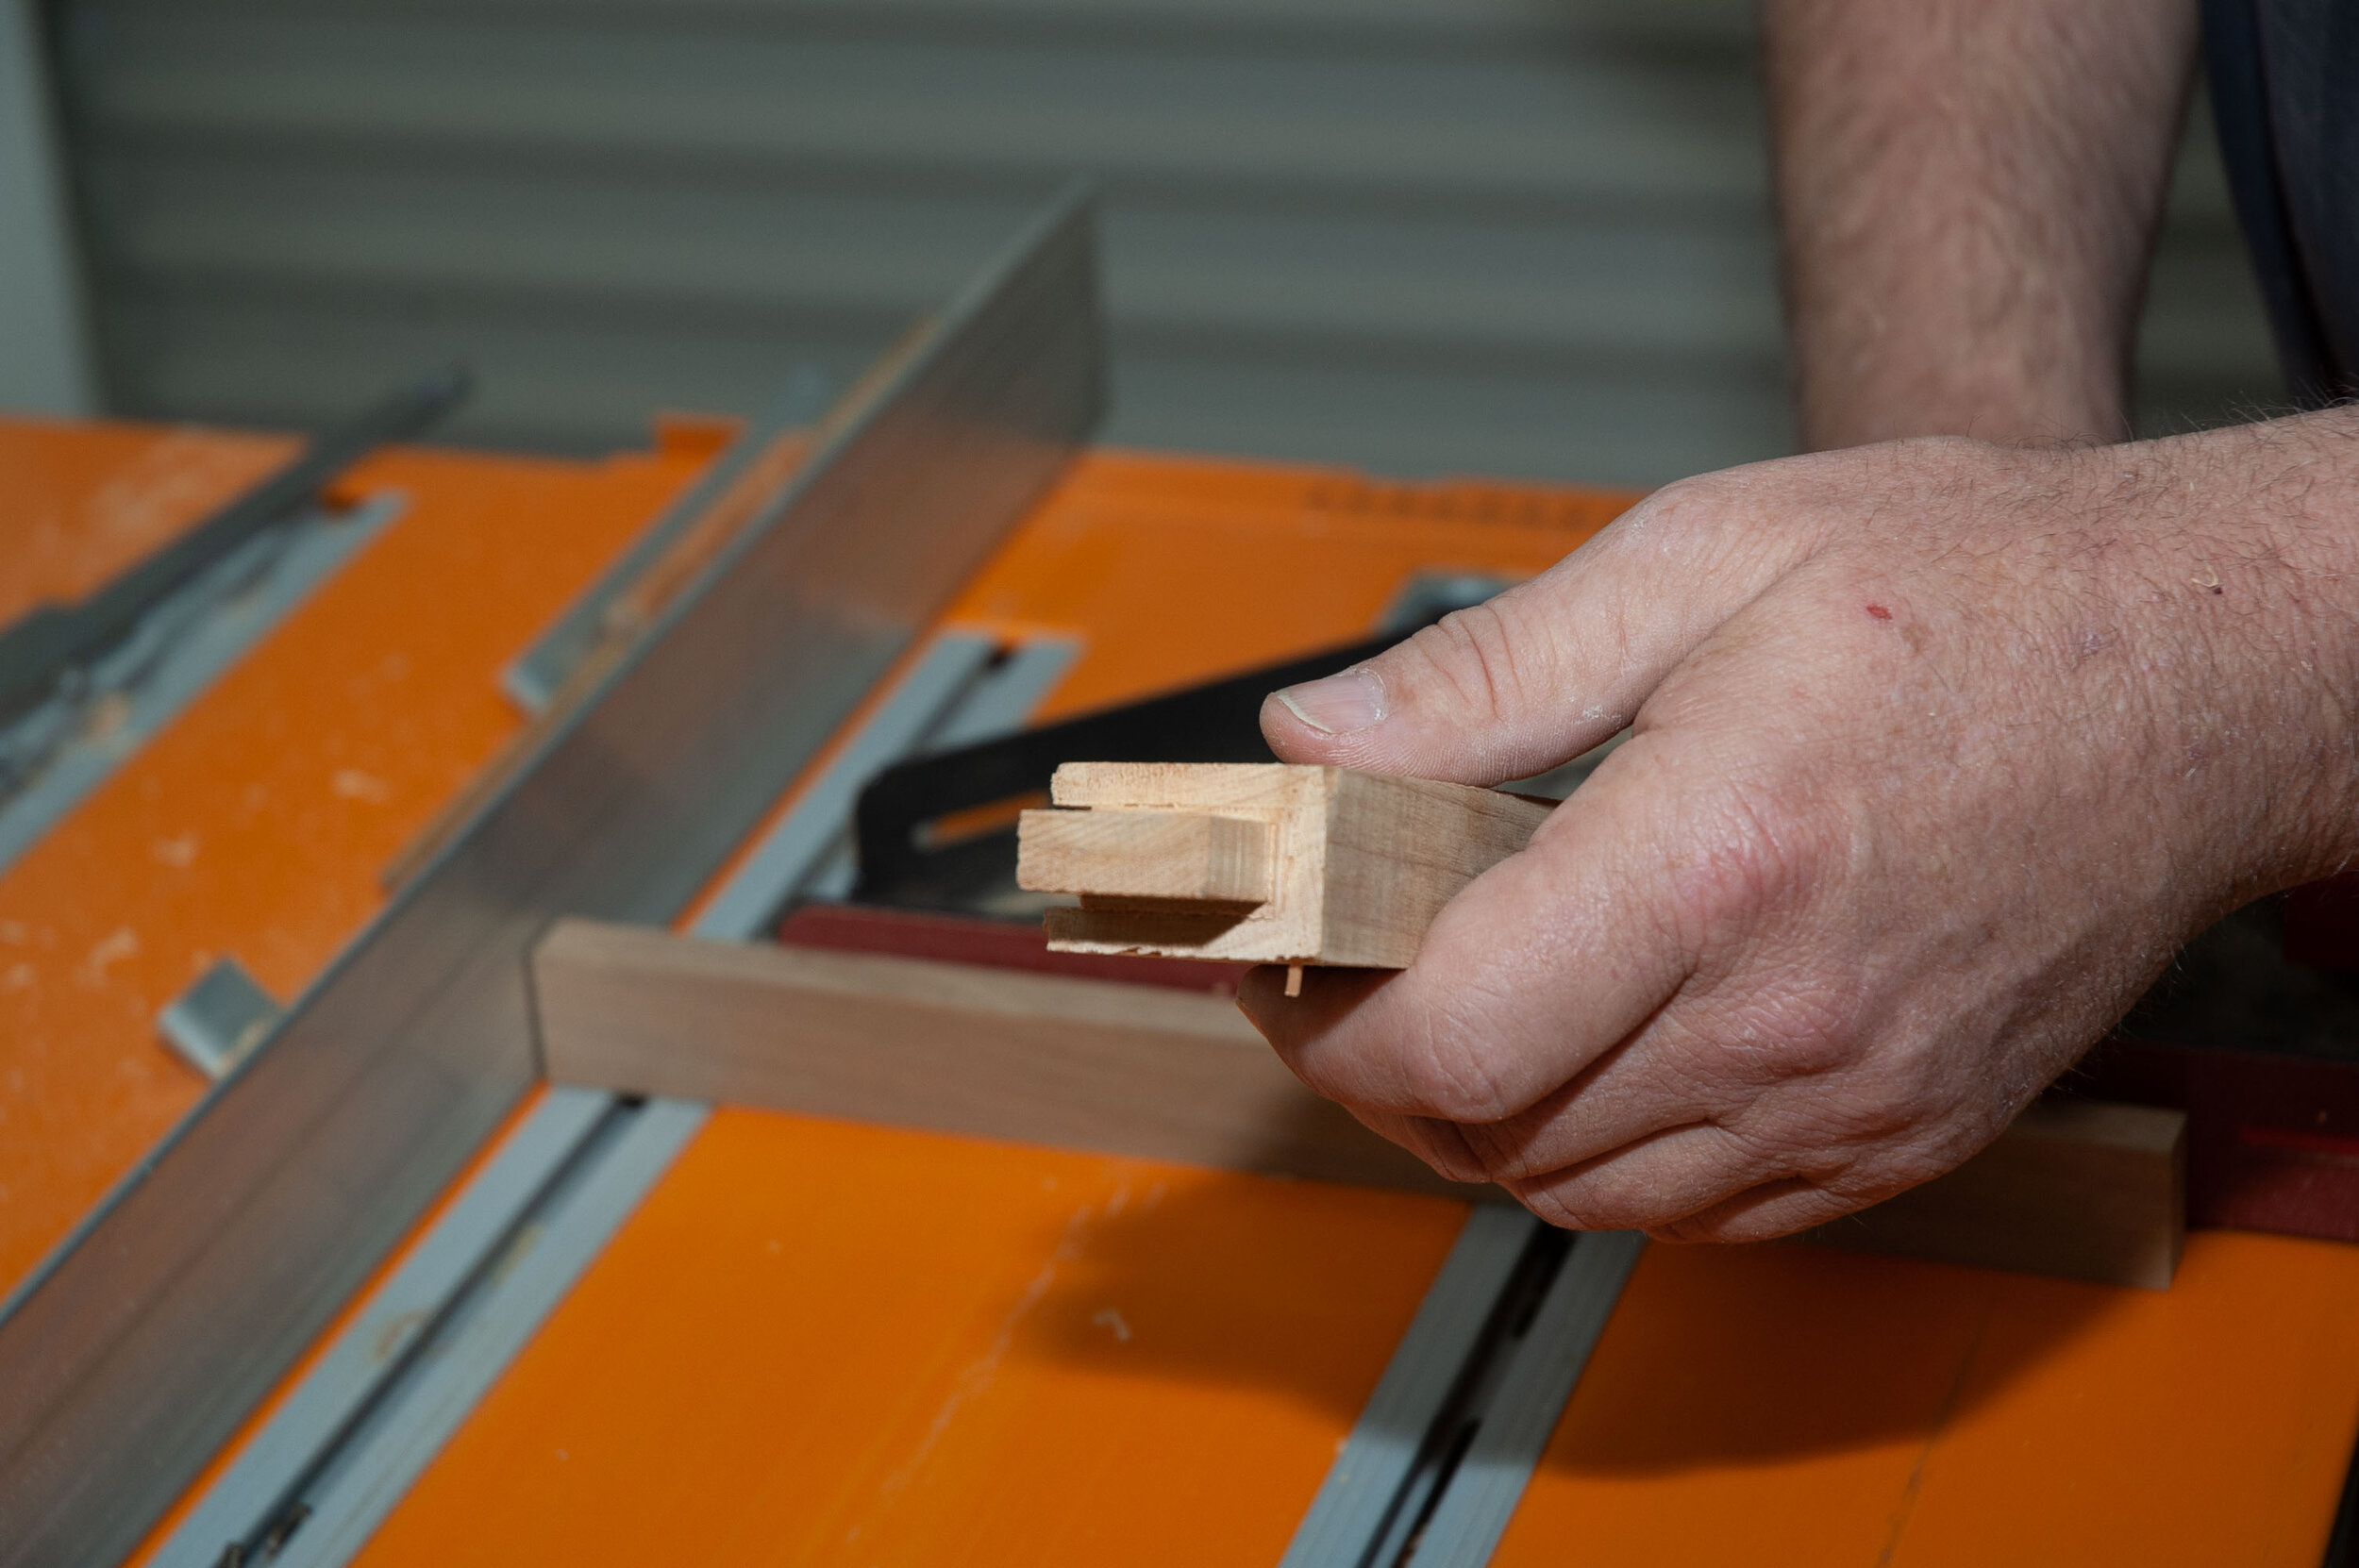
Each rail now has to be routed for a channel to house the tongue-and-groove paneling. This can also be cut on the table saw. Leave the blade height at 7mm and set the fence to cut a groove 6mm from the edge. In this case, I set the fence to 16mm, adding in the 3mm blade kerf that left a shoulder of 6mm in 25mm stock.
Run a rail edge through the saw, flip it and run it again, leaving a 6mm shoulder on each edge. The interior can be removed by adding thin spacers between the rail and the fence or by resetting the fence. In this way, you can quickly rout a channel in all 8 pieces. Alternatively, of course, if you have a router table you could rout the piece. But for a channel of this size, I recommend using a saw cut to relieve at least one side, to avoid tearout.
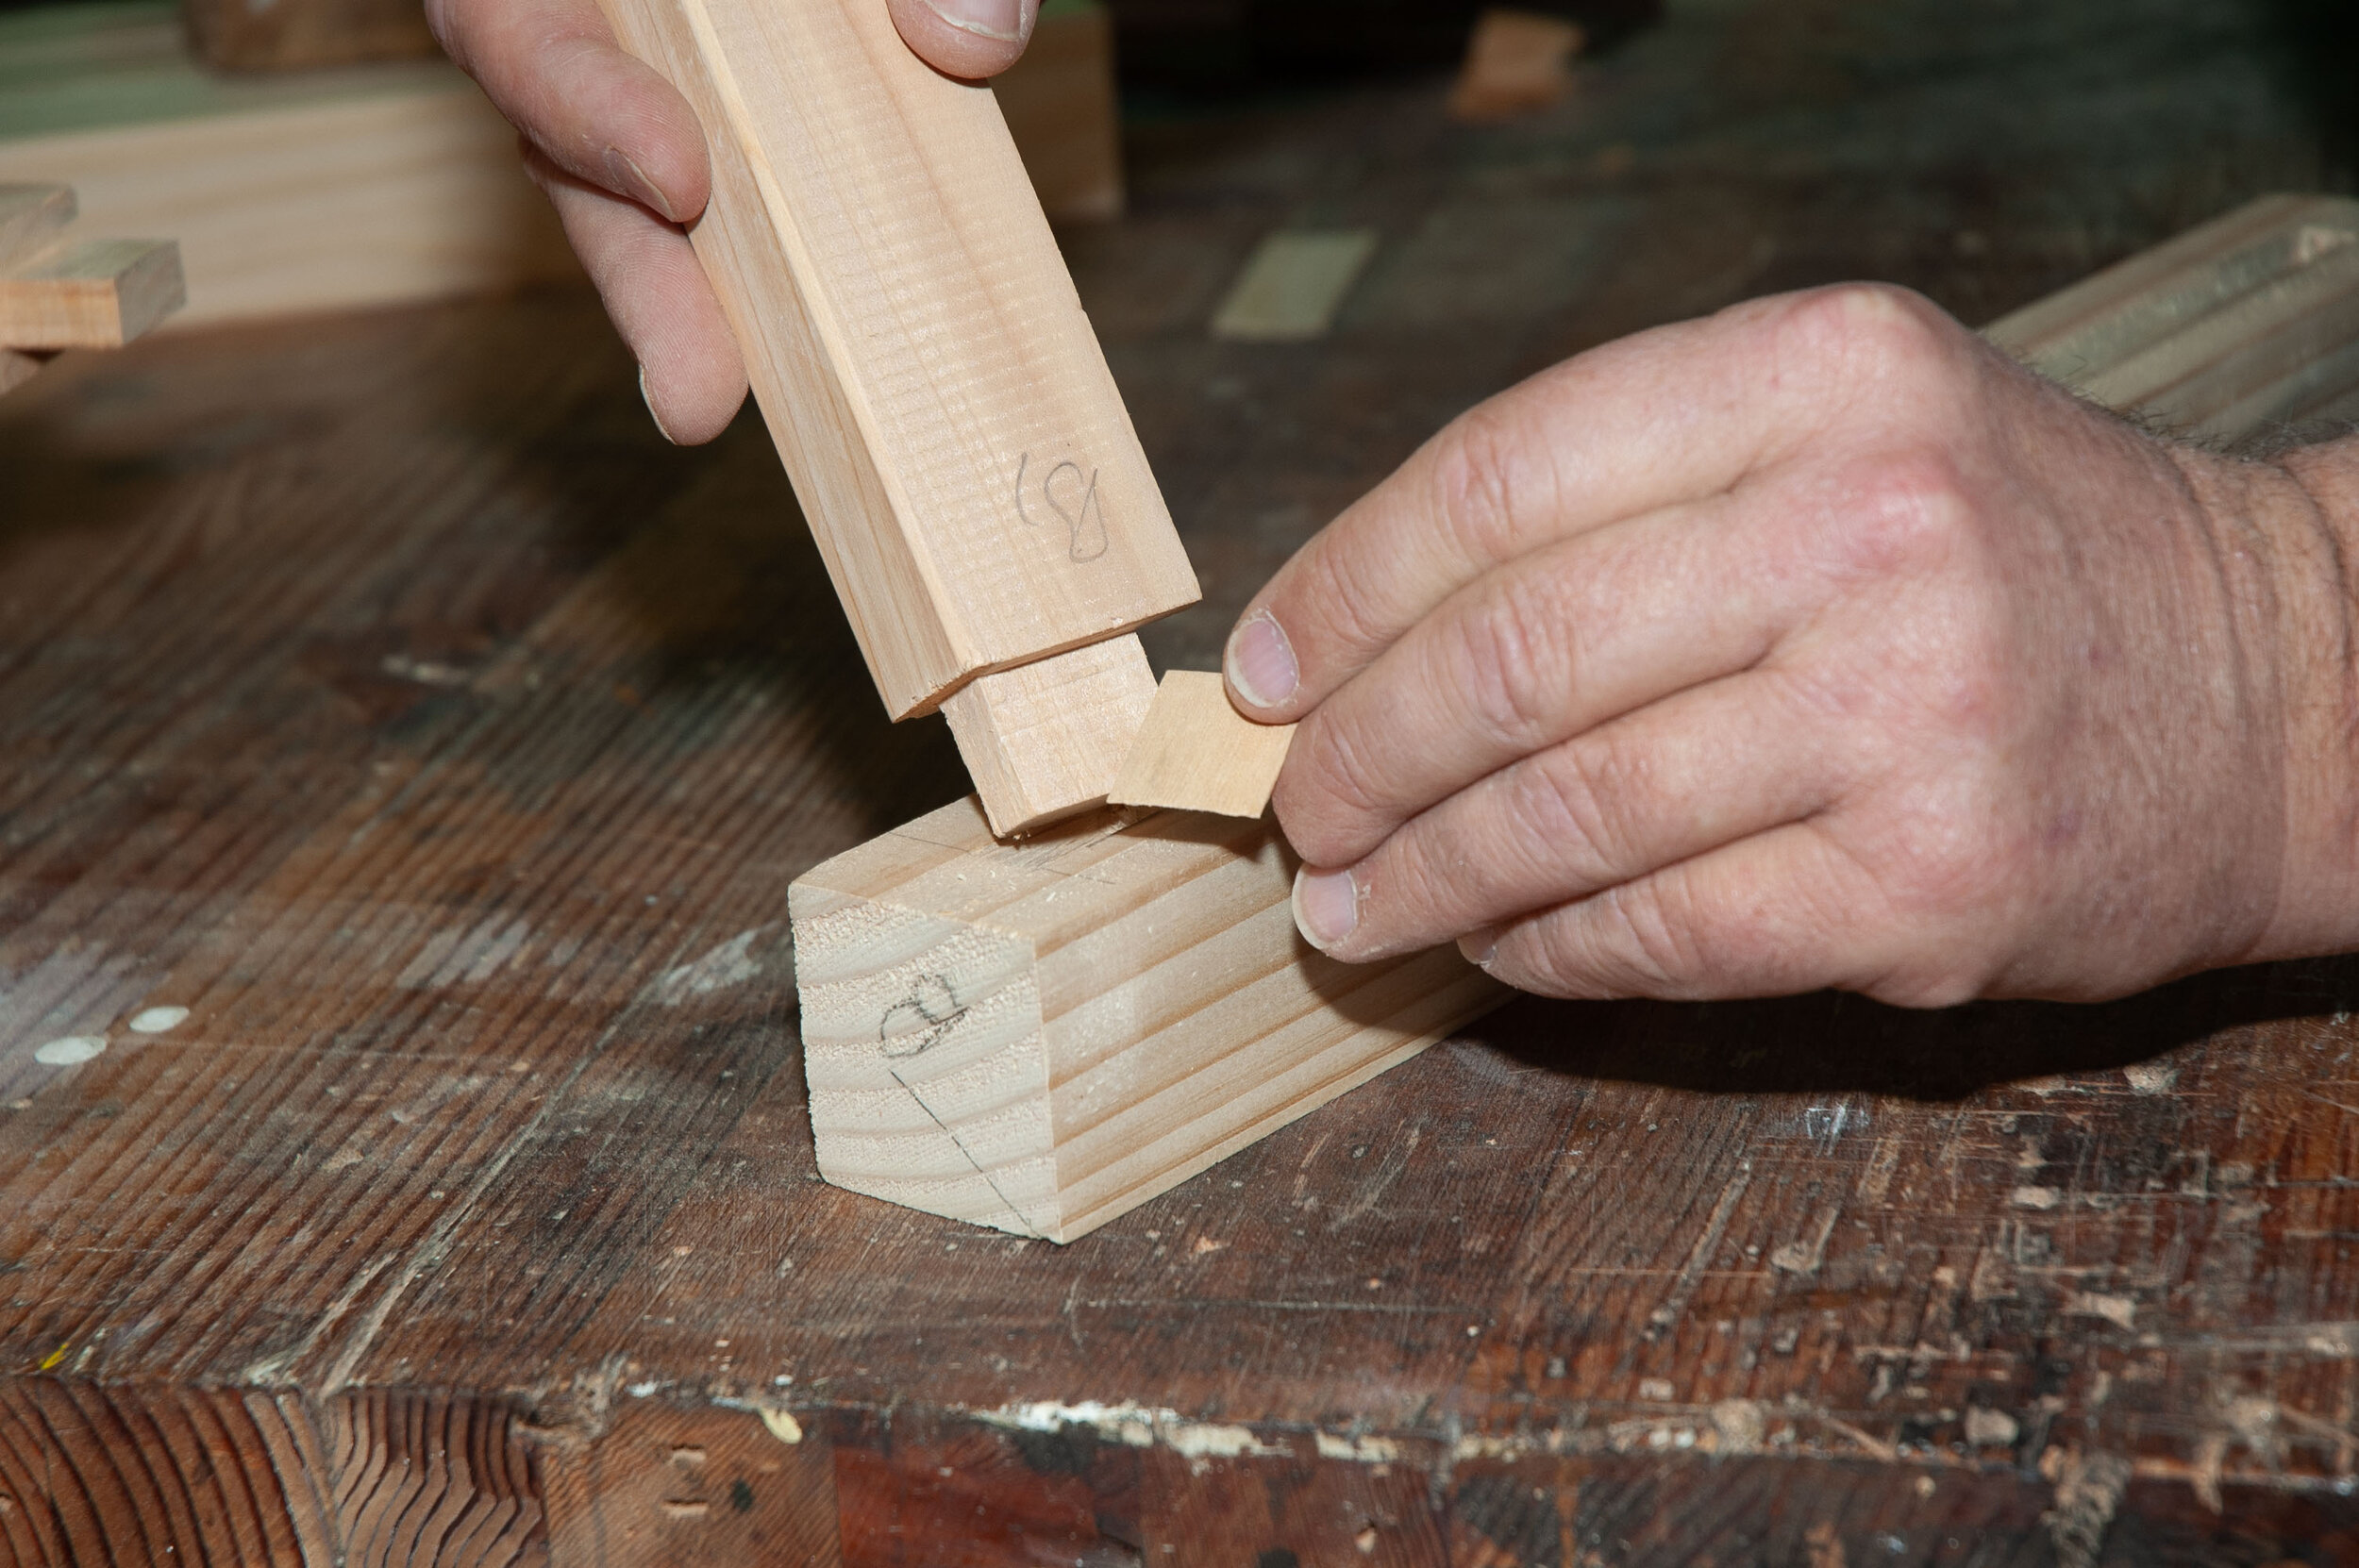
Repairing an oversize mortise (or an undersize tenon) with a scrap of veneer
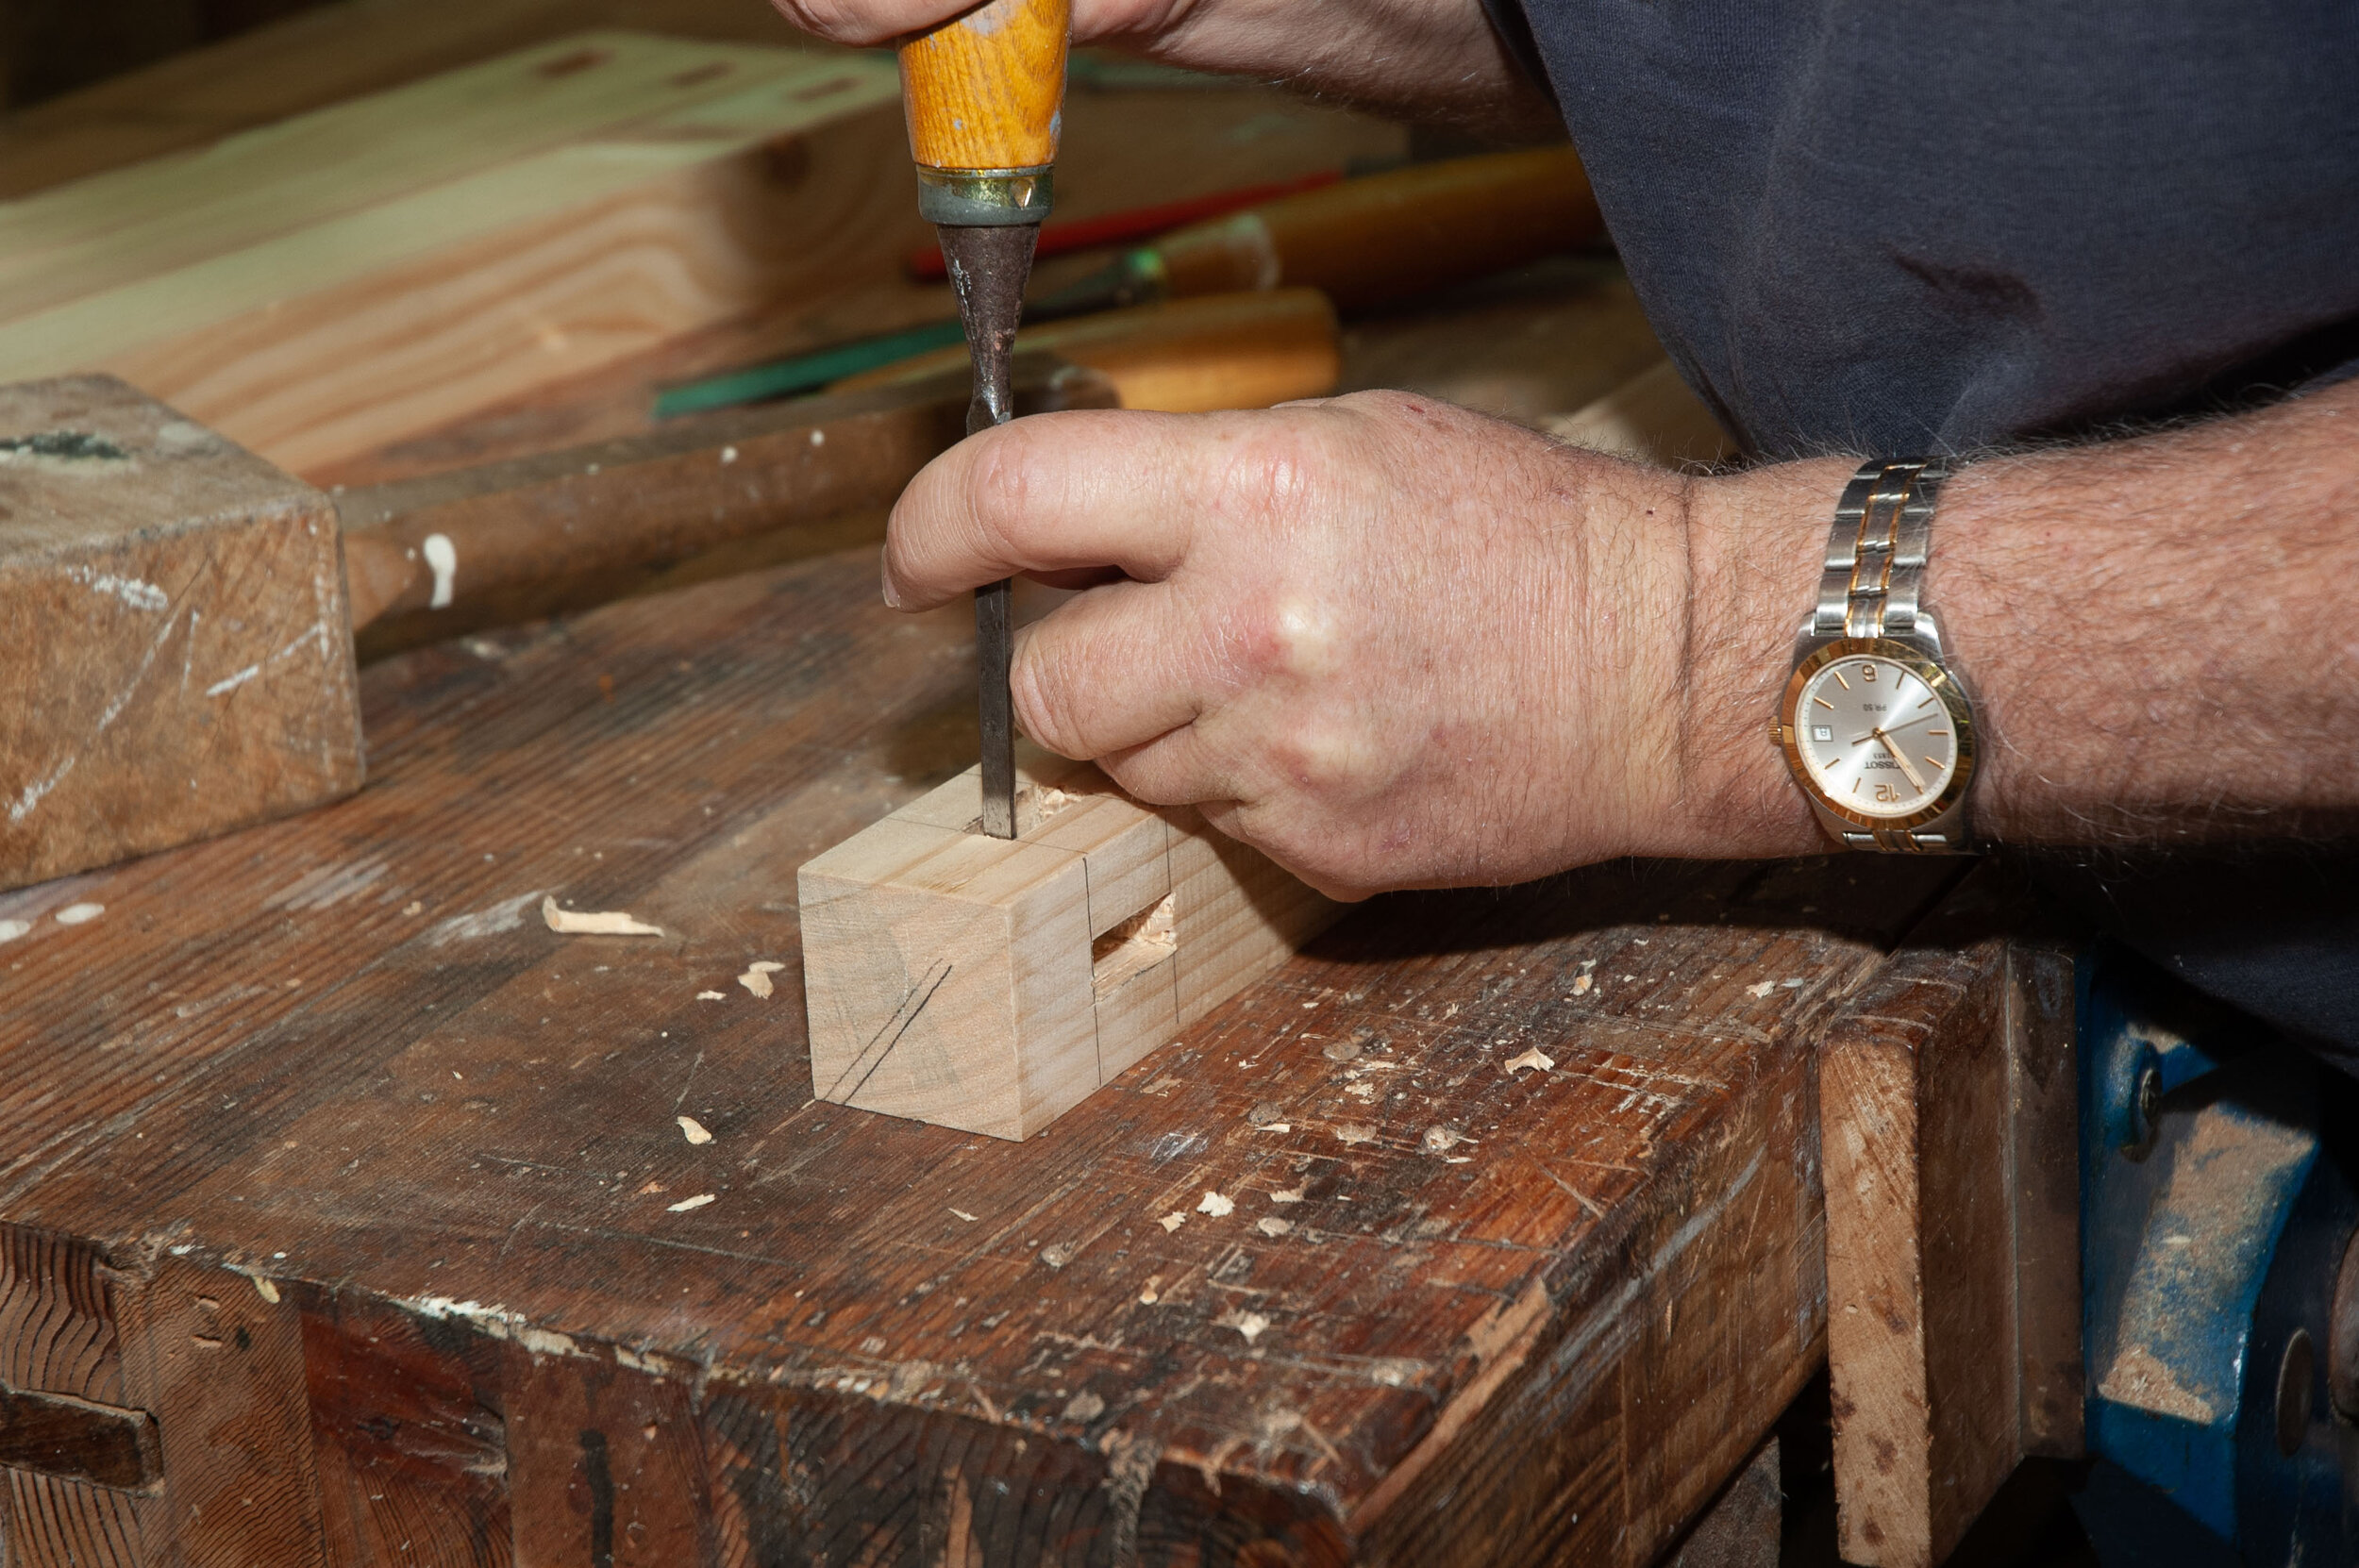
Mortise Clean-up
Clean up the mortises with a sharp chisel and fit the rails. Tenons that are slightly oversize can be trimmed or lightly sanded to fit. Once you have tested that they fit mark the tenon with its mortise number (A1, A2 etc).
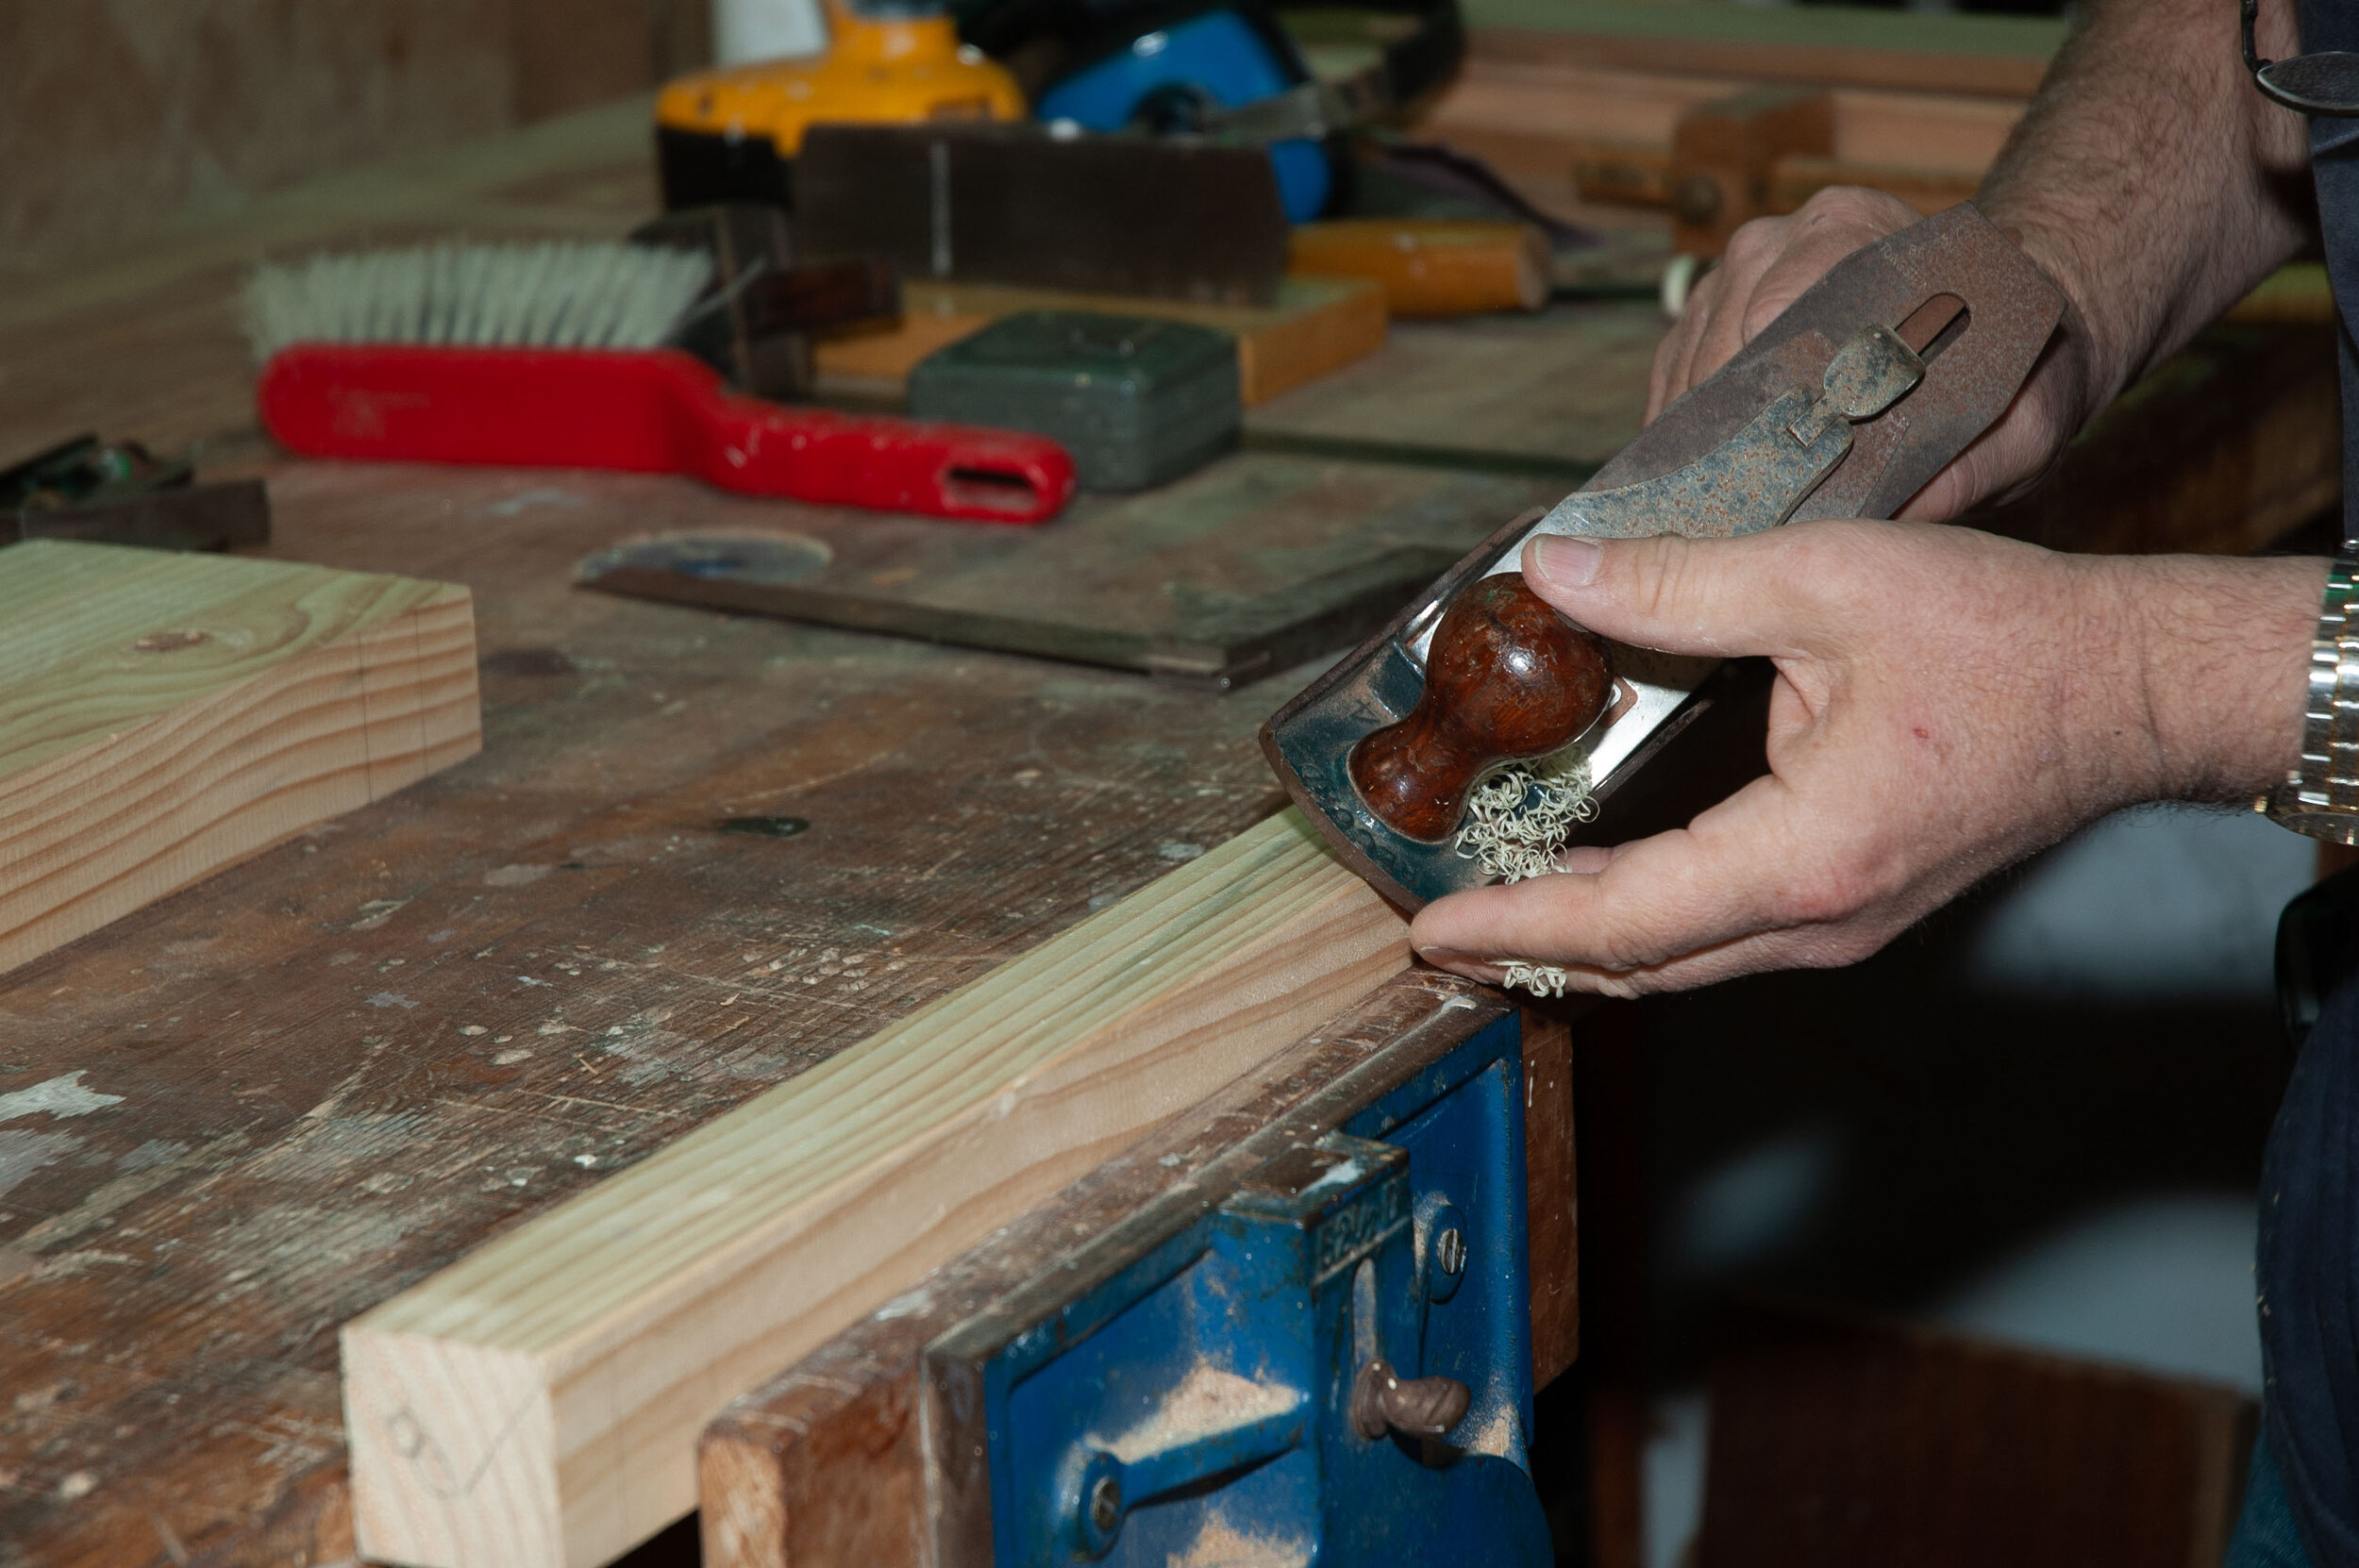
Chamfering the edges of the columns
Mortise mistakes
The ideal fit should be snug- not too tight, not too loose. The tenon will tend to swell a bit with glue. If you find that you have made a mortise too big or alternatively overdone the tenon don’t panic. Gaps can be packed with shavings or veneer prior to glue up.
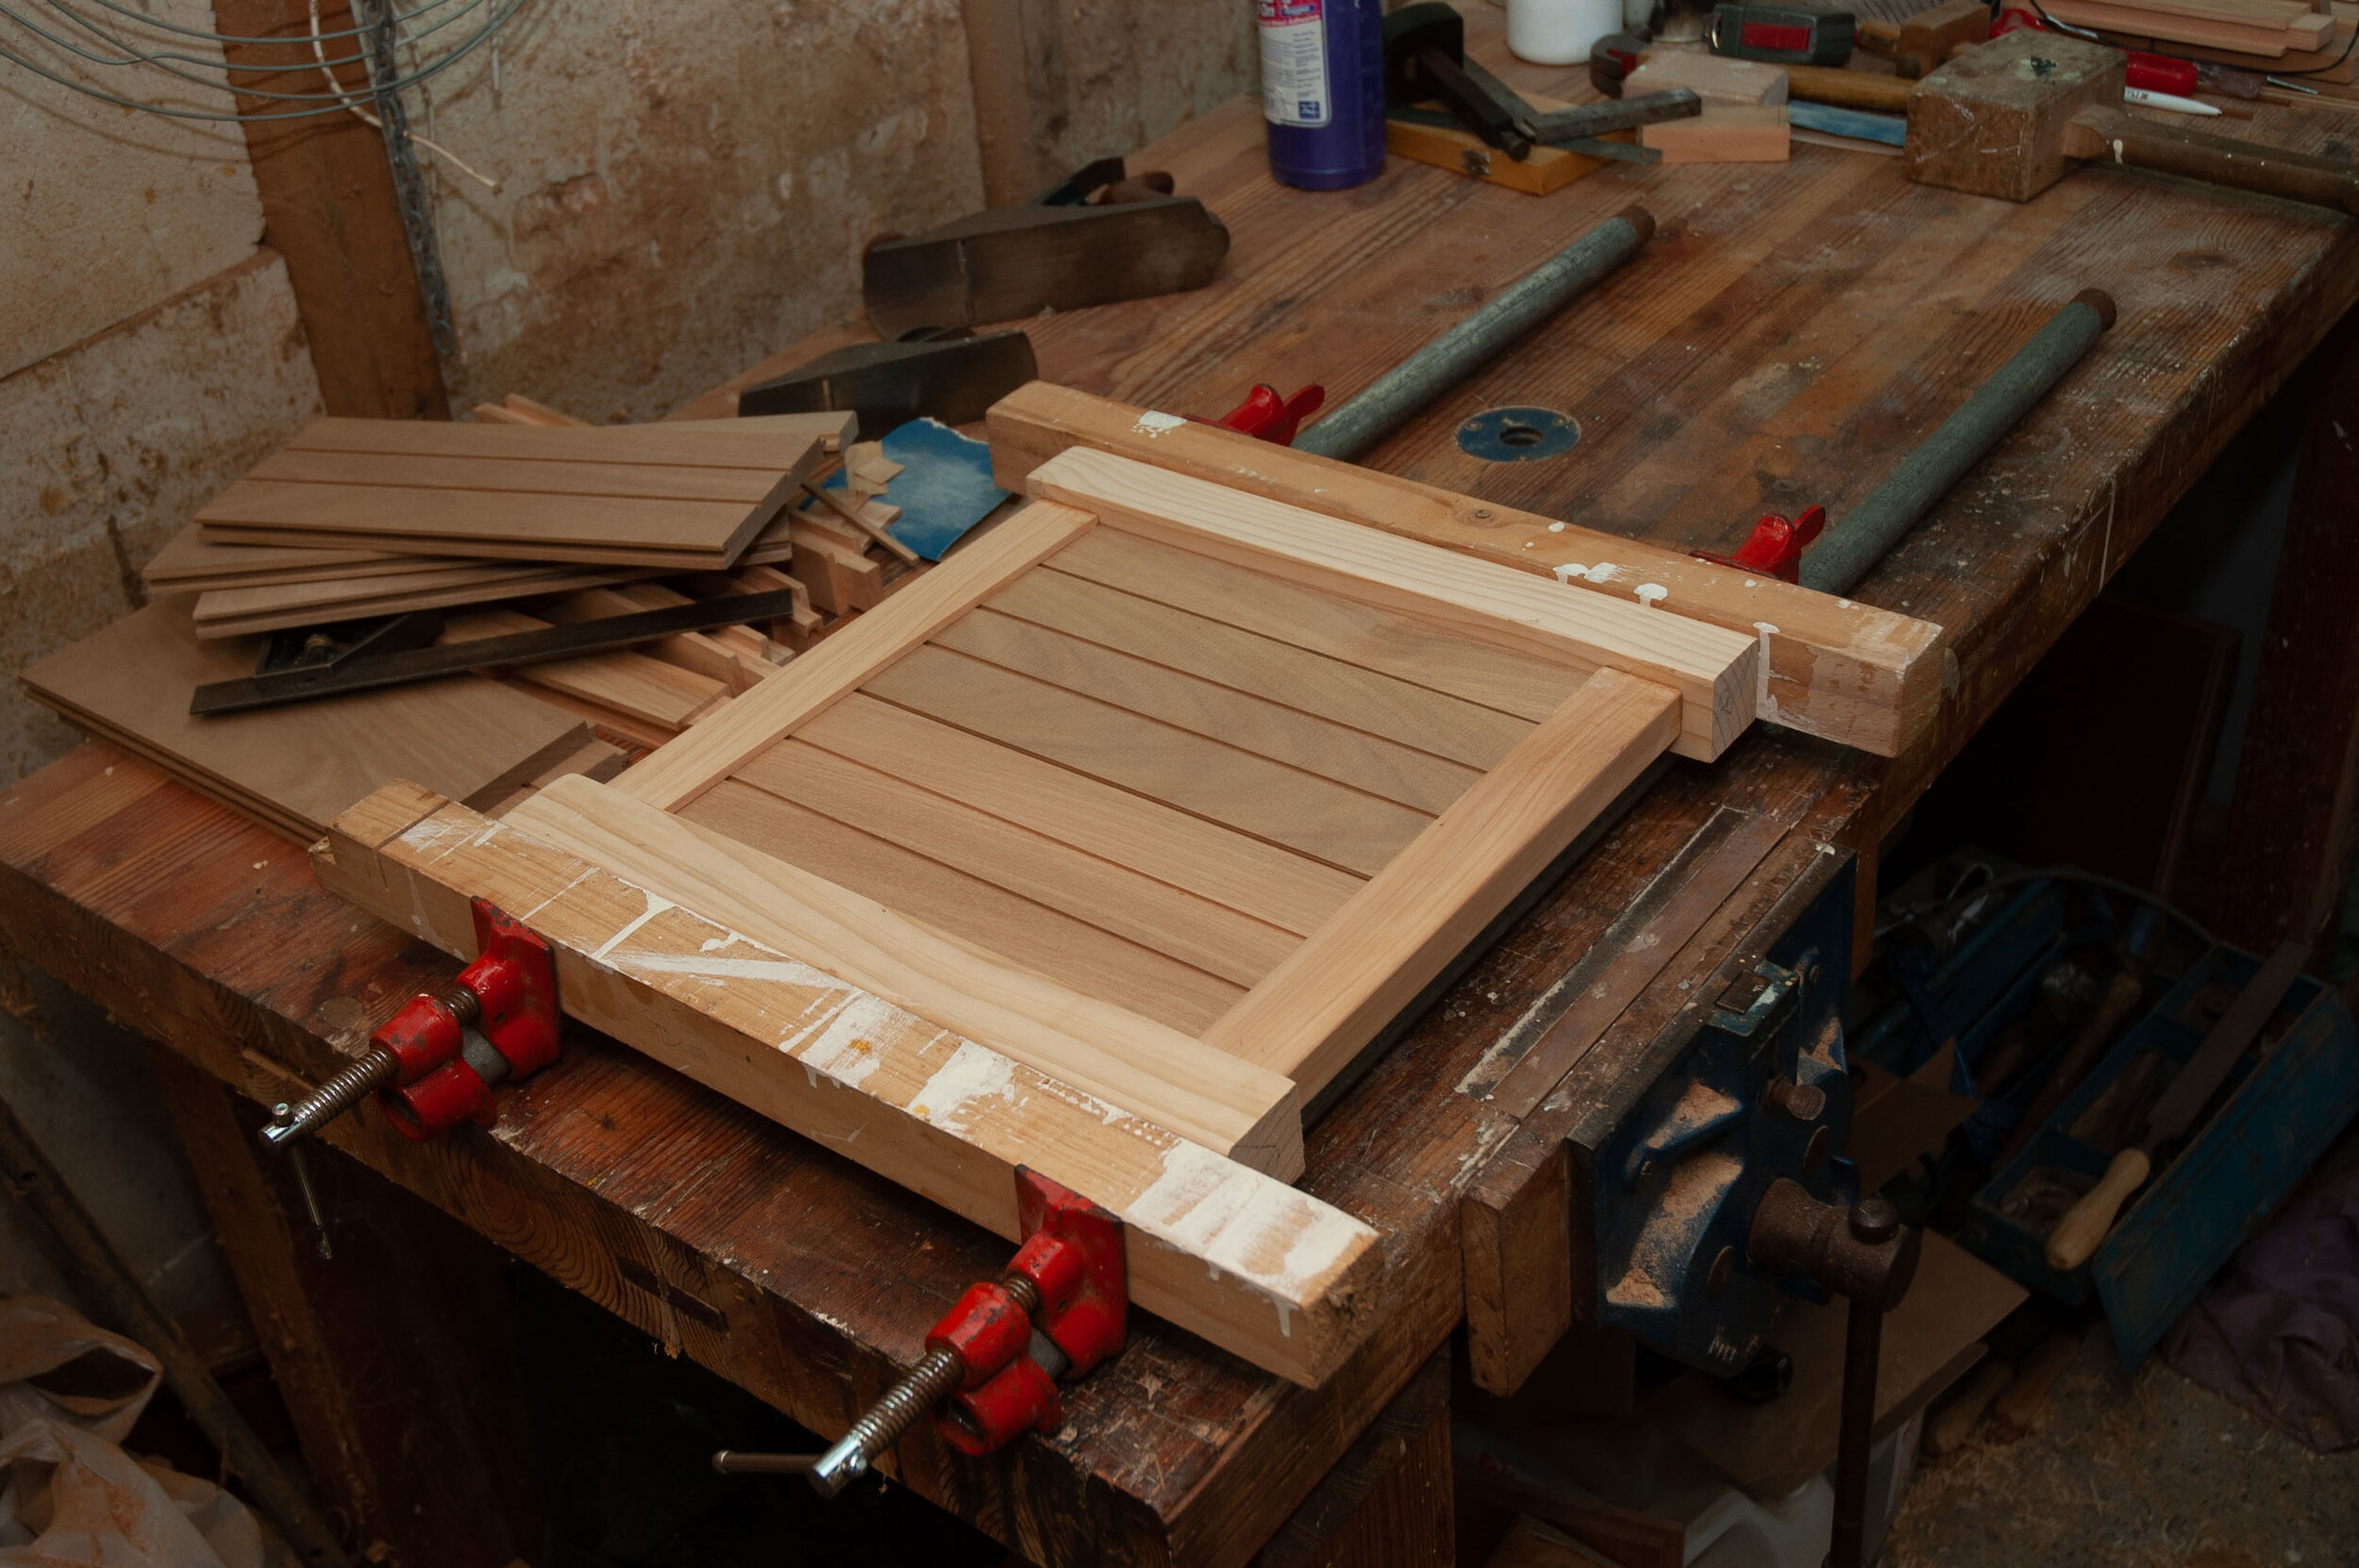
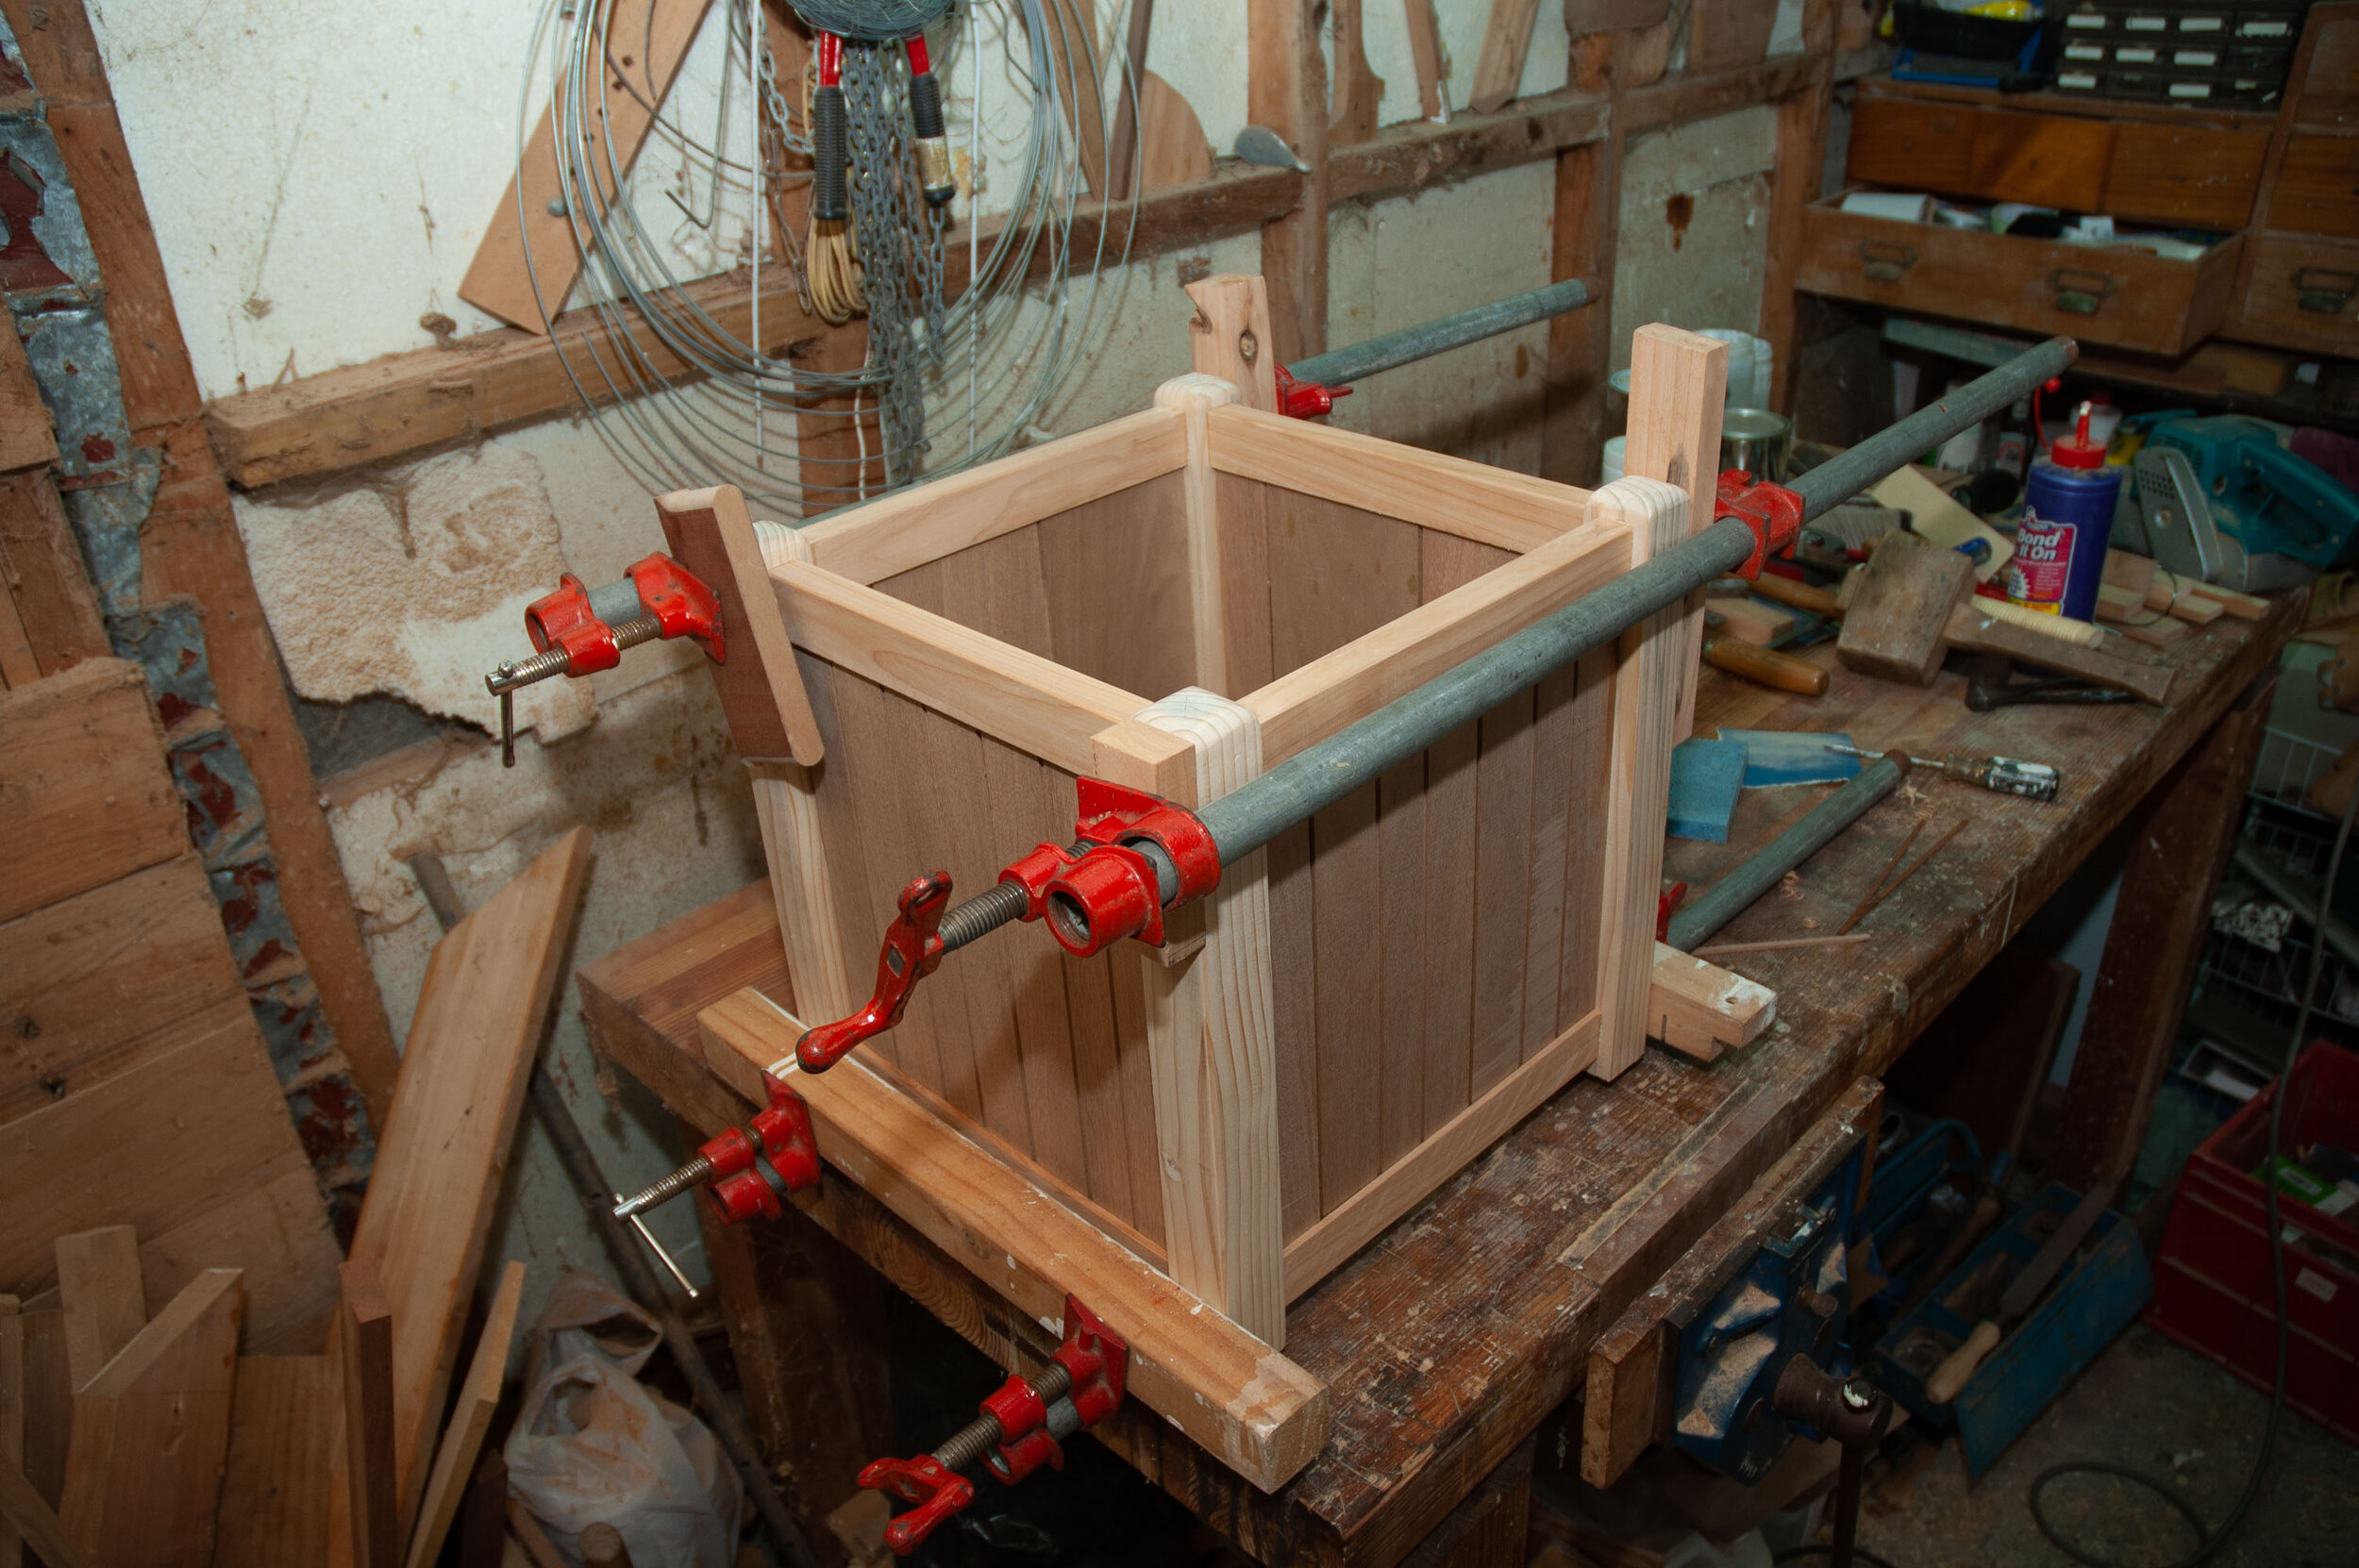
Clamping the box
The side panels
For the side walls of the planter, I have used Vitex tongue and grooved hardwood flooring. This has the advantage of being relatively durable. Cut the tongue-and-groove to size. Test fit it, using spacers in the join to keep the gaps even. Dry fit the box complete with the panels and test it for stability and square.
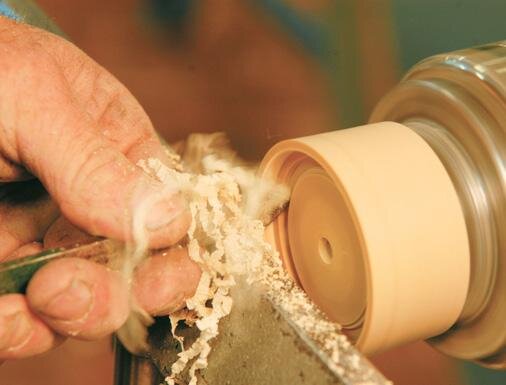
Now disassemble the box carefully, marking all the component parts. Finish sand the rails and posts. It is wise to chamfer the edge of the posts and the top rail for water runoff. Chamfer and round off the tops of the posts, too.
Nail the cleats to support the floor to the inside of the bottom rails. The floor can simply float, resting on these supports unless you really feel that the piece could use the additional strength of having the floor fixed in position. I used lengths ripped from the tongue-and-groove hardwood for the floor battens.
Now reassemble the sides two at a time and glue and clamp them. Leave them aside to set after checking them for square. Once the glue is set, assemble and glue up the two connecting sides. The entire box could be glued up as one unit, but it is considerably less stressful to do it in sections.
As the box is intended for outdoor use it could be painted, but depending on the materials you have used that might not be necessary. Macrocarpa is a good choice here because its oils lend it a natural resistance to decay and help to keep bugs at bay. Macrocarpa does have a tendency to check and split, but it performs well when painted.
Now all that remains is to add the plant.