The Shed Logo
Search
Close this search box.

Create a coffee table

Making an item of furniture does not have to be the daunting task it can seem. If you look closely at commercial pieces, you’ll notice that they share common concepts, and they are simple concepts at that. I’m not suggesting you suddenly choose to give away purchasing furniture and make all your own but making one or two items can become real statement pieces. Perhaps a hall table, or in this case, a small coffee table. For this project, instead of choosing a basic option of joining a few narrow boards side-by-side to create a solid top, I chose to try a technique I haven’t used before - using wedges of timber to create a radial effect. For your top, you certainly do not have to go this far, and you can choose to have a solid top (these can even be purchased pre-made), or even a solid slab (with or without a natural edge)

A top of timber wedges for a radial effect
By Stuart Lees

Making an item of furniture does not have to be the daunting task it can seem. If you look closely at commercial pieces, you’ll notice that they share common concepts, and they are simple concepts at that. I’m not suggesting you suddenly choose to give away purchasing furniture and make all your own but making one or two items can become real statement pieces. Perhaps a hall table, or in this case, a small coffee table.
A table has two main elements – the top, and the frame supporting it (the legs and rails).
For this project, instead of choosing a basic option of joining a few narrow boards side-by-side to create a solid top, I chose to try a technique I haven’t used before – using wedges of timber to create a radial effect. For your top, you certainly do not have to go this far, and you can choose to have a solid top (these can even be purchased pre-made), or even a solid slab (with or without a natural edge)
I started by taking several lengths of timber that would be sufficient for the top and dressed each on the jointer and thicknesser to create two sides that were flat and parallel, and one edge perpendicular to them. While passing them through the thicknesser, the final thickness of the top was also chosen, in this case, to be 20mm.

Wedge angles
The final edge is trued up on the table saw, leaving boards that are not only DAR (dressed all round), but with parallel edges and sides, and the edges and sides perfectly perpendicular, and importantly, each board exactly the same dimensions as the others.
To determine the angle for each wedge, I marked a board up, drew a diagonal, and measured the angle. It was very close to 15 degrees, which is perfect, being an even fraction of 360 degrees. This determined that 24 wedges would be needed for the top.
There are a few ways to accurately cut the angle for the wedge. One is to take a piece of board and screw a fence to it that is 15 degrees to the blade. This jig runs up against the fence and is also excellent for producing tapered legs. It is one of the easiest jigs to make, and use, and puts a lot of the commercial options to shame.
A basic commercial taper jig, consists of two straight edges, joined with a hinge at one end, and with an adjustable (rigid) tie at the other to lock the two edges at the required angle. You could easily make your own.

Timber dressed for top
Blanks for shaping for legs and rails

Rule
I chose another option for the wedges – a highly accurate mitre gauge, attached to a sled that runs in the mitre slot on the table saw. By then attaching a clamp, each board can be solidly locked down making it easy, and safe to run through the blade. The mitre gauge I used (the Incra 1000SE) is accurate to 1/10 of a degree, so it really allows you to dial in an angle. Even so, at the fit-up I found a small error had crept in, so to counter it, I produced a couple of extra wedges at 16 degrees. These nicely bought the circle complete, and no one would ever be the wiser. Except now it is here in black and white for the world to read. Oh well.
There is one of those rules that anyone demonstrating/teaching woodworking will drum into you: “Don’t angle the fence to the blade to try to create a taper”.
I’m not sure if anyone actually tries to – it is like the dire parental warning “Don’t run with scissors, you’ll put out an eye”. You imagine there is a generation of binocularly challenged individuals before it became ‘known’ that running with scissors was dangerous. Leaving that Weird Al Yankovic moment alone, if you do try to angle the fence to create a taper, it just doesn’t work. You will either get a rough, and/or burnt edge (and still not a taper in sight), or worse (and more likely), have the work jam between the fence and the blade. This will either tempt the unwary (and therefore soon to be dextrously challenged) to reach in to free the jam, or the saw will throw the timber at you, like a 250km/hr rap over the knuckles. This is a kickback, and believe you me, it leaves a mark.

Setting up the mitre gauge…
…for use in the slot…
…to cut angled wedges for the top.
Numbered wedges for radial top

Tablesaw danger
There is one thing you must never do on a table saw.
You must never try to cut a piece of timber freehand. You are pretty much guaranteed to twist the piece of timber relative to the blade. The blade will then grab that piece of timber and throw it at you. While doing so, it is very easy to have your hand dragged into the blade. Timber being cut on a table saw must be either supported against the stationary fence or held firmly against the mitre gauge (which then slides in the mitre track). Don’t ever be tempted to ignore, or break this rule.

Joint reinforcement
It is feasible to glue the pieces together, without any other fasteners, or support for the joint – glue is certainly strong enough. It would, however, be easier herding cats. When two glued surfaces are bought together, and particularly as pressure is applied, they slip and slide over each other making clamping up an exercise in futility.
The best way to counter this, is to have a reinforcement in the joint that also aids alignment of the pieces. For a long time, dowel was the reinforcement of choice, and it is still used today. There are now other options available. Biscuits (or plates by their less familiar name) help alignment vertically. They still allow plenty of movement horizontally, which is sometimes beneficial (but often not). A newer option are floating tenons. They are not actually new, but cutting mortises can be a very time-consuming exercise. Where I am leading to, is the Festool Domino. The name “domino” refers to the tenon used in the joint, but it also refers to the (powered) hand tool used to cut the mortises required.
It is not a cheap tool (Festool tools rarely are), but the quality is what sets the brand apart. The Domino accurately positions the required mortises both horizontally and vertically, and the domino aligns the joint perfectly. The radial tabletop for this project needed 96 mortises, and with a decent tool, each one took a few seconds.
During the glueup, each wedge aligned accurately, and what is quite a complicated exercise became a lot easier. Rather than attempt to juggle all the segments at the same time, I chose to glue up a quarter of the top at a time, then once sufficiently dry, bring the four quarters together.

Using the domino cutter on the wedges
Top managed in quarters. Glue squeezeout shows pressure correct

Glue
The glue for this project is simply yellow PVA. It is more than strong enough for this application. (Yellow PVA is about 30% stronger than white PVA, and is more moisture resistant). I decided to use a foam roller as an applicator for the first time. It needs to be loaded up with glue before being used properly – apply some glue, roll it, apply more, and roll it again, until a good layer is deposited.
If you don’t do this, the foam roller sucks the glue off the surface! For a large glue-up such as this, it made it very easy to apply the glue, and it sure beats using a finger as a glue spreader.

Glued sections ready…
...for clamping

Clamping
Clamping pressure is also important for a good joint. It ensures the joint is fully closed up, making for a much stronger joint, without unsightly gaps. You can go too far, if too much clamping pressure is used, the joint can be left ‘dry’ (with insufficient glue). There is a bit of experience involved in ensuring there is the right amount of glue on both surfaces that are being bought together, and then the right clamping pressure. I use the amount of glue squeezeout as a good visual indicator. So long as enough glue has been applied, if there isn’t any squeezeout, the clamping pressure is insufficient.
Some schools of thought are really against glue squeezeout, and attempt to mop it off immediately. Others ignore it and deal with it once the glue has fully dried. I choose to split the difference, rather than wiping wet glue around, over the surface in an attempt to remove it (and therefore making the surface more difficult to sand and finish), or waiting for the glue to be fully dry, where it is hard and prone to tear the timber away when it is being removed. By waiting for the glue to just set and become rubbery, it is easily (and cleanly) scraped away.

Belt sander smoothes top
MDF supplementary board used for trimming top to size

Patience
Once the top is formed, and the glue is dry, it may be tempting to jump straight in and start sanding the top to see how it all looks, but patience is a virtue. The next step is to flatten the underside of the top first. This provides a flat surface for the top to rest on for the final operations. A belt sander can be used for this, but proper technique is needed so it doesn’t cause ridges and hollows. Given the underside is, well, the underside, I don’t tend to spend as much time sanding it to a fine finish. Once done, it is time to flatten the top surface (but still not finish sanding). This is better done while there is still some waste timber around the outside, which provides an additional surface for the belt sander to reference off.
Flipping the top over again, it is time to cut the top to the final dimensions. With all the wedges sticking out by differing amounts, it cannot simply be run against the table saw fence. If you had a circular saw with a rail, that would be one method to obtain the first straight edge.

Basic jig…
…for cutting taper on leg

Options
Instead, another method is to cut a piece of MDF to the desired dimensions. A screw dead-centre centres the MDF board on the slab. It can be rotated around this screw to choose how the top will be orientated. A second screw then locks the top in place. That still doesn’t deal with the issue of having a straight edge to run against the fence. However, this is now easily achieved. By cutting a second supplementary board with a known width, this dimension is added to the desired width of the tabletop, and the table saw fence set to this distance.
Cut the first edge, then rotate the top 90 degrees. Unscrew the supplementary board, and again reattach it on the new side. Run the top through the table saw again. Now, with the supplementary board removed, set the fence to the final dimensions of the top, and true up the final two sides. I then chose to add a contrasting strip around the outside, just to really set the top off. It was made from Queen Ebony from the Solomon Islands, and just a little amount really sets a project off.

Dominos (dowels) join legs and rails

Base
With the top now complete (bar finishing), it is time to work on the base. This is simply four legs with a taper and rails between. Sometimes the simplest solution is the best.
The legs are first dressed to size and cut to length. Using the basic taper jig described earlier, two of the four sides of each leg were tapered, removing a lot of the visual weight of the legs. The rails were then cut and joined to the legs with dominos. (Again, biscuits or dowels would have also worked).
One issue to consider when working with wood, is the amount of seasonal movement that can occur. If the top is secured down without any ability for it to be able to move (such as gluing it down or securing it all around with screws), then the top will try to expand and contract, will not be able to, and will crack instead. It is therefore important to choose a method that secures the top and still allows movement.
I chose to use wedges of timber, secured in a mortise in each rail and screwed to the centre of the top only. This firmly holds the top in place, yet still allows movement when necessary.

Clamping Ebony Queen strip to edges

Final sanding
With the top in place, it is time to complete sanding. With a random orbital sander (ROS), working through the sandpaper grades from 120 through to 400 produces a good finish. Don’t be tempted to skip a grade (120, 180, 220, 260, 320, 400), as it takes a LOT longer to remove the scratches from the previous grade if you do. That is the secret of sandpaper – the first grade is used to remove the machining marks (and scratches from the flattening process, whether that was a belt sander or handplane).
From then on, each grade is only needed to remove the scratches from the previous grade of sandpaper, up to whatever grade you want to finish with, be that 400 or 1200 (and above). The more time put into finishing, the better the result. You spend all this time making a project, don’t be tempted to forgo finishing it properly, otherwise you might as well have used a cheap piece of timber, ply, or manufactured board, rather than a nice piece of timber. With just a little effort, the project will really pop.

Stuart uses Danish oil and furniture wax finish

Finishing
A ROS is an excellent tool for finishing. Unlike the orbital sander (1/3 sheet), or belt sander, the ROS is specifically designed for fine finishing. The random pattern of the sandpaper leaves a quality finish, rather than whirls of scratches from a basic orbital sander. It is more akin to hand sanding, with the speed of a power tool.
The final job is to apply a finish, and there are so many choices out there. I tend to prefer the more natural finishes – oils and waxes, rather than varnishes (resin) and plastics (polyurethane). They feel luxurious to touch, do not detract from the project, and are easy to maintain (and reapply when needed). They smell significantly better as well! If you can be so organised, it is worth keeping a little black book of all past projects, and what finish you used. If you ever then need to repair a finish, it is much better to know what it is in the first place, and you can also use this as a reference for future projects – what worked, what didn’t, and how durable each finish proves to be, etc.
After applying an oil finish over the course of a few days, and left for some additional curing time for the oil, it was time for the project to make its way to its new home. The only problem with a well-made, useful project, is then everyone around you also wants one. Oh well, back to the shed.

Share:

More Posts

Make a simple toy truck

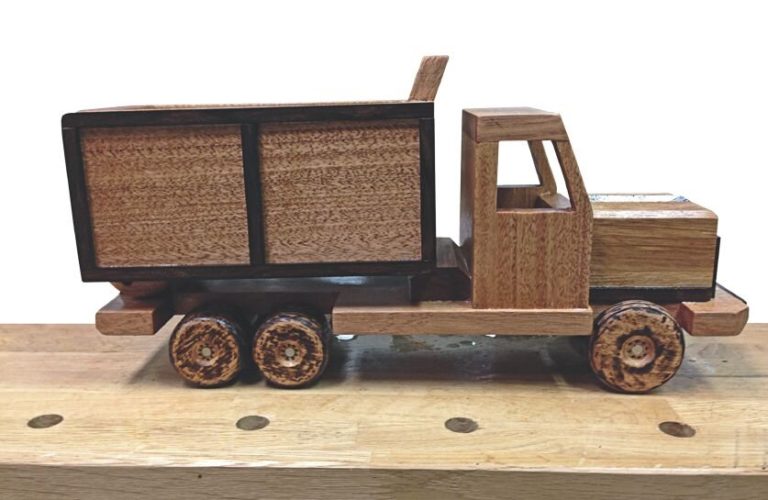
With toys, in particular, maintenance and reparability are important to ensure a long life. A broken plastic toy goes in the bin, whereas a well-designed wooden toy can make many trips to the repair shop over generations of play.

High flyer

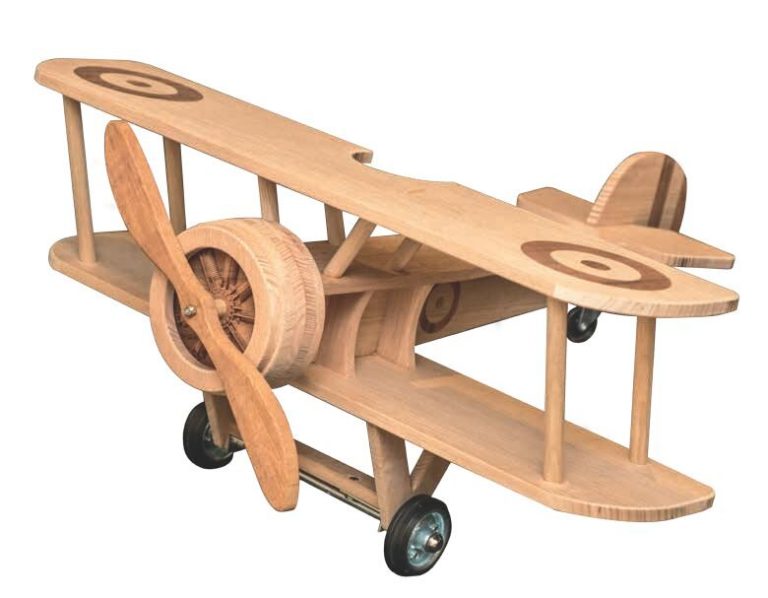
What better way to introduce a legendary aircraft to another generation than through the universal medium of toys? While there are a number of limitations in a toy around scalability, safety, and complexity, I wanted to still give a firm nod in the direction of the original inspirational aircraft. A search of the internet yielded some basic plans of the original plane and images of recreations of the Sopwith taken from various angles.

Build a barbeque trolley

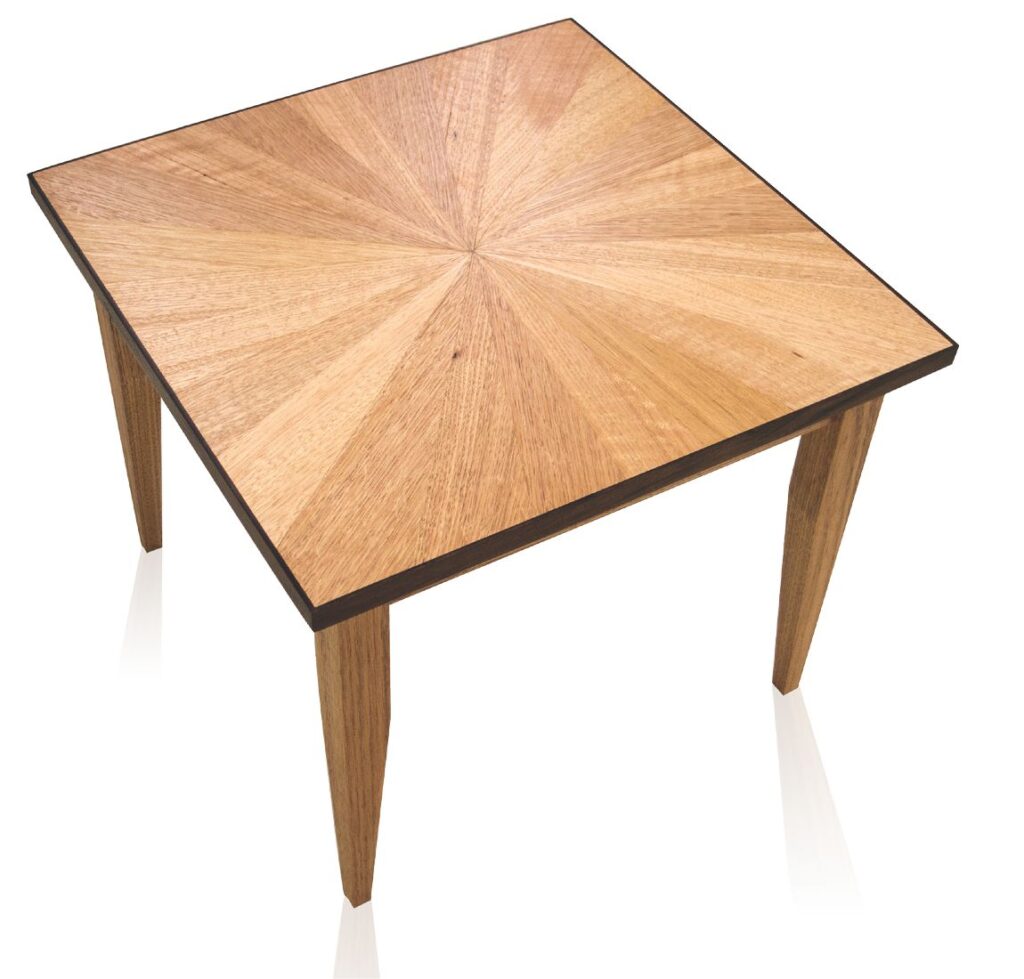
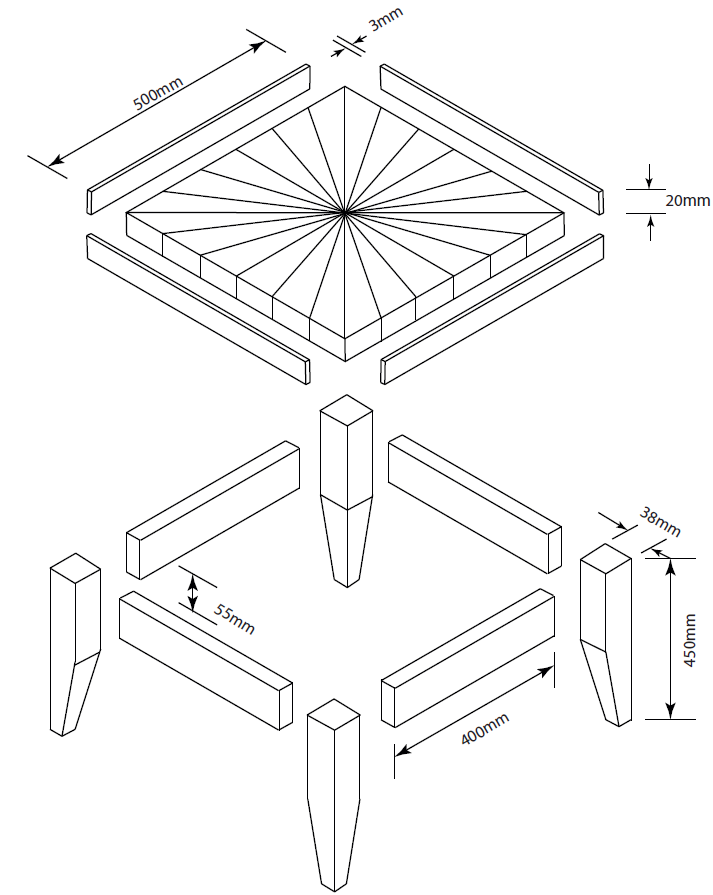
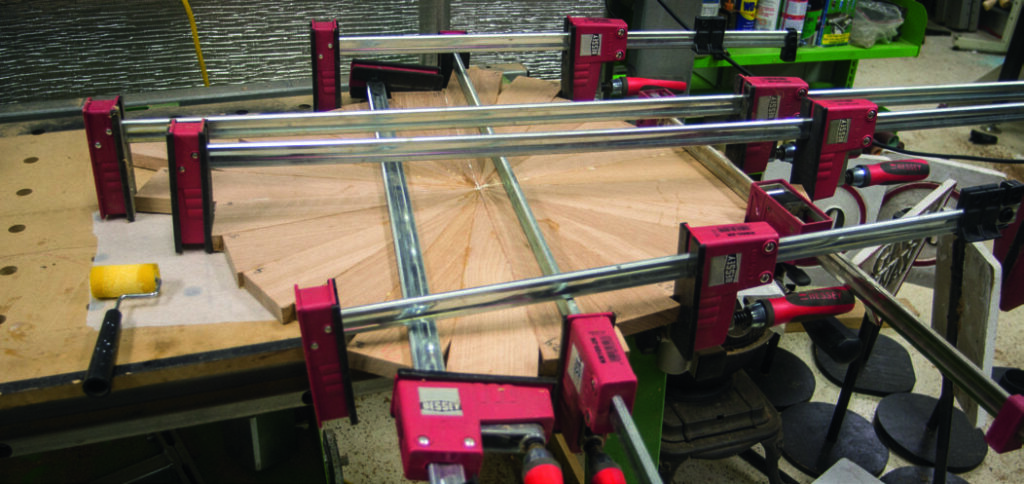
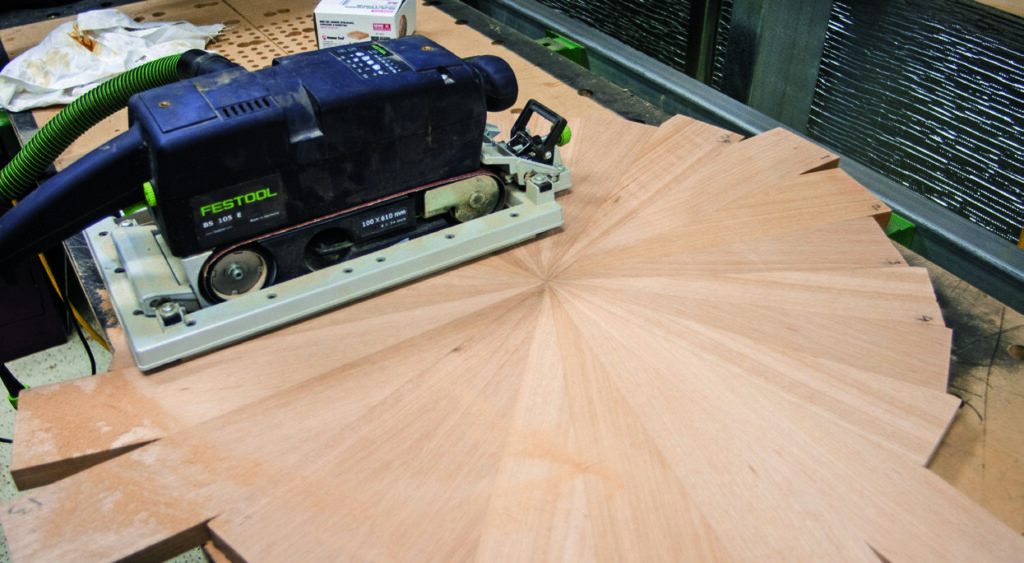
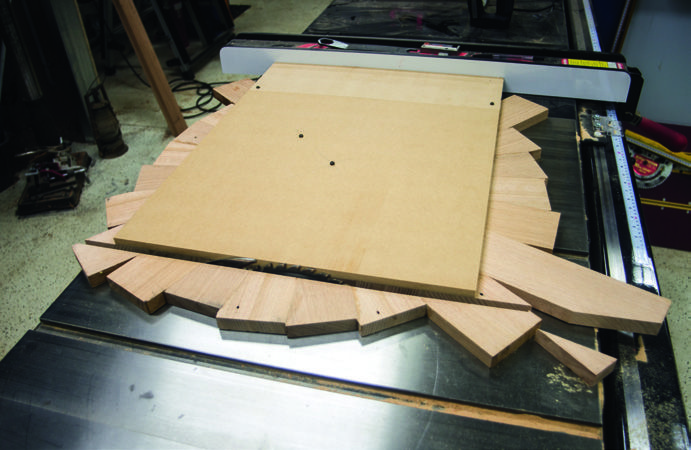
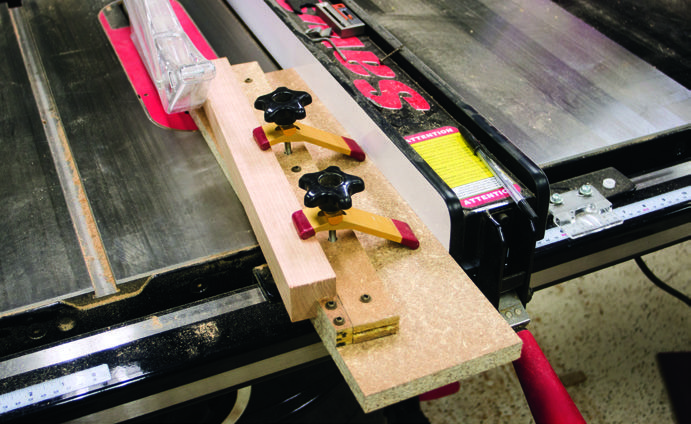
BBQ season seems to come around faster and faster each year—not that it is a bad thing and sometimes I wonder if it ever really ends!
Each time I head out to the barbecue, it takes multiple trips to carry the meat, the vegetables, the implements, sauces and marinades, and obligatory chef’s beverage. Then there are never enough flat surfaces in the vicinity of the barbecue to keep everything organised.