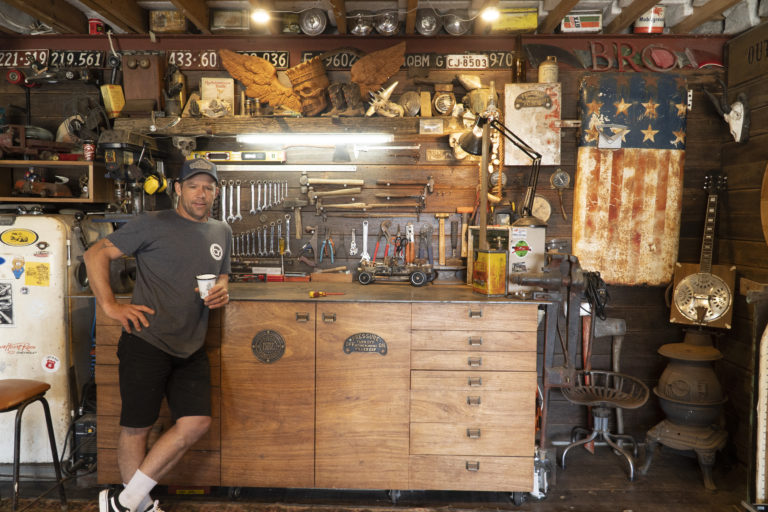
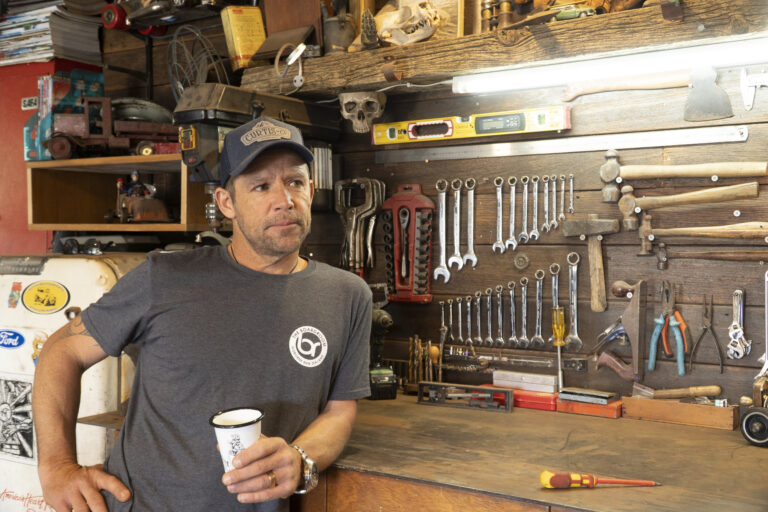
The ins and outs of putting sliding doors into an old villa
By Stan Scott
ADVISORY
This article is an overview of general steps in installing sliding doors using new joinery. It is intended as a broad illustration of the process.
French doors give a house much readier indoor-outdoor flow, especially when they open onto a deck. The old villa being renovated for this project had existing French doors leading from the back of the house to the outside.
However, the owner wanted a wider, more user-friendly opening and the answer was a bigger set of doors. The doors in this project are unusual in that they slide across the opening rather than opening outwards. Once the existing narrow pair of French doors were taken out, the wall had to be cut so that the builders could create wider access. They also wanted to ensure that, for balance, a decent architrave could be placed around the edge of the door.
In specialised joinery like this, it is essential to allow the joinery company to come to the site and do a measure. Because they are making it, they need to be sure of the dimensions to the builder’s trim size on site. For the finished slider, there are two important sizes, the internal trim size and the outside dimensions where the sliding doors run about a metre past the door opening, a total of 1850 x 2150 mm.
Existing French doors
Weatherboards revealed
Demolition
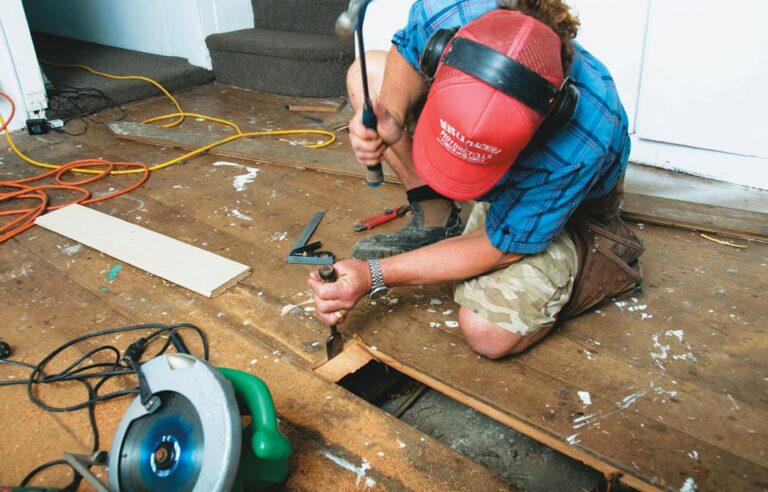
To take the existing French door out, the first step here was to remove the architrave and then the inside lining beside the door where the access is going to be widened.
This revealed the weatherboards from the inside. Once the architrave is removed from the inside, a check ensured there were no wires hanging inside the frame. A sabre saw is used to cut through the nails holding the door frame to the house inside and outside, where the facing is prised out a little to allow room for the sabre saw. Then it’s a simple task to lift the old French doors out complete in their frame.
The next step is to measure and cut the wall where the wider doors will fit. The weatherboards come off easily enough once the saw cut is made. If a stud is found in the space that is revealed, it needs to be removed so the complete new door will fit in. A lintel here provides support above the space.
Sabre saw cuts nails inside…
… and outside
Removing cut weatherboards
Old doors taken out
Lintel
Before any framing is taken out for installing a lintel, temporary props need to be in place. Prop up the ceiling temporarily with 100 x 50 mm studs.
The lintel sits on new understuds which are fixed beside the existing continuous or trimming studs at the side of the opening. The lintel size here was 2 x 150 x 50 mm. Put the beam hard up to the already existing top plate where the ceiling rafters rest. Examination of the opening here revealed the need to chop the floorboards back so that the new doors could sit on the bearer. Most French doors are measured to join at the bearer line so there is a minimal step over your joinery.
You could make the flooring flush with the top of the sill by rebating it into the bearer line. Mark any proposed cut with a straight-edge and chalk line to ensure the cut-off is square.
New opening. Note new 2/150 x 50 mm lintel beam visible at top of door opening.
Sill tape. Note lintel
Villa adjustment
With older villas or similar houses, there will be some adjustment when fitting a new door, as it is likely the floor has become uneven. On a bigger budget, you could level the whole area which might include adjacent rooms.
But to adapt to a sloping floor and fit the new door, you may have to use a ripped packer. Then to eliminate any awkward or uneven appearance in the old villa once the new door is in, a covering architrave is placed on the inside. Because this is not a standard set of French doors with the sill and the head extending past the side of the window, scribers will be cut to the profile of the weatherboards as you would do round the normal profile of a window for a neater look.
Before you set the door in, new building standards now require flexible flashing sill tape to be installed for waterproofing. On a plastic corner protector, the sill tape is stuck down the jamb and along the bearer in one piece at the base.
The tape is also stuck on at the top corners along the lintel and down the top of the jamb. In old villas there is always adapting in retrofitting—in a new building, there is a chance to put in sill tape while there is still building paper and before the weatherboards go on. Before the door is installed, final adjustments are made to the sill. Some joinery companies will make only a standard 40 mm thick sill and you get it on site and it doesn’t match the style of your old villa-bungalow doors with sills which were a standard anything from 65 to 80mm. The sill being installed here is much thicker.
It will last longer than the sill that was pulled out from the tanalised pine door which was only thin and had virtually fallen off. A thicker sill also makes the door a lot more stable.
Cut floorboards to bearer
Sill tape
Door support screwed to batten
Packer is rebated to fi t the weatherboard
Packers level the frame
Vertical level checked
Hand tools
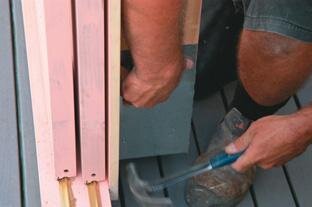
Measure and, using chisel and handsaw, trim off the end of the sill to fit the weatherboards at one end. To clean up the end of the sill, arris the edge with a small hand plane. A hand-held hacksaw blade is improvised here to saw through the brass runners on the sill at the other end where the door will slide.
There are places where the chisel and hammer will do better than a skill saw. For builders, this underlines the importance still of learning how to use hand tools where you remain effectively in charge of what’s going on.
Obviously, builders are only as good as how sharp the chisel blade or pencil is, or how true the square. With a skill saw you can make a mess pretty quickly. Before the door is tested with a dry-fit, part of the long end of the head and sill is trimmed off to allow the door to be shifted into place. The door is lifted into place and measuring begins. With the installation of new joinery in old villas, you have to adapt to accommodate the movement of the building over time. There are always things that you fix up and manage as you go along.
When the door is sitting tight in the gap, check with a level to see whether any packing is needed under the sill. The head is measured for the batten to be fixed to the weatherboards where the top of the door support will be screwed and nailed. Because the wall of this villa is slightly out, the sill sits out from the weatherboards at the base, so a packer is rebated to fit the weatherboard. At the same time, to get the door level, some wedges are organised for underneath the frame. The door is lifted out so that the packer can be nailed to the back of the sill.
Frame screwed inside. Note packer
End formed
Sill tray
The door has the sill tray fitted (see Fitting sill frame), is put in place again and levels tested both horizontally and vertically. At the short end, where the sliding door butts up against the house, it was necessary to create a scriber, similar to the finish for a sash window, in order to complete the outline of the door neatly.
It is unusual for a scriber to be put on the face but here there was no room to get it down the side. Temporarily tack your scriber to your facings for marking. When marking, it is important that the scriber is parallel with your facing, especially if the distance from the outside of the scriber to the facing is 60 mm. Use a 25 mm packer to scribe the profile of the weatherboards onto the scriber.
The outline is drawn on the board for the scriber then cut out so that it will be a tight fit. A scriber is similarly fitted on the other side of the door where a light fitting was taken out and the weatherboard will be tidied up. The door frame is nailed in place to the weatherboards outside and the inside is screwed and nailed in place to the lintel.
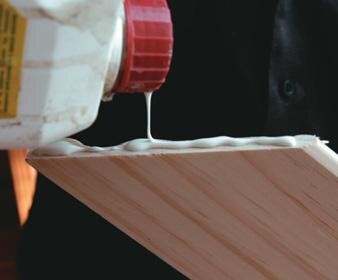
When nailing or screwing timber, ensure solid packers are in behind the nails or the screws. We pin-gun the door frame temporarily to hold it in place before we hard-nail it by hand. We put screws into the sill to help to hold it up. A foam filler rod must be pushed in around the door and the cavity filled with expanding foam. Inside, the architrave is cut to fit and nailed as well as glued at the corners.
Metal end bent to fit
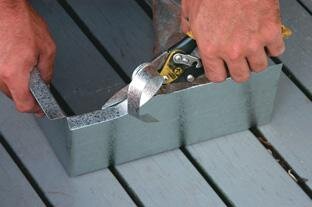
Fitting sill frame
To make the sill tray around the door frame, metal is first formed around the bottom corner then cut to fit, nailed along the bottom of the sill, and flashed up the outside of the door jamb to a minimum of 150 mm.

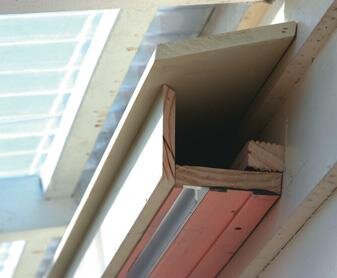
Flashing
Once the door is in, it’s apparent that for the facing at the top, a custom-made head flashing is needed. It will be a combination of a wooden flashing covered by a metal flashing for waterproof protection. The metal will tuck under a weatherboard at the top and be long enough to cover the whole of the door opening.
Once the wooden box is formed, it is measured up for the metal flashing. The flashing is made with a section bent for insertion under the weatherboard. It’s then measured and cut and the ends bent to fit over a board. Once the flashing is in place, it is secured to the weatherboards and the wooden flashing. The door is then ready for painting
Flashing secured under weatherboard