The Shed Logo
Search
Close this search box.

Replacing floorboards

Lift the carpet or lino in an old villa to prepare the floor for polishing and you are bound to reveal the gaps or rotten bits in the floorboards. So how to get them up and insert a tongue-and-groove board into an existing layout? First, work out where the joists are. If you’re lucky, the piece you want to remove will begin and end on a joist, or at least one end will. If not, find the joist nearest to the point you want to cut, usually by tapping the floor. Often you will see the old nail holes, a good guide to where the centre of the joist might be. Next, scribe a line across the board you want to cut. I use a Tajima knife.

Simple steps for a new floorboard
By Stan Scott
Photographs: Jude Woodside

Plunge cut with guide

Lift the carpet or lino in an old villa to prepare the floor for polishing and you are bound to reveal the gaps or rotten bits in the floorboards.
So how to get them up and insert a tongue-and-groove board into an existing layout? First, work out where the joists are. If you’re lucky, the piece you want to remove will begin and end on a joist, or at least one end will. If not, find the joist nearest to the point you want to cut, usually by tapping the floor.
Often you will see the old nail holes, a good guide to where the centre of the joist might be. Next, scribe a line across the board you want to cut. I use a Tajima knife.

Saw set to depth rips lengthwise
Cut board carefully at mid-point

Multitool
In the past we would have used a small power saw at this point and very carefully lowered it onto the cut to avoid cutting the boards on either side. That was before the multitool.
This tool makes the job so much easier. If you don’t have one, this is the ideal excuse and they aren’t wildly expensive. Although they don’t have a rotating blade and you can’t really cut yourself on them, they do have one remarkable talent: they will plunge-cut right through a timber floor and leave only a 1 mm kerf.
The blade has a vibratory, side-to-side motion, and works well and quickly. Use a straight-edge as a guide initially, to help you to achieve a perfectly square-and-straight cut.
Use your saw to cut the board length-wise through the tongue, about 10- 15 mm from the edge and the groove on the opposite side. Avoid going too far at each end. Once that’s done, cut across the board carefully at the midpoint lever and use a chisel or the multitool to cut right through.
That will allow you to easily lift one end of the board. It may need some more persuasion, but once the bulk of the tongue-and-groove is cut it should come away fairly easily. You will have to clean up the end if you didn’t cut right through first time.
Similarly, you will need to clear the remains of the tongue and the groove from the remaining floor boards.
Once the area is cleaned up, measure it for the replacement board. Cut the replacement and using a table saw cut away the lower edge of the groove so the board will fit over the tongue.

Chop out waste
Half groove removed from board
Nail in clamped suppo

Nogs Slightly undercut
Slightly undercut the ends of the board so they fit neatly into the space.
You could now replace the board just like this, and some do. The problem is the board isn’t secure, with only half the groove now forming a half-lap joint. Cut some nogs to fit between the joists. These are placed under the board on the groove side, mid-way between the two boards.
Secure them to the joists. In older homes these old joists will be rock-hard so it might pay to drill first if you can get a drill in there. Now fit the board in place and check the fit. It should be even and slightly proud to allow for the sanding. If necessary add a packer to bring it up to size. In this case I’ve used a bit of damp-proof course.
Once you are happy, mark the position of any hidden joists and drill nail holes in each end (preferably 60 mm galvanised jolted). Drill them because they will be guaranteed to split if you don’t. Punch the nails just below the surface to allow for the sander. That’s it.

Replacement finished

Share:

More Posts

Installing sliding doors

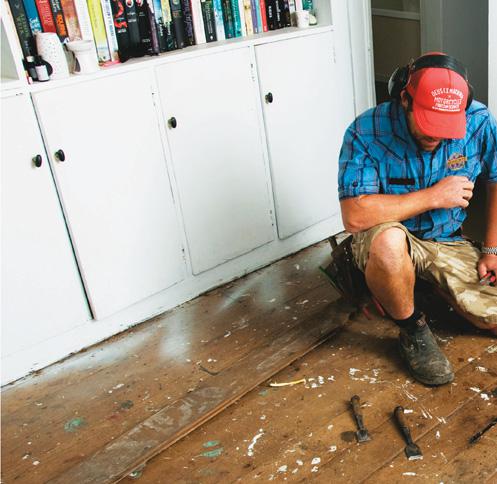
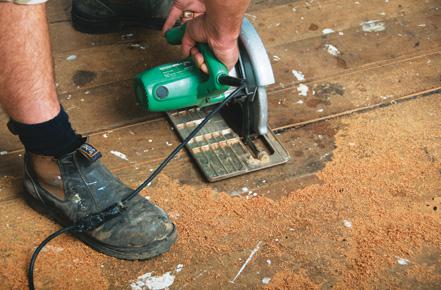
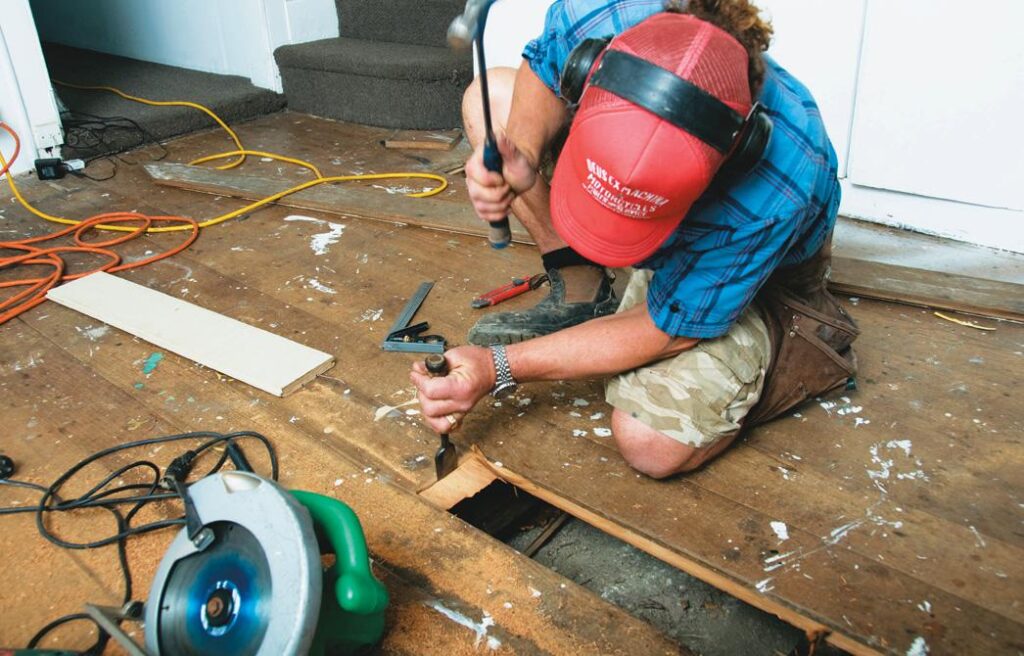
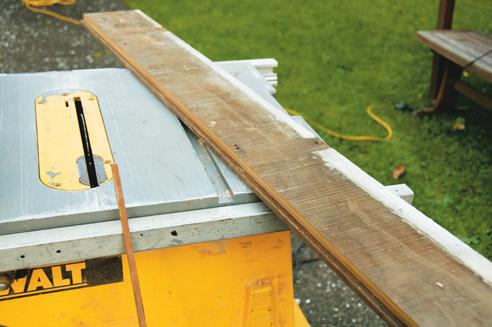
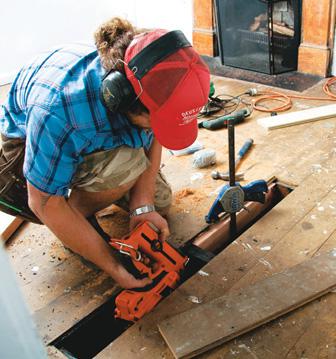
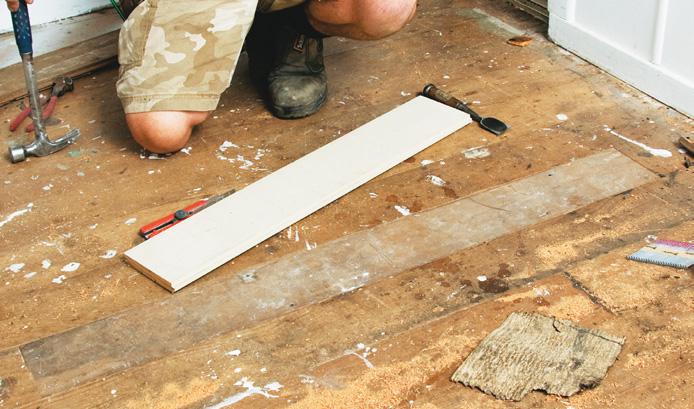
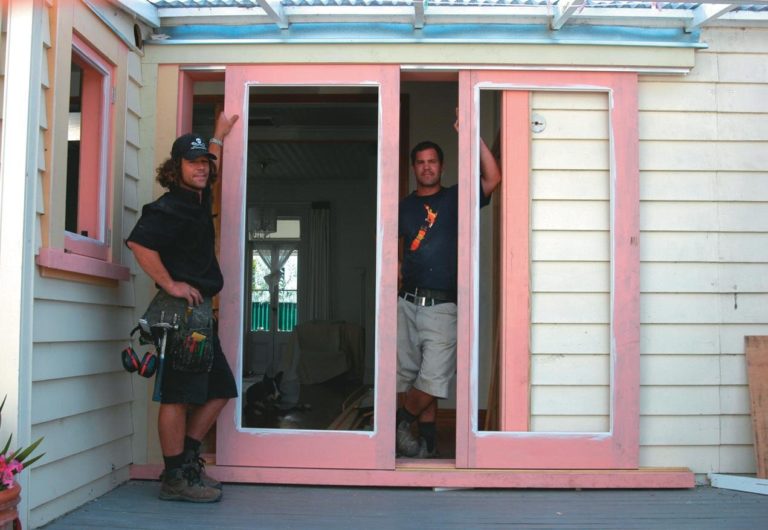
French doors give a house much readier indoor-outdoor flow, especially when they open onto a deck. The old villa being renovated for this project had existing French doors leading from the back of the house to the outside.
However, the owner wanted a wider, more user-friendly opening and the answer was a bigger set of doors. The doors in this project are unusual

The 100th issue of The Shed is coming soon

The next issue of The Shed is a milestone magazine, our 100th and we are building a bumper issue, our biggest magazine for many a year.
There will be plenty of special anniversary content along with our usual projects and advice.
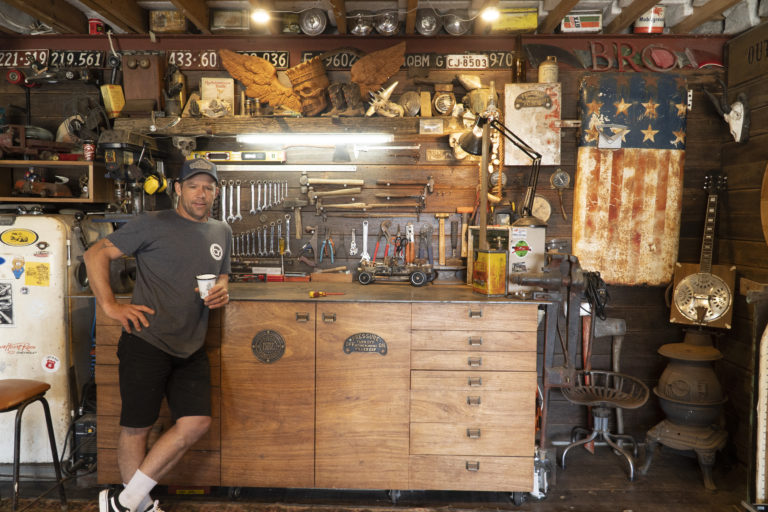
One of the articles we are particularly looking forward to publishing is a visit to the home shed of Mitre 10 DIY guru, Stan Scott. Stan shows us around his home shed and shares with us what he creates in his leisure time.

Unpublished photos from our visit to the home shed of Stan the Builder

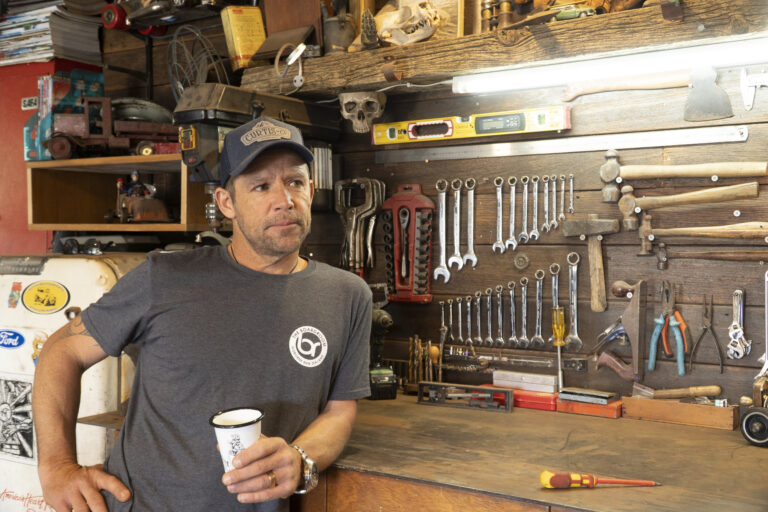
With the Pacific Ocean rolling to shore just across the road from his shed at Wainui Beach, avid surfer and passionate sheddie, Stan Scott, is never too far from his two favourite places.
As far as careers in the building trades go Stan’s has been one out of the box, driven largely by his insatiable curiosity and his never-say-never attitude. Building he says, has taken him places he never dreamed of going. Stan is a familiar face to many Kiwi’s. He has built and presented on a raft of TV renovation shows; is the current brand ambassador for Mitre10 and has even managed a few how-to spreads for us at The Shed.
When he’s not busy planning, building, filming and fronting Mitre10’s web based DIY series’ or giving instore presentations across the country, Stan is home juggling his own building jobs with personal projects and family life.