Black walnut and curved cabriole legs make an eye-catching table
By David Houghton
When my favourite timber merchant told me he had some choice black walnut wood, I didn’t hesitate to get down there and get some off him. This quality of wood doesn’t come around every day, although it does grow on trees.
Walnut is a great wood to work with and machines and finishes superbly. Timber like this deserves to be used in something special and this piece although it looks deceptively tricky is actually relatively straightforward and something that will be of use for generations. The elegant curves of a cabriole leg add an organic feel to a table. The curves look quite complex and difficult to reproduce but in fact, they are relatively easy to cut with just a bandsaw. The first step is to work out a suitable size and determine the length of the leg itself, leaving enough material on the end to allow the leg to be attached to the table. Then select suitable material for the legs.
Grain
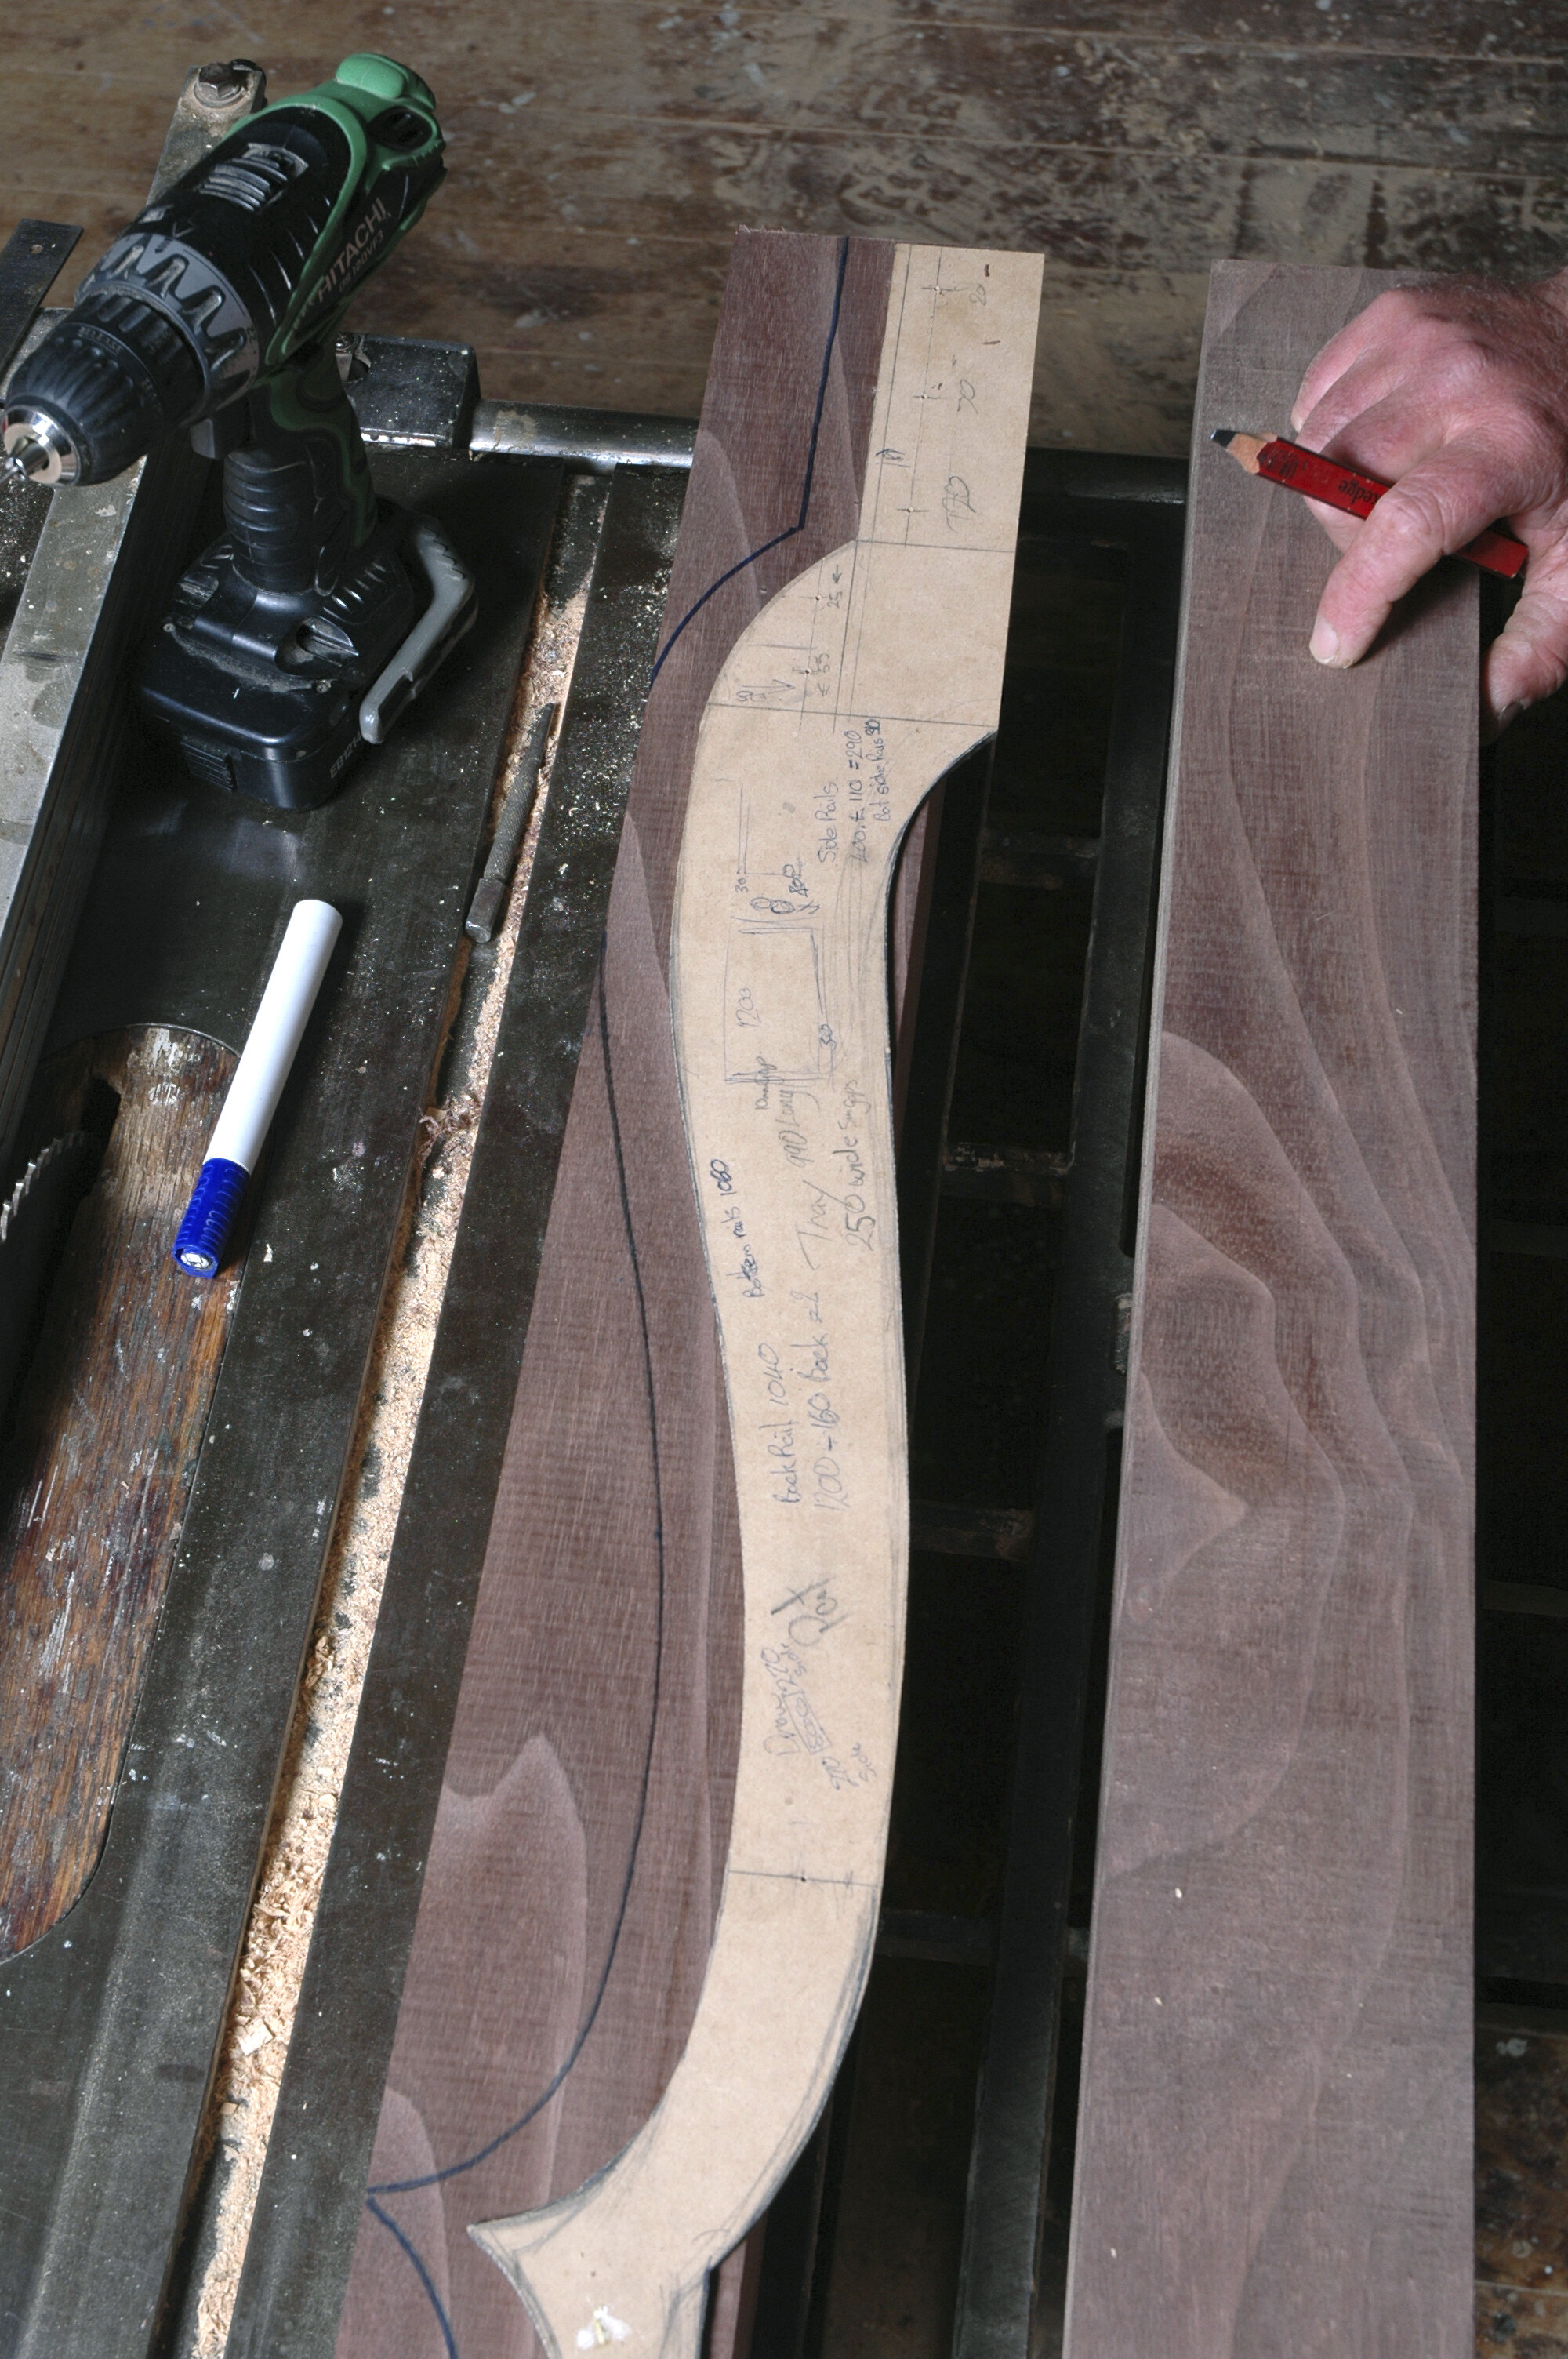
Ideally, you need straight grain or timber with a figure that complements the curves of the legs. Try to ensure that the grain in the legs is symmetrical and complements the opposite leg. Line up the two-leg blanks side by side to get the best side for the front-facing.
I have used a 90mm x 90mm blank which is normally laminated up out of 100mm x 50mm stock and machined to size. Next, I prepare a template so that both legs will be identical. I freehand the curves for the template until I get a shape that is pleasing.
The template, once cut and sanded smooth, is laid on one of the legs and a mark made all round. Then the other legs can be done. Take care to ensure that you place the template the correct way round. I usually mark which face is the outer face to save confusion with a mark on the foot in an area that won’t be cut off. Now flip the legs over in opposite directions and reapply the design. This is worth checking before you commit to it to make sure you are marking it the right way.
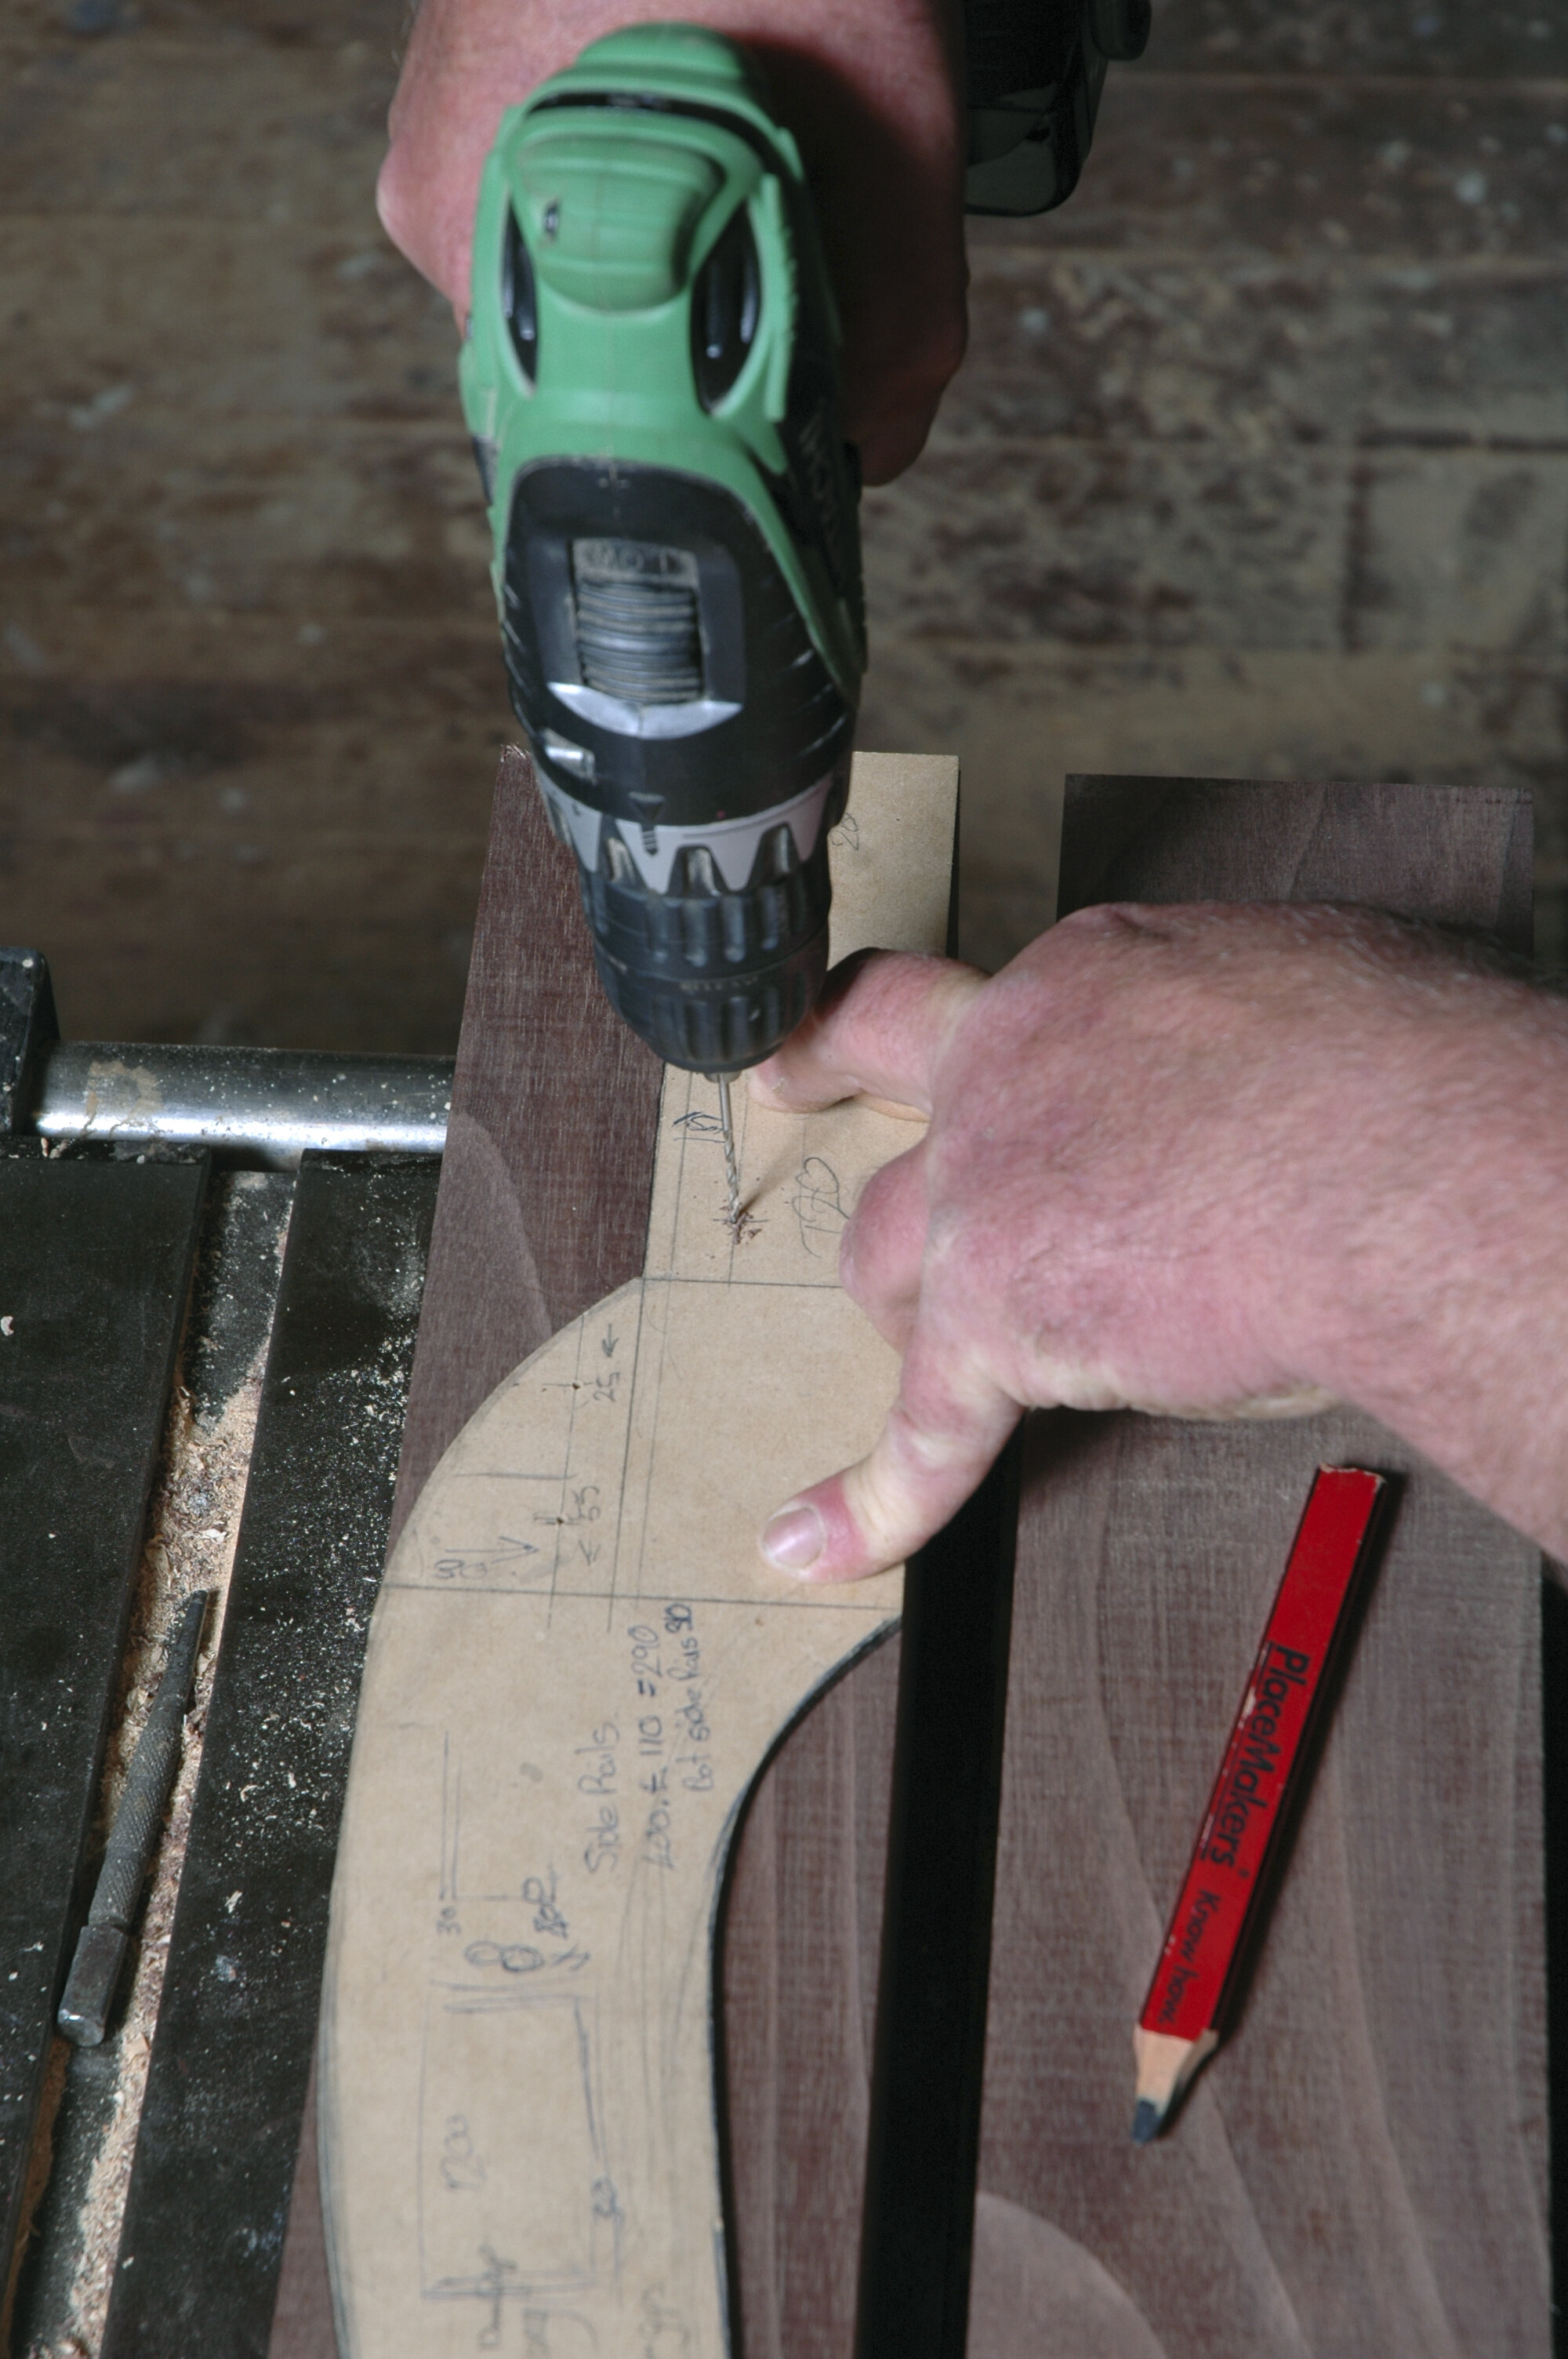
On the templates, I also mark the holes where I will later drill the holes for the dowels to connect the leg to the table. I drill pilot holes for these with a 2mm bit.
Leg profile
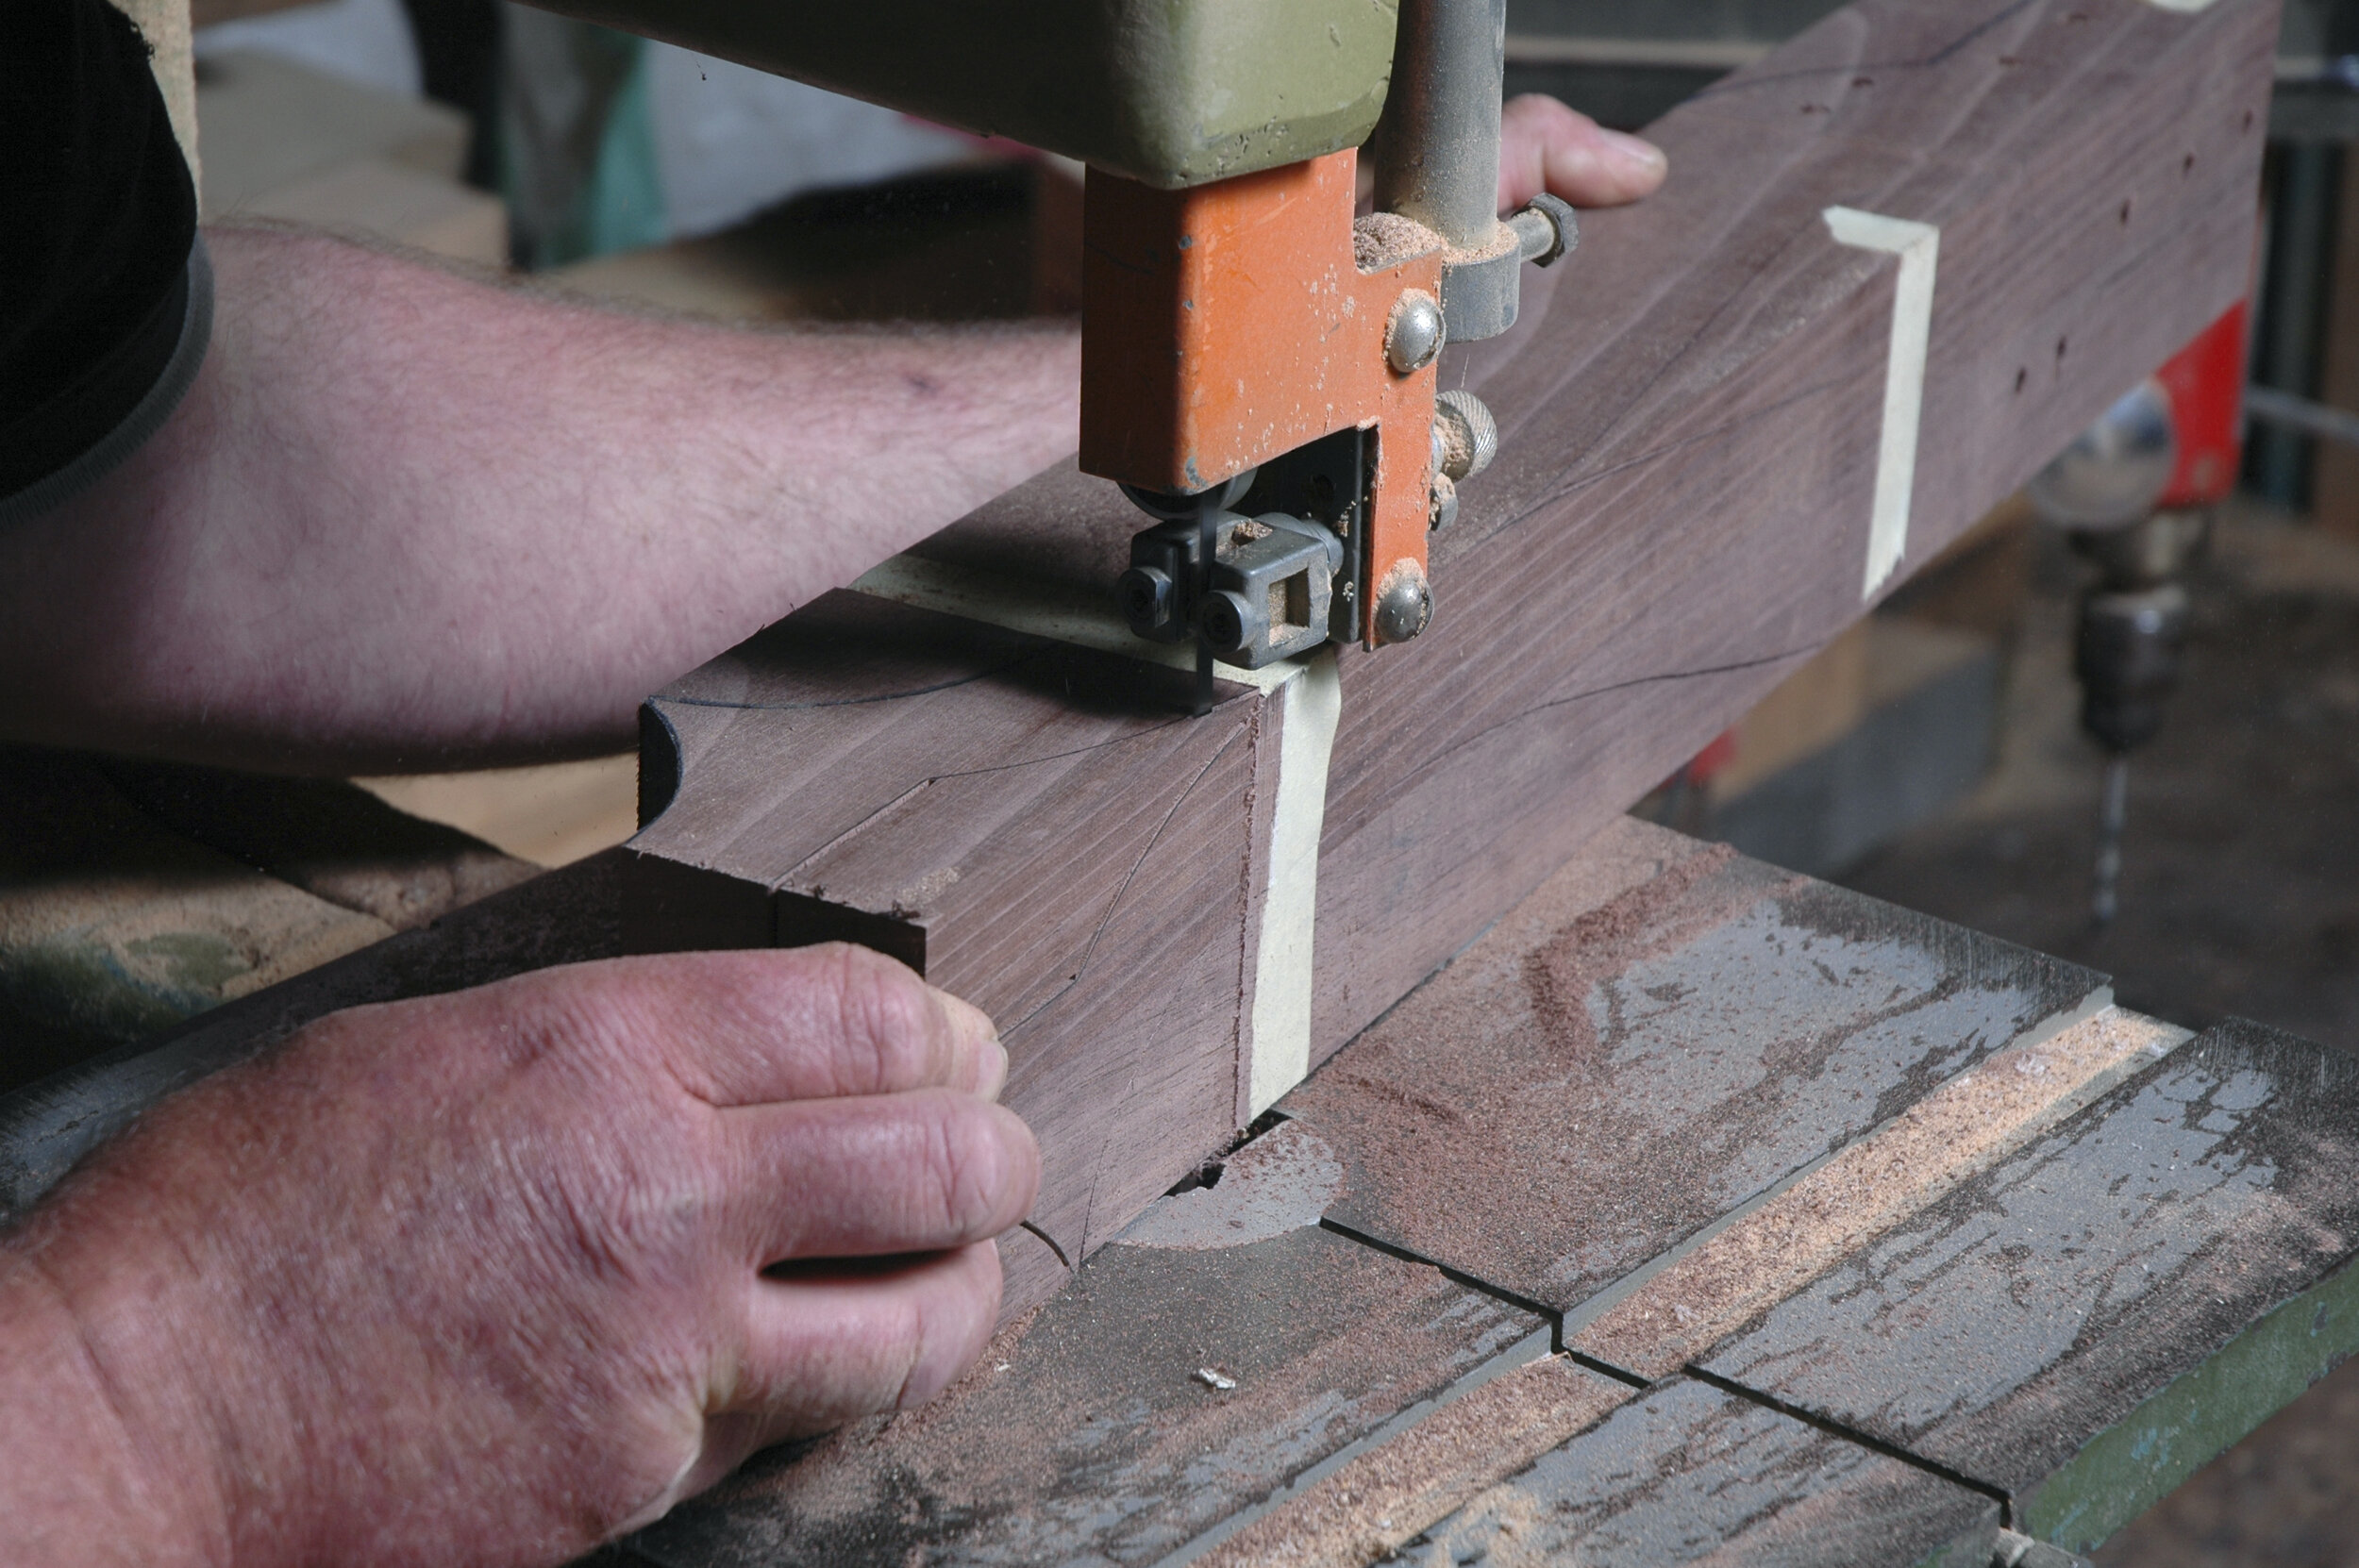
Now the leg is ready to be cut on the bandsaw. Select the blade according to the radius of the curves.
I use a 5mm blade with three teeth to the inch. It isn’t necessary to have more than 2-3 teeth to the inch for timber, especially at this size; in fact, more teeth can serve just to generate more heat and cut more slowly. Follow the line of the curve closely but stop before you cut off the piece entirely and back the saw out. Cut the entire face out, leaving this last hinge bit where possible. Don’t panic if you accidentally cut one off entirely. Many people do it intentionally.
The next step is to cut the other angle and for this, we simply turn the piece over. I use tape to hold the pieces together and you will have to do this if you have cut any pieces entirely off. If you left a hinge on the parts, it won’t be strictly necessary.
Cut all the curves on this face, too, and then carefully part the pieces off the leg. The finished leg is now ready to have the saw-marks sanded off and the curves faired. I tend to leave the tight angle where the curves intersect with the top for hand-finishing but the main faces are finished on a belt sander, a palm sander, and by hand.
Construction
With the legs finished, it’s time to tackle the rest of the table.
The aprons and knee blocks are all made from 30mm stock. This makes the construction relatively simple and it removes the need for any additional bracing in the corners. The back of this piece is constructed from flat stock, cut to shape with the knee blocks, leg shape, and so on, cut only in profile.
The table is intended to sit flush to a wall so there is little need to shape the stock. However, it is entirely possible to make four legs and finish this as a stand-alone table without the backboard. Cut out the pieces for knee blocks for the front and sides, the aprons and the centre-brace to length.
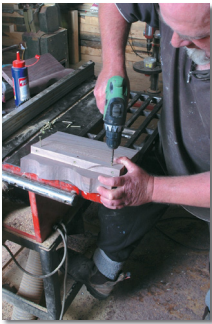
All pieces can then be drilled for dowels. It is vital to get the dowel holes square so use a horizontal borer if you have one, or a drill press, although that may be more difficult with the front apron. You could also cut mortise and tenons here or use a double row of biscuits. But I prefer dowels for their simplicity and speed. Dowels do require some accuracy in layout and drilling.
Knee blocks
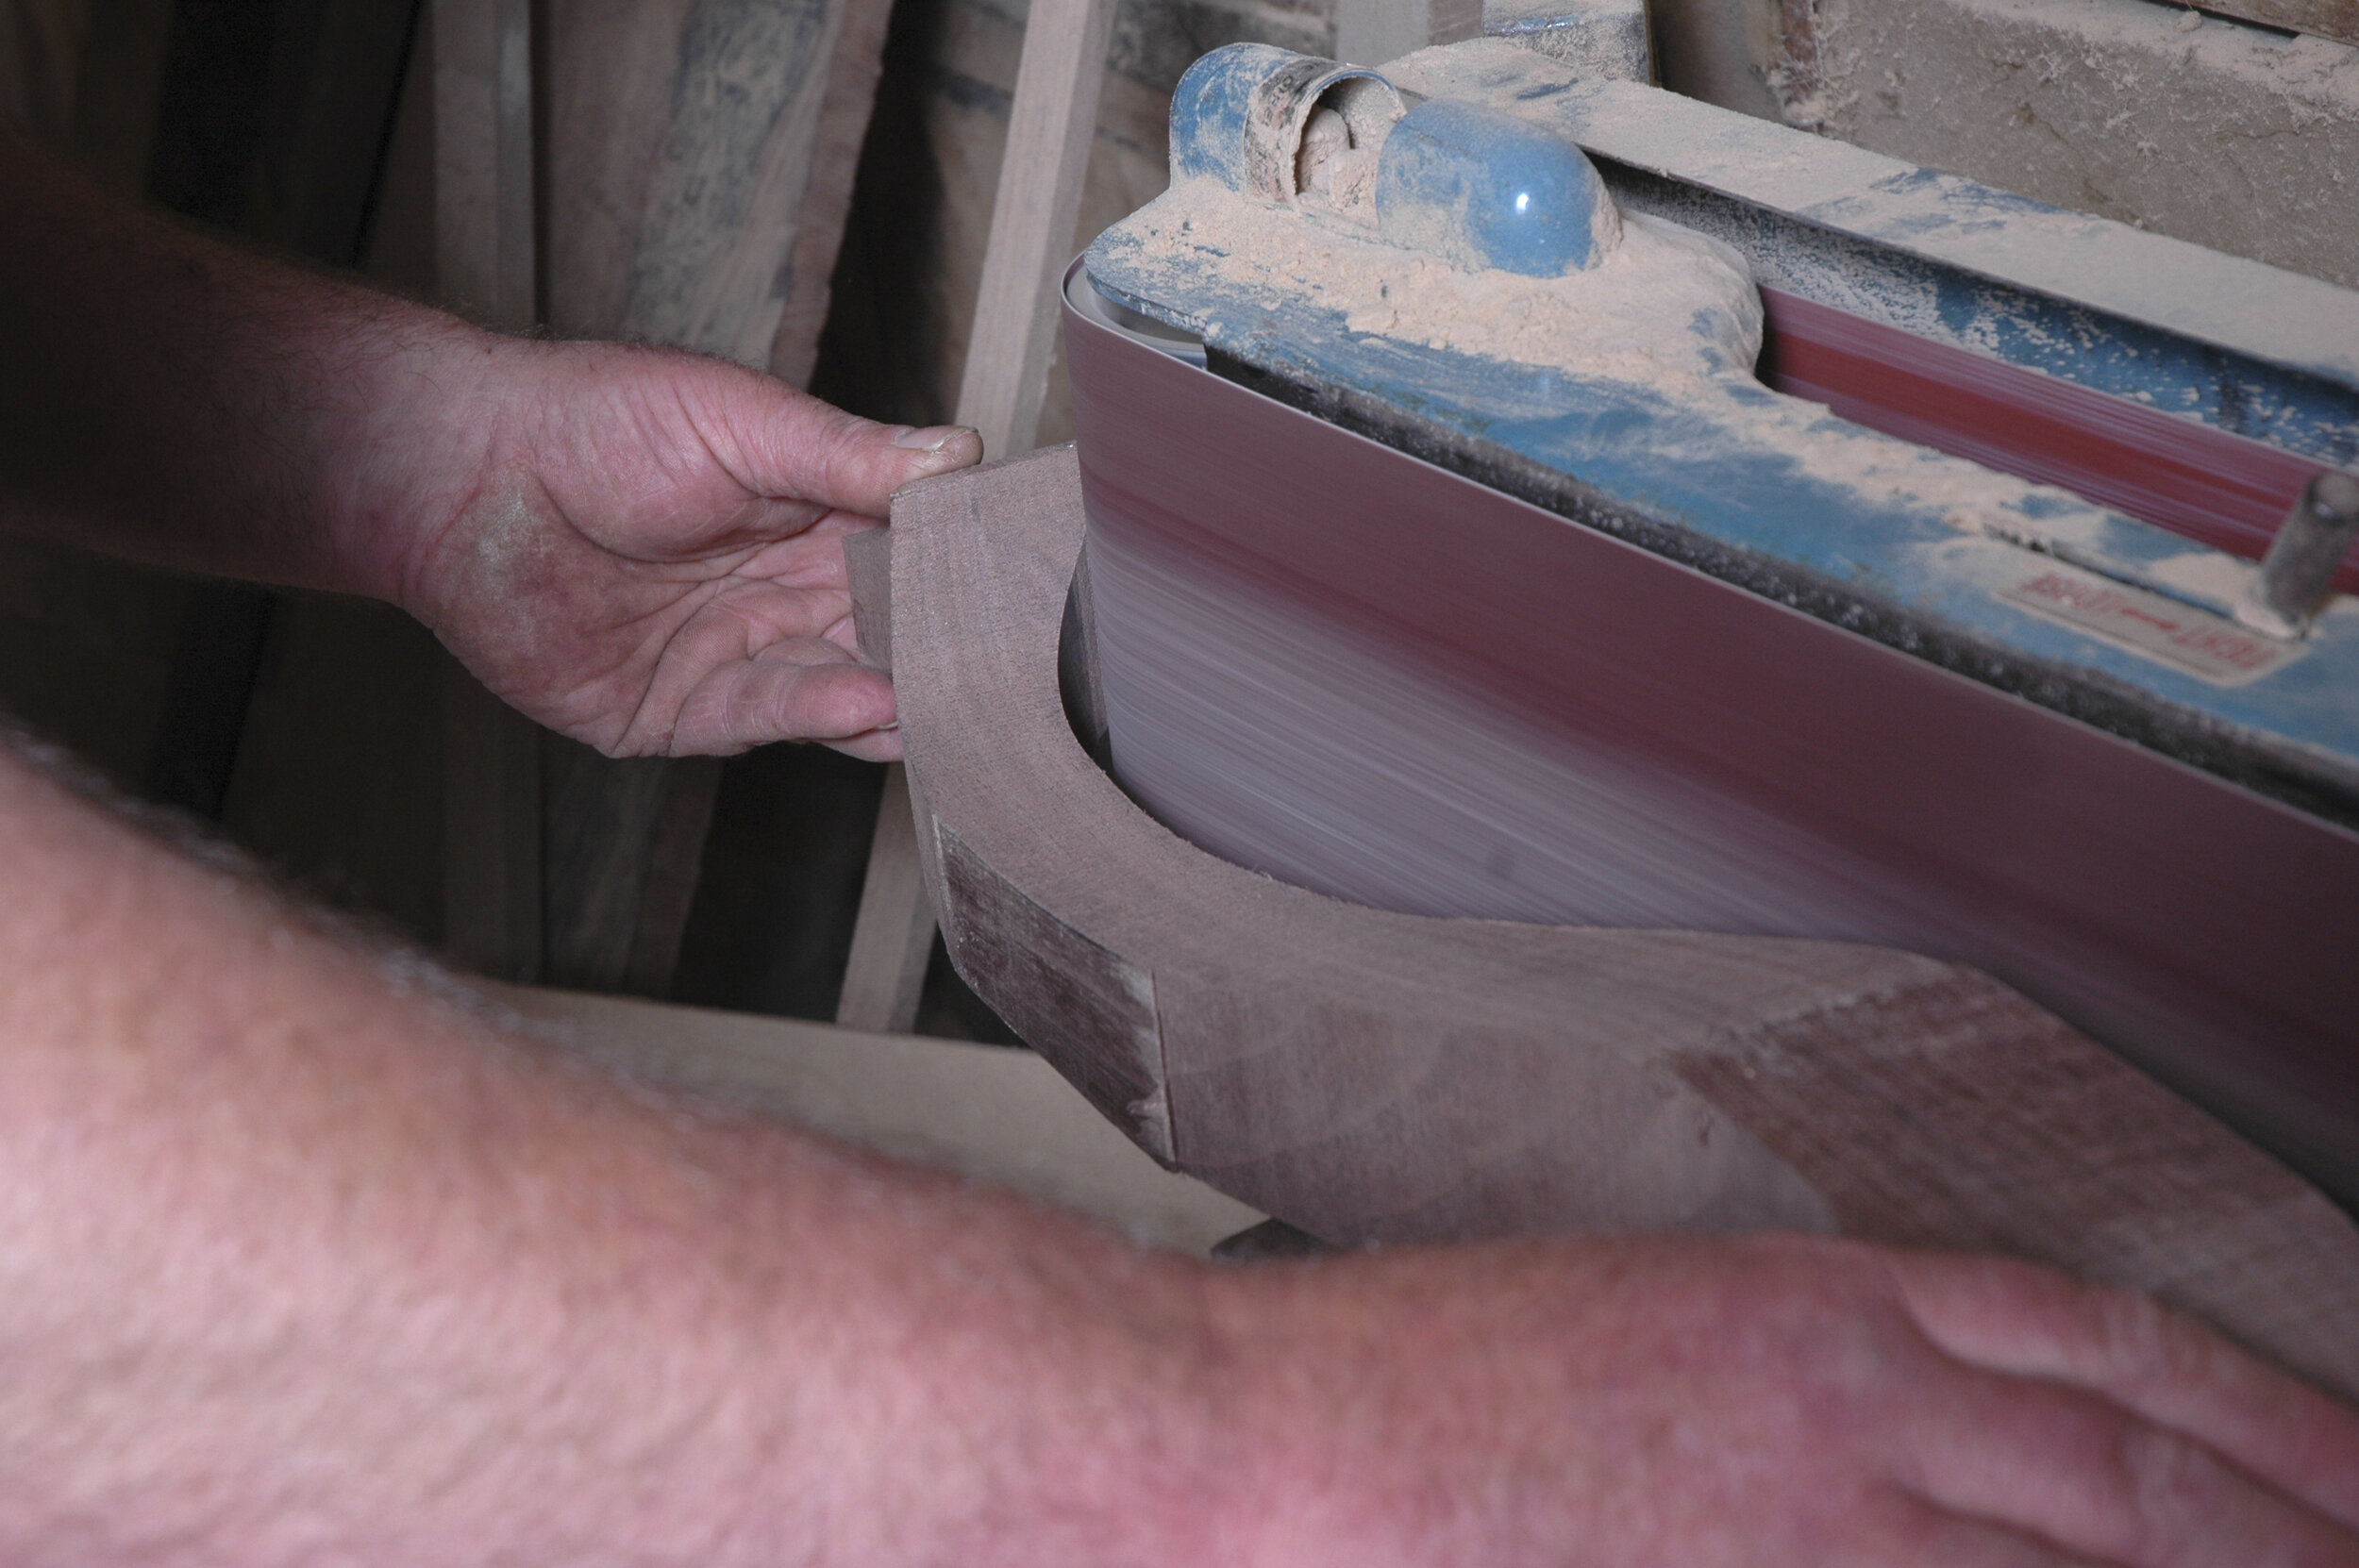
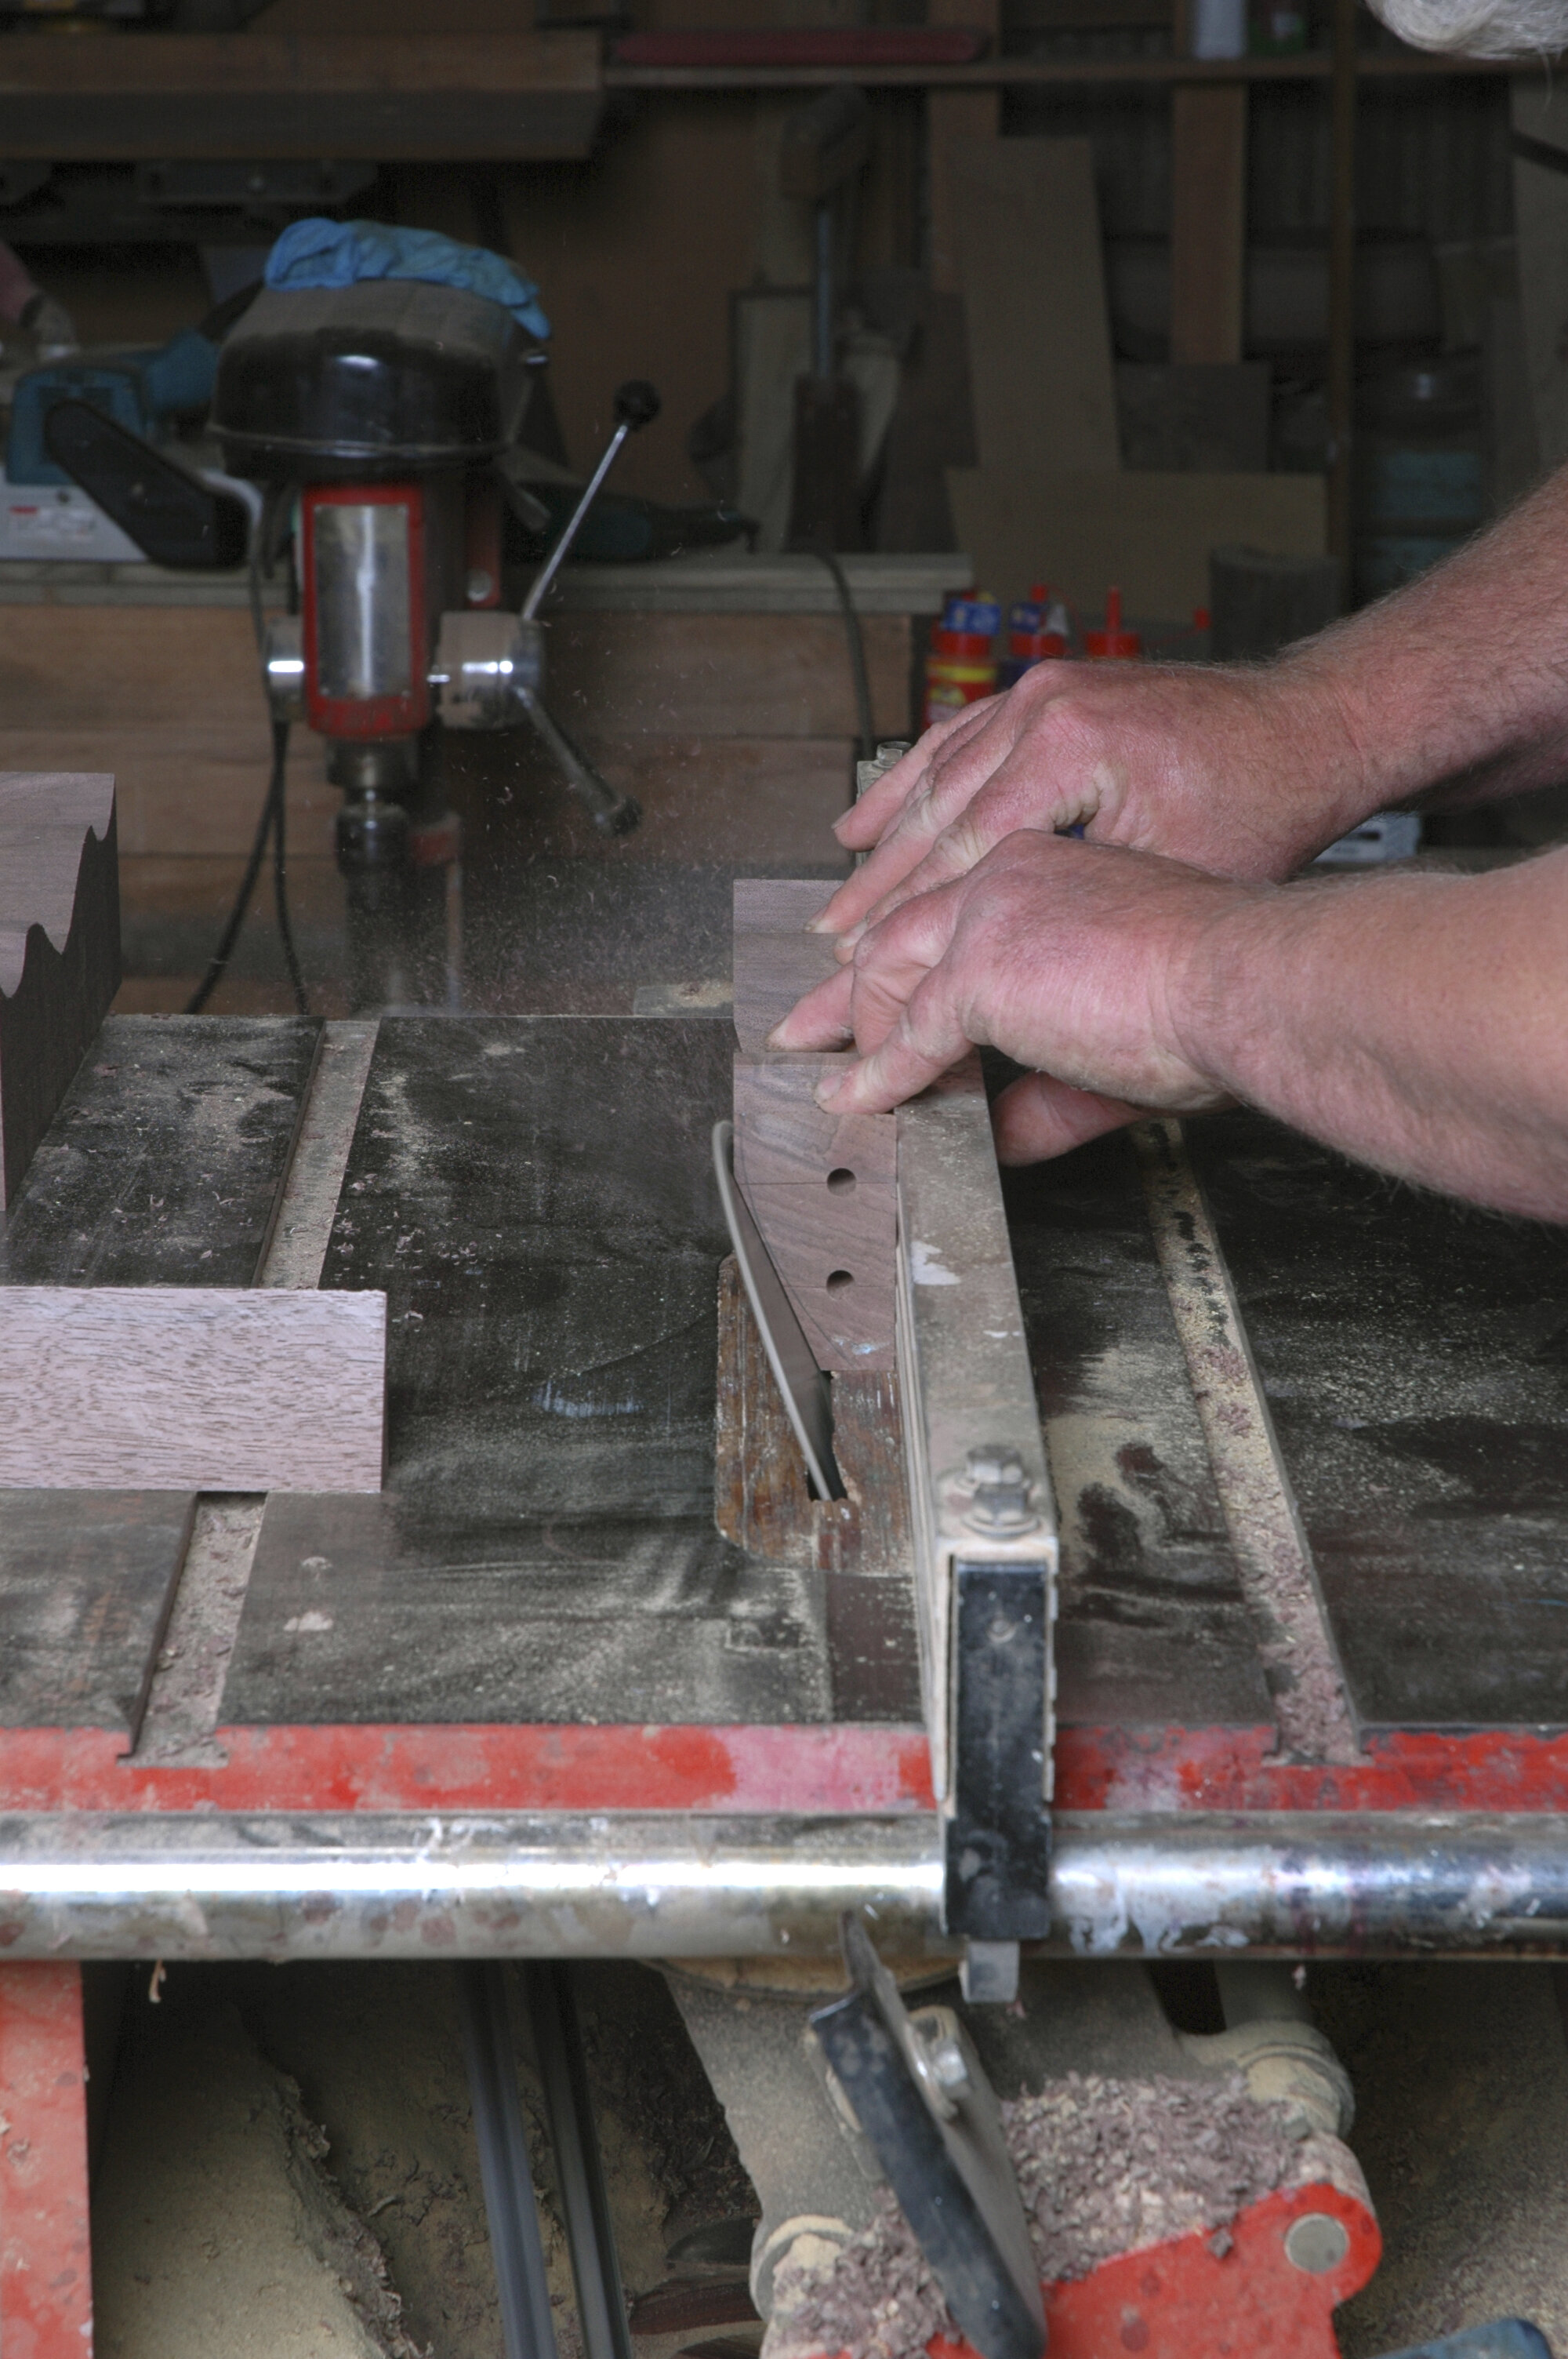
With the dowel holes drilled, cut the curves of the knee blocks for the front and sides on the bandsaw. Once these are cut, I add a couple of dowels and fit the knees to the leg temporarily to mark off the curve of the leg shoulder. Do this with all the block pieces. Then it’s just a matter of cutting away the waste on the table saw.
Make sure that you keep your fingers well clear of the blade because there is no way to use a guard in this process. I use a very fine 60-tooth finish blade as this leaves next to no saw-marks in the timber. Normally I can remove most of the waste with one pass and readjust the saw slightly to take any remainder. The outer curves are then finished on a belt sander. The knee blocks are attached to the aprons with the aid of a batten screwed to both the apron and the block apron. This is a piece 25mm x 25mm. I scribe a line 5mm in from each edge on the aprons and the batten is fixed up to this line. The kneeblock sits on the 5mm ledge.
Assembly
Once the aprons have been prepared, it is time to do the frame assembly.
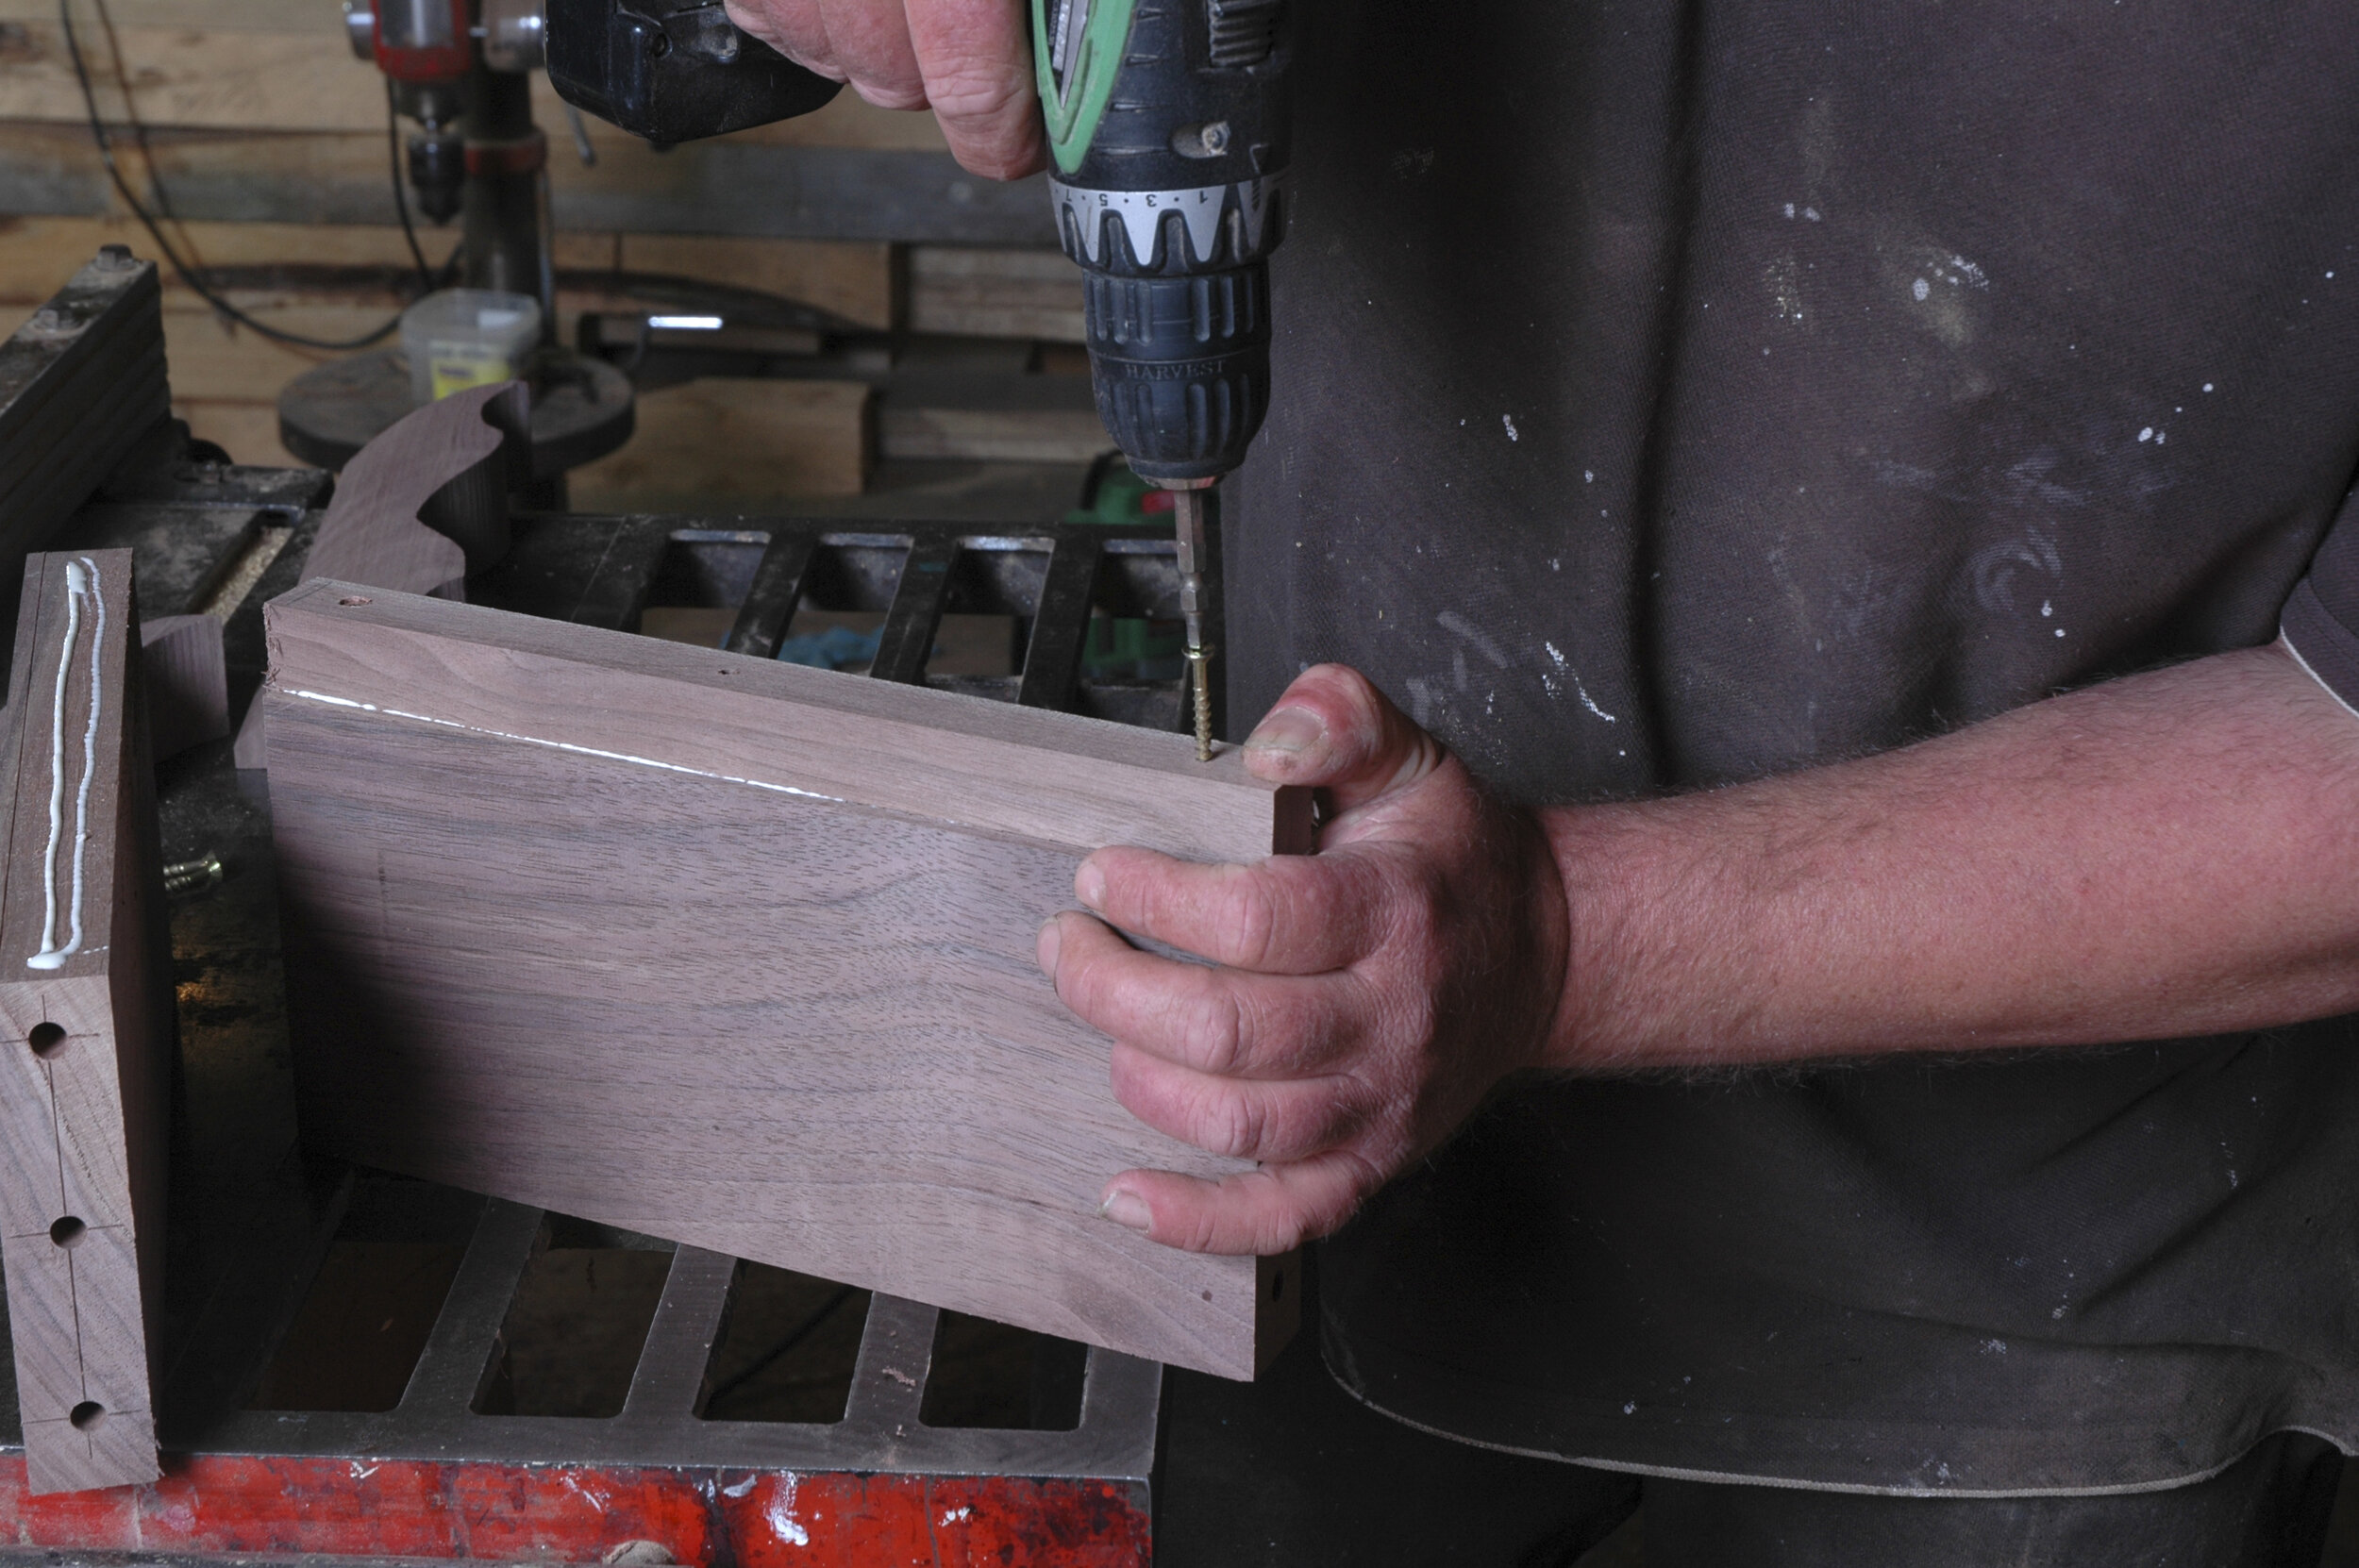
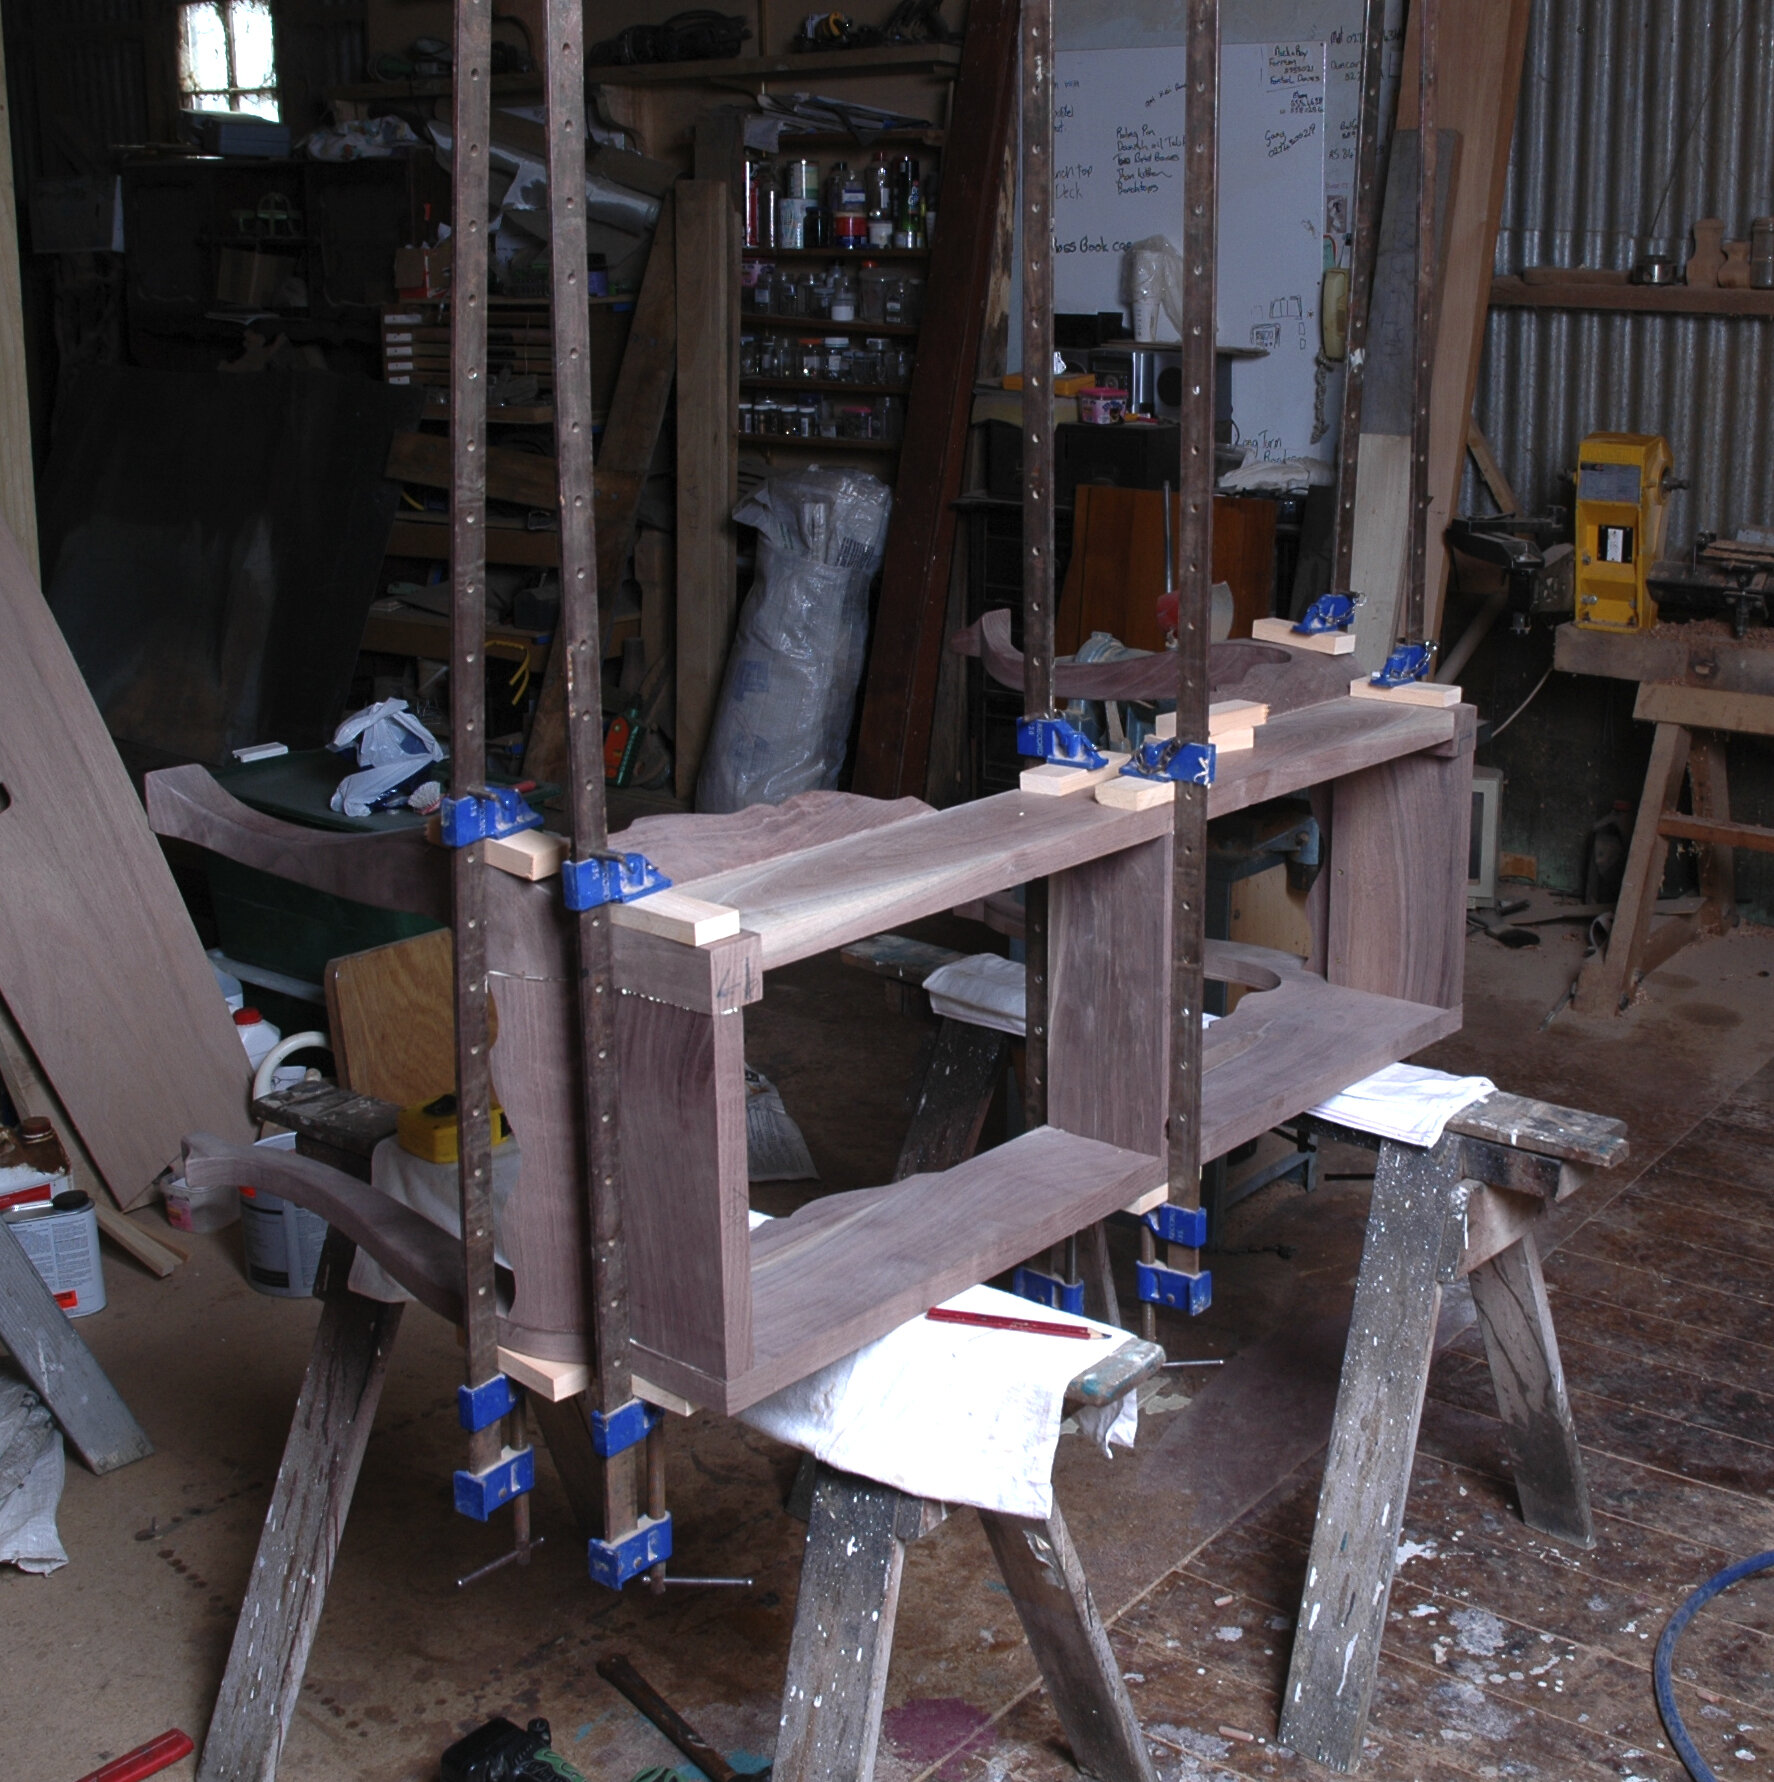
Fill all holes with enough glue and tap in the dowels. Spread sufficient glue on each surface and attach the front legs to the apron. Then attach the side apron pieces the centre support and finally the back piece. Clamp everything snugly together and let the glue dry
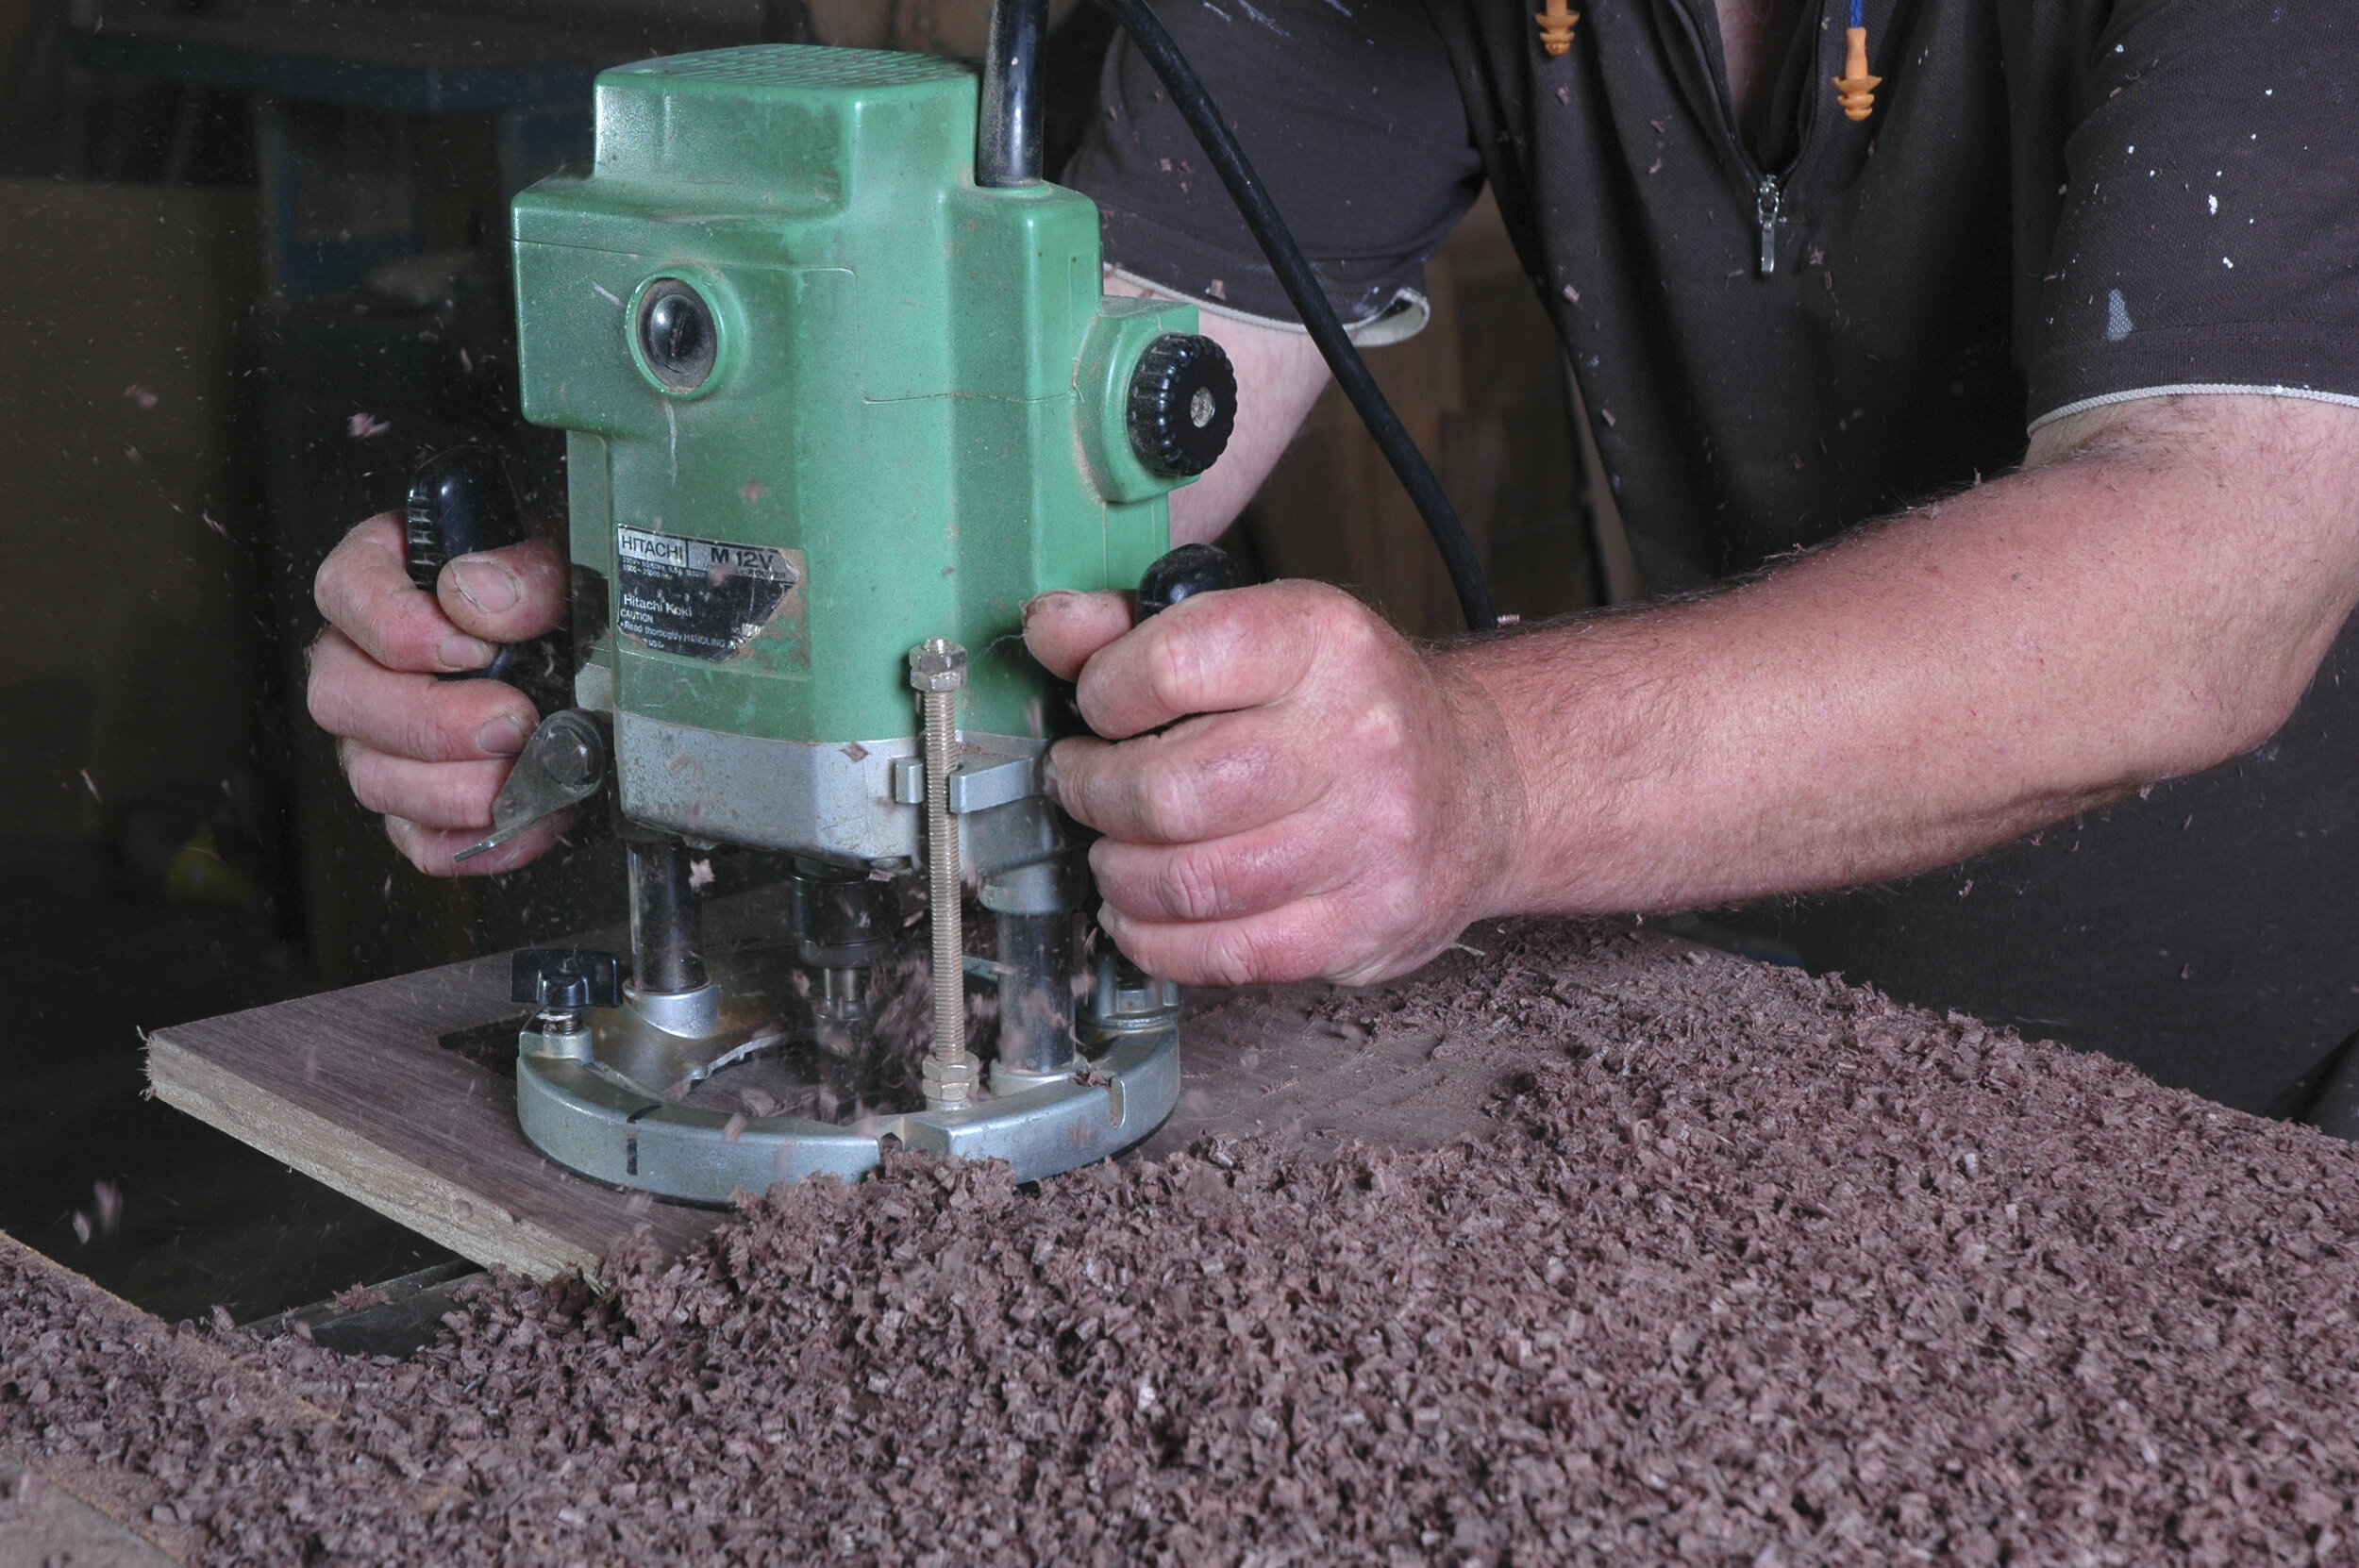
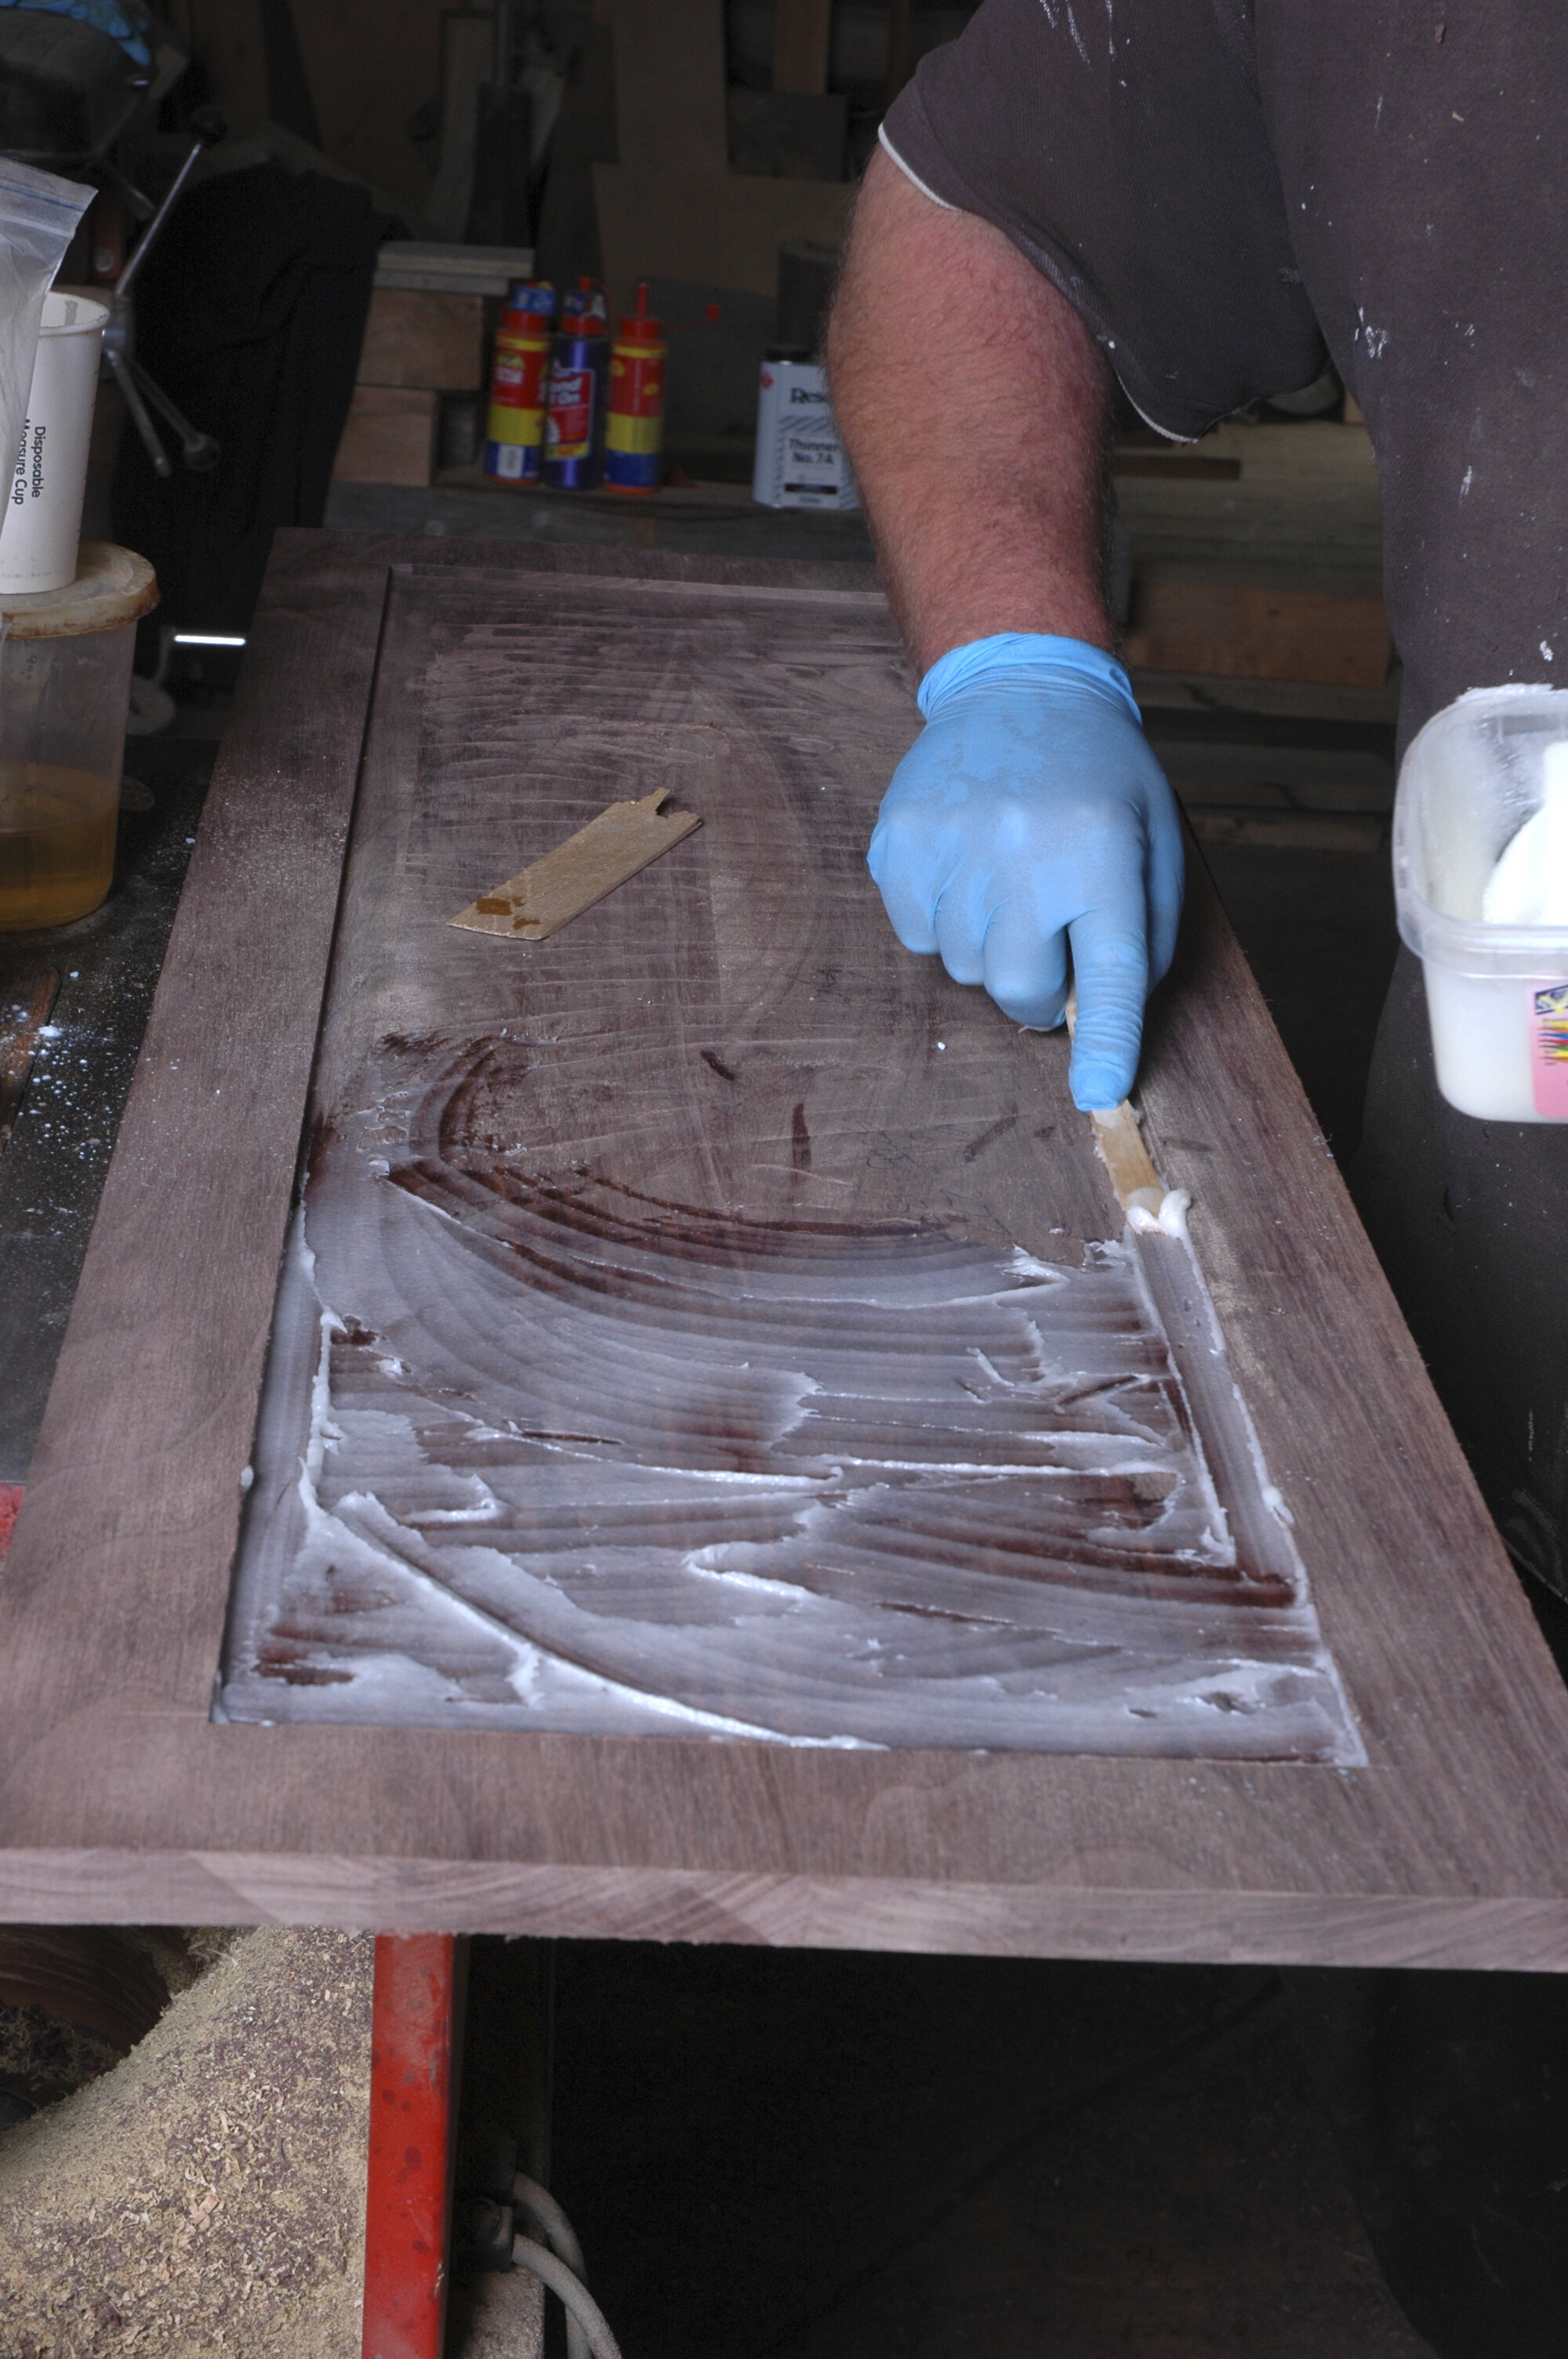
The top I prepared by joining three pieces of 130mm cut from 180mm stock to make up the full 380mm finished width. As I intended to add an insert of a contrasting wood here, I cut a rectangle with the router and fence 55mm in from each side. Take care when cutting out the rebate that you don’t overrun the mark. The original plan was for a rebate 60mm in from the edge but an overrun caused that to become 55mm…no-one is perfect. Take at least two passes with the widest router you have to a depth of 5mm, making the fence deeper by the width of the router bit each time. Once this is done you can freehand the rest out. Smooth out any high spots with a block plane and cut the corners square with a sharp chisel. I don’t aim to get the base absolutely flat as I use two-pack epoxy resin here with microballons … yep, boatbuilder’s material to bed the veneer. It also fills the gaps and self-levels. I don’t use aliphatic resin or PVC glue for veneer. It has a tendency to move; epoxy doesn’t.
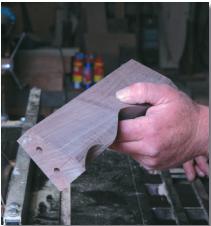
Finished leg
Cutting pattern on knee blocks
Marking the leg profile on the kneeblock
Black locust
The veneer I cut from a piece of robinia also supplied by Rarefind timber.
Robinia is also known as black locust. Its golden colour makes a good contrast to the walnut. I cut veneer on the table saw from 150mm x 50mm x 600mm stock. Although veneer of this thickness (6mm) can be cut on the bandsaw, I prefer the table saw. I book-match the pieces for the best figure, too, and once they are cut, mark the best faces and finish these by sanding once they are in place.
It’s too risky to try to plane highly figured timber like this because it increases the chances of tear-out. Cutting the pieces to size is critical and worth taking a little extra time over. The last thing you want to find is a gap at one end of your veneer. Remember measure twice, cut once. I first cut for width and when the pieces come together to make a tight fit I cut the length, again carefully, preferring to just sneak up on the right mark rather than assume it’s right on the line. Once everything fits, I prepare the adhesive and lay this on evenly.
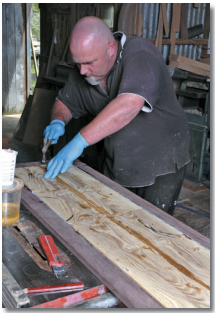
I set up the veneer and press it into place all at once. Occasionally, you might have to give one end a little nudge with a hammer. The veneer sits slightly proud of the rebate. This will be planed, scraped, and sanded flat later. I smear glue on the edges of the piece before pushing it home and carefully scrape off any squeeze-out. To keep them flat I have some hefty blocks to hold each piece and these are clamped to the top.
Marking out the 5mm shoulder
Fitting the pieces
Carcase finishing
Once the carcase glue has set sufficiently, scrape off any squeeze-out with a chisel and then smooth out the inevitable minor steps between pieces in the leg assembly until the legs and the knee blocks are one continuous curve.
I use a variety of tools for this including a spokeshave, block plane and a Stanley No 98 side rabbet plane which is ideal for getting right into the joint from the curve to the upright sections. I will apply a moulding to this joint later but it still needs to be clean.
The finishing consists of sanding and polishing the top smooth and cutting a bullnose on the three outer sides of the tabletop. The backboard can now be attached with screws from underneath and the moulding applied around the tops of the legs and base of the apron. The moulding is cut and mitred and applied with small nails and glue. Finally, give it one last sand with 240 grit and apply several coats of Danish oil to bring out the figure and colour and add some lustre.
Cleaning up the joint. This will be covered by a moulding
Black walnut
Hamilton Black walnut is one of the world’s best cabinetry timbers with many sought-after wood properties, very stable in use, and beautiful to work.
Black walnut (genus: Juglans; species: Juglans Nigra) also known as American walnut, Virginia walnut, Black hickory nut, Canadian walnut, or walnut Canaletto. Native to the North American continent, it is a deciduous, medium-density hardwood with fast to medium growth and medium to large trees. It has edible fruits, with oil made from the nuts.
The wood is a fine dark colour, ranging from dark brown to black, with purple or blue hues, while the white sapwood is very distinct from heartwood. It is often straight-grained. The crotch-wood is highly figured and stable and sought after for gun stocks. It is durable, with good steam-bending rating and strength. New Zealand-grown wood compares favorably with American-grown material. The wood nails and screws well and takes glue, stains, and polishes to an excellent finish.
The heartwood is naturally durable, but the sapwood is susceptible to insect damage. Used for gun stocks, fine furniture, joinery, boat-building, carving and turnery, musical instruments (guitar back and sides), and veneer.
Rarefind milled a log that dried very well, with negligible shrinkage and no collapse in 50 x 250mm boards. The best log was 1.5 m in diameter at the base, 5.2 m in length, and 1.10 m in diameter at the small end.
The trunk milled out clear boards 55 x 205mm to 55 x 255mm.