Tradition runs deep in antique furniture restoration
By Jon Addison
Photographs: Adam Croy
In parts of the country rockets are being fired into space and cows are being milked by robots, but in Auckland glue made from boiled-down cow and horse hooves is still being used in the restoration of antique furniture, maintaining a tradition stretching back at least 4000 years.
Animal glues were certainly used by the Egyptians as far back as 2000BC and may have been used thousands of years before that, but Philip King of Ellerslie-based Philip King Restorations Ltd says that when it comes to jobs like gluing down veneers, it’s still ideal.
“Cows’ hooves and a laundry iron will still get it down,” he laughs.
The glue is painted onto the substrate surface while hot and allowed to set by cooling. Then the veneer is positioned and a hot clothes iron applied to heat and re-melt the glue beneath it. A characteristic of the animal glue is that as it dries it shrinks and pulls together the pieces being joined.
Another benefit of animal glue is that it can be softened with water so glued parts can be separated without damage. And, because it becomes brittle, a piece of furniture can be broken apart with relatively little damage to the wood.
“It’s not the only glue we use, of course,” Philip adds. “Even with veneers, we’ll use ordinary Super Glue to stick down a small repair patch. You can hold the repair piece down for a few minutes with your finger and it’s there. Then a light sand before the glue is completely dry will result in the dust being stuck in the glue, which helps disguise the join.”
Dramatic change
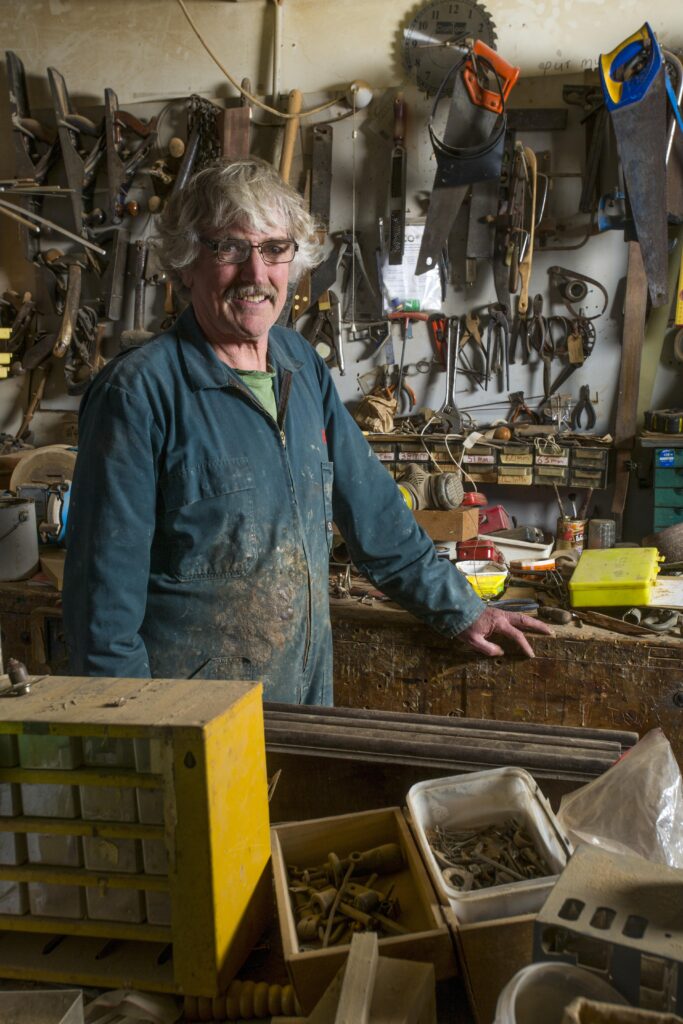
Philip King was employed in insurance when he decided he wanted to work with his hands. So he joined furniture manufacturer and restorer C.F. Neary Ltd before starting his own business under his house in Remuera in 1991. Soon afterward, he moved to a commercial building in Marua Road, Ellerslie, Auckland, where he now owns two units and employs four staff.
This period has seen a dramatic change in the antique furniture world. The appearance of very cheap new furniture from Asia has seen both substantially lower price expectations and the demise of many New Zealand manufacturers, which has been reflected in falling antique furniture values. At the same time, the advent of TradeMe has increased competition, also pressuring prices southward.
So it can be cheaper to purchase than to restore, and Philip fears that the shoddy construction of much cheap modern furniture means that it will never be worth restoring.
“I think the only area where prices have held up is what I call Reader’s Digest furniture – the Scandinavian-influenced retro furniture made in the late 1950s and 1960s,” Philip says. “Good Art Deco furniture has also held up quite well and is still reasonably popular.”
Around 75 percent of his firm’s work now comes from insurance companies with the remainder through word of mouth and, increasingly, the Philip King Restorations website.
Wood Works
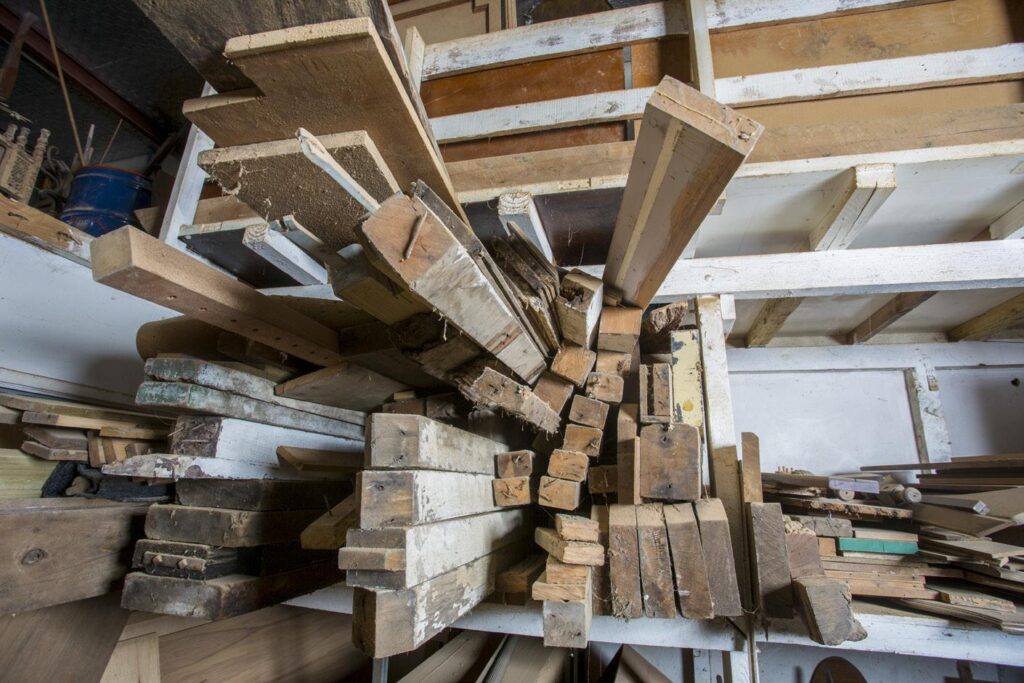
Repairing a damaged piece of antique furniture often entails finding a matching type of wood. The bad news is that that’s difficult to source and becoming more so.
“In the past, there were the European staples – walnut, mahogany, oak, teak, and maple – and native New Zealand woods,” explains Philip. “Now there are all sorts of lesser-known species coming in from places like Asia and South America.
“I’ve been in the business almost 40 years and my father was a cabinet maker, but I can still only look at the colour and the type of grain and hope I get it right.”
For example, he pointed to the base he’s making for a Venetian funicular: swamp kahikatea, but even an expert would have been foxed. Ditto for a panel made from South American rosewood.
Even some of the traditional furniture wood types aren’t what they used to be. Philip says lack of Government support has resulted in New Zealand cabinet making shrinking to a level 90 percent below that of the 1980s, which has reduced the demand for quality wood. The result is that timber merchants no longer stock it.
“Generally speaking I can identify most woods,” Philip concludes, “but I can’t explain how I do it.”

Useful tips
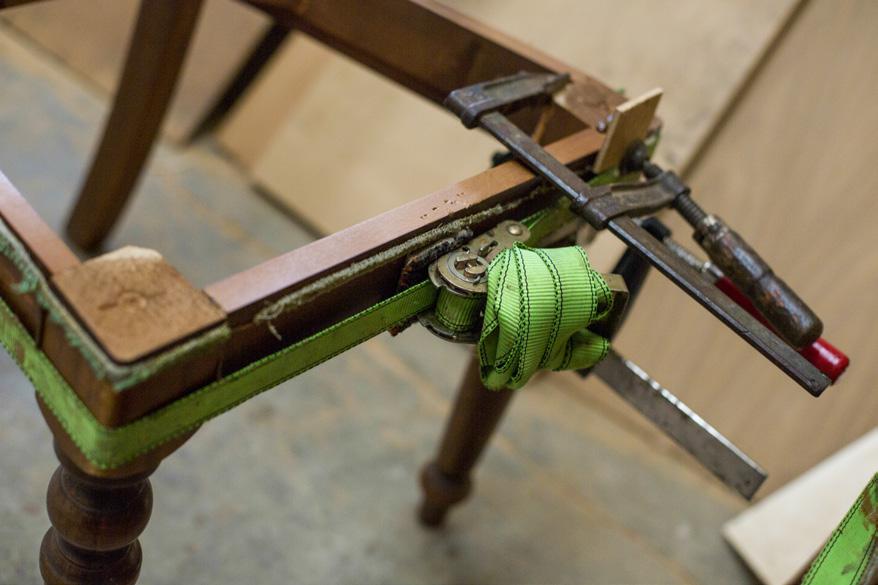
Of course, few sheddies would be daunted by the prospect of repairing a broken table leg, gluing down a bit of lifting veneer, or straightening a warped drawer, but even in these basics, Philip has come up with methods to make the tasks simpler and more effective. For example, a great collection of very long floor cramps hangs largely unused on the back wall as he’s found that using ratchet tie-downs can often do a better job of supporting a joint while glue sets.
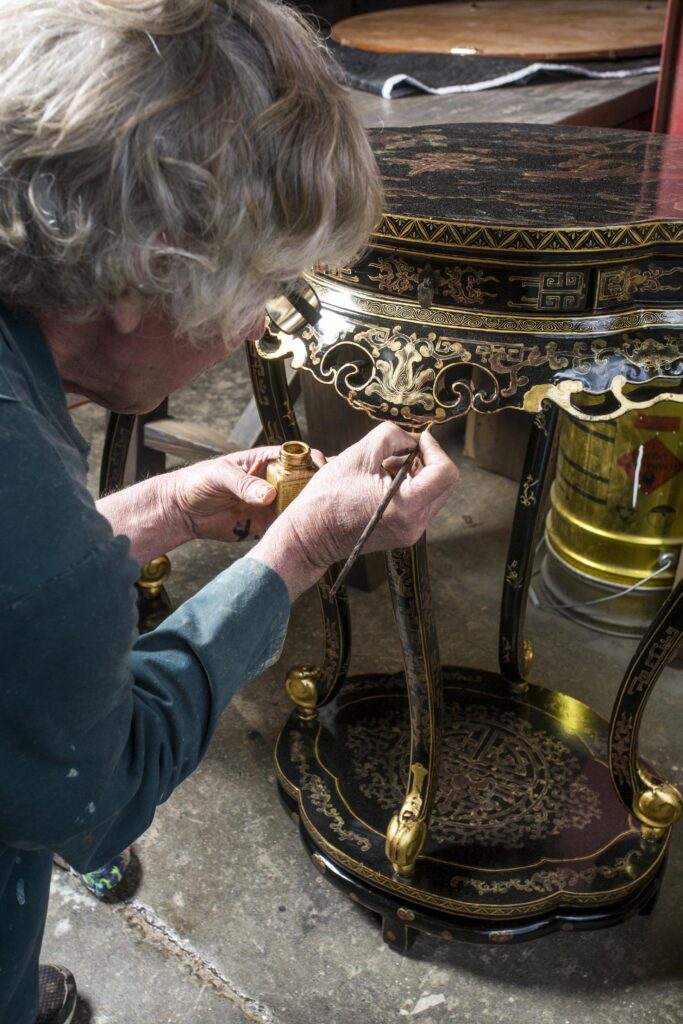
Where the amateur is likely to come unstuck is in the finishing processes – staining, lacquering, or French polishing – particularly if the finish on a repair has to match that of the original piece.
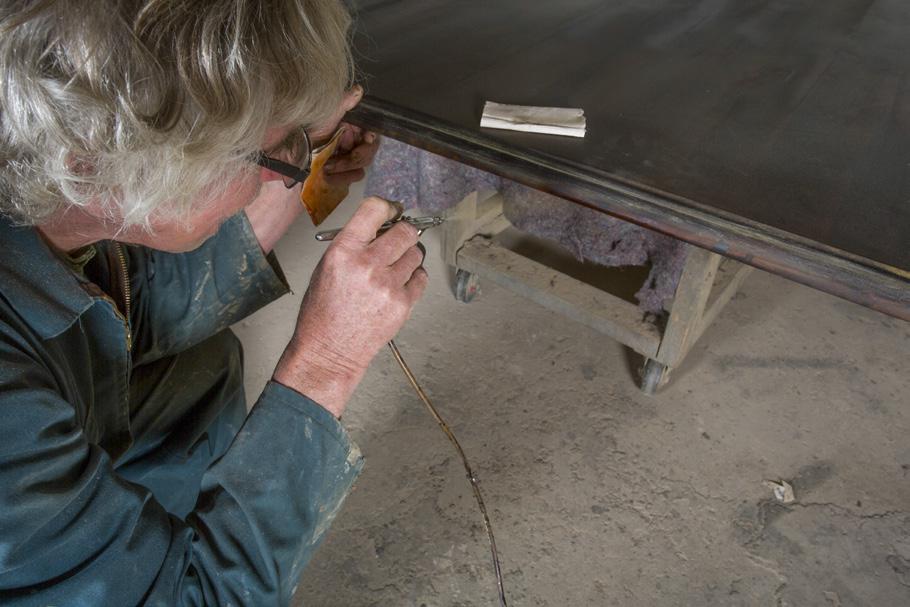
Traditional French polishing actually describes the application of shellac, which is a natural resin sourced mainly from India and Thailand and delivered in the form of hard flakes. These are dissolved in methylated spirits and brushed or wiped onto the wood.
“Back in the ’60s a very high gloss was popular, so 20 or more thin coats of shellac were applied and buffed up,” Philip explains. “However while it does produce a lovely patina, shellac is probably the least durable of furniture finishes. It’s slightly porous and susceptible to damage from water, alcohol, and heat.”
Tricky process
Because its application is so labour-intensive French polishing can become expensive, and it calls for an experienced hand. Experts can finish the process by wiping the surface with straight meths, but a fraction too much will begin to dissolve the shellac, while slightly too little will create drag. Because of this, the final stage is usually applying furniture wax, which Philip and his team do with an extremely fine grade of steel wool.
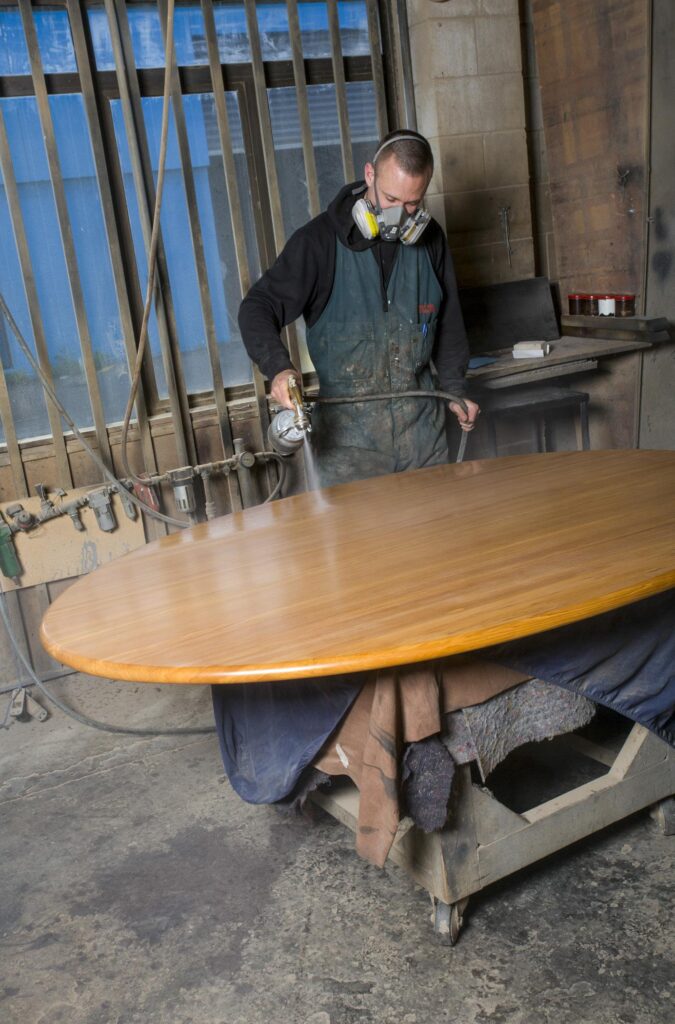
“We tried to keep the cost down by spraying shellac, but it was an absolute disaster,” Philip adds. “The coats are just too thick when sprayed.”
However, more modern lacquers can be sprayed, with two-pot urethane ones requiring just two or three coats, while standard furniture lacquers will need three to five coats. The nitrocellulose furniture lacquers developed between the World Wars and the newer two-pot lacquers are more durable than shellac and less labour intensive to apply.
“We leave it to the customer to choose,” says Philip, “but we steer them away from French polishing on tables because of the susceptibility to damage.”
Tools of the Trade
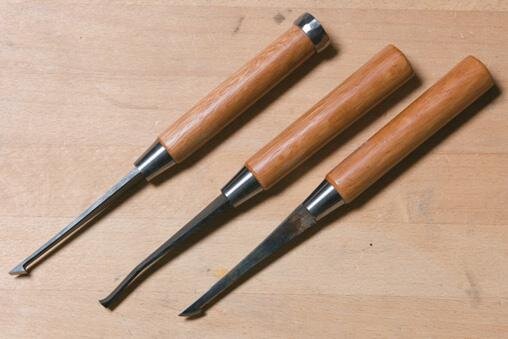
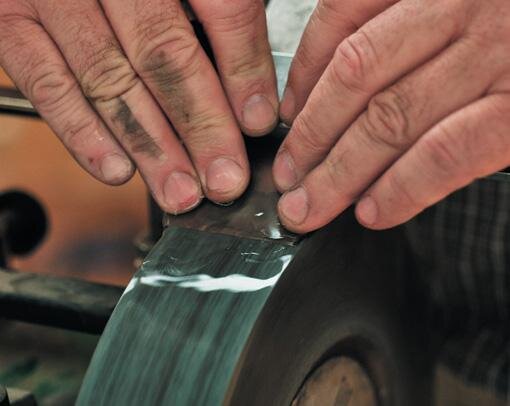
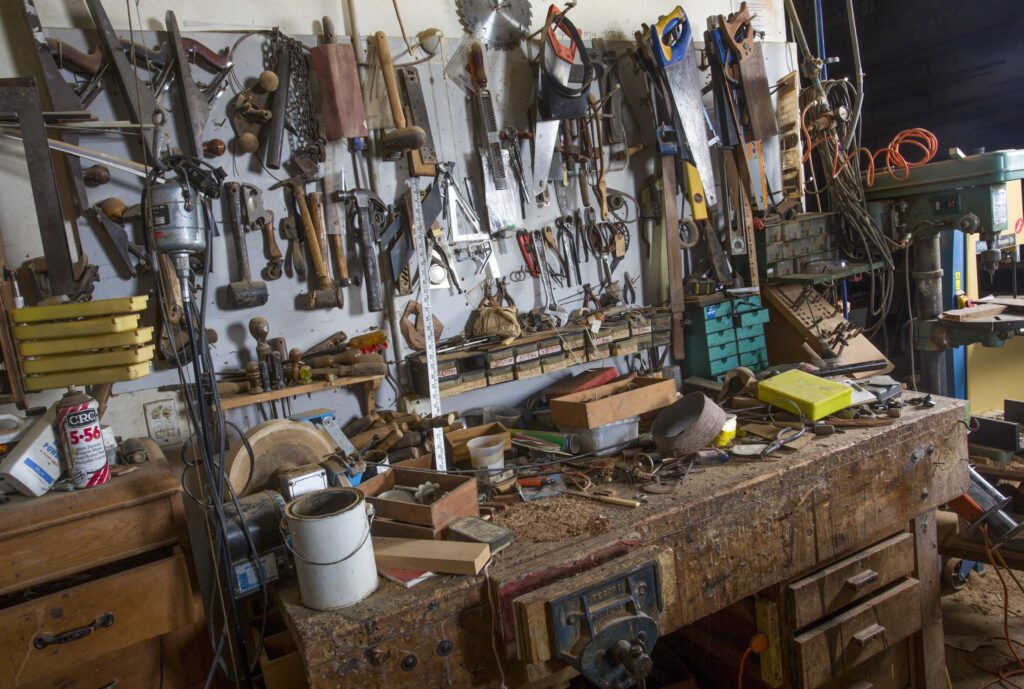
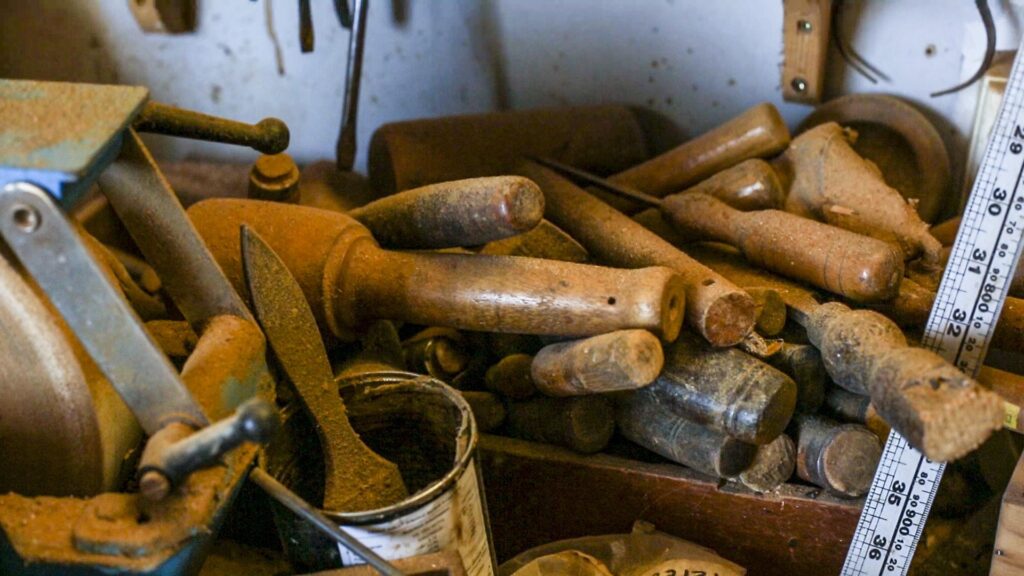
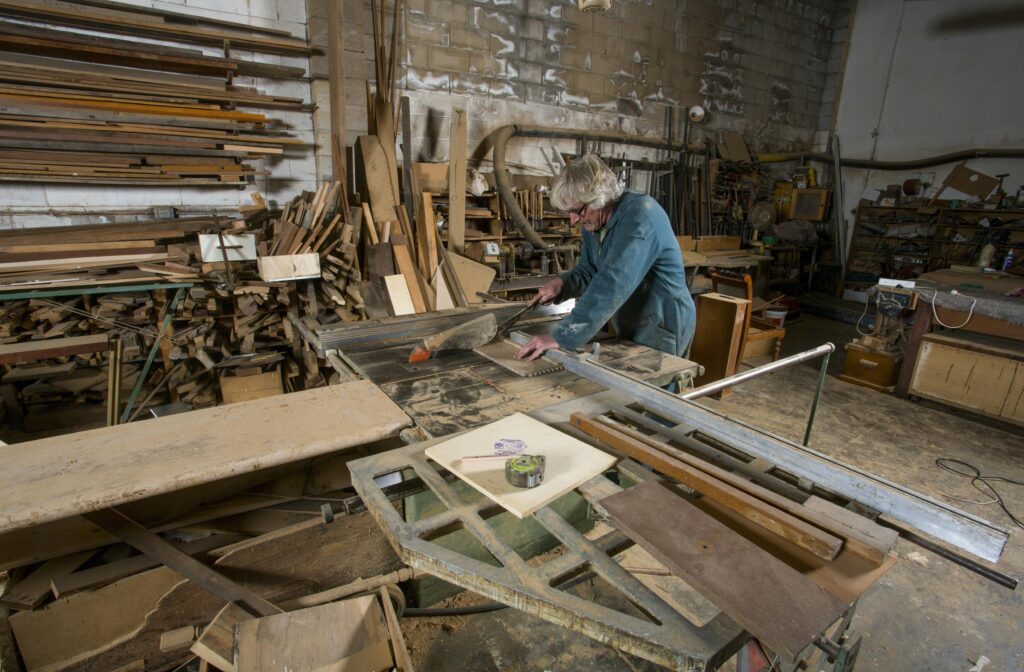
Don’t expect to come across any large CNC machinery in the Philip King Restorations workshops – hand tools rule the roost.
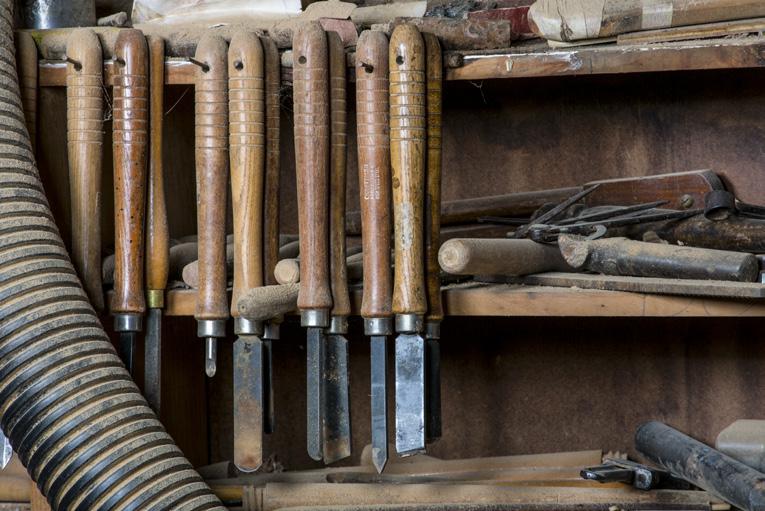
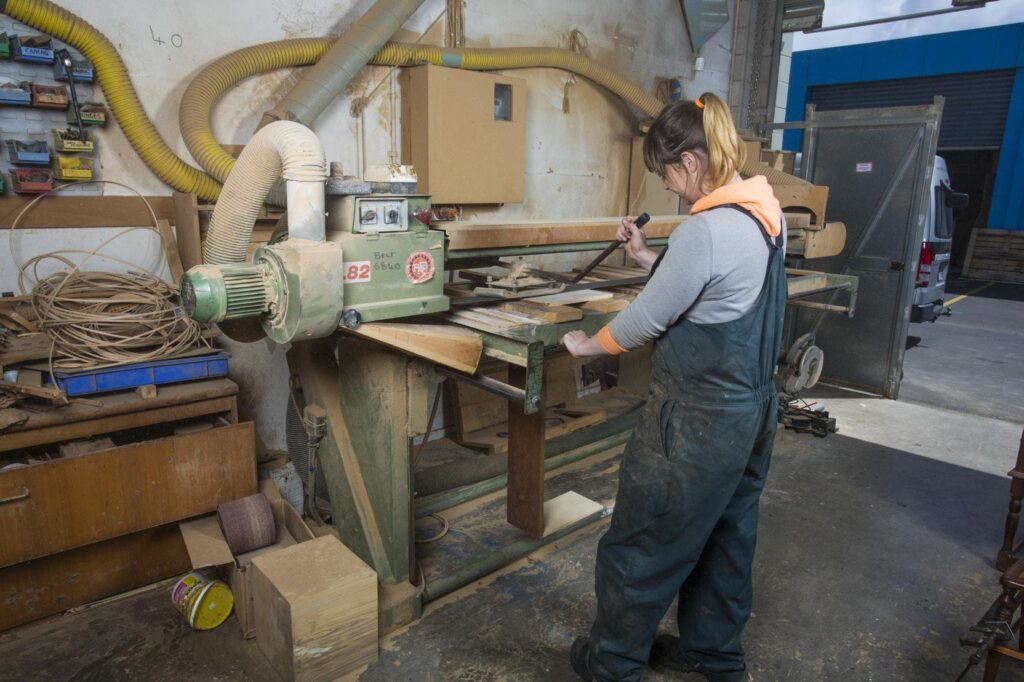
“Oh, we do have a bandsaw, a bench saw, a lathe, and a table sander, but almost everything is done by hand, whether it’s a power tool or a hand tool,” Philip says.
Angle grinders are used for roughing out shapes, and a Dremel is used for the finer work. Random orbital palm sanders, electric chisels, and routers get a lot of use, too.
But often, the old tools are best: “You can’t beat a chisel and mallet for carving, but it’s very time-consuming,” Philip says. “Because of this a basic ball and claw leg will cost between $200 and $300 to produce.”
It often transpires that a handsaw will turn out best for a cut, probably because that’s the tool that was used originally.
Painting and staining
Some antiques are painted and Philip has a tip for re-finishing these: “Instead of stripping the piece we lightly sand the original paint, just enough for the new paint to adhere. Then the paint doesn’t penetrate the wood and it can be stripped back later.”
Whatever the surface finish, the staining beneath it is likely to be the most challenging process for amateurs, and Philip admits that after 40 years he still confronts challenges, particularly when dealing with pieces that have been badly stained in the past.
For a start, there are different types of stains – modern water-based stains that Philip says are relatively forgiving to apply, spirits-based stains, and pigment-based wiping stains.
“All of them soak into the wood to a greater or lesser extent,” he says. “But it’s vital to use them sparingly or they will result in a finish that looks painted. With water-based stains, it’s easy to mix colours to get the right shade and the only real negative is that they can raise the grain a little. With spirit-based stains, it can be very difficult to apply polishes over them without them bleeding into the lacquer.
“It’s also possible to mix stains into the lacquer, but the disadvantage is that any chips will expose the clean wood underneath.”
However the most difficult part of staining is getting the colour right, and the golden rule, says Philip, is to ignore the name on the tin. To demonstrate he opens a tin marked kauri, revealing a yellow-orange colour nothing like the actual wood.
“We start with either walnut, which is basically brown, or mahogany [red] and tweak the colour with yellow, red, or blue from there,” Philip explains. “It’s absolutely essential to have a colour wheel when mixing stains.
“This is one of the most important aspects of antique furniture restoration as virtually every piece is stained,” he adds.
Antique Hardware
Remember plain steel, slot-head screws? They’ve all but disappeared in these days of stainless steel square drives and electroplated Phillip’s head screws, but only the old-fashioned variety will look right on a piece of antique furniture, even if it’s usually hidden away on the back or underside of the piece.
Finding the right bit of antique hardware can be a problem for Philip King Restorations and it’s likely to be even more a problem for the home handyman.
“Decent brass hinges have become difficult to find,” Philip says. “And getting full sets of matching castors or drawer pulls can be really tough.
“We go to garage sales and watch listings on TradeMe and have even salvaged bits from the roadside. We also have sources overseas,” he adds. “For example, cabinet door and drawer locks are often available from England and sometimes from Australia.”
If he’s repairing a chair missing a castor he will often find a new set of four and will always keep the three he removed to recycle into a new set.
Philip does warn that the only metal that should be used is in screws and nails – no metal brackets or gussets to secure pieces of wood as varying expansion rates will result in moving joints.
Restoring cane
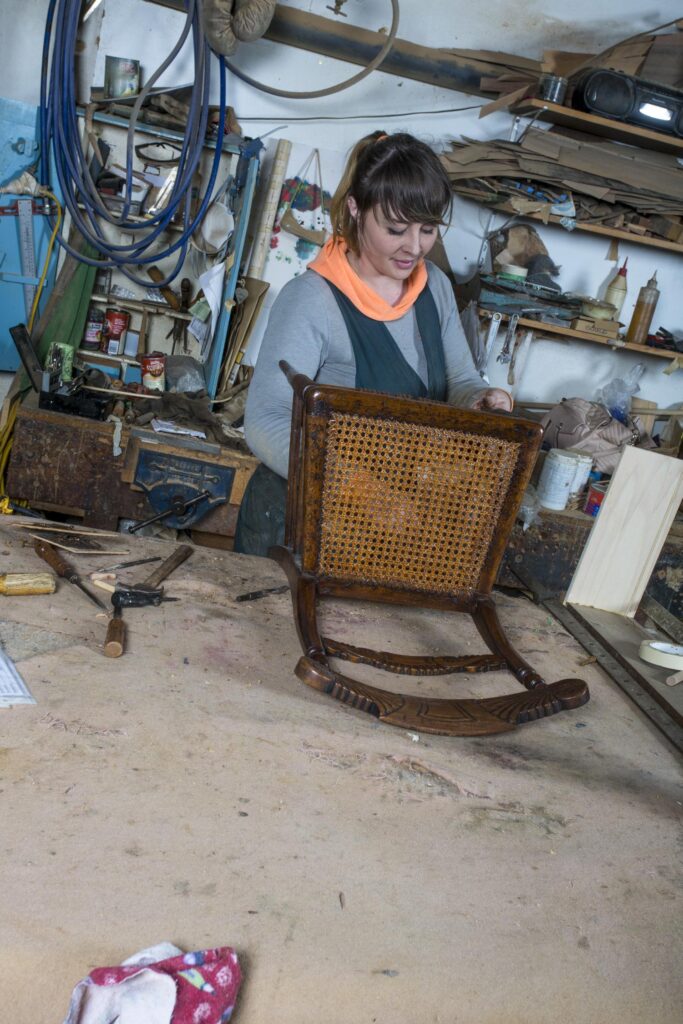
Another restoration process that amateurs may find challenging is re-caning. However, it’s the state of modern materials rather than the job itself that’s likely to be the cause. “The quality of cane has certainly dropped over the past 40 years,” Philip explains. “We have cane coming in for repairs that would have been done 50 or 60 years ago, but some of the modern stuff begins disintegrating after only six or seven years.”
One problem is that reduced demand sees cane becoming brittle while sitting on suppliers’ shelves for long periods.
The most common caning is with pre-manufactured mat, soaked in hot – but not boiling – water for half an hour to an hour, then secured by hammering a wedge strip to lock the mat in a glue-filled groove in the furniture piece. Sometimes the mat has to be partly unpicked and the cane strips fed through holes in the furniture and locked with pegs.
“We also do seagrass and rush panels,” Philip adds, “although these days the ‘rushes’ are actually made in Sweden from a type of paper and come as a roll of cord.”
Any home handyman restoring antiques in a shed will find some of the jobs challenging, requiring patience and development of new skills and techniques. After all, Philip King still finds jobs challenging after 40 years in the game.
“You can never be 100 percent sure how a job is going to go,” he says. “Sometimes it turns out to be very easy but some can be extraordinarily hard.
“Regardless of how it goes, the end result can be very satisfying,” he adds.
The Dreaded Borer
No matter whether you’re an antique furniture collector or restorer, the dreaded borer is likely to be the bane of your life. There are commercial treatments for borer, but most only guarantee their work for two years, which Philip King says laughing “is the life cycle of the borer”.
Once there’s a borer hole in the wood, that means the little beast has flown away, but the holes are useful in providing channels into the wood for the introduction of poison to kill the remaining larvae. Although proprietary borer treatment chemicals are fine, Philip will flood the holes and sponge the surrounding wood with chemical-soaked cotton wool rather than inject the fluid.
The best process, he explains, is to strip, fix, and stain the piece of furniture, then apply one coat of sealer before treating the borer. “Get the fluid as far into the wood as possible, then as soon as it’s done, use wax crayons the same colour as the wood to plug the holes.
“This ensures that the solvent stays in the wood, it disguises the holes, and, most importantly, makes it easy to detect any new holes after the borer have flown between November and February.”
Borer tend to prefer some wood over others. It’s rare to see much borer in mahogany and they stick to sap walnut. Oak and kauri come under frequent attack, but kahikatea is “like ice cream to borer,” says Philip.
“Captain Cook remarked on the extensive kahikatea forests covering the Hauraki Plains,” he says. “Now there’s not a kahikatea house left. Because it is odourless and tasteless, it was used for butter boxes and ice cream sticks, but you don’t see them hanging around either.”

