The Shed Logo
Search
Close this search box.

The perfect desk job

The desk that is the subject of this article was made for one of my grandsons and is made in a similar style to a bed I made for him several years ago (see the article in The Shed, issue 43, June/July 2012). Like the bed it is made out of beech and finished with Danish oil. While I have been able to undertake almost all of the processes in my hobby- styled workshop, I want to stress that this desk could be made at home with just a few hand tools. For example, you could ask the timber yard to dress the timber for you; all cutting could be done with a handsaw or a coping saw for the curves; the mortises and tenons could all be done by hand. The process would take longer but you would certainly enhance your skills. The design process is always interesting for me and, with some initial design concepts in my head, I sit at the drawing board and draw out to scale two or three 2D versions of what I think the final product will look like.

A simple but stylish desk for the home that can be made with minimal hand tools
By David Blackwell
Photographs: David and Val Blackwell

The desk that is the subject of this article was made for one of my grandsons and is made in a similar style to a bed I made for him several years ago (see the article in The Shed, issue 43, June/July 2012).  Like the bed it is made out of beech and finished with Danish oil.
While I have been able to undertake almost all of the processes in my hobby- styled workshop, I want to stress that this desk could be made at home with just a few hand tools. For example, you could ask the timber yard to dress the timber for you; all cutting could be done with a handsaw or a coping saw for the curves; the mortises and tenons could all be done by hand. The process would take longer but you would certainly enhance your skills.
The design process is always interesting for me and, with some initial design concepts in my head, I sit at the drawing board and draw out to scale two or three 2D versions of what I think the final product will look like. 
With the simplicity of the design for the desk, the only real area for some design input is what the desk end will look like. I decided that because of the weight of the proposed top I needed the ends to be very sturdy. The mortise and tenons in themselves add considerable strength and the cross members about two thirds of the way up add significantly to the overall strength. I am aware that I tend to over-engineer designs but I would like to think the desk is still around 50 years from now.      Photos A, B, C.

What timber to use?
The desk in this article is made from beech acquired locally in Christchurch at Halswell Timber. You could use almost any timber, including recycled timber, depending on the look you want and the availability of timber in your area. The cost of the timber for this desk was about $250. Pine clears is also an option, which would be much cheaper, and would be ideal if you were considering having a painted finish. 

A: The design stage
B: The end mock-up from old timber
C: Finishing the base template

“The process would take longer but you would certainly enhance your skills”

Make a mock-up
After drawing the end to scale and playing around with a few different designs I decided to mock-up an end out of old pine timber to ensure I was happy. This mock-up was just nailed together but it allowed me to further play with the position of the centre rail.
As I mentioned earlier, the desk is made from beech which I purchased here in Christchurch from Halswell Timber. They always give me plenty of space to hunt through the racks for exactly what I am looking for. Timber is a natural product so one or two small blemishes do not worry me too much but if I can avoid them I do. I used 50x50mm for the rails, 100x50mm for the base and 150 x40mm for the top. All the timber is rough sawn.
As this desk is likely to be replicated for another grandson, I decided to make a template out of 3mm MDF to make it easier to replicate the shape of the base. Very simple to make and it ensures there are no marking out errors.  Photos D, E, F
The curves on the base were cut on my bandsaw and finished off ready for final sanding on the bobbin sander. If you do not have a bobbin sander use a file or files and then either way you can finish with several successively finer grades of sandpaper.
The rails were made from 50x50mm rough sawn and machined to 45mm square. The exact size does not matter a lot so a millimetre or two either way is fine, but they should all be the same. Just remember to make the base width the same as your final size for the rails. The rails were then all cut to the correct length allowing 25mm each end for the tenons to be cut. Photos G, J, H,

D: Tracing the template onto the base with a sharp pencil
E: Bandsawing the base curves...
F: ...and cleaning them up on the bobbin sander

“Timber is a natural product so one or two small blemishes do not worry me too much”

G: Cutting the mortices. These can also be done easily with a drill and chisel
J: Finishing the tenons…
H: Cutting the tenons on the table saw

Woodworking high
All the joints are mortise and tenon. First I cut the mortises in the base and then in all the rails. The size I used for all the mortise and tenons was 30mmx20mm. I then removed the riving knife on my saw bench and cut the longer length of the tenons by gradually raising the blade until I achieved the size I required for the mortises. 
I try to achieve an almost fit from the saw and then use a file to achieve the correct fit. This, in my view, should be a good sliding fit but not so tight that it excludes the glue from the joint. Using this method on the saw bench the tenons will be in the middle and make the final fitting much easier. 
A note of warning: be aware that the riving knife and top guard are on the saw bench for safety reasons therefore you need to be ultra careful with them removed.
I cut the ends of the tenons by hand and finish them with a file. I find this reasonably quick but I know many people do these on a bandsaw or bench saw. For some reason I find making something in wood using mortise and tenon joints is the ultimate woodworking high. But they are also such strong joints. Photo I, K
I am always concerned with the natural movements of wood as temperature changes and I have allowed for the top to move a little without causing any problems. Wood moves mostly across the grain. I am holding the top of the desk on with three screws along the back top rail and one either side at the front of the side rails. I have elongated the holes at the front of the top side rail to allow the screw to move with any wood movement. 
To cut the elongated slot I used a 25mm Forstner drill bit to cut the recess for the screw head/washer, finishing it with a chisel. I then made the slot with a normal drill bit, drilling three holes, and tidied it up with a file. My slot is a little longer than necessary but I made it take the file I was intending to use. 
Before gluing up the frame it is important to finish sanding all the frame rails as it is much harder when it is all glued together. The frame may need a little tickling up when it is glued but the amount of work required should be minimal.

I: Be extra careful with the riving knife and blade cover removed
K: Fitting tendons by hand

“This desk, perhaps with one or two design modifications, could easily be a hall or entrance table or a lounge sidetable” 

Glue up
I suggest you assemble the ends dry just to be sure everything fits before you open the glue bottle. Every woodworker has their own favourite glue but I always use Titebond III as I know I can rely on it. I always have a spare bottle or two in stock as the consequences of running out part of the way through a job might not be pleasant. 
I glued the ends together and then left them overnight before gluing the longer rails in place. As I glued everything in place I continually checked that everything remained square. Because I have limited space in my workshop I often use my saw-bench table for such jobs as I know it is flat and this makes it much easier to keep things square. Presuming you have a cast iron saw-bench table like mine, beware that should any glue spill out of a joint and end up between the saw bench and the wood then overnight the wood will get a horrible black mark. If there is any doubt I ensure this does not happen by placing greased cooking paper between the wood and the saw-bench table.
The desk top is made using 150x40mm and to get the total width I wanted of approximately 630mm I inserted a piece of 50mm in the centre. I machined the timber as little as possible while still getting it flat and the edges square. I used my biscuit slotter to put four biscuits along each joint. The biscuit gives the joint more gluing area thus adding to the strength of the joint. If you do not have a biscuit slotter you might consider using dowels or even a solid tongue. 

Drawer or no draw
I did consider a small drawer at one side but decided it would detract from the clean lines of the desk. I will later build a two-three draw mobile to fit under the desk at one side.

Fitting the desk top
Again like most joints I fitted the top together dry with the biscuits to ensure everything fits before I start gluing. I use two saw horses for a glue-up like this and have two pieces machined parallel that sit on the saw horses. I then check they are level with each other by eye and pack them where necessary. I put greased cooking paper on them to ensure the desk top will not stick to them. I put what will be the top side down and ensure the surface is as flat as possible when I apply the sash clamps. 
Once the glue is dry remove the clamps and remove any excess glue. Like most home workshops, I do not have a large sanding machine so I asked my timber yard to run the top through their 900mm wide-speed sander. The finished size ended up just over 34mm thick. I then squared off the ends on the tablesaw, finishing with the desired length of 1.15m. 
The surface finish from the speed sander is perfect for my requirements which left the four edges of the top to sand. It’s a messy job that I would prefer not to do but it needs to be done. I also used sandpaper on a block to remove the sharp edges all round. 
For the assembly I used threaded inserts approximately 15mm long. These screw into the table top with an Allen key after drilling a pilot hole. The ones I used had an internal thread for a 6mm machine screw. Be sure to mark the drill. I use electrical tape when drilling the pilot holes as a hole right through the desk top could be embarrassing. Photos U.
When centring the frame onto the underside of the desk ensure the top sits proud of the base by at least 15mm at the back so that the top can be against the wall in a room and not held out from the wall by the thickness of the skirting board. Photos W.
I finished the desk with several coats of Danish oil to match my grandson’s other furniture. This desk, perhaps with one or two design modifications, could easily be a hall or entrance table or a lounge sidetable. 
Best of luck with your project.

U: Drilling for and fitting the threaded inserts
W: Sitting the base on the bottom of the desk top to mark where the threaded inserts go

Materials
Rough sawn timber required. These sizes allow for trimming:
150x40x1.250  –  4 
50x40x1.250  –  1 
100x50x0.65  –  2 
50x50x0.70  –  4 
50x50x0.300  –  4 
50x50x1.02  –  2 
Also required: biscuits, threaded inserts, machine screws, thick washers and Danish oil.

Share:

More Posts

Child’s play: How to make a cubby

My daughter in Christchurch emailed that she would like a cubby house for her three young children. They had recently moved into their new house and there was a 1.5 x 5 metre garden strip adjacent to the fence in the back yard. I had read Rod Kane’s excellent article in the August/ September 2013 issue of The Shed on building a playhouse and thought at the time what a fun project that would be, so the planets were in alignment.

A toddler’s table and chairs

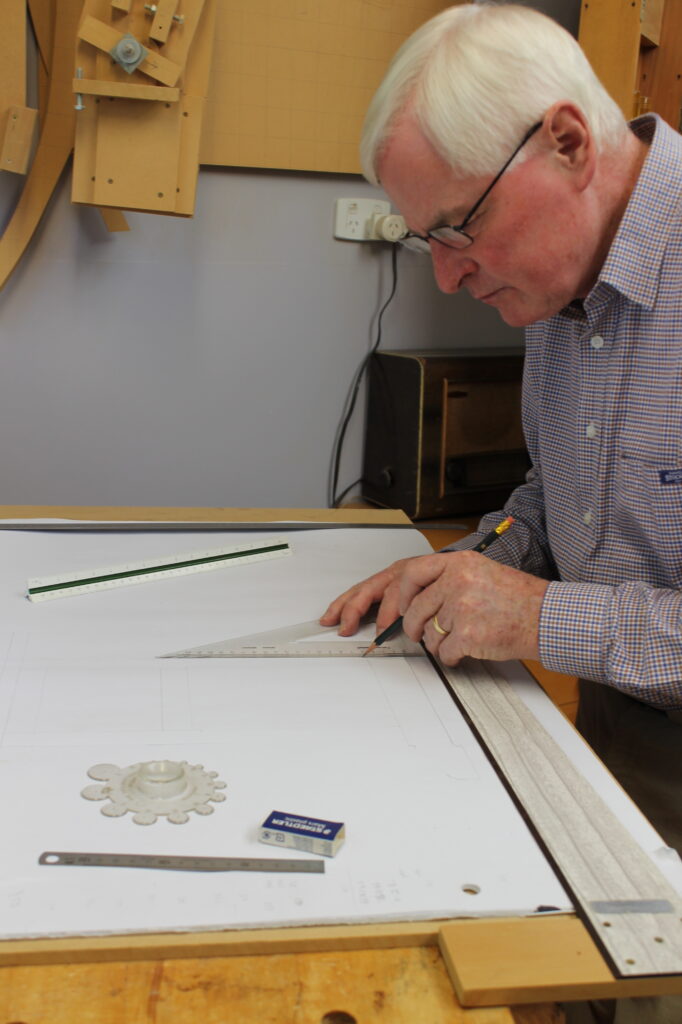
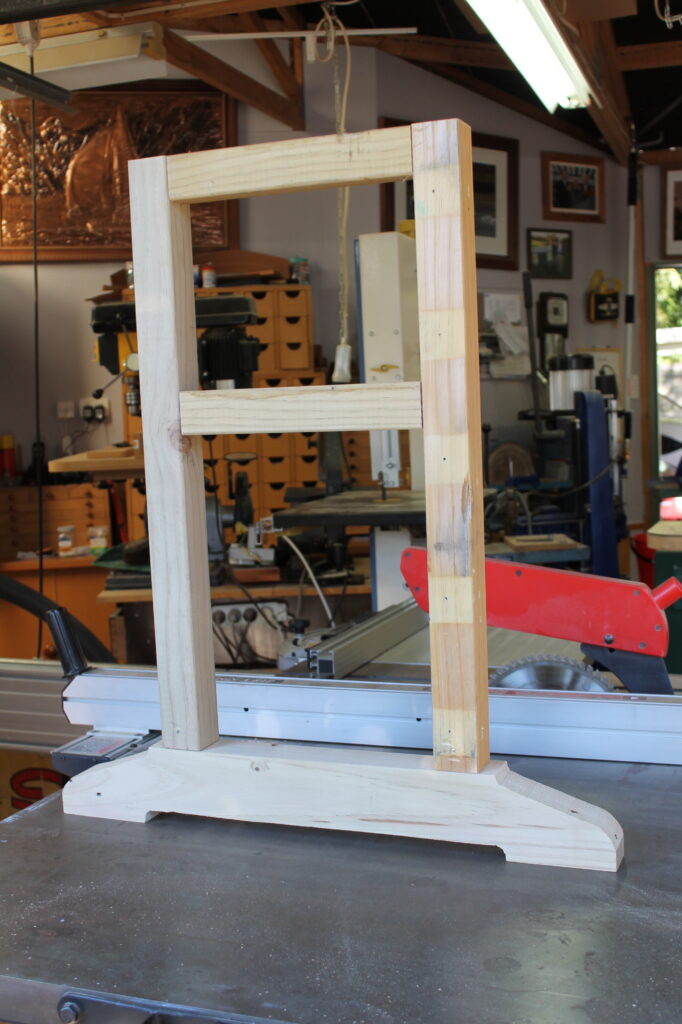
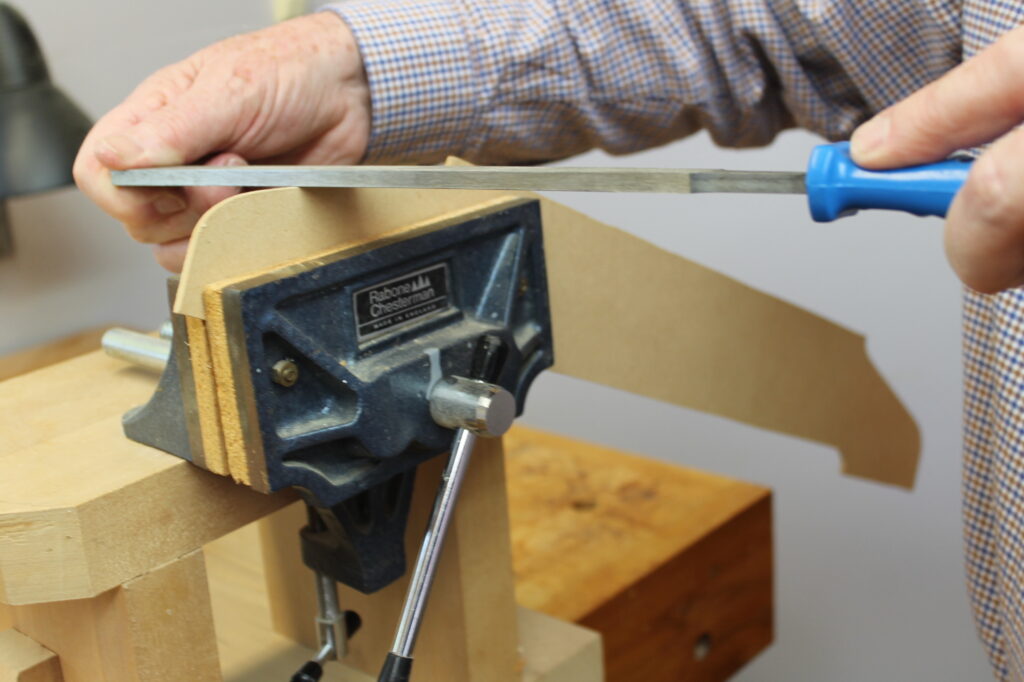
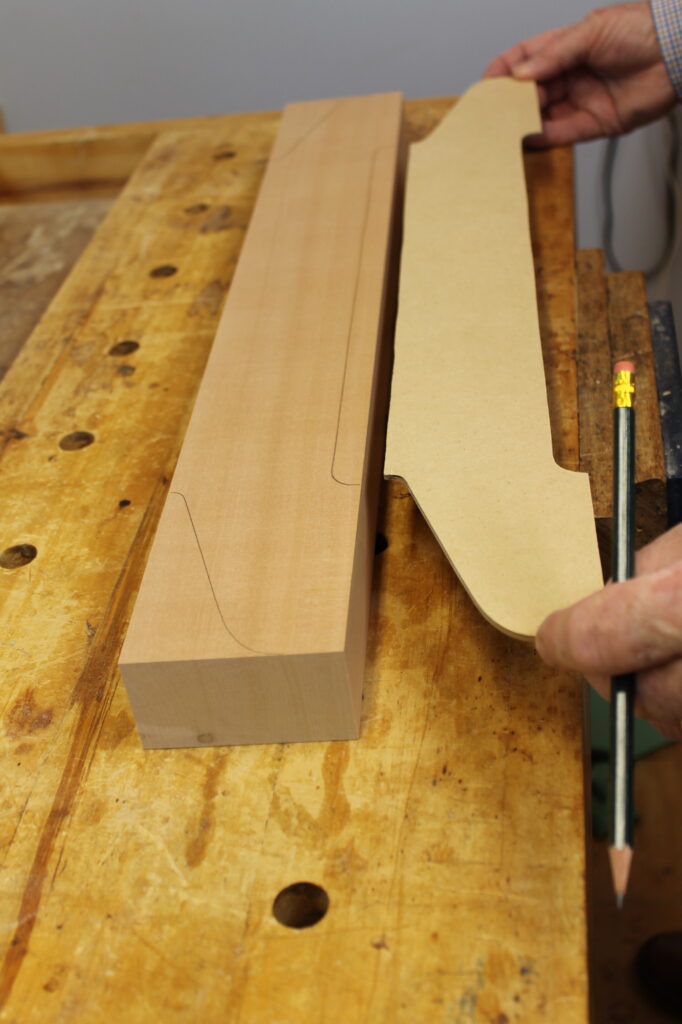
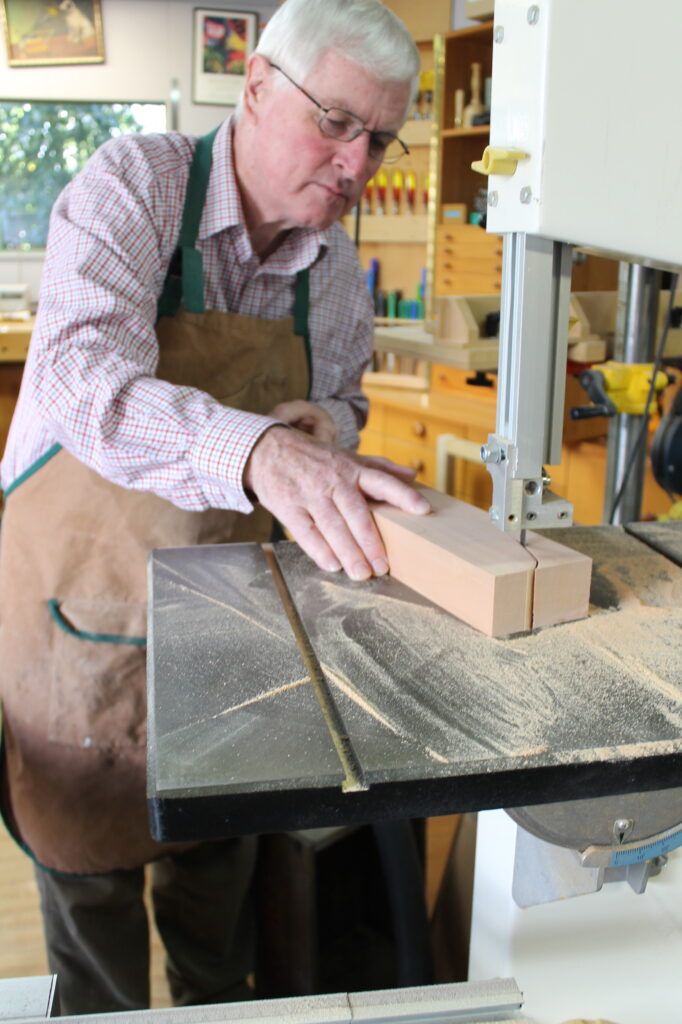
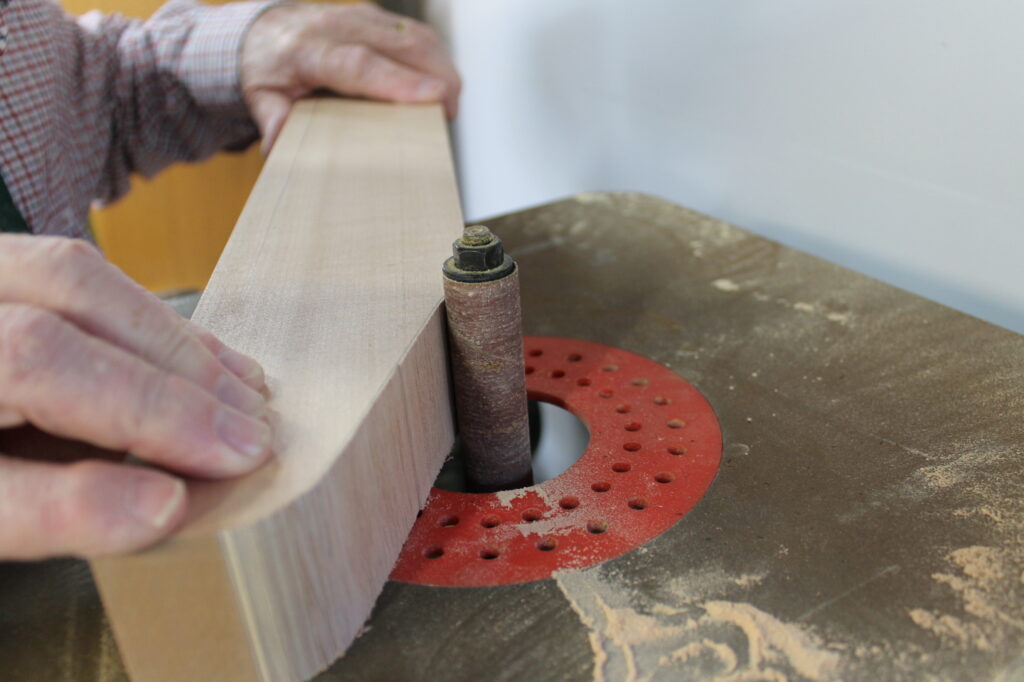
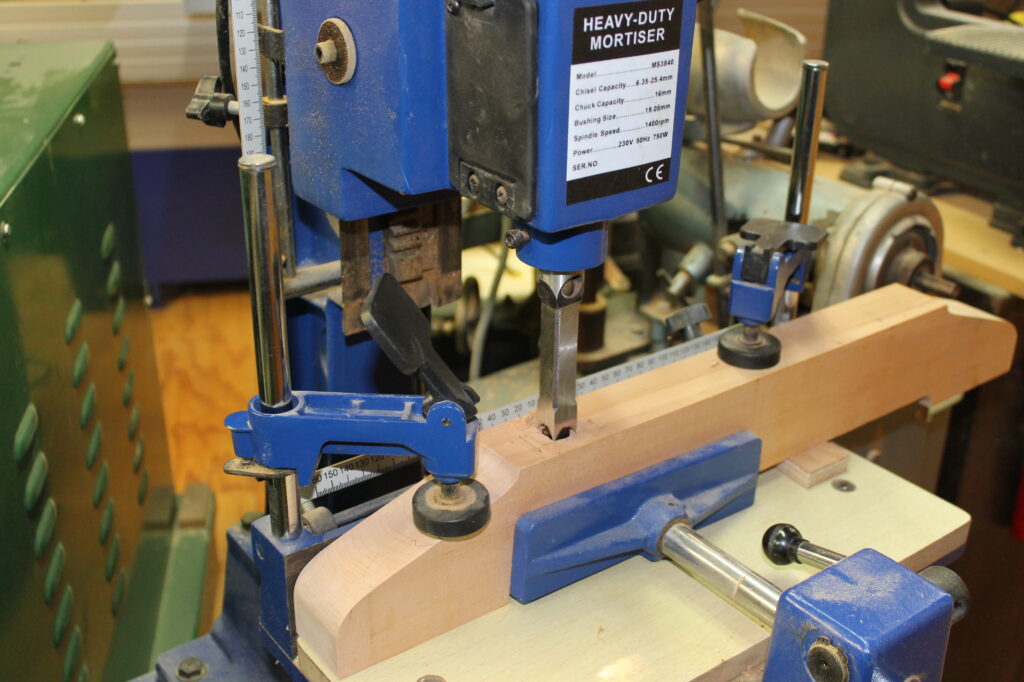
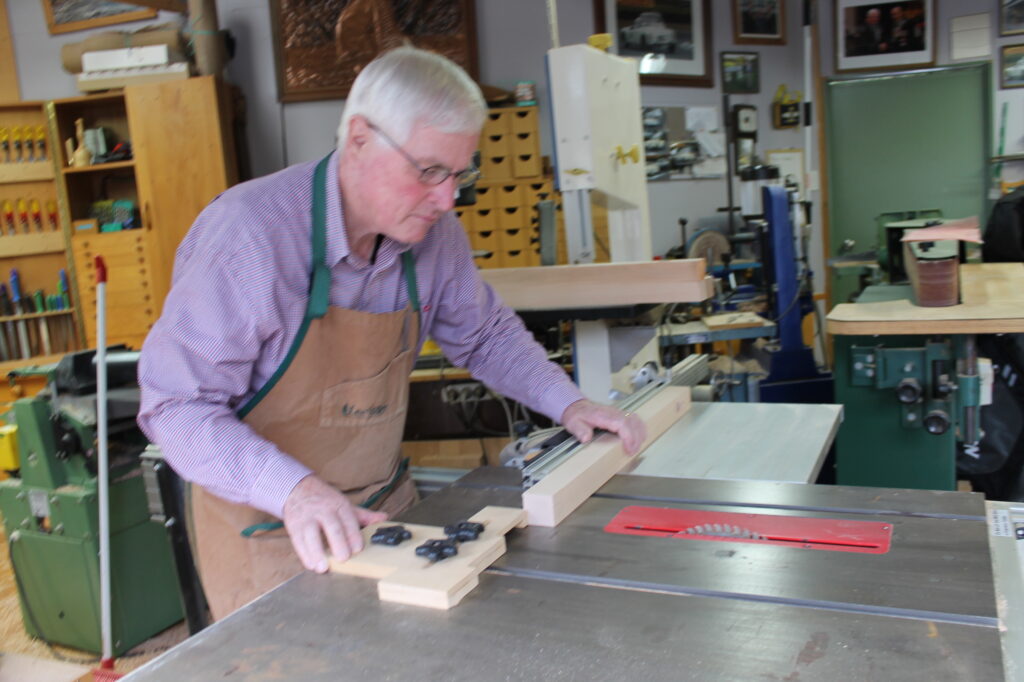
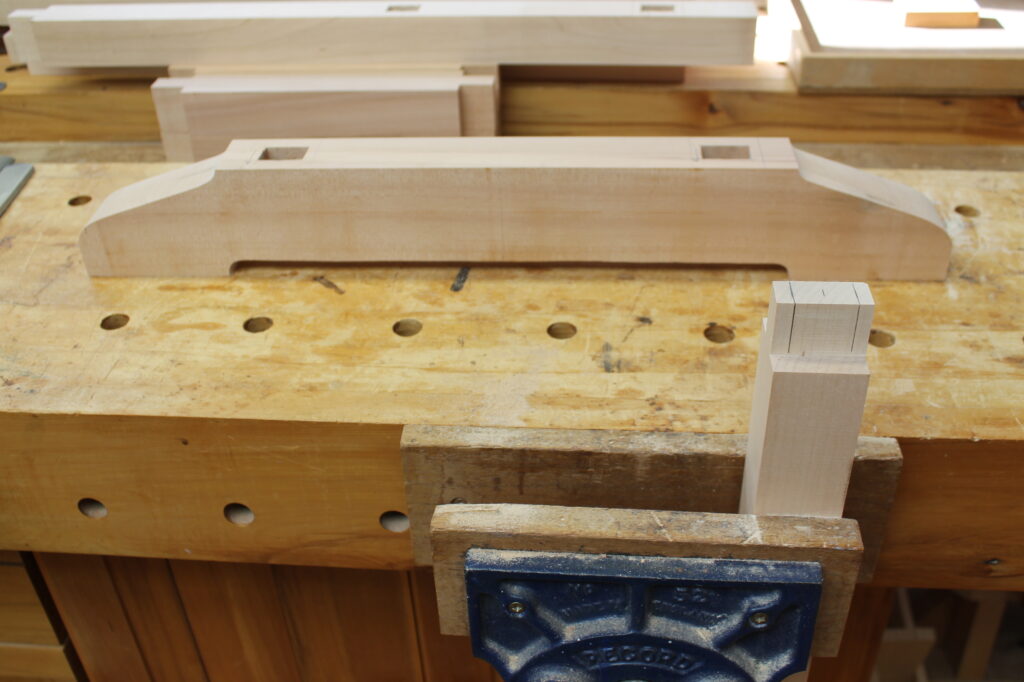
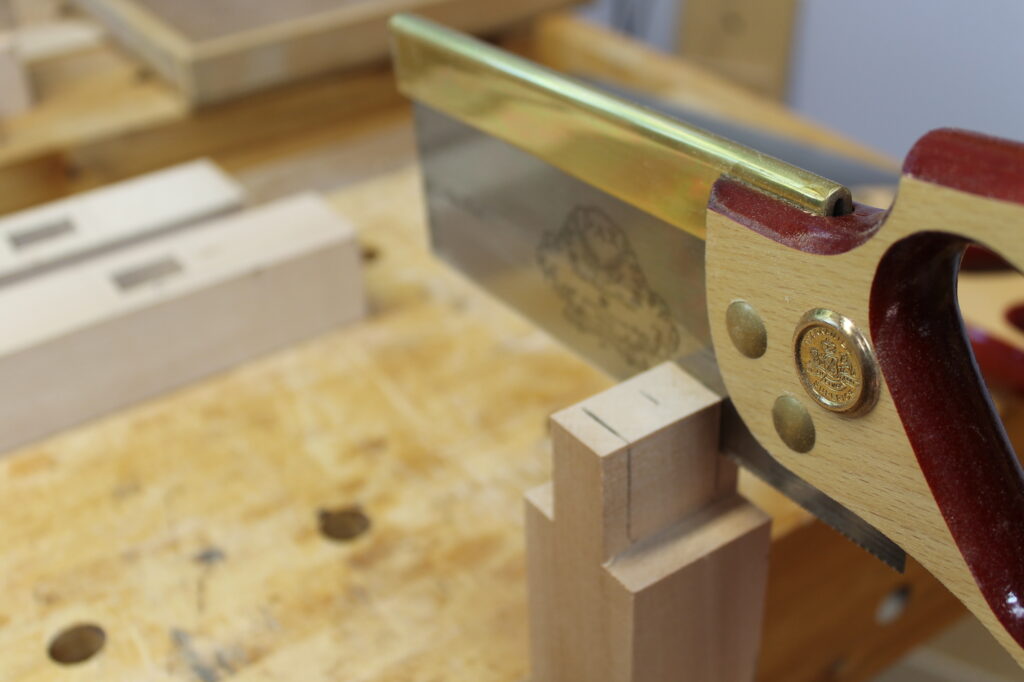
You can follow the basic design in this article or design your own version. Once you have absorbed some of the basics of furniture-making, there is a great sense of satisfaction in designing and making your own. As an amateur hobbyist, I find the process is just as important as the finished product itself, so to check this I decided I would try to make a scaled-down version of an adult chair with a curved back.