A tradition of making table and chairs for the grandchildren
When my children were very young, their grandfather, my father, made them a small table and chairs.
Now my grandchildren are at a similar age, I felt the time was right to follow that tradition.
You can follow the basic design in this article or design your own version. Once you have absorbed some of the basics of furniture-making, there is a great sense of satisfaction in designing and making your own. As an amateur hobbyist, I find the process is just as important as the finished product itself, so to check this I decided I would try to make a scaled-down version of an adult chair with a curved back.
When I started, I had recently read a chapter in a book on ergonomics. To get the fit right, I decided to take the long way round by building a mock-up of an adult-sized chair before I attempted to scale it down to a child’s size.
My first mock-up was a very basic wobbly MDF version that allowed me to get the curvature of my back to fit the chair. After some fiddling around, I managed to get things close to a stage where I could build a rough pine version.
Once the adult version was correct, I drew the child’s version as per the finished product. I used Southland beech finished with three coats of Danish oil but you could use almost any type of timber that you wish. Pine would almost certainly be the cheapest and probably the easiest to work with.
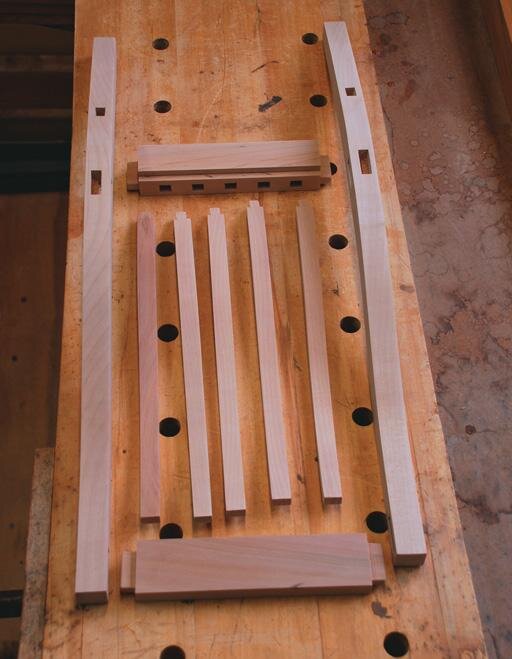
Drawing out the plan
Use the template to mark out the side rails. Note the front reference point
Drawing
Draw out the plan view full-size on a sheet of MDF and do it accurately with a sharp pencil as you need to take the angles from this drawing.
To get the seatback shape correct, mark out the grid of 25 mm squares on a piece of 3 mm MDF and copy the shape of the seatback. A portion of about 75 mm (where the seat sides attach to the back) needs to be kept straight to en-sure the final product remains square to the ground.
I always use an edge of the MDF which I can rely on as the prime reference point during the construction. Once you have the shape to your liking, cut it out close to your lines on a bandsaw or use a coping saw (you may need to use thicker than 3 mm if you are doing it all with a coping saw to avoid it breaking) and then file or sand it to the lines.
Make a sample with pine to ensure the design is what you expect it to be. Draw around the 3 mm template onto a piece of 24 mm machined wood placing the reference area to the square, machined edge.
Cut the back out, leaving about 1.5-2 mm outside your line, except the reference area. I would suggest you cut three or four sides as you still have to get your jigs correct and perhaps make adjustments. Make sure the grain of the timber runs more or less up and down the side. Any major cross-grain will leave you with a weak point when someone leans back on the chair.

Trimming chair profile with a flush cutter
Routing jigs
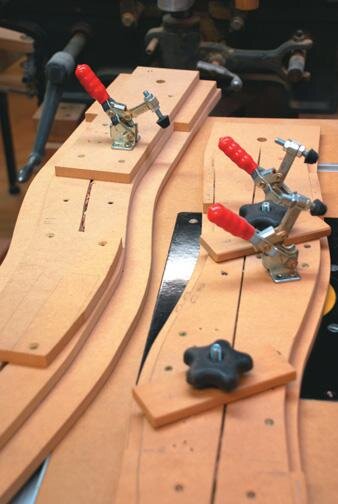
I used my home-made router table to get the exact required shape (you could shape it by hand) and needed to make routing jigs for the sides and the infill slats.
The jigs are very simple—one side takes the first cut and you then place the material to the other side of the jig to machine the other side.
You can make a similar jig for the centre slats. Ensure that the work is very secure in the jig and keep your fingers well clear.
The sides now need to have the three mortises cut in them for the other parts of the chair to fit and I cut all of them about 15 mm deep. A mortising machine will have them done in no time at all or you can carefully mark and drill them before cleaning up with a sharp chisel. If I cut them by hand, I carefully use a wheel marker and then accurately clean them out to the line.
The width is important and it is vital that it is parallel to the sides. Using a set of dial or digital verniers, I like to have it parallel to within 0.01 mm.
The length is important but does not need to be as close intolerance as it is easy to adjust the tenons when you fit them. The mortises for the bottom support rail need to be cut at an angle of about seven degrees to allow it all to go together correctly. You can take this angle off the drawing using a protractor. The size of the mortise is important but you have a little leeway as you can adjust the support rail size in your final fitting which I like to do by planning the rails carefully to fi t the mortises.
Cut the bottom angle on the chair sides and cut the top to length.
Cutting angle tenons on the chair sides
Front legs
The front legs are machined to 25 mm square and you need to mark out and then cut the mortises.
Do not cut the legs to the correct length until you have cut the mortises as you may break the end away with your chisel. With the mortises cut, you can taper the bottom two-thirds of the two inside sides by cutting them on a band-saw and cleaning them up on a belt sander or with a plane
The seat-back top and centre also need mortises to fi t the back slats into. The top mortises are 15 mm wide, the bottom 10 mm wide so the back slats fi t easily onto a shoulder at the bottom and are left floating at the top.
The tenons for the chair front, the back centre and the back top are straight and easy to cut. I did this on my table saw by removing the riving knife and making several cuts on each side, adjusting the blade height to the correct position.
Back centre
The back centre tenon is off-centre which takes a little more thought but generally, these are very easy to do. I cut them fractionally oversize by about 0.1 mm and finish them with either a square-edge file or shoulder plane, which also removes the blade marks.
I allow about 14 mm for the tenon lengths and my first cut is to the line. I then remove my stop and make small cuts just less than the blade width to clean out the surplus material. (Be extra careful with the guards off.)
You can always cut the tenons by hand but you need to be very accurate with your marking out. The two sides require the tenons to be cut at an angle of 7º which requires additional thought but the tenons are still easy to cut.
I cut a triangle jig the angle of the sides and then use the sliding table on the saw to cut them the same as the straight tenons. You need to mark out one correctly so you can set up from this and then carefully cut the tenons. Do a couple of trials first and you will soon get the hang of it.
Side tenons
The tenons on the sides can be cut a little longer than you need and then cut to the required size when you start fitting things together.
You need to cut the collar on the chair-back slats as per the sketch and then cut them to length. This length can vary by a millimetre or three as the top slides into the mortise in the back top. A rabbet needs to be cut on the inside of the four sides to allow for the seat to sit into. I did mine on my router table but you could easily do them on your saw bench with the riving knife removed. Again be very careful with your fingers and do not take any unnecessary risks.
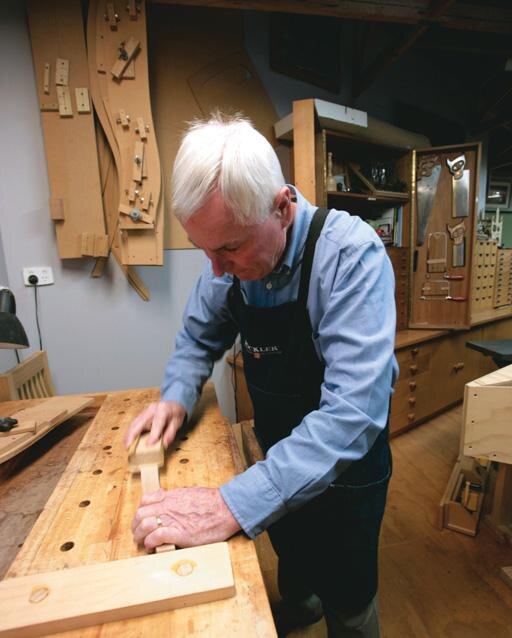
It is better to wreck a piece of timber than look around the floor for one of your fingers. Hand-finishing and fitting the tenons, I believe, is one of the most interesting and rewarding tasks on the whole project. This is where your craftsman-ship all comes together.
Gluing and clamping the chair back.
Dry-fit
Dry-fit the back including all the back slats.
Carefully trim the tenons to fi t the mortises and where necessary on the sides cut them to length. On the two back corners where the two tenons meet, try to cut the tenons to have the two ends meet for added strength, but do not worry too much as I am sure the chair is well over-engineered.
Fit the sides and then the front. If you find everything is a friction-fit, you should be able to carefully stand the chair up and it should all be straight and symmetrical. It is now time to pull everything apart and number each part in the mortises and on the tenons to enable you to re-assemble it during the glue-up. The quality of the final finish now depends on how well you sand all the components.
Progressively use finer grades of sandpaper and plenty of elbow grease to gradually remove all the machining marks and prepare your chair ready for the final gluing.
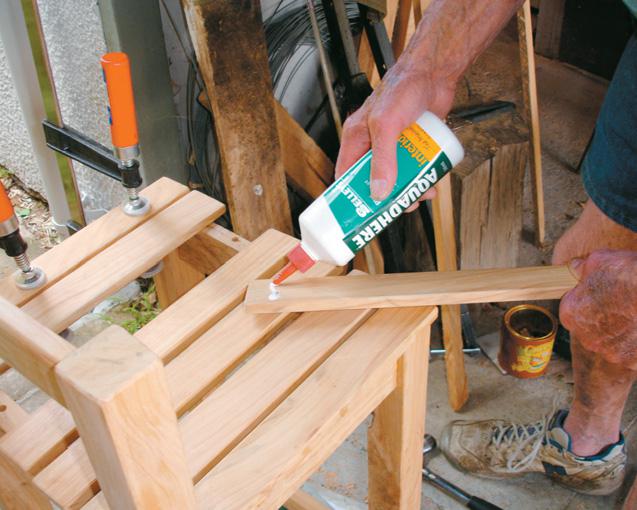
I suggest you glue the back and the front together and let the glue dry for 24 hours before gluing the sides on. Check that each part is square once you apply the clamps and when you glue the sides on.
I like to stand the chair on my table saw as I know it is fl at. Remove any glue squeeze-out before it sets.
Gluing and clamping the sides in place
Strength
For added strength, cut the corner pieces and glue and screw them on to each inside corner.
I use 25 mm x 8 mm pieces on end and hand-cut the angles on each piece. Cut the radii on the front inside corners to allow your seat base to fi t correctly.
I made a jig that I clamped onto each corner one at a time and then used a router to make the cut. The seat cushion is upholstered on toa fitted piece of 6 mm MDF which is fitted with a gap of about 1 mm on each side to allow for the upholstery material. I hold the seat in place with four three-prong T nuts in the 6 mm MDF and a screw through the underside of the corner brace.
My chairs are upholstered in leather as it came from some off-cuts my late mother-in-law was given; I sent the chairs to a professional upholsterer to undertake the work. Grab a book on upholstery from your local library if you want to do your own. I finished the chairs with three coats of Danish oil.
The final chair scaled beside the adult-size mock-up
Table
After the chairs, the table will seem like a walk in the park on a nice spring day.
The four legs need to be machined and then marked out with the positions of the mortises. Cut the mortises in the same manner as you did for the chairs, about 15 mm deep and 10 mm wide, and then cut the tenons to fit.
Cut a groove about 7 mm wide and 8 mm deep inside the sides for securing the top. For aesthetics, there is a tapering of the inside of the four legs similar to the chair front legs. Be sure to sand all the components of the base before gluing.
If you have enough clamps then clamp the whole base assembly at once. Otherwise do both sides and then, once they are dry, put the two ends in place. Again I like to use my sawbench as I know it is flat.
By being careful through this process, I find the glued table is unlikely to need any sanding to avoid it wobbling.
The table-top will require several pieces glued together and I used biscuits to add strength to the joints. You could also use dowels or even just rely on the glue.
The size of the tabletop can be flexible to suit your requirements although for my two sets of grandchildren I have found a size of 750 mm x 500 mm x 30 mm thick to be the most universal.
Make the end legs wide enough apart to allow a chair to fit between them. For marking the corners, I found a round plastic container about the correct radius in our kitchen cupboards. I cut the radii on my bandsaw and then put a 6 mm radius on all the edges on the router table.
If you are not able to machine the tabletop once it is glued together, you may need to take the two halves and carefully glue them together beforehand finishing the top with a plane.
Sand all components before gluing. I applied the three coats of Danish oil before I secured the top to the base with finger clamps.
They allow for the movement in the timber which moves across the grain with the changing atmospheric conditions.
Good luck and enjoy your build.
Finger clamps or buttons hold the table top on