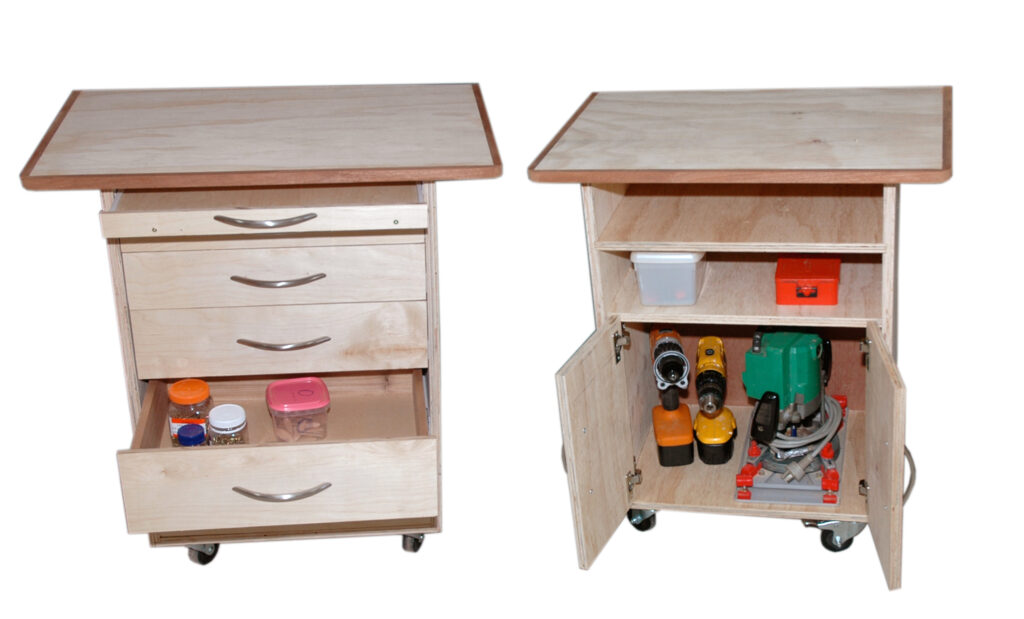
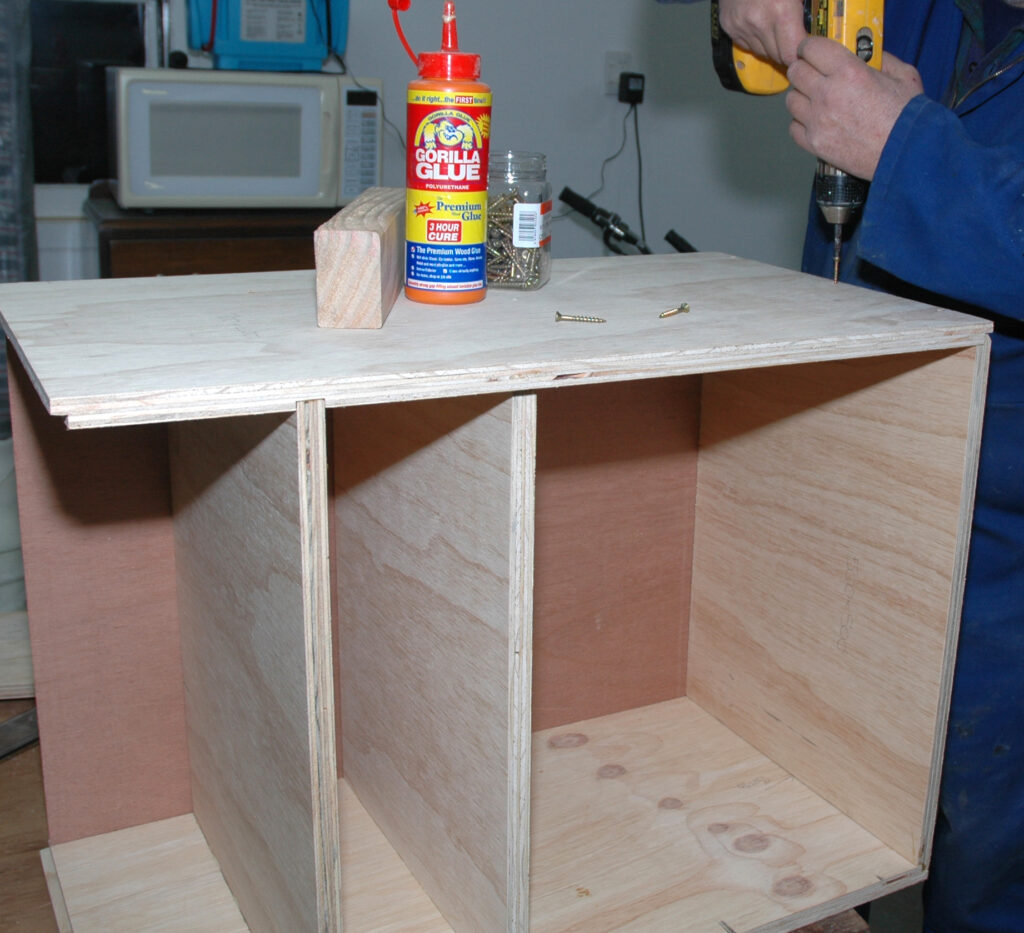

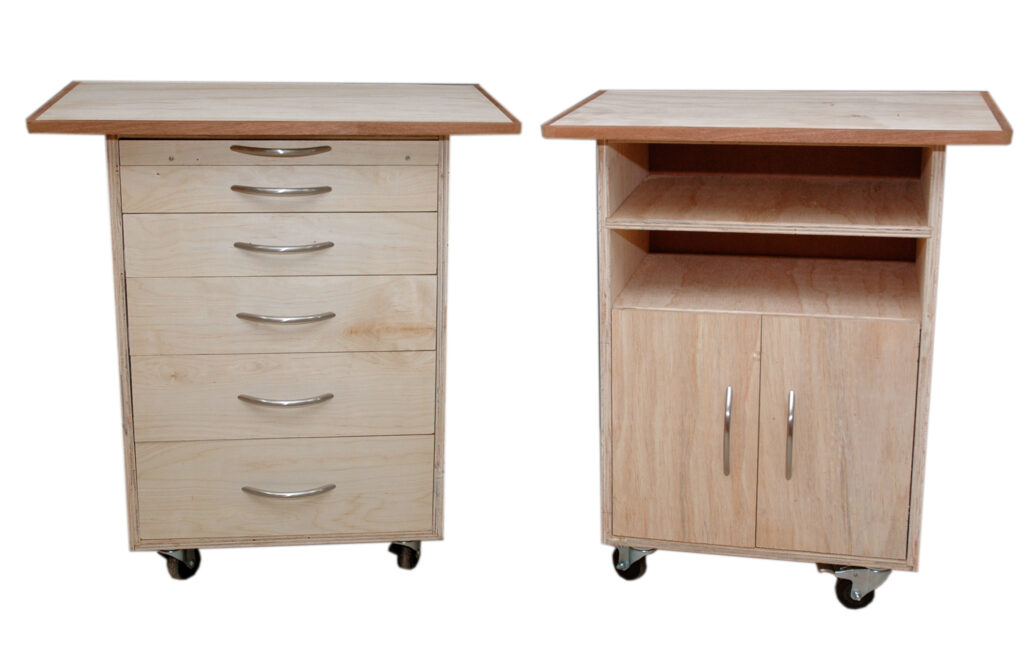
This easily made set of drawers may be just the answer in your home workshop and it can be made in a day. I have seen many versions of this set over the years and, because of its simplicity, it is easy to make the size and number of drawers to suit your particular requirements.

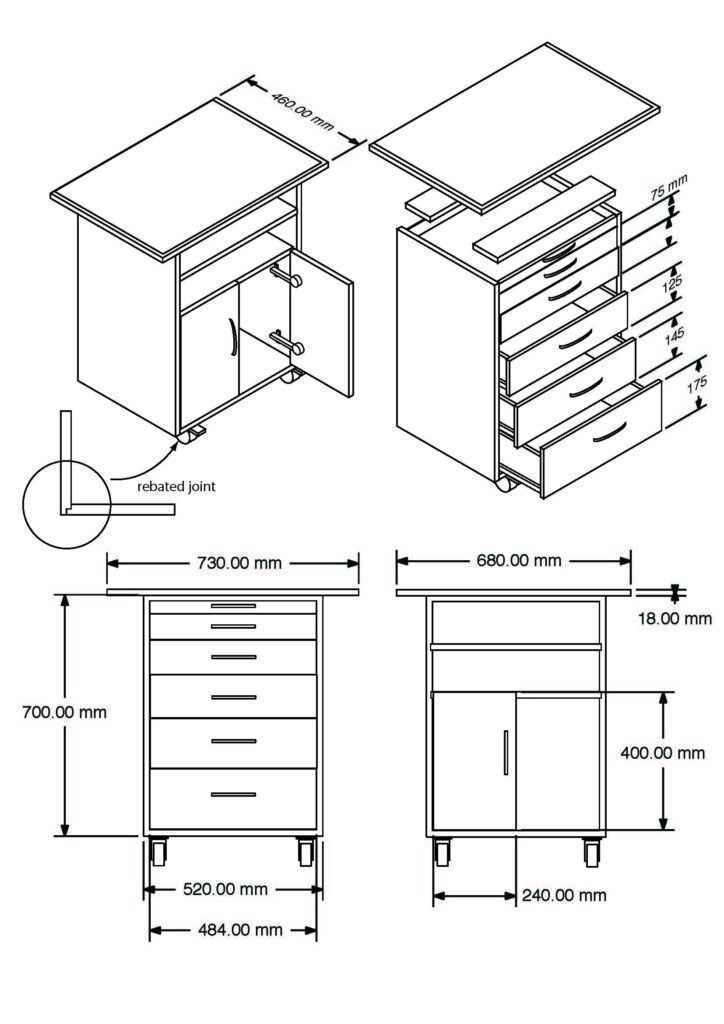
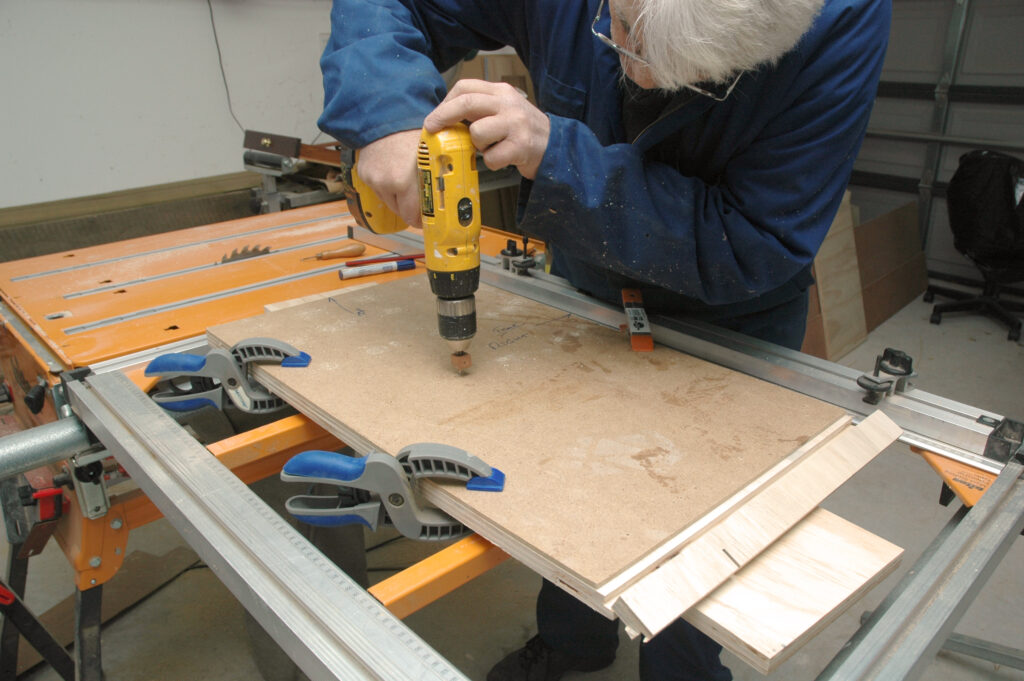
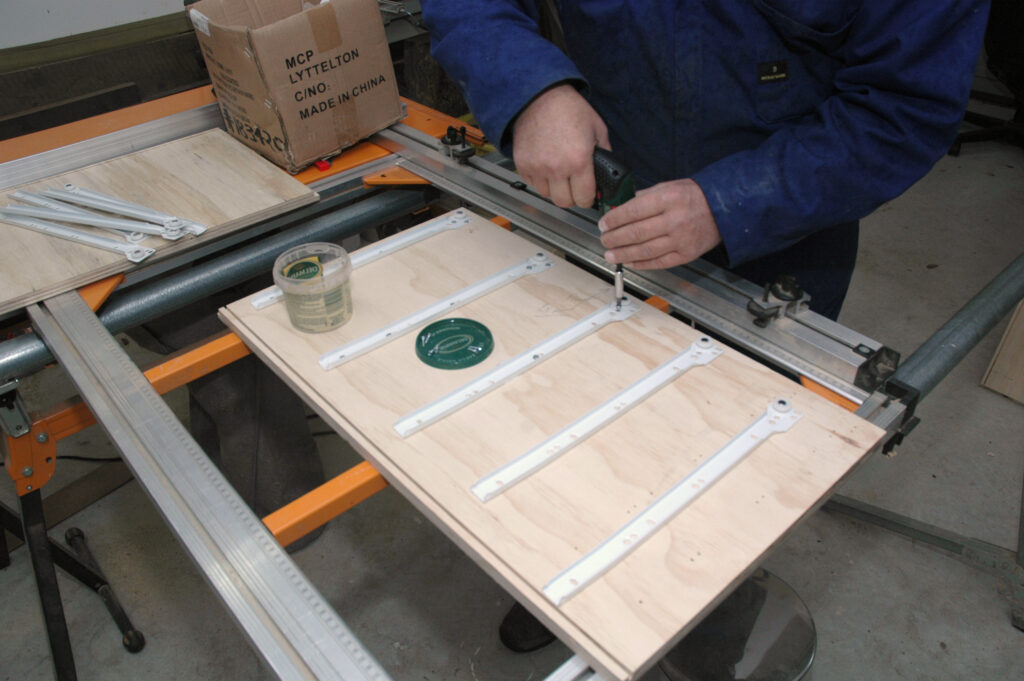
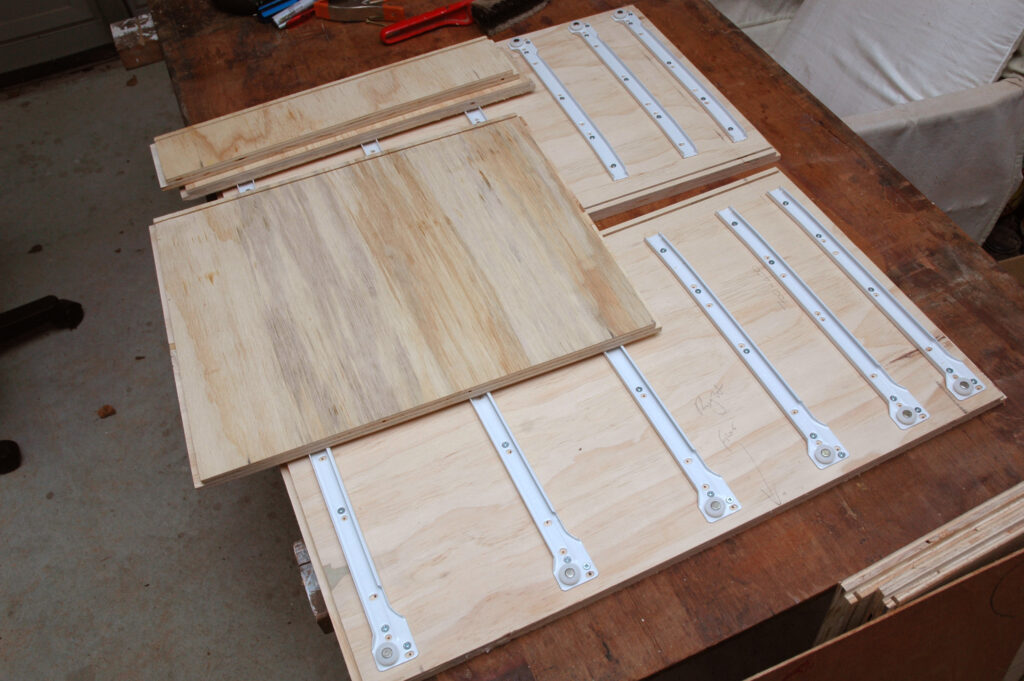
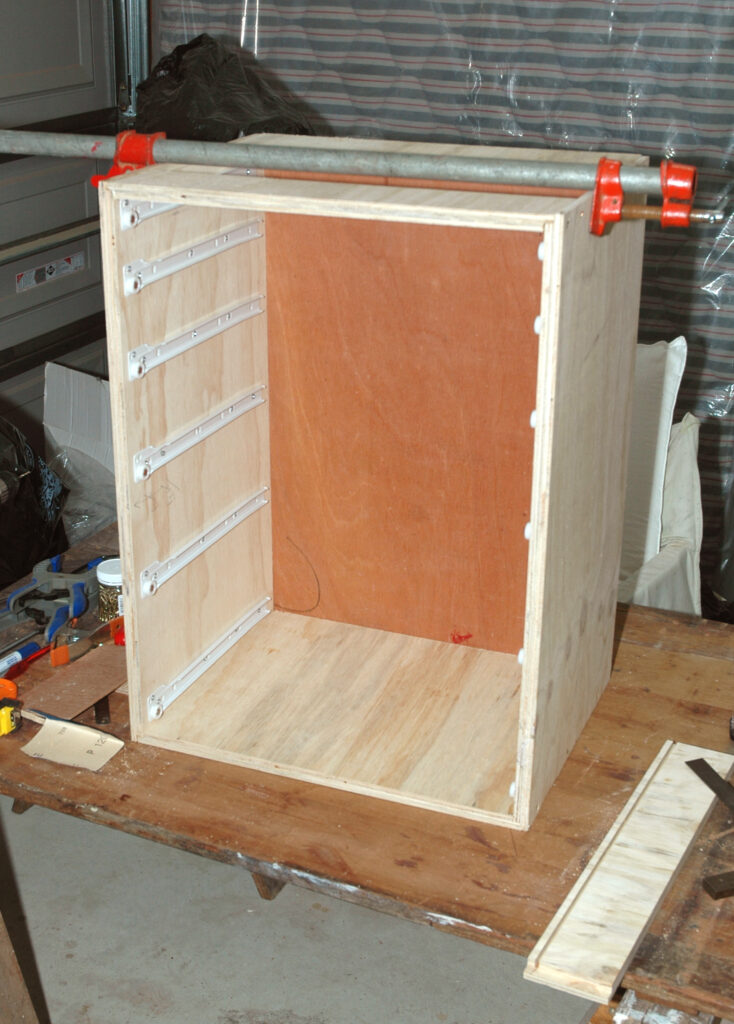
I ordered some drawer slides of the appropriate length (350mm) and worked out the width of the slides and thus the width of the drawers. The drawer slides are rated at 45kgs. I couldn’t be sure what weight I would be likely to load but this should suffice. I elected to run with eight drawers and make the second opening in the frame a cabinet to house larger components like the four-jaw chuck. After some fiddling I settled on two drawers each of 75mmx70mmx60mm, and 50mm high, separated by 10mm.
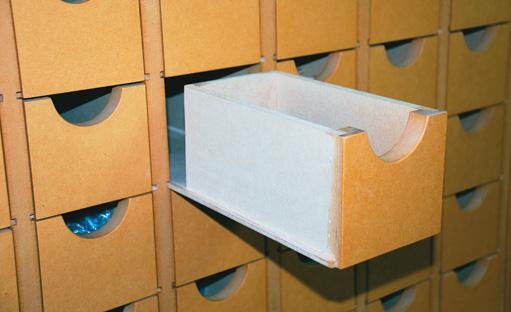
I bought three sheets of cold rolled steel 1mm thick. This is within the limits of the panbrake and I had hoped the material would be stiff enough given that the drawer had to span over 500mm width. I broke the material down into half sheets to make it easier to handle.