Looking hot

I began by careful measurement of the existing barbecue and designed a framework around it. At the same time I decided to upgrade and purchased a reasonably cheap single burner that didn’t have a long burner tube to contend with. The framework is essentially just four legs with a couple of bars to sit the barbecue on, two outriggers that can be used for the side burner and a table for placing meat before and after cooking. The barbecue is attached to the base by four screws through the lid hinge. I cut all the parts on the bandsaw, starting with all the bevelled parts. I elected to make the four legs contiguous with the arms of the outriggers so they are welded together as one piece, rather than making the outriggers as separate pieces and welding them to the tops of the legs.

 A new trolley gives a barbecue a fresh lease of life
By Jude Woodside
Photography: Samantha Woodside and Jude Woodside

The finished barbecue

I recently moved house. This is not an experience I want to repeat anytime soon.
Part of the process necessarily involves discarding the broken and useless stuff. My kwila barbecue trolley had seen better days, although the basic stainless steel barbecue was worth retaining. I happen to have a reasonable stock of 40x40mm steel tube and, although it is rather heavy, needs must and at least it won’t rust in a hurry. If you do emulate this design you can easily use thinner walled tube – even 1.6mm as there is very little weight in the barbecue itself.

Cutting the outrigger piece of the leg
Parts cut and ready for assembly
Grinding a bevel on the edges to create a “V”groove
Welding up one of the outrigger tables

Upgrade opportunity
I began by careful measurement of the existing barbecue and designed a framework around it. At the same time I decided to upgrade and purchased a reasonably cheap single burner that didn’t have a long burner tube to contend with. 
The framework is essentially just four legs with a couple of bars to sit the barbecue on, two outriggers that can be used for the side burner and a table for placing meat before and after cooking. The barbecue is attached to the base by four screws through the lid hinge.
I cut all the parts on the bandsaw, starting with all the bevelled parts. I elected to make the four legs contiguous with the arms of the outriggers so they are welded together as one piece, rather than making the outriggers as separate pieces and welding them to the tops of the legs.
I prefer using 45° angle joins where possible because they are aesthetically more pleasing and there are no holes that need to be plugged. It also means that if you get it right, you can grind the weld to make it virtually disappear. This meant of course cutting the arms with bevels on two different faces, which is fraught with the possibility of disaster. You need to be aware where each piece will go so you don’t end up with an extra left-hand piece where you need a right-hand one. I managed this time to avoid cutting at least one angle on the wrong end by cutting each one as the mirror of the last.

“This meant of course cutting the arms with bevels on two different faces, which is fraught with the possibility of disaster”

Grinding off the weld
Setting up the leg
Setting up the cross bars
Tacking the support for the outrigger slats

Start with the outriggers
I started by welding the outrigger parts and then welded the leg to the outrigger. It is important to get the leg perpendicular and square to the outrigger table. The outriggers are not the same size, as the one on the left has to accommodate a single gas burner so it’s a bit smaller than the one of the right. The gas burner is cast aluminium and conveniently arrived flat-packed in a box.
With both legs assembled I added the cross member between the legs on each and ground the welds flush. I was having quite of bit trouble with splatter and erratic welding which is uncharacteristic of the BOC Elite Smootharc 180. I traced the fault to a loose earth cable at the connection to the machine, but some of my problems were due to the galvanised coating. I have found it is often worth the time to grind the zinc off around the weld.
It’s always a good idea to bevel the ends on each piece to allow for a V groove that will allow you to get good penetration. I set the machine to 2.5mm for some of the joints, especially where there were larger gaps to fill that required multiple passes, but by and large the 3mm setting worked best at about 19.7V at 125 amps.  I’m using 0.8mm wire and an Argon CO2 mix.

“I have found it is often worth the time to grind the zinc off around the weld”

Test fitting the barbecue
Adding the lower shelf
Thicknessing the timber
Planing the edges

No need for overkill
With the two leg units now completed I tack welded a strip of 25mmx4mm flat bar in place along the long edge of each outrigger. This is to carry the burner on one side and timber slats on the other so I was able to use a piece of the macrocarpa timber I planned to use to set the depth of the strip. I clamped it temporarily while I tacked it in place and went back and welded each side with longer tacks. It’s not likely to carry an enormous weight so it seems like overkill to run a weld bead the entire length of the strip. 
With the outriggers and the leg units completed all that remained was to fix the ends to each other. The bars that do that will also hold the barbecue. This worked out to be at 160mm below the top of the outriggers which is conveniently four times the depth of the tube I am using. That made it easy to set up the tube at the right height. I added the lower stretchers to the piece by standing the unit on the table and using the leftover tubing to set the height, which I had set to 120mm deliberately since that was conveniently three times the tube height. I intended to add castors to one end too, although they hadn’t arrived at the time. 
Once the lower pieces were in place I placed the unit on the floor upside down and, using a couple of clamps, I set out the strips that will carry the timber slats to make up the lower shelf.

Ripping the slats to size

“I promise I didn’t design it that way”

Rounding off the edges
Drilling the screw holes for the lower shelf
Cutting the legs for the castors

Tidy up and paint
After a final clean up and grind off I applied a gap-filling primer to the whole piece, focussing on the welds in particular. Then I masked off the central areas that would most likely be exposed to some heat and painted the rest of the frame in gloss black paint and left it to dry over night. The areas that required a heat-resistant paint were done last. 
I fitted the burner for the outrigger in place and marked the four mounting holes that would normally fit short legs to it. In this case the screws for the legs would be screwed directly into the strips tacked into the outrigger. I drilled and tapped the holes and screwed the burner in place. The castors for the base had turned up so I was able to cut 105mm off one end the old-fashioned way with a hacksaw. The castors are 100mm and the plug that holds them in the tube has a 5mm lip. These castors have a central bolt that screws to a threaded nut embedded in rubber tube end. The tube plugs usually need to be ground a bit to fit these tubes but then they can be seated with a hammer. The other leg ends I fitted with a plastic plug.

“Having the unit inverted meant I didn’t have to work on my knees, and at my age, that is something I prefer to avoid”

Fitting the burner
Drilling the screw holes for the lower shelf

Stylish macrocarpa slats
I have some very nice 200mmx25mm macrocarpa and I used this for the slats in the right-hand outrigger and the lower shelf. I cut two pieces at 1500mm and thicknessed each piece 20mm then I cut it to size and fed it through the tablesaw to make the slats. The outrigger pieces were 50mm and the lower shelf worked out to be 67mm, allowing for a 2mm gap between the slats. I set up the router and rounded over each edge and the ends. A quick sand and a coat of oil and the slats were good to go.
I have used nails in the past to set gaps between boards but rivets are a better bet; they are usually more consistent in size and are less likely to fall through. To work out where the holes for the holding screws were to go I have to set out the slats and clamp them in place and then invert the whole unit. 
Yes, I could have measured and laid out the marks from the top but having the unit inverted meant I didn’t have to work on my knees – at my age that’s something I prefer to avoid. With the piece inverted and the slats in place I could apply the rivets to get the gaps correct and mark where the screw holes go. I used two holes for each of the bottom shelf pieces – it might be overkill but macrocarpa can curl – and one each on the outrigger table.

Fitting the slats

Finishing touches
I now had to mark the holes to fit the lid hinge parts; the screws go through the body of the barbecue holding the whole unit together. I marked the position of the holes as carefully as I could and drilled them to 5mm and tapped them. I then set the unit in place and screwed the hinges through the unit to the base.
Now all that remained was to upgrade the gas lines. I am fortunate that I have a branch of Gameco in town and spent half an hour with their very helpful staff sorting out what I needed to make up a gas manifold to supply both the main barbecue and the side burner from the same bottle. I would recommend their website if you need to find similar parts. It did require rather a lot of fittings and adaptors but after the application of copious amounts of thread tape I have an effective manifold.

The gas manifold

Share:

More Posts

Build a portable barbeque

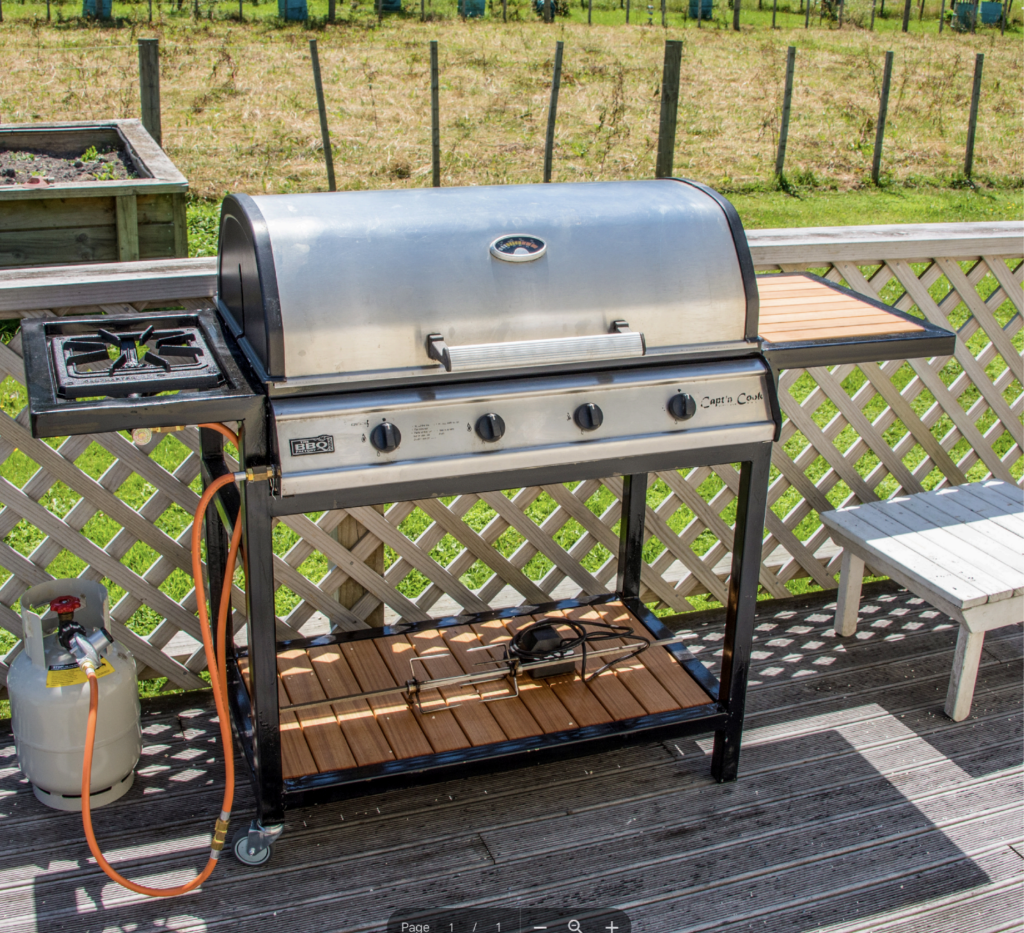
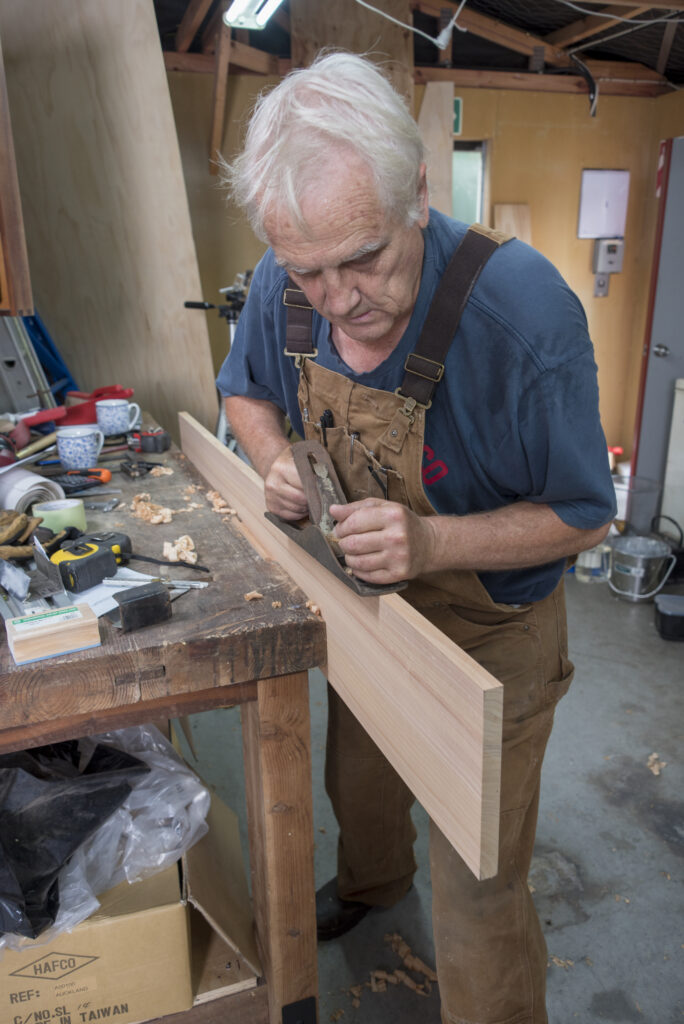
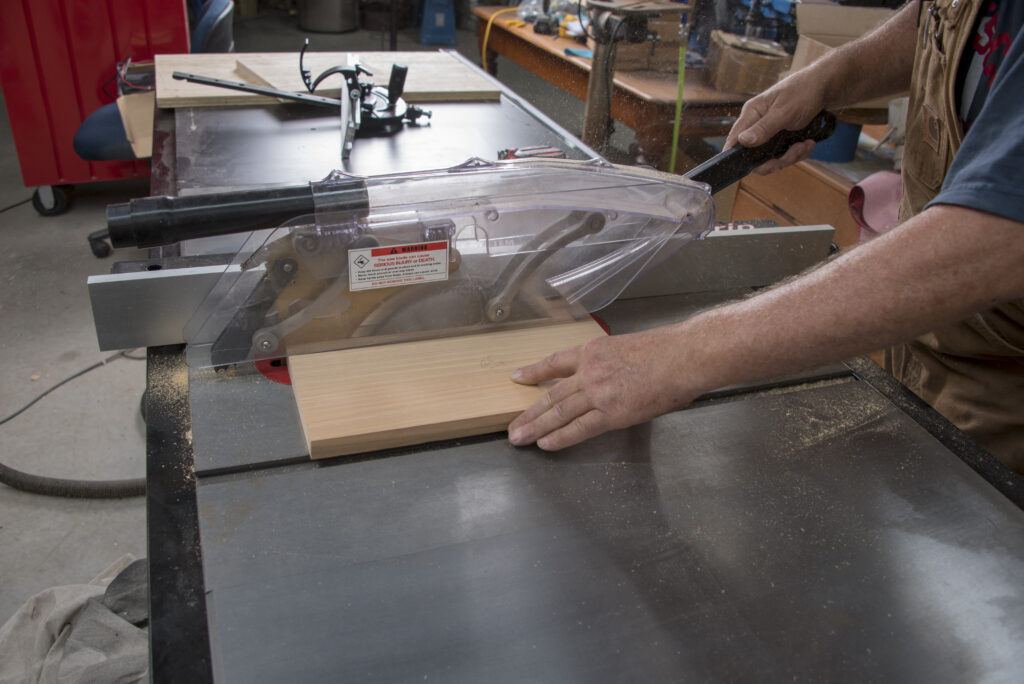
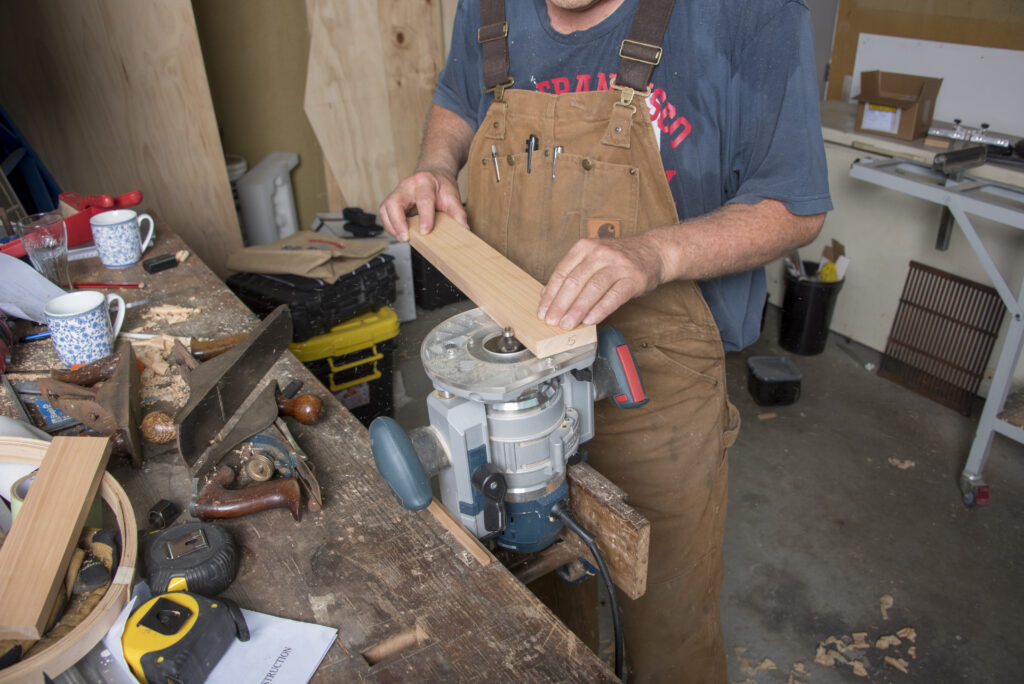
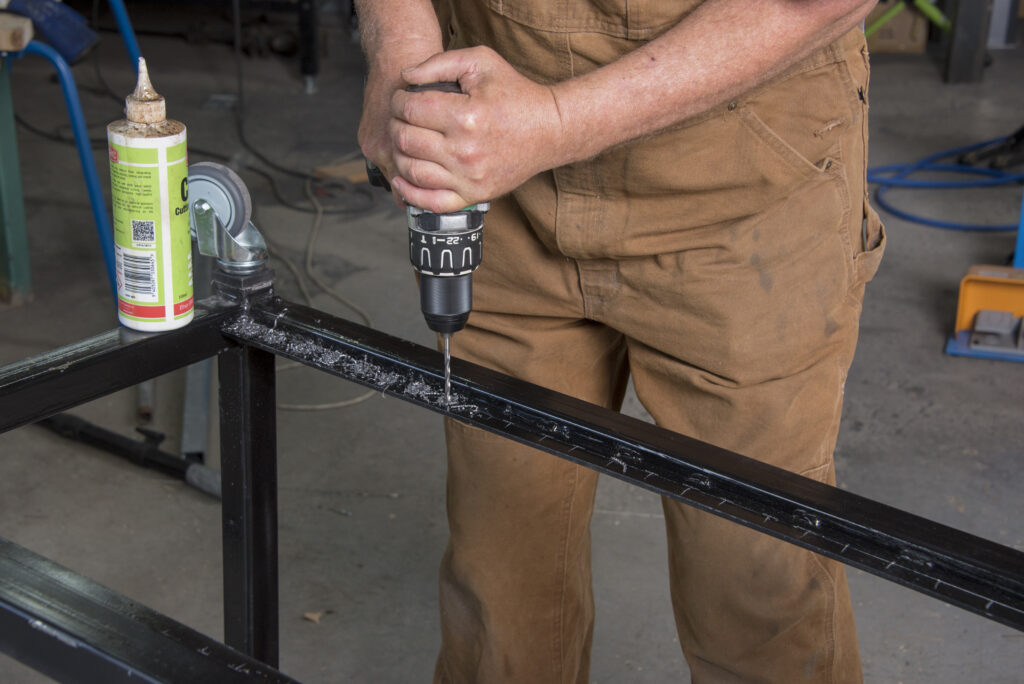
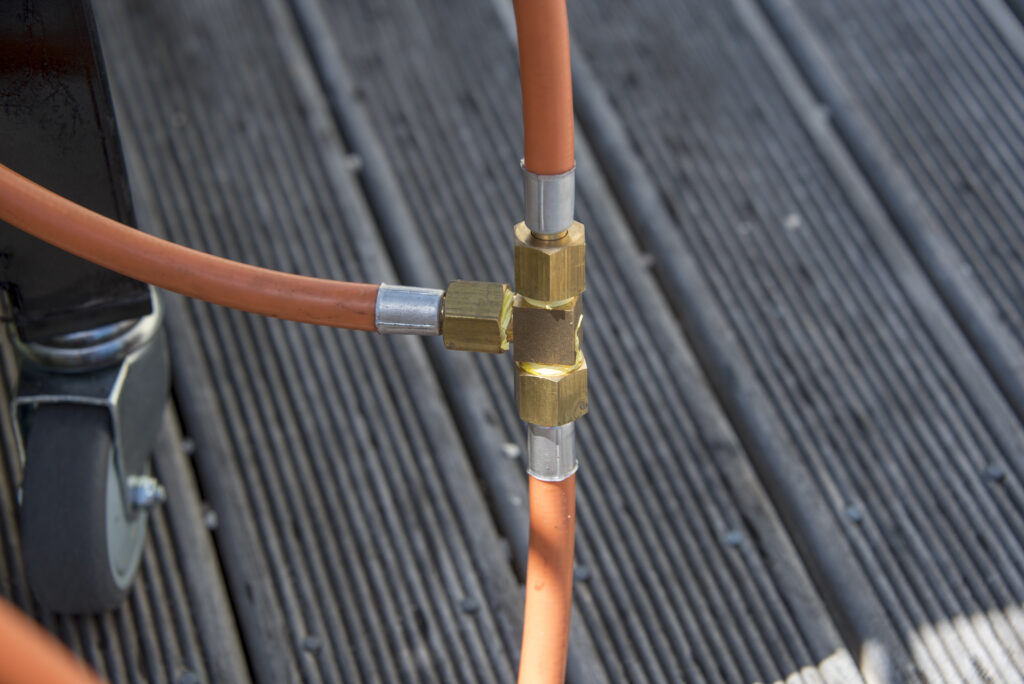
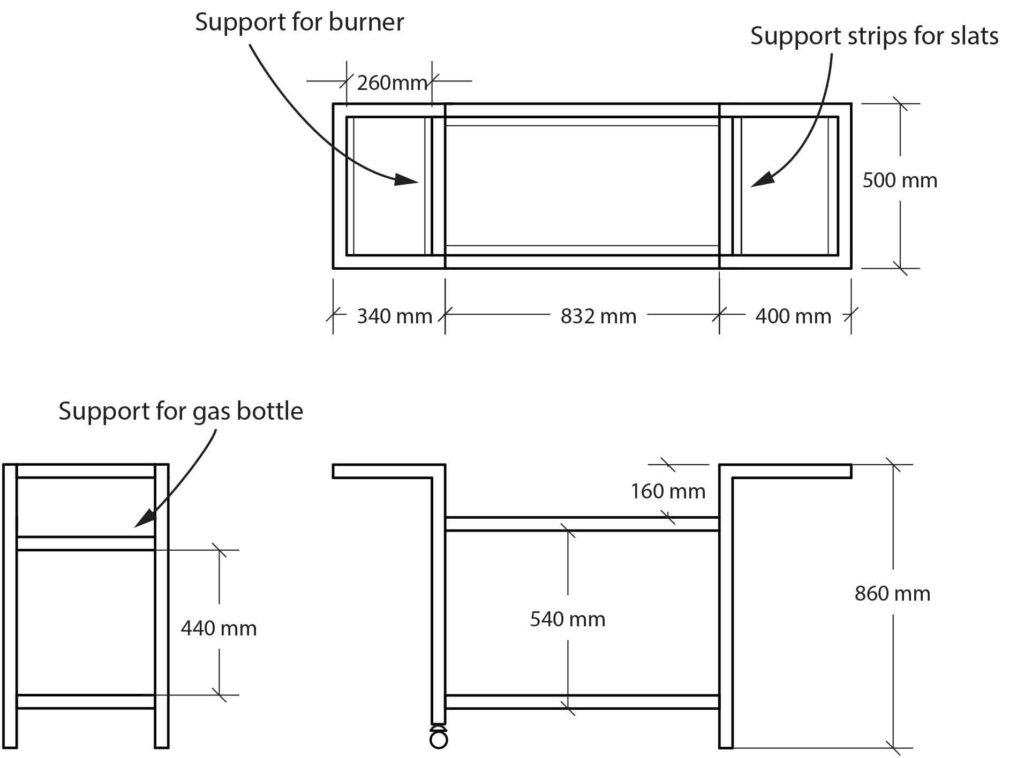
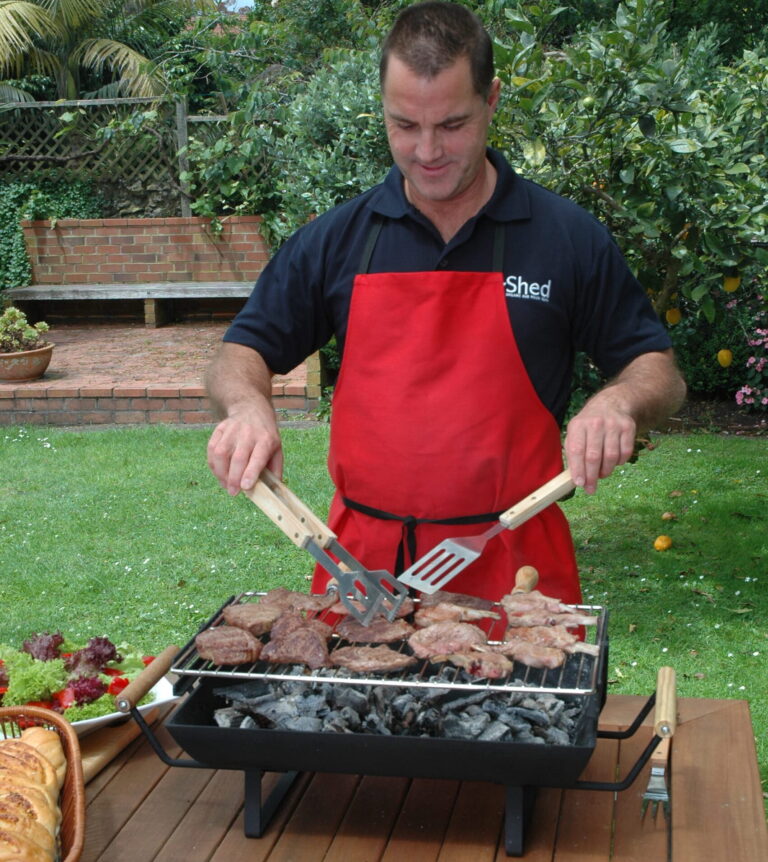
At home, I have a big barbecue in the backyard and a little barbecue upstairs on the balcony that I use when there are just two of us. This hibachi or portable barbecue would be ideal for just two although the grill rack is big enough for four or five steaks or chops and sausages. It can be made with scrap mild steel and a piece of cut pipe. You will find scrap bins at your local engineering works. Most pieces of metal under a metre seem to go in there. You could ask and many companies would be happy to help out, perhaps for a couple of beers.
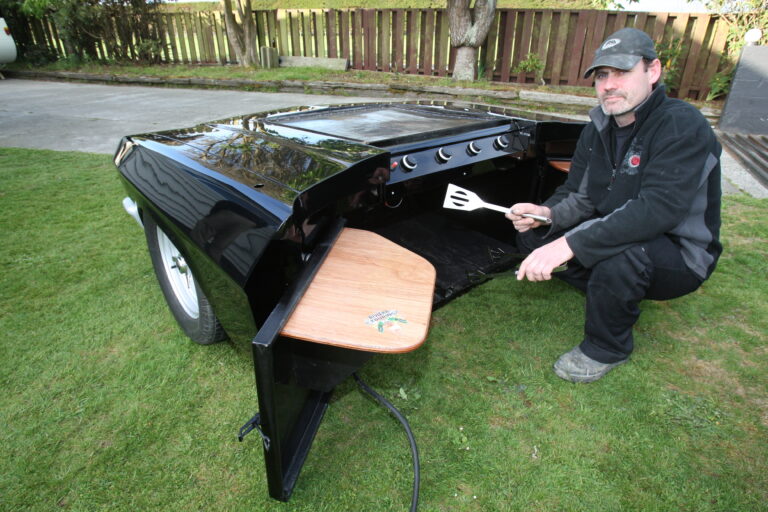