Create a simple Japanese hibachi barbecue
By Wayne Ferguson
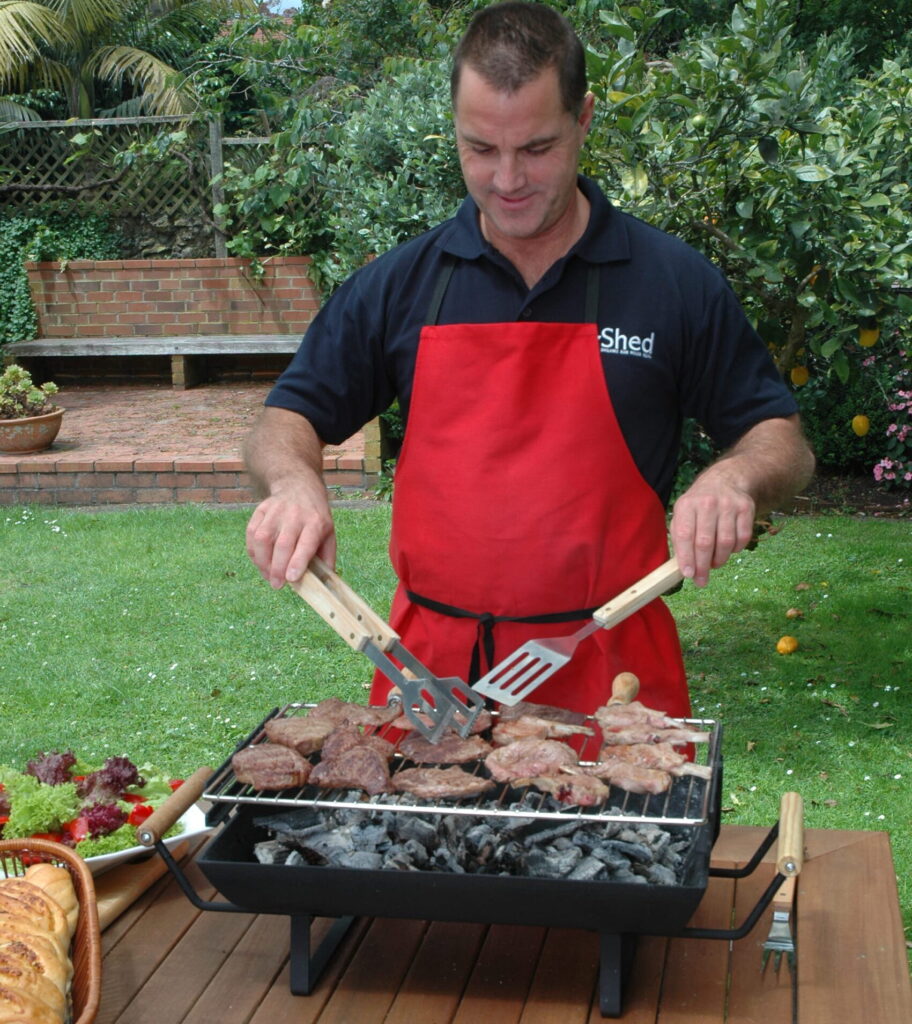
When I started to think about this project, I first had to ask “what is a hibachi?”
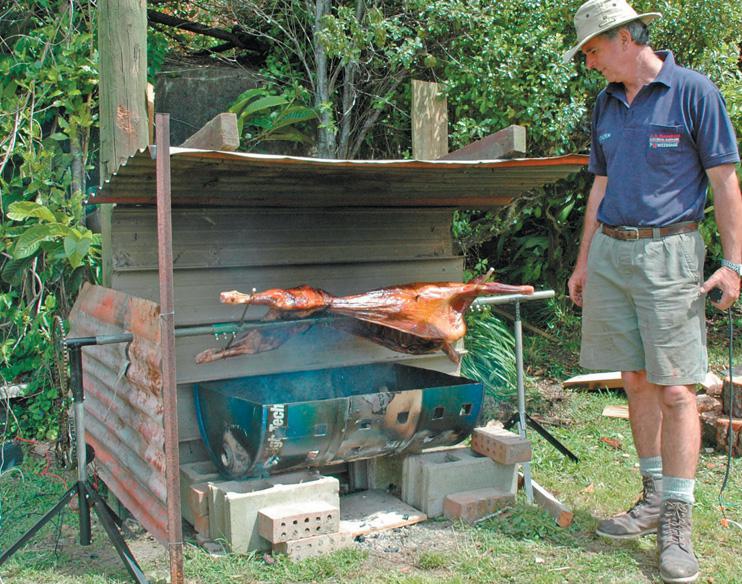
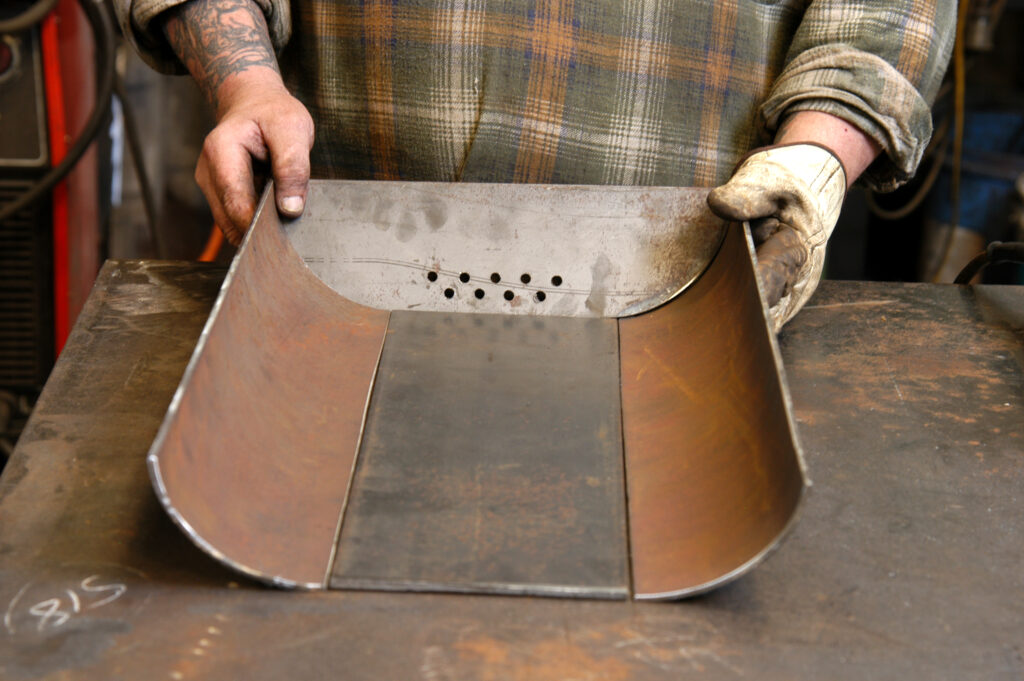
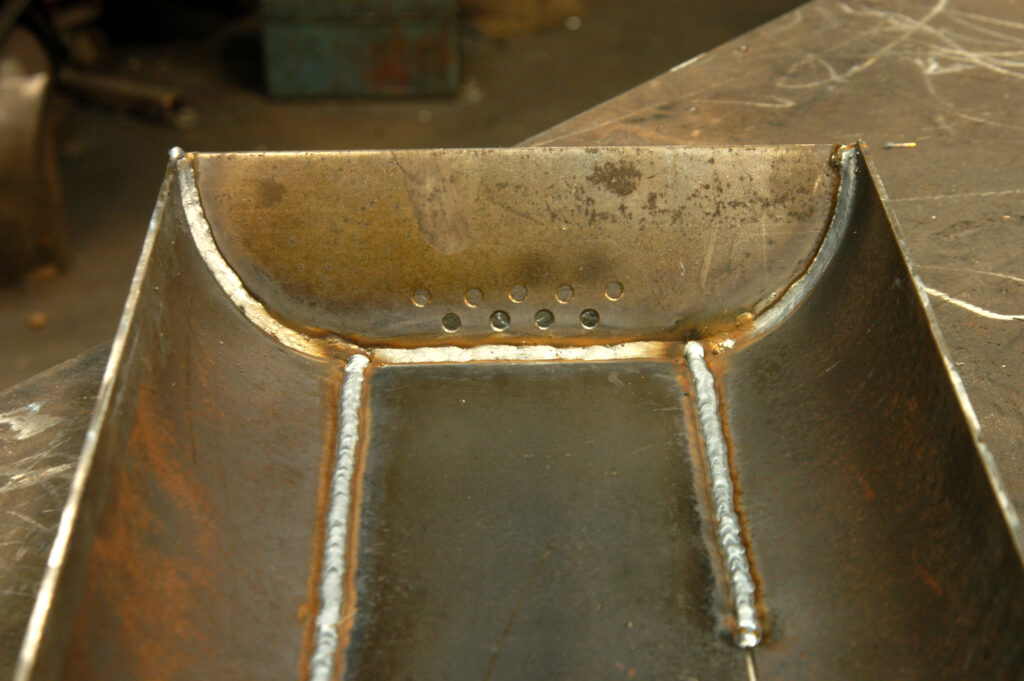
There are different styles you see on the Internet and in stores that sell portable barbecues. I see some of the mass production portable barbecues done in cast iron and some with gas cylinders, but the design I started thinking about is much simpler and just uses charcoal or wood chips. The nine 7 mm holes in the end for ventilation keep it simple—some commercial hibachi barbecues have little shutters you can open and close for air vents but that seemed to me too complicated.
At home, I have a big barbecue in the backyard and a little barbecue upstairs on the balcony that I use when there are just two of us. This hibachi or portable barbecue would be ideal for just two although the grill rack is big enough for four or five steaks or chops and sausages. It can be made with scrap mild steel and a piece of cut pipe. You will find scrap bins at your local engineering works. Most pieces of metal under a metre seem to go in there. You could ask and many companies would be happy to help out, perhaps for a couple of beers.
Design
I started the design with the wire rack where you cook everything.
Once I knew the 300 x 500 mm insert wire grill rack was the basis, I took everything from there. The portable barbecue had to be heavy enough to take the heat but not so heavy you couldn’t lift it to take on a picnic. The legs had to keep the bowl far enough away from the support table or surface underneath so it would not burn. The 150 mm x 6 mm base plate is going to get hot but not enough for me to get anxious about. It certainly wouldn’t glow red hot and the 6 mm thickness is better than a 4 mm plate.
The grill rack itself had to be just the right distance away from the embers, above the top of the bowl of the barbecue but not too far. The handles had to be far enough away from the bowl so you didn’t burn yourself and you had to be able to dismantle the support racks for the grill. You could find many different sorts of material, but I came up with my own ideas, just given the basic shape. I used what I had to hand such as a piece of pipe, and kept working things out as I went along, referring to the basic Japanese hibachi shape.
Steps
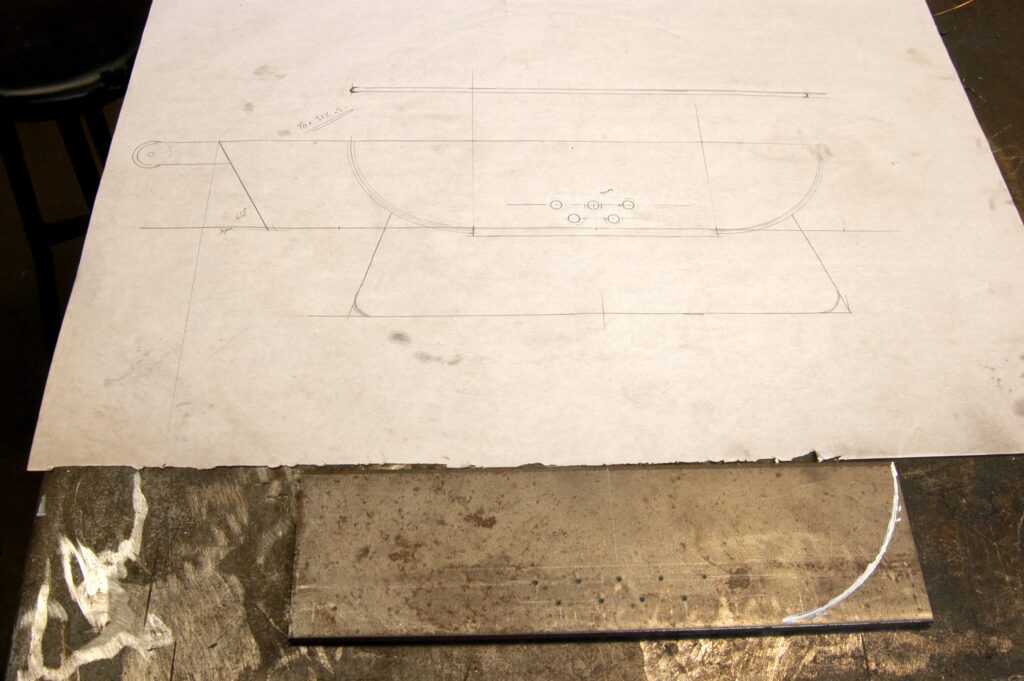
The steps I made notes of were to plan, sketch, draw a full-scale outline (or you could make it to scale) list the project parts, work out the material and its source (especially if you can find freebies) then note the tools and consumables needed.
Tip: I check out the steel supplier catalogues for the dimensions of steel normally available. It makes it easier when you are trying to work out the design. And remember, it is important to be safe with tools. Power tools are unforgiving which I can vouch for with a few of my scars.
Ends and legs
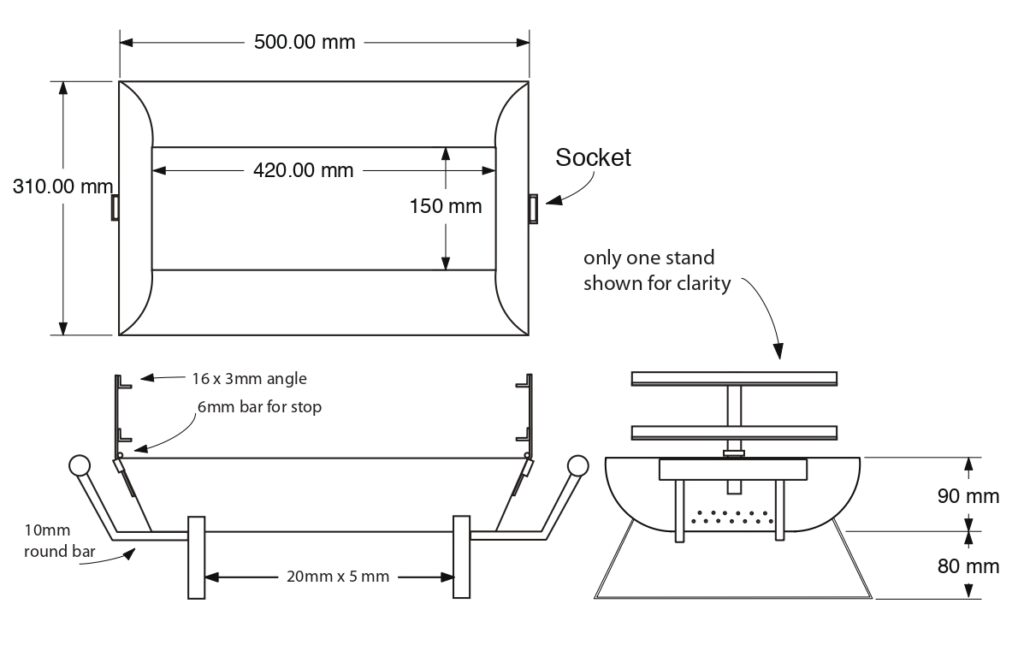
From the design which I did pretty much full-scale with a side view and the angle of the end plate, I could work out that the cut-off for the ends should be 39 mm from the end and at an angle of 62 degrees.
For the legs, I used 20 x 5 mm flat bar. The angles of the legs are up to you. I worked them out so they would look good but it is up to you how you want to bend the flat bar. I used small 16 x 3 mm angle iron for the grill rack supports at each end. I decided that two levels would be enough—you could possibly use one for fish and one for meat depending on how close to the embers you wanted to cook. Three levels seemed to me too fussy.
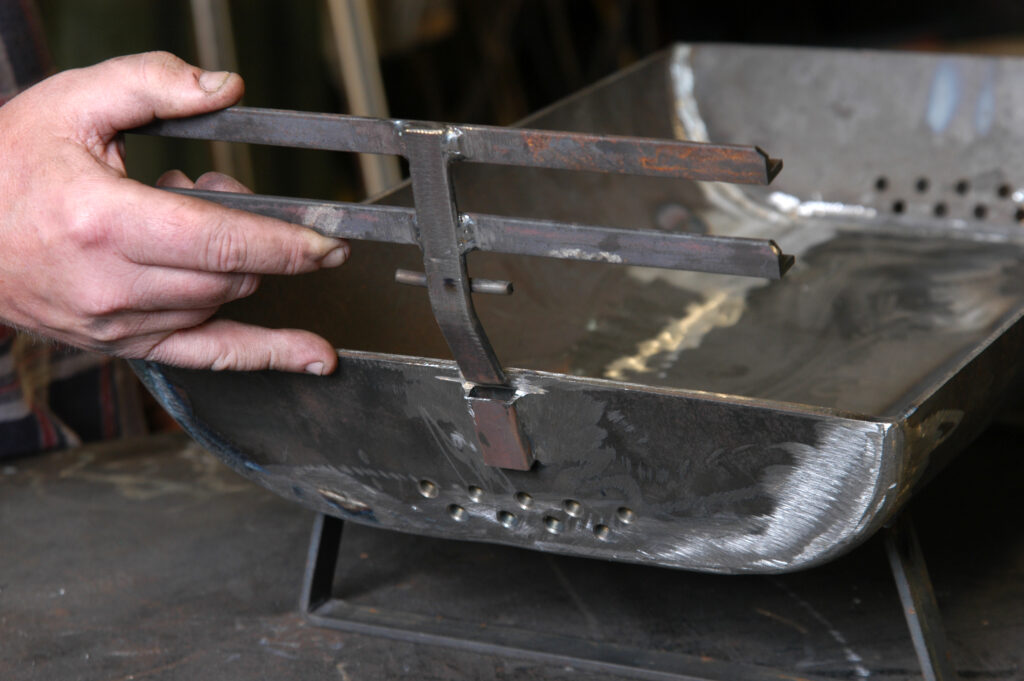
The angle iron cross-supports that the rack rests on are welded across a 16 x 3 mm vertical flat bar. This slots into a small socket welded to the end plate of the barbecue. I made the socket of 35 x 19 mm ERW (electric resistance welded steel). A piece of 6 mm round bar is welded across the vertical bar as a stop when it is in the socket.
You could weld the rack supports to the steel bowl if you wanted to. I preferred to be able to take them out and lay them in the bowl for travel. As I go along I find ideas really pop into my head and I change things. This happened with handles as I worked out the angle of the 10 mm rod, for example. I decided the rods for the handles would look good at the same angle as the end plates. For appearance, the end plates are not straight but slope away from the base of the bowl.
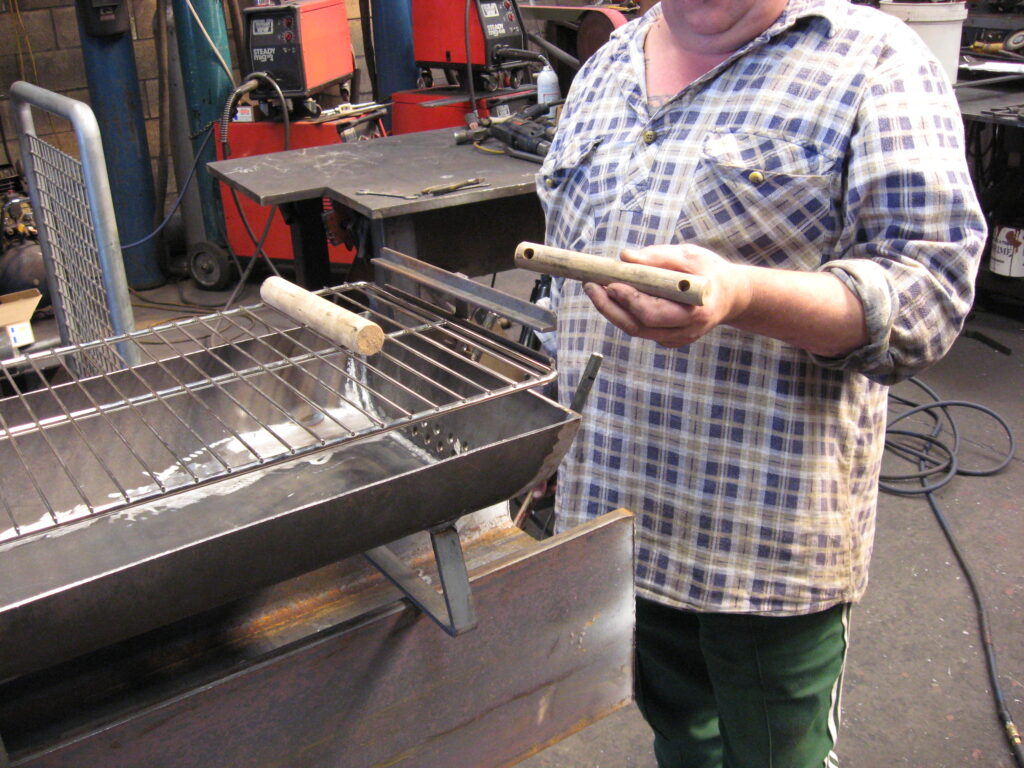
The handle supports are 10 mm rods and the handles themselves are 25 mm dowel. I worked out a distance that would be enough to prevent your knuckles from hitting the ends of the grill rack barbecue—up to you how far away you want to bend the rods. The handles on the grill rack itself to enable you to lift it and shift it from level to level are file handles bought at Burnings for a few dollars. I TIG-welded 6 mm stainless rods to the grill rack using stainless steel electrode wire to save mucking about, and glued the handles to the ends of these rods.
Start
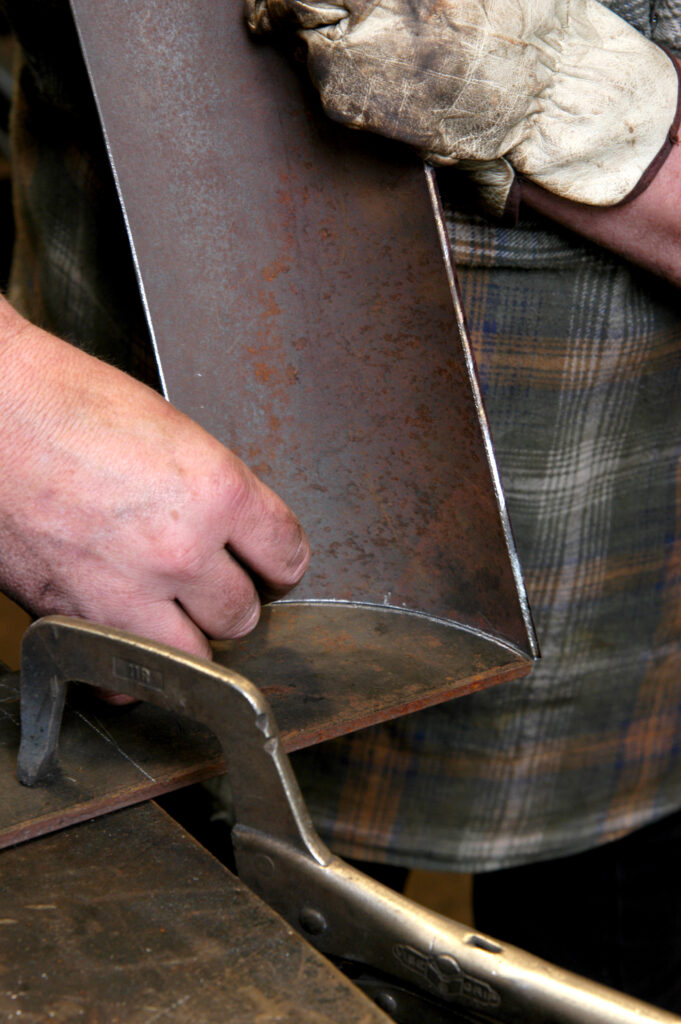
You can start the marking out and cutting the bottom 150 mm x 6 mm plate and the two sides which are quarters of a pipe. You could ask about getting the plate cut by the suppliers or local engineering works.
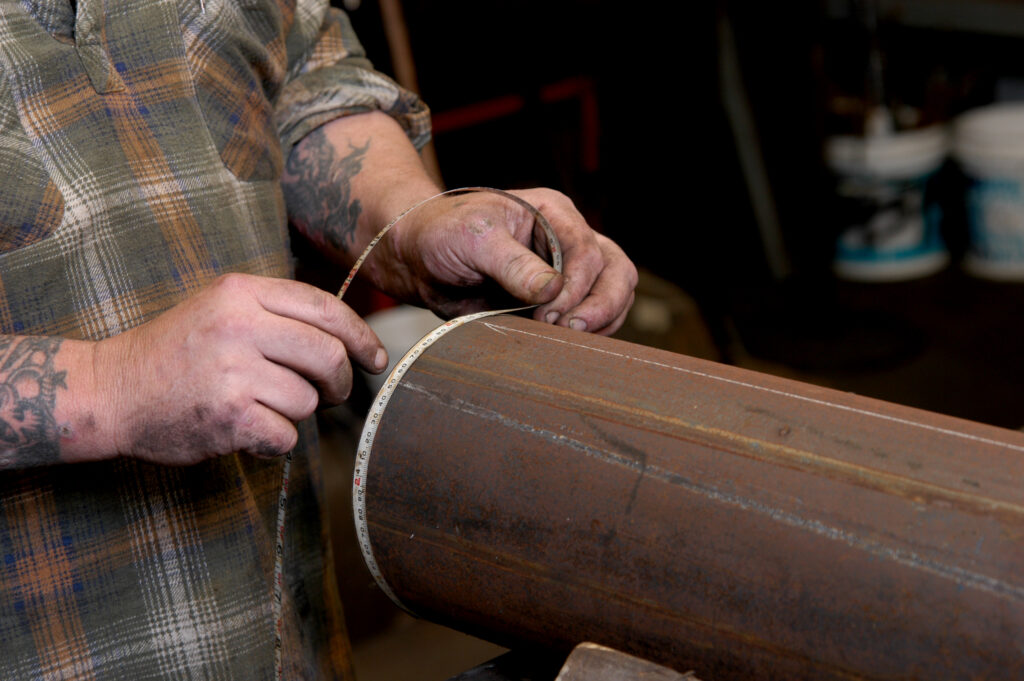
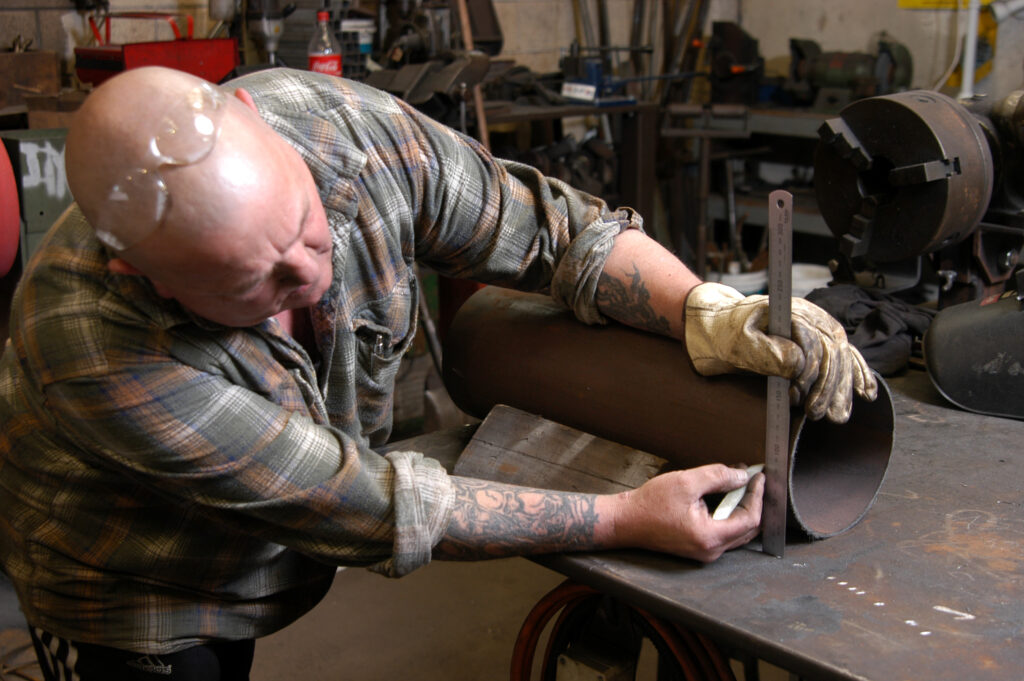
To cut the pipe, you have to be aware that the nominal bore or internal diameter is not necessarily the actual measurement. I measure this 6 mm thick metal pipe to be sure of the true size. The circumference is 598 mm. I want a quarter of that as the sides of the barbecue are going to be made up of two pipe quarter curves. That means a cut measurement of 129.5 mm in this case.
I have a handy piece of broken tape, a result of people stepping on the tape measure on the ground. I keep this offcut in a small bulldog clip and it is handy for measuring small distances.
Pipe cut
Wrap the tape around the pipe and mark it with chalk. Rotate the pipe to find the original weld and be sure to cut along this. When cutting pipe be aware that it can spring open with a bang at the end of the cut.
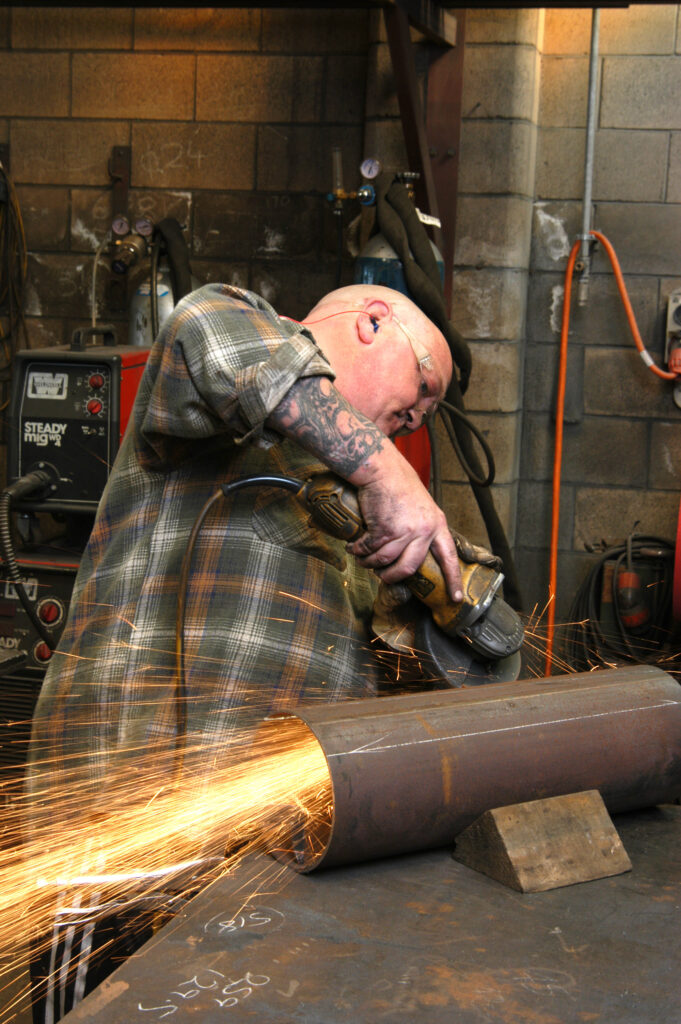
The steel in the box section can close up when you’re cutting—it depends on how it was made. Box section kicks in but pipe wants to kick out. I do a lot of this cutting work freehand with the 1 mm cut-off discs that I prefer to use. These Norton 1 mm discs tend to flex until you are used to them but they provide better control in cutting and move easily. The 1.6 mm and 2 mm discs are used a great deal by the home handyman because they are stronger, but surface friction is greater than with the 1 mm disc.
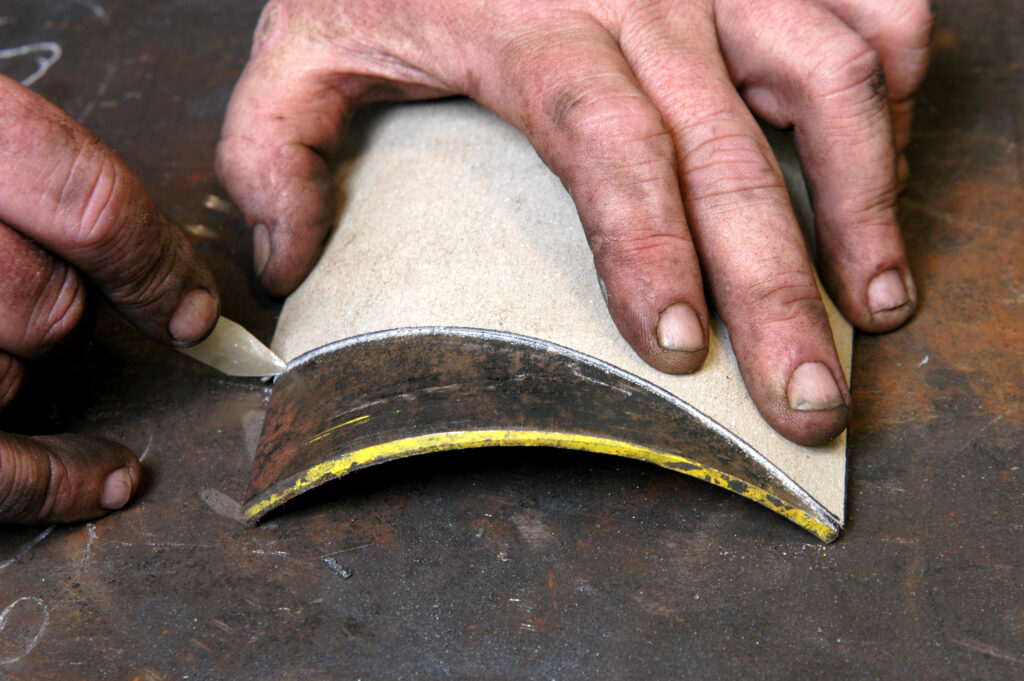
Now angle-cut the ends of these quarter-pipe pieces at 62 degrees 39 mm in from the end. This gives a nice slope for the end plate to be attached to. Cut a jig in cardboard from the first piece of pipe curve and use it for the other curves. Then mark the 6 mm steel end plates with the curves from the pipe pieces.
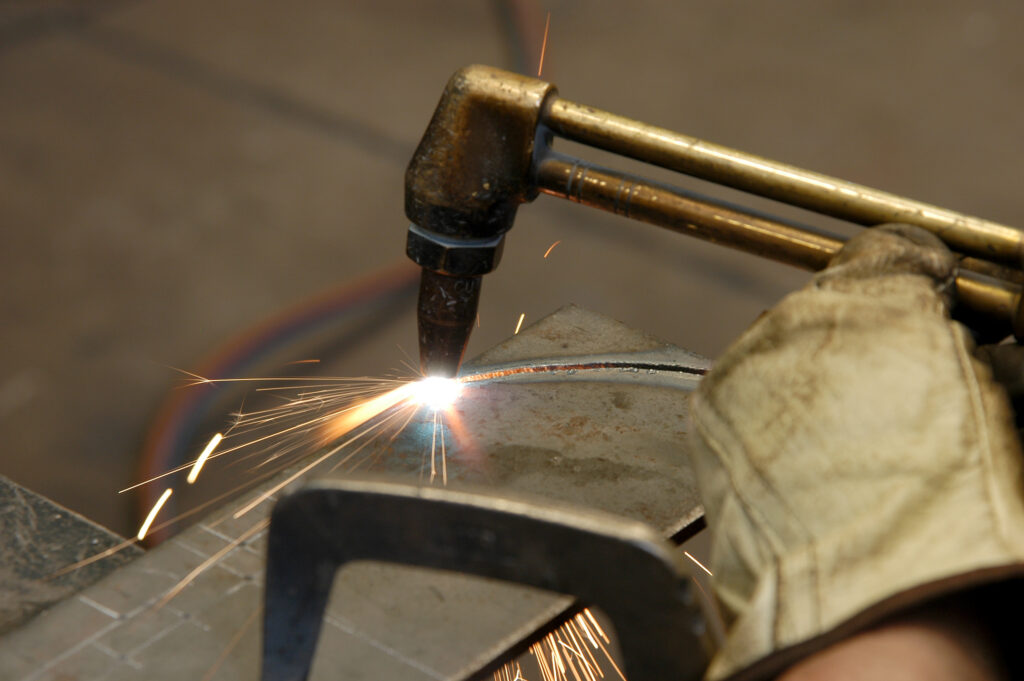
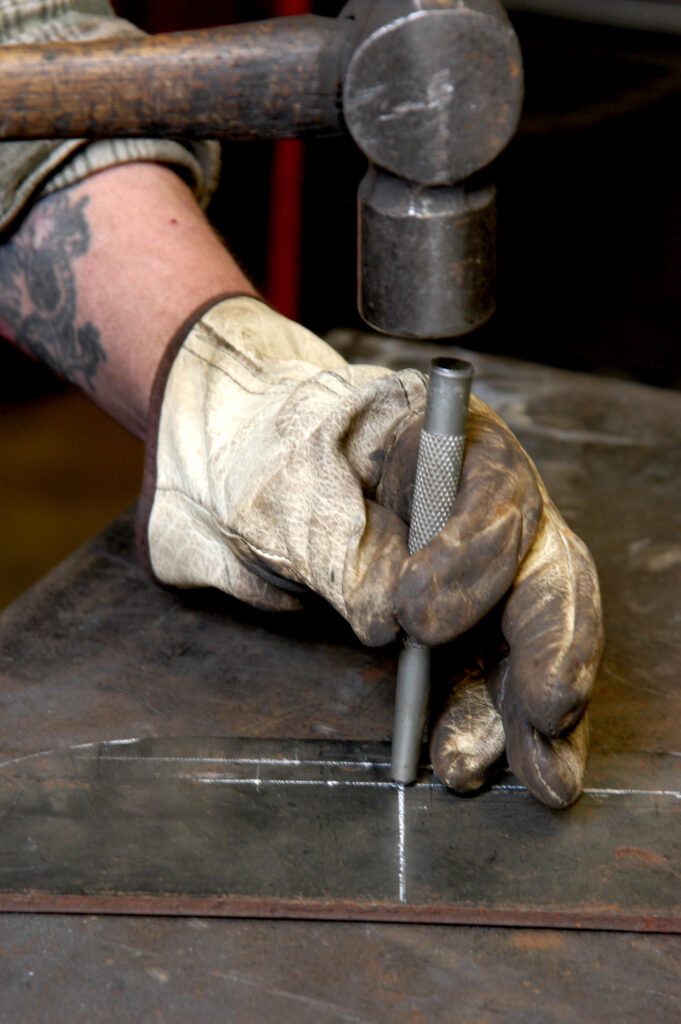
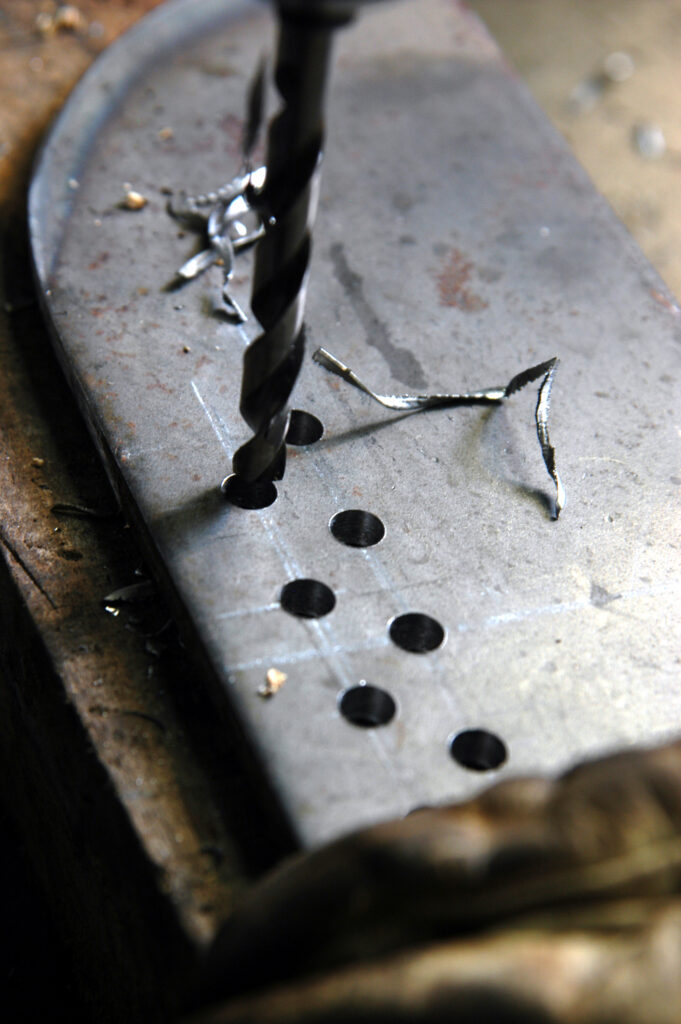
I cut the curves on these end plates freehand with a gas torch. The nine 7 mm holes drilled in the end plate should give the charcoal or wood give plenty of air at both ends. I don’t think you want to go much bigger than that. Countersink the drill holes and deburr before painting. It takes the edges off and looks better for barbecue.

Check
Hold the bottom plate, curved sides, and end plates close to each other to check the fit of the curves before tack welding.
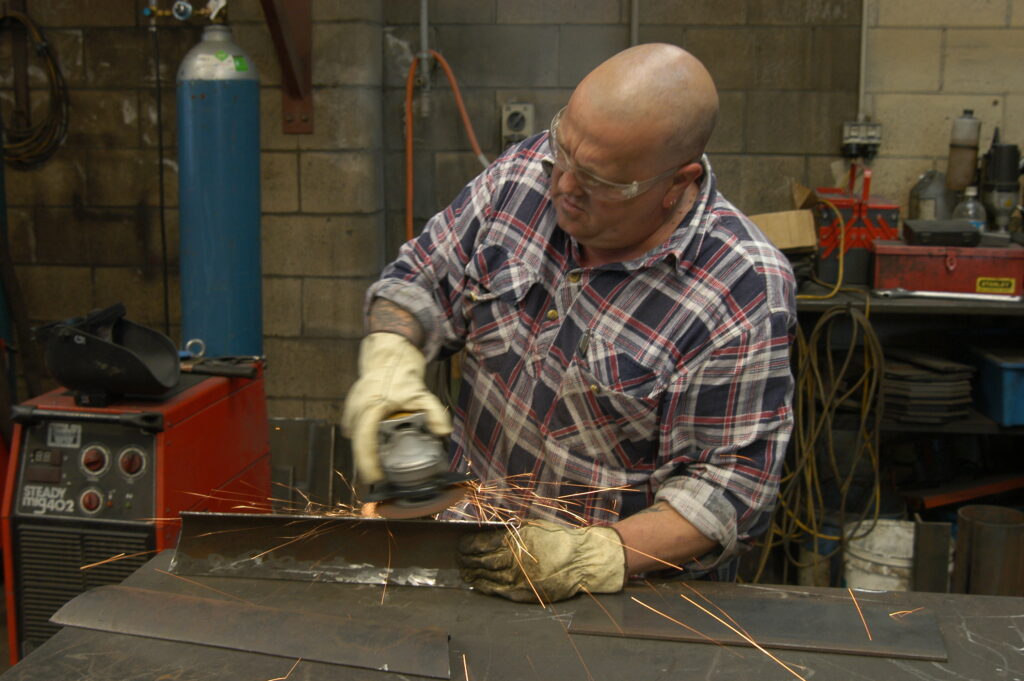
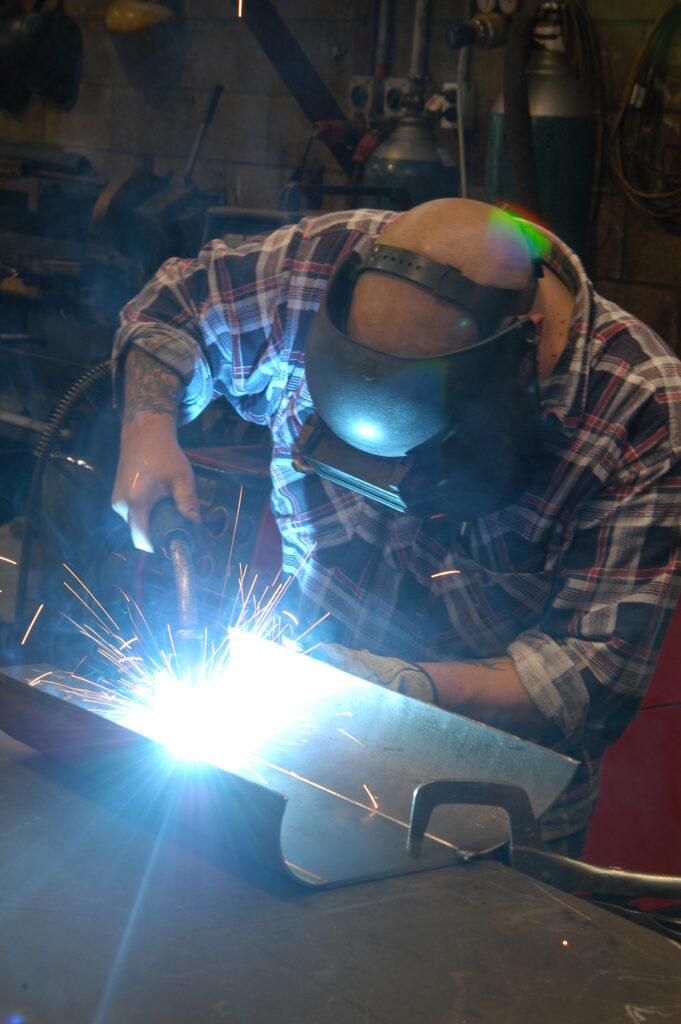
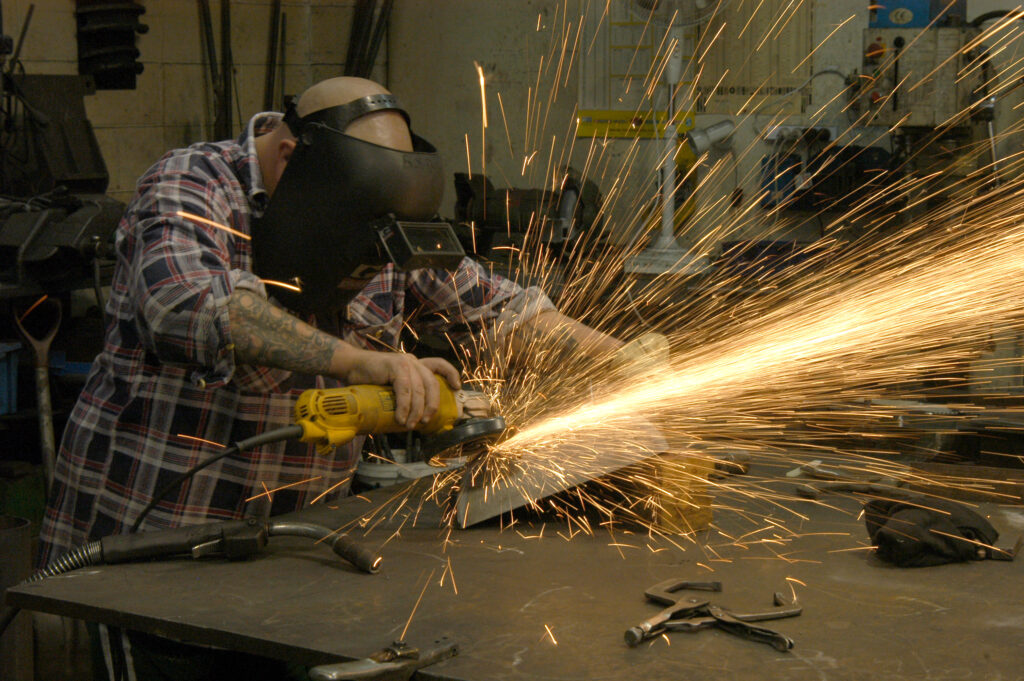
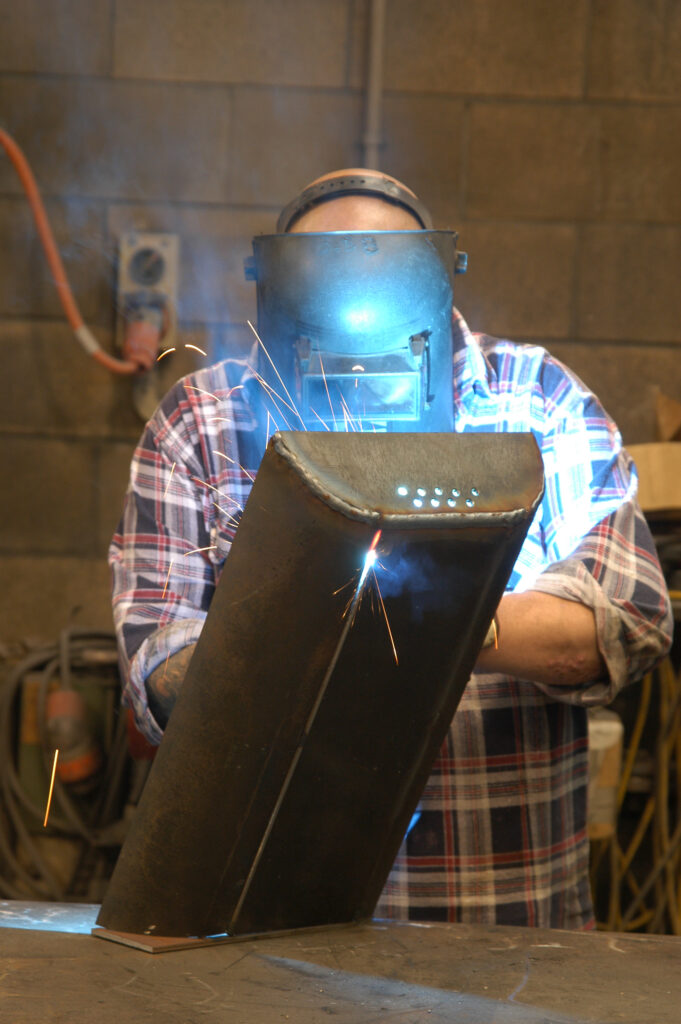
Use the grinder to smooth any problems with the curves fitting each other. Before tack welding the bowl, I spray on an anti-spatter nozzle shield. I use a 1 mm solid 1 mm SF1 MIG wire and weld from the inside—I find if you weld from the outside in it tends to blast through the seams.
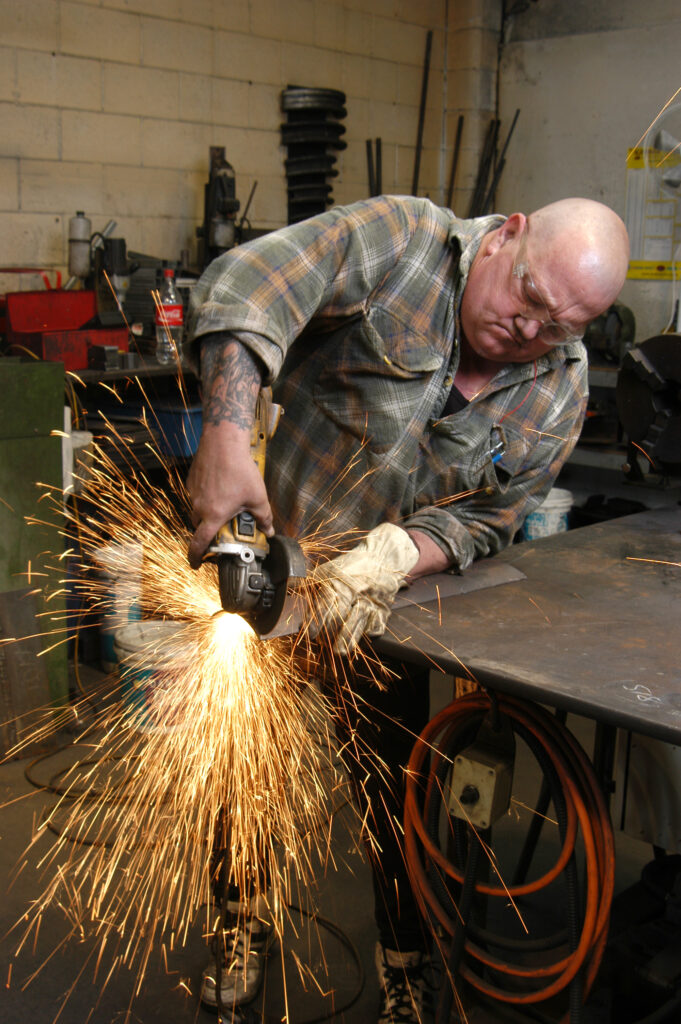
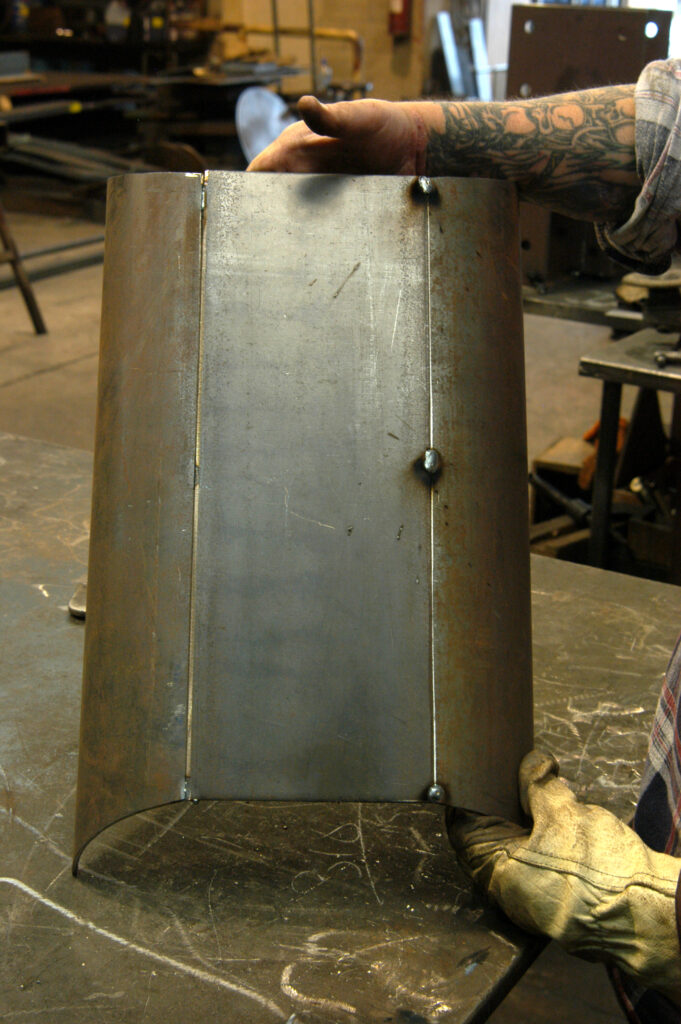
Tack the curved sides to the bottom plate and tack the end plate on. Grind the welds smooth as if sanding with a rotary grinding disk. Normally I would use a sanding file but a 60-80 grit wheel will give you a smooth finish. You could use a 100-grit silicon-like grinding wheel—it has a rubbery smell—which we find is good for the handrails we do at work.
Legs
Invert the bowl to draw the lines on for the 20 x 5 mm flat bar legs.
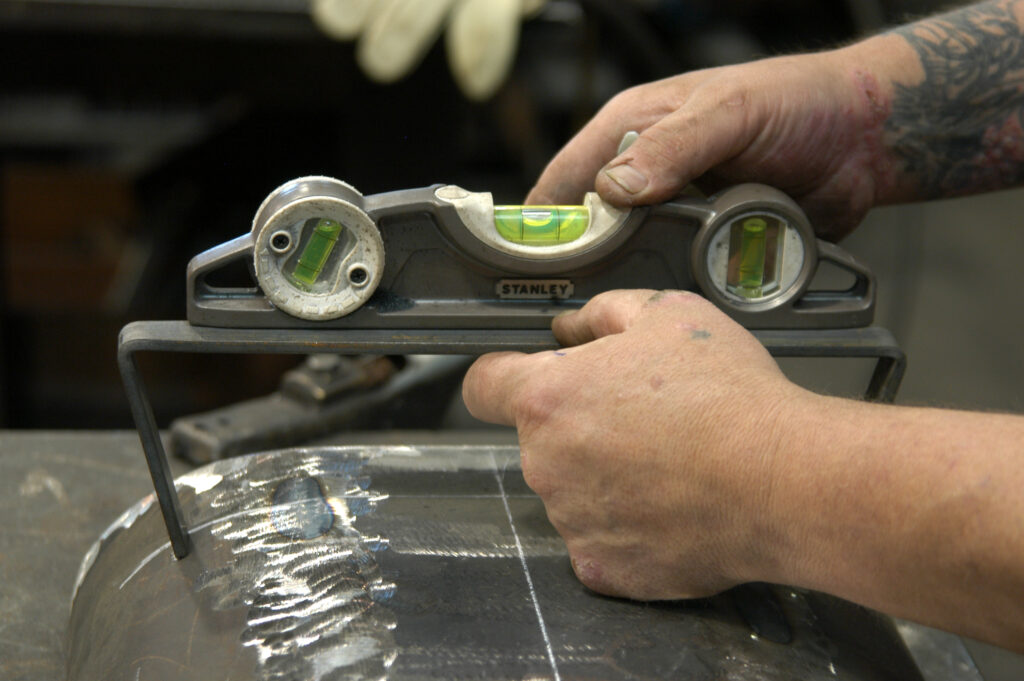
I made the legs 240 mm across, so they will be attached 120 mm from centre line. Mark the side where the leg is attached to the base. Place and move legs across the bowl till they provide a flat base for the barbecue. Check the bottom of the legs with a side level and tap with a hammer to even the level up—both legs need to be even. Tack weld. Weld the socket onto the end plates and make up the rack supports from angle iron, a piece of flat iron, and a small piece of rod (see drawing).
Make up the supports for the handles by bending lengths of 10 mm rod. Drill a sideways hole in the top of each 10 mm rod—this is where the screw will go in from the end of the dowel. Weld them to the base of the bowl at each end. Attach a 25 mm dowel in which you have drilled two holes to sit on top of the rods. Drill holes in the end of the dowels for pan head screws. The round heads keep the barbecue looking nice and tidy. Weld stainless rods onto the grill rack, as described, and glue on the handles.
Paint
Give the black metal sections of the barbecue a good two coats of VHT (Very High Temperature) silicon-ceramic coating header paint which can stand heat up to more than 1000 degrees centigrade. You are ready to fire up.
Wood chips, Manuka, etc, wood chunks of untreated pine or briquettes/charcoal should all work. Have a test firing to ensure no fume residue comes off. Your one-off original design is ready to be used at picnics, home barbecues, or wherever you want to travel. The rack supports detach easily and the whole thing needs no instruction manual to run.
Happy barbecuing.
A life welding
I have been a welder since I was 15. I did arc welding at school and was successful at tech drawing and engineering subjects. I applied for the Navy and an industrial job and got accepted for both. But I went with the civilian life.
My apprenticeship was on the boilermaker side and it was a tough, hard apprenticeship. You could get a smack on the head if you did something wrong. If you asked why you were given another one for asking. My granddad was in engineering and my father was in the fire protection, sprinkler business.
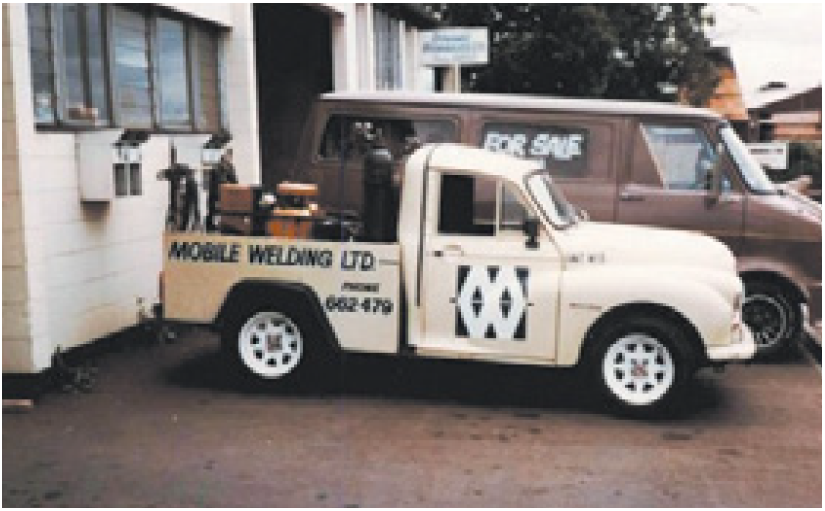
After coming out of my time and working, I went out on my own into the sprinkler business, too. But there was the stockmarket downturn when all building and sprinkler work stopped. I returned to Mobile Welding. We had a little Morris Minor called Sparky converted to a portable welding vehicle with a petrol generator. It was small enough to drive into the brewery aisles and small spaces and was a great performer. We work on diggers, cranes and do pipe work as a specialty. I have been in this job more than 15 years.
