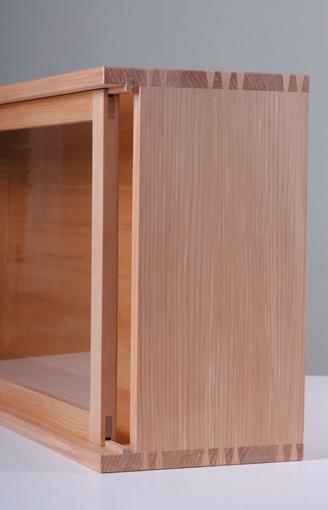
There’s room for interpretation in making this sliding-door dovetails cabinet
By John Shaw
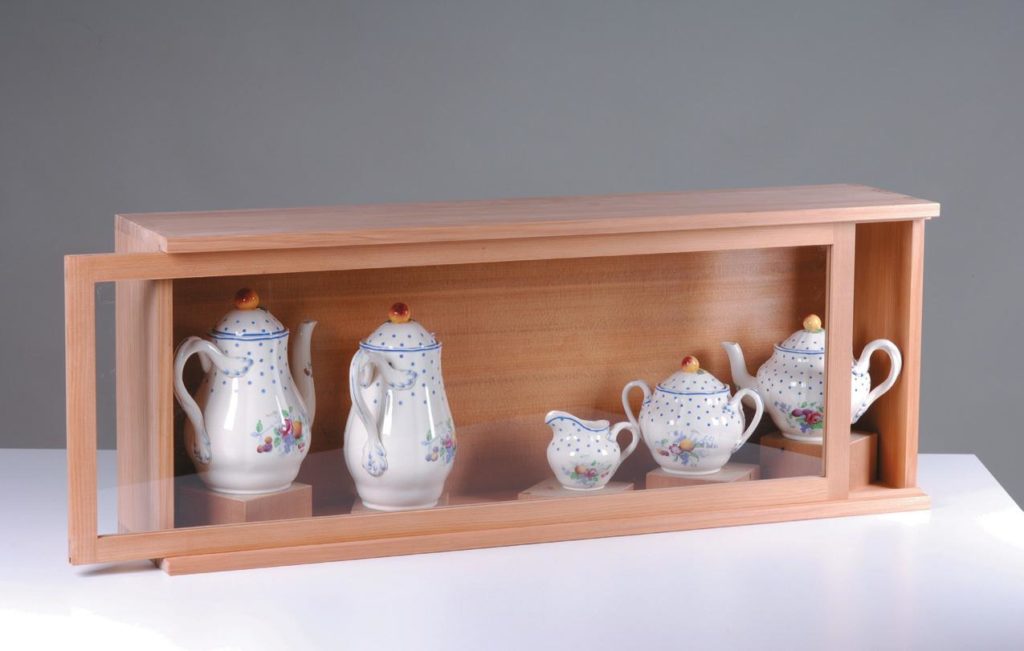
This article is intended to offer insight into the major steps involved in building a relatively simple dovetailed cabinet, rather than a step-by-step do-this, do-that.
Hopefully this will leave room for interpretation and development of better or different solutions. That’s how woodworking became a tradition in the first place. The scope to do what we feel like in our shed/ workshop engenders this, a sort of unofficial Research & Development programme.
So, now that heading out to the shed as often as possible is essential for the wellbeing of the country, let’s get to it.
Accuracy
So how are your dovetails? No longer an issue for you?
Well, for a bit of fun, I propose building a simple dovetailed cabinet with a sliding door in order to apply and develop the skill further. The critical factors/attitudes overlying a project like this are a commitment to accuracy and engaging in a process of applied logic throughout the construction of the piece. In other words, be as careful as possible and think well ahead as the implications of each out-of-sync move you make can be great.
I’ve outlined how I tend to tackle the major technical issues in building a cabinet like this. Enjoy filling in the blanks and remember we’re all learning, so compare your progress against yourself rather than against what others do.

Preparation
I’m using kauri for this project because of its mild nature and stability. Break down your stock to
a dimension slightly over the finished size. Ideally, leave it to settle for a few days to release drying and growth stress.
Take care to machine all pieces at the same time, ensuring that they finish the same thickness, square and parallel. Cut them to length as pairs.
Position the four cabinet pieces as they will be in the finished cabinet and mark all the rear corners
using the semi-circle motif as described in the article on dovetails (“Dovetails — the benchmark”, The Shed, April / May 2008). Use a different colour for each corner.
Dovetails
Firstly, read or re-read the article on dovetails, (“Dovetails — the benchmark”, The Shed, April / May 2008) or search that article on this website.
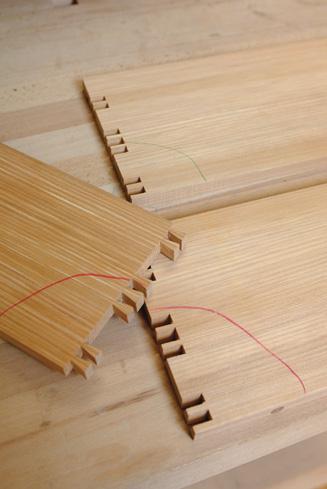
Determine your spacing for the tails to be cut on the narrower side pieces and mark out onto the wood in pairs. Saw the tails and pare cleanly.
Transfer the outline of the tails to the top and bottom. Ensure that you have the correct pieces for
each corner by checking the semi-circular marks on each piece. They should always be on the
outside, the same colour, and flush at the edge the marks run to. This sounds pedantic but is critical if you don’t want to make a set of “shovetails”- so-called because you have to shove them into the bin. Saw the pins, remove the waste and pare clean. Check the fit by part-assembling the case gently.
Grooves
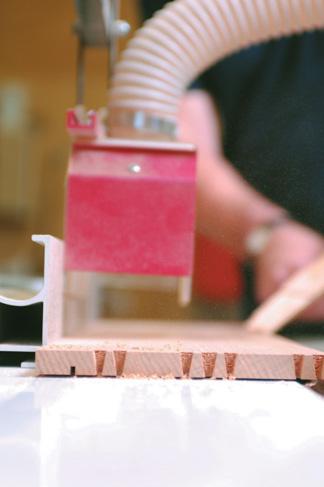
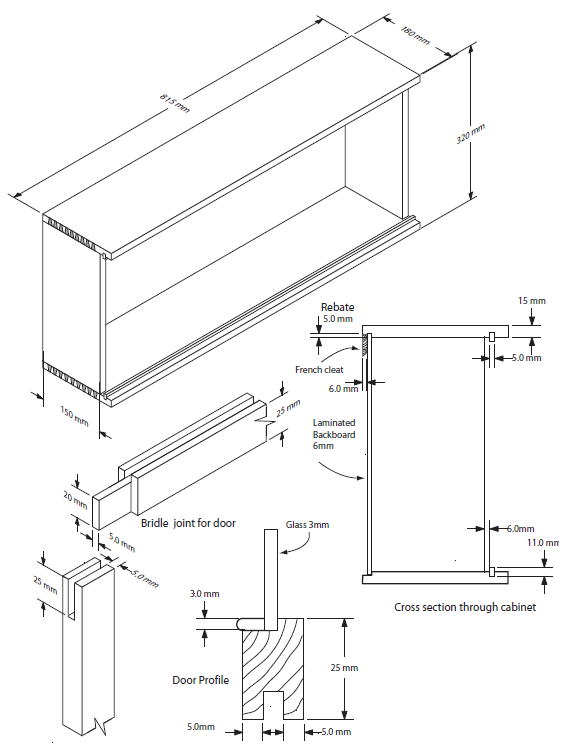
Mark clearly with a soft pencil on the inside faces of the top and bottom of the cabinet where the grooves for the sliding door splines fit. Note well: as it is critical that the grooves should be 6mm from the front edges of the two cabinet sides and as dovetails sometimes slightly misalign, do not
assume that the front edges of the top and bottom are immediately usable against the saw fence for this groove.
You may have to work on them with your hand plane to ensure that the distance that the top and
bottom extend beyond the sides is exactly the same at each corner. Disassemble and run the groove on the circular saw. It should be approx 6mm deep and 5mm wide and dead straight.
Inside faces
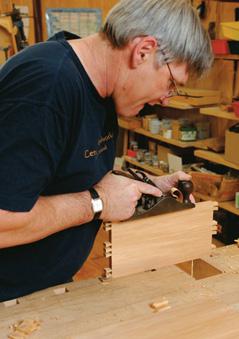
Use a finely set smoothing plane with a very slightly curved blade to clean up the inside faces of the cabinet. You should only remove a minimal amount (two to three shavings). Removing too much especially from the pieces with the pins on can upset the fit of your joint.
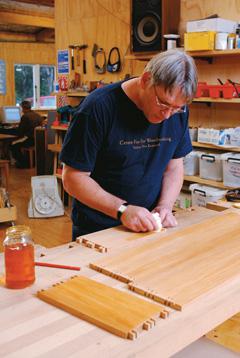
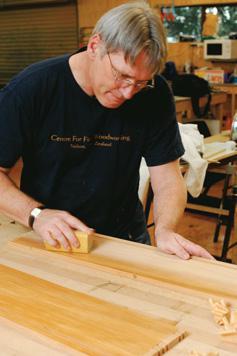
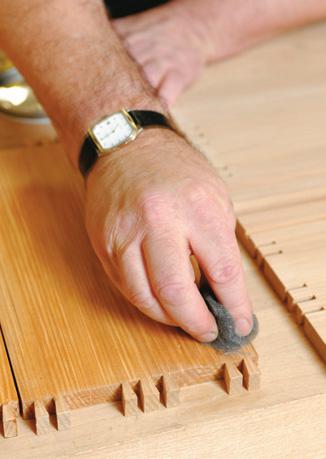
Wipe each of the inside faces with a heavily thinned blonde shellac, just crossing onto the pins and tails by 1-2 mm. You can protect the joint area by covering it with masking tape. Then cut gently with 320 grit sandpaper.
You can also wax the inside of the cabinet now, as this will help when cleaning up glue squeezeout.
Gluing up
We’ve now reached a stage often characterised by stress and difficulty, but you can usually ensure
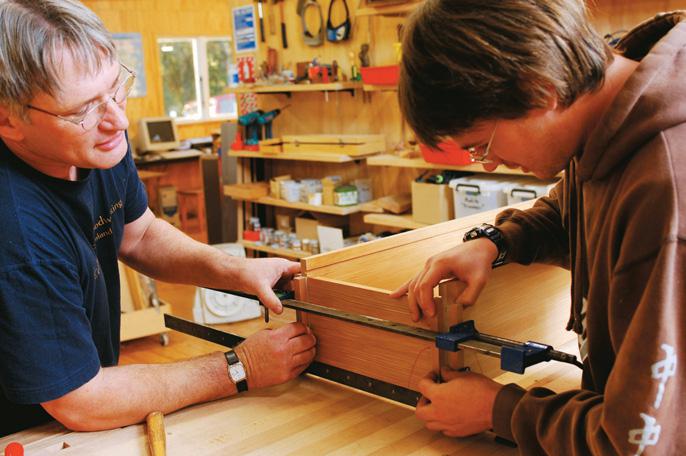
success by careful planning, using well-made blocks to deliver good pressure, and by carrying out a dry glue-up.
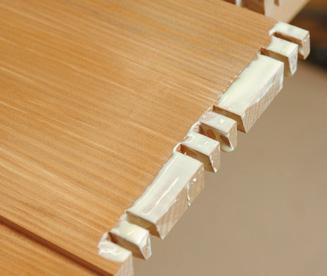
Use stiff blocks the same length as the joint being glued up and use double-sided tape to stick thick
card (2mm) to each block. This will allow the tails and pins to protrude, yet still, close up well when the pressure goes on. This ensures that the joint is easily closed using cramps. A glue-up like this will require eight to 12 cramps.
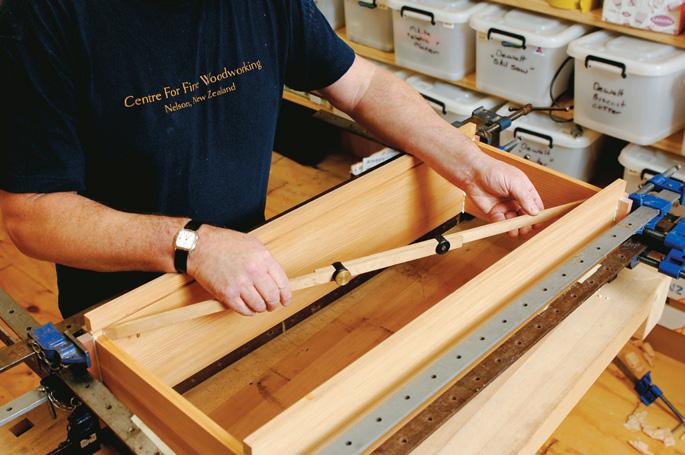
When the joints are pulled up, check for square using diagonal sticks or a ruler and adjust until the
diagonals are equal. Then check to ensure there is no wind or twist in the case by sighting over the top edges to ensure they are in the same plane. Lift one corner of the glue-up with a wedge if necessary to achieve this.
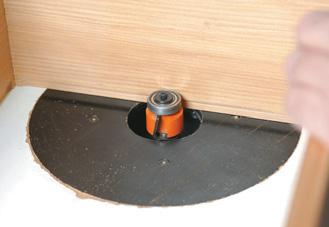
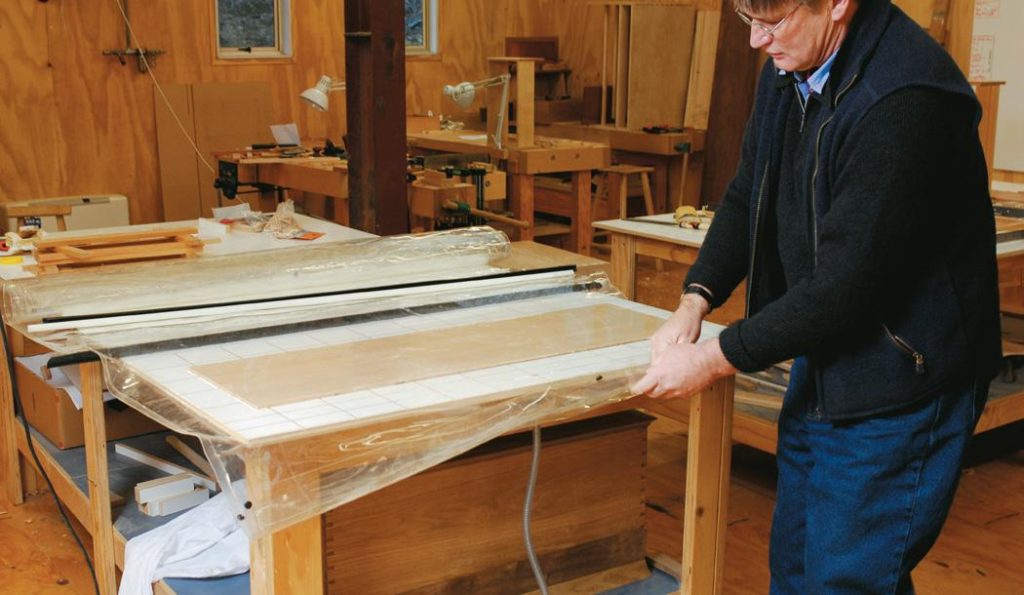
If you use an aliphatic resin glue like Titebond original, you should be able to take the case out of the cramps after a couple of hours. True the back edges of the cabinet, bringing them flush at the corners and straightening each edge. Using a bearing-guided rebate cutter, cut a rebate into the back of the inside of the cabinet. I happened to have some kauri veneer I had cut myself a couple of years ago so I pressed it onto 3mm MDF in our vacuum press at the Centre for Fine Woodworking.
A good quality plywood will do, but you might also try a frame and panel similar to the door. This
should be then cleaned up, polished and fitted, and glued into the rebate in the back of the cabinet.
It’s worth considering at this stage how you are going to hang the cabinet.
A favorite method of mine is to use two strips around 6mm thick with an opposing 45-degree angle
on their edges. One is attached to the cabinet and the other is attached to the wall.
If you use this method, a little subtlety is to make the rebate for the back of the cabinet 6mm deeper than the thickness of the panel as this allows the strips to locate inside the back edge of the cabinet and therefore allow the cabinet to sit absolutely flush on the wall. Assuming, of course, the plaster on your wall is flat.


Sliding door
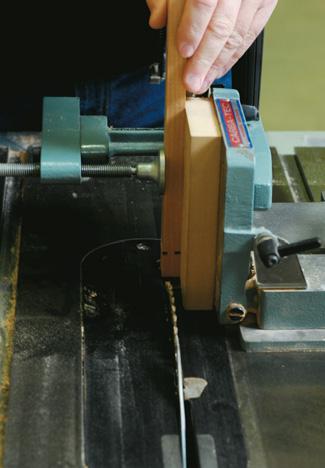
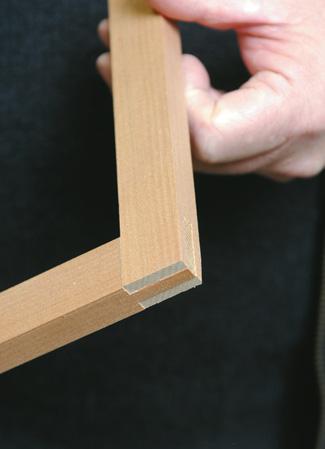
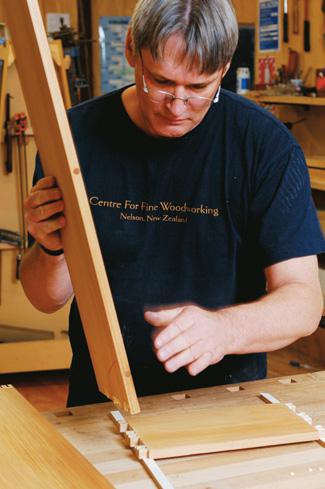
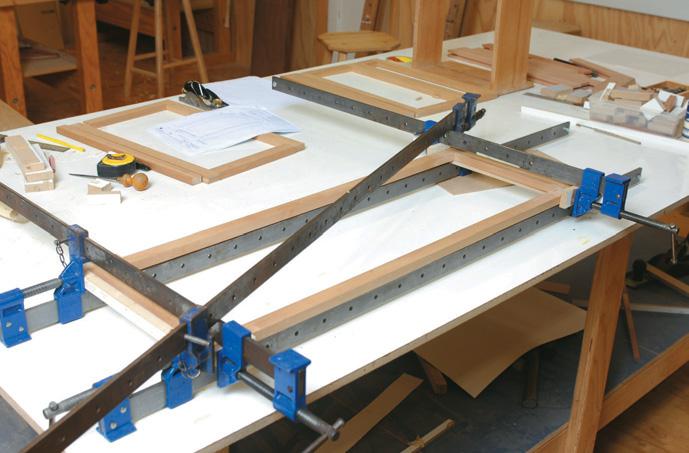
The doors I made use simple bridle/ slip joints to connect the rails and stiles. These were cut on a tenoning jig on my table saw. Glue them up, watching for and dealing with any sign of twist and making sure everything is square.
Then clean the door up and run a rebate on the inside for the glass and beading that will hold the glass in place. You can pre-fit and drill the beads by placing a piece of 3mm MDF temporarily in
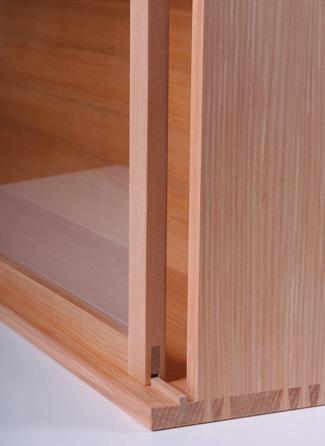
the opening in place of the glass. You will need to fit the door to the opening in the cabinet and then run a groove in the top and bottom of the door that is just wider than those in the cabinet. The running beads should then be fitted to the cabinet and the “running fit” of the door established. Chamfer any sharp corners on the beads and grooves to improve the slide of the door.
Clean up
Cleaning up the remaining unfinished parts of the cabinet and door shouldn’t take long. Soften any
sharp edges, then shellac and wax.
Reflect on whether you need handles and resolve this before finally fitting the glass and hanging the cabinet. The door will, I believe, need some sort of stop to prevent it sliding too far to the side – about halfway in each direction feels about right.
That should just about do it. Hope it’s been fun.
