
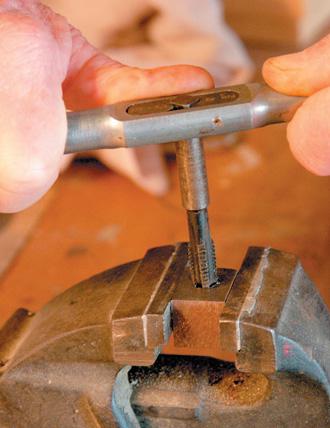
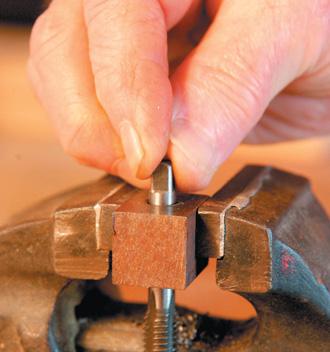
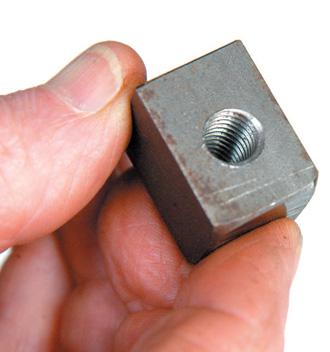
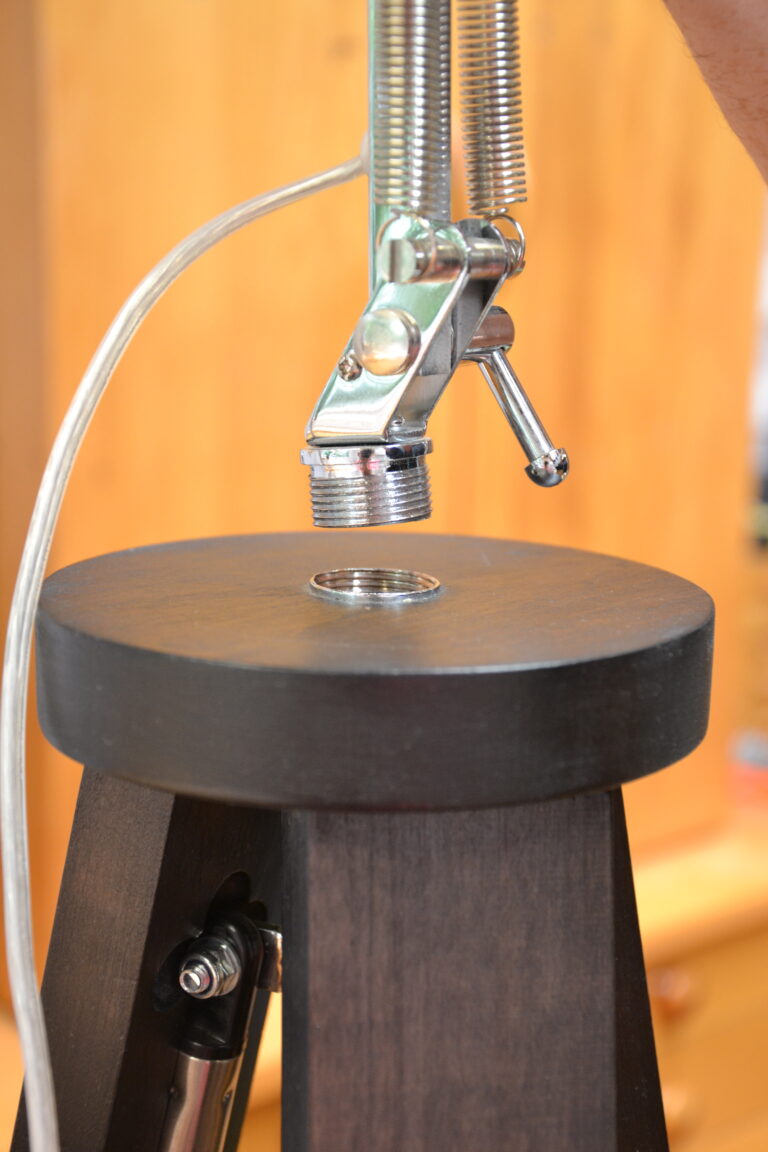
My daughter was looking for a large lamp for her husband’s birthday and struggled to find something with the modern industrial-type of look that she had in mind. She asked me if I could make something around her thinking. She particularly wanted a large tripod base with an adjustable lamp on the top.
We searched around for a suitable lamp for the top and found an adjustable lamp on a spindle base at Lighting Direct on sale for $89.95. We would have preferred a matt black finish but we felt the chrome model would work very well.

What do you do when your passion for collecting means you are accumulating objects that can be measured by the tonne?
One answer is to buy a big building and open it up to the public – Mike’s Museum in Eltham displays the extraordinary results of Mike Coil’s collection mania.
Two upper stories and a huge basement of an historic building in the small Taranaki town are bulging with the strangest things. A big collection of antique chainsaws, World War II objects, including an anti-aircraft searchlight and US submarine generator engine, steam boilers of all sizes – you name it – Mike’s collected it.
There’s also a great collection of historic tools and objects from New Zealand’s past.
Mike began collecting when he was a young fella. One of a family of 12, he was raised on Taranaki farms and he recalls when aged eight his father coming home from a stint at sea with a handful of coins.
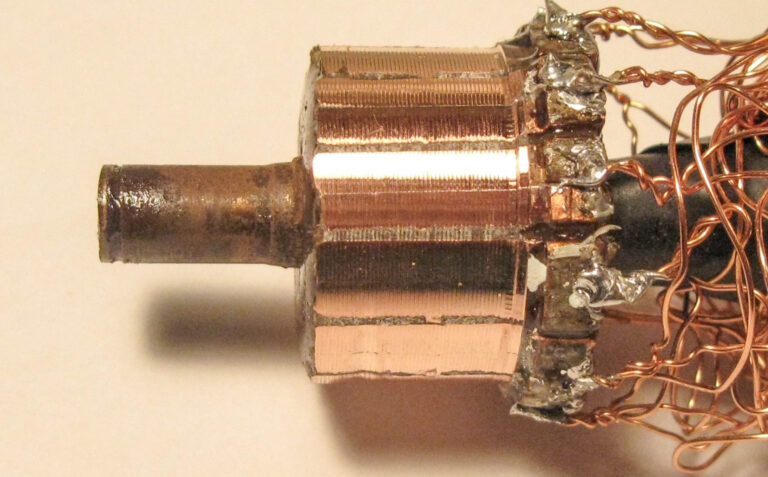
In the first article, I wrote about nickel welding repairs to a broken cast iron engine cooling fin, magneto check, head repair, valve work and nickel plating the push rod cover tubes.
The second article was mainly about how I developed nickel and copper plating, with a little bit about kickstarter repair using nickel plate on a worn shaft and grinding teeth.
The third article, the start of frame painting, engine, clutch and gearbox assembly and installation, with magneto timing.
For this fourth episode, I had planned to write about how I rebuilt the electrical system, reupholstered the seat and renovated the fuel tank. There has been progress on each of these three things but little in the way of meeting targets.