The Shed Logo
Search
Close this search box.

Chips and dip, anyone?

I have used a piece of swamp kauri from Kaitaia for this project. The wood may well be 45,000 years old although pieces of swamp kauri have been carbon dated from 1000 to 50-60,000 years old from different parts of northern New Zealand. The time-scale of this wood is mind-boggling. How do we get this wood? You keep your ear to ground for news about logs and stumps that emerge, then we have to get off our backsides and do something about it. Swamp kauri, and occasionally other timber dug from old swamps have not rotted because they are preserved in anaerobic conditions. Kauri is the most common “swamp” wood because it is the slowest wood to deteriorate when above the ground before the land area became swamp. For woodturners, kauri is a soft wood. Puriri, pohutukawa, black maire are hard woods, although botanists use the terms “hardwood” and “softwood” in a way that is related to the type of tree and not the hardness of the wood.

Learn to turn a kauri bowl for chips and dip
By Dick Veitch
Photographs: Gerald Shacklock

A bowl to hold potato chips and a glass dish with dip in the middle is a readily manageable project for many woodturners.
To start, you must have the glass bowl or dish which the dip goes in. The size of this determines the size, shape, and depth of the hollow in the middle, and subsequently the dimensions of the surrounding chip channel.  Finding a dish to fit the hole later is well nigh impossible.
I have used a piece of  swamp kauri from Kaitaia for this project. The wood may well be 45,000 years old although pieces of swamp kauri have been carbon dated from 1000 to 50-60,000 years old from different parts of northern New Zealand. The time-scale of this wood is mind-boggling. How do we get this wood? You keep your ear to ground for news about logs and stumps that emerge, then we have to get off our backsides and do something about it. Swamp kauri, and occasionally other timber dug from old swamps have not rotted because they are preserved in anaerobic conditions.  Kauri is the most common “swamp” wood because it is the slowest wood to deteriorate when above the ground before the land area became swamp.
For woodturners, kauri is a soft wood. Puriri, pohutukawa, black maire are hard woods, although botanists use the terms “hardwood” and “softwood” in a way that is related to the type of tree and not the hardness of the wood.

Start with bowl
Dick Veitch with chosen wood
Scribe bowl circumference
Bandsaw to a round

Light kauri
For this bowl, I chainsawed a block from the kauri log then, after deciding on the finished dimensions in relation to my glass dip dish, marked a circle on the wood, and cut it round on the bandsaw. Even though this piece is a bit thick, kauri is a light wood. If it was pohutukawa, the whole thing can (as a bowl) feel heavy, so must be turned thinner. Kauri is easy cutting, light, and this piece very good, if plain.
I used a large face plate for the first mounting on the lathe because I wanted the screws that attach the wood to the face plate to be beyond the rim of the dish in the centre hollow and in the area that will be cut out to make the dip space.
When I first set this piece on the lathe, it was too big so I rotated the head of the lathe a little and cut a little off the side so the wood diameter would fit within the dimensions of the lathe bed.  An alternative would have been to return it to the bandsaw for a little shave-off.
Before starting, I pull down the blind I have between the lathe and workbench. For regular, between-centres turning I do not need the blind but with the head of the lathe rotated the blinds are very useful to stop shavings flying all over the bench. They hit the blind and drop into a pile on the floor.

Begin with bowl gouge. Note lathe head turned to allow for the oversize diameter
Shaping the bowl outside
Scribing for the chuck spigot
Mark the bowl foot circumference

Bowl gouge
With a bowl gouge, I flatten the bottom of the bowl, mark the exact spigot size, measure and mark the bowl foot location and then make the spigot for a chuck.  I choose a broad chuck for safety, and an accurate re-mount. Then I cut the area outside the bowl foot.
The curve of the underside of the bowl goes quite a way in and the foot is quite high. With the finished bowl, you can easily get your fingers underneath.  But if the foot is too far in, the bowl may tip over when the last chips are being scooped up.
With the bowl shape, you are trying to get a good, flowing continuous curve. If the chisel is chattering, either it needs sharpening or you are striking lumps of wood that are making the chisel start to bounce. Some of the tiny cracks in this wood are going to be hidden by the texturing below the rim.  Others were below that and I was able to repair them with super glue and sanding dust. 
Where the gouge cuts across the grain you can see tear out at the point where the chisel is cutting “uphill” – against the natural flow of the grain. This is a case for using a very sharp chisel to improve it, then probably more attention with sandpaper to this patch later.
Keeping the chisel beautifully sharp is one of the most important “rules” of woodturning.  I use a jig to get exactly the same angles on the chisel each time I sharpen. For this outside of the bowl a gouge with a 35 degree sharpen is fine.  Inside the deep bowl a gouge with a 55 degree sharpen is needed.
There is no need to totally finish this area now as it is easily reached for complete finishing later.  But it does need to be sanded now.

Foot as a ring. Note central spigot to hold bowl reversed
Sharpening chisel
Refining with sharp chisel
Flatten the other side

Sanding
For sanding I use a powered sanding mask with dust filters to care for my lungs. For this bowl I start at 240 grit to take away tool marks and the end-grain tear out, then 320 and 400 grit. We are forever talking about sharp tools but “sharp” sandpaper is an equally important piece of good equipment that is not recognised enough. In the early days, we did all the sanding by hand – just sandpaper held against the turning wood – now we use power sanding with a sandpaper disk mounted on a drill.  This is quicker but it can still take hours of sanding to get the proper finish. Sanding grits can range from rougher than 80 to finer than 2000 grit. I use the grits in 50% increments from 100, 150, 240, 300 to 400 grit with a start point depending on the wood type and the quality of my chisel work.  The first grit used must always remove all chisel marks and any end-grain tearout.  For some woods, and swamp kauri is a good example, it can be very helpful to fill the pores and soft spots in the wood with sanding sealer at least once in the sanding process.
The bowl is now as round as it’s going to be. If you take the bowl’s insides out before you do decorations around the outside and the bead on the rim, the wood could change shape and make it almost impossible to get equal texture around bowl and an even bead on the rim. So, I swing the toolrest around and cut down to flatten the upper side of the bowl to know exactly where the rim is going to be.  The plan now is to make a double bead on the rim and some texturing on the outside below that bead.  I measure and mark this with a soft pencil.
To create the decoration below the bead, I used a Wagner texturing tool. Note that this is done over the area that I have carefully sanded. If the area to be textured is not well finished before the texture is applied then the tool marks and other faults will continue to show through the texture. Always “picture frame” a textured area with a chisel cut. Then the bead on the rim can also be cut in to meet nicely with the texture.
Now the wood can be remounted to work on the inner part.

Sanding off
Super glue the cracks
Texturing tool applies a pattern
The texture pattern

Central cavity
I completed the flattening of the upper surface, measured the glass dish and drew that circumference in the centre. This central bowl cavity must finish up with its rim BELOW the outside rim, so that later cleaning of the bottom is easier, and BELOW the rim of the glass dish (so the dip doesn’t get slopped onto the wood and you can remove the dish easily when you want to get it out). Hollow out the centre to hold the glass dish first.
Here the centre hole is 57 mm deep, and the wooden bowl had 15 mm to spare beneath the glass dish, so it had to go a little bit wider. The central dip doesn’t want to get too big and sloppy, so through the fitting process we want to make sure the glass dish will sit down in the bottom of the centre hollow and rest against the sides. I took a bit out across the bottom to make it a nice curve for the glass dish.
Now I hollowed out the chip area and sanded all these surfaces, working carefully through the grits checking that each grit had taken out all the scratches left by the previous grit.  Now, all this upper side and the bottom outside the foot area is sanded and ready for the final finish. 
There are many options for this final finish. Waxes, oils, varnishes, and lacquers – everyone has their own tastes.  The finished work needs to look good, feel good, and suit the purpose it was made for.
For this I choose a wax. I first put on a lacquer coat to form a good base for the wax. Different woods have different porosities. With black maire, you could  get away with applying wax to bare wood. But kauri gets patches where the wax vanishes into the wood and you could wax for ages while it keeps soaking in. I use Ian Fish’s lacquer and then as I wax the bowl, it changes from dry to wet-looking and then a shine which is much nicer.
You can rub wax on with wire wool, as it adds a little burnishing to the wood with a bit of abrasiveness.  Then polish it off. This wax improves with another rub after 24 hours.
To clean off the bottom, I turned over the bowl, with chuck still attached, onto a vacuum faceplate.  Firstly centring it on the faceplate by holding the chuck in the tail stock.  Then, when the vacuum is holding the bowl, the chuck can be removed. There are other ways to hold a bowl like this while cleaning off the bottom, but building a vacuum chuck adds a good piece of equipment to the lathe.
I finish the bottom to the same standard as the rest of the bowl.  Then I write my name and the wood-type with a fine pen and apply wax.

“Picture frame” the texture with sharp chisel
Scribe dish circumference onto the wood
Hollow out centre
Test fit
Hollow chip section
With bowl on vacuum chuck, finish foot
Polish with a soft cloth

For the birds
I had a Gisborne farming background and, with my five siblings, I spent my younger days on the farm. I have been playing with wood since I was a nipper as, despite the wood being poor, tools blunt, and workbench high, we liked to make things. When I was about 12 we got electricity and soon after my older brother and I invested in a Wolf Cub drill and a lathe attachment.  I still have the first little bowl I made – and it looks like a first! 
After leaving school I went into conservation work and spent nearly 40 years with the New Zealand Wildlife Service and Department of Conservation with a job title that generally referred to helping threatened species. Saving the black robin was one such project. The person going up and down the cliff carrying black robins under a red safety hat is me. It was a mess at the start but Don Merton had to find a way and the success of that story went all over the world.  Taking the sheep off Campbell Island, cats off Little Barrier, and getting saddlebacks and stitchbirds to more islands were also tasks with wonderful results
Recently I have been organising an international conference in Auckland about the eradication of invasive species from islands. This is hosted by the Centre for Biodiversity and Biosecurity (University of Auckland & Landcare Research), in collaboration with the IUCN/SSC (Species Survival Commission) Invasive Species Specialist Group. The 90 oral presentations will result in an 800 page book for me to edit. The work goes on.
To fill my spare moments I go to South Auckland Woodturners Guild (as President) on Wednesday evenings and Franklin Woodturners Club on Thursday evenings. Check out this club website  for a woodturning club near you.

Dick Veitch with pohutukawa. The wormy stuff is okume that floated in from Africa. In plastic wrap, is fresh cut oak waiting to be turned into rubbish bins

Share:

More Posts

Christchurch Woodturners Association

On Saturday, 24 August 2019, the Christchurch Woodturners Association (CWA) finally saw its long-term dream come to fruition with the opening of its very own clubrooms on the Auburn Ave Reserve in Upper Riccarton.

Turning out a crescent clock

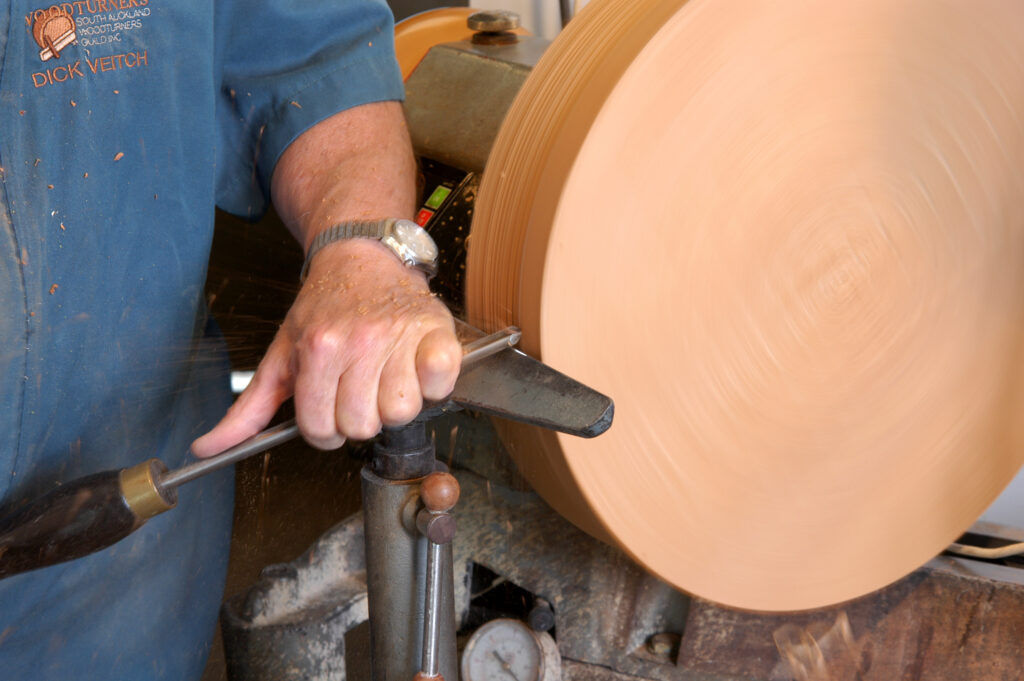
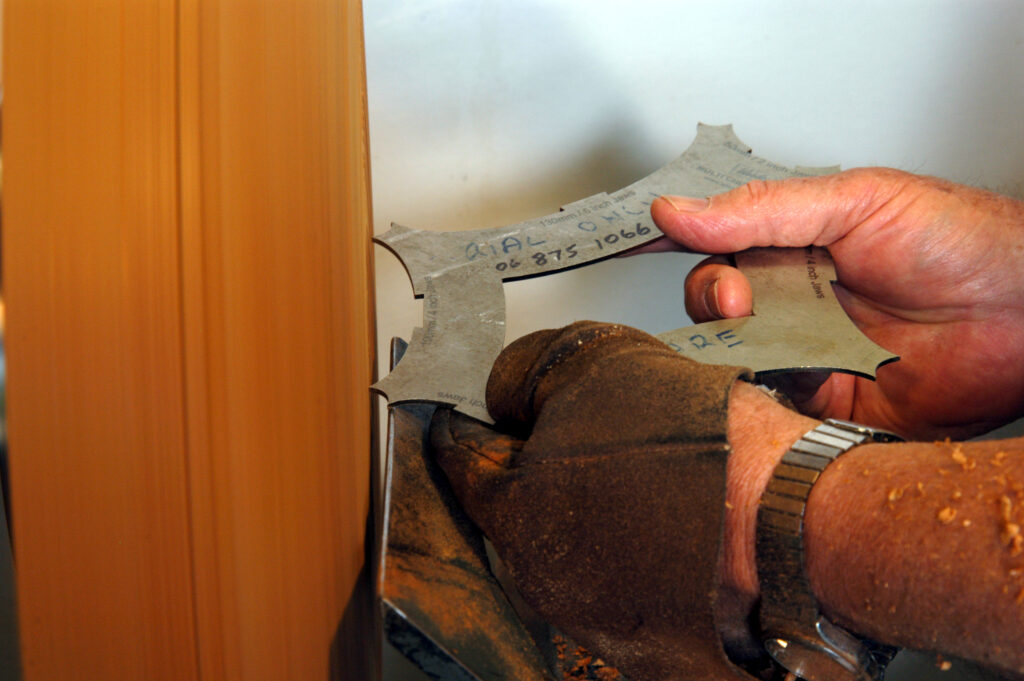
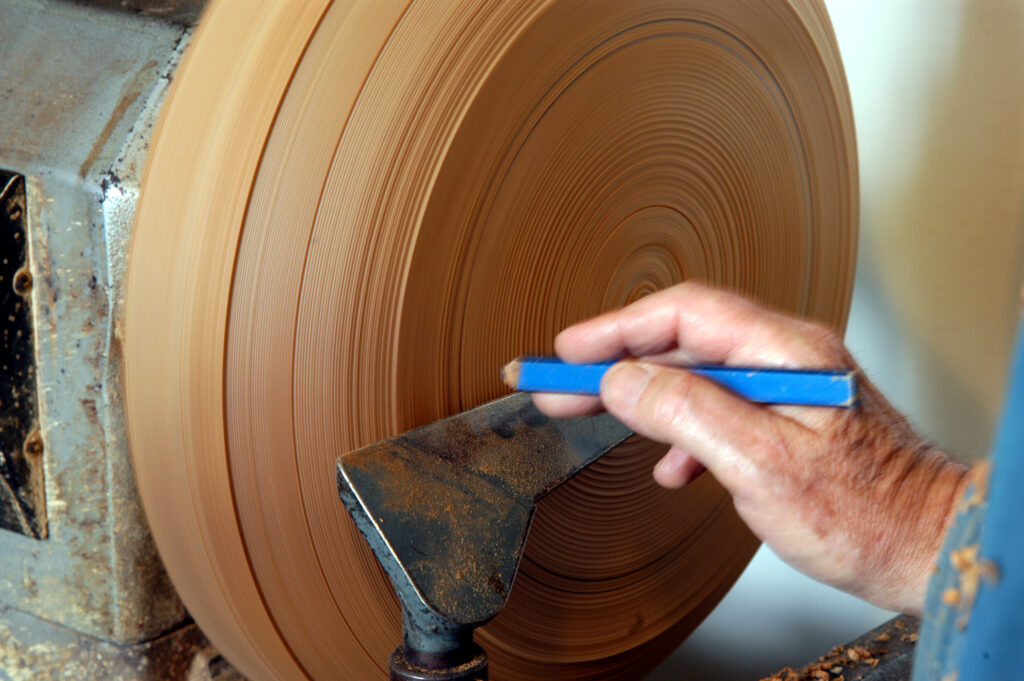
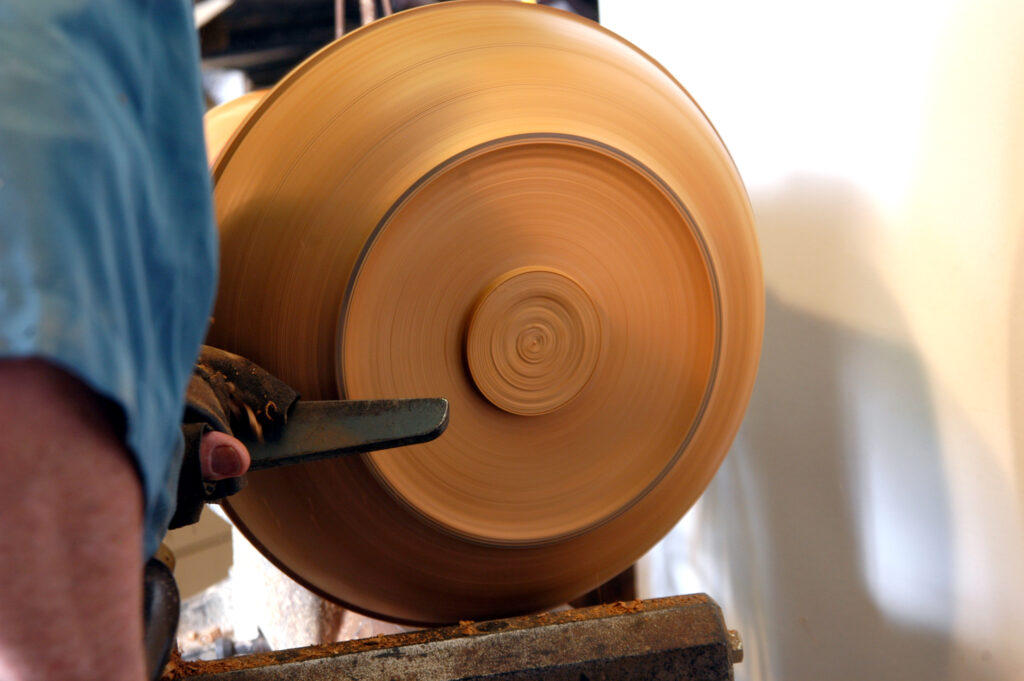
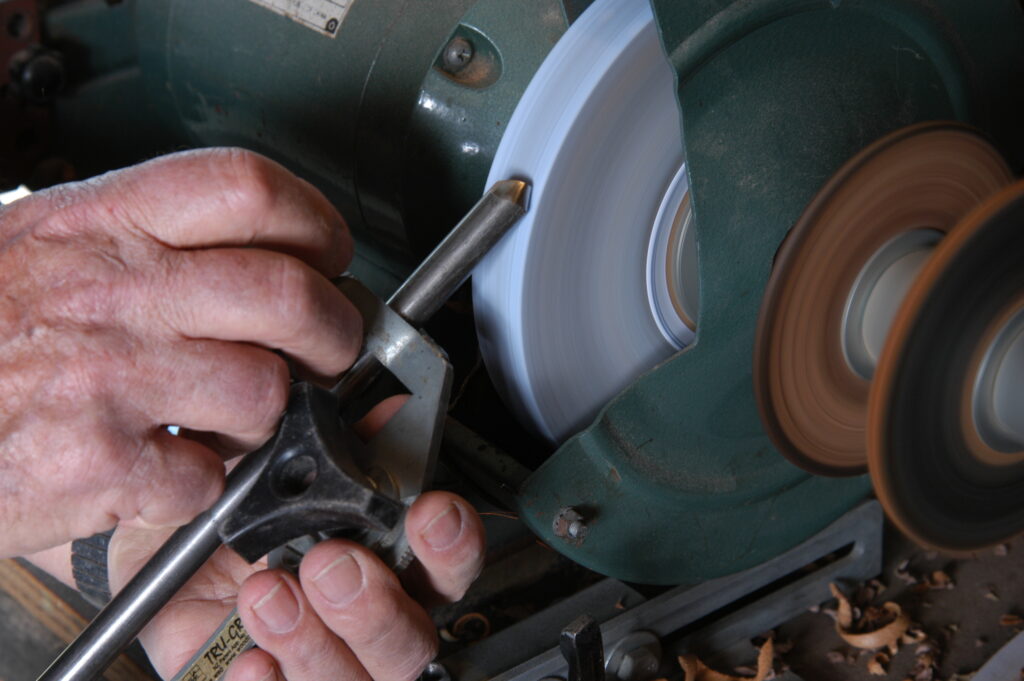
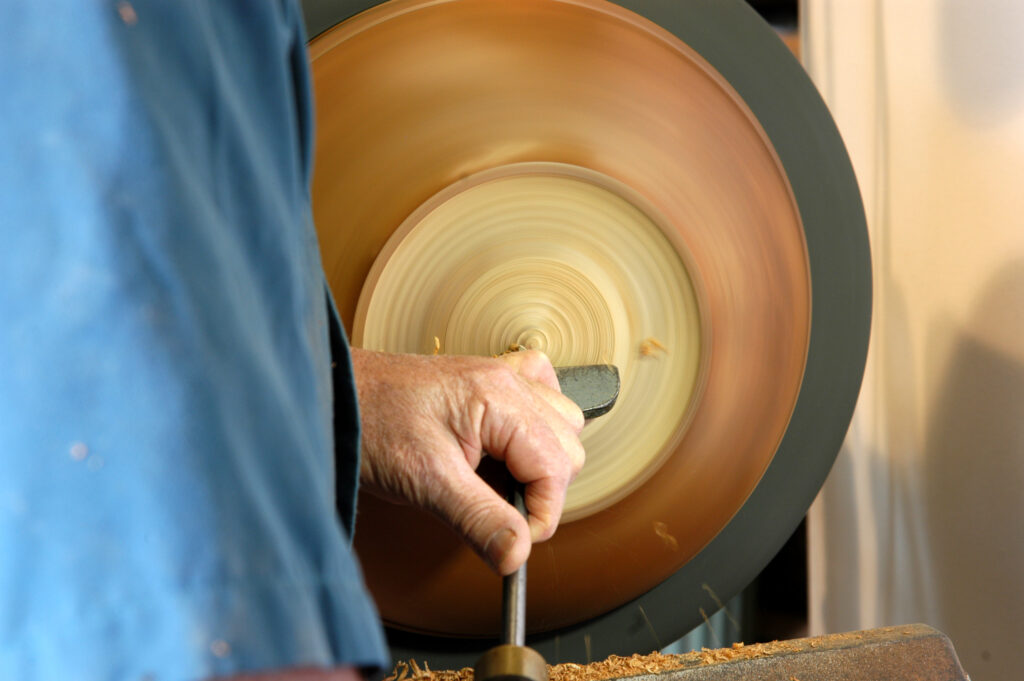
A crescent clock looks at its best if it is made from a stylish native timber.
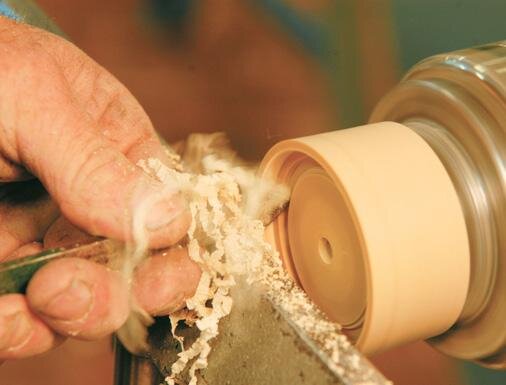
For this project, I used a kauri block. When you come to select the wood which will be prominently on display in the living room or dining room, for preference choose a piece of timber that has a distinctive grain.

A satisfying lidded box

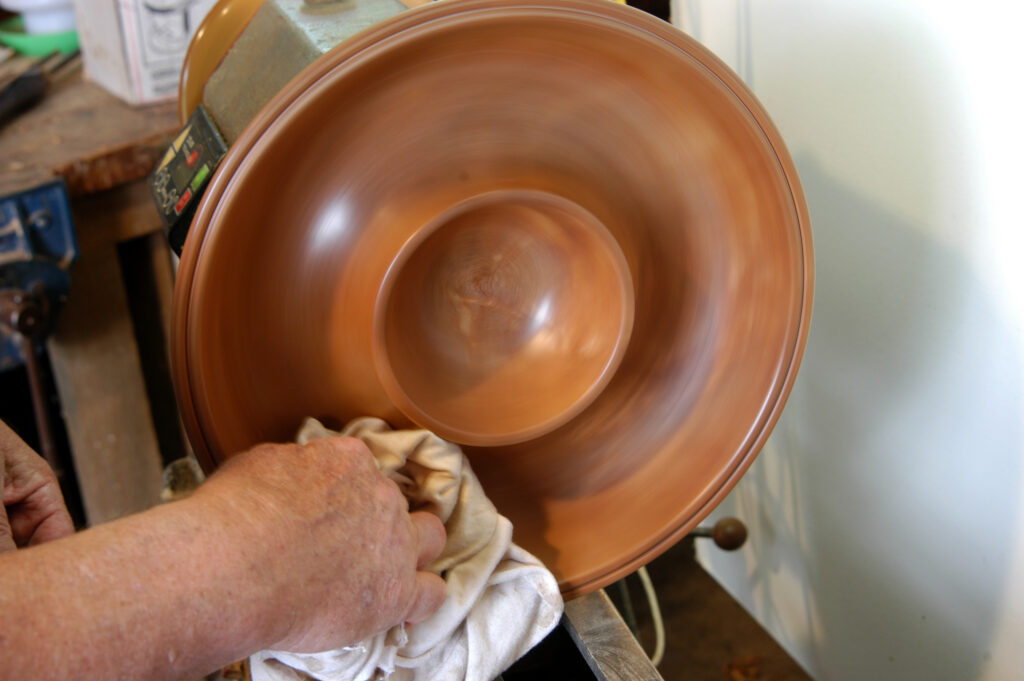
The size and shape of the lidded box is limited only by the size of wood you have, and your imagination. Keep in mind that the size of the lid must please the design of the box as a whole. I usually strive to make the size of the lid approximately one-third of the total box size.