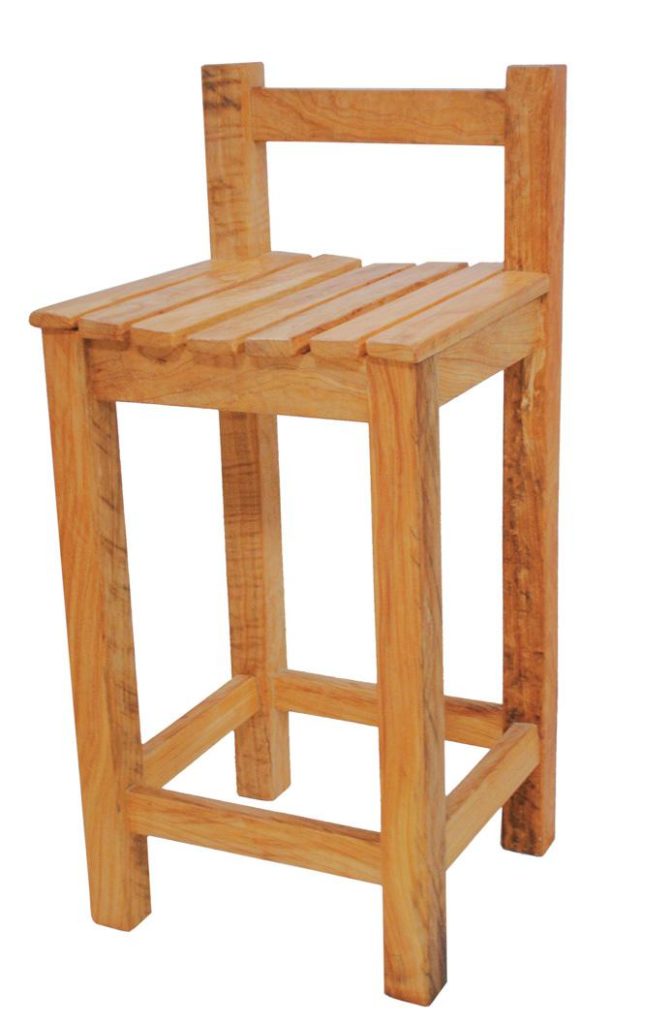

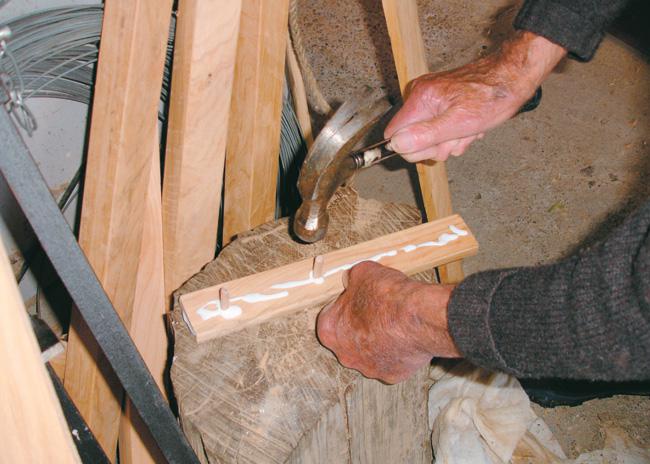
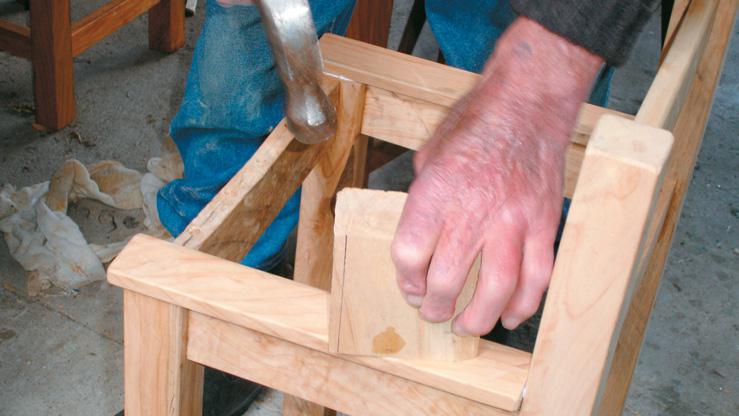
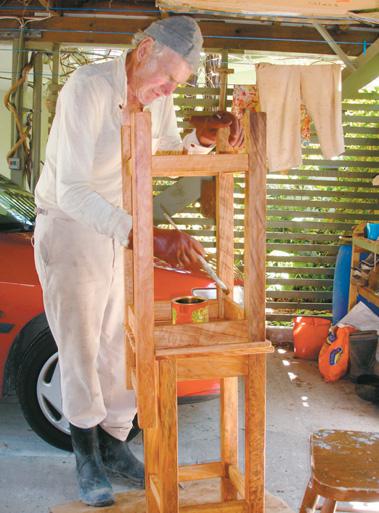
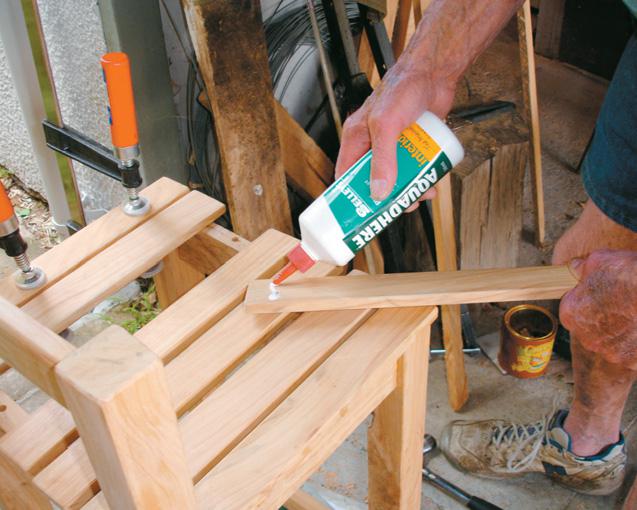

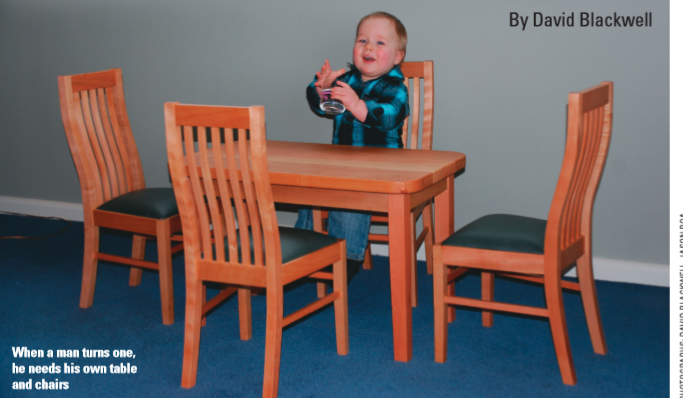
You can follow the basic design in this article or design your own version. Once you have absorbed some of the basics of furniture-making, there is a great sense of satisfaction in designing and making your own. As an amateur hobbyist, I find the process is just as important as the finished product itself, so to check this I decided I would try to make a scaled-down version of an adult chair with a curved back.
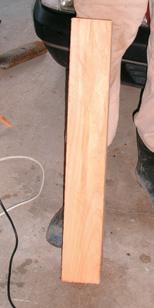
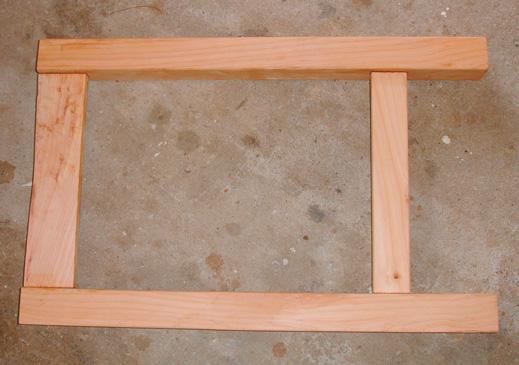
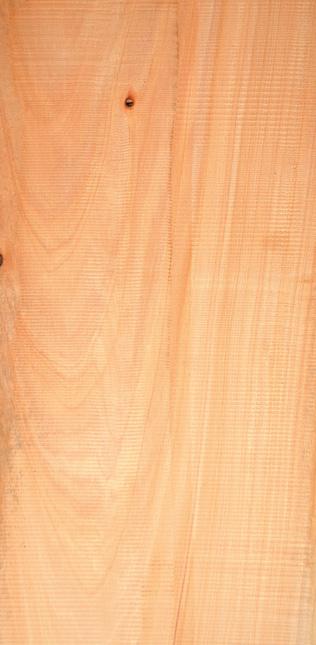
This design for a macrocarpa slab table is a general design. There are variations and you could do the legs of the table differently, but the general rule is to keep it simple. My old man used macrocarpa for fence posts years ago and they’re still in good condition.
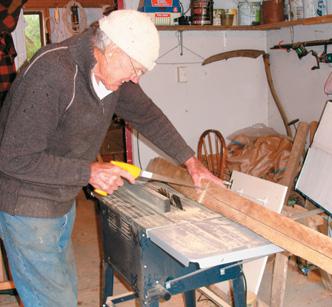
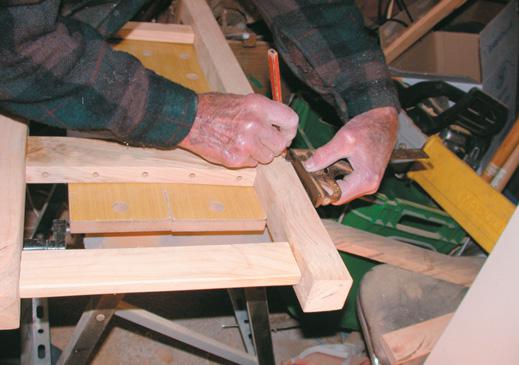
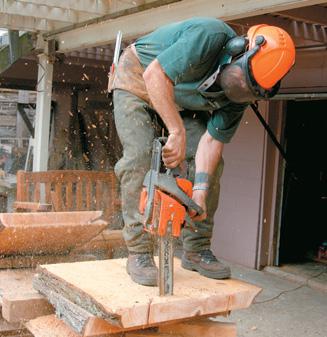
When I was cross-cutting, it didn’t take much to find out I liked macrocarpa. It has a lovely grain and I like working with softwood. It’s a softwood until it’s been sitting around for a year – that hardens it up.
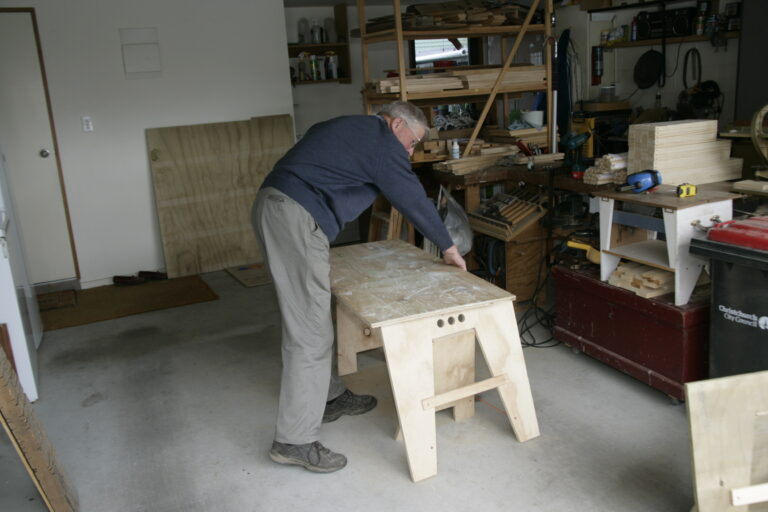
Before I down-sized my workshop, I had a garage workshop area and plenty of room to have the traditional type of sawhorses or saw stools. Now I have just half of a double-garage which means the stools have to be stored out the back in all weathers.
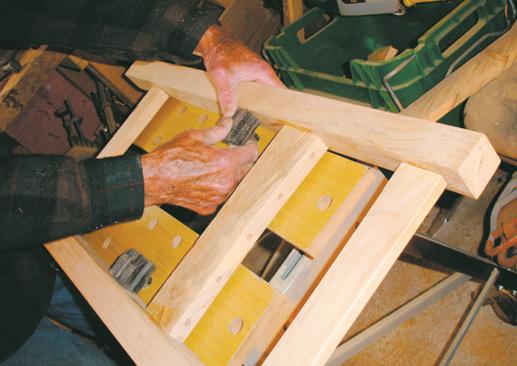
I was looking at a sheet of 16 mm ply that was 1200 mm square and could see it would make two stools that would fold away flat and could be stored inside. They wouldn’t take up space standing permanently in the garage/workshop and they would need very little room folded away.