Making a vertical wall garden
By Jude Woodside
Photographs: Adam Croy
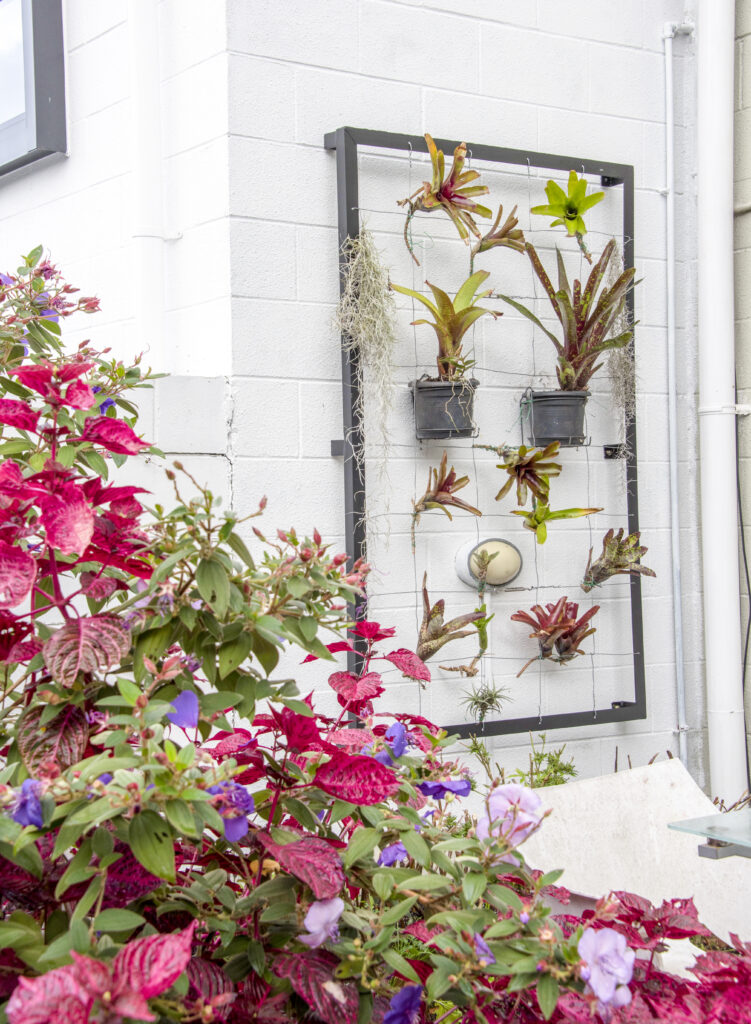
A friend loves gardening and has always wanted a vertical garden or ‘living wall’. She has been pestering me to build one ever since I started doing the welding articles for The Shed. I looked at a few and developed a simple concept that is simply an angle iron frame with a wire lattice.
I measured the wall it was to fit on and arrived at a final size of 1m x 1.6m. I happened to have that on hand in 3mm angle iron. The vertical garden needs to be offset to the wall to allow for air circulation and watering. I decided to offset it by 60mm so that required 100mm feet.
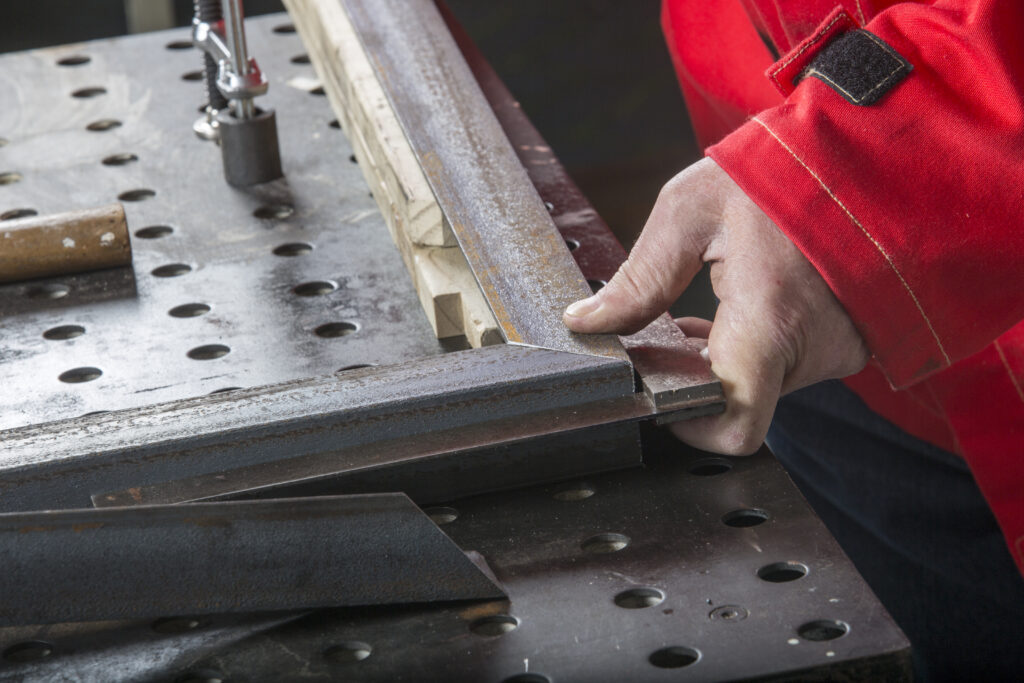
I cut the angle iron on the bandsaw and began by assembling the frame. It’s important to make sure that the welds are all ground flat so they don’t show up after the coating is applied. The internal joins are less important but I found Ihad to make some allowances when I came to cut the feet. I needed in some cases to cut a groove in the leg to get past the weldment in the corner. Corner welds arealways difficult to grind flat. The disc simply won’t get into the corners and filing it flat will take hours.
Six legs
As I cut the legs I also reserved some extra pieces that I cut square to fit on the ends of the legs. You could do this by making the legs longer and cutting one side to leave a tab that you bend later. With 3mm stock that isn’t so easy, so I elected to weld them in place after I had drilled a 10mm hole to take the bolt that would hold it to the wall.
I used six legs on this structure largely because I wasn’t sure what weight it would have to hold. I was also uncertain whether the wire would distort the frame if it only had four. In the end, given this garden only has bromeliads and other ‘air’ plants, it could have had just four legs, but this way it is a bit more flexible and it could take much more weight.
Once the frame was completed I worked out the holes I needed for the wire matrix. I elected to space them at 200mm centres, partly to allow for an existing wall light to be accommodated, and also because it seemed like a reasonable measure.
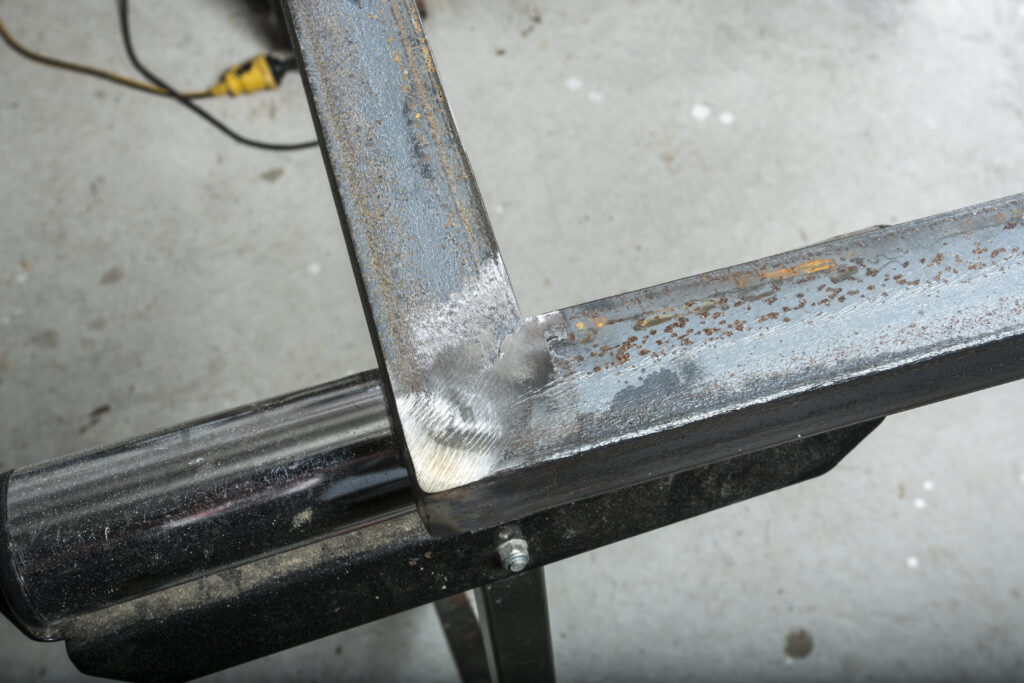
“I used six legs on this structure largely because I wasn’t sure what weight it would have to hold”
Hot-dip galvanizing
I wanted this frame to be powder coated. Powder coating is a more permanentand somewhat stronger coating than mere paint. I contacted the powder coater but they recommended that I get it hot-dip galvanized first. It is possible to powdercoat over galvanizing and for items that will be exposed the weather it’s a very good idea.
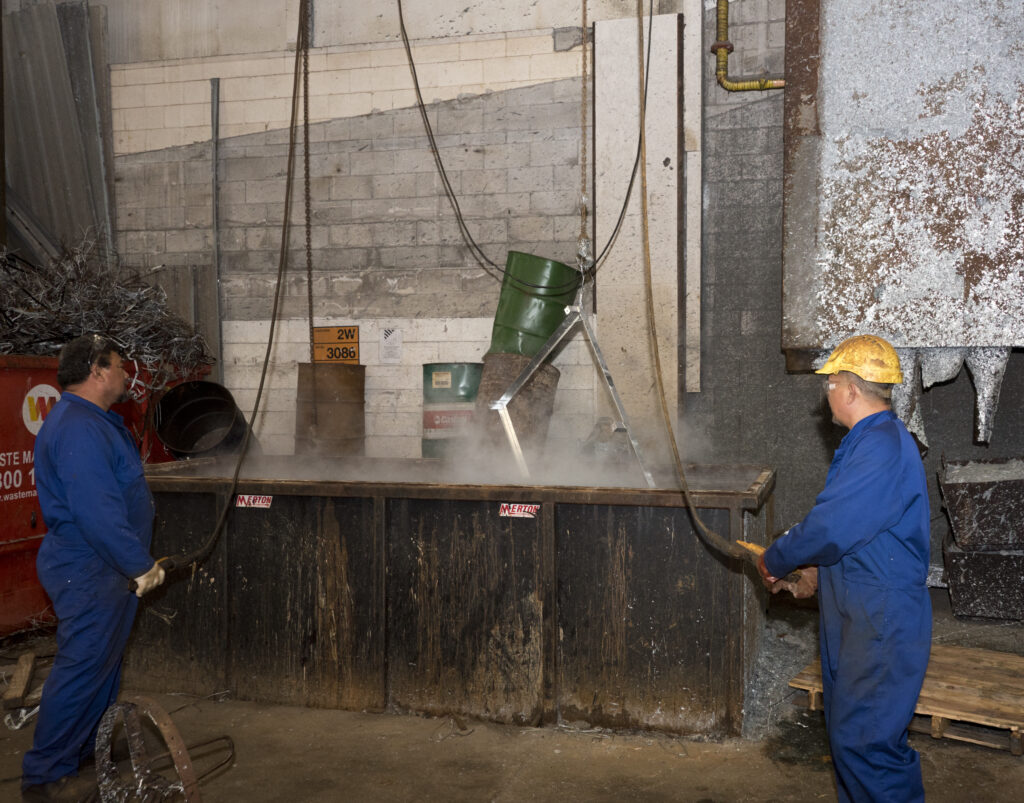
Hot-dip galvanizing is as the name suggests: the piece is actually dipped into molten zinc. It has to be cleaned first and usually undergoes a series ofbaths – caustic to remove oils, and acid to remove any mill scale and rust from the surface. Then the piece is washed in a flux solution and dipped slowly into the molten zinc.
It needs to be lowered slowly to prevent a steam explosion from splattering the molten metal everywhere. If your piece has tubing, you must also drill holes at regular points to prevent blowouts. Zinc melts at 420°C and you really don’t want contact with that. I took the piece to Galvanizing Services Ltd in Onehunga. After galvanizing, it’s often usual to quench it in a bath that imparts an oily surface.
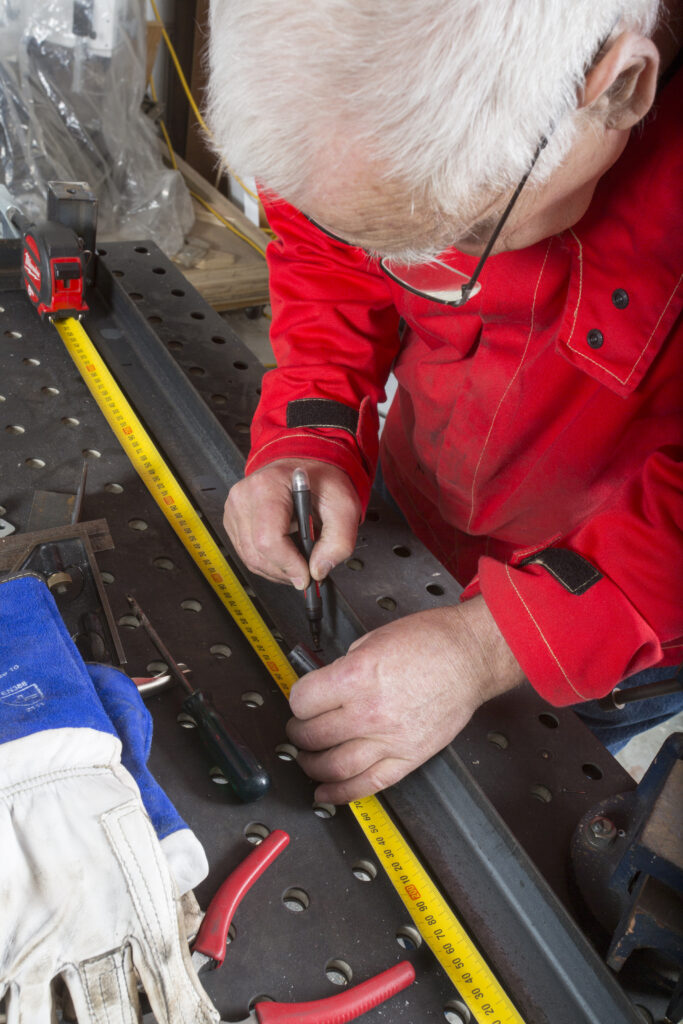
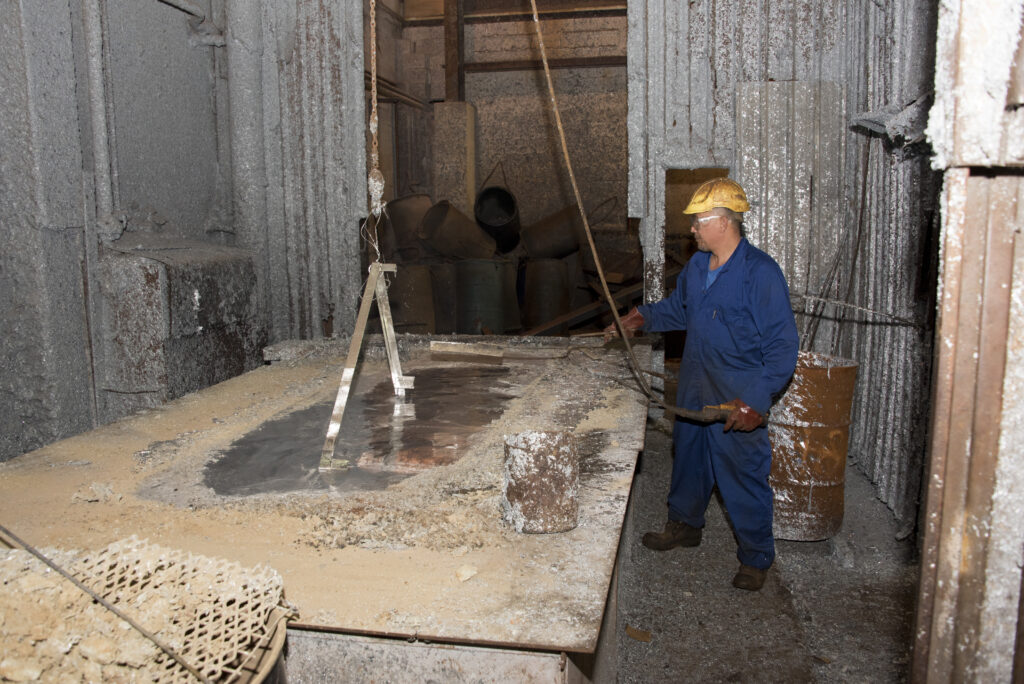
“It needs to be lowered slowly to prevent a steam explosion from splattering the molten metal everywhere”
Powder coating
That’s fine if you don’t want to do any further processing but not so good for powder coating. It’s a good idea to let the galvanizer know that you plan to powder coat so they let the piece air cool. That’s one lesson I learned: the powder coater was able to remove the coating but it’s always better if they don’t have to.
Another slightly more expensive option is electro-coating where the piece can be electro-galvanized with zinc chromate, often referred to as gold passivate. It’s important to ensure that there are no rough pieces from the zinc galvanising process and the piece can be lightly sanded to remove any runs or build-ups from the process. However, be careful not to sand through the coating.
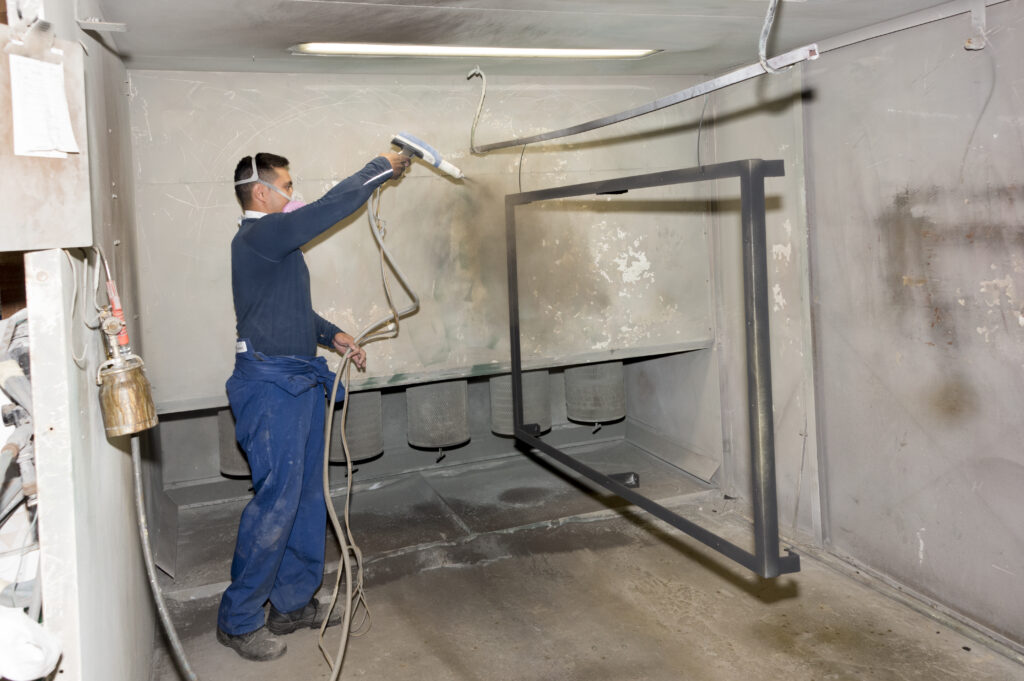
The powder-coating process involves cleaning the piece in a trichloroethylene bath to remove oils from the surface. Then the piece is suspended on wire and connected to an electrode. The painter first applies an etch primer to the piece to be painted.
Once dry, the powder is applied using an electrostatic gun which imparts a charge to the powder so it is attracted to and adheres to the opposite-charged frame. The powder is usually a thermosetting plastic or epoxy. The real benefit of powder coating is there are no runs and the powder sticks evenly to the frame. You can control the depth of the coating quite accurately, too. Once it’s applied the frame is placed in an oven and heated at 200°C for 15 minutes. That’s long enough to fuse the powder into a solid and continuous coating.
Threading wire
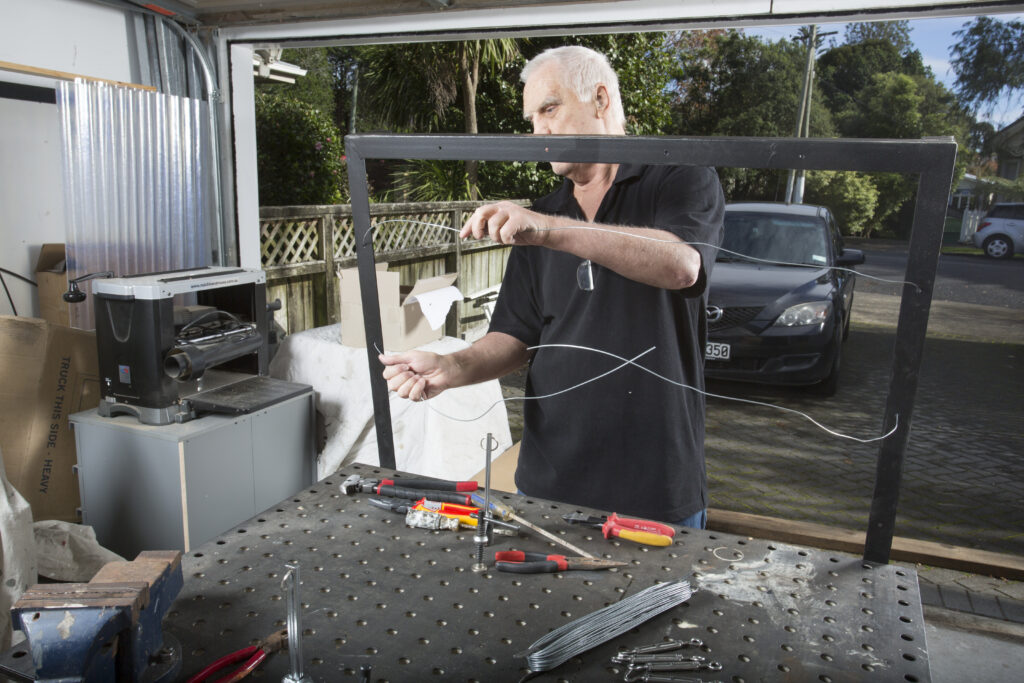
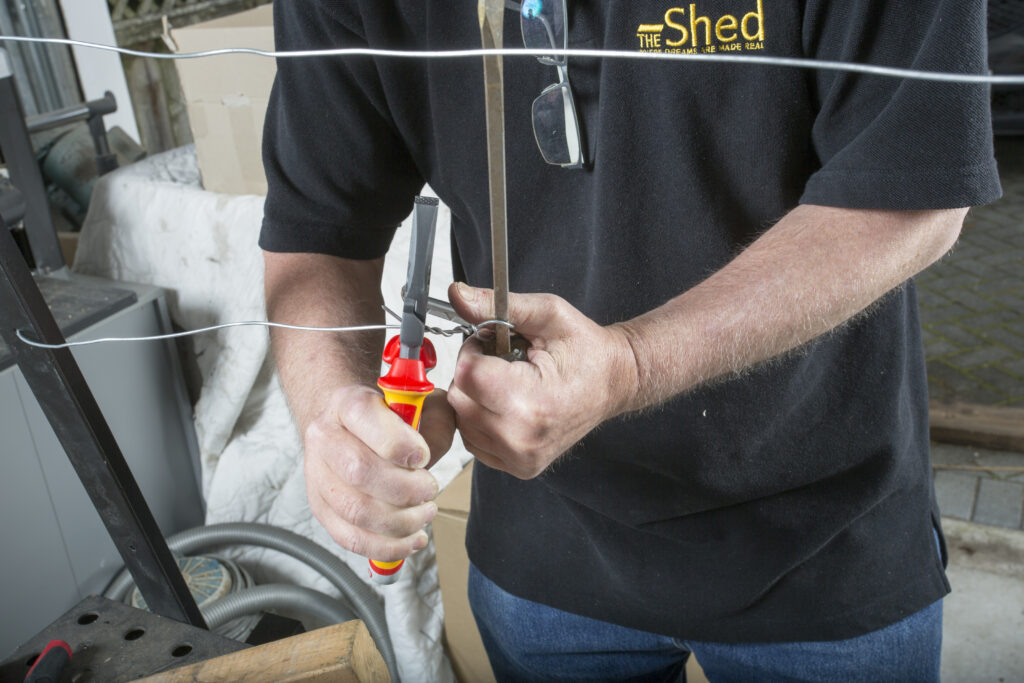
After the powder coating I began to thread the wire. I used 2mm wire in the process and specially went out and bought a decent pair of pliers for the process.
In the end that turned out to be a good investment. I already possess a pair of fencing piers that I have used to good effect in the past but that was a timber frame. This is steel and didn’t provide quite the same opportunity to grip and leverage the wire that timber posts do.
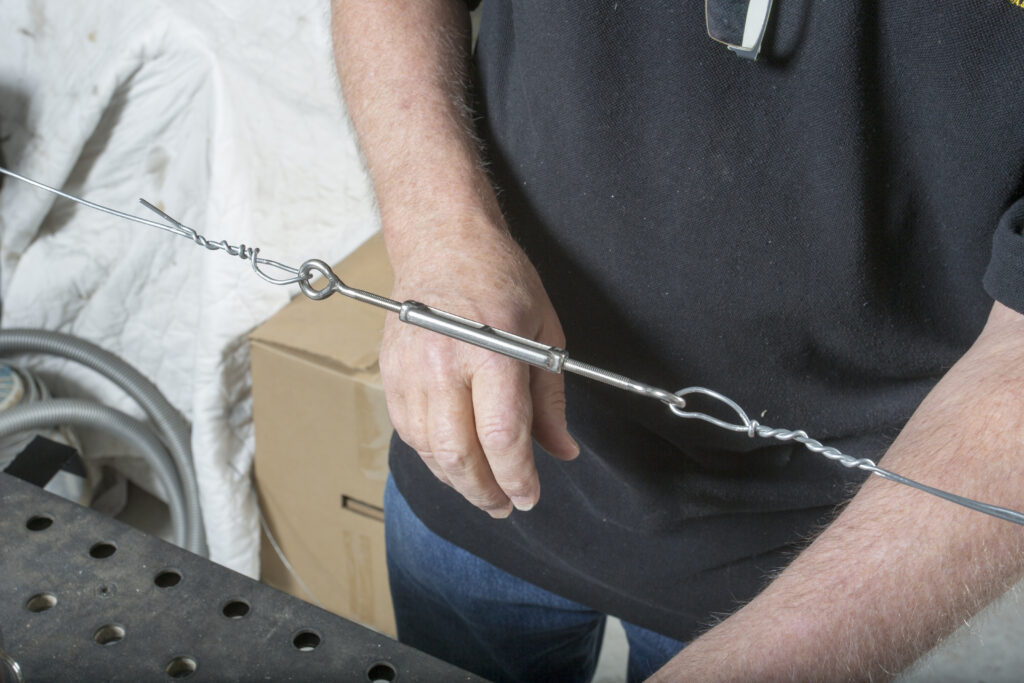
I had also purchased some stainless turnbuckles to help with the wire straining. You could also use galvanized turnbuckles or no turnbuckles at all but I guessed that the wire would stretch over time, especially if it has a load, and the buckles will provide a means to tighten that.
I wanted to minimise the number of turnbuckles, so I threaded the wire through two sets of holes. In hindsight, that isn’t the best method. I was constrained by the need to avoid damaging the surface coating too.
The pliers I purchased for the job proved best at handling the wire and I found it comparatively easy to twist the wire into the loops I needed and apply sufficient tension to the wires. I’m sure that any of you with more experience at fencing will know of better ways to tighten the wire than I employed and I was acutely aware that I could well become a laughing stock in the rural community. I never claimed to be a fencer.
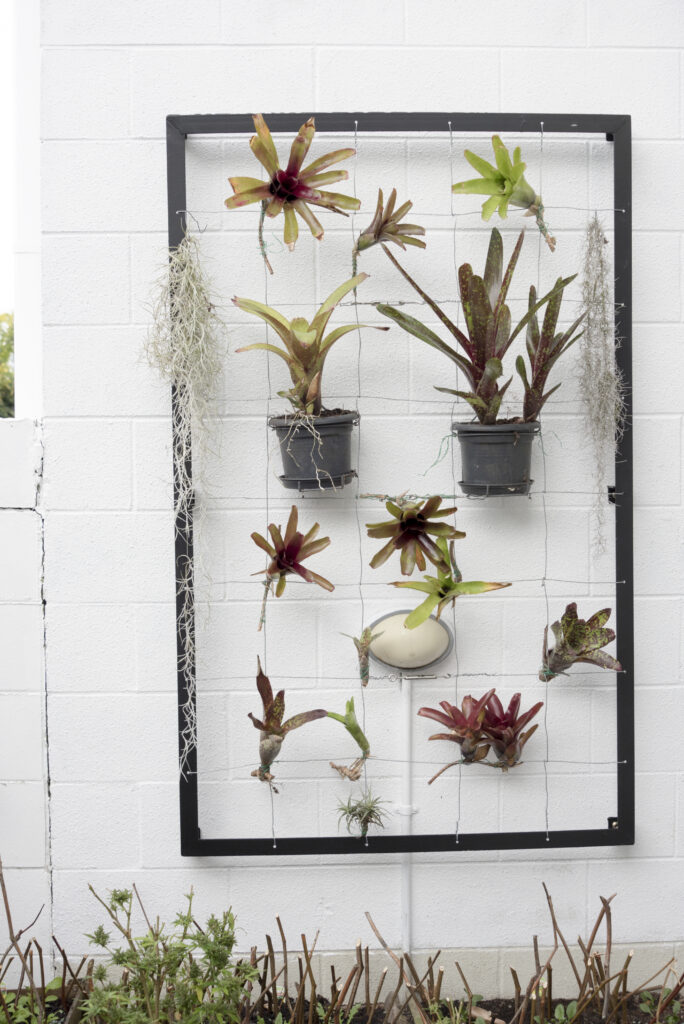
The installation of the frame proved to be quite straightforward and it is well and truly fixed to the wall. The plants will eventually grow to cover it, hopefully. These plants require minimal attention deriving their nutrients from the water retained in their central cups and synthesising nitrogen from the air.
This structure is also suitable for the pocketed kind of garden that employs pockets of fabric or woven plastic to hold soil.
Thanks to Galvanizing Services, Onehunga, and Baird & Whyte Ltd, Kinsgland.
