Simple steps for a new floorboard
By Stan Scott
Photographs: Jude Woodside
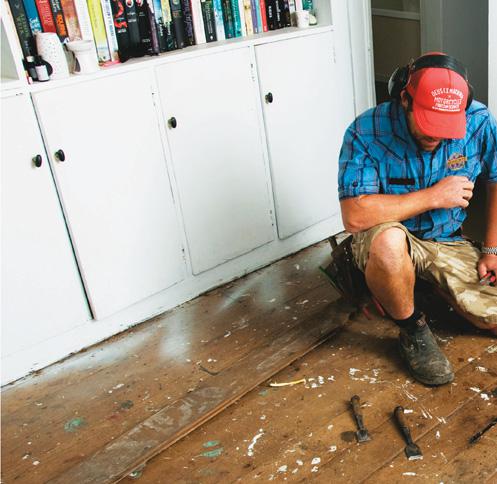

Lift the carpet or lino in an old villa to prepare the floor for polishing and you are bound to reveal the gaps or rotten bits in the floorboards.
So how to get them up and insert a tongue-and-groove board into an existing layout? First, work out where the joists are. If you’re lucky, the piece you want to remove will begin and end on a joist, or at least one end will. If not, find the joist nearest to the point you want to cut, usually by tapping the floor.
Often you will see the old nail holes, a good guide to where the centre of the joist might be. Next, scribe a line across the board you want to cut. I use a Tajima knife.
Multitool
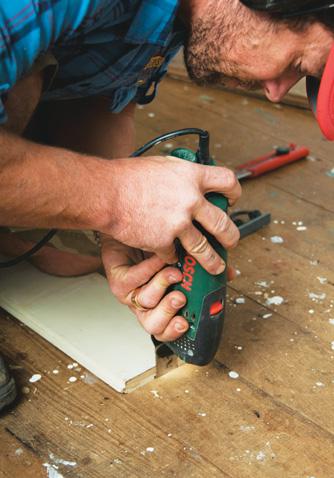
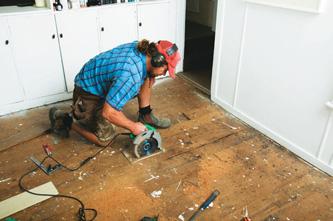
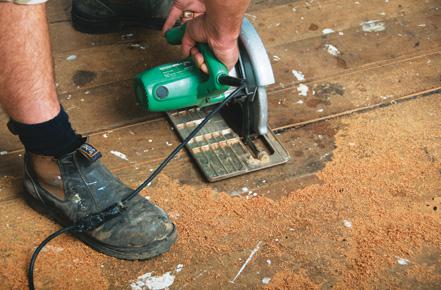
In the past we would have used a small power saw at this point and very carefully lowered it onto the cut to avoid cutting the boards on either side. That was before the multitool.
This tool makes the job so much easier. If you don’t have one, this is the ideal excuse and they aren’t wildly expensive. Although they don’t have a rotating blade and you can’t really cut yourself on them, they do have one remarkable talent: they will plunge-cut right through a timber floor and leave only a 1 mm kerf.
The blade has a vibratory, side-to-side motion, and works well and quickly. Use a straight-edge as a guide initially, to help you to achieve a perfectly square-and-straight cut.
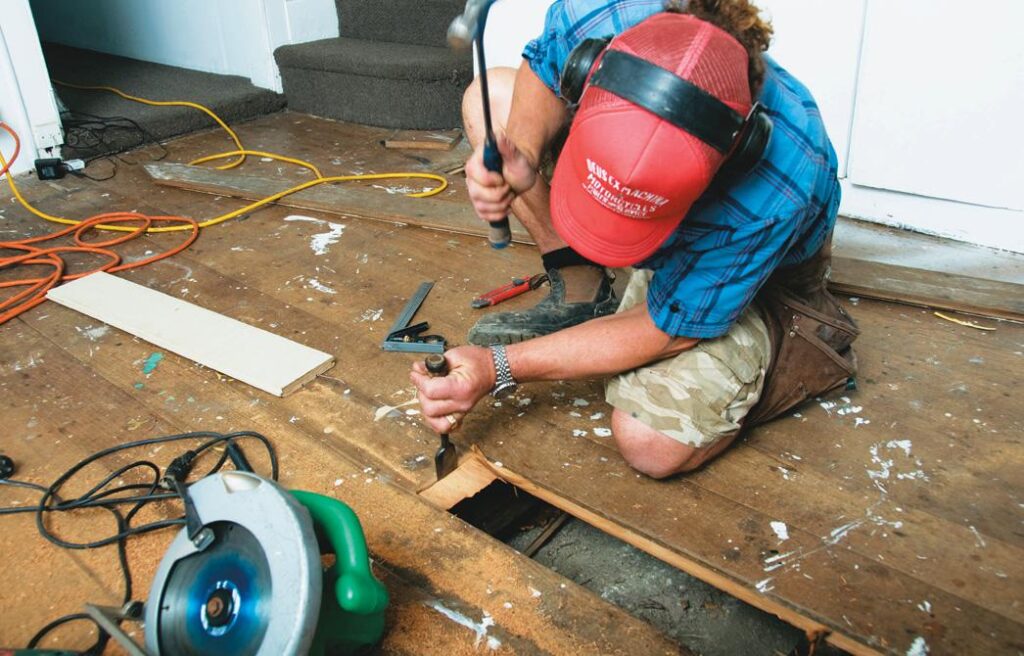
Use your saw to cut the board length-wise through the tongue, about 10- 15 mm from the edge and the groove on the opposite side. Avoid going too far at each end. Once that’s done, cut across the board carefully at the midpoint lever and use a chisel or the multitool to cut right through.
That will allow you to easily lift one end of the board. It may need some more persuasion, but once the bulk of the tongue-and-groove is cut it should come away fairly easily. You will have to clean up the end if you didn’t cut right through first time.
Similarly, you will need to clear the remains of the tongue and the groove from the remaining floor boards.
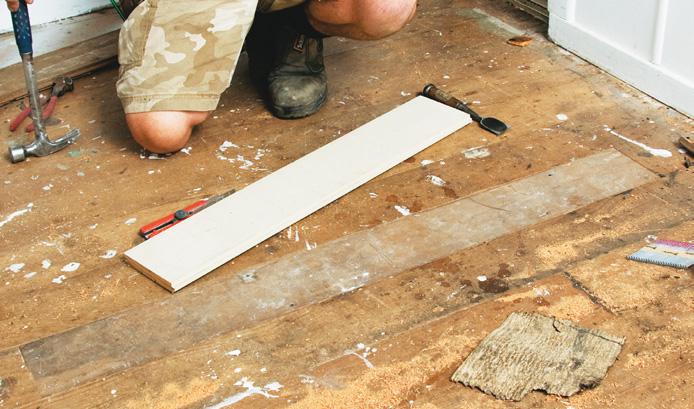
Once the area is cleaned up, measure it for the replacement board. Cut the replacement and using a table saw cut away the lower edge of the groove so the board will fit over the tongue.
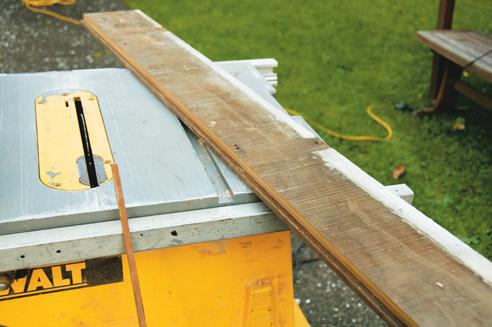
Nogs Slightly undercut
Slightly undercut the ends of the board so they fit neatly into the space.
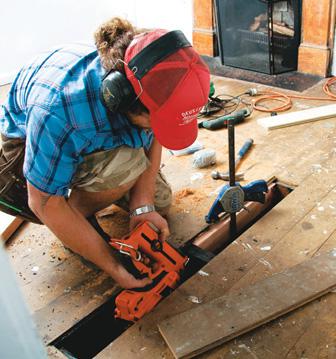
You could now replace the board just like this, and some do. The problem is the board isn’t secure, with only half the groove now forming a half-lap joint. Cut some nogs to fit between the joists. These are placed under the board on the groove side, mid-way between the two boards.
Secure them to the joists. In older homes these old joists will be rock-hard so it might pay to drill first if you can get a drill in there. Now fit the board in place and check the fit. It should be even and slightly proud to allow for the sanding. If necessary add a packer to bring it up to size. In this case I’ve used a bit of damp-proof course.
Once you are happy, mark the position of any hidden joists and drill nail holes in each end (preferably 60 mm galvanised jolted). Drill them because they will be guaranteed to split if you don’t. Punch the nails just below the surface to allow for the sander. That’s it.
