It’s worth maintaining a treasured hand plane
By David Blackwell
Test driving the refurbished plane. Author David Blackwell says the feel of a sharp well-tuned tool enhances the pleasure of working with wood
The metal-based hand plane must be one of the most enduring and useful tools in the kit of any aspiring woodworker.
Those of us who take the hobby a little more seriously will have several of them and we will probably argue that we use them all. I have six or seven but have never bought one. My first one was given to me as a birthday or Christmas present by my parents when I was 11 or 12 years old and this is the plane I am refurbishing for this article.
Others have come from friends and family who may have been clearing out the property of a relative or something similar. Today I treasure the feel of, and carefully look after, my high-quality tools but in my younger days I think I certainly did not appreciate the value of always having a sharp, well-maintained tool ready to use.
Worldwide there is a whole clan of plane enthusiasts with enormous historical knowledge of each model made by all the known manufacturers. My interest and knowledge is much more based around maintaining and using the plane. However, I think it is hard for any of us not to have some interest in where such iconic tools were developed.
Removing years of dirt and grime…

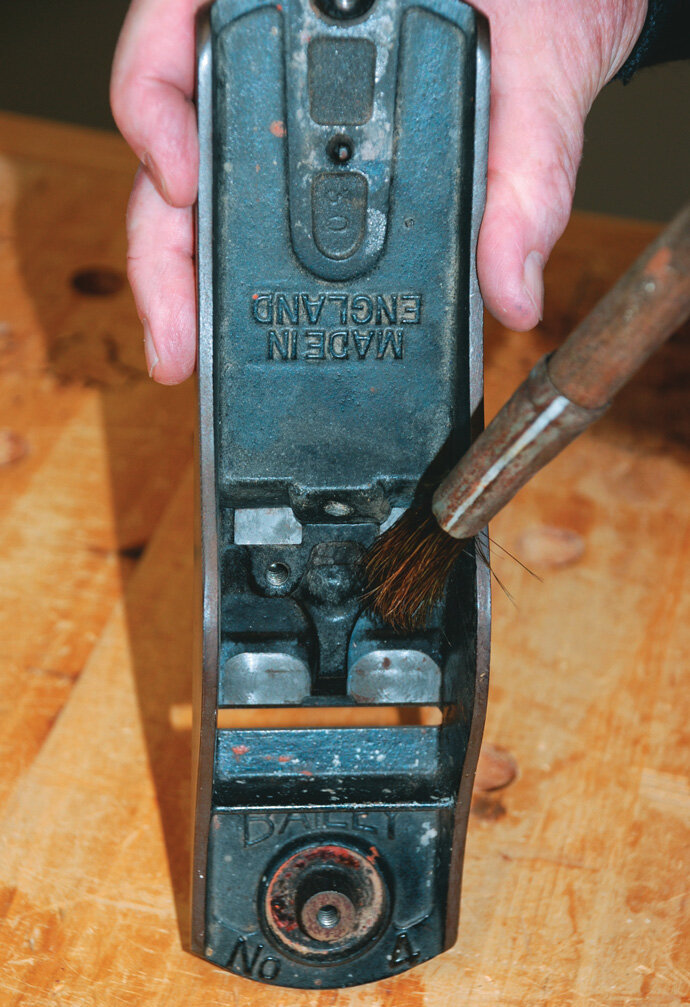
…with lighter fluid and a brush
Stanley
The father of the metal-based plane produced by Stanley and other manufacturers today appears to be Leonard Bailey, a woodworker himself, who set up his own tool-making works.
He seems to have been at his prime in the mid-1800s. Only a few years later, he went to work for the Stanley Rule and Level Company. Bailey later set up another company but his skill was obviously as an inventor and not as a businessman.
The Stanley No 5 is often referred to as the “jack plane” because its size makes it the jack of all trades. I have always used the Stanley No 4 as my “go-to” tool but this is probably because this is what my parents gave me when I was young. I own four No 4s now.
If you are considering buying a plane, you may wish to consider buying a second-hand one from a garage sale or similar and then refurbishing it. It is highly probable that even a brand new one out of the box will require some work to maximise its efficiency.
When you are buying a second-hand one it is generally easy to tell if a tool has had a hard life or been looked after. In that case, it should not have any major dings or repairs and it should look well-cared-for. Check the sole for flatness and make sure all the parts work before you buy it.
Disassemble the plane and clean all the parts. I use lighter fluid (I think this used to be called white spirits) from a hardware store. You may need to use steel wool and/or wet and dry sandpaper to ensure all the dirt and grime is removed. If there is some rust you may wish to use a rust remover gel and repaint the inside of the plane. If there is much more than surface rust, give that plane a miss as there are plenty of second-hand ones available.
Flattening the frog
Ensure the blade has a flat surface to sit on
Flatten the sole
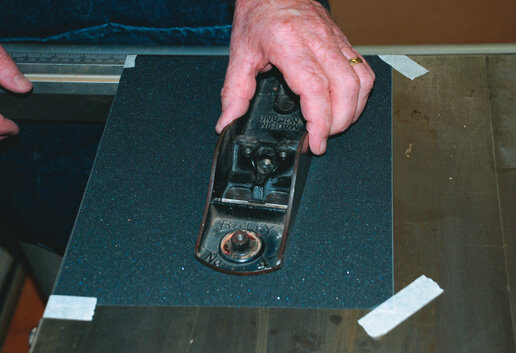
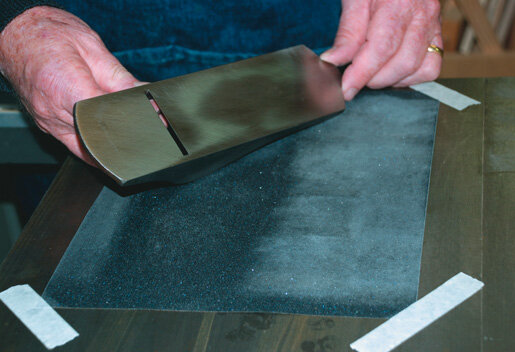
The sole of the plane is where the real business is done and it is important that it is as flat as possible. I usually start with a sheet of 100 grade wet and dry sandpaper and lay it on a flat surface.
For this, I use my cast-iron sawbench table (the experts would use a surface plate) and move the plane backwards and forwards.
You could glue the wet and dry sandpaper to the surface but I usually either just let it sit there or use masking tape to hold it down. If you wish, before you start, you can use a marker pen to place a wiggly line on the base of the plane which shows clearly how the sole is responding to the sanding. The sanded portion of the sole will obviously be shinier than the rest so even without the marker pen you can generally understand how the flattening process is going. If you find the process is only sanding at the edges or at each end, then you may need to go to a coarser wet and dry sandpaper and gradually work your way up to perhaps about 600 grade.
It always looks good if the complete sole can look highly polished with a fine wet and dry sandpaper. However, once you start to get close, you are probably starting to chase one or two ten-thousandths of an inch. The area around the throat should be flat as the minimum requirement.
Once the sole is flat and polished, you can give the same treatment to the sides or you can just finish them with steel wool. I always like to put a square on them as well but this is not a big issue and is more about my desire for perfection.
Some people would suggest that you should assemble the plane before you flatten the sole. This is because, when everything is assembled, it may pull the plane out of square. My feeling is that if each component is prepared correctly it should all stay square. Check the throat of the plane for any damage or burrs and tidy it up with a file. This is also a good time to remove any sharp edges that have been created by sanding the base and sides.
Frog
The frog sits on four reference points onto the plane body.
Although it is probable that it is already sitting on all four points, you should check to avoid any distortion when it is all screwed together. You can use grinding paste between the joints.
By moving the frog around on the reference points, you will find the grinding paste will very quickly let you see if the reference points are all touching. Of all the planes I have overhauled, I have never had much trouble with the frog being distorted.
I am not sure if I have always been lucky or if there is generally not much distortion in this area. Make sure that all the grinding paste is removed when you have finished seating it.
The other side of the frog where the blade sits should also be run across the wet and dry sandpaper. This is a little tricky because the adjustment lever is still attached, but it is not too difficult to work around.
With all the parts clean, you can start the reassembly process by replacing the adjustment wheel onto the frog and then screwing the frog to the plane base. This is also perhaps a suitable time to reattach the front knob and the rear handle.
Run chip breaker across wet and dry sandpaper to ensure its flatness
Applying lapping paste to seat the frog onto the base
Blade
The blade on my old plane, which I am sure was the original blade, had had a hiding over its 50-year life and I decided to replace it with a new one.
I went to a local, large-barn hardware store in Christchurch to purchase a replacement blade. I was very disappointed to find that they were packed in just a small paper bag and had obviously been dropped numerous times as all the corners were damaged. They were very cheap at just under $20 retail but I decided the damage would take a large amount of remedial work to bring back to my standards.
I then decided on “plan B” and purchased a more expensive blade (about $60) from Lee Valley in Canada. This is a thicker blade to help cut down vibration and it is also cryogenically hardened to about 60 – 62 Rockwell.
The blade arrived in perfect condition and probably did not need any honing before being installed on my plane. As with any blade, old or new, you should hone the back of the blade near the cutting point to ensure it is flat. I have since re-honed the edge on a 6000 grade wet stone but this was more for my peace of mind than anything.
In general terms, a lower-quality blade should be able to be sharpened to the same sharpness as a high-quality one, but the better quality model will hold its sharpness much longer. I also think the thicker blade makes an enormous difference when you are using the plane and it is well worth the modest extra cost.
View fullsize

View fullsize

Filing the throat to remove any burrs ensuring a smooth entry for any shavings
Chip breaker
The chip breaker is an important part of the operation of the plane and it needs to be as smooth as possible where the chip runs across it. Use the oil or water stone to achieve this.
It also needs to sit flat on the blade to avoid a chip getting caught under it and to avoid the blade being pulled out of square as it is being fitted to the plane in the final assembly. Should it not sit flat, it can be made to do so by carefully running it across a stone or wet and dry sandpaper
Honing the blade on a 6000 grade water stone
Seat chip breaker about 0.75 mm from blade edge
Sharpening
Correct sharpening is naturally an important part of the performance of the plane. It can sometimes seem daunting but in reality, it becomes a very simple process once you have done it two or three times.
The angle on the blade is 25 degrees with slightly more for the last millimetre (secondary bevel). This means that when you hone the edge to re-sharpen it takes only a few seconds each time.
For the initial grinding on a used blade, I use a white aluminum-oxide wheel on my little bench grinder and I avoid getting too much heat into the blade which could temper the steel. I am lucky enough to also have a Tormek slow grinder but to do the job on a standard bench grinder is very easy.
Put a square across the blade before you start and ensure you keep it square and, even more importantly, straight. Once the grinding is done, hone the edge on a stone as discussed earlier. I use a honing guide which is relatively inexpensive to purchase. The process can also be done by just holding the blade steady over the oil stone or water stone. Sharpening is very simple and easy once you have learnt to do it through a little trial and error.
The final assembly can now be completed and you should very lightly oil the adjustment wheel. The frog can be moved backwards and forwards by using the adjustment screw. While you may want to experiment with a position that suits your type of work, a good general-purpose setting is for the gap to be about 0.75 mm between the tip of the blade and the front of the throat.
The test drive is the exciting part where the proceeds of your work can be felt in the operation of the plane and seen in the smooth shavings.
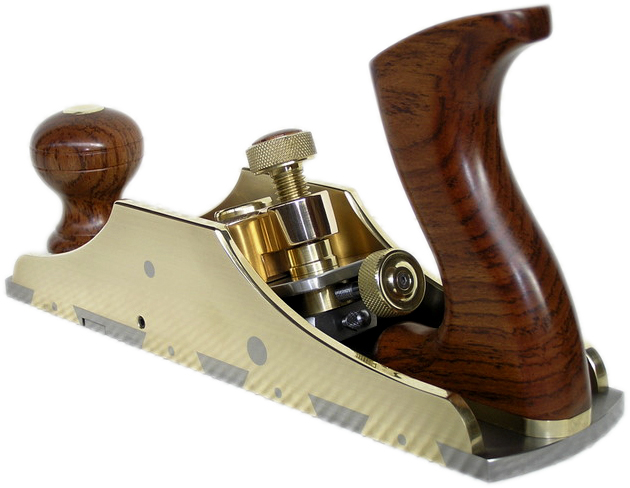
The final assembled plane

