A movable bench with fold-away legs

Before I down-sized my workshop, I had a garage workshop area and plenty of room to have the traditional type of sawhorses or saw stools. Now I have just half of a double-garage which means the stools have to be stored out the back in all weathers. I was looking at a sheet of 16 mm ply that was 1200 mm square and could see it would make two stools that would fold away flat and could be stored inside. They wouldn’t take up space standing permanently in the garage/workshop and they would need very little room folded away.

A smaller garage space requires a portable bench
By Ian Hoskin
Photographs: Jason Boa
Drawing: Jude Woodside

The finished bench and folding legs

Before I downsized my workshop, I had a garage workshop area and plenty of room for the traditional type of sawhorses or saw stools.  Now I  have just half of a double-garage which means the stools must be stored out the back in all weathers.
I was looking at a sheet of 16 mm ply that was 1200 mm square and could see it would make two stools that would fold away flat and could be stored inside. They wouldn’t take up space standing permanently in the garage/workshop, and they would need very little room folded away.
I could also get a bench top out of the same sheet. A 1200 x 1200 mm sheet is a standard size that can be purchased at any big hardware store.
For each stool, a flap is cut in the centre of a 600 mm square section and hinged at the top. The sides of the sheet on either side act as supports for the hinged flap when it is swung outwards; the whole stool sits in a triangle on the floor as a support for the bench top. The flap is contained on one side by a batten across the legs and its travel is limited in the other direction by a couple of cords.

The project is mostly marked up with a 200 mm x 100 mm measuring block
Fix hinges to top of leg
Cut with jigsaw
Finish with hand saw
Drill holes for the cord

Steps
The steps are simple.
All measurements are based on 100 and 200 mm, and I cut a block with these dimensions to act as a guide in measuring and marking out the sheet. Half the sheet gives you a 600 mm wide x 1200 mm long bench top; from the other half, you have enough wood to cut out the two saw stools at 600 m x 600 mm each.
Note that I used my existing saw horse legs as a support for a couple of pieces of 100 mm x 50 mm on which I placed the plywood sheet to make this bench and new trestles.
Using the block and a square, I marked out the legs as shown in the drawing. It was easier to drill a hole at the top of the leg so I could get the jigsaw in to cut across the top of the leg.

Measuring battens on legs. Note sheet has been turned over
Melt knot
The hinged flap

Hinges and finishing
The next step was to screw two 50 mm butt hinges in place in each leg then cut up the sides of the legs. (Use a guide). Mark out and drill hand-holes to your requirements. I made three hand holes in the top of the leg.
Mark and drill holes in the legs for the cord. I used a nylon cord and on each end I tied then melted a knob of cord large enough not to pull through the hole.
I screwed the batten across the legs to stop the flap pushing through when the stool is closed.
I have found these trestles good for working with long timber, for marking out and cutting with the skill saw and also as a bench place for stacking and packing objects.

Cut stools apart
Stool builder, Ian Hoskin

Share:

More Posts

Have you got a shed project for us?

We are always looking for great projects to feature in The Shed magazine and website. Are you building and creating a project that would interest other sheddies? Let us know and we will send our team around to document the task and share it with other sheddies all around the world.

Build these honeyed Macrocarpa bar stools

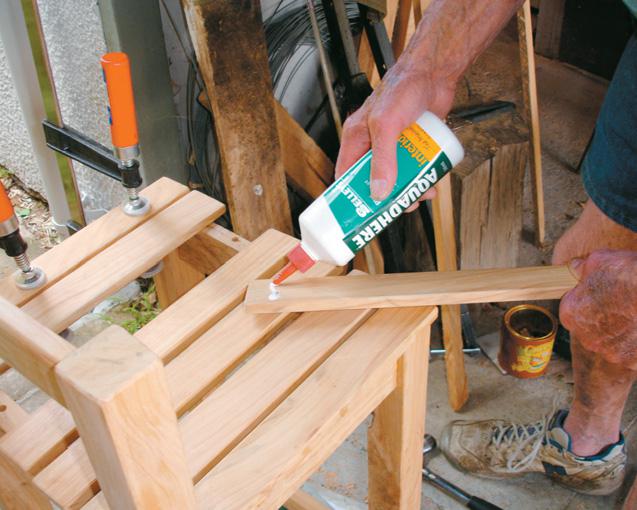
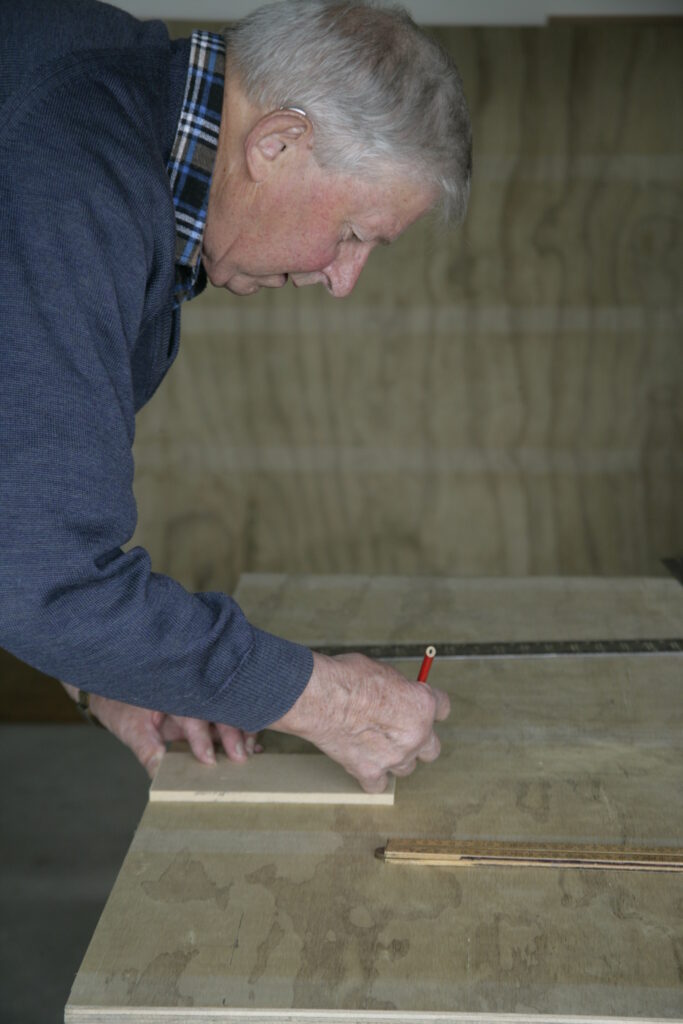
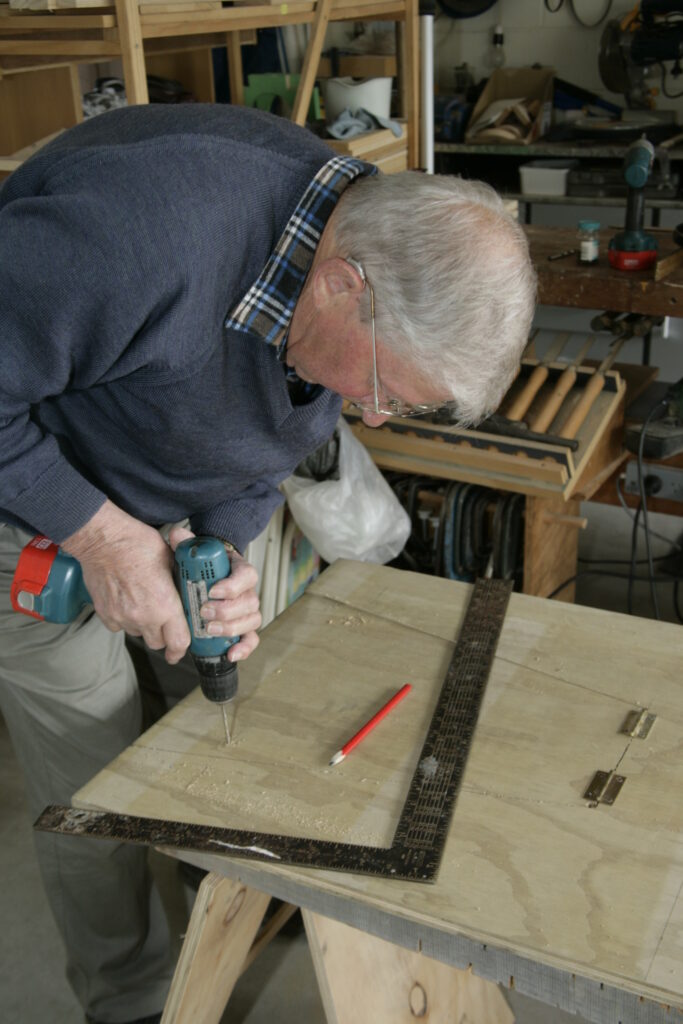
I use dowelling for ease of construction, measuring and cutting as I go, and joining them to the stool with PVA glue. Place the dowels off-centre on the end of the rails, to avoid hitting the dowels coming into the legs at right angles.
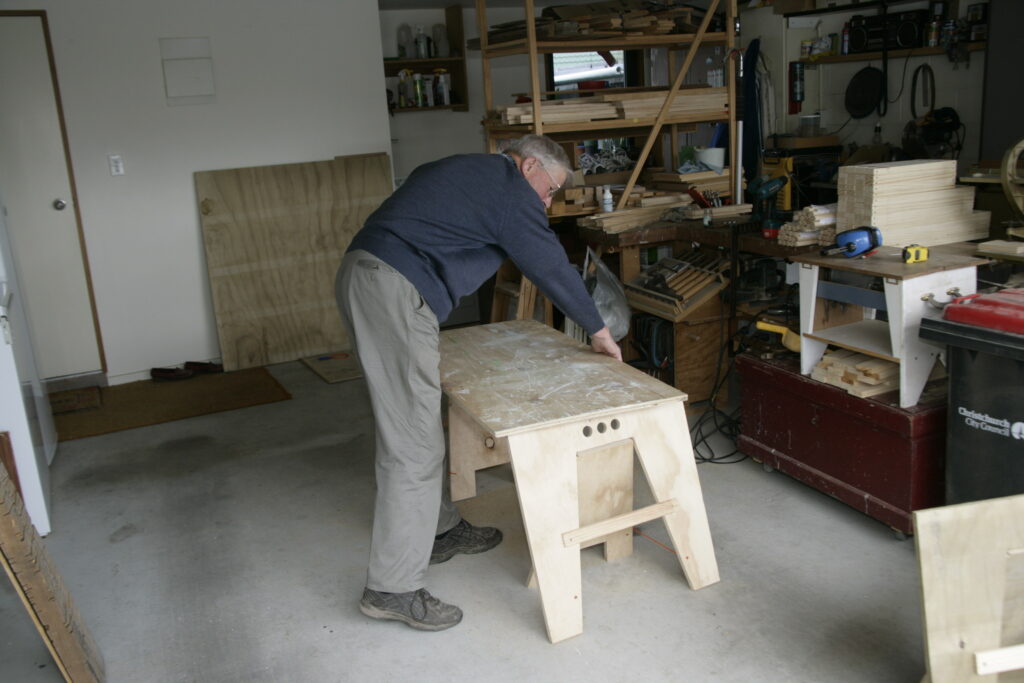
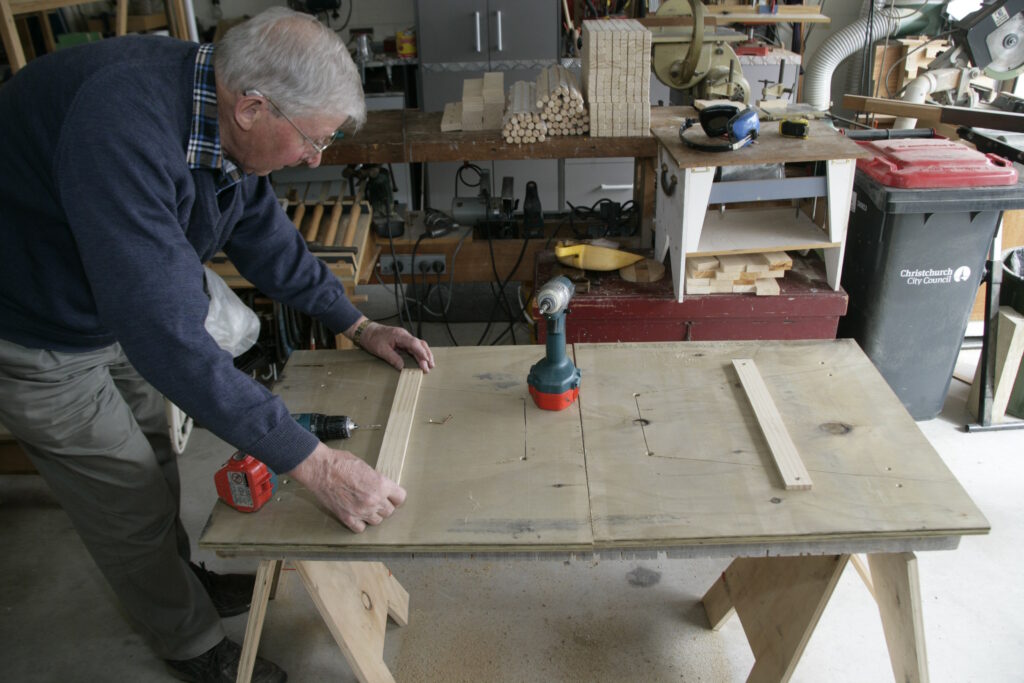
The front and rear sections of the stool are put together separately then joined.