A potter’s first rule when making her quirky pieces is they must be a delight to use every day
By Sue Allison
Photographs: Juliet Nicholas
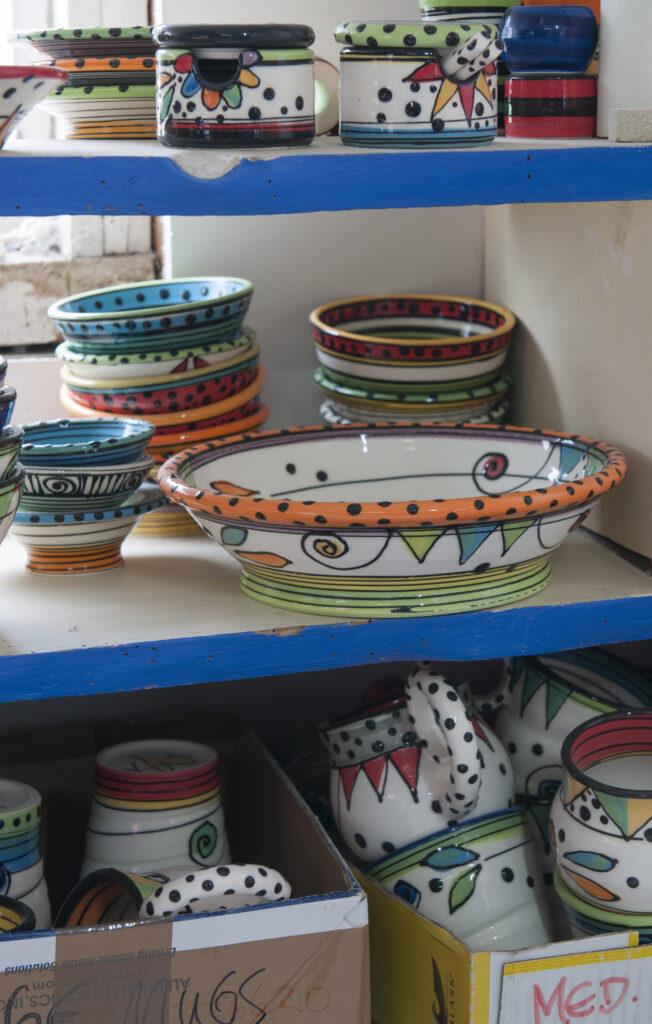
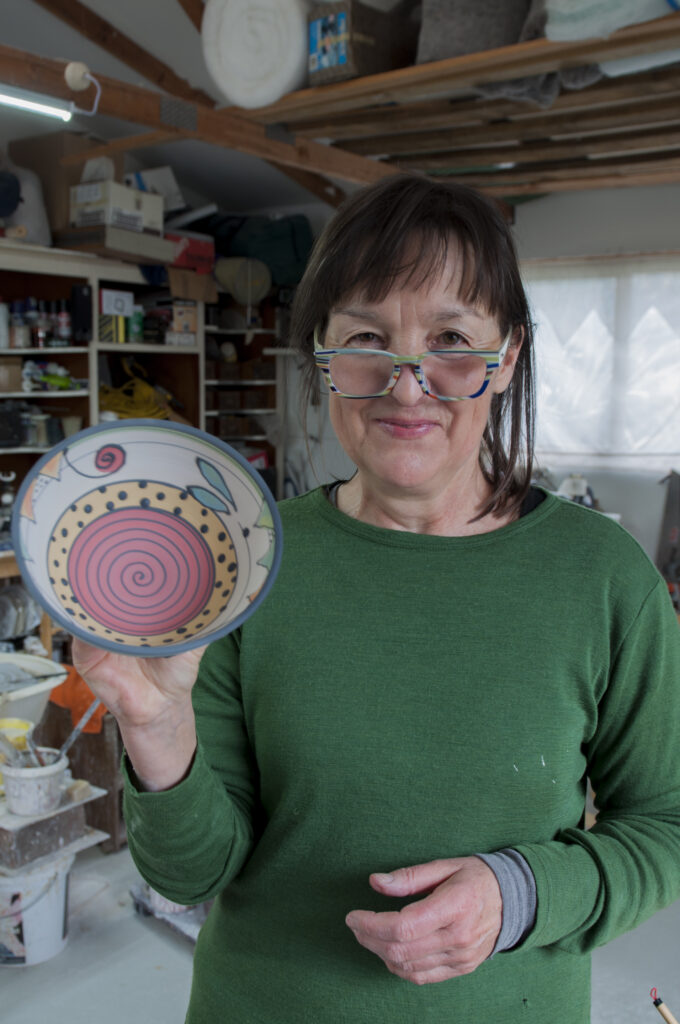
Christchurch potter Renate Galetzka draws inspiration for her colourful and quirky pots from her daughter’s stint as a circus trapeze artist and the books of Dr Seuss.
“I want to make people smile,” says Renate, whose pots are fanciful but functional, made to be used not left on the shelf. “I make pots to brighten your day every day.”
German-born Renate met her Kiwi husband, Liam, in the Abel Tasman National Park in the 1980s. “I was on an OE and I’m still on an OE,” she declares, and part of that on-going overseas experience included discovering the art of ceramics. She took hobby classes in Christchurch, followed by “work experience” with one of the grand dames of New Zealand pottery, Frederika Ernsten, looking after her gallery in return for lessons. Renate went on to run and teach pottery at the Risingholme Community Centre.
Traditional engobe earthenware
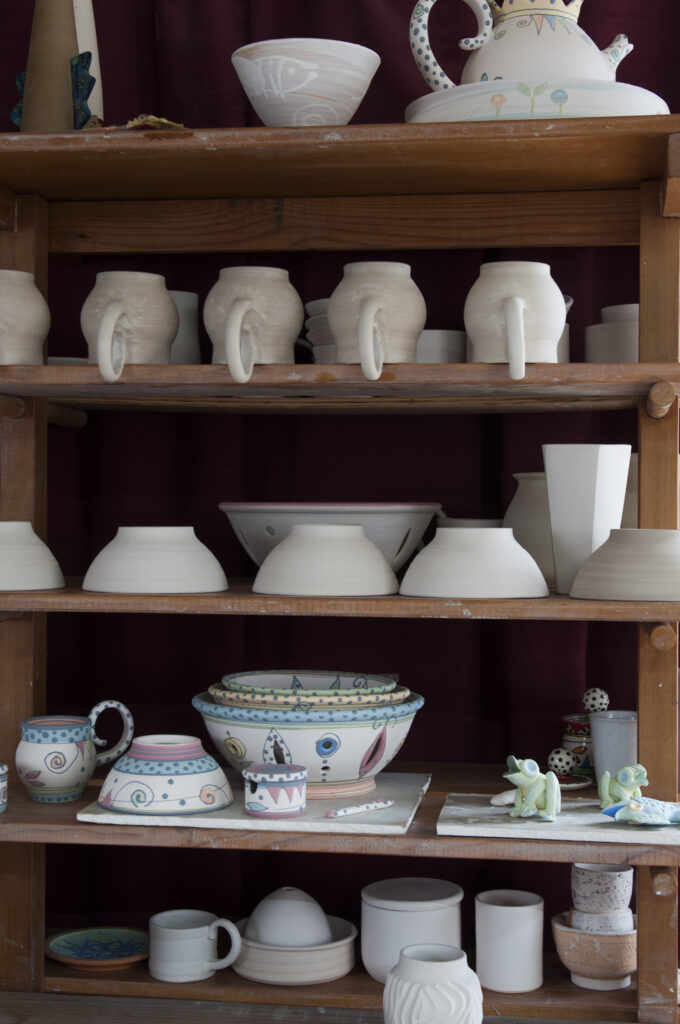
In the early 2000s, she and Liam spent several years in Switzerland where Renate did an adult apprenticeship in ceramics at Schule für Gestaltung (School of Design) in Zurich. Here, she became interested in the traditional engobe earthenware of the Swiss mountains which uses coloured clay slurry or “slip” as a decorative underglaze. Renate has adapted the technique to her own designs, painting and trailing stained slips to produce colourful raised patterns on her pots. The decorations are applied to the raw, dry clay, after which the pots are fired to low “biscuit” temperatures before being finished with a clear over-glaze fired to 1200°C.
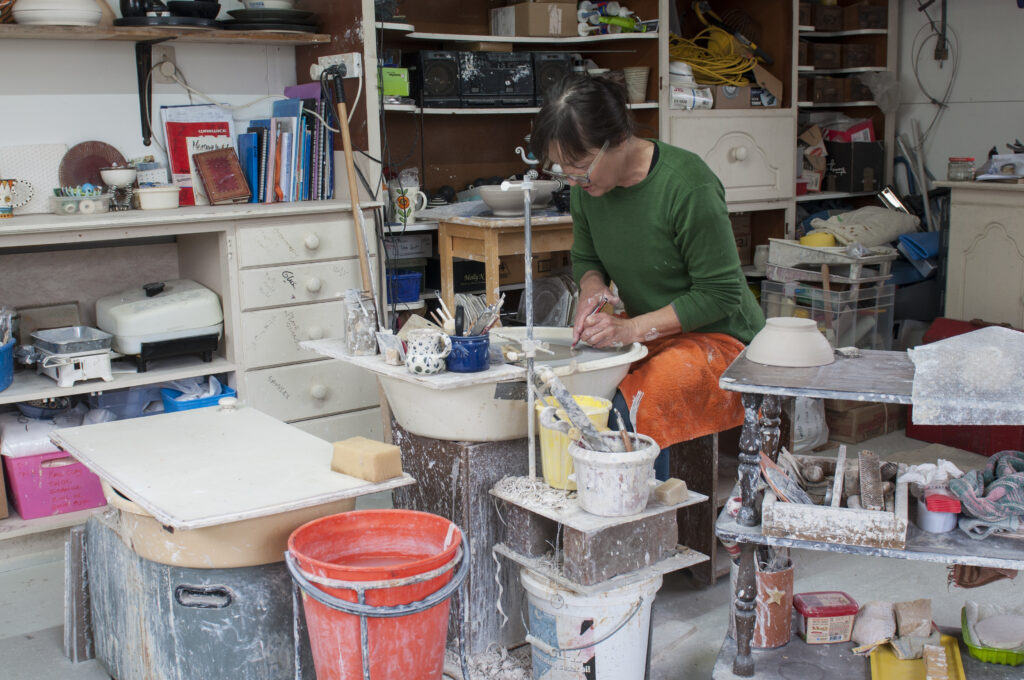
Renate works from home in a converted two-car garage in the seaside suburb of Brighton. Her equipment includes two electric wheels – a Japanese Shimpo for dark clays and a New Zealand-made Cowley for her more often-used white ones. She has a grinder for sharpening tools, skill saw, drills, and an array of buckets and sacks full of clays and glazes. But otherwise her shed seems to be filled with items more often found in the kitchen: an electric frying pan (for waxing), rolling pin, pastry sticks, spatulas, potato peelers, even a three-tier tea trolley.
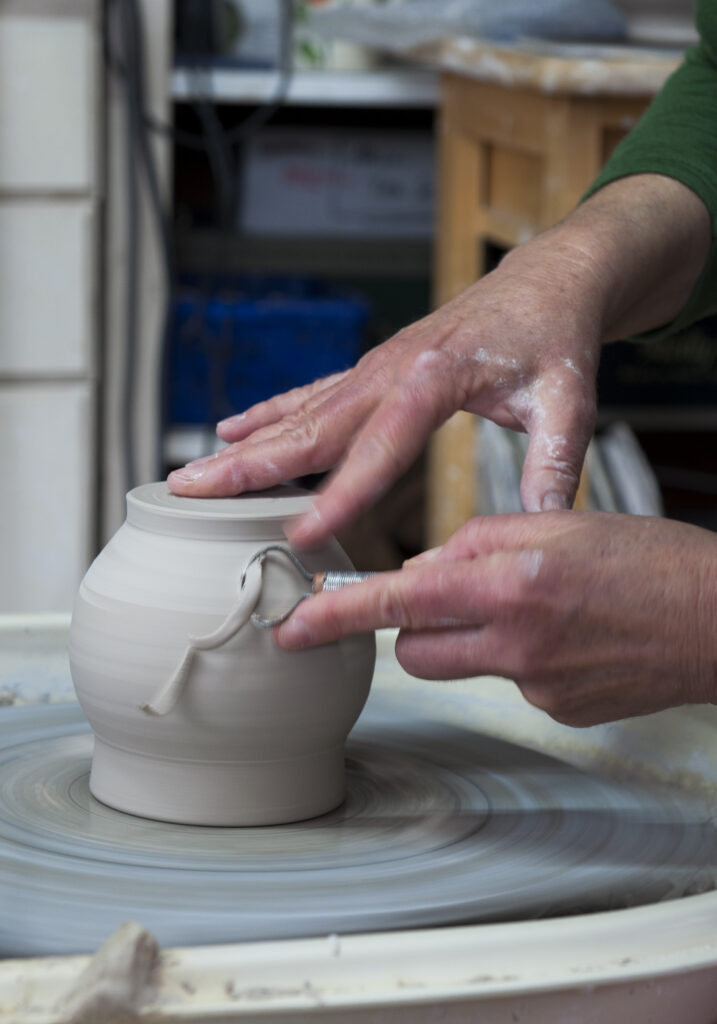
“In our house, if you can’t find something in the kitchen, look in the garage,” says Renate. But her favourite modelling tool – and there is some pleasure in seeing it covered in mud – is a credit card. Although purpose-made tools can be purchased on-line, nothing beats the credit card for the firm bendiness required when shaping a pot on the wheel, she says.
Natural sequence
One domestic device that never appears in her workshop is the vacuum cleaner. “All that does is create fine suspended dust particles which are the most dangerous of all,” she says. Instead, she sprays daily with a water bottle to, literally, keep the dust down.
Just outside is a tin shed containing her electric kiln which is partially powered by photovoltaic panels on the house roof. “If I fire my kiln on a sunny day it will not cost me anything,” she says.
A comfortable dog’s bed is a permanent fixture in the workshop. Every morning Renate takes retriever-doodle Milly for a walk before they settle into the studio for around six hours each day, tuned into National Radio.
Renate works around firings, which take three days by the time the kiln has cooled down enough to empty. She follows the natural sequence of pot-making, devoting blocks of time to throwing, turning, decorating, and glazing. “I try not to do too many repetitive things to avoid RSI,” she says, stretching her hands before settling at the wheel. She adds a few neck rolls today as she is suffering from whiplash, not from a car accident but from an extra-heavy landing during one of her thrice-weekly Aikido sessions. It seems this mild-mannered potter, who also crochets and knits her own socks, is a third-degree black belt.
Nice to use
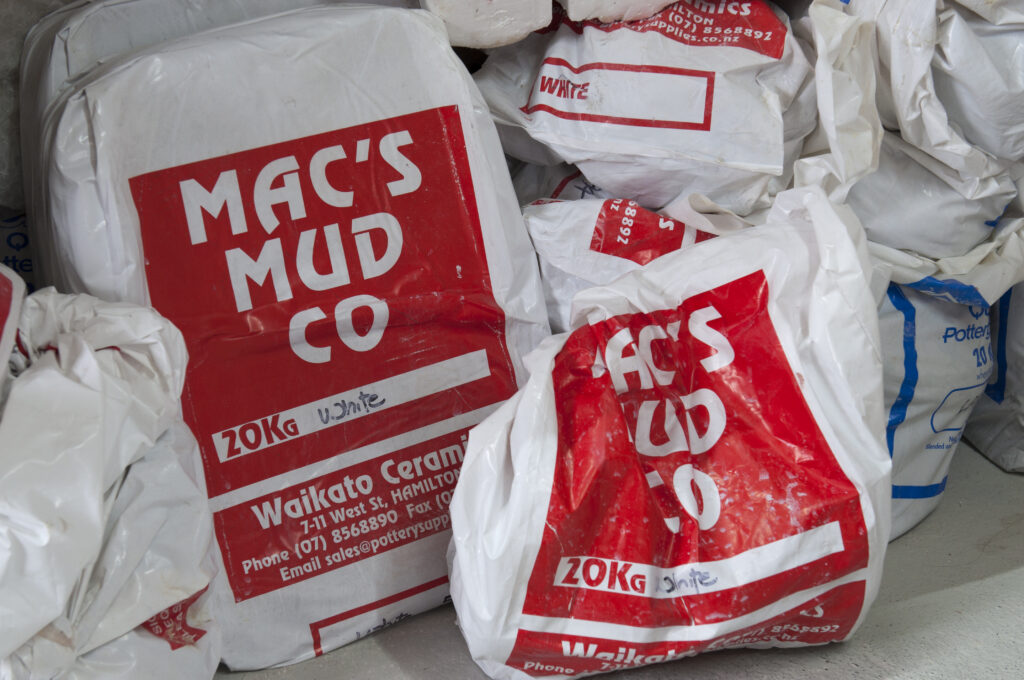
Renate uses Mac’s Mud man-made white clay for most of her work. Her pots are microwave and dishwasher-proof and she only uses food-safe glazes. A stickler for producing well-made domestic ware, she emphasises the importance of light, well-thrown pieces.
“Sometimes you buy things because you like the look of them but they end up at the back of the cupboard because they aren’t nice to use.”
The proof is in the pudding, and her domestic ware is sought-after by restaurants, with a recent order for a new Christchurch eatery incorporating earthquake liquefaction in the glazes. “I collected liquefaction from three different sites around the city. I knew I wanted to use it in something sometime.” She added the strained silt to the glaze, making it “go a bit sparkly”. Renate supplies a number of galleries around the country, as well as working to exhibitions and private orders.
THE PROCESS
Wedging
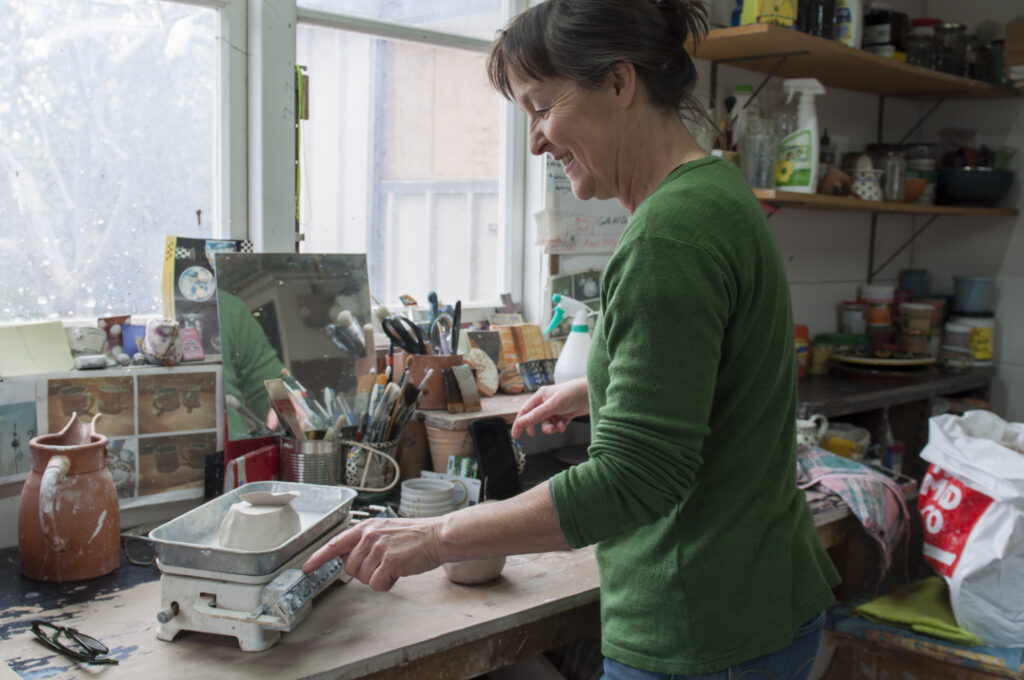
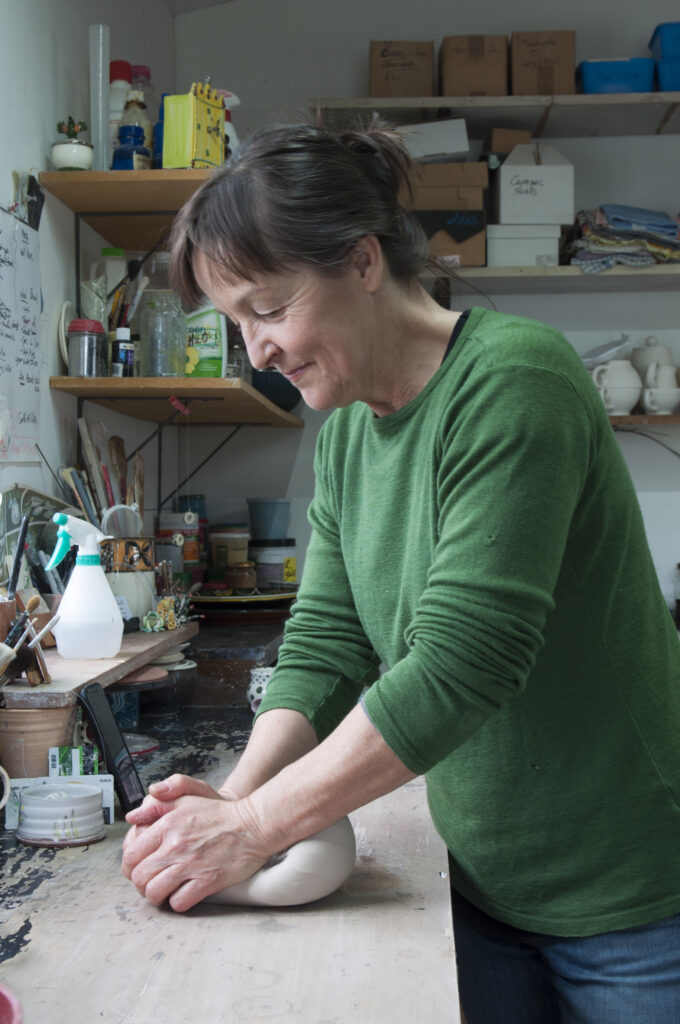
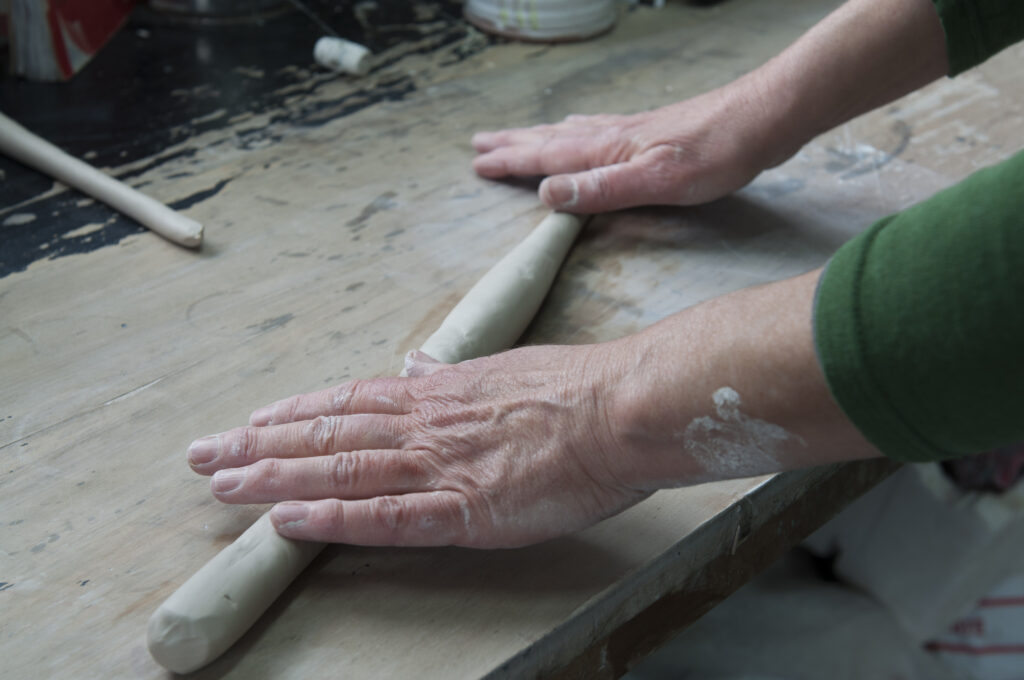
Clay must be “wedged” or kneaded before use to remove any air bubbles and get a homogenous consistency. When making a set of uniform-sized pieces, Renate weighs the clay on a set of vintage scales picked up in an op shop for $5.50. She uses 600g for her muesli bowls. “If you want bowls to stack, you have to be precise,” she says. The clay is wedged with a rhythmic roll, press, roll, press motion. While is resembles kneading dough, it achieves the opposite – expelling air rather than lightening a loaf.
Throwing
The process of making a pot on a potter’s wheel is called “throwing”, strangely.
“You throw the lump of clay into the centre of the wheel to start with, but that’s the last time a pot should be thrown anywhere,” says Renate. It turns out the term comes from the Old English “thrawan”, meaning to twist or turn.
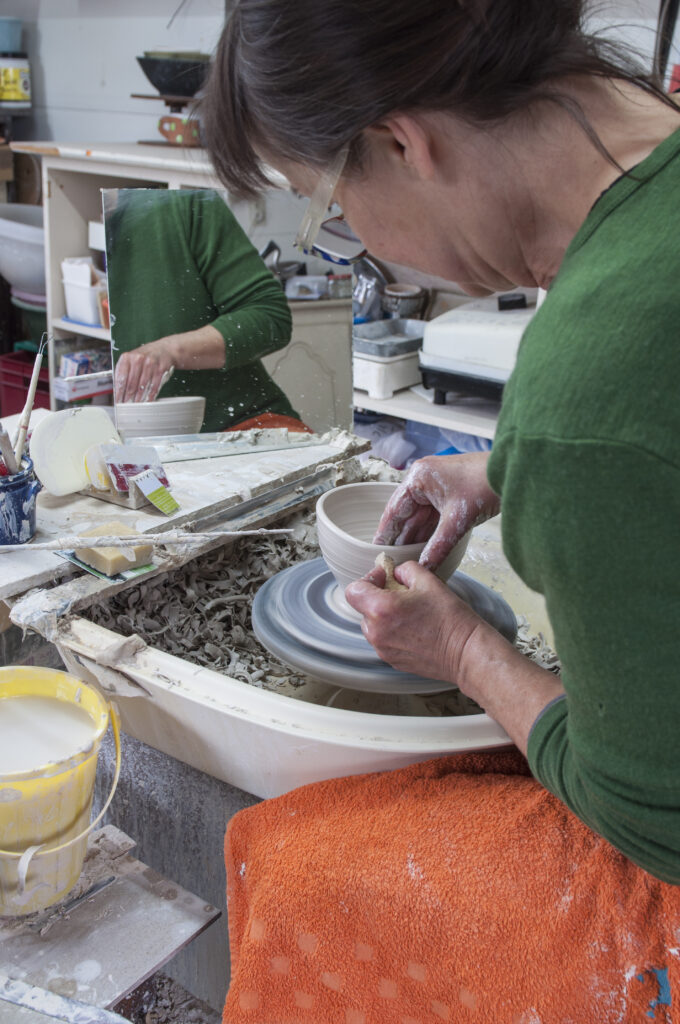
Renate forms a dome with wet, cupped hands, then presses her thumb gently but firmly downwards to form an opening at the centre. She takes care to compress the base or it will crack as it dries. The thickness of the base can be measured with a needle. Renate works quickly, regularly wetting the clay with a sponge as she brings the form up. A mirror propped on the wheel ledge allows her to see the shape side-on. Renate uses her trusty credit card to take off any surface slurry and to compress the sides. Once the sides are stable, she opens the form, using a pastry scraper to shape the inside of the bowl.
Fishing nylon on a champagne cork is ideal for cutting off the pot, which she then puts in a sealed polystyrene box to dry at an even temperature. An allowance of 12-15% shrinkage during firing needs to be made, depending on the clay.
Turning
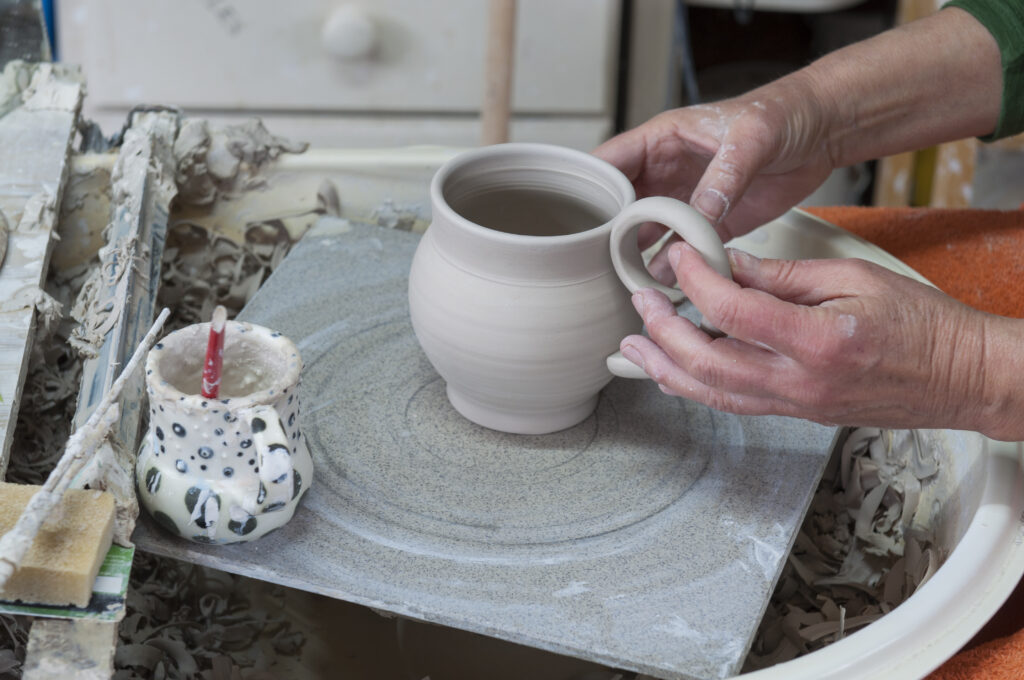
After a couple of days, the bowl will be leather-hard and ready to have its base and foot ring “turned”. Renate turns the pot on a flat ceramic floor tile attached to the wheel with wet clay. She draws concentric circles on it with a pencil so the centre is easy to find. She sticks the bowl, rim down, to the centre of the tile with water.
“Some people secure it with blobs of clay but I find it distorts the rim.”
After giving the surface a quick tidy-up, she starts shaving off ribbons of clay around the base with a steel-turning tool. (The discarded clay is re-wedged or used to make slip.) The bowl’s shape should continue through the foot-ring. Renate takes off any finger lines with a kidney-shaped tool to leave a smooth surface for decorating. She inverts it to tidy the rim, then places it upside down to fully dry.
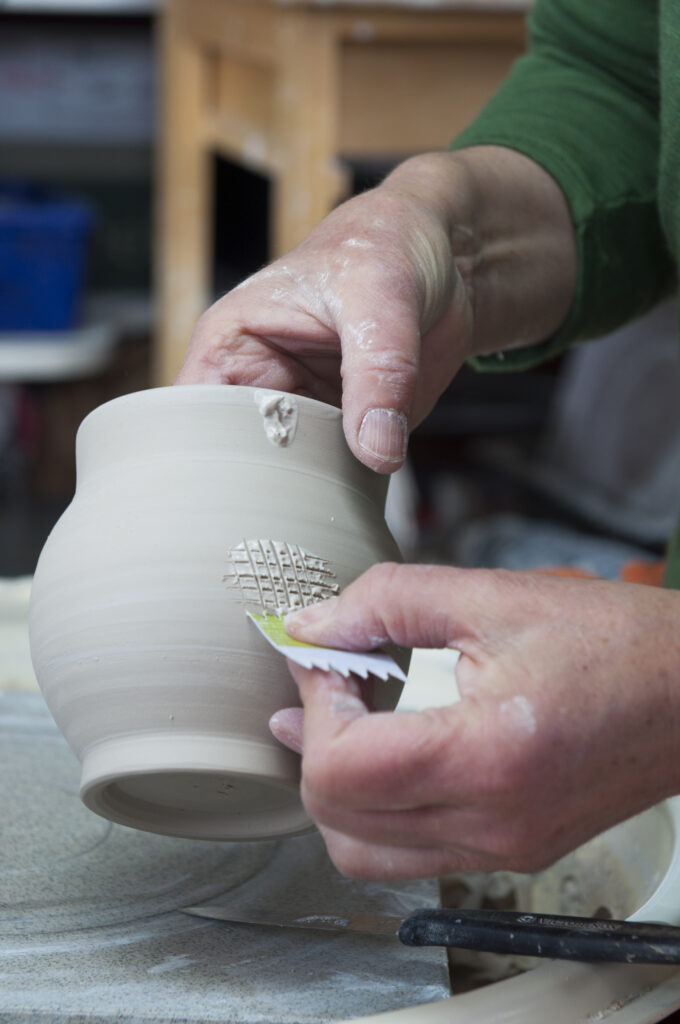
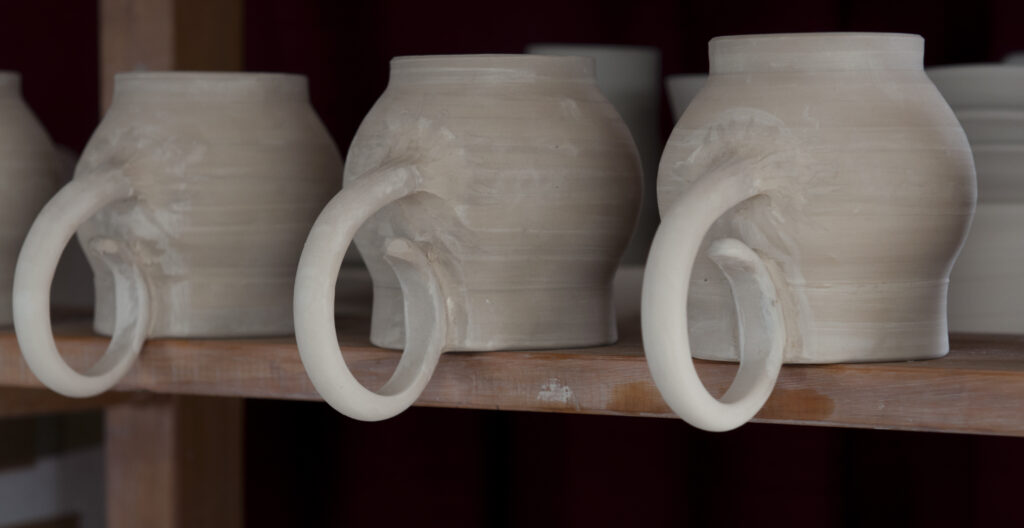
Making handles: To make her distinctive tail-like cup handles, Renate rolls a coil keeping it fatter at the top. She cuts them to length and slaps each one down on the bench to flatten one side. “If you have a handle that’s completely round, it’s difficult to hold,” she says. She curls them to shape and leaves them till leather hard. The handles are attached with slurry mixed with a little vinegar to help them adhere. She scratches the points of attachment with an expired library card cut with fine teeth (quicker than scratching with a sharp tool). She paints slip on the attachment points, leaves it to dry until tacky, then gently presses the handle into place.
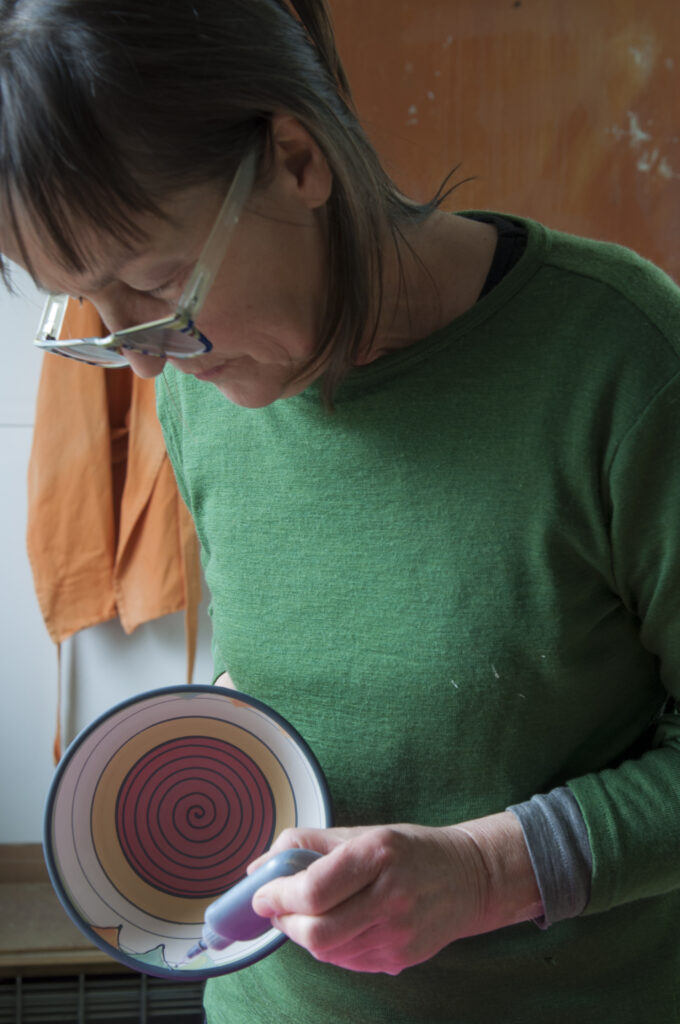
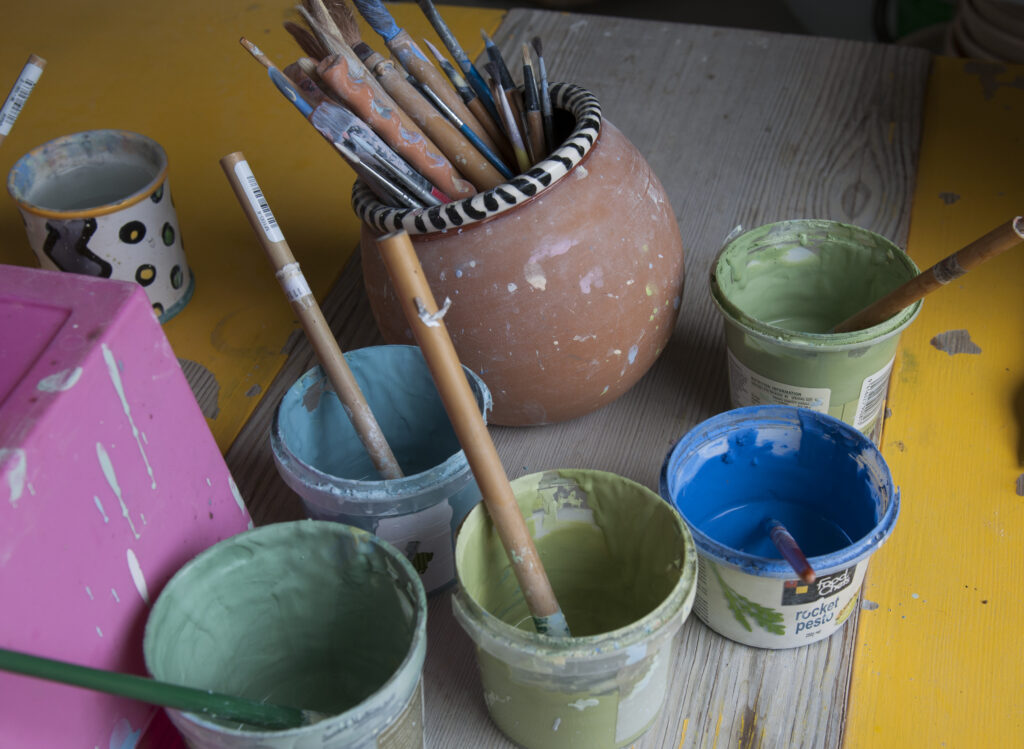
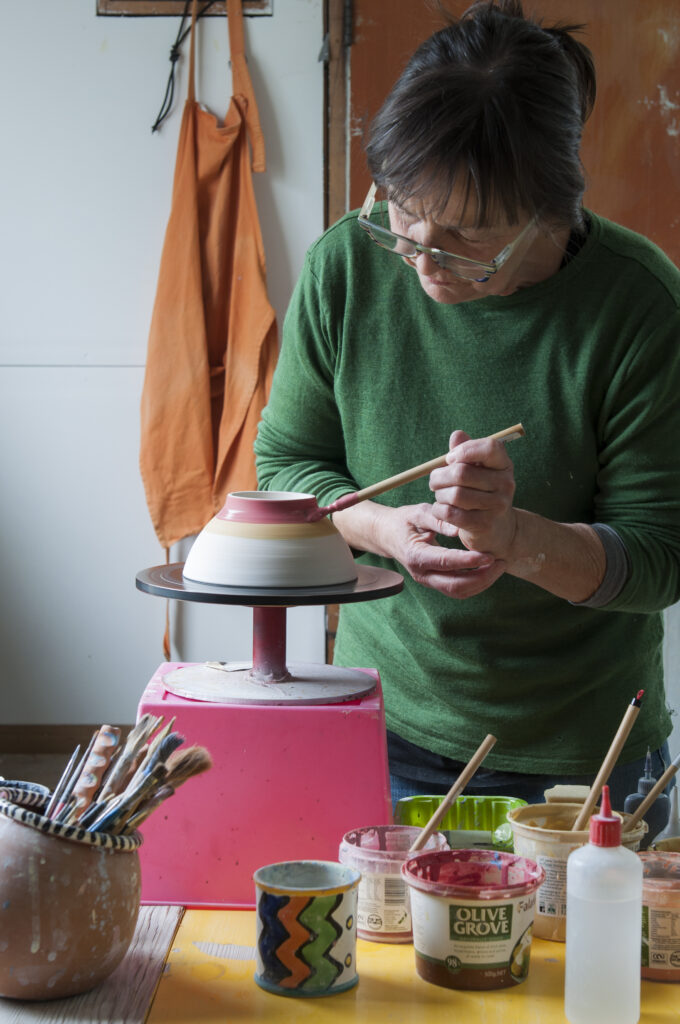
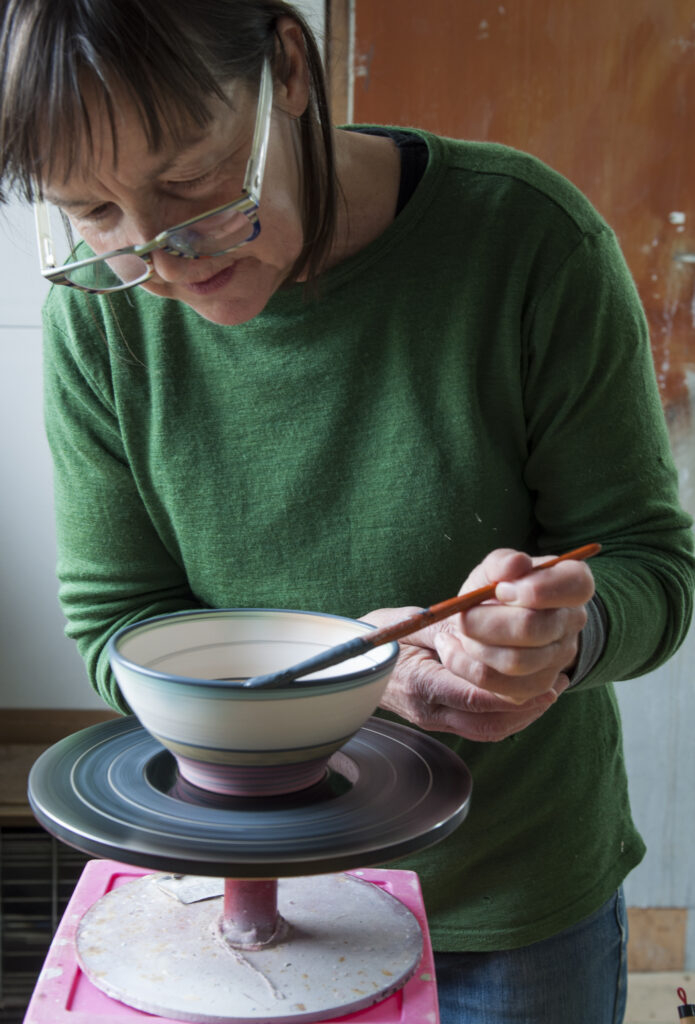
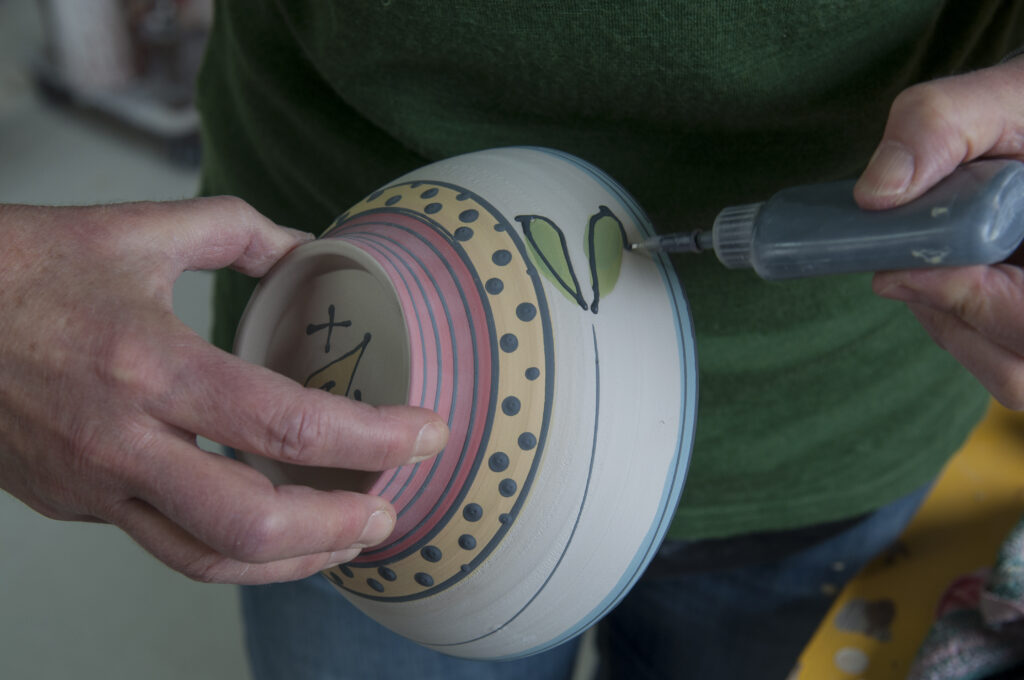
Decorating: Renate buys powdered pigments to make her own slips, mixing about 50g of pigment to 200g of slurry. The stains fire to 1300°C without losing colour. She uses a hand-spun banding wheel marked with concentric circles for decorating, resting the bone-dry bowl on its rim while she decorates the base area. Renate buys cheap brushes but ones that carry a “good load” to hand-paint her decorations and uses slip trailers to draw black spirals, outlines and dots.
She adds a few drops of bleach to the black stain to stop it going mouldy and clogging her slip-trailers. The slip has the consistency of thick cream and the moisture is quickly absorbed by the dry, porous clay. She holds the bowl in one hand to decorate the upper part and inside, finishing with the rim. The bowl is then biscuit-fired to around 1000°C.
Waxing:
The base or foot ring of a pot must be waxed before glazing or the glaze would stick to the kiln shelves. Renate finds an electric frying pan the best device for waxing as she can roll the base evenly in the heated wax without having to paint it on by hand.
Glazing:
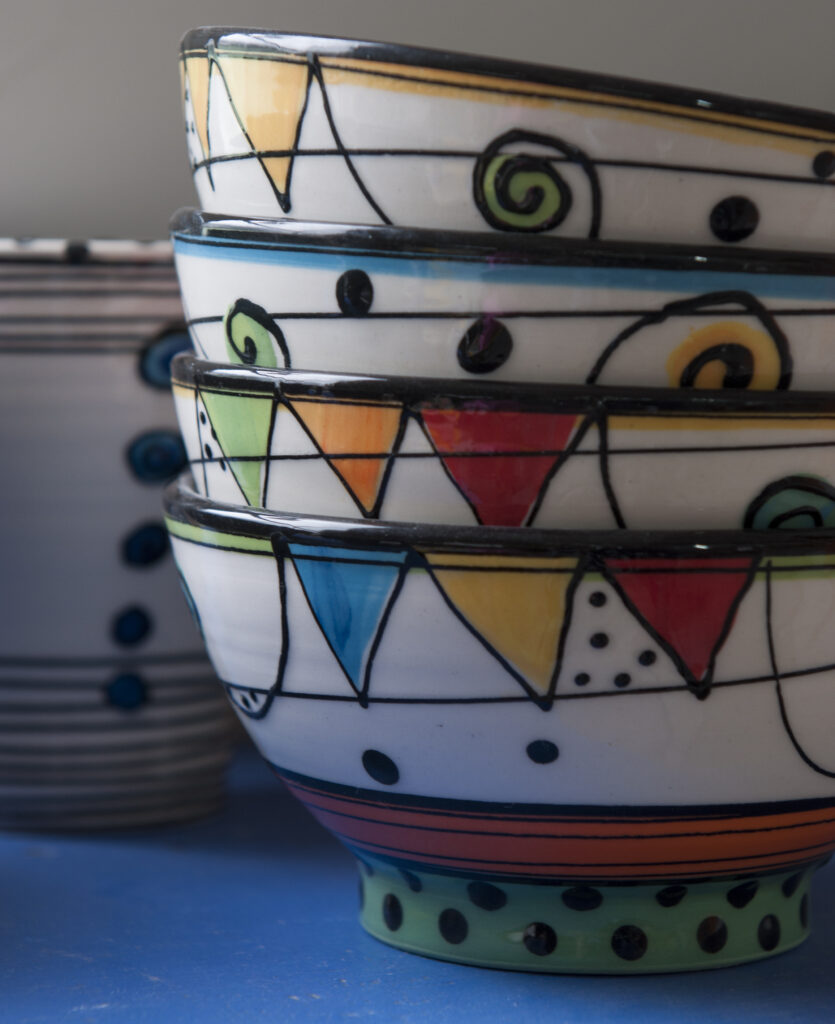
Renate buys glazes by the sackful, mixing them with water and storing them in buckets. The heavy glaze materials sink to the bottom, and she finds toilet brushes the best thing for stirring her glaze buckets. Tongs are used to dunk the pots in the glaze. The clear glaze used over slip-decorated pots is opaque until fired.
Firing:
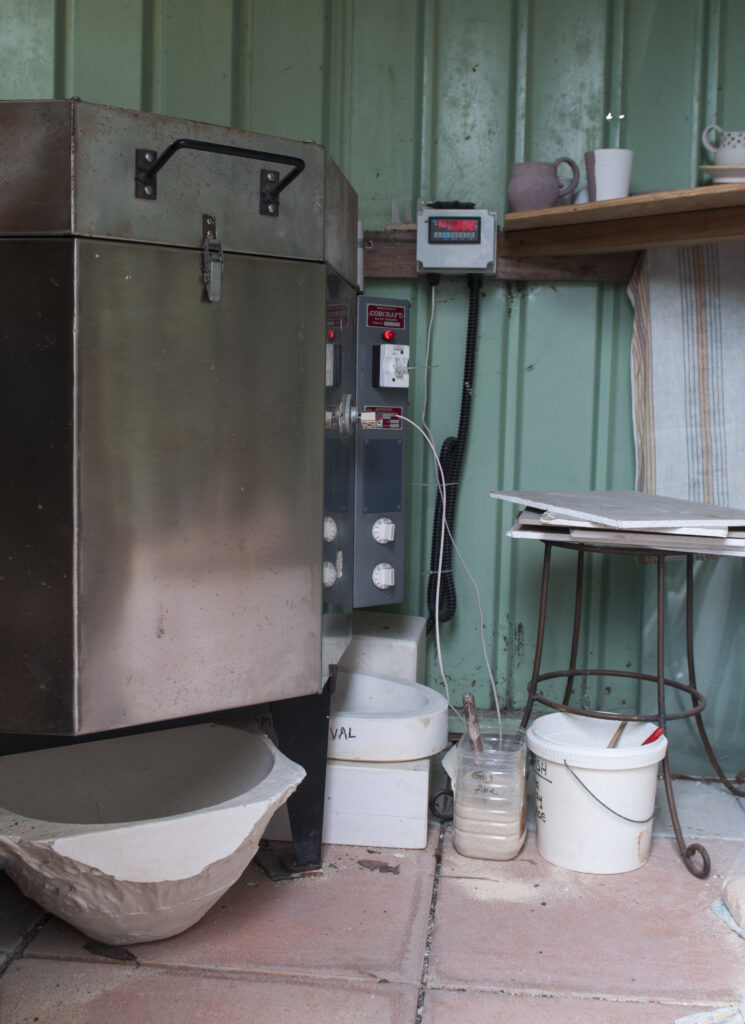
Renate uses high-temperature earthenware clay fired in an electric kiln to 1200°C. It takes 10-15 hours to get the temperature up – a pyrometer reads the temperature to within 5°C. Once it has reached the desired temperature, she turns it off. Because the kiln is so well-insulated, the temperature comes down very slowly. It’s important to resist the temptation to lift the lid too soon or the pots will crack.
“It’s a shock not only to the pots but also to the electric elements which are expensive,” says Renate. Once the kiln is down to about 100°C, she props open the lid. Renate records every firing in an exercise graph book, from the contents of the kiln to any problems.
“Sometimes I have a disaster,” she says. One notable one was when her kiln was firing during an earthquake, leaving her with a mess of pots stuck to the shelves.
STATES OF CLAY
Clay is finely-grained earthy material composed mainly of hydrated silicates of aluminium. Clays are plastic due to their water content and become hard when fired in a kiln.
Leather-hard clay has been partially dried, with about 15% of its moisture content remaining, leaving it firm but not brittle. It can be cut without distorting the form.
Bone-dry refers to brittle clay that has no moisture content and is ready to be fired. It is brittle at this stage.
Fired clay has been irreversibly transformed, whether into the lower-temperature “bisque” state or high-temperature vitrification which also fuses the glaze.
Tectonic pot
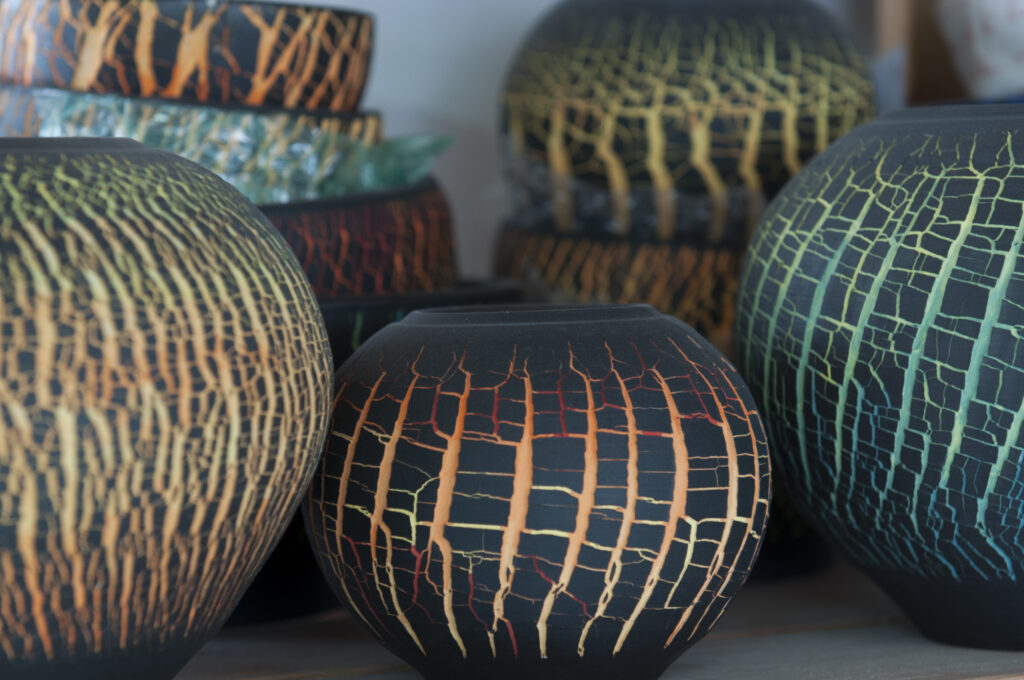
Every year Renate embarks on an experimental project. Last year’s was tectonic bowls. To create the colourful cracked surface, Renate first pulls up a cylindrical shape then covers it with black slip. Once this is dry, she coats the outside with a chemical that prevents the clay from stretching. “From then on, you can only work from the inside, pushing the clay out a bit at a time.” The pressure creates cracks on the outside surface, which she fills with coloured ceramic stain. “Sometimes it works and sometimes it doesn’t. If you aren’t careful, it just rips open.” Renate coats the outside with wax to preserve the effect before glazing inside the pot.
Candlesticks
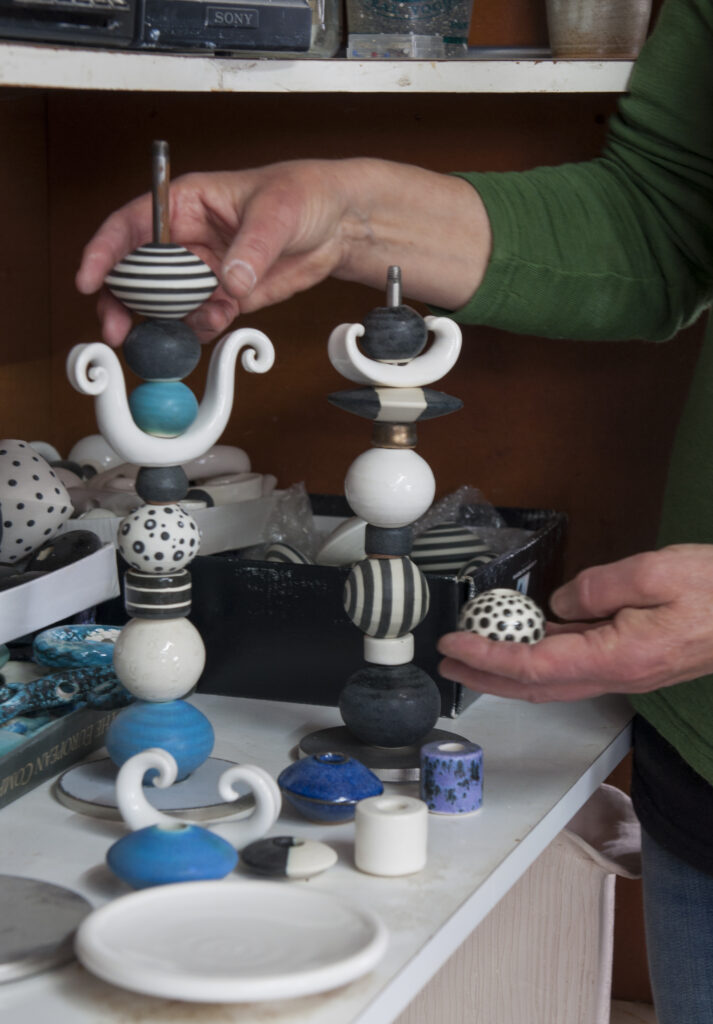
Renate’s candlesticks are made by throwing the individual beads on the wheel and drilling a hole in them when they are leather-hard. She stacks them up a steel rod on a polished stainless steel base, which she gets made by a local metalworker.
