Figments of imagination
The fun of making steampunks toys requires equal amounts of creativity and resourcefulness
By Coen Smit
Photographs: Coen Smit
A steampunk toy (for want of a better term) combines two passions of mine. I love making things that are a bit different, even a bit quirky. Something that stands out from the run of the mill stuff that you buy at the shops. Secondly, I enjoy the challenge of bringing together bits and pieces to make seemingly disparate objects into a semi-plausible whole toy. Steampunk toys give me the opportunity to do both.
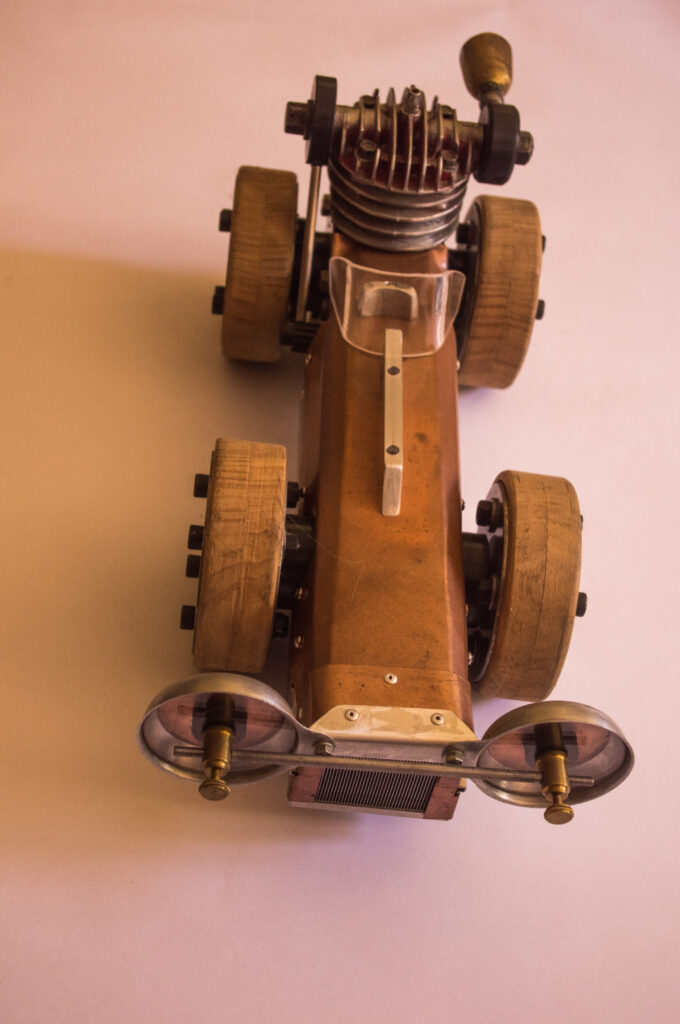
I built the race car pictured here using a variety of odds and ends. The engine came from an old air compressor, the wheels were turned out of wooden shelving, destined to be burnt, and were combined with a set of stainless discs that previously helped to support a network of shade cloths over a courtyard. The headlights were made from a couple of egg fryers and little brass taps while the exhaust was rescued from a kitchen tap shroud. The radiator had a past life as a heat sink in a computer.
“I love making things that are a bit different, even a bit quirky”
More than a toy
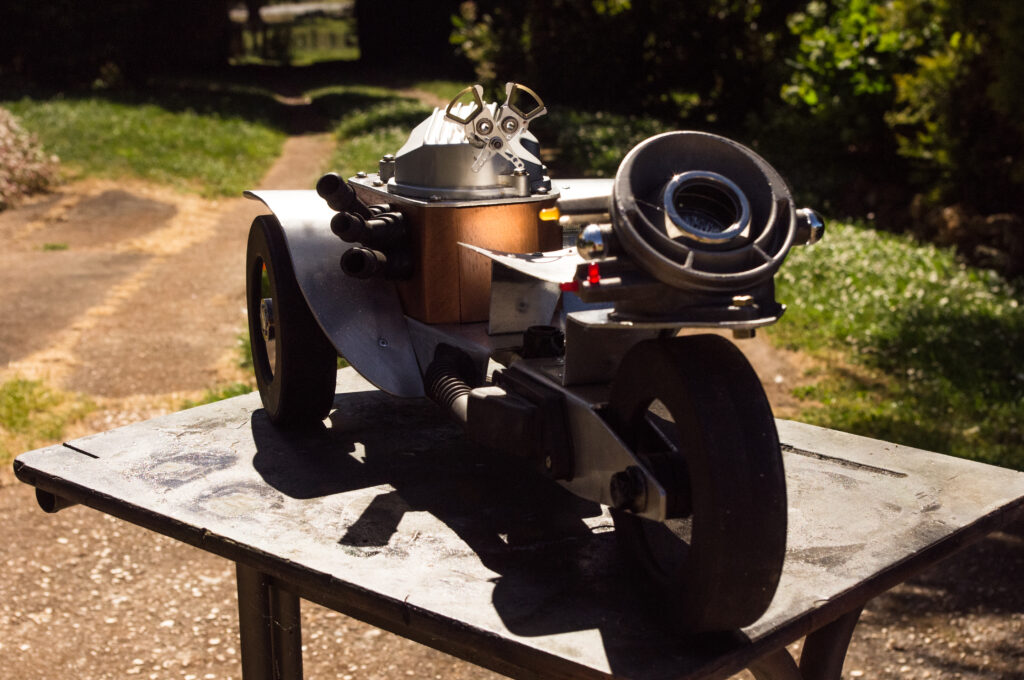
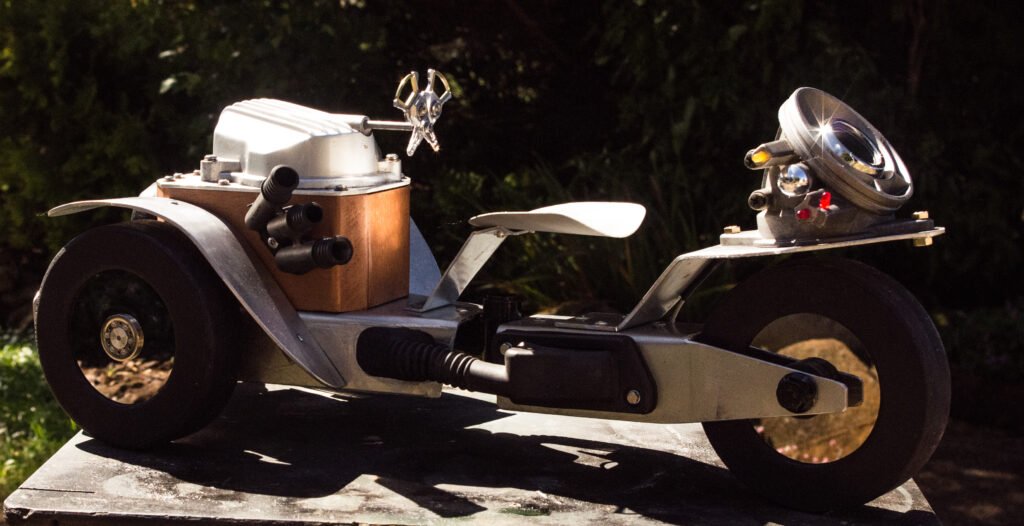
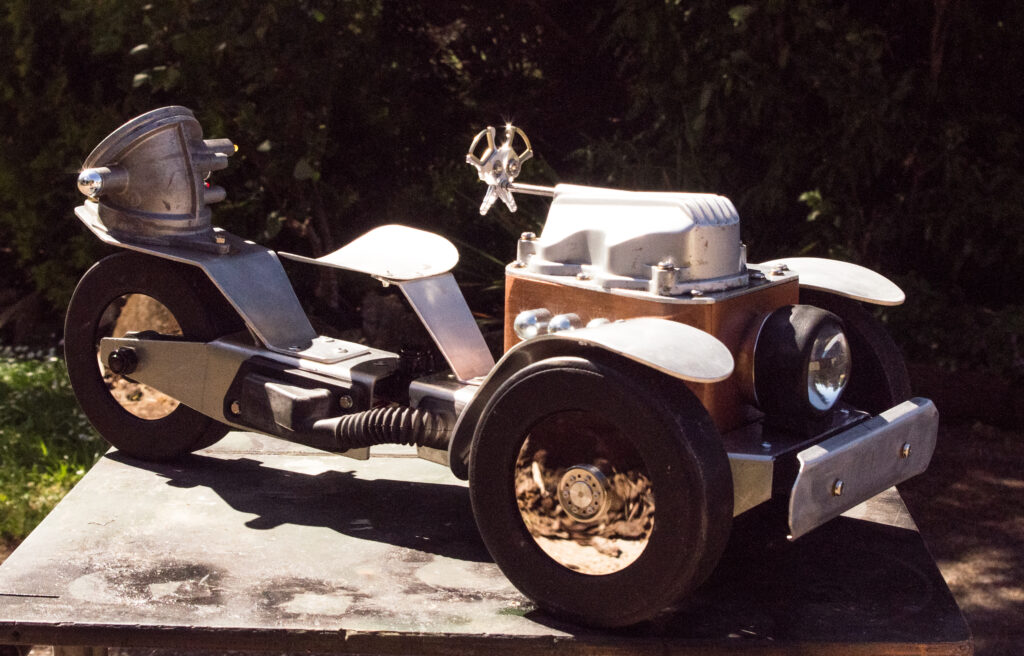
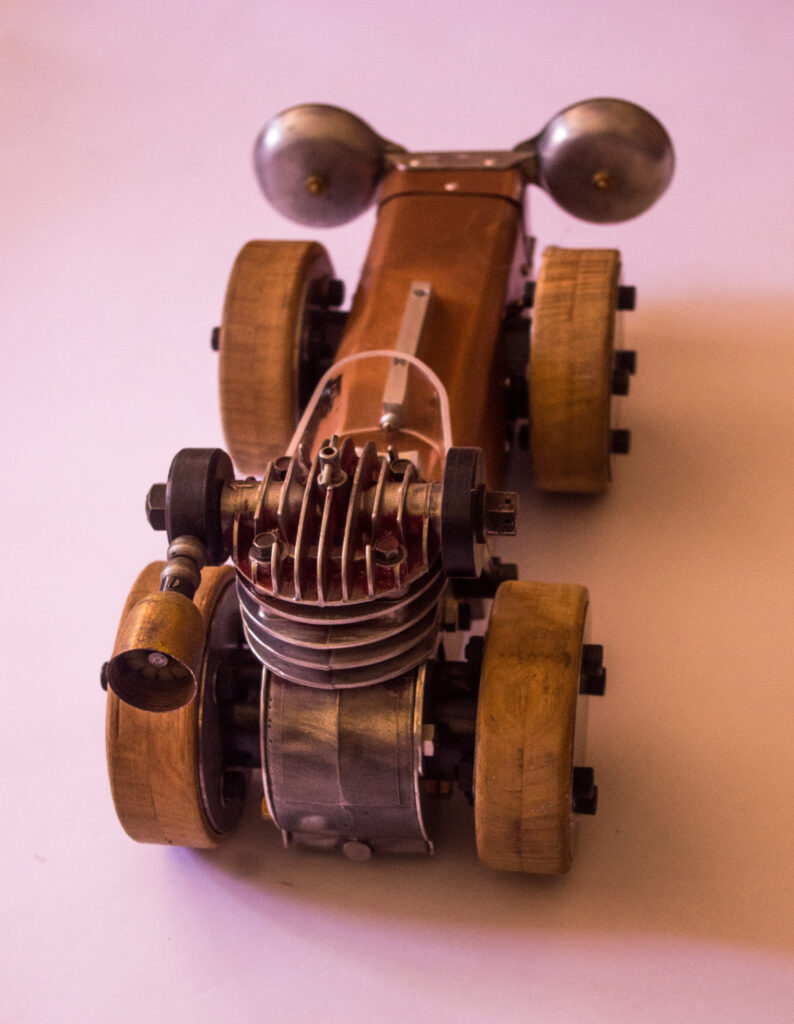
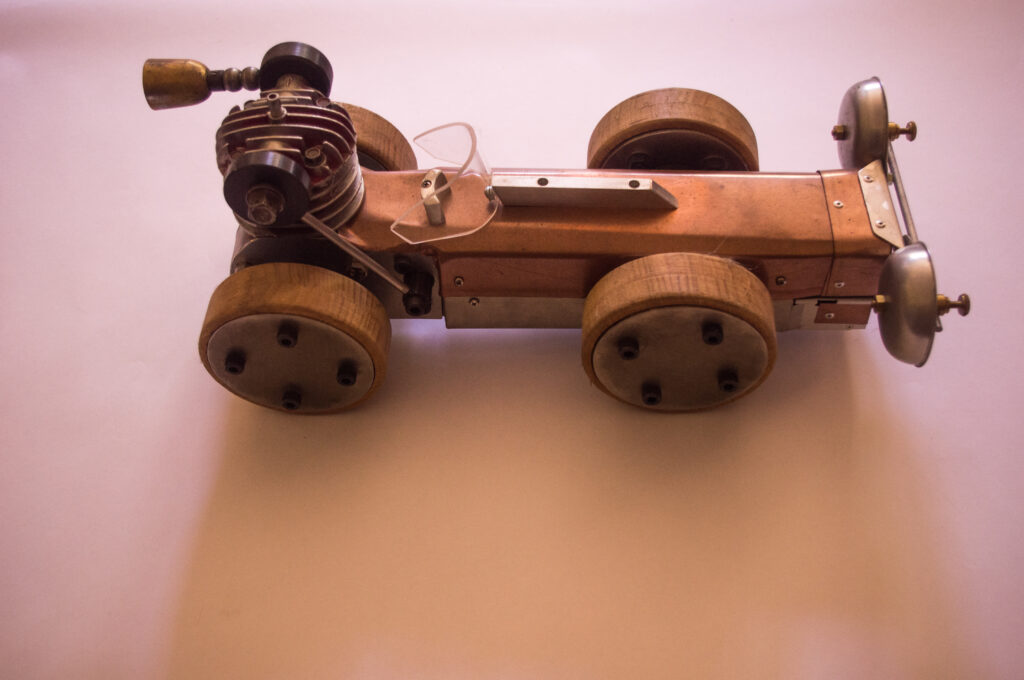
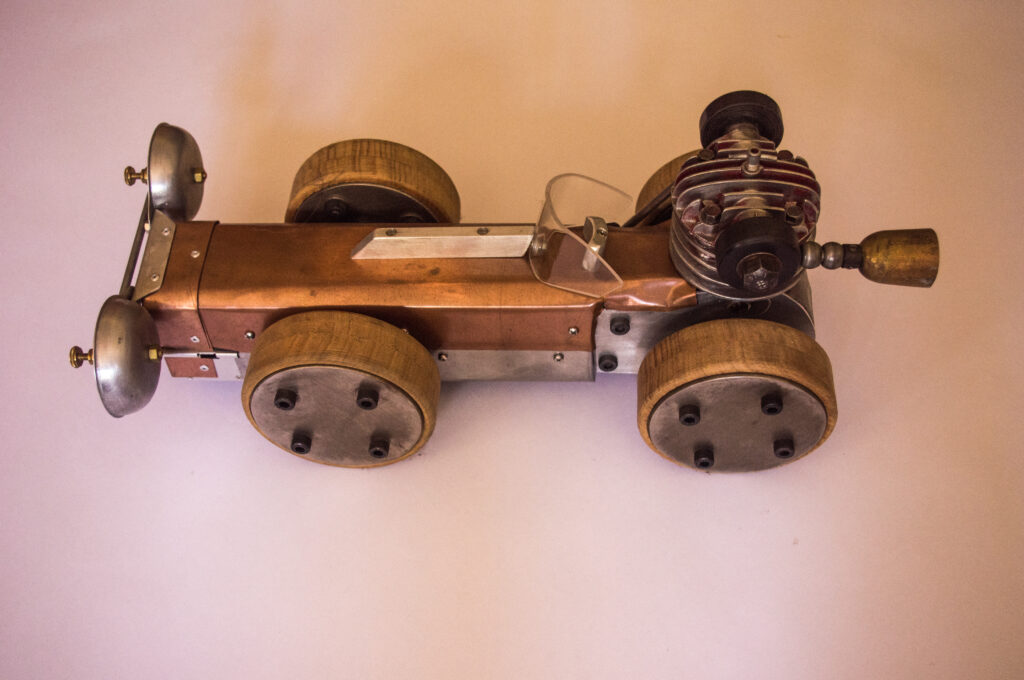
My second steampunk toy, the construction of which I detail in this article, is an articulated three-wheeler, again built from odds and ends, including some aluminium off-cuts and bits of box section. Sticking to my mantra that these things should have some practical use when possible, the three-wheeler can also do duty as a light for a side table or cabinet.
My inspiration for these toys generally starts with a central component or two, around which the rest of the toy is fashioned. Once I have decided on these critical components, I then search for other bits and pieces that will add to the overall look of the finished toy.
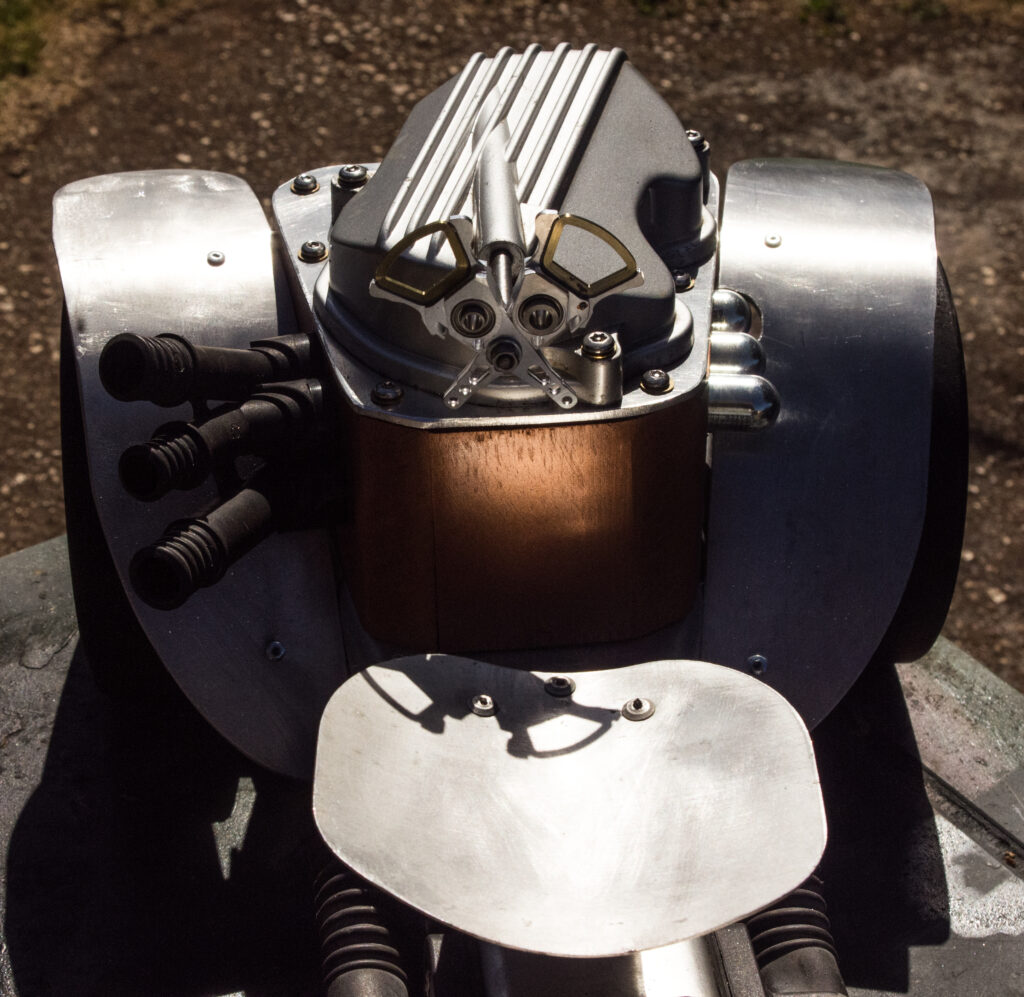
For the race car, it was the old compressor housing and the stainless discs, while for the three-wheeler it is the valve cover from an old motorcycle engine that forms the central element. As for the race car, I built the wheels for the trike out of Tasmanian oak salvaged from timber shelving and incorporated the discs of discarded computer hard drives as hubs. Their chrome finish imparts instant bling. (Incidentally, each hard drive has two small but powerful magnets on plates which are perfect for screwing to your shed wall and holding those small tools you always seem to misplace when you’re working.)
BMW donations
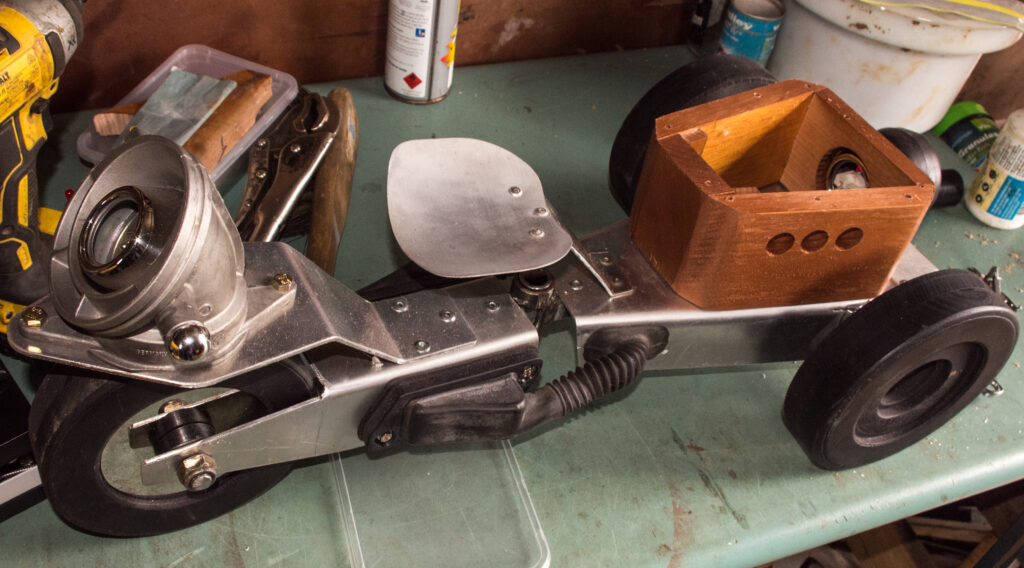
The head of the engine became the valve cover mounted on a timber engine block. The tail above the rear wheel is from an air intake manifold and a leftover housing from a door lock which happened to fit perfectly inside it. Some plastic and rubber parts were donated from a dismantled BMW car. The novel steering wheel was also made from a couple of discarded computer hard drives.
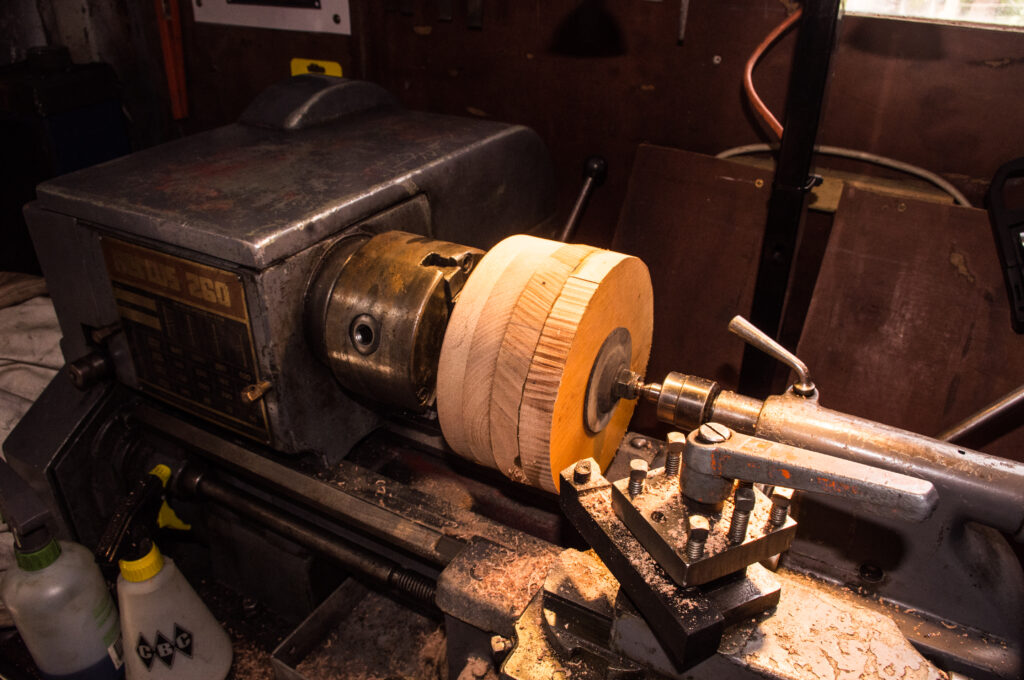
Turning the wheels was the first order of business as their size determines the overall scale of the finished toy. I did this by cutting out six rough timber circles on my small bandsaw and gluing them together in pairs. I then turned them down on my metal lathe to get a uniform size and recessed their centres to accommodate the axles and the computer hard drive discs as hub caps. A can of flat black spray paint applied to the wooden wheels gives an acceptable approximation of rubber tyres.
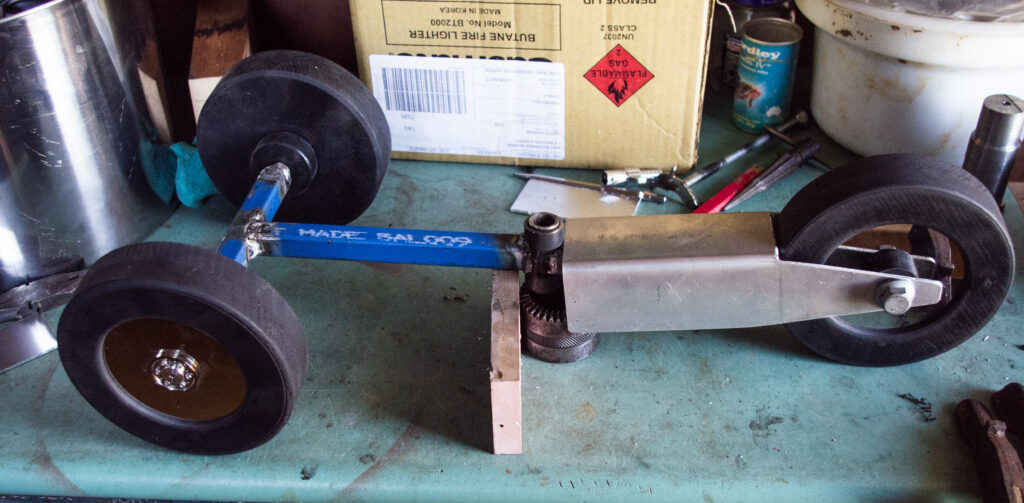
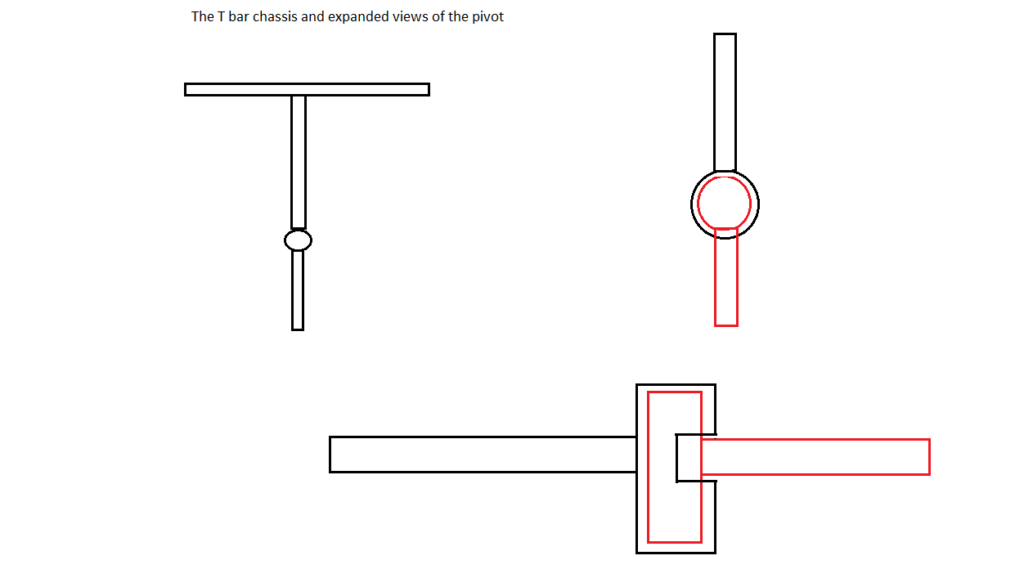
The next step involved creating a simple T-bone chassis with a pivot in the middle made from two short sections of steel pipe (see the accompanying diagram).
I clad the chassis by shaping off-cuts of aluminium sheet using an old guillotine and my homemade sheet bender. An inverted U-shaped section connects the rear wheel to the chassis. Having constructed the basic design, I could then move on to the best part of the project – bringing the various bits together to make the toy look plausible.
“Having constructed the basic design I could then move on to the best part of the project – bringing the various bits together to make the toy look plausible”
Fitting the light
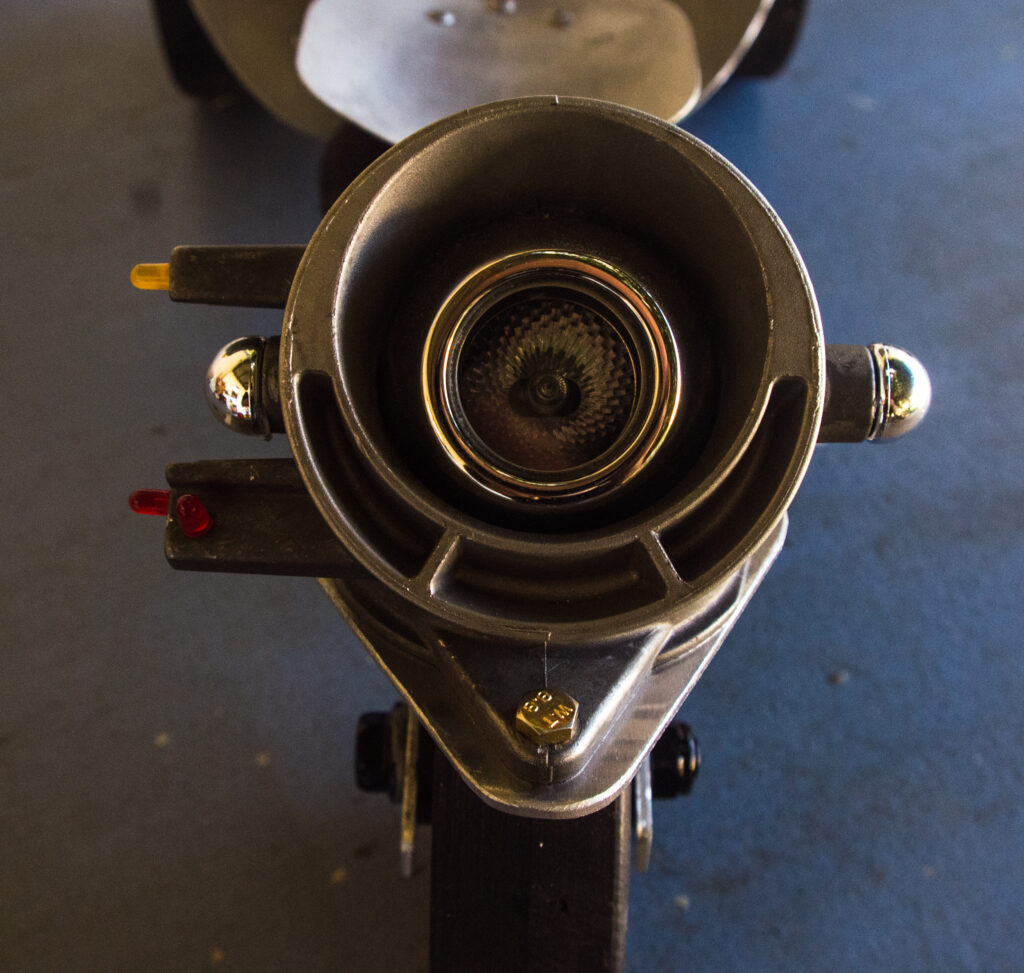
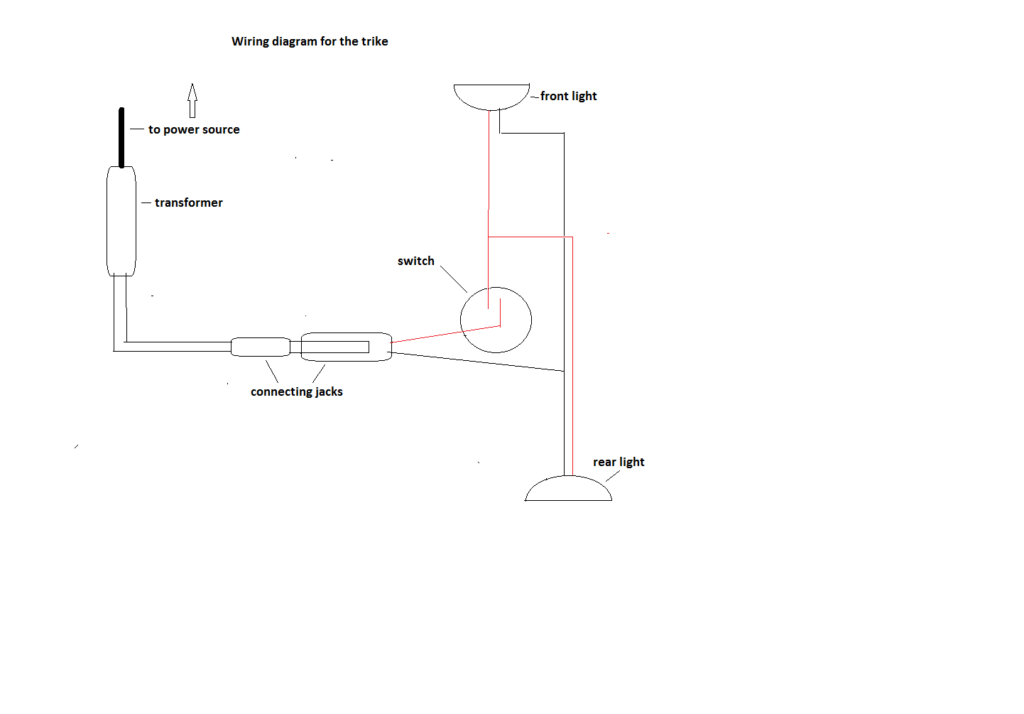
First, I constructed the rear mudguard and mounted the tailpiece on it. The air intake elbow was exactly the right size to hold the chrome lock housing, behind which I situated a 12-volt halogen downlight. I wired that to a switch hidden in one of the rubber arms on either side of the swivel and located a small speaker jack under the chassis so that the 12-volt transformer could be located discreetly some distance from the trike, or not used at all.
I unearthed an old rubber trailer lamp assembly the exact size to house the deeply convex lens from one of the BMW’s broken headlights. To hide the 12-volt halogen light, I used the second chrome lock housing and recessed it into the front of the engine block to hold it in the correct place against the rubber trailer lamp. By not gluing these pieces together, if either light happens to fail in the future, they can be replaced.
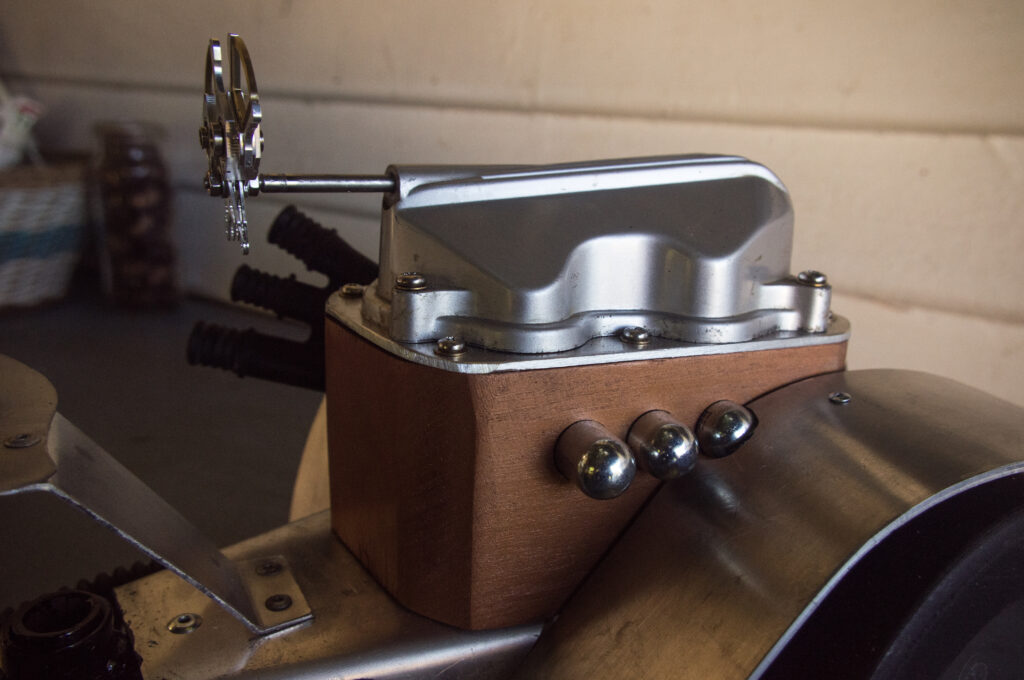
Once the basic engine block was formed it needed to be made a bit more believable by adding an exhaust stack on the left-hand side by drilling out and inserting three soda stream cartridges on the right. After a few coats of copper-coloured spray paint were applied it was time to mount the block and attach the parts, finishing it off by mounting the valve cover on top of an aluminium plate. To add a touch of difference, I sourced some stainless security screws to lock the plate and valve cover down.
Bodywork and seating
Fashioning the two front mudguards was largely accomplished by trial and error to ensure that the bend for each was uniform and that they matched the rest of the toy in size and shape.
To complete the trike I used an old fan blade and bent up a section of aluminium to act as a seat, reminiscent of the style found on old motorbikes. Finally, I fashioned the steering arm by tapping a thread on both ends and screwing it into the valve cover, then fixing the two hard-drive arms to form the steering wheel on the other.
The cost of creating the trike was minimal, somewhere less than $25 for the lights and associated transformer as well as some stainless security screws. The rest came from salvageable items. Of course, this ignores the cost in time the project incurred (somewhere around 20 hours I guess) but what sheddie ever does count this as a cost? We do it because we enjoy it and we can’t put a price on that!
Purists will quickly realise that neither of the toys could ever be successfully created as life-size working vehicles. However, that has never been my intention in creating them. I believe that they should be appreciated for what they are: figments of imagination akin to the fanciful machines that artists create to illustrate pulp science fiction stories.
“They should be appreciated for what they are: figments of imagination”
Tools you will need
Hacksaw
Guillotine and/or tin snips
Welder
Lathe (If you do not have access to a lathe, you can use a drill press to turn fairly good timber wheels. Locate the roughed-out wheel by clamping it in the drill press chuck and clamping a section of steel cut off at an acute angle to the base plate, gradually moving it in until it takes a uniform skim off the wheel.
Alternatively, use a sander to remove the high spots gradually until the wheel is round).
Drill
Sander
Hole cutters
A selection of screwdrivers and pliers
Bandsaw or jigsaw
