There’s local work aplenty for this ancient hand craft
By Roger Lacey
Photographs: Roger Lacey
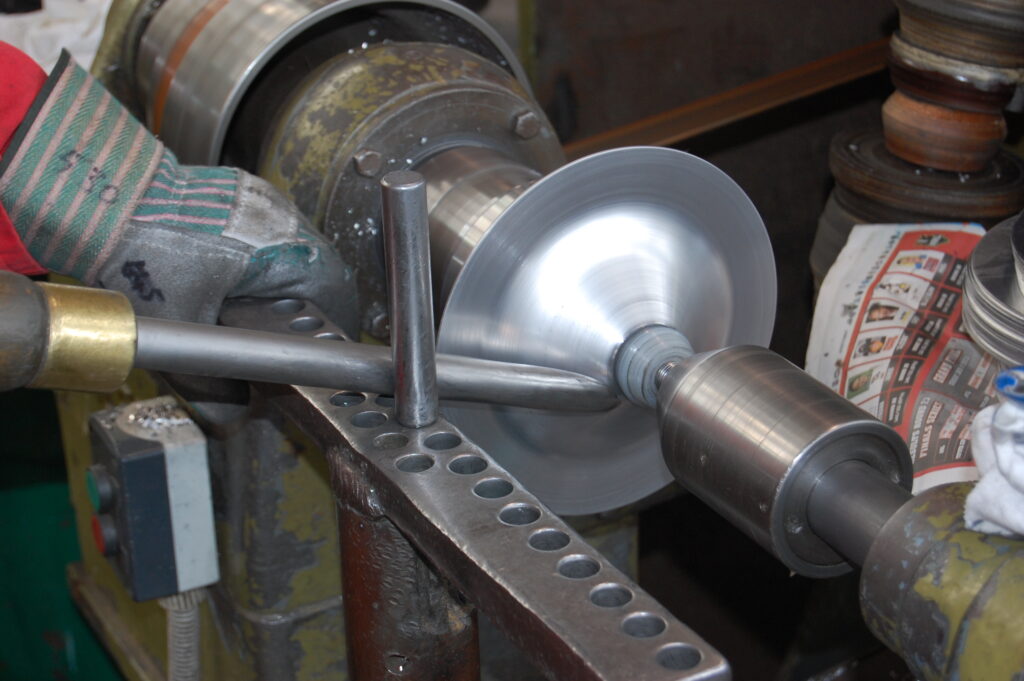
The exact origins of metal spinning are unknown but the craft can be dated back to ancient Egypt where examples of spun vessels have been found. Metal spinning today differs little from the past with the only real advance being that an electric motor is used to drive the chuck instead of manpower or water power.
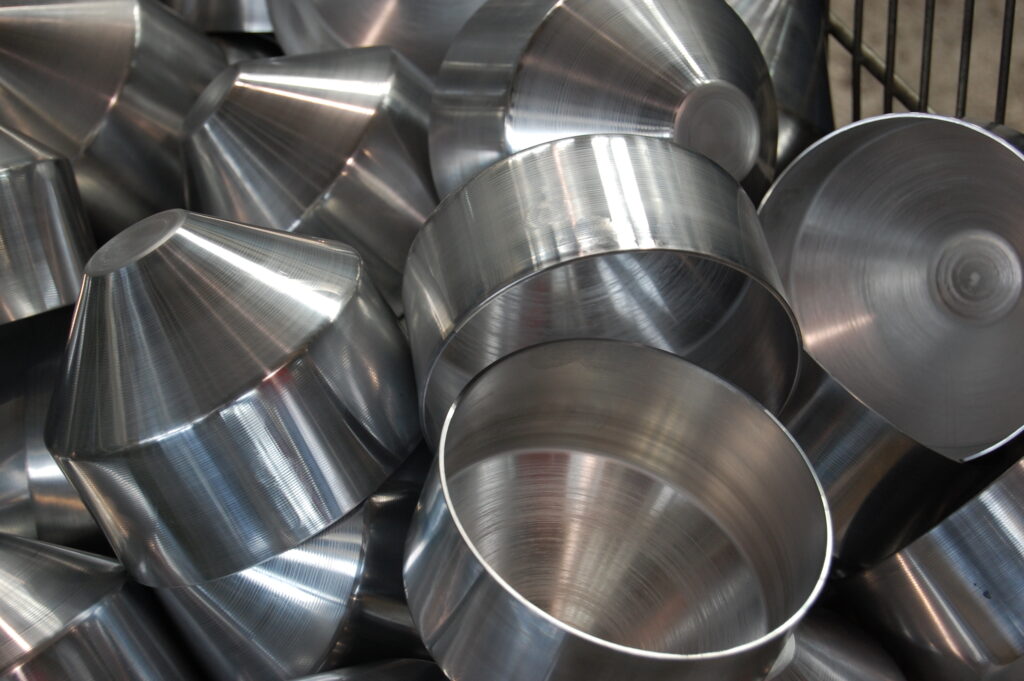
Before the advent of power presses, metal spinning was used to make almost all round sheet metal objects such as pots, pans, lampshades and wheel rims.
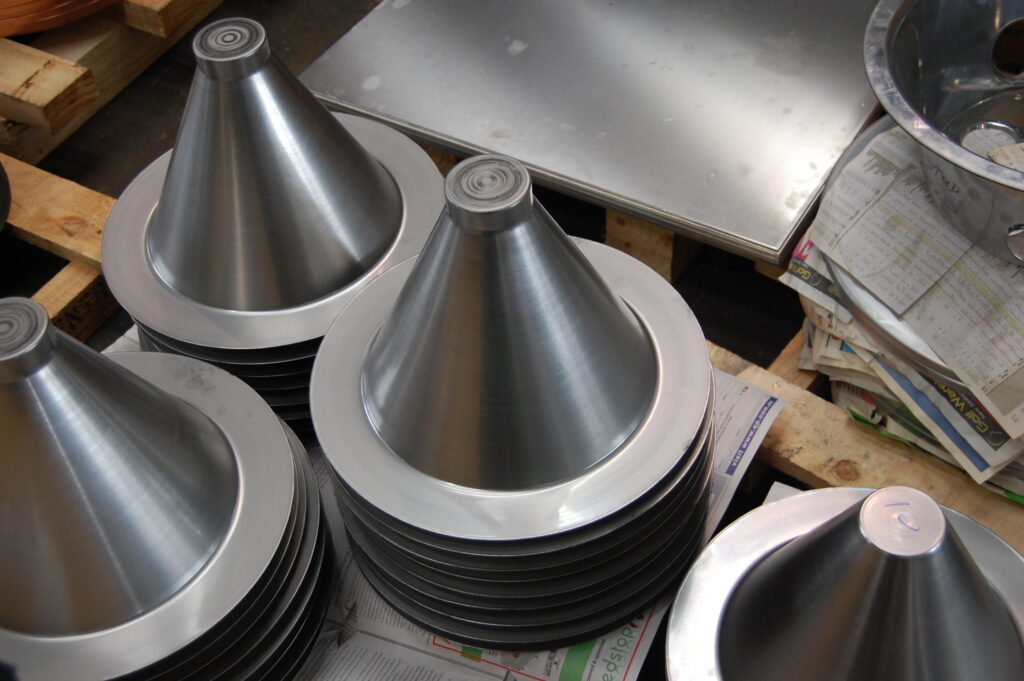
Simple
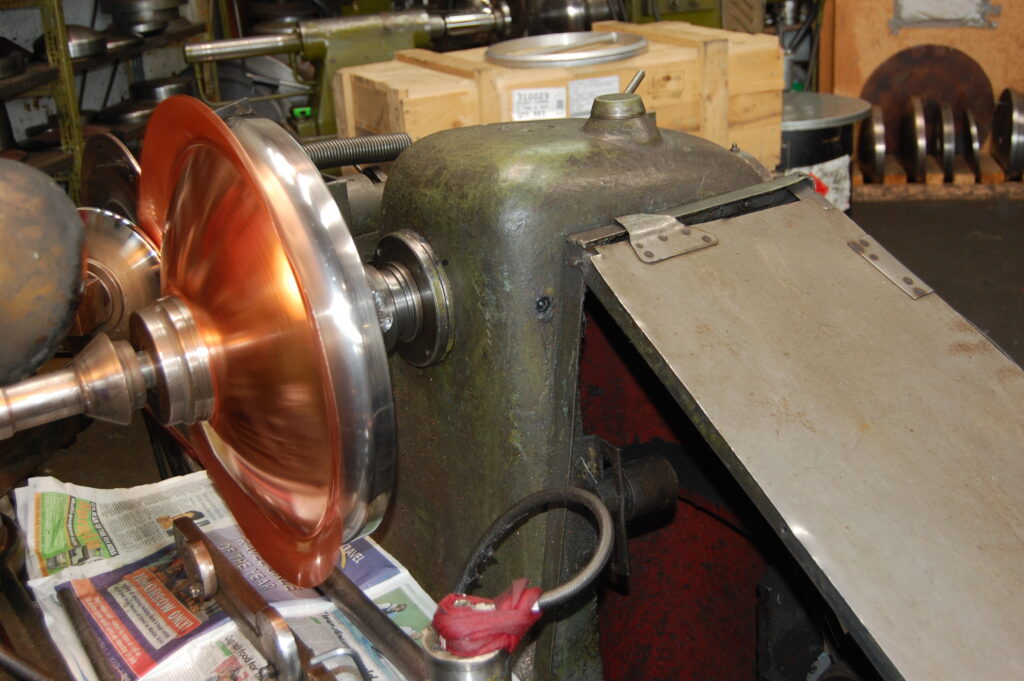
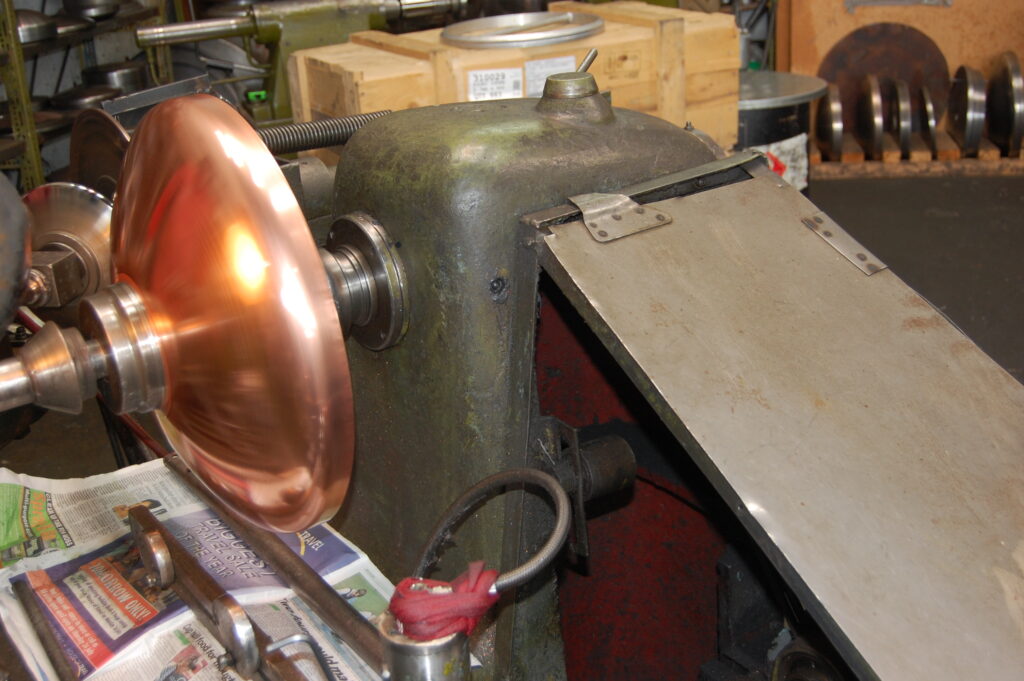
The principle of metal spinning is simple: a disc of metal is clamped between the tailstock and a former or mandrel. The disc is spun and the operator then uses a lever to manually work the metal down onto the mandrel. The process helps maintain the structure of the material and does not stress it, resulting in a stronger and more stable product than if it was pressed.
While metal spinning by hand does not generally alter the thickness of the material, hydraulic-powered tools can be used to flow-form products making sections thinner where required.
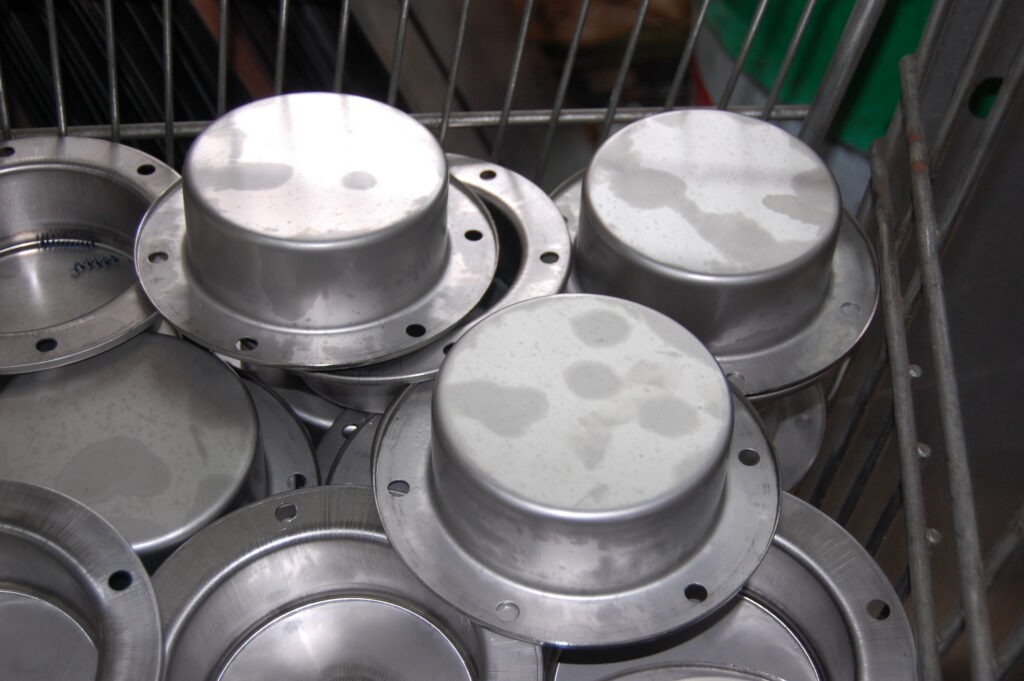
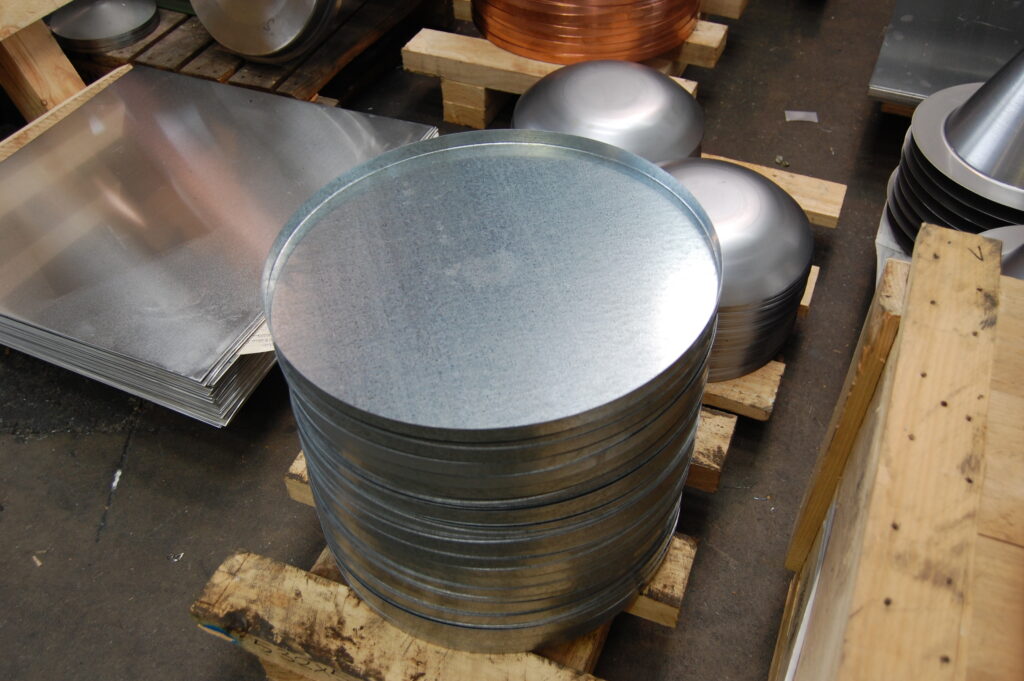
Hubcaps
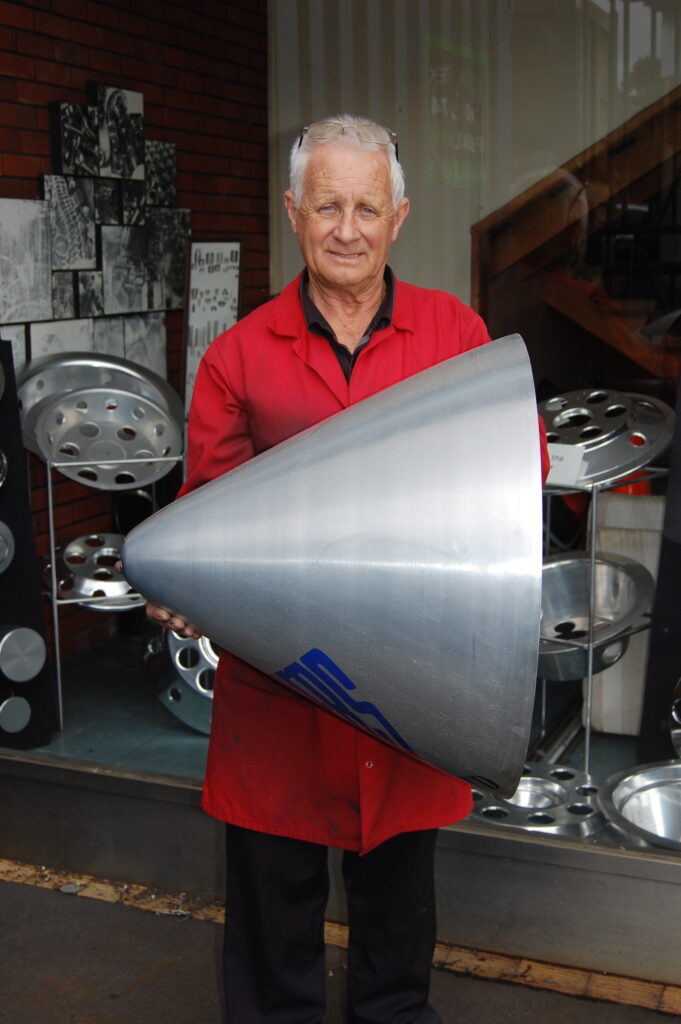
Warren Hamlin the owner of Metal Spinners Ltd, has had 45 years experience in the trade. The company was founded at the end of World War II when Warren’s father, A B (Arthur) Hamlin, built his first spinning lathe. He built it from parts scavenged from the Meola Road dump and put the lathe in the back bedroom of his Ponsonby home.
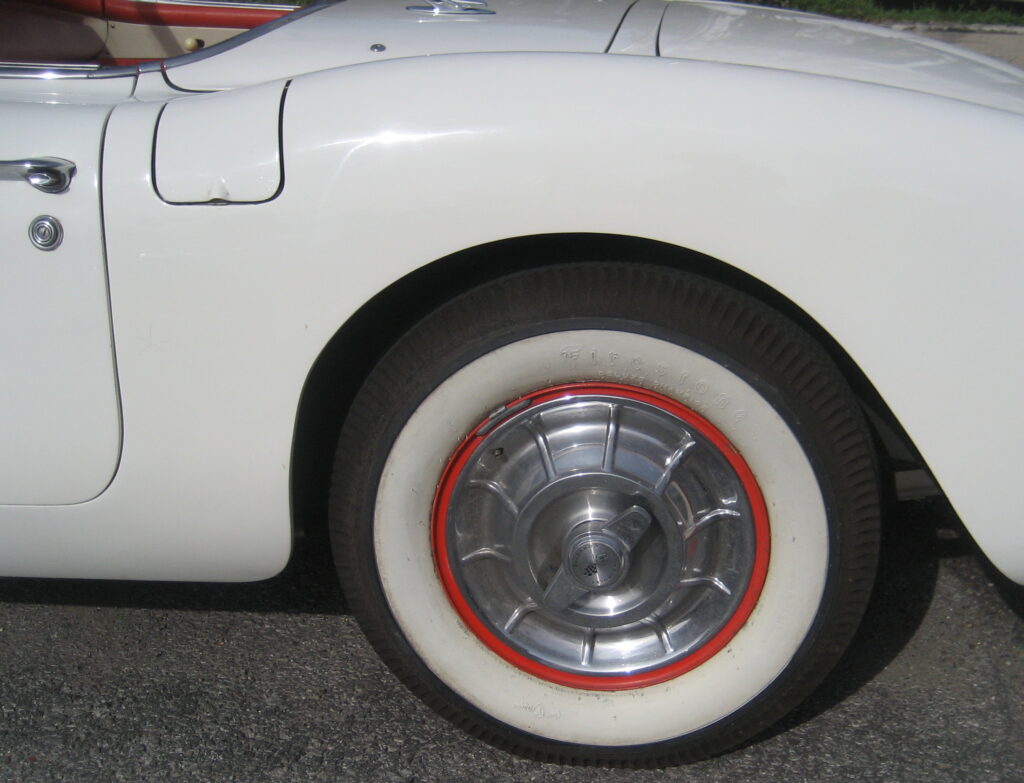
Warren laughs, “He started off making hubcaps for cars. Sixty years later, I’m now making hub caps for the same cars again after doing a thousand different things in between.” The company has grown to incorporate presses and semi-automatic, hydraulic-powered spinning lathes but a lot of the business still revolves around hand-spinning.
“Hand-spinning is good for short runs and fine work. We get a lot of customers who just want a few items made and it’s the cheapest way.”
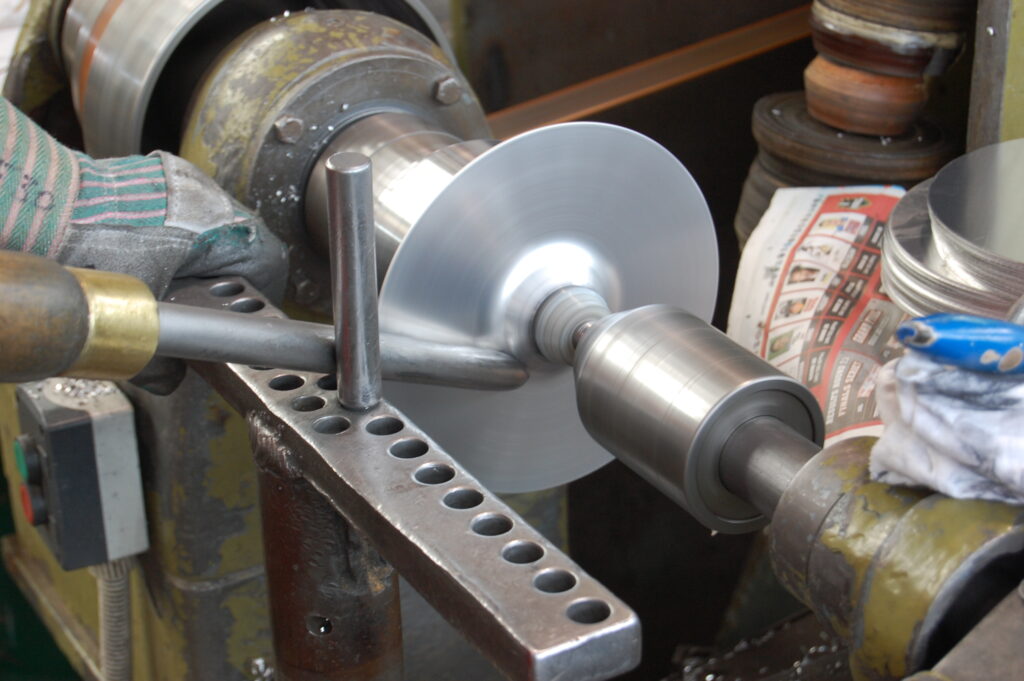
To help gain a better understanding of the process, Warren offers to give me a lesson. Setting up a small disc of 1 mm thick aluminium in the lathe, he gives a quick demonstration before handing me a forming tool known in the trade as a spoon. It has a wooden shaft about 80 mm diameter and about 800 mm long. It has a highly polished steel shank around 200 mm long stuck in the end of it.
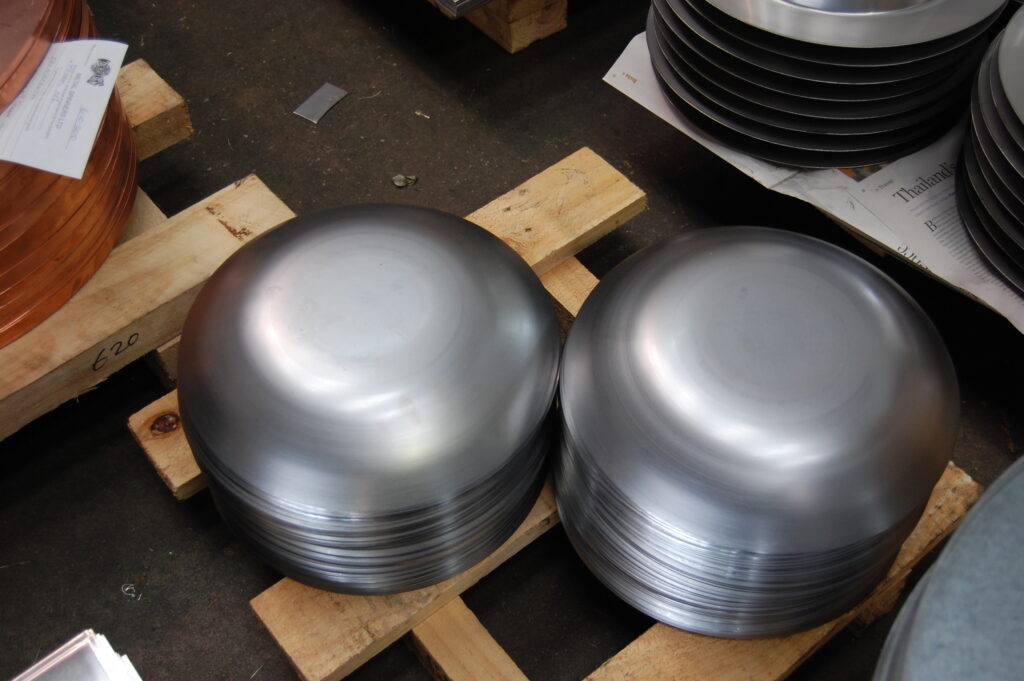
Like a boxer
The tool tip has an oval and a flat side. “Stand like a boxer, both feet firm on the ground,” he says.
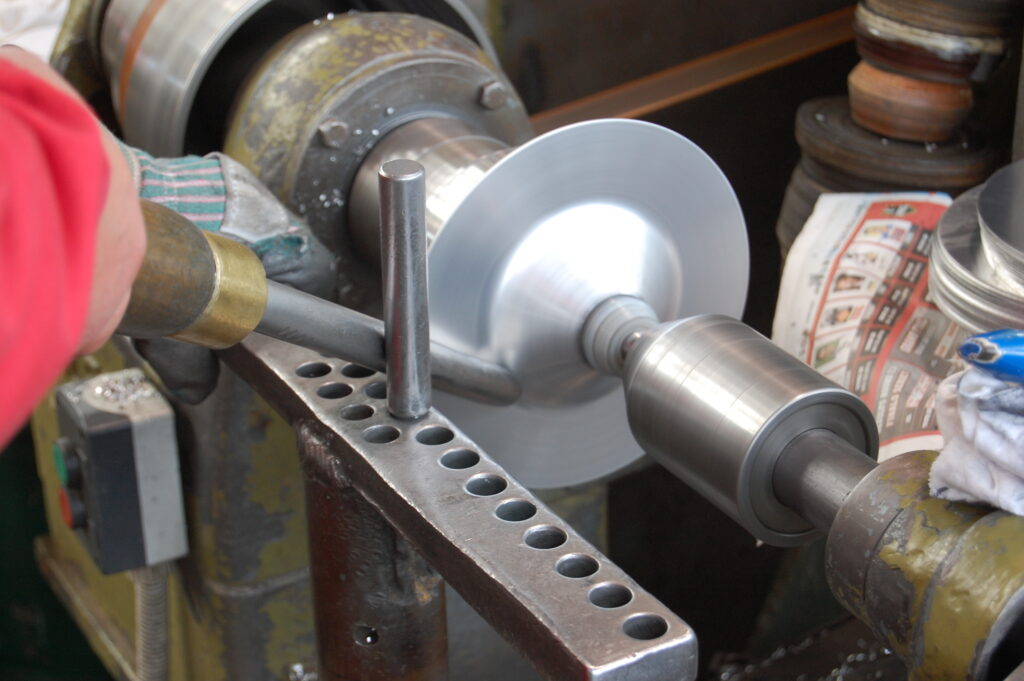
Resting the shank of the tool against the tool post and with the other end tucked under my armpit, I start pushing the tip against the disc. I’m surprised how much effort is required to get the material to deform. It gets easier as it starts to move and I work towards the outside.
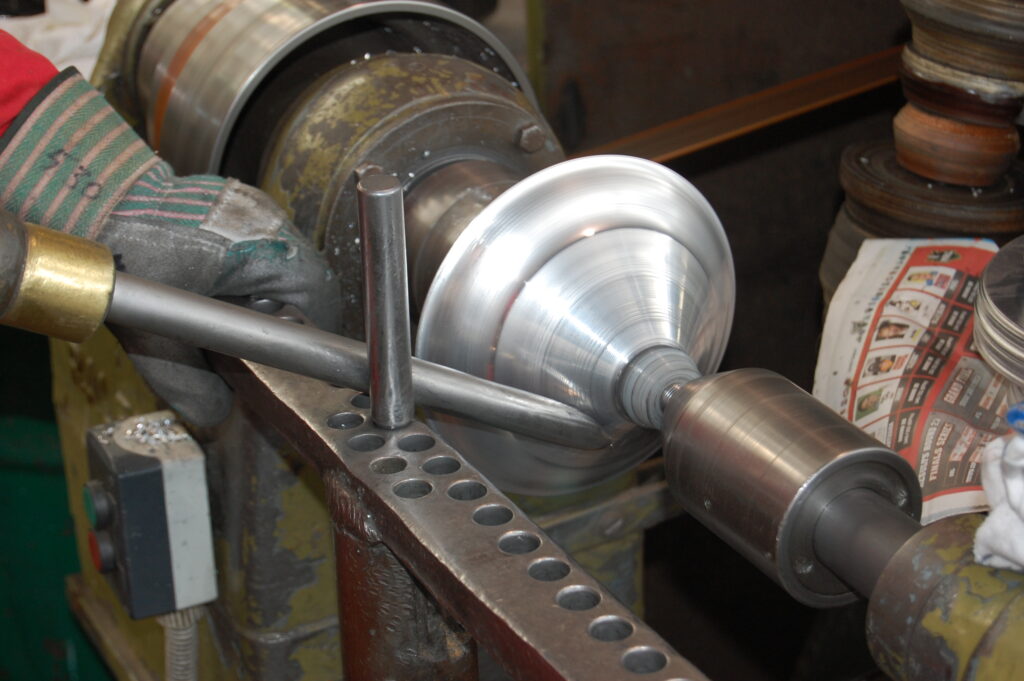
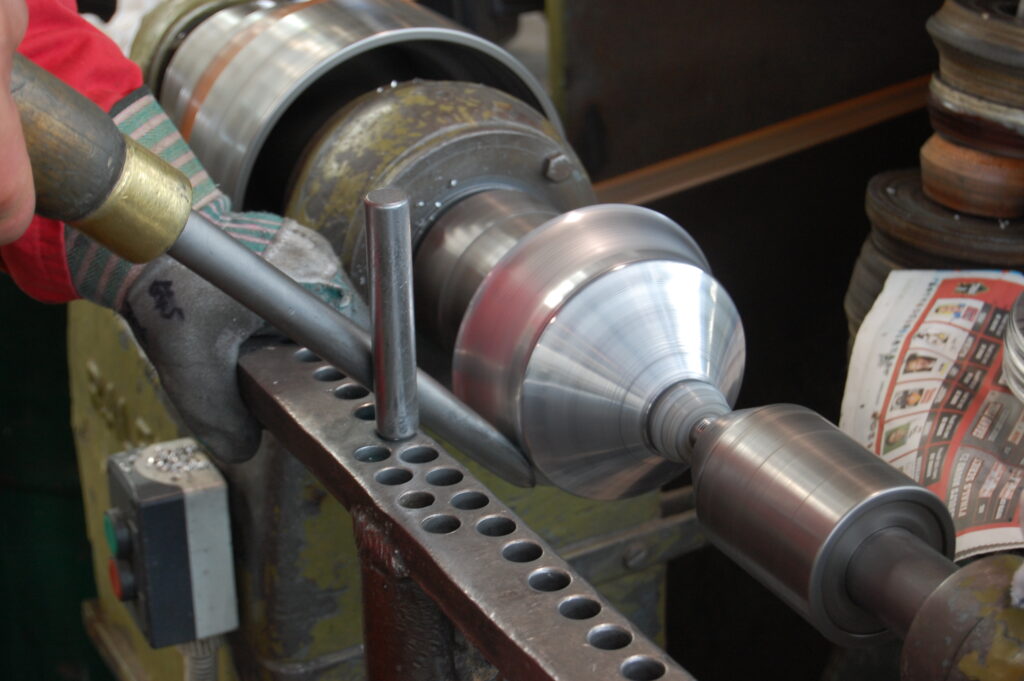
I repeat the movement to work the aluminium down onto the former in several passes, moving the tool post to get a better angle as the diameter reduces.
“If you go too hard, you’ll tear the metal,” warns Warren. To finish, I do a slow pass using the flat side of the tool to planish the surface to a bright finish. Warren trims the part then hands me my first ever sample of metal spinning.
Formers
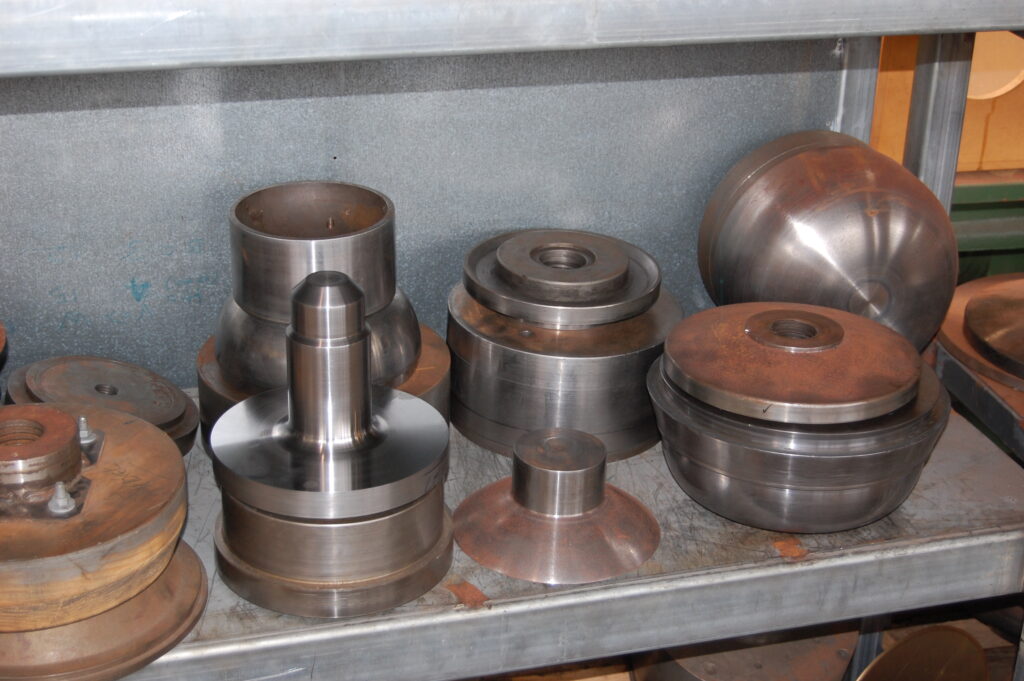
The shelves of the factory are groaning with formers, most of them far more complicated than the little piece I made. Some shapes require a split mandrel so it can be removed from each end of the finished product. Mandrels are usually made from steel but aluminium, wood or fibreglass mandrels can be used for prototypes or very short runs. Lying under a bench is a pattern for a Spitfire spinner that they have made. “We make spinners for model aeroplanes right up to 747s,” says Warren proudly.
The largest practical diameter they spin is 1250 mm—the width of a standard steel sheet. But Warren has on occasions welded sheets together to make larger items. The swing of the lathe is the only real constraint.
Warren says, “We have spun every material you could think of: aluminium, copper, brass, steel, stainless steel, pewter, lead and silver.” He adds, “It’s important to use a tool material different to the one you are spinning or it will grab.”
Lubrication
Lubrication with a soap or grease is important too to prevent galling. Aluminium is the easiest material to spin. Brass and stainless steel are the hardest as they tend to work-harden and ripple.
Many customers get Warren to either spin components for their projects or take advantage of his presses to perform other operations. He thrives on challenges and enjoys seeing a product take shape.
Warren is always happy to help others. He lectures to school students about his craft and is full of advice for anyone who wants to try metal-spinning themselves as there are dangers for the unwary. “My father got flipped right over a machine once,” he says.
For anyone wanting to try spinning at home he offers the following advice: “Metal lathes can be adapted by clamping a tool rest in the tool holder. Normal spinning speed is around 400 to 800 RPM. Start with small simple pieces before getting too carried away.”
For someone who wants to try metal spinning themselves, there’s information and instructional videos available on the internet or you could visit your local metal spinner for some tips.
I leave Metal Spinners with my newly spun aluminium cup and no job offer but a deeper appreciation of the skills of the forgotten art of metal spinning.
For more check out Metal Spinners Ltd: www.metspin.co.nz
Danger
In metal spinning, because the operator holds onto the tool and works close to the machine, there are more dangers involved than in turning on a lathe. The following tips are a guide to anyone who wants to try their hand at metal spinning:
- Wear safety glasses and tight-fitting, protective clothing.
- Don’t try metal spinning on your own. Make sure someone is nearby to switch off the machine.
- Mount mandrels on a smooth faceplate to avoid catching your tool on a chuck jaw.
- As a maximum, 200 mm diameter is about as big as you’d want to hand-spin.
- Always use a lubricant or the material will grab.
- Make sure your part is very well clamped up before you start.
- Laminate up large wooden mandrels to prevent them flying apart.
- Trimming is the most dangerous part of the operation. Take very light cuts.
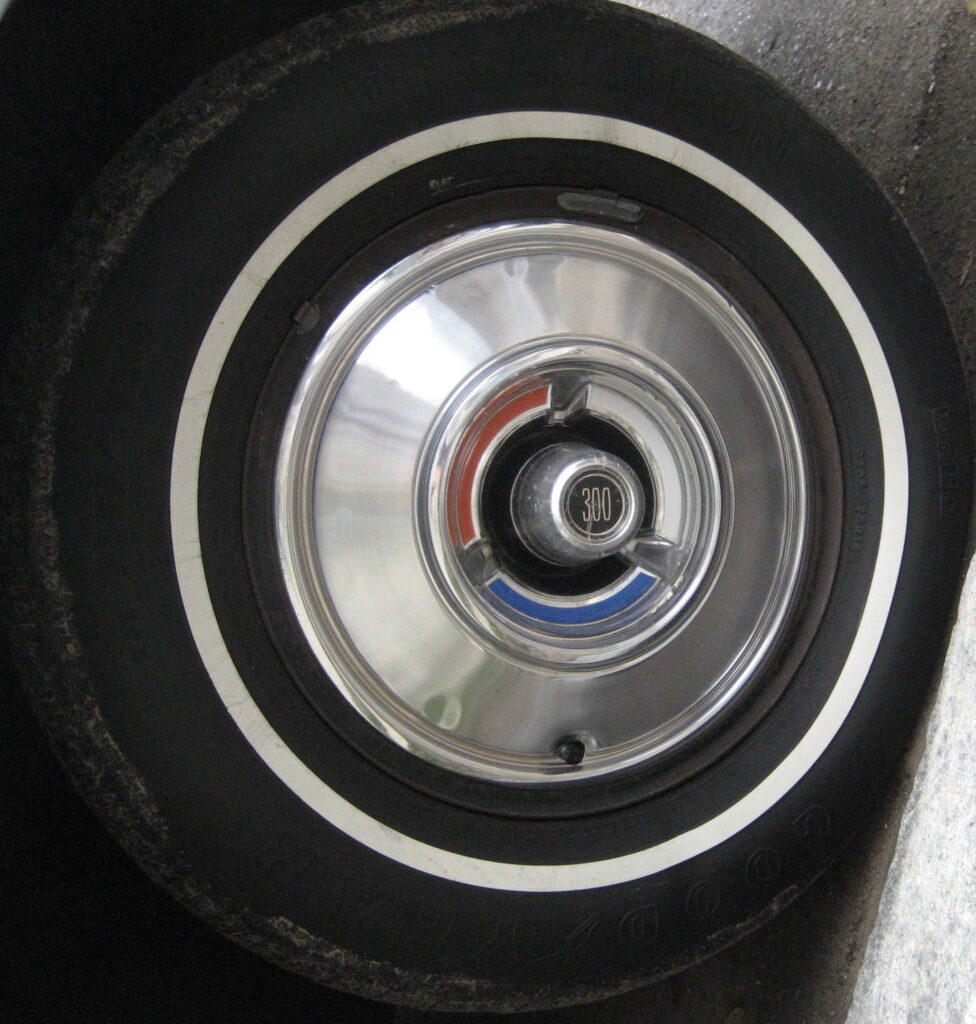
Vintage car hubcaps for a 1966 Chrysler 300
Vintage hubcaps are generally made in two pieces: a steel bucket which attaches to the car wheel rim and a chrome-plated copper or brass skin on top of this “bucket.” To repair a hubcap, it is necessary to remove the skin by cutting it off in a metal-turning lathe. The old skin is then used as a pattern to make a steel mandrel with the correct profile and diameter.
To re-create the hubcap skin, you have to mount this mandrel in a spinning lathe, clamp a circle of copper or brass onto it using a centre and then spin the material over it. The new skin needs to be polished and embossed (if required) before being chrome-plated.
For the new skin to be attached to the refurbished bucket, the bucket is mounted in the lathe. The skin is clamped onto the bucket with a concave centre that matches the profile of the skin and is the same diameter as the bucket rim. The exposed lip is then carefully spun over the rim to clamp the skin to the bucket.
Warren warns that it is a dangerous job as copper and brass can easily split or tear and the whole operation end in a mess of sharp, flying bits. Only he and one other staff member are allowed to make copper and brass hubcaps in his workshop. He suggests that people wanting to try it themselves stick to aluminium.
Warren has made hubcap mandrels for many vintage cars including Jaguar, Chrysler, Ford, Chevrolet, Dodge and Humber to name a few. He has also has many embossing tools to precisely replicate the original designs. He repairs hubcaps for customers around the world.
