An ordinary van becomes a campervan with good planning
By Bert Toomey
Converting an ordinary van into a campervan is a project I have been talking about for some time.
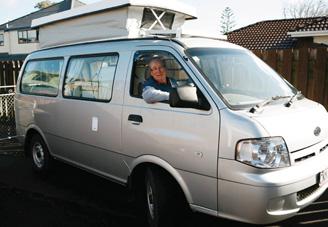
As a retired technical teacher, I felt I had the necessary skills, and when a 2005 Kia Pregio van in excellent condition became available I decided to take the plunge.
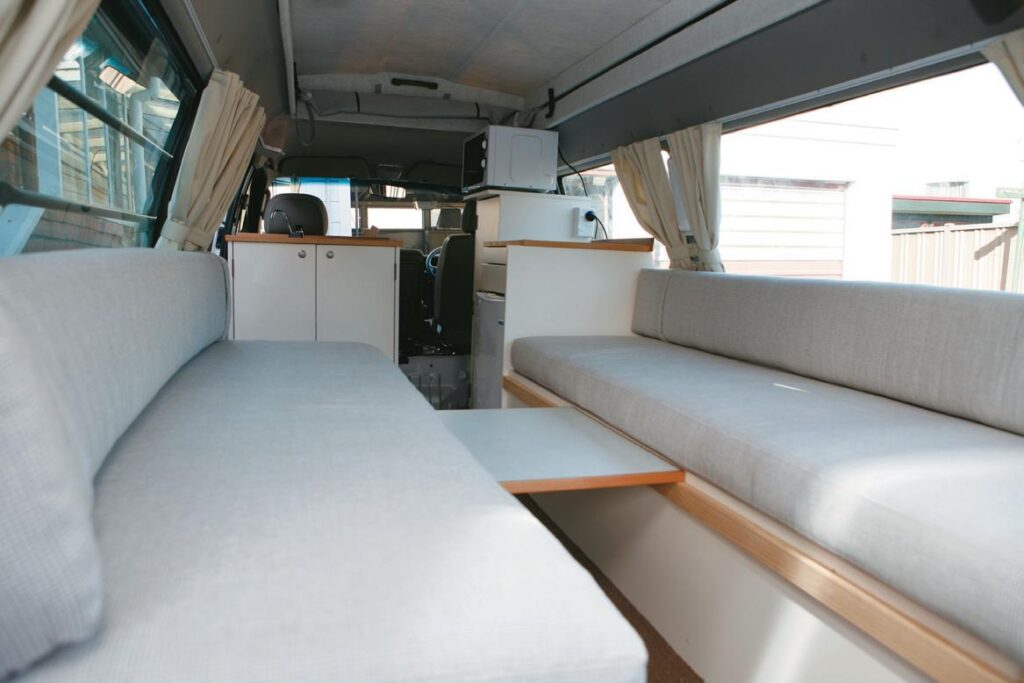
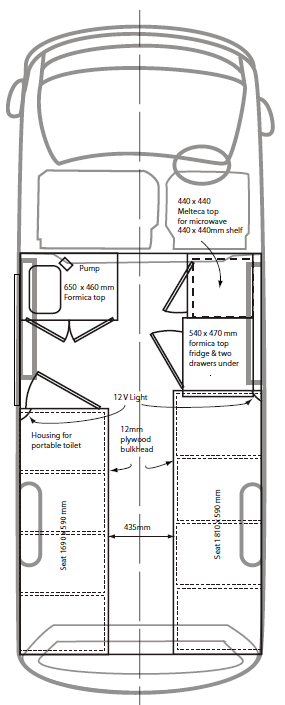
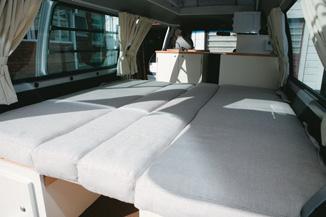
The van is a 2.7 litre diesel, manual, with 26,000 km on the clock and a cargo space of 2.8 metres x 1.65 metres. My plan was to fit the space with two beds, one on each side. They can be expanded to a full-width bed using the foam backs of the seats supported on shortboards between the sides of the seats.
Fitments include a Formica-topped sink bench with storage for grey and clean water below, a Formica-topped workbench, and a strong cupboard with a microwave on top.
I had to consider what to do about the fridge—mains voltage only at this stage or a second-hand dual-voltage fridge? These are hard to come by but a lot of folks manage quite well with a mains-driven fridge. This is my first venture into a campervan and I intend to use camping grounds wherever possible so mains power will be available. Because I intend to use camping grounds, the toilet facility will be a Passport Potty.
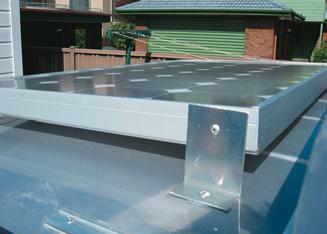
The van will be wired for mains electricity, which has to be done by a registered electrician. I shall be installing a 12-volt system which will be charged by a solar panel on the roof and a mains-driven “smart charger” which stops charging when the battery voltage rises to a predetermined level; I have already made these units.
All the fitments will be made from Melteca, which has a melamine surface laminated to both sides of pieces of fibreboard or particleboard. I have organised for a “pop-top” to be fitted; I wouldn’t tackle this myself as they have to be done by approved installers and you’d really need to know what you’re doing. Fortunately, I have had help and advice from both a friend who has been buying vans for fitting out for some years now and from the skip of the bowls team I play in who
used to fit out vans for a living.
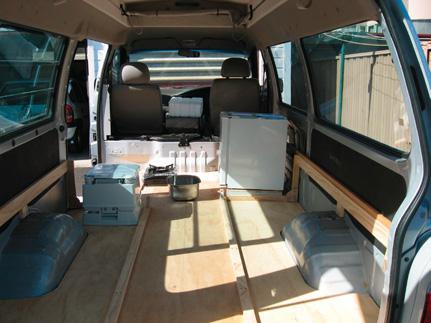
Floor
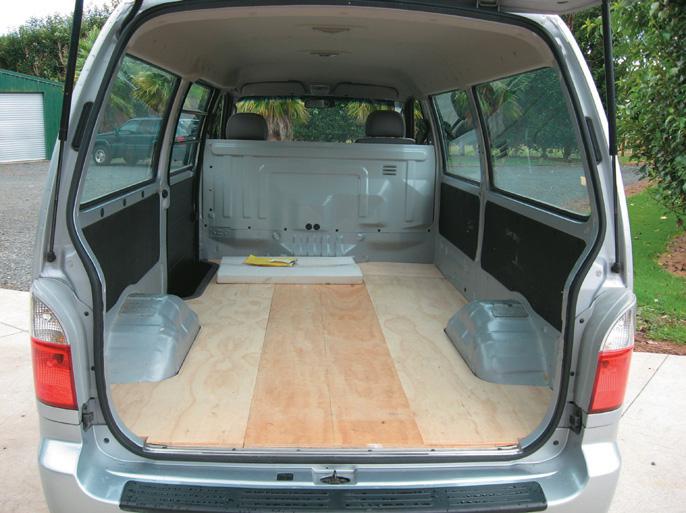
The first job is to cover the floor with 12 mm plywood. All the fitments are screwed to this.
After consulting the makers to be sure I wasn’t compromising the structural integrity of the van, I
took out the two panels separating the cargo bay from the driver’s compartment to give access to
the cab from inside the van.
This meant drilling out the heads of several, heavy-gauge blind rivets.
Hint, cover the seats with sheets to catch any swarf.
Next, I secured the 12 mm ply to the floor of the van using 30 mm x 8 mm gauge, self-drilling, and
tapping CSK screws. The recommended speed for using these screws is 2500 rpm, They drill a
starting hole about 3.4 mm in diameter.
This approach may be fine for the professionals but I took the cautious approach, drilling a 3 mm hole first, giving the screws a tap with a hammer, and putting them in by hand. I also slid a piece of dowel over the drill to make sure it didn’t go too far as I didn’t want to drill into a brake or fuel
line. The metal flooring is raised in places and I was careful to put the screws into these “blisters.”
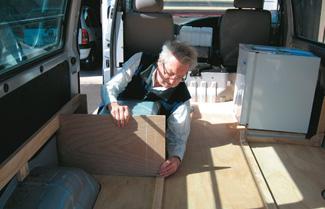
As I’m not the youngest kid on the block, working on my own and not keen to manage a 2400 mm x 1200 mm sheet, I had the suppliers cut the ply so that the floor is made up of three pieces, a central piece and a narrower section each side.
Top
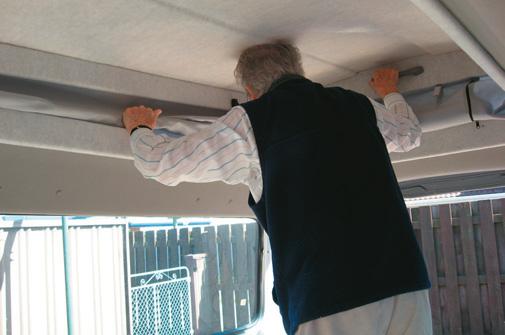
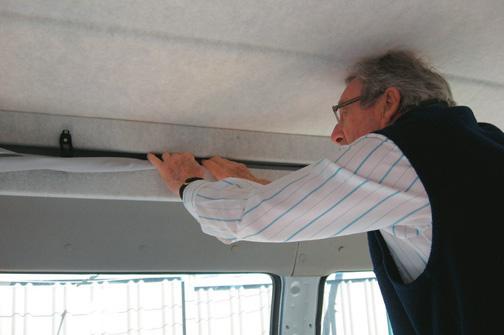
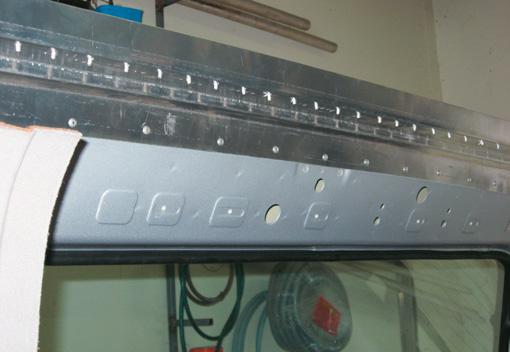
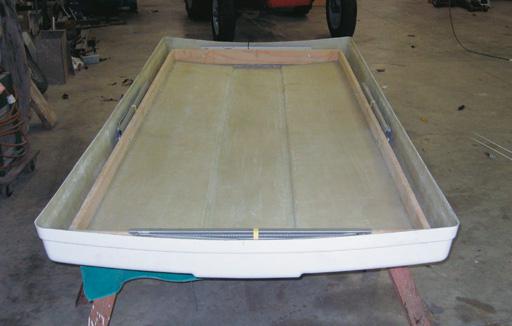
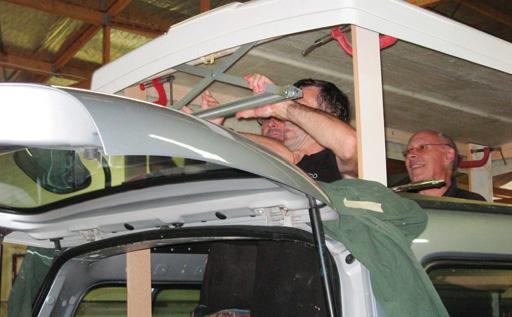
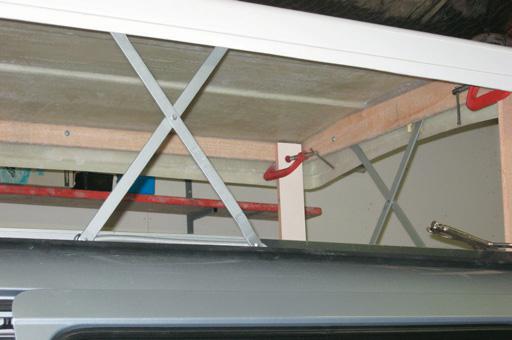
After the floor was laid the “pop-top” was fitted by Vanco as it has to be done by an approved installer.
This took about a week and when it was completed, Land Transport NZ inspected it and issued a stamped metal certificate for the vehicle which has to be riveted to an accessible place within the vehicle.
Interior plan
I had a photo of a professionally fitted-out van but no measurements.
I spent a lot of time making scale drawings of the layout, using pieces of cardboard as scale “models.” The item on which the whole layout seemed to pivot was the fridge. It’s a 47-litre, mains-only compressor-type bar fridge, rated at 100 watts. Initial thoughts were to put the fridge in the middle of the van, which would give a benchtop about a metre long.
But the engine housing sticks out
too far and is too high to fix the
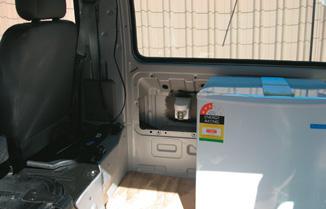
fridge above it. The final layout with the fridge near the side was the best compromise. The fridge is fixed to a plinth approximately 50 mm high. The thinking behind this was that it would allow a current of cool air to flow up behind the fridge which is out 110 mm from the side of the van. A computer fan has also been installed at the top and rear, hopefully, to give better ventilation in hot weather.
Why didn’t I buy a proper three-way fridge? I felt they were far too expensive and running on
gas would have added further complications. The camping grounds I will stay at will supply the mains power.
Seats
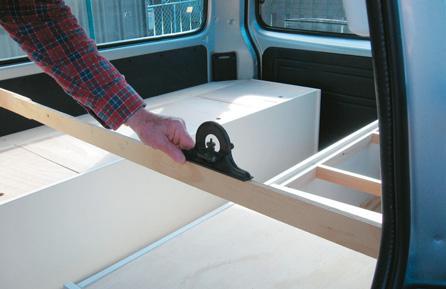
Before setting out the seats and the layout, draw a centre line down the middle of the van. It’s the same as building a boat. Then mark the positions of the units on the floor using a builder’s square
to find right angles. Once the pop top had been fitted, the van wouldn’t fit into the garage so it had to be set up in the yard.
The backyard slopes in two directions for stormwater run-off and is definitely not level. I obtained van “levels” by lining up the heating elements of the rear window with the tops of units, taking “levels” from the window sills.
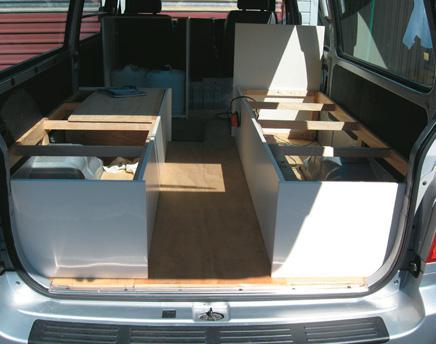
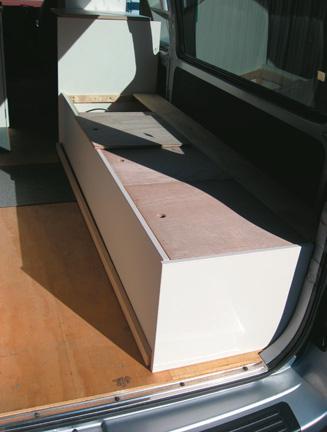
The floor of the van also slopes as much as about 10 mm in the first 400 mm back from the engine compartment. It is also humpbacked, sloping to the outside edges from the longitudinal centreline. This caused problems when setting up the two cupboards which, like the sides of the seats, are made from 16 mm Melteca. I used wedges underneath the large cupboard to level it up and trimmed it accordingly.
Once I had set out the basic layout, I made careful measurements and ordered the Melteca from a cabinet-maker, who cut it to size and did the edge-banding. Fortunately, few mistakes occurred but I did have to compromise on the height of the cupboard which has the microwave fixed to it; that darned fridge again.
Cupboards
The cupboard by the van side door has a separate floor because it sticks out over the edge of the step and I couldn’t (can’t) have it unsupported.
All the cupboards—for the sink and water bottles, and the large cupboard for general storage—are
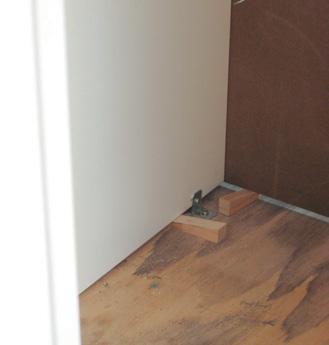
fixed to the floor with screws and small-angle brackets; the tall one is also fixed to the side of the van with 25 mm x 3 mm aluminium brackets. The fridge is secured to the plinth in front with the door screws through homemade brackets and at the rear by a right-angle bracket.
The plinth is held in place by long screws through the side of the tall cupboard and the end of
the seat. The microwave oven is held in place by two 165 x 45 x 2 mm aluminium plates fixed by 20 mm No 8 body screws to the Melteca cupboard top..
The fridge door is kept closed during travel with a movable bolt through a top plate I screwed on.
The bolt goes down into the hole in the fridge door that allows for a left-right opening. This “bolt” also stops the drawers above the fridge from opening in transit.
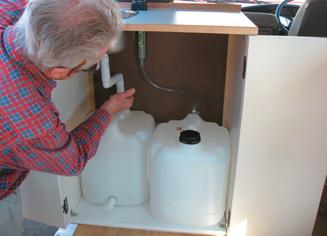
The drawer runners lock when fully closed but not sufficiently, I discovered, for a vehicle in motion. Under the sink, grey and freshwater are stored in 20-litre plastic containers. Requirements by the Department of Conservation for camping grounds for a “self-contained campervan” mean you must have the same capacity for wastewater as you have for freshwater. The greywater can be drained off from the storage bottle via a tap. I chose a manual pump for two reasons: electric pumps can break down and children love playing with buttons that control them.
Electrics
The mains wiring has to be installed by a registered electrician who will/should give some sort of
certificate, stating when the wiring was installed and by whom.
To charge the battery, I fitted a homemade 3 amp, mains-powered adjustable “smart charger” similar in design to those that motor caravanners often use. Later, I might fit an inverter to run the fridge but this would need to be at least 600 watts rating, preferably 1000 watts surge with true sine wave output. I have put clips on this mains charger in case I need to charge another battery.
I took care of the low-voltage electrics myself. Normally, I would have fitted a deep cycle battery or something similar but I was given a new car battery (“the charging indicator doesn’t work”) and it will do very well for the time being.
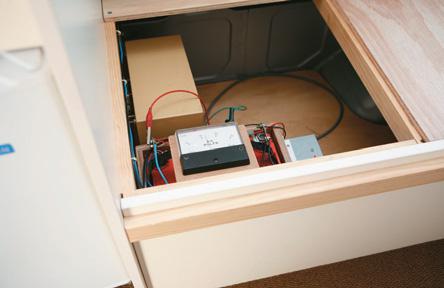
The battery is housed in a ply box screwed to the floor. The battery is also charged from a photovoltaic (PV) panel on the cab roof via a home-made adjustable charger which stops charging
when the battery reaches 13.5 volts
I fitted two lights on advice from a friend who recommended this from experience. To run the wiring to the light near the door, I routed a shallow groove in the floor and covered it with aluminised gaffer tape. Hint, cover the wiring with a narrow strip of greaseproof paper first; this will allow the wiring to be “pulled through” if needs be.
The van has bench seating for three people in the camper section. The backs of the bench seats also fit in between the main squabs, giving two single beds, a double or a king-size.
I have enjoyed fitting out the van. It’s been a big learning curve and an eye-opener as to what things cost these days. Having the pop-top and mains power socket fitted cost $5400. To date, I have spent a further $3600 on materials and having the mains wiring done. I expect the carpet and an awning will set me back around $250. I have been very fortunate in that various folk gave me help when I needed it, along with screws, hinges, the curtain track, etc, and good advice for which I am very grateful.
