

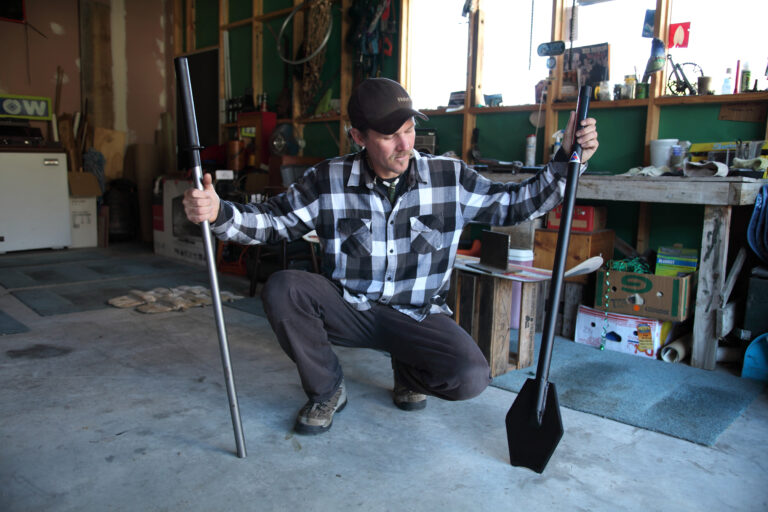
It splits wood and rock, it severs roots, it levers…it slams. The Slammer may be a literally ground-breaking tool to work with, but the manually operated device is a rare creature in the thriving high-tech landscape of new DIY tools.
Developed by TJ Irvin, a globe-trotting American who settled by Lake Hawea more than a decade ago and handcrafted by one of the oldest engineering firms in the country, Templeton & Sons, the Slammer is an unusual piece of kit any manual worker needing a bit of extra grunt should consider trying.
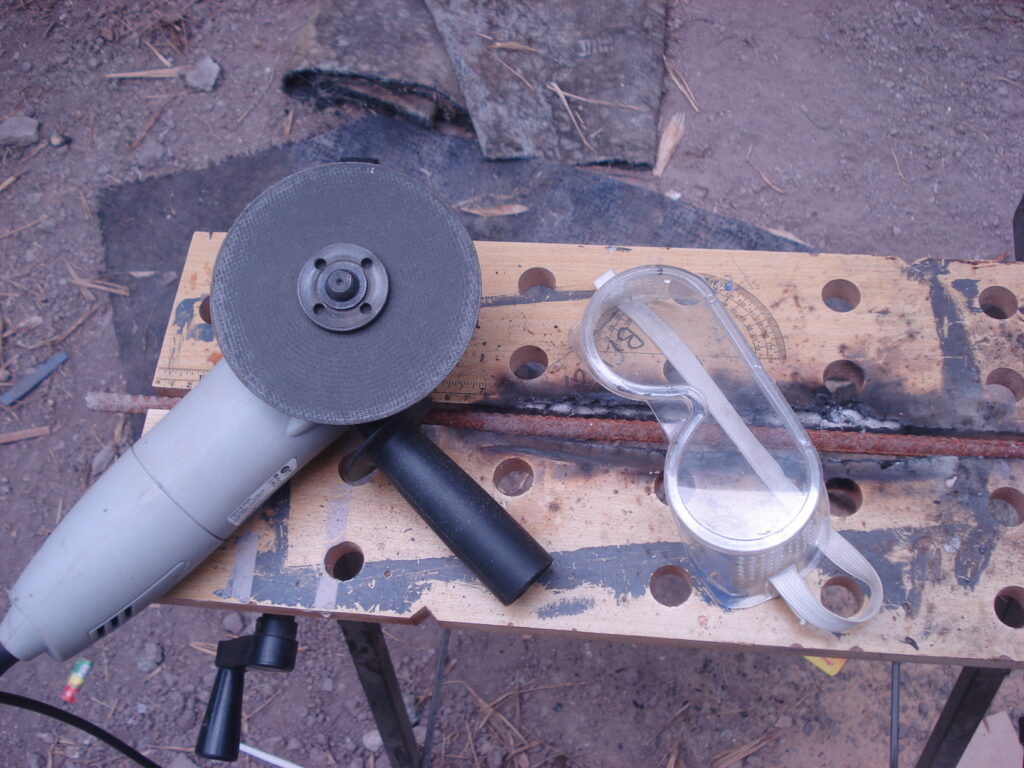
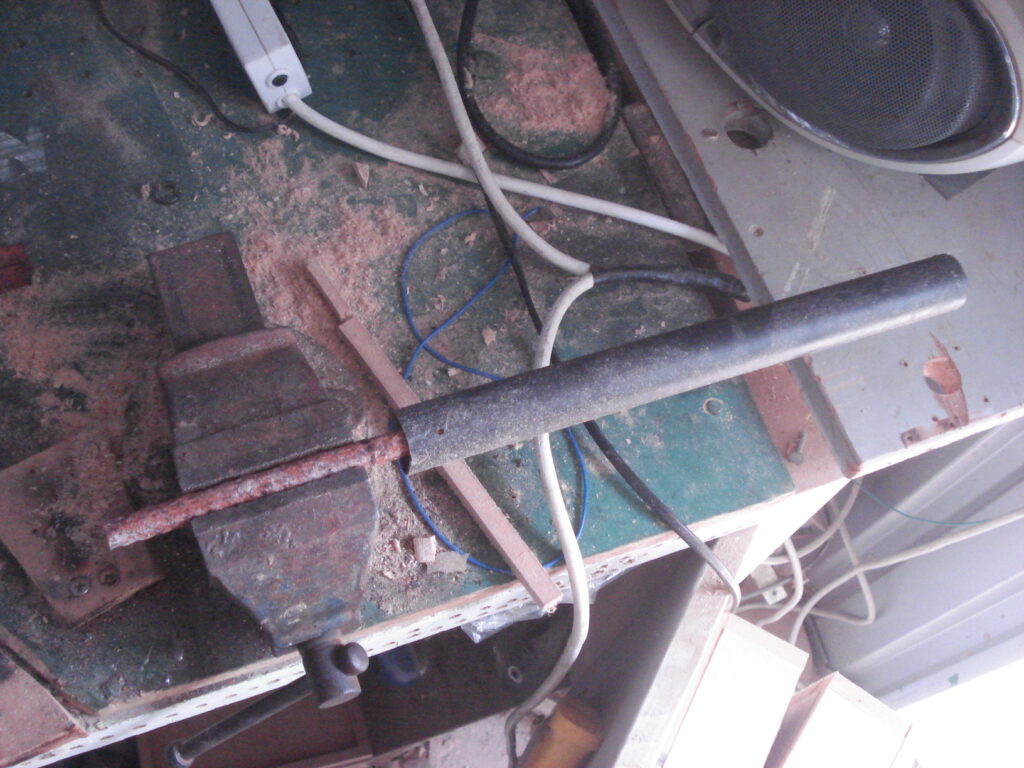
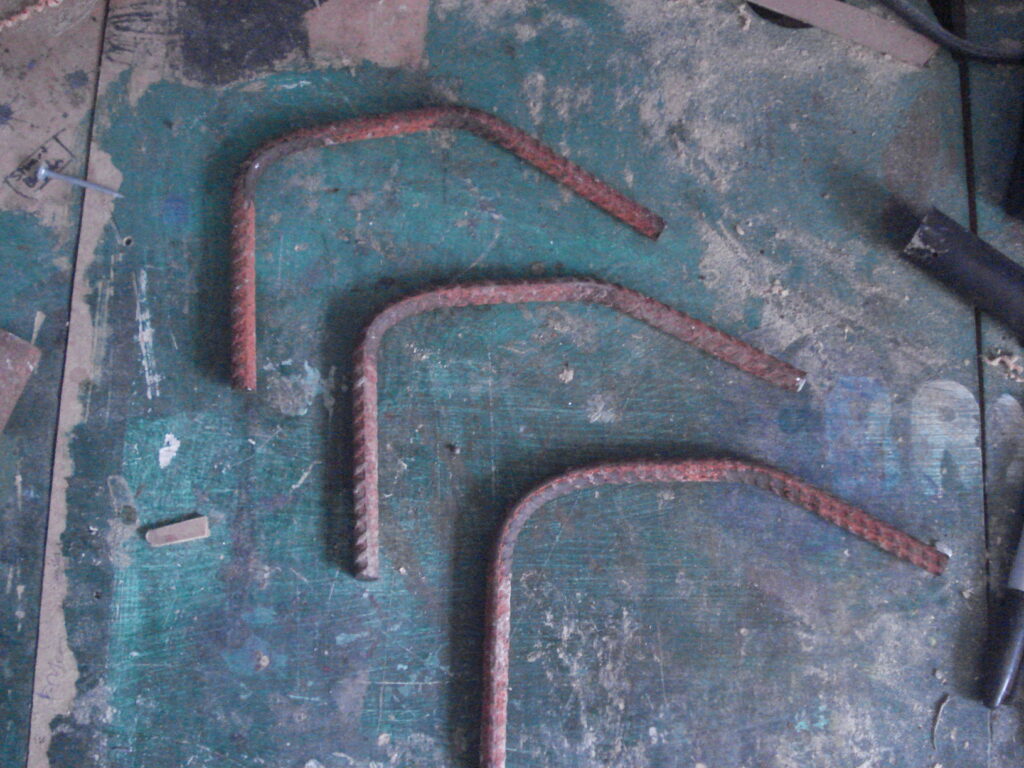
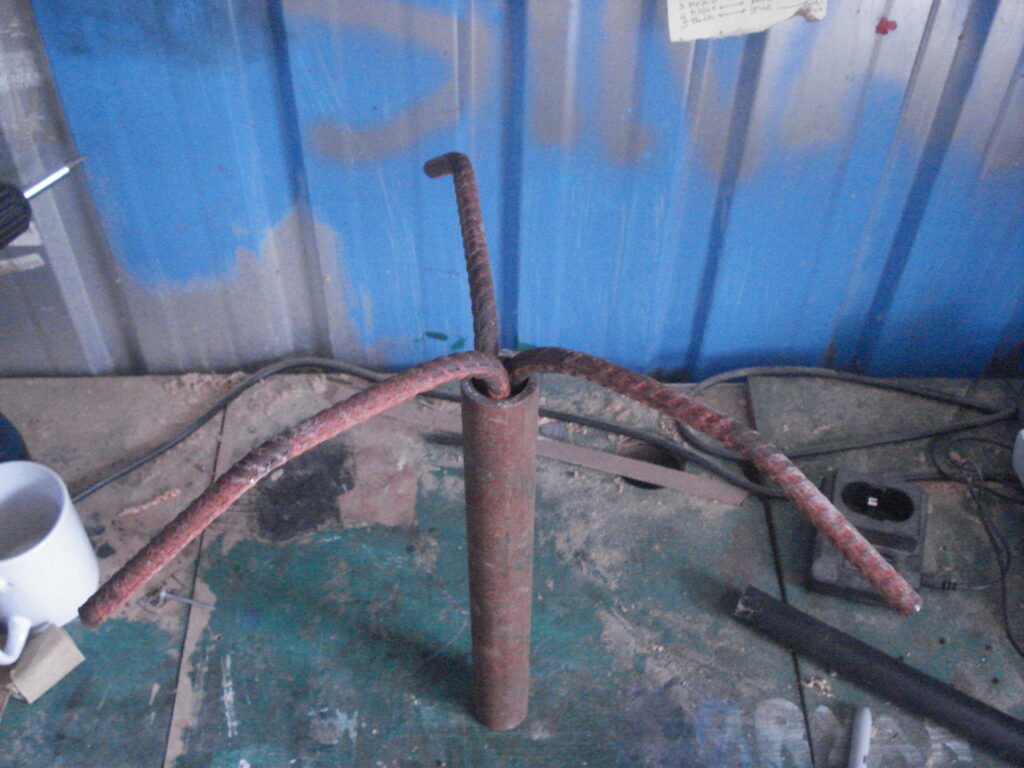
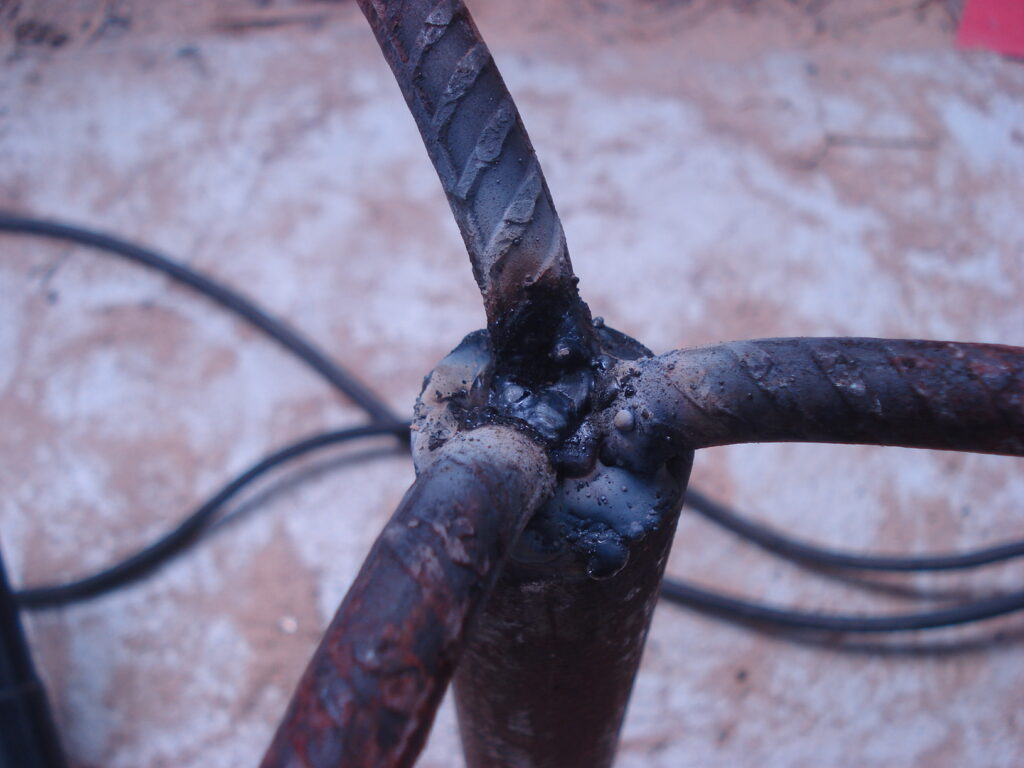
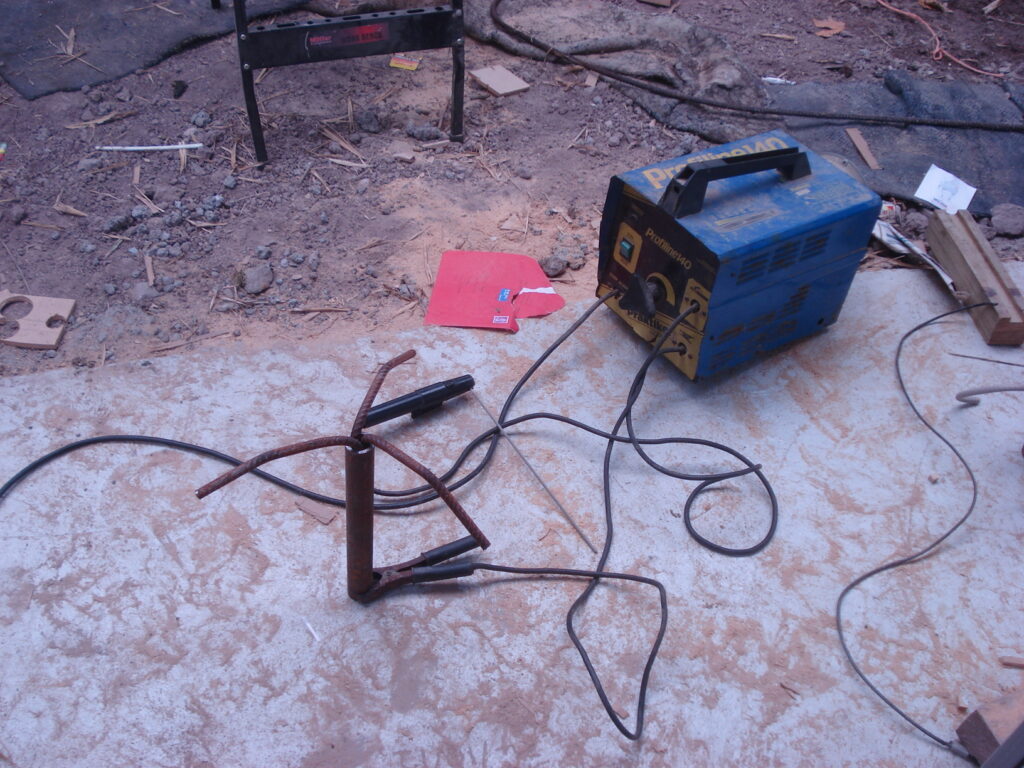
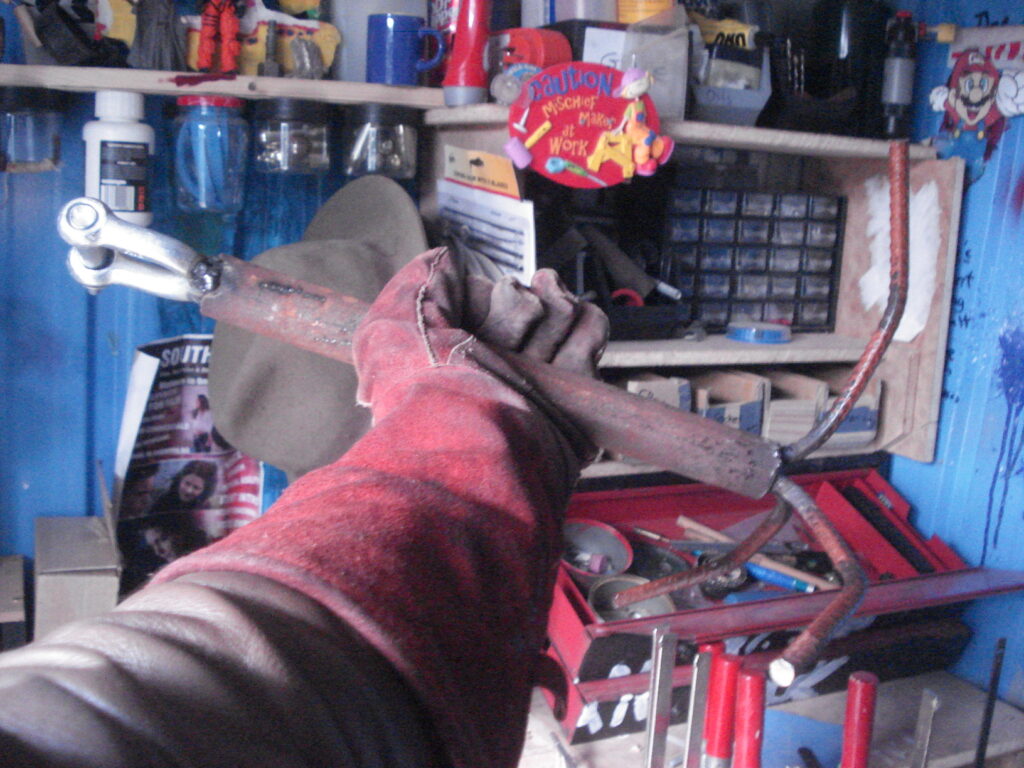
The 9 kg, two-piece Slammer developed by Irvin uses the impact of a solid, high-tensile steel rod rammed down a length of pipe by the operator. This provides the momentum to ram the attached blade into—and through—the sort of material most people hire a jackhammer to deal with. Other attachments turn it into a fence-hole rammer and a compacter for foundation work. As TJ describes it, the slammer/rammer multipurpose tool is a combination of a crowbar, axe, spade, mattock and sledgehammer all in one. Made in New Zealand.
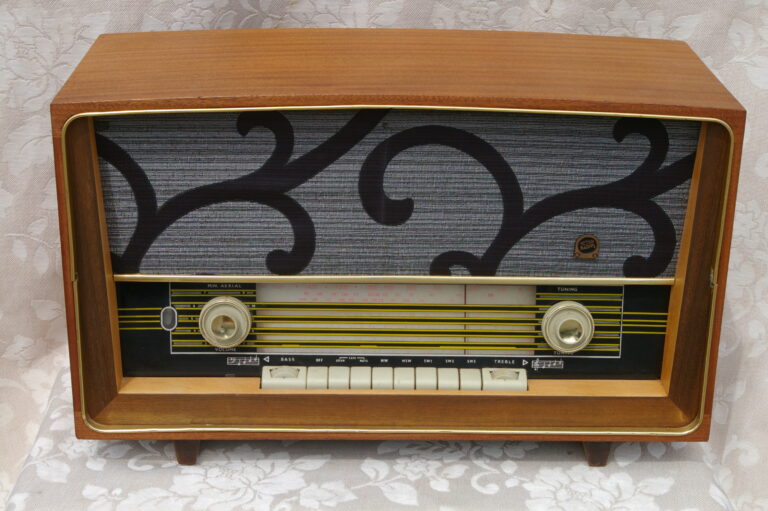
The family gathering around the wireless to listen to the Friday evening programme may be a thing of the distant past but the beauty of those old valve-driven radios lives on in the dedicated work of Retro Radios.
Based in Dannevirke, Alister Ramsay works from an assortment of sheds, a garage and a container lovingly restoring old valve radios and radiograms. In a workshop redolent of the glory days of the 1940s to the 1960s, with nostalgic posters for Life magazine and a smattering of old cameras – another hobby is collecting old cameras – Alister works to a background of smooth jazz issuing from a variety of beautifully restored valve radios producing warm-toned music to set the mood.
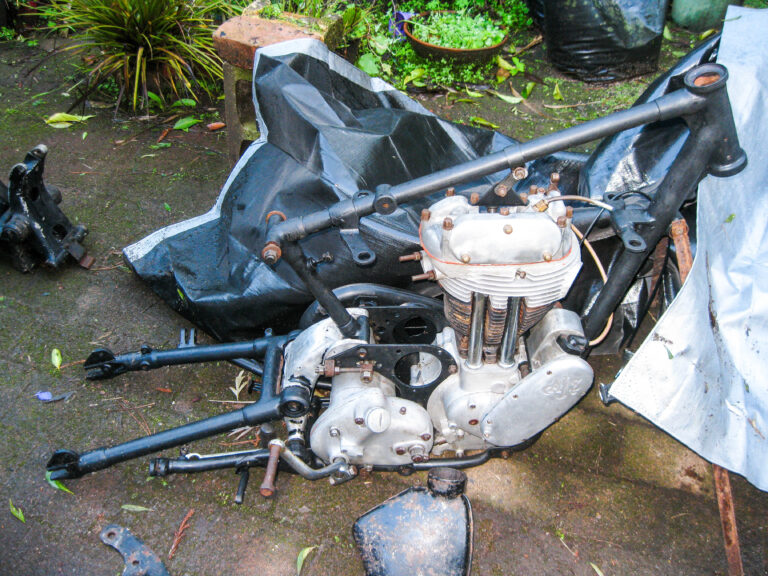
In my first two articles about the rebuild of a bitser 1952-ish AJS 500 motorcycle, I outlined how I welded a broken cast-iron cooling fin on the motor, checked the magneto ignition and got the head repaired.
I also described what I had learnt about nickel plating (using surplus nickel welding rods and then nickel tape) so that I could make a relatively cheap substitution for chromium, eg on pushrod cover tubes and bolt heads.
Nickel plating was also used to build up a worn kick-starter shaft as a part approach to stopping the kick-start from jamming; I also ground back a couple of teeth on the starter quadrant gear.
My bitser’s gearbox
The gearbox is a Burman CP type, used on many English bikes, with a code G45 L47 stamped on it.
The L in the code refers to the month of assembly, so November.
47 is the year: 1947. So this would have gone into a bike probably in 1948. (My claim to be rebuilding a 1952 AJS looks shakier.)