
When I left school I took on an apprenticeship at William Cable in Wellington. Unknown to me at the time, this opportunity would lead to a life-long interest in model engineering.

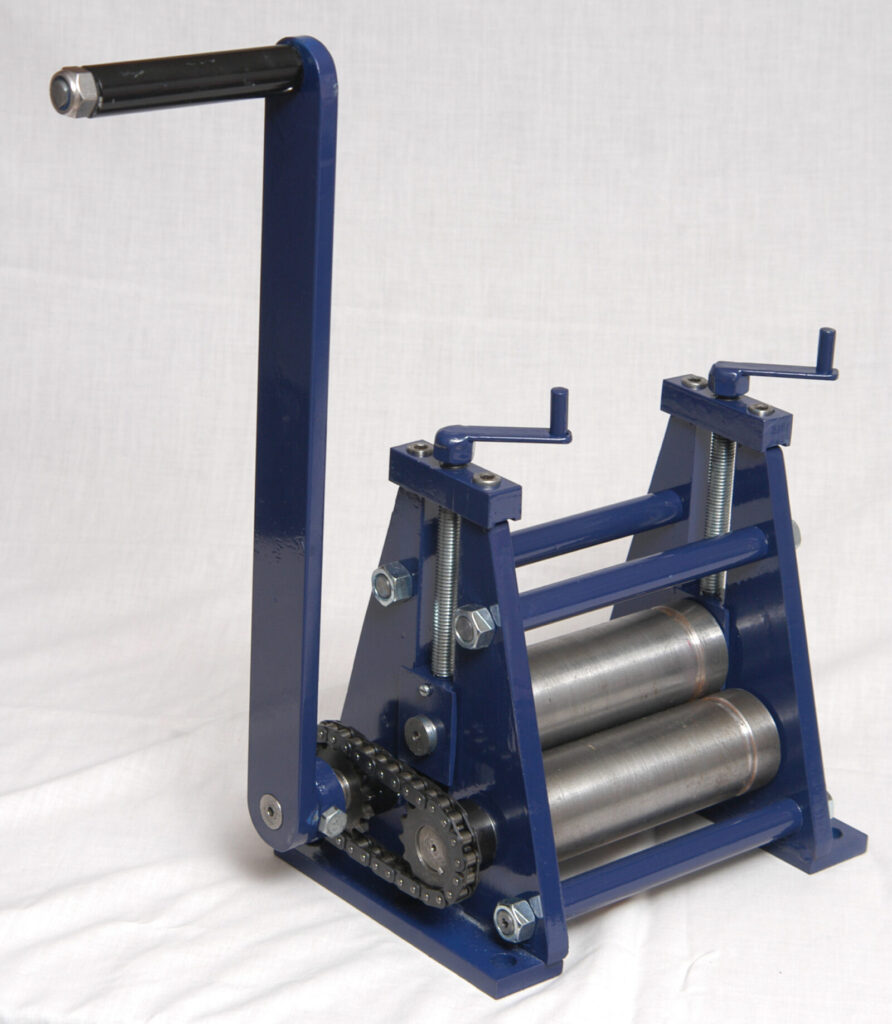
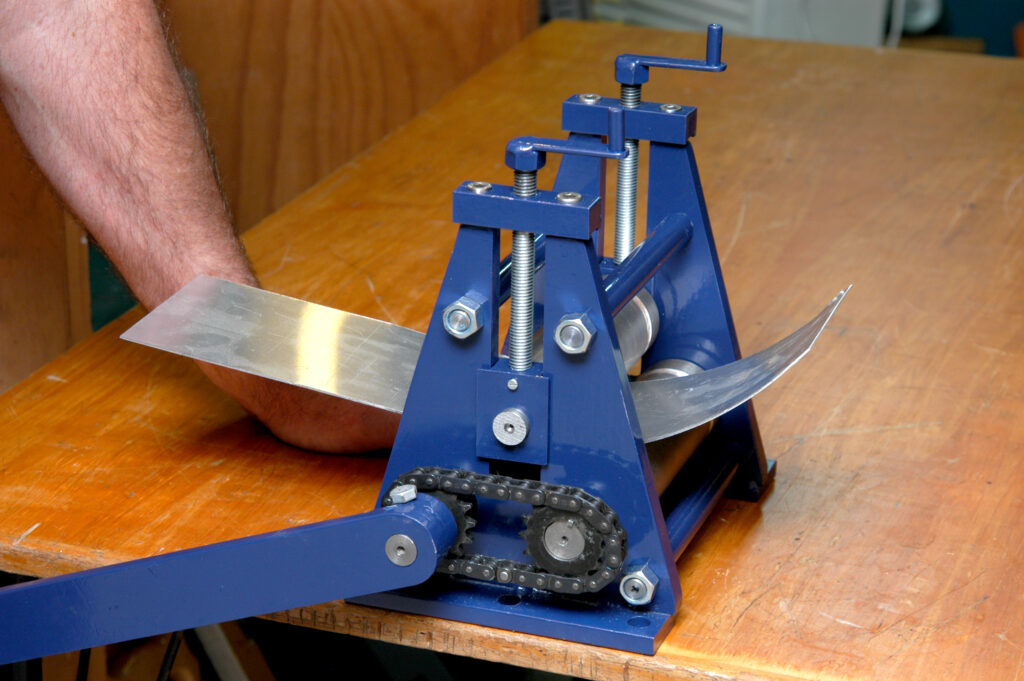
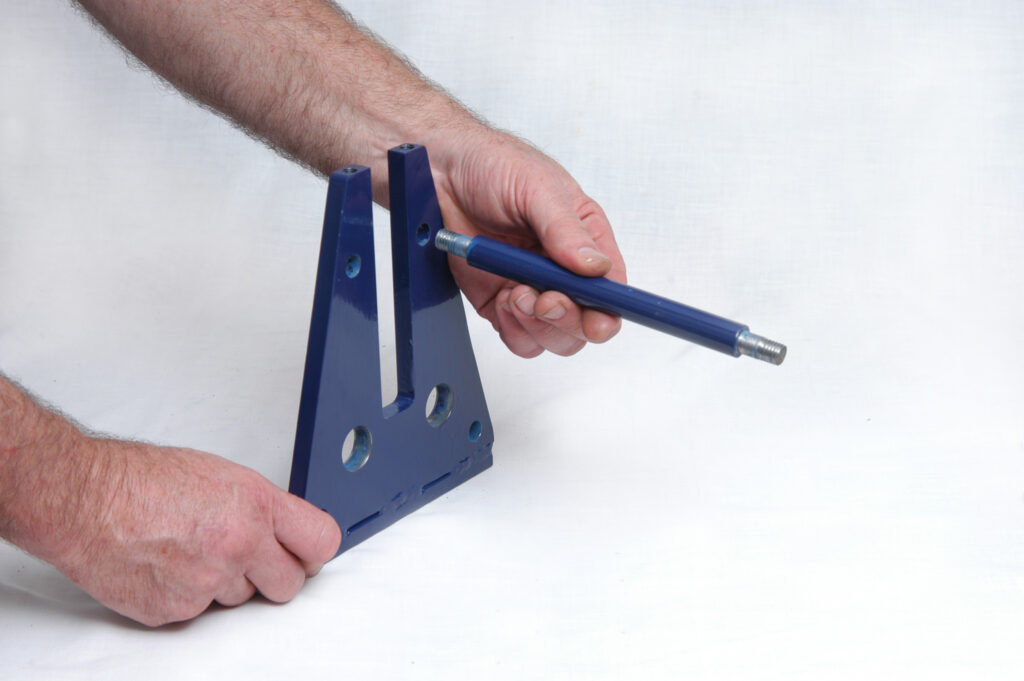
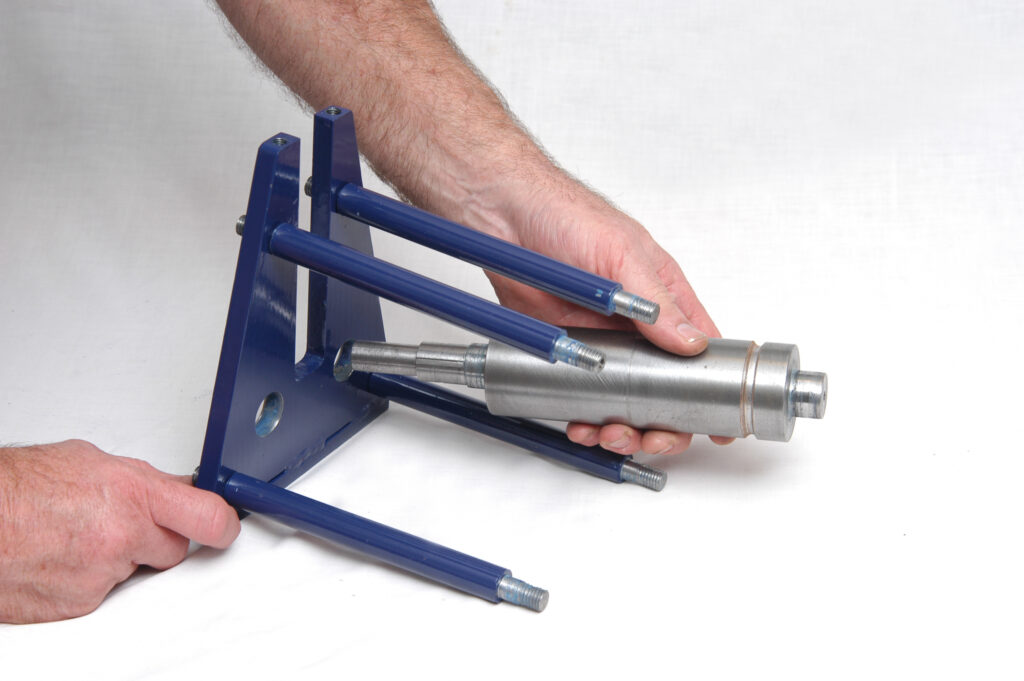
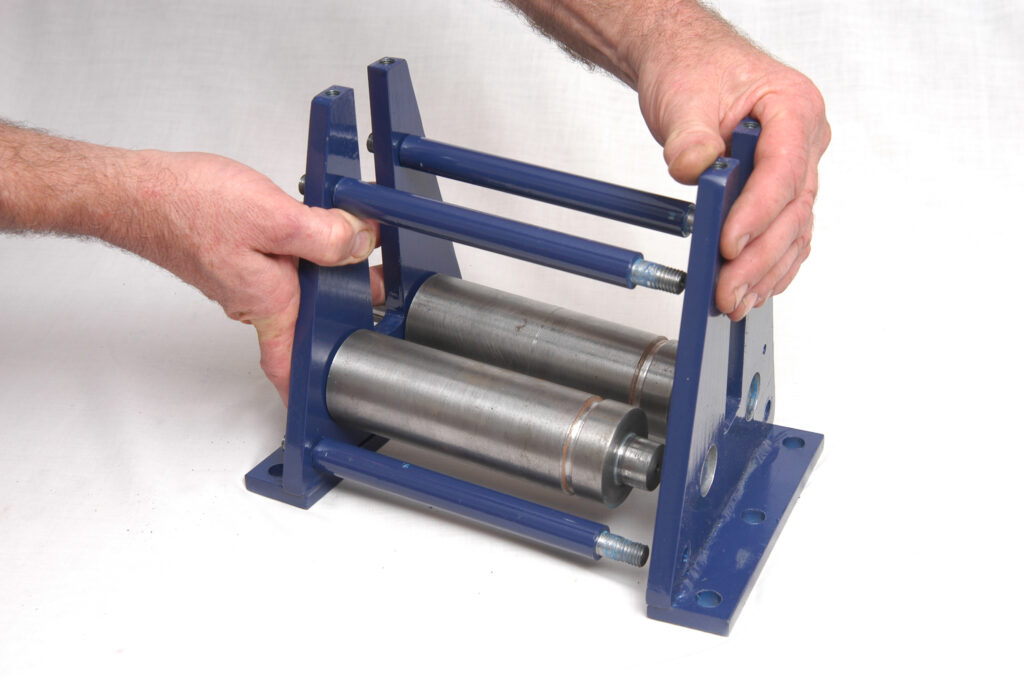
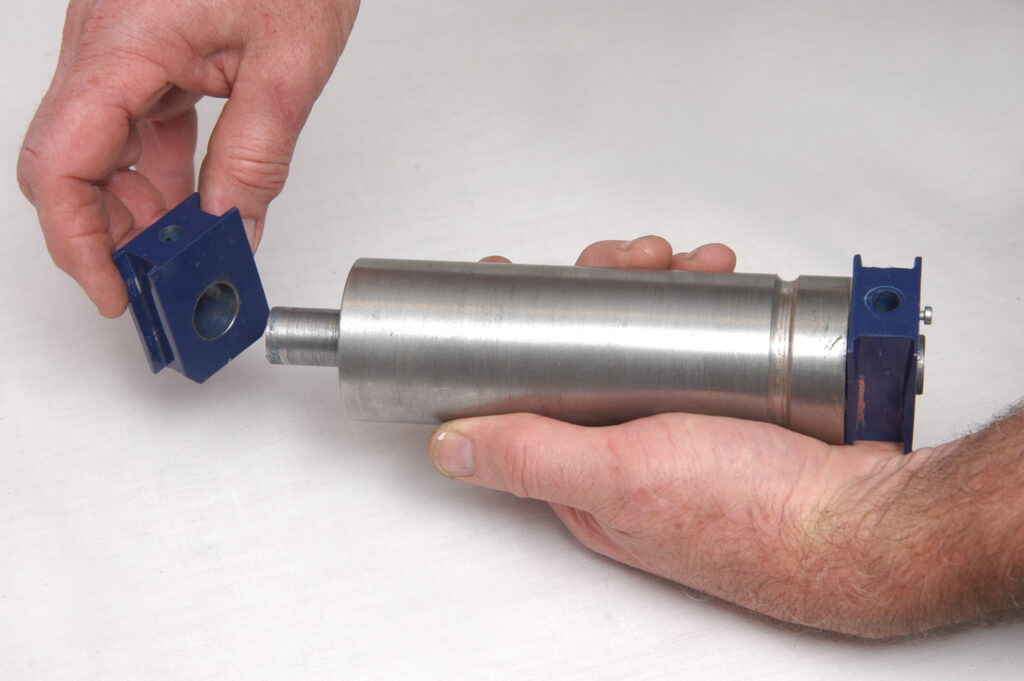
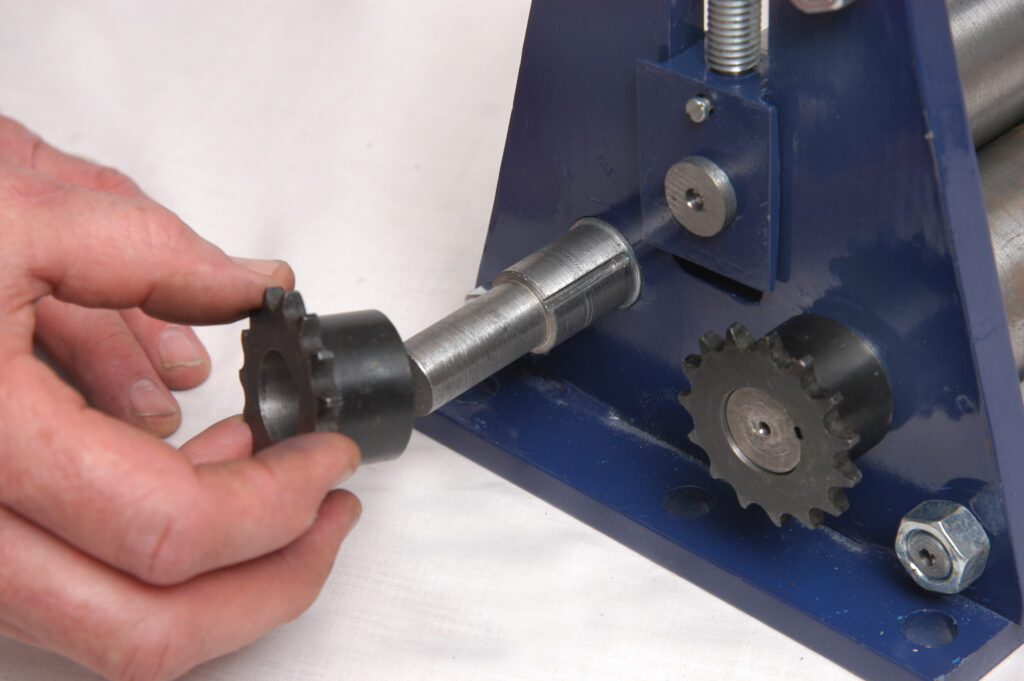
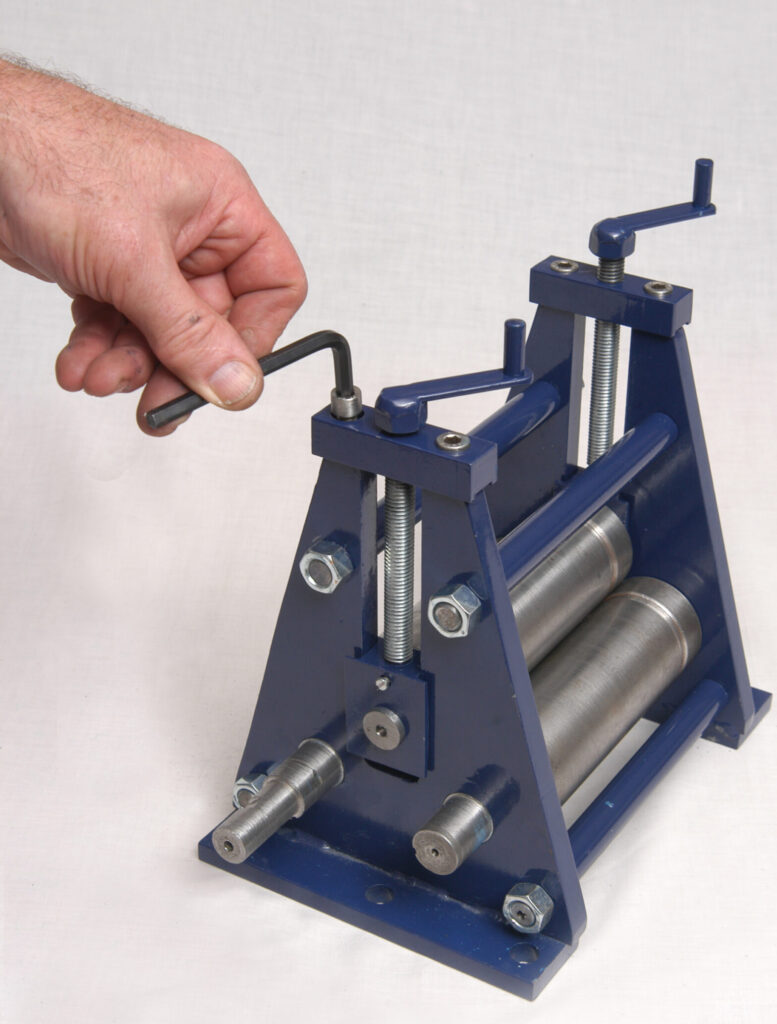
Whatever your workshop passion, from woodworking to welding, from electronics to outdoor projects, there are some great ideas here. If you are a newbie, give them a go — you have to start somewhere in your journey to be a creative sheddie. We have 16 more great projects in this second edition of Best of The Shed. All have clear instructions that demonstrate the build process and include diagrams and parts lists.
Sheddies on both sides of the Tasman have been inspired by the projects and informative features we run in the magazine, and this is a selection of some of our most popular articles from the first 15 years of The Shed.