


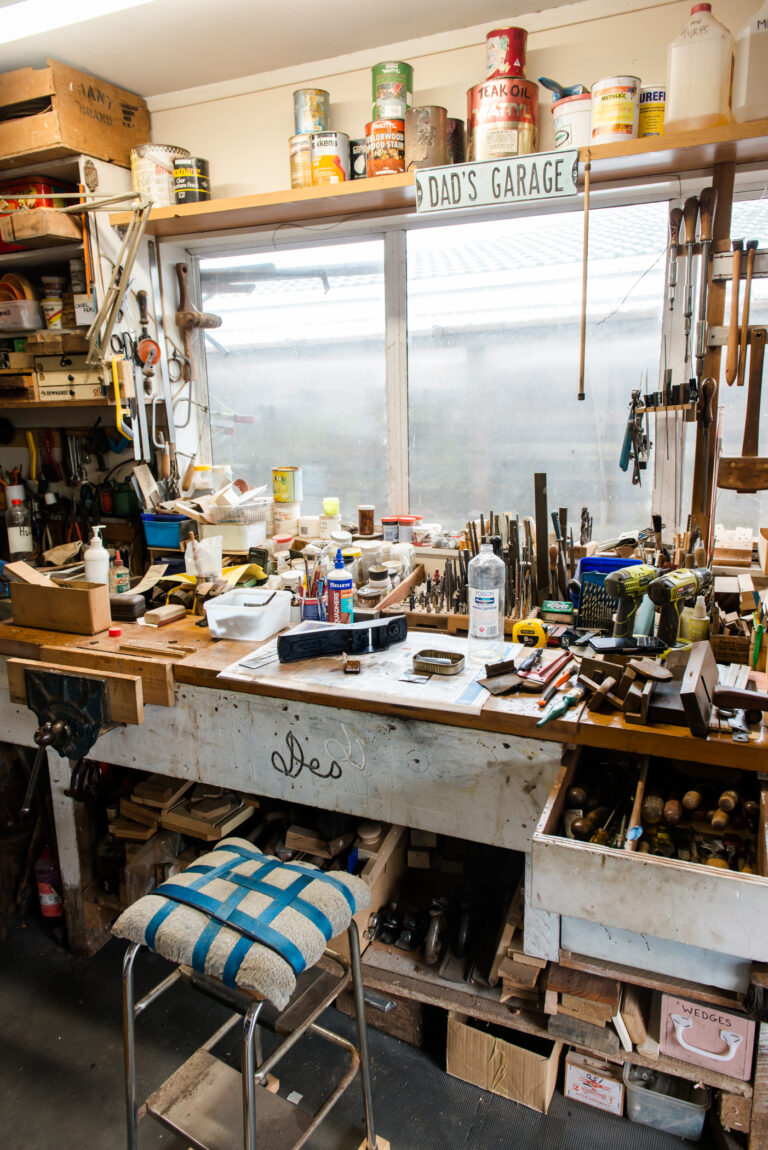
Sitting on the edge of a little paddock in the river mouth settlement of Kakanui, ten minutes drive south of Oamaru, is a ramshackle shed where Lindsay Murray creates things of rustic beauty.
The shed has a long history. It was built in 1875 as the house and shop of a nurseryman, George Packwood, who came from Scotland to plant and tend trees around the mill manager’s house in Kakanui.
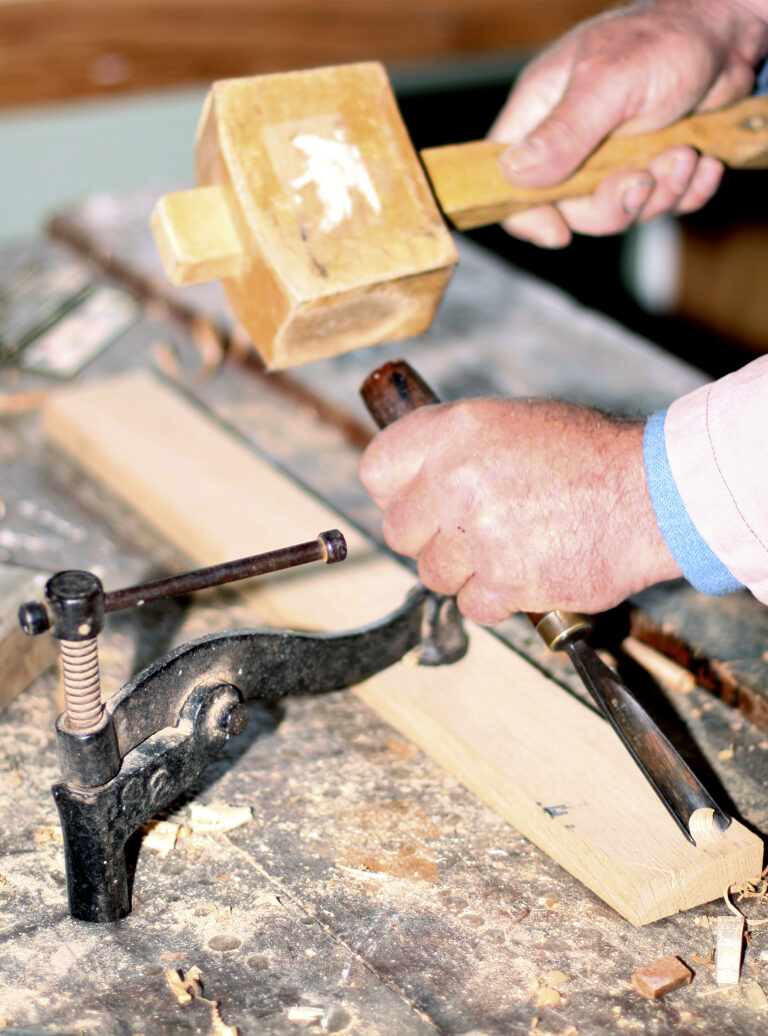
When Lindsay, an artisan wood worker and sometimes blacksmith took it over in 1993 the back wall had fallen off, half the roof was collapsing and the floors were rotted through in the living quarters. As far as Lindsay was concerned, it was perfect.
It had the remnants of the original dwelling: a kitchen with no running water but with a working coal range, and two other rooms which have served, over the years, as sleeping quarters and a sitting-cum-dining room. This is where Lindsay stays overnight when working on a major project. It also serves as temporary accommodation for visiting artisans and is currently home to Rolands Selis, a highly skilled leather worker.
Do you have New Zealand’s most interesting shed?
Whether it’s the cleanest, most cluttered, an epic man cave, or simply one-of-a-kind, we want to see it!
We love them all, and now it’s your chance to show off your shed and win!
Think your shed has what it takes?
Enter today and claim the crown!
HOW IT WORKS:
We’ll select the Top 5 sheds. The finalists will be showcased on Facebook, and the public will vote – most likes & comments wins!
WHAT YOU WIN:
A $500 Prezzy Card. A feature spot on the cover of The Shed Magazine, 2026 Calendar
HOW TO ENTER:
Send a high-res JPG image of your shed
Email your entry to: [email protected]
Entries close: July 31st
Facebook voting runs:
August 1st – 10th. The winner will be notified by email.
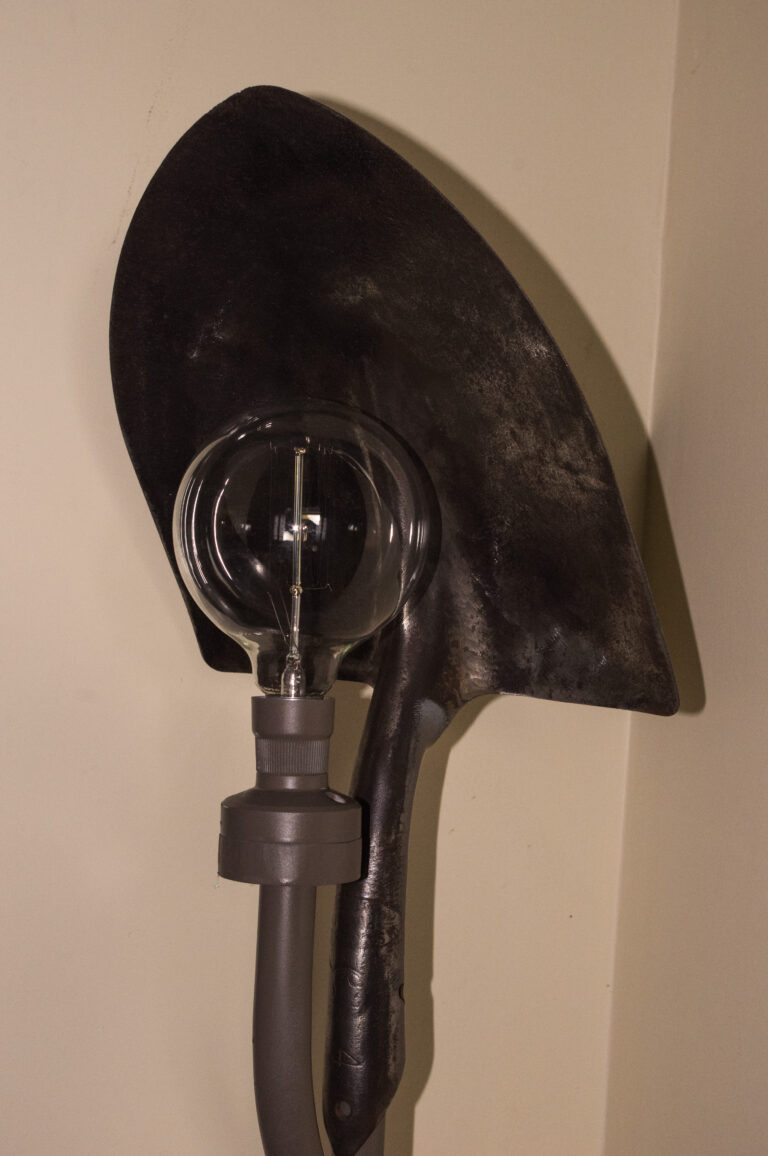
If you are interested in adapting and using discarded bits and bobs to make something useful, then building lights, table lamps, and the like, offers an endless source of relatively inexpensive projects to amuse you. What’s more, they make unique gifts and nice conversation starters for visitors. Lamps are also a good way of supporting a decorating theme. Whether you are into an Art Deco, Arts and Crafts, modern or industrial look, it is nice to enhance your chosen theme by constructing a light from an object that is reminiscent of it.
Of course you are dealing with 240-volt electricity, which is potentially lethal, so it is essential that you use common sense and particular care when wiring up lights (see the safe wiring tip box). The advent of 12-volt downlights powered by small transformers has also made the construction of lights much safer. Lights can now be wired in such a way that the 240-volt transformer is remotely located or secured and independently earthed. There is no electrocution risk posed by the 12-volt wiring in the rest of the light.