Making a shubunkin fish pendant in silver and gold
By Wayne Hooper
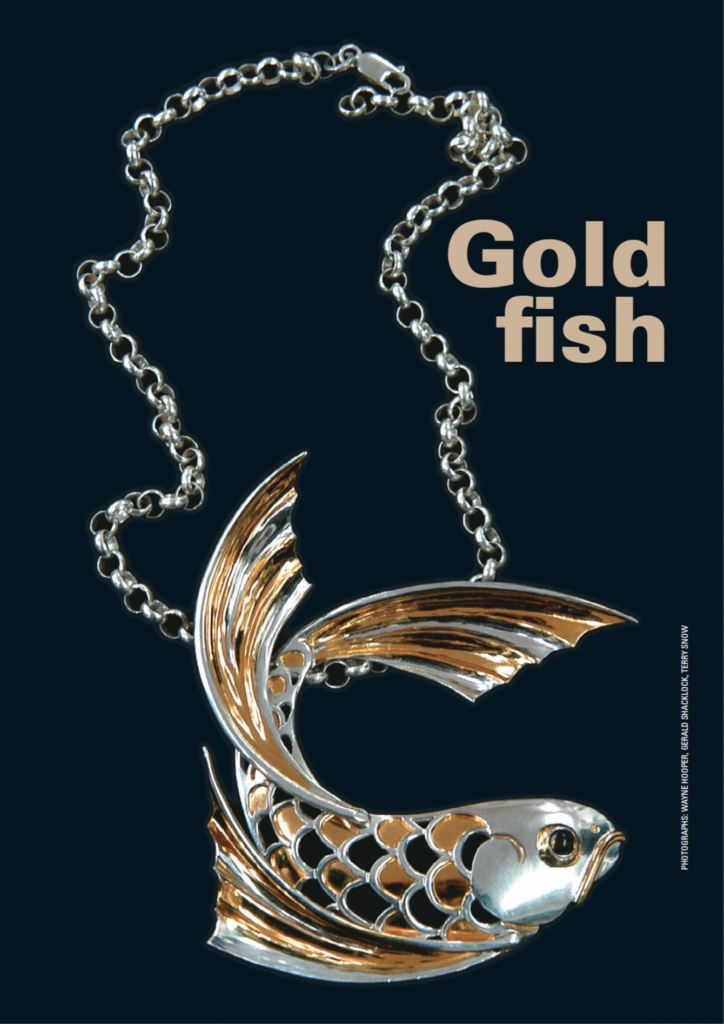
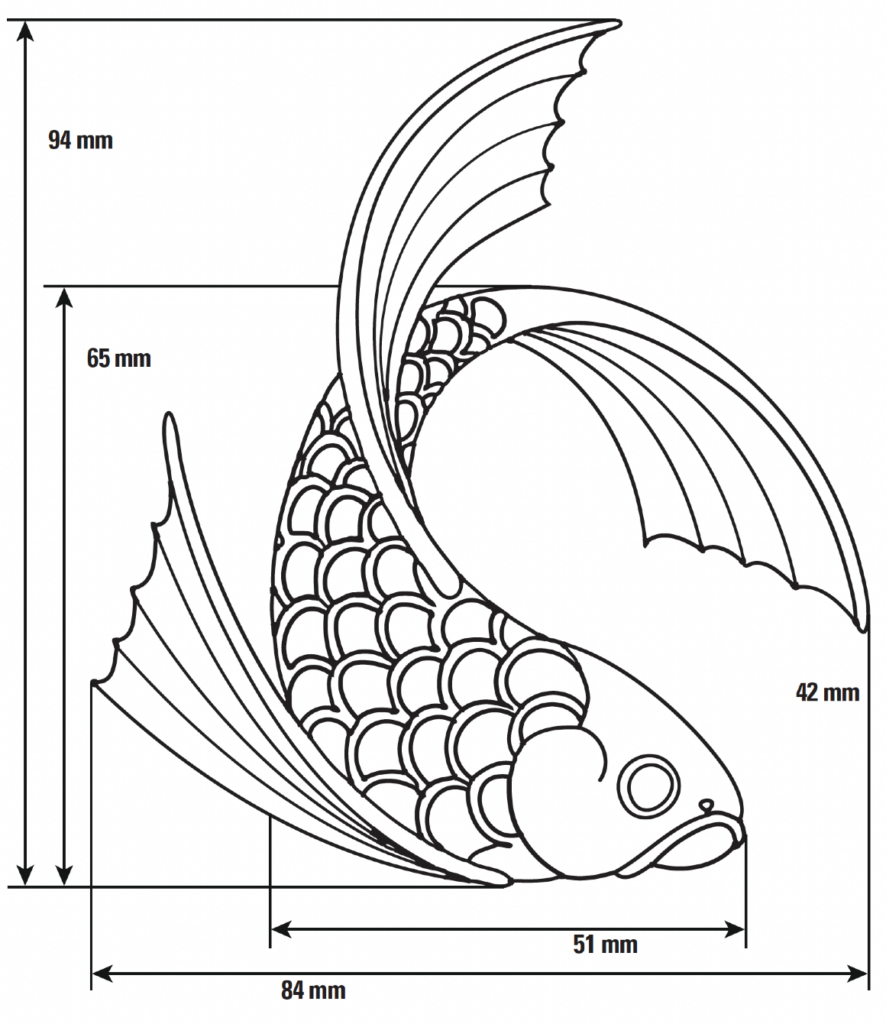
The shubunkin goldfish is sometimes referred to as “poor man’s koi” and in China the koi carp is often used to represent yin yang. I have drawn the body of the shubunkin goldfish fish to look like one half of the yin yang symbol. I then added the fins to suggest and give movement to the piece.
Templates
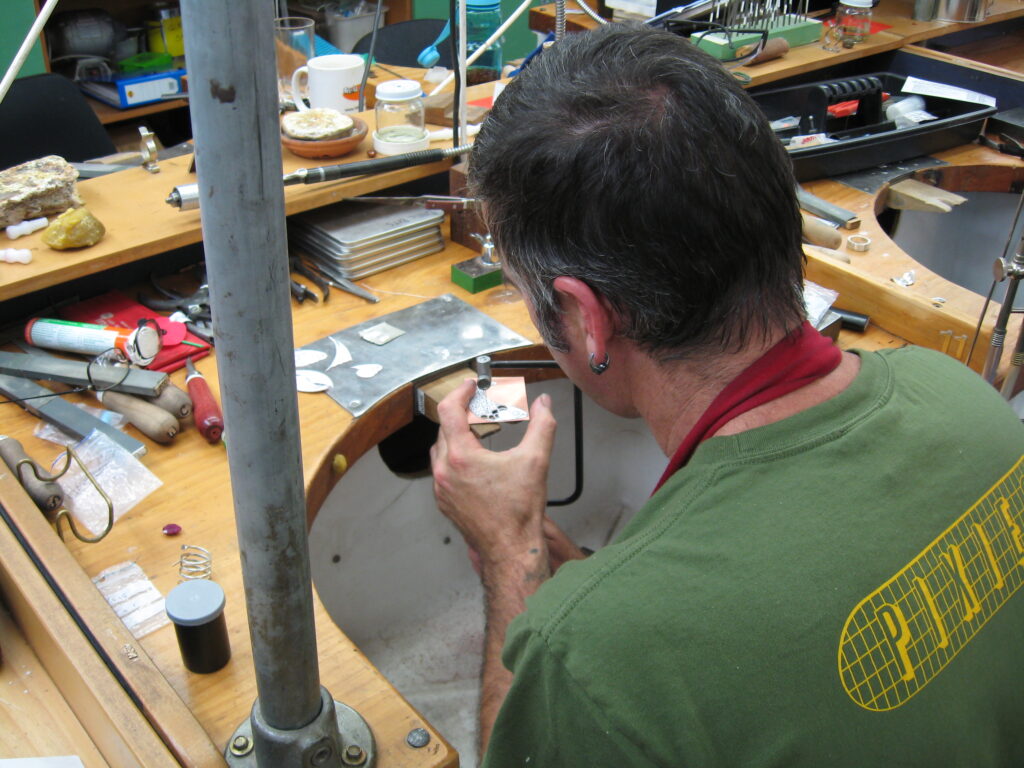
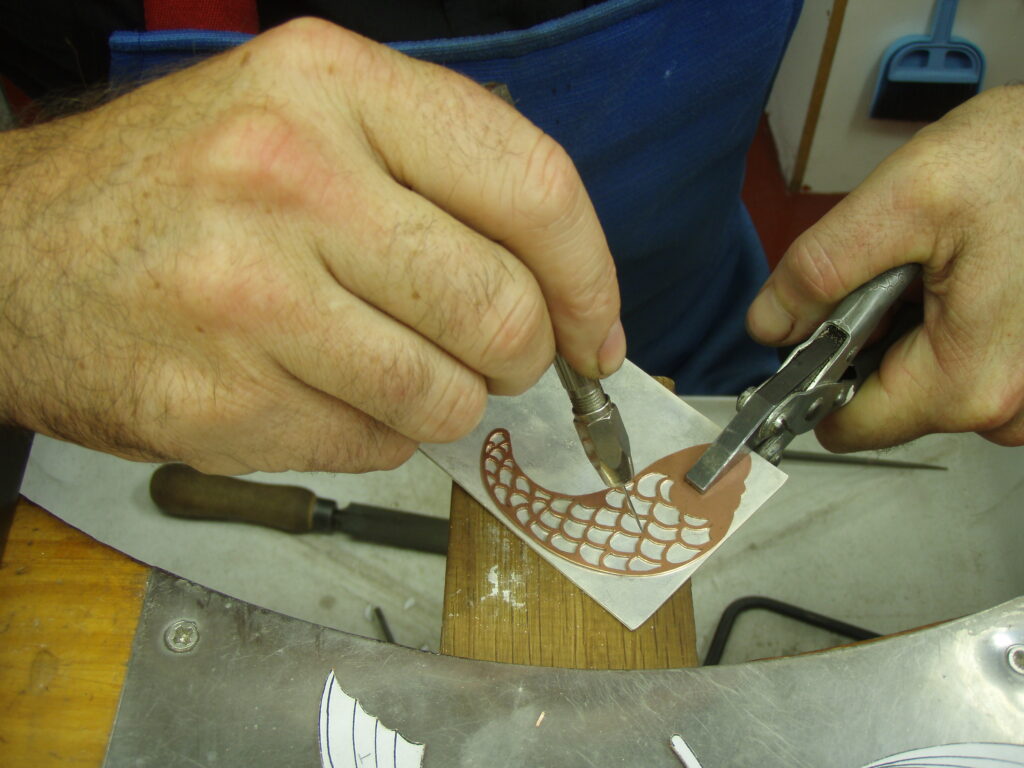
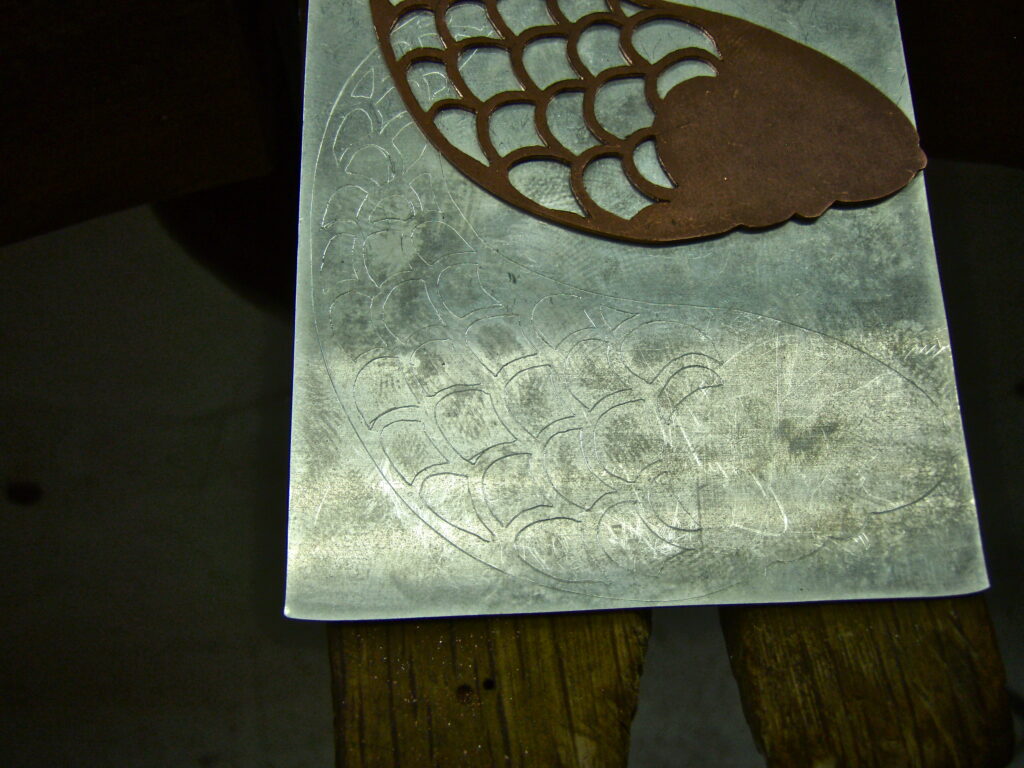
Firstly I took a photocopy of my artwork and stuck it to a sheet of 0.5 mm copper plate with double-sided tape. This is to create templates of the body and fins. The templates are cut out of the copper using a piercing saw.
Once the templates were cut out, I tidied them up with needle files and fine-tuned the scales to make them even. The problem when cutting out the template with a fine saw is that the black lines on the drawing appear symmetrical but are not so when viewed in the metal, once the cutout is done. I take the dividers and scribe around circles to get them even and may have to take the file to outer form of body so that the line will be more fluid.
The next step was to use the copper template to mark out two exact copies of the fish body onto 0.8 mm sterling silver plate. I marked one with just the outline—this was to be the bottom plate and the other one with the outline and scale detail was for the top plate. I then cut out just the outline of the fish body on both plates. The fins and the tail were marked out on thinner 0.6 mm plate.
The two pieces which make up the fish body are then stuck together with double-sided tape. The outline of the fish is then drawn onto a lead cake.
Punches
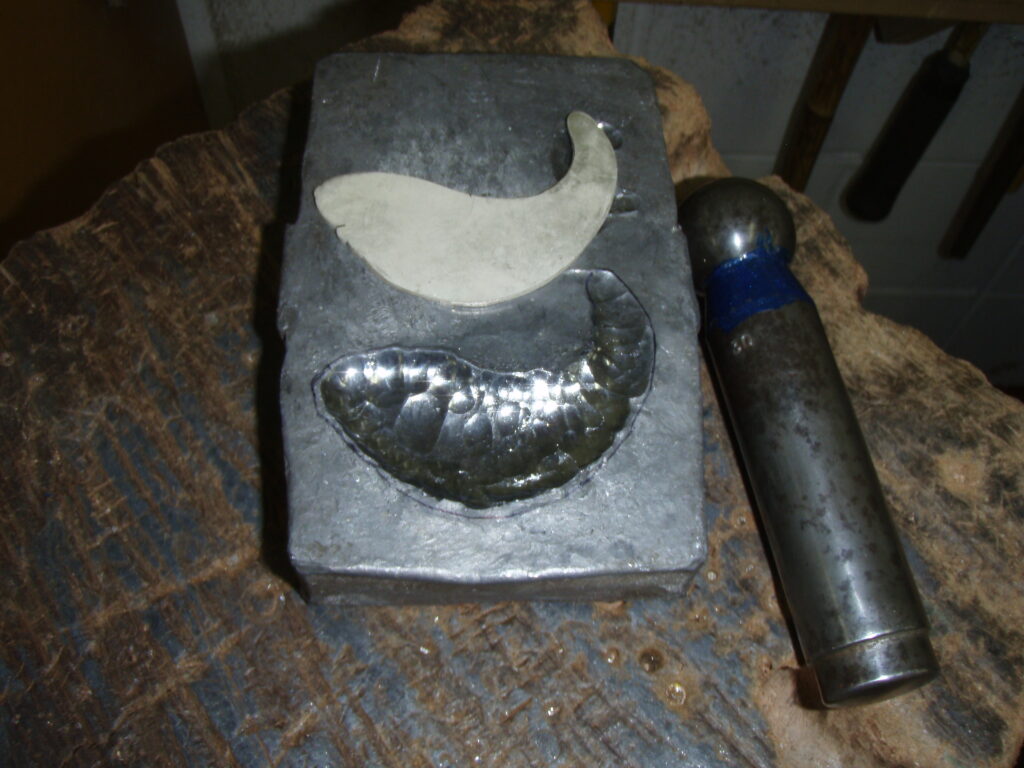
Next, round punches are used to make an impression of the fish in the lead cake. When I was happy with the shape of the fish, I placed a piece of plastic between the lead and the double layer of silver and hammered the silver into the impression using round punches. This domes both pieces to the same shape.
While the two pieces are still stuck together the shape is fine-tuned on a punch held in a vice and beaten into shape with a soft-faced mallet. All the shaping of the body must be done while the pieces are stuck together or else they won’t fit together later on. Once I was happy with the shape, the two pieces were heated up to release the double-sided tape.
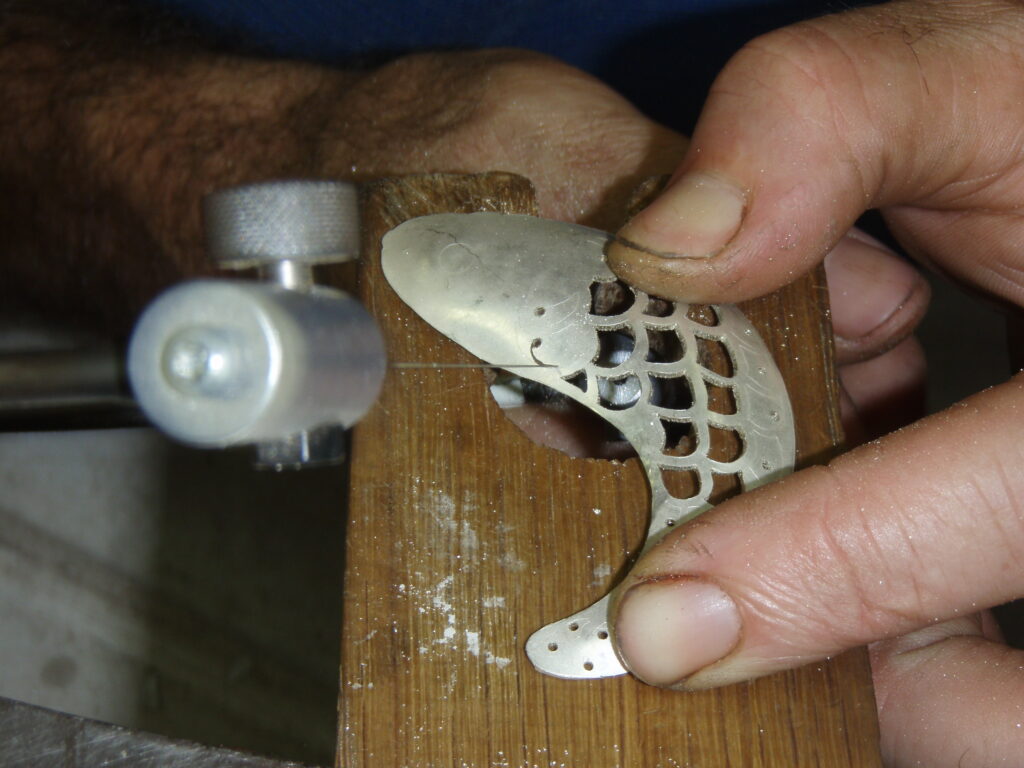
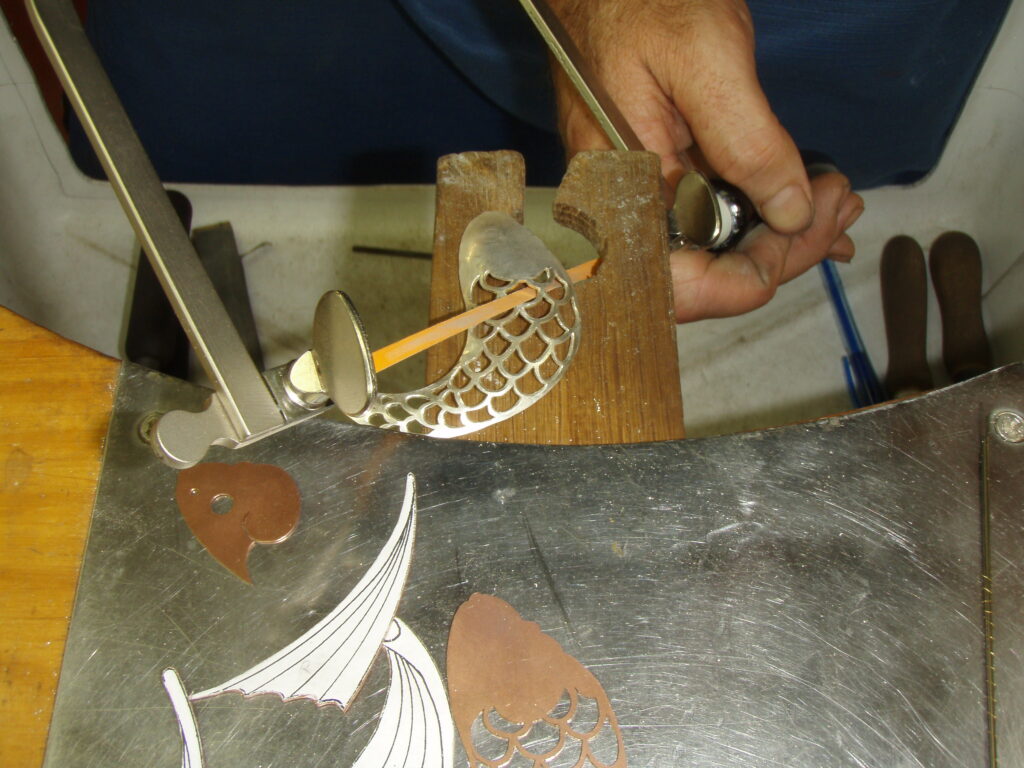
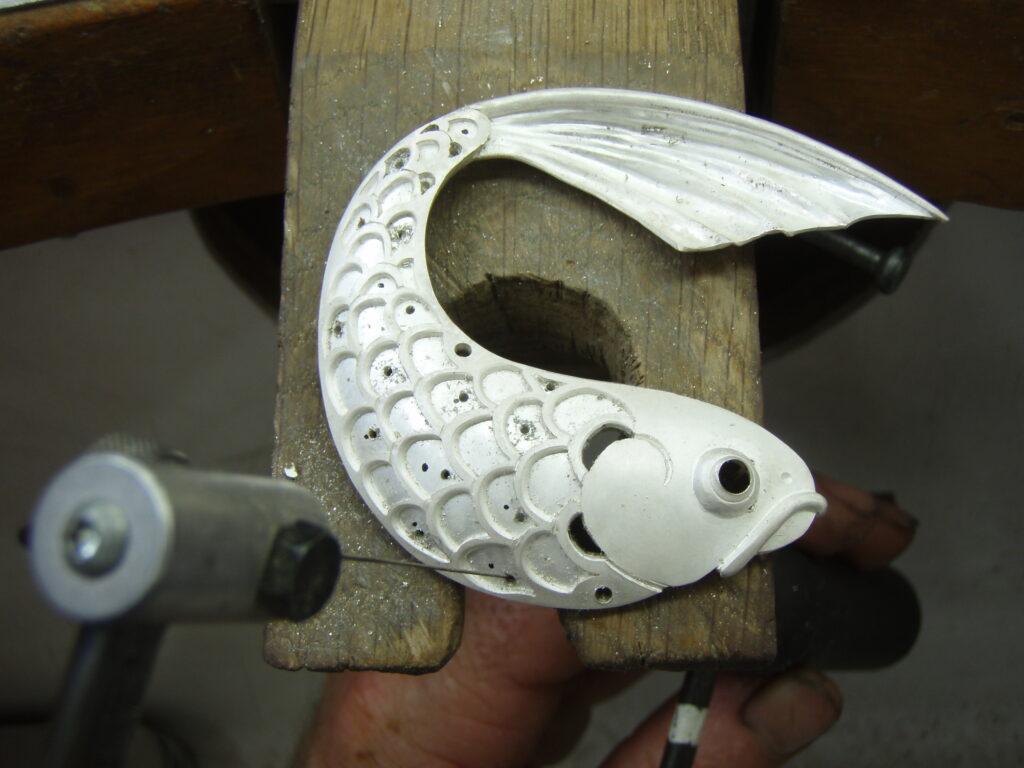
I then drilled holes into the top plate for each of the scales and cut out each scale with a jeweller’s piercing saw. I tidied up the scales with needle files and then a strip of sandpaper held in a saw frame. This process is repeated with three grades of sand paper 360 grit, then 800 grit and finally 1200 grit.
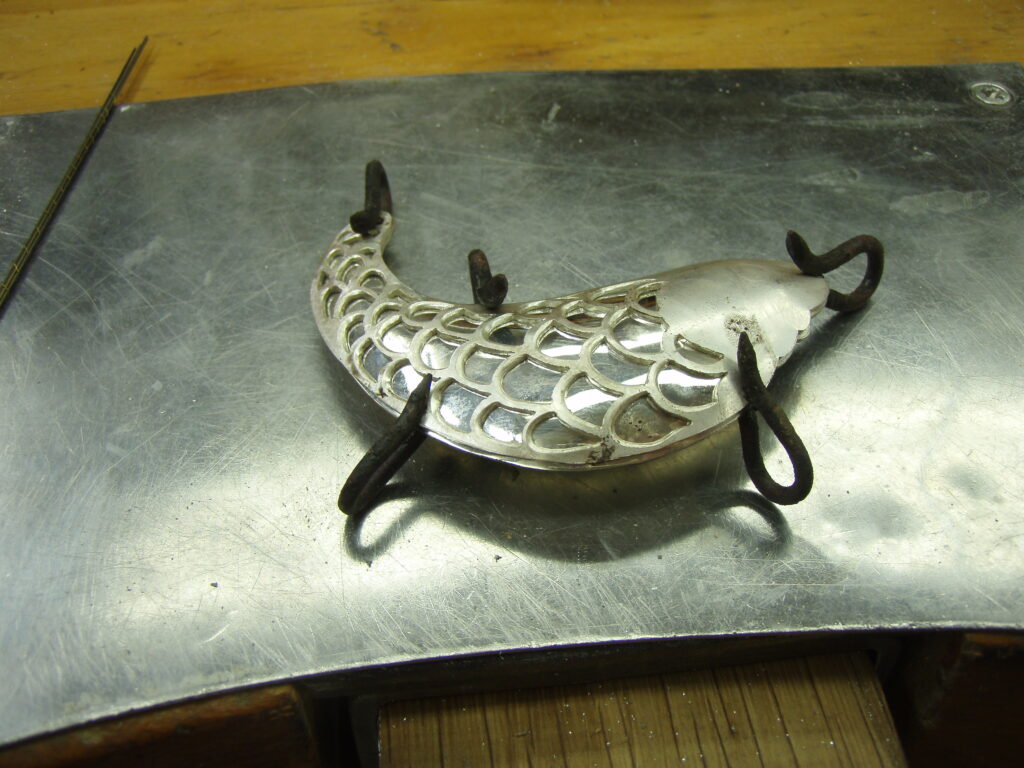
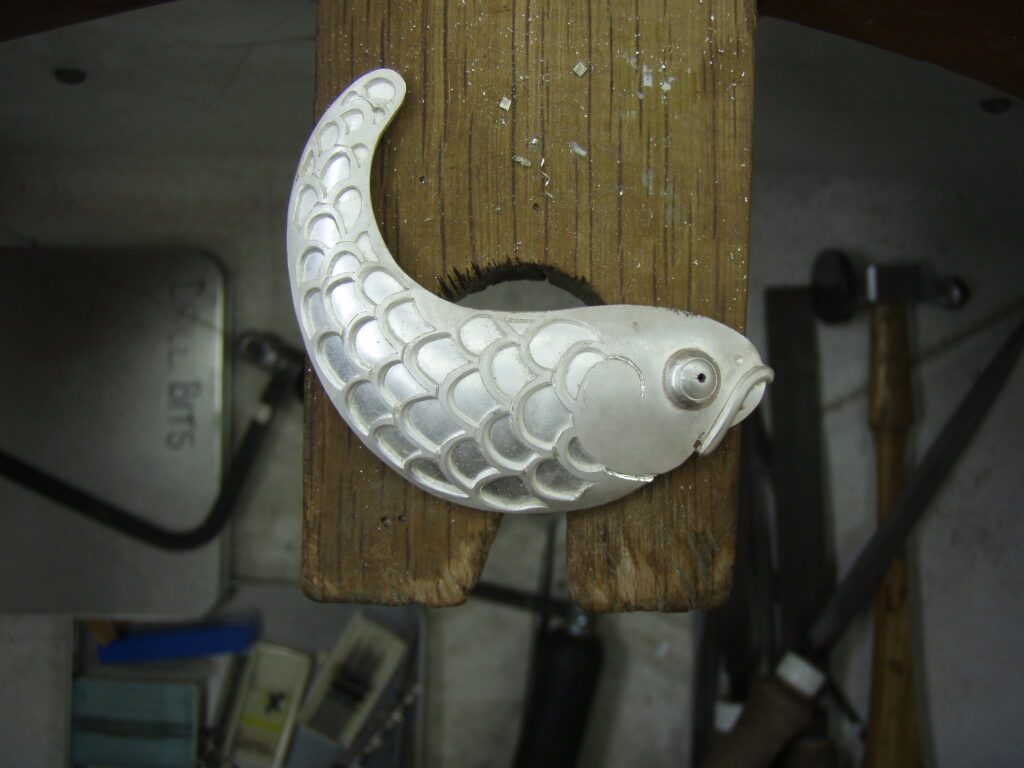
The top plate is secured to the bottom plate with clips (made from bent nails) and soldered together with hard solder. Then a domed disk for the eye and a piece of wire for the mouth are soldered onto the top plate. Once attached the wire is shaped into a mouth.
Fins and tail
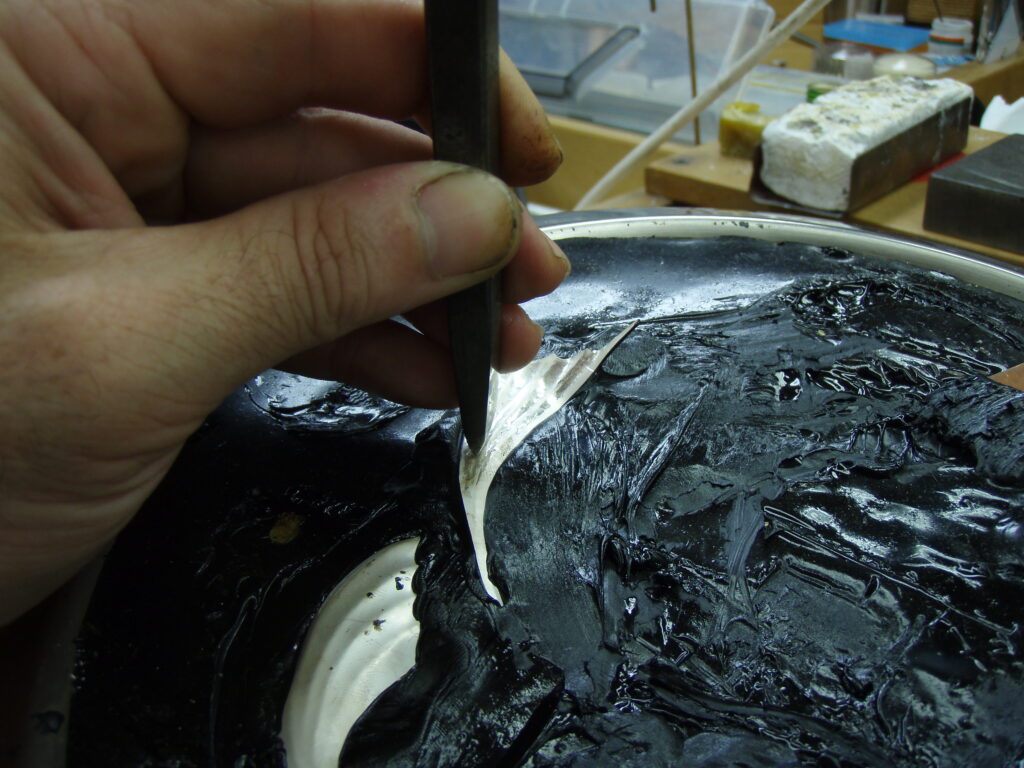
Next the fins and the tail are cut out from 0.6 mm sterling silver plate. To give the fins and tail a sense of shape, I placed the pieces of metal into a bowl of pitch and chased the ribs onto the back of the fins using a blade-shaped punch.
The fins are then removed from the pitch, annealed, turned over and placed back into the pitch bowl. I used a rounded punch and the space between the ribs was chased to give it a curved shape.
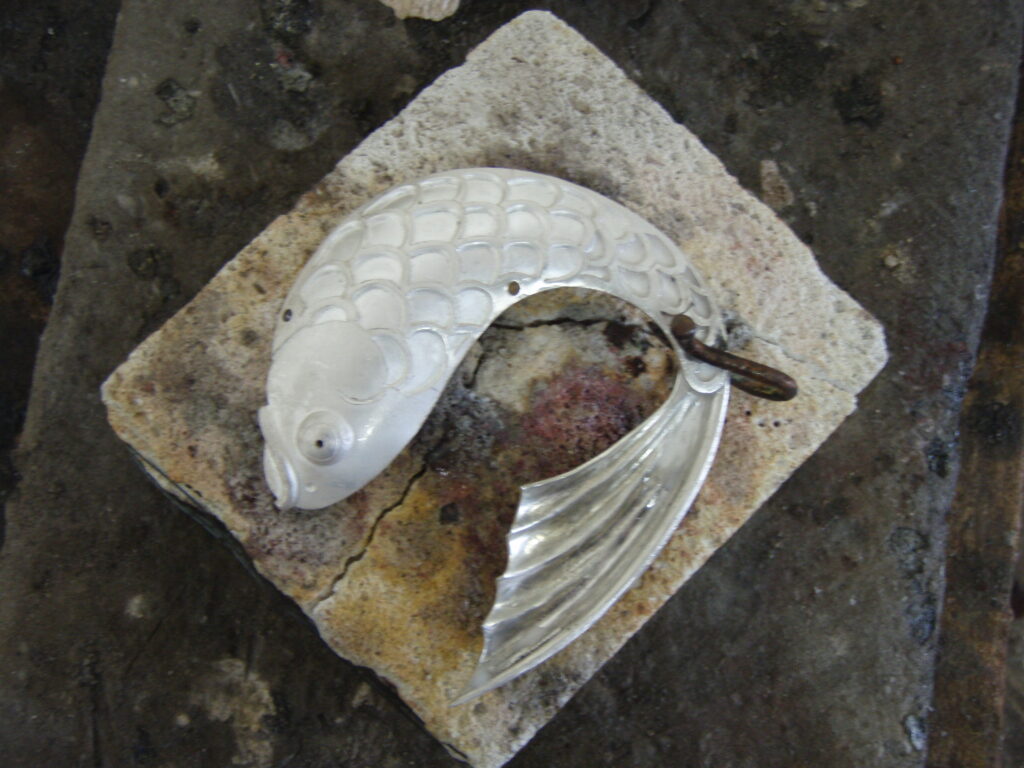
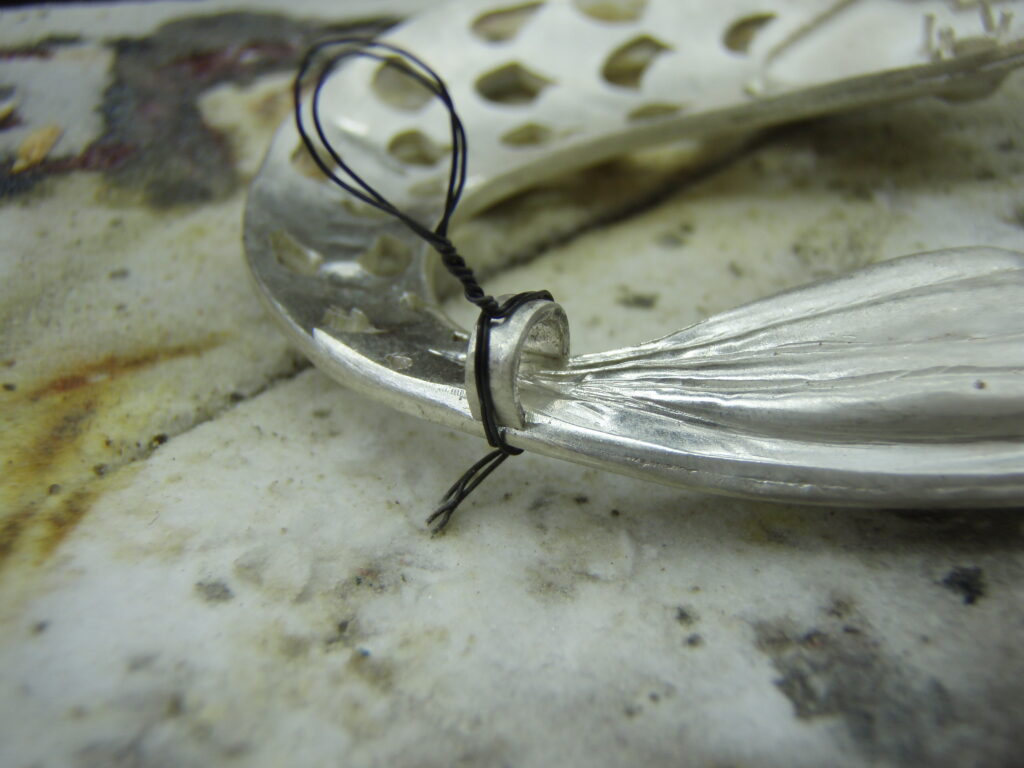
I soldered a strip of tapered, half-round wire along one edge to give the fin strength and rigidity. Any rough bits were smoothed over with a rubber wheel.
The reinforced tail piece was then soldered into position with medium solder and the holes for the articulated fins drilled into the body.
Cabochon
I decided to use a 5 mm diameter citrine cabochon as the eye. To fit the stone, I used a 5 mm ball bur to bur a hole from the back of the fish until it was almost through. This was so the stone would sit in the hole but not pass all the way through. Next, four pins where soldered around the back of the hole so the stone could be secured.
Alternating rows of scales were then pierced out of the back plate to create a pattern of hollow and solid scales.
To limit the movement of the fins, a second pin passes through the gap where one of the scales has been pierced out.
A loop is soldered on the back where the tail joins the body. This is the pivot point of the piece and is where the chain will hang when it is attached. Texture was added to the back of the fish head and the solid scales.
The parts of the fish were all sanded to a 1200 grit finish, then placed into a tumbler with polished steel shot and tumbled for four hours. This polishes the silver by burnishing the metal. This action also “work-hardens” the silver.
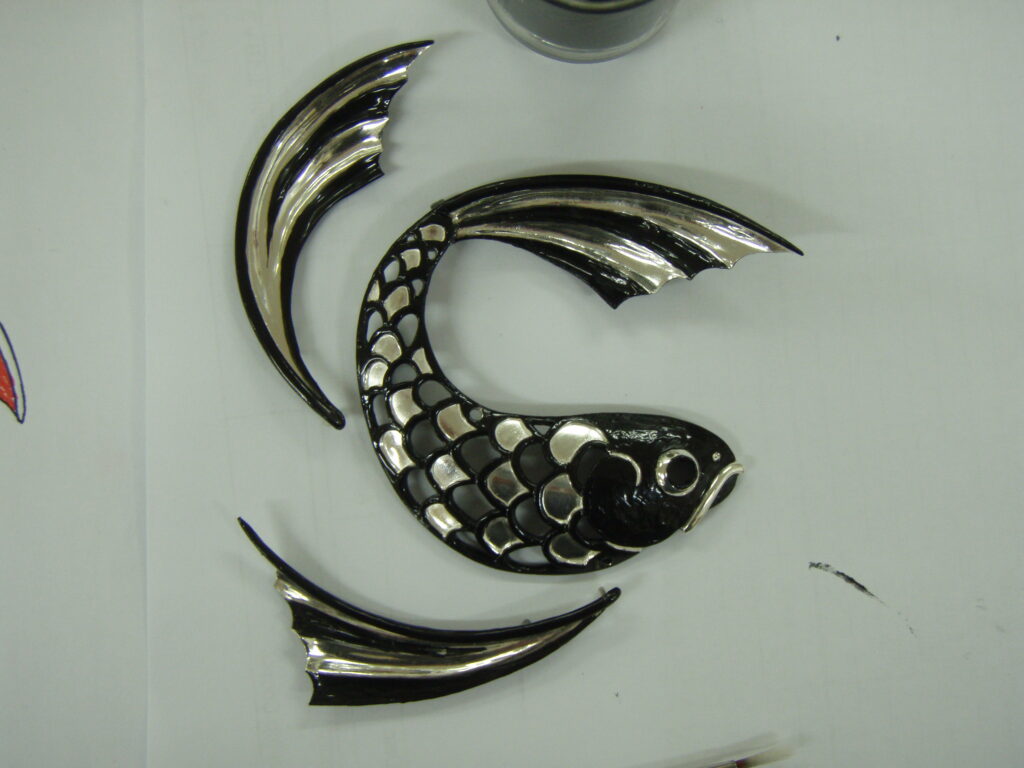
Parts of the fins, the eye and mouth are masked off with two coats of nail polish before being sent off to the electro-platers. A bright 22-carat gold coating will adhere to any surface of the fish that is not masked off by nail polish. The nail polish is then stripped off with paint thinners to reveal a contrasting silver and gold finish.
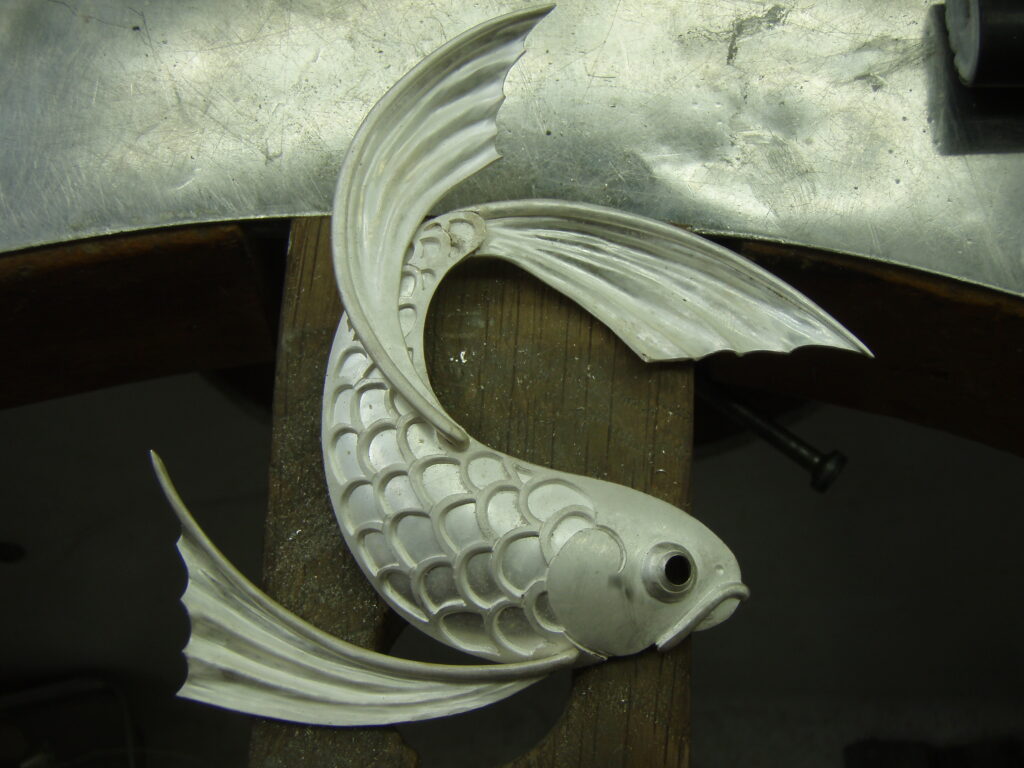
Finally the fins are riveted into place with a small washer so they are still able to move, the stone is inserted into the hole for the eye and the pins are bent over to hold it in place.
Shubunkin live
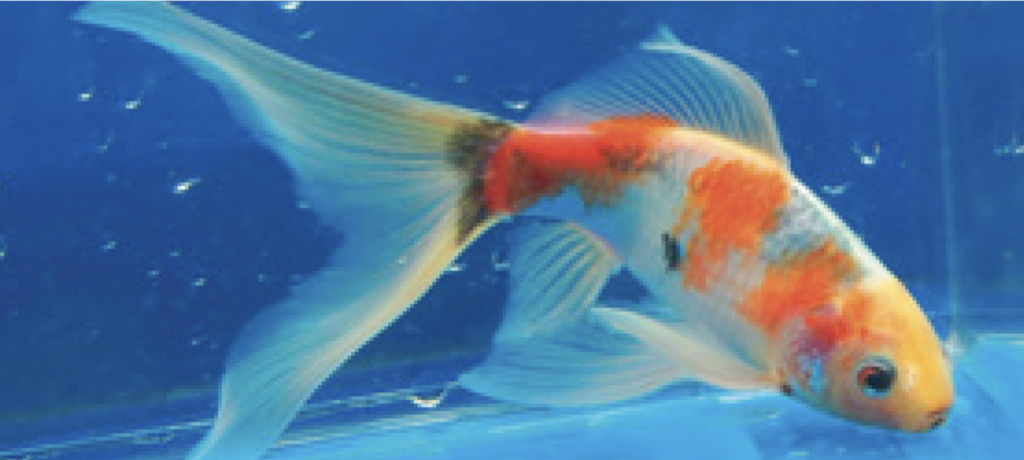
The hardy goldfish called shubunkin is known for its “calico” colours – the name translates variously as red brocade or deep red with different colours. The shubunkin was developed in Japan and the three different types distinguishable today—Japanese/American, London and Bristol shubunkin goldfish—can be identified by their different tail shapes.
Yin yang
The symbol of yin yang used in the Chinese philosophy Taoism shows polar opposites, equal and contrary, but with their forces conforming and complementing each other to create a harmonious whole.


