Christchurch shed lean-to, brick floor earthquake memorial
By Ritchie Wilson
Photographs: Ritchie Wilson
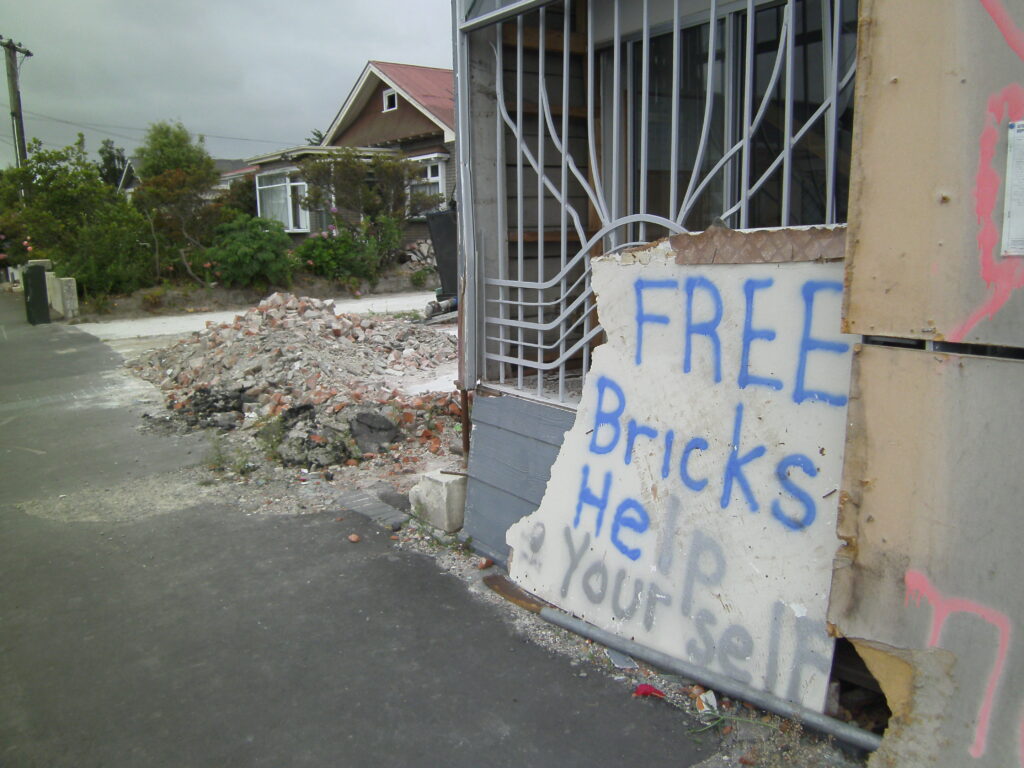
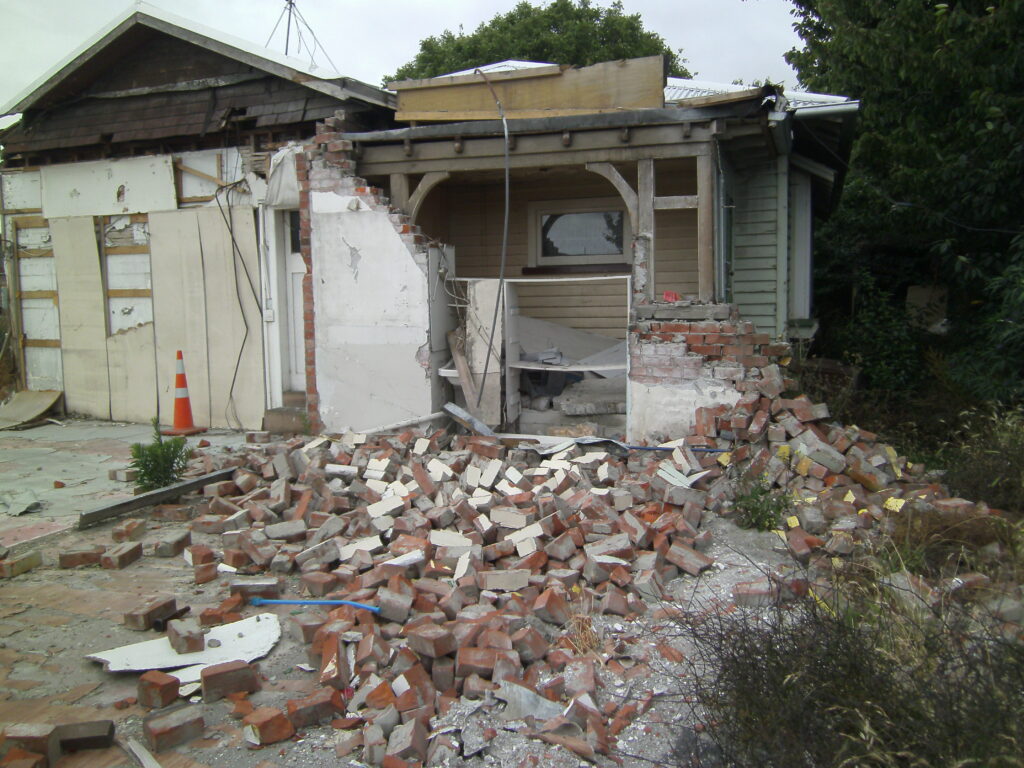
After Christchurch’s 2011 earthquake many of the city’s brick structures were damaged beyond repair and were pulled down and almost every chimney in our part of town was demolished. Before the earthquake, clean red bricks were more than a dollar each; after, there were so many of them, they had no value. Many property owners left piles of bricks on the kerb in the hope that they would be taken away.
The carport of my shed was meant to have a concrete floor but because of the many free bricks and the unavailability of pre-mixed concrete for weeks, I decided to make the floor out of recycled “earthquake” bricks.
The original scheme to incorporate the numbers “2011” for the year in yellow glazed bricks was too complicated in the time available. But a paved floor can be relatively easily re-worked so the number may yet appear.
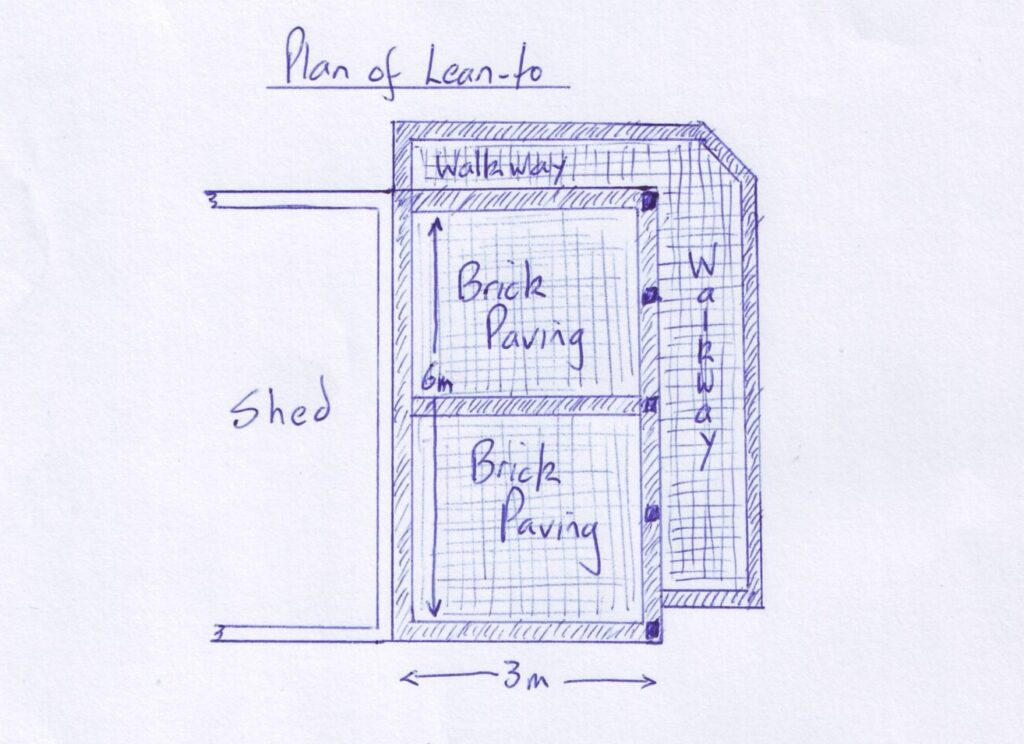
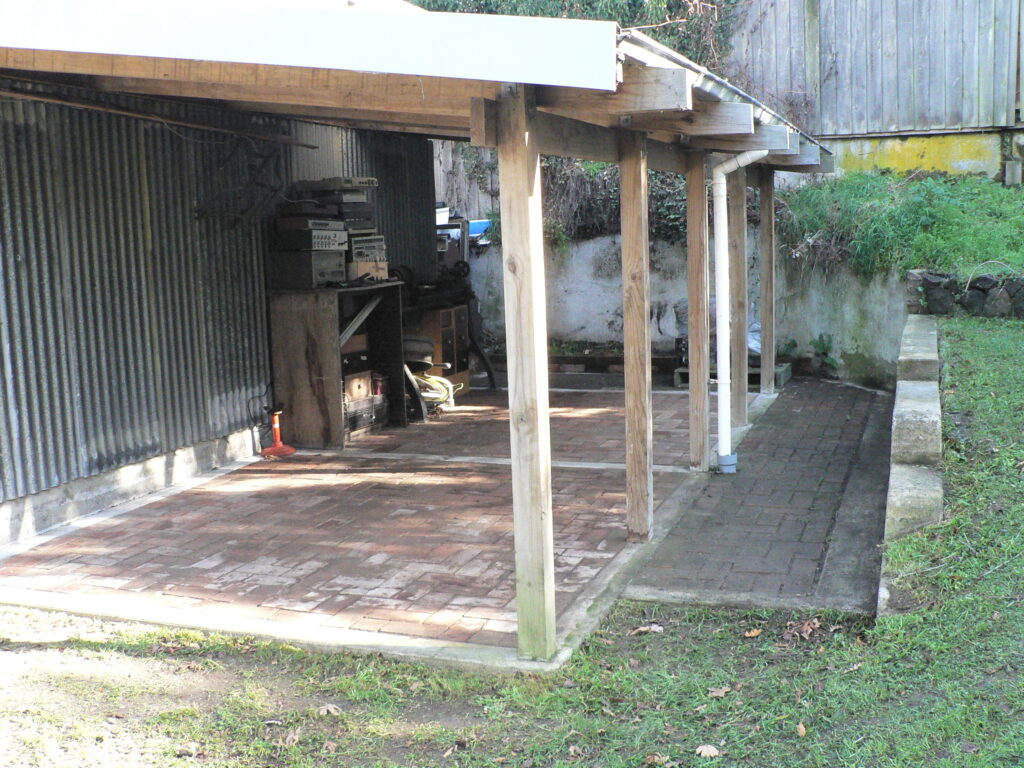
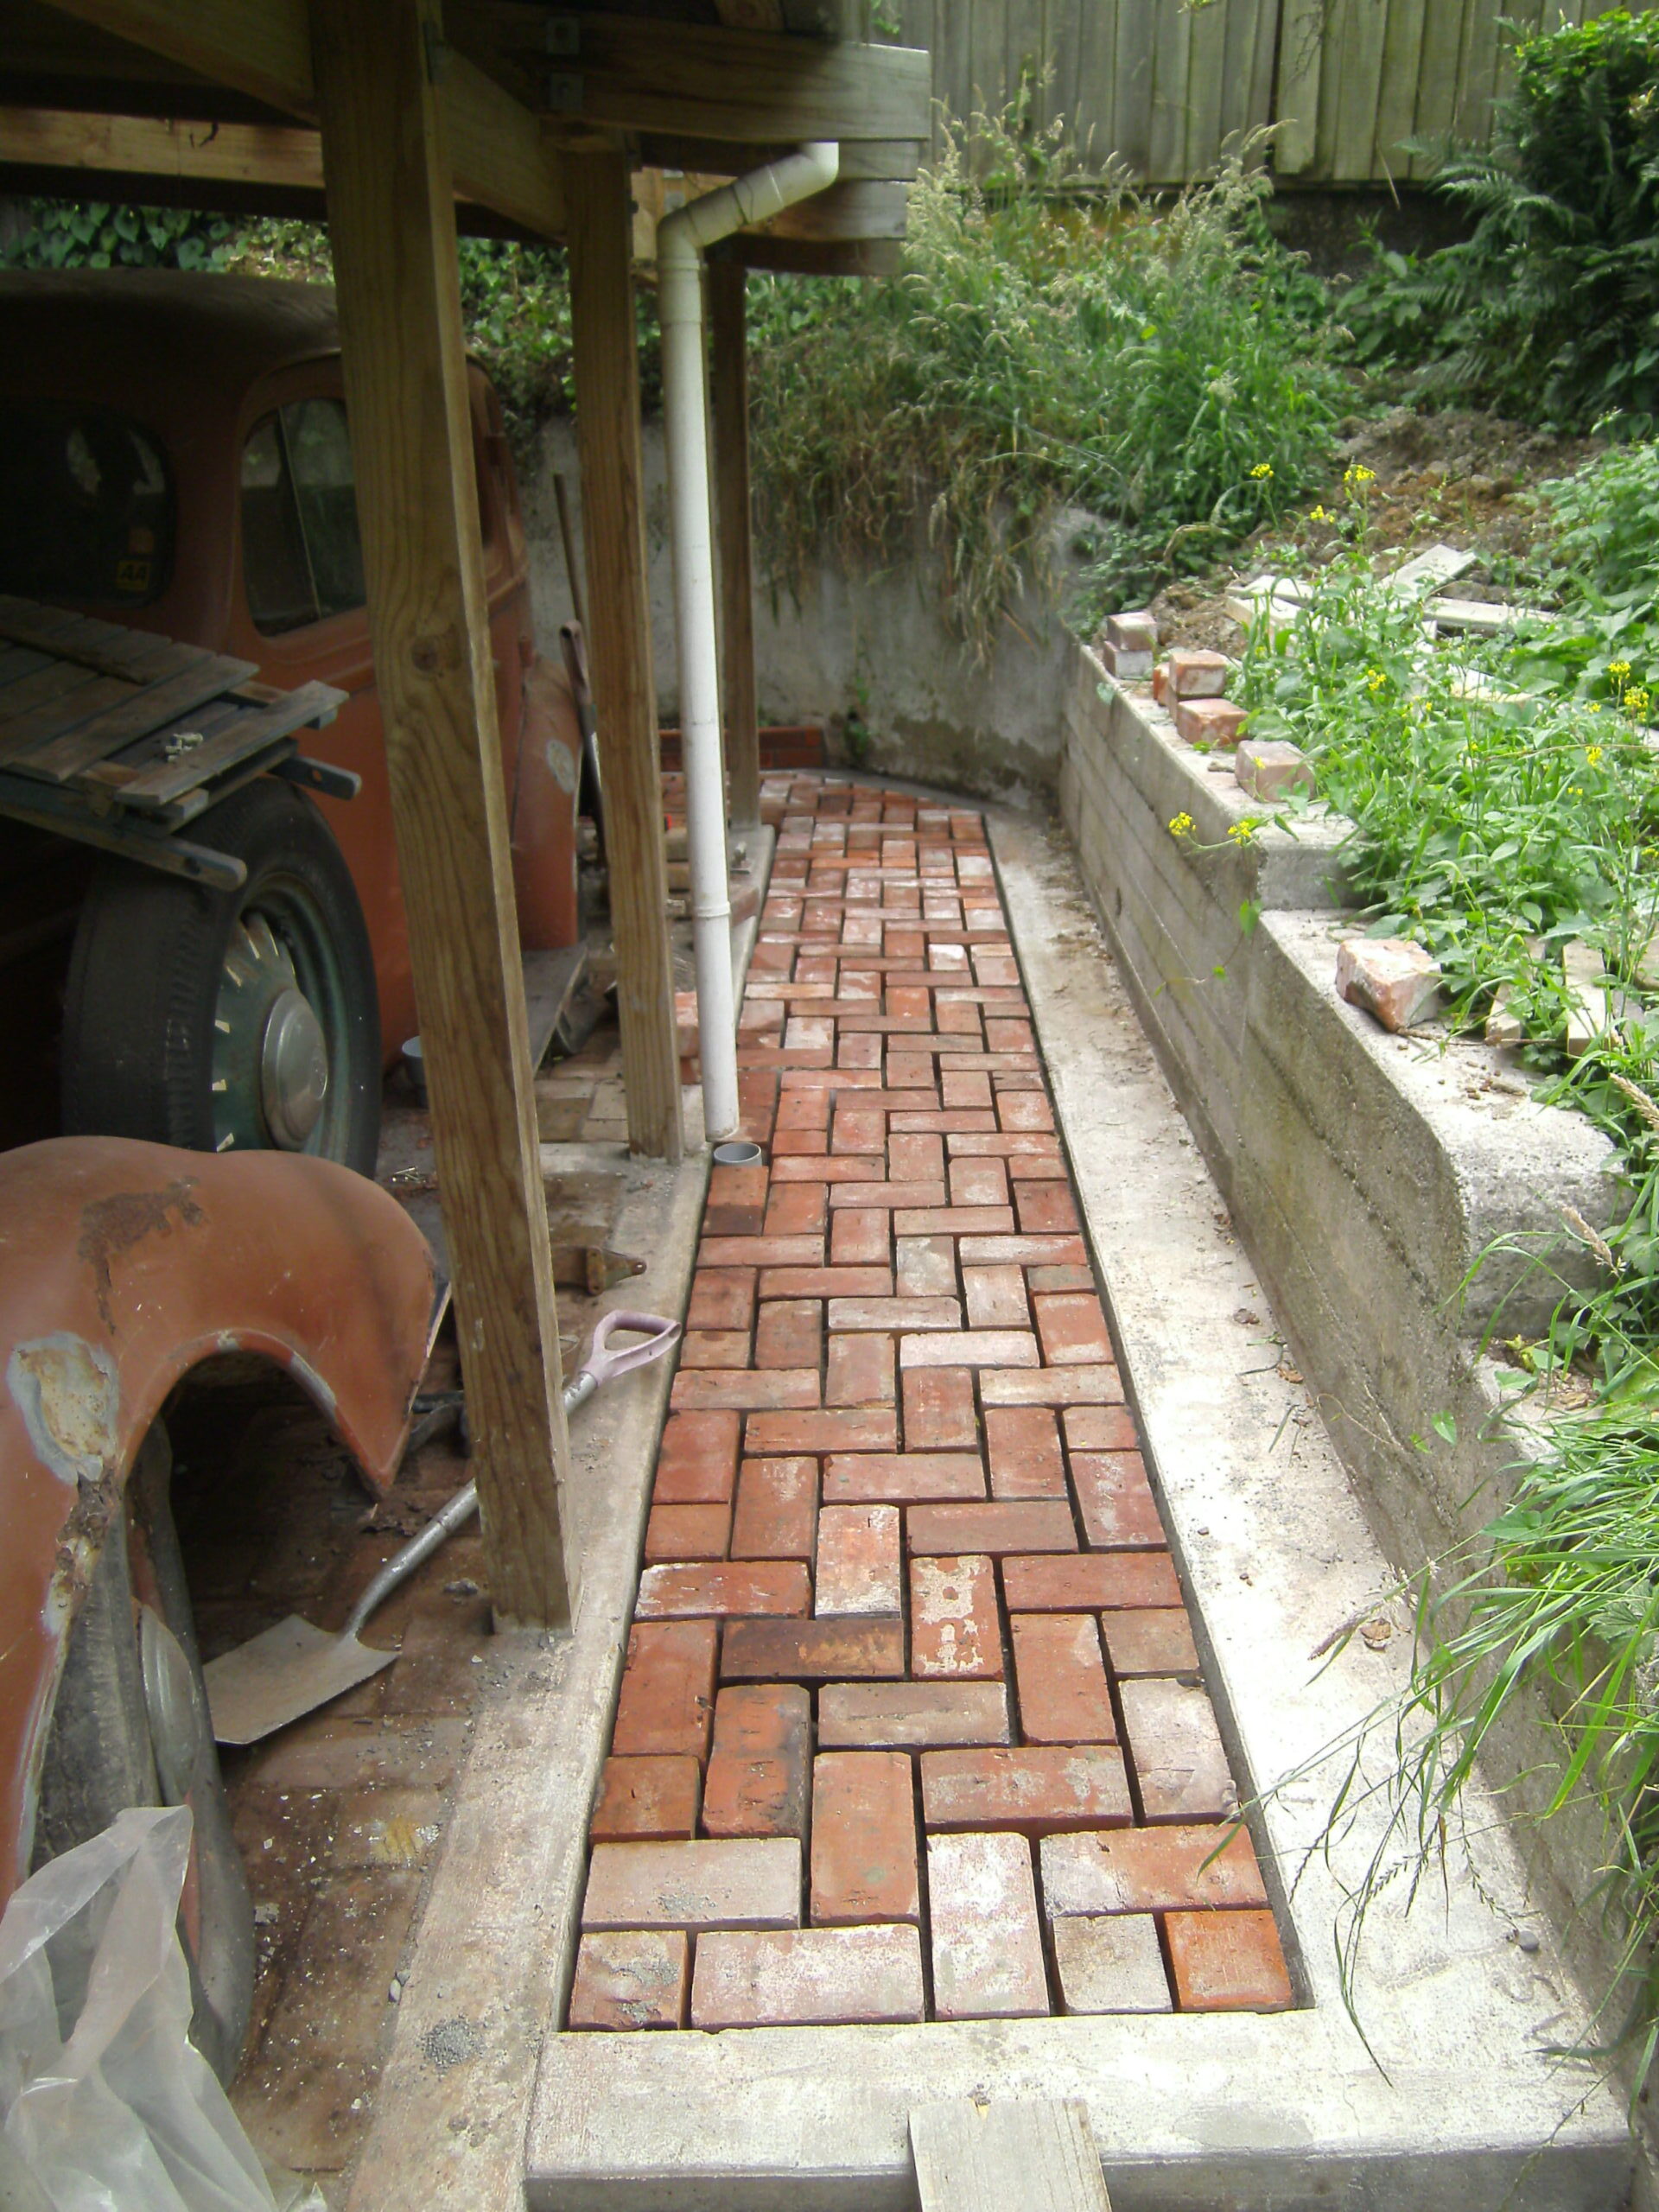
Carport
The dimensions of the area I covered are three metres by six metres. There is a one-metre strip on the north and west sides. The total area isn’t covered in bricks because there are 200mm-wide concrete edges stopping the bricks from moving.
The lean-to is built on a particularly soft part of our section, which was 100 years ago actually the bed of the Heathcote river. I wanted to maximise the strength of the paving so made the rubble layer about 200 mm thick, not excessive according to authorities. There is less likelihood of moisture (of which we have no shortage) wicking up through a thicker porous layer.
Roadsides
Over several weeks I collected suitable bricks from Christchurch roadsides. It seems silly in retrospect but I usually took only part of the pile to leave some for others. Probably some of these were taken by the authorities to the dump. I also had the feeling that getting bricks from as many sources as possible made a more valid memorial.
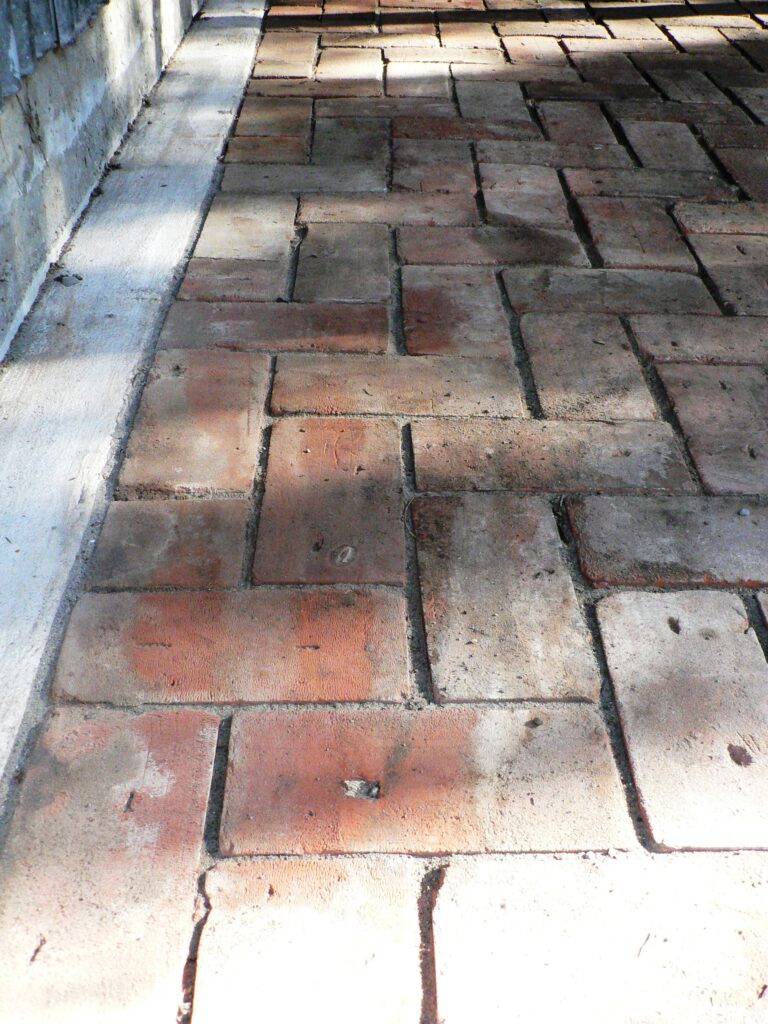
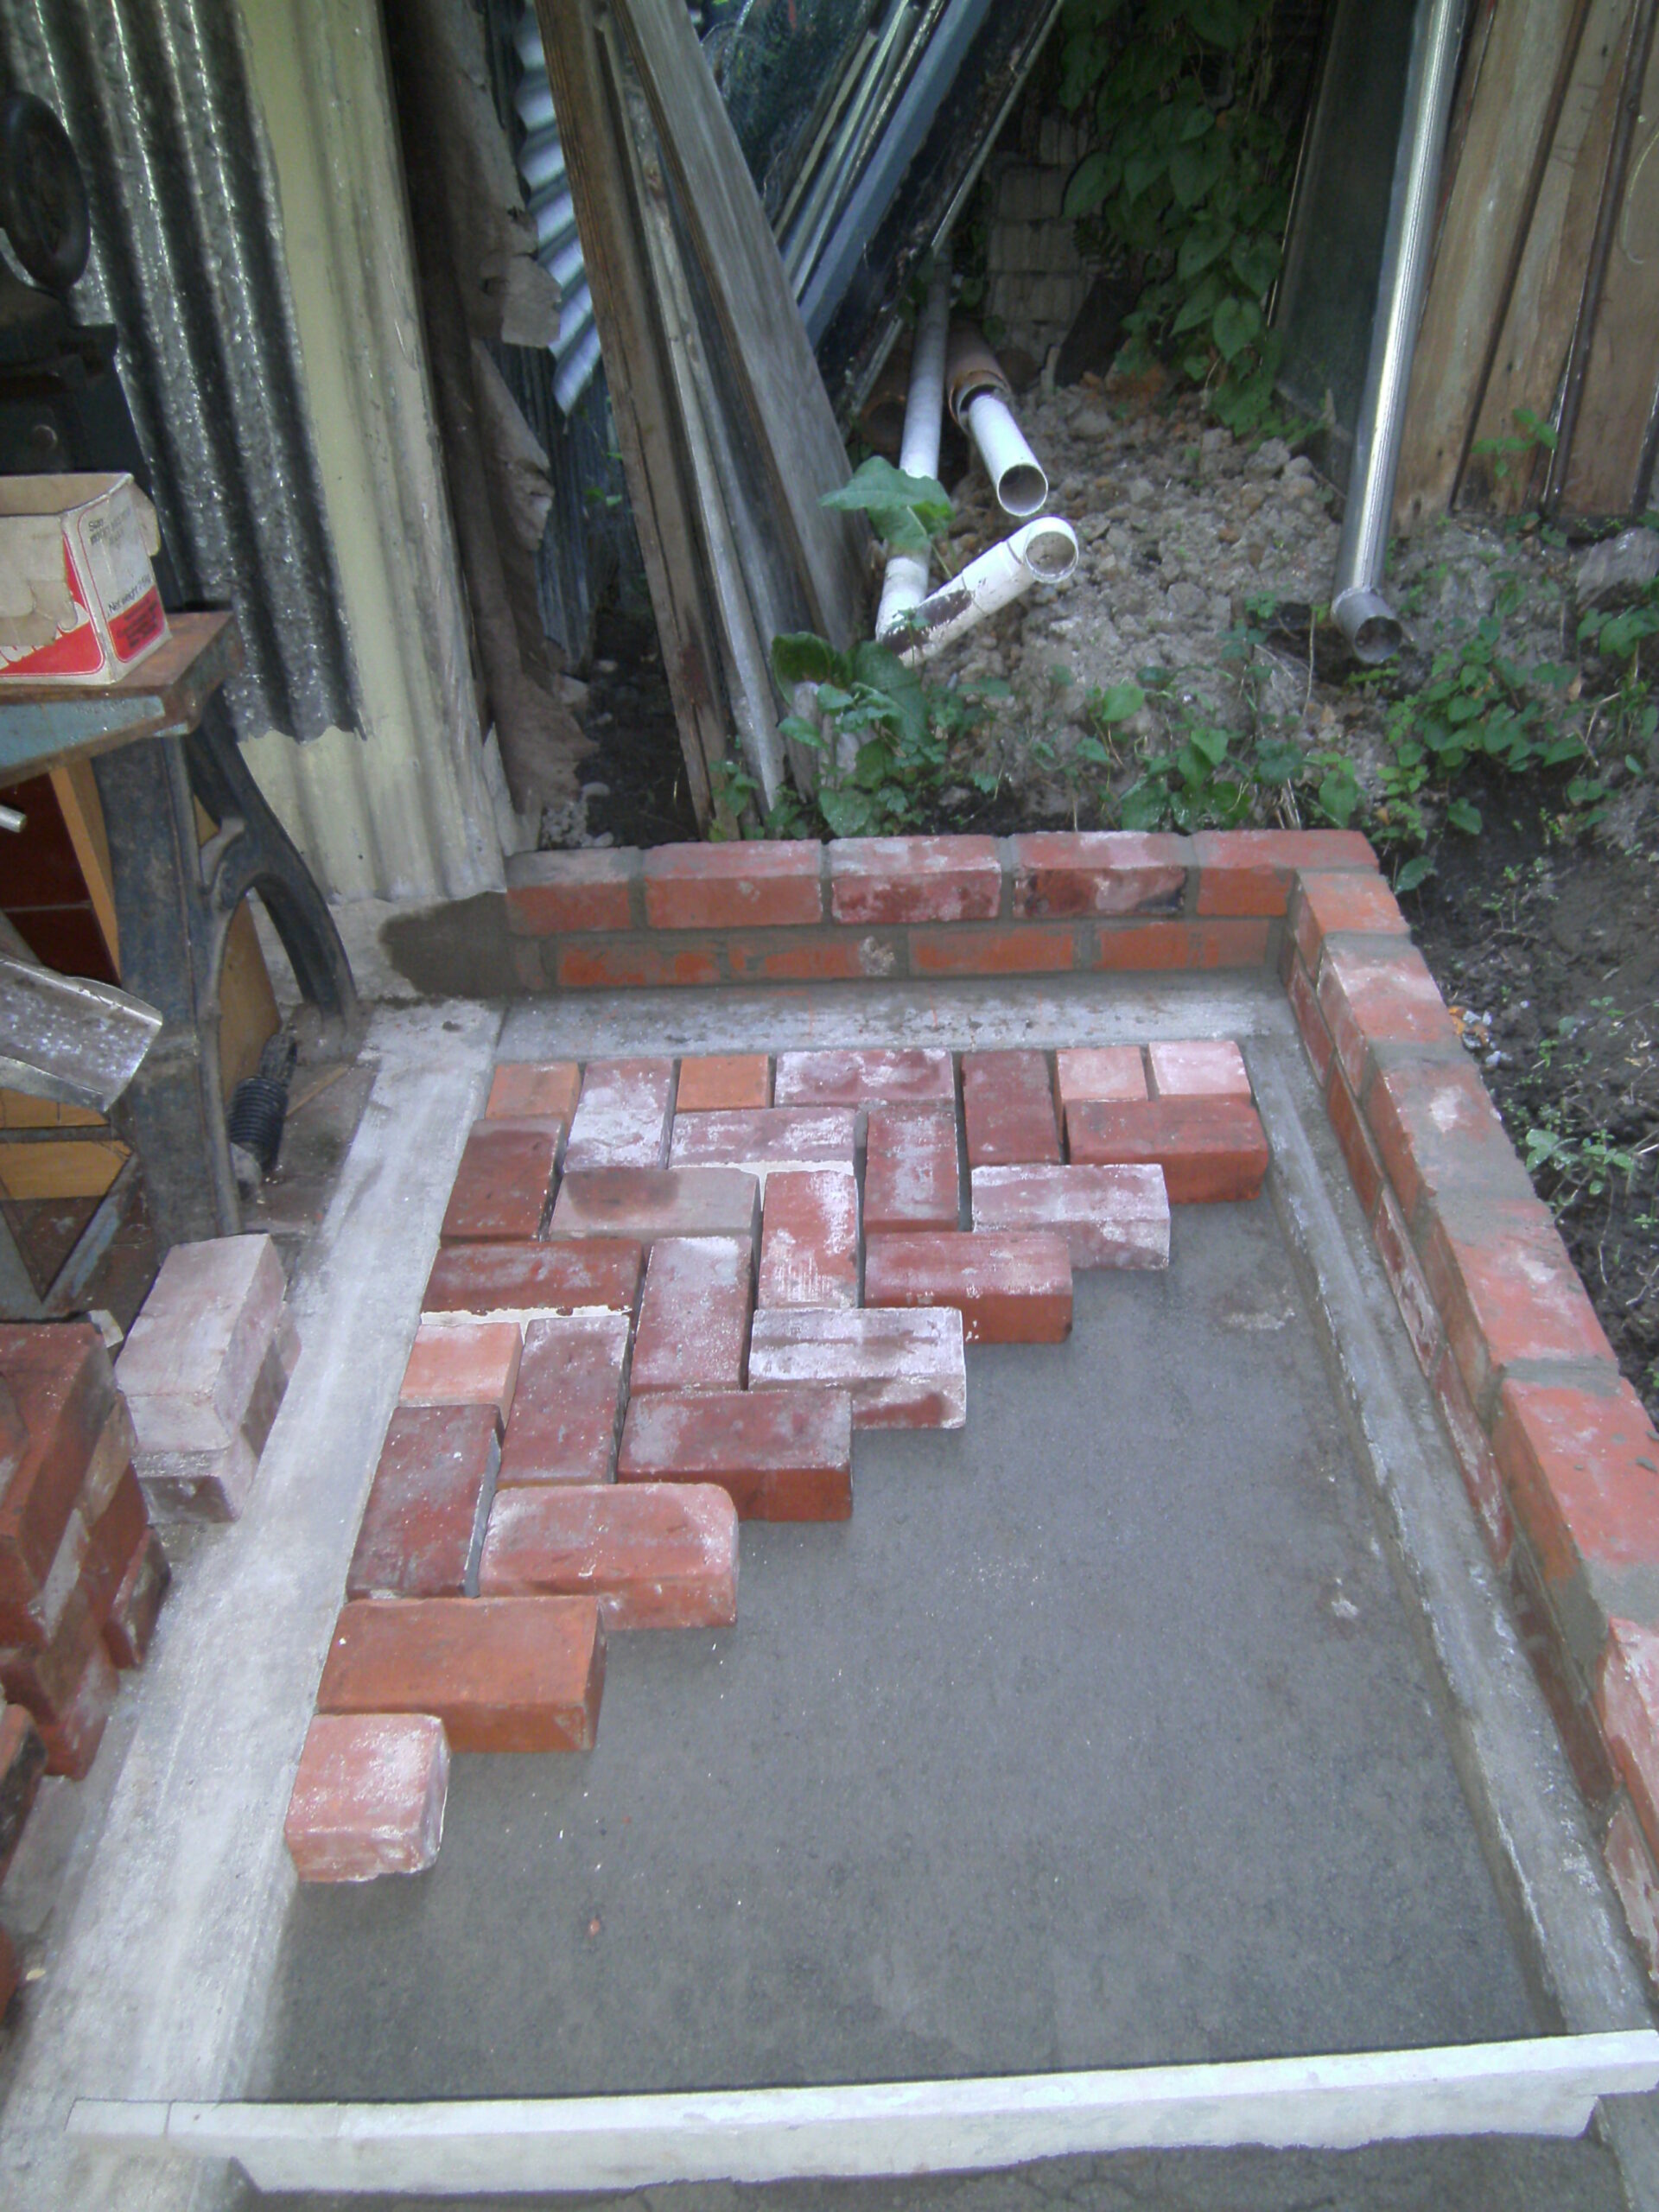
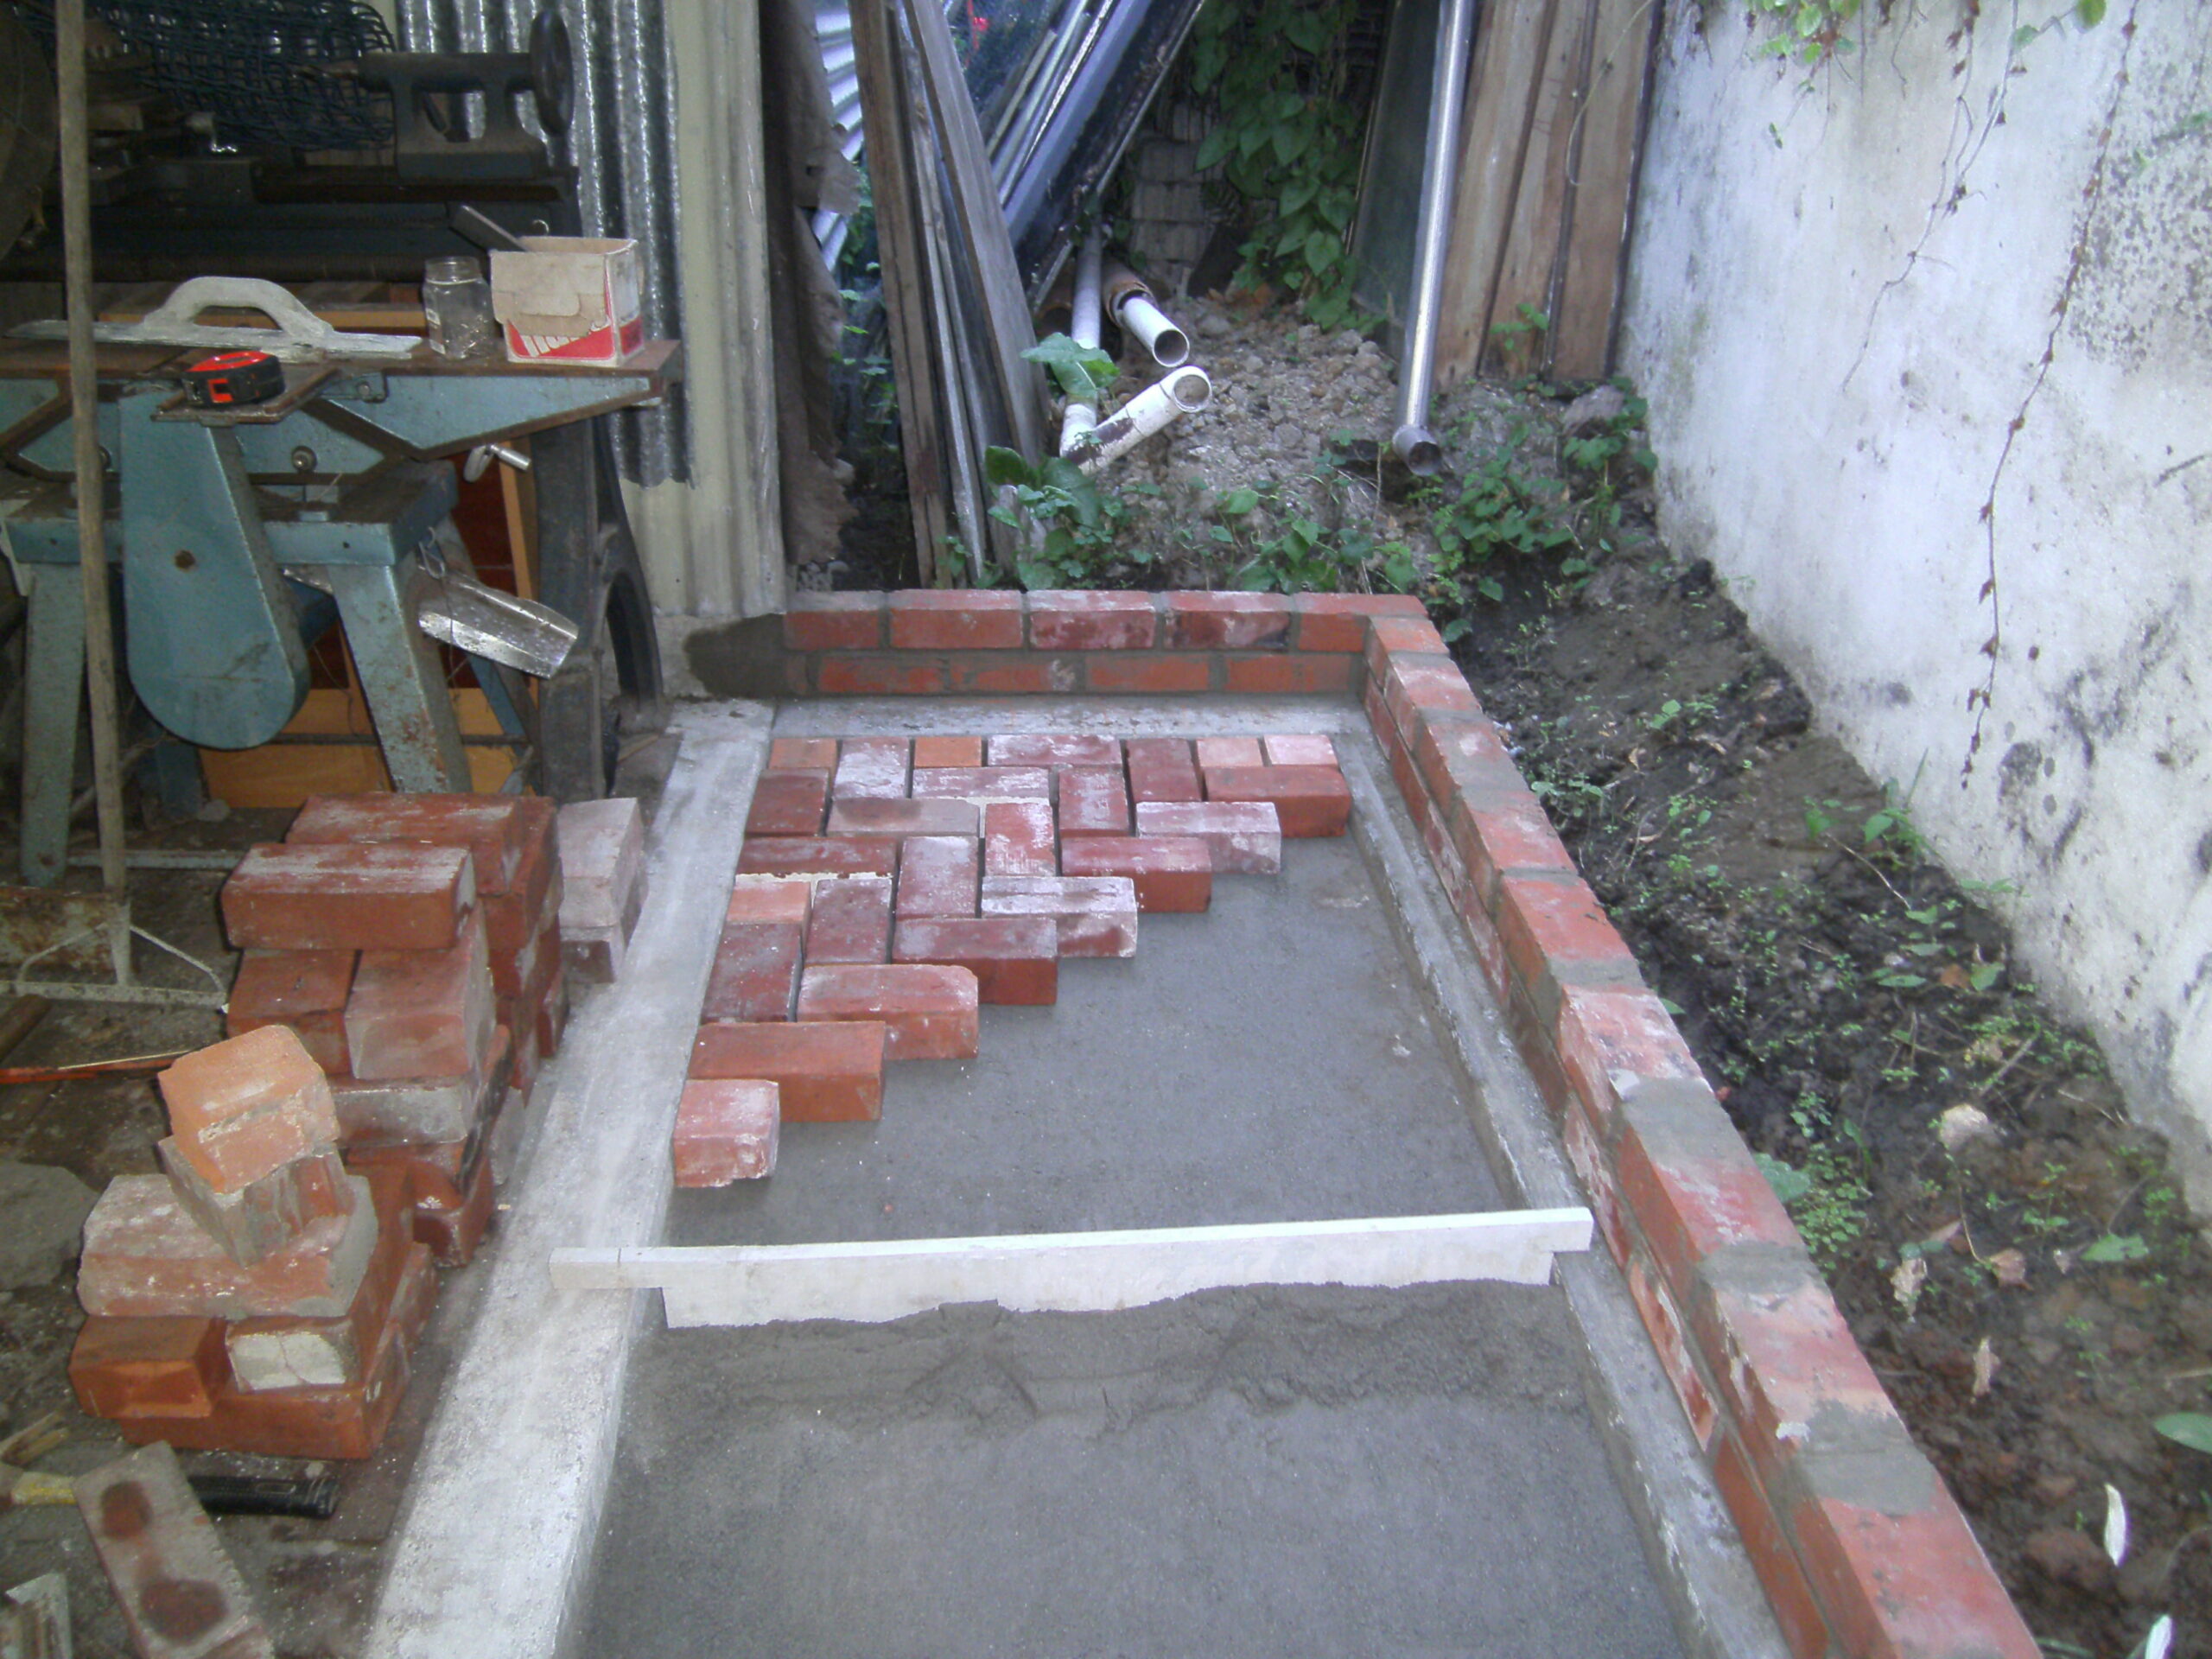
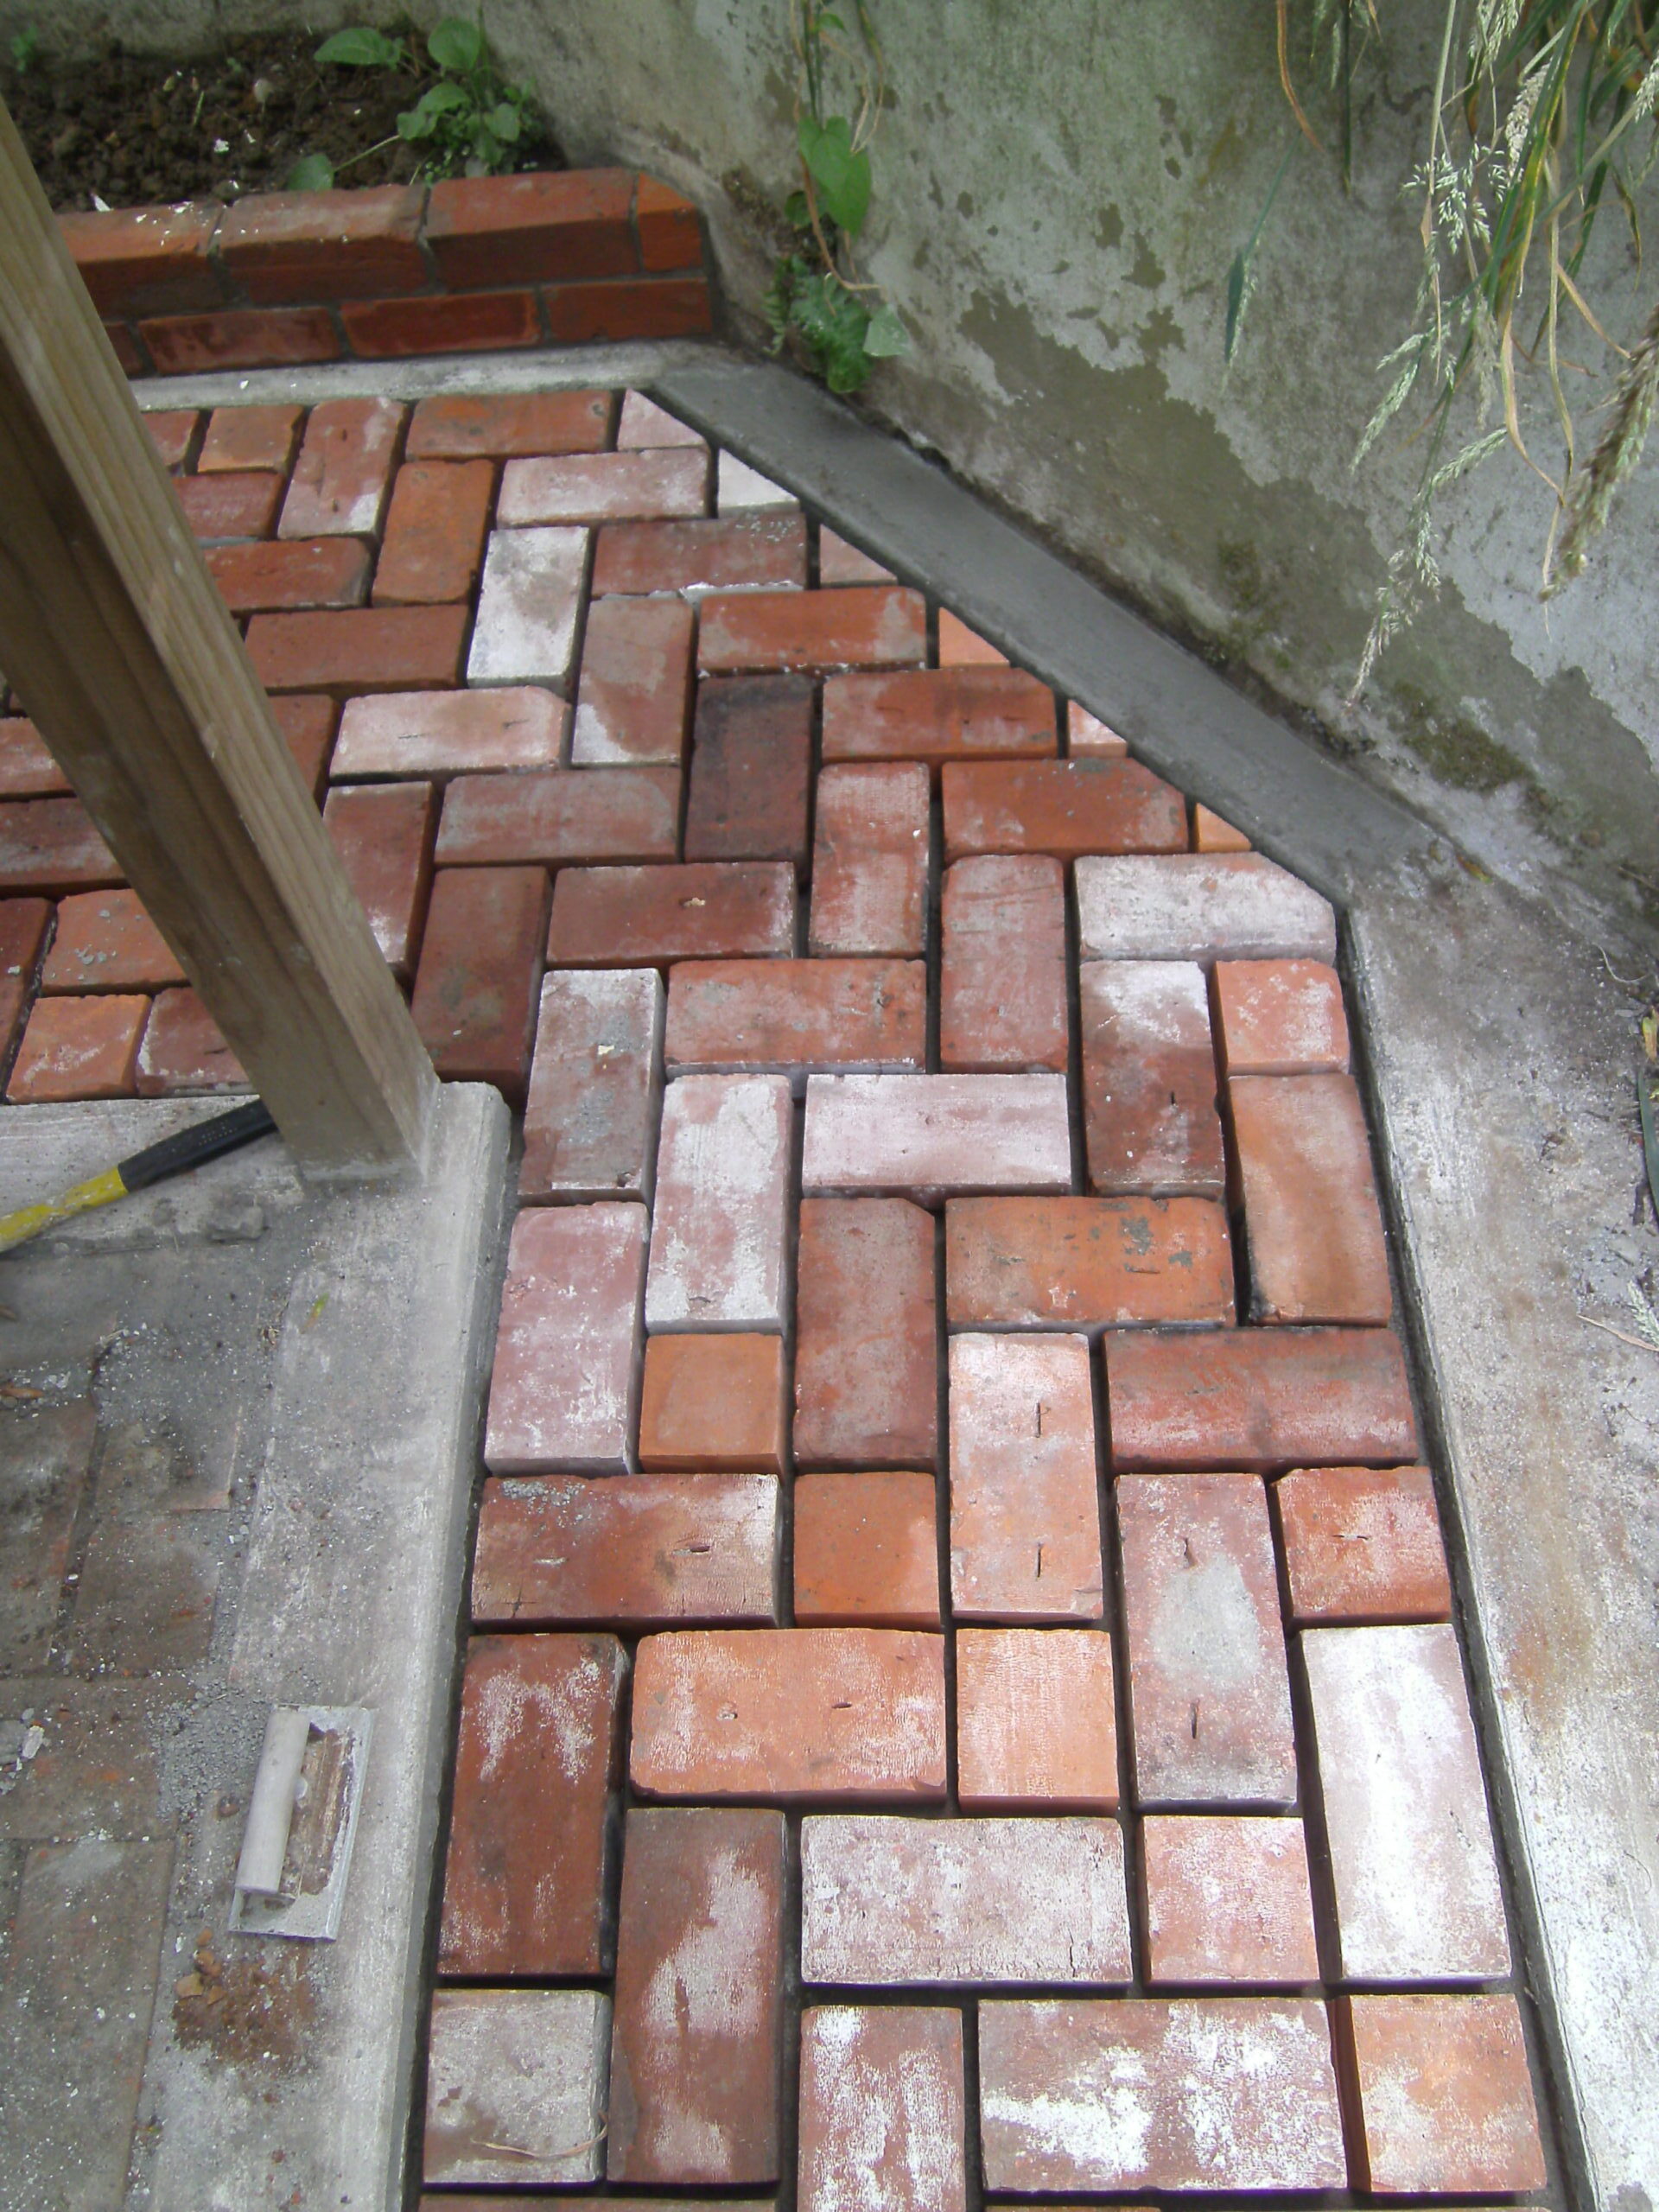
I decided to lay the bricks in a herring-bone pattern on compacted bedding sand after obtaining all the information that I needed from the British company A J McCormack and Son at www.pavingexpert.com. On the internet there are several sites which give details of how to lay paving. In New Zealand, Mitre 10 and Moniers are among many companies which detail paving methods on-line. You Tube has videos on many subjects, including paving, and some are interesting and even useful.
I dug the ground out to a depth of about 300 mm, a depth I chose because the deeper the solid foundation of a paved area the less likely it is to slump because of soft ground.
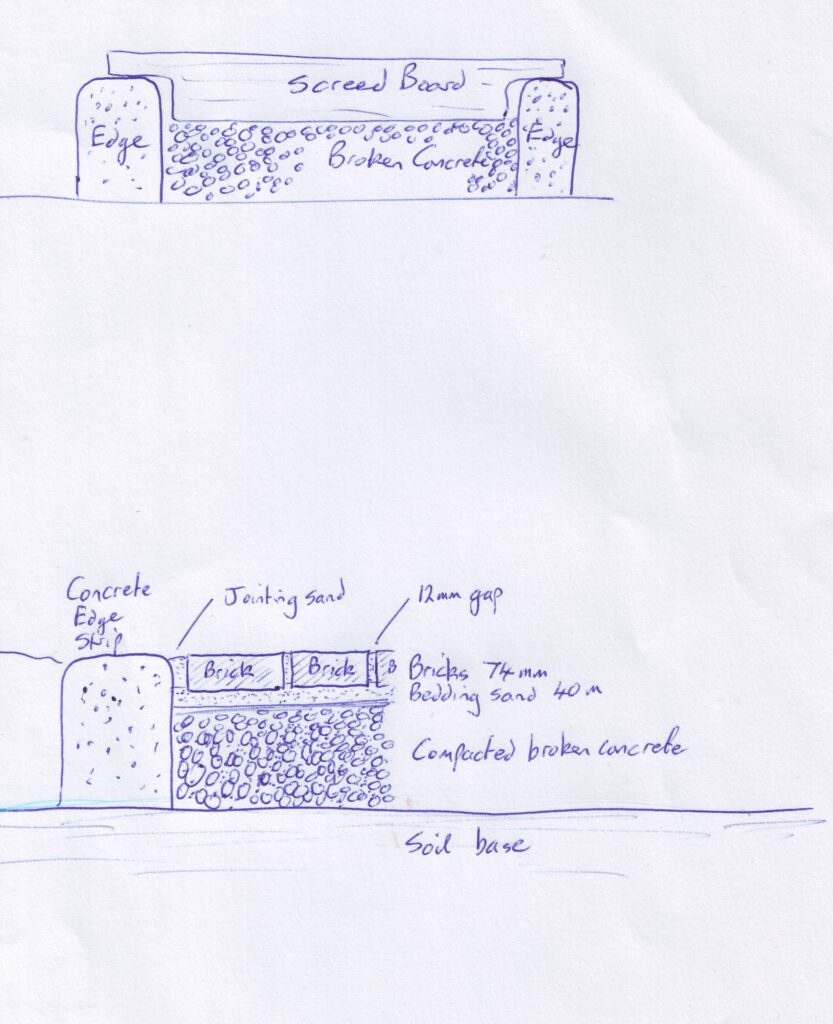
With concrete mixed on site, I cast the edges to the finished floor height. The edges had a slight rear-to-front gradient so that any water would drain away. Within these edges, I compacted broken concrete rubble from a demolished path with a heavyweight hired plate compactor, then screeded the fill off to about 110 mm below the finished height.
I found research that said essentially, for the optimum effect of a stable, but water-permeable layer, all sizes of concrete rubble pieces should be incorporated as fill (including the smallest) up to 50 mm-diameter pieces.
Then, using the concrete edges as guides, I spread bedding sand over the rubble and compacted and screeded it to 70 mm below the finished height. I was aiming for a 40 mm sand thickness. Bedding sand cost me $100 per cubic metre.
I was conscious that bedding sand could, over time, filter into the concrete rubble and reduce the sand layer’s thickness, causing the brick pavers to slump. So, to reduce the gaps between the lumps of broken concrete at the top of the rubble layer, I spread a very thin layer of fine gravel over as it approached the correct height. This formed a flat and reasonably impervious surface.
Sand height
To clean the bricks, I scraped them with a concreting trowel to remove any mortar, brushed them with a wire brush and washed them with water.
The exact final height you need for the compacted bedding sand is complicated to work out. The bricks—laid and compacted—should be at the finished floor level, so it is useful to experiment to find out how much they will sink into the compacted bedding sand after being compacted themselves. The sand height can then be adjusted to suit.
If a hired plate compactor is sitting around while this goes on it can get expensive so I compacted them with a surveyor’s peg-bar which I was lucky enough to buy at a local garage sale. I had to be careful to avoid cracking the bricks as I tapped them down. In the end, the bricks sank by about 5 mm.
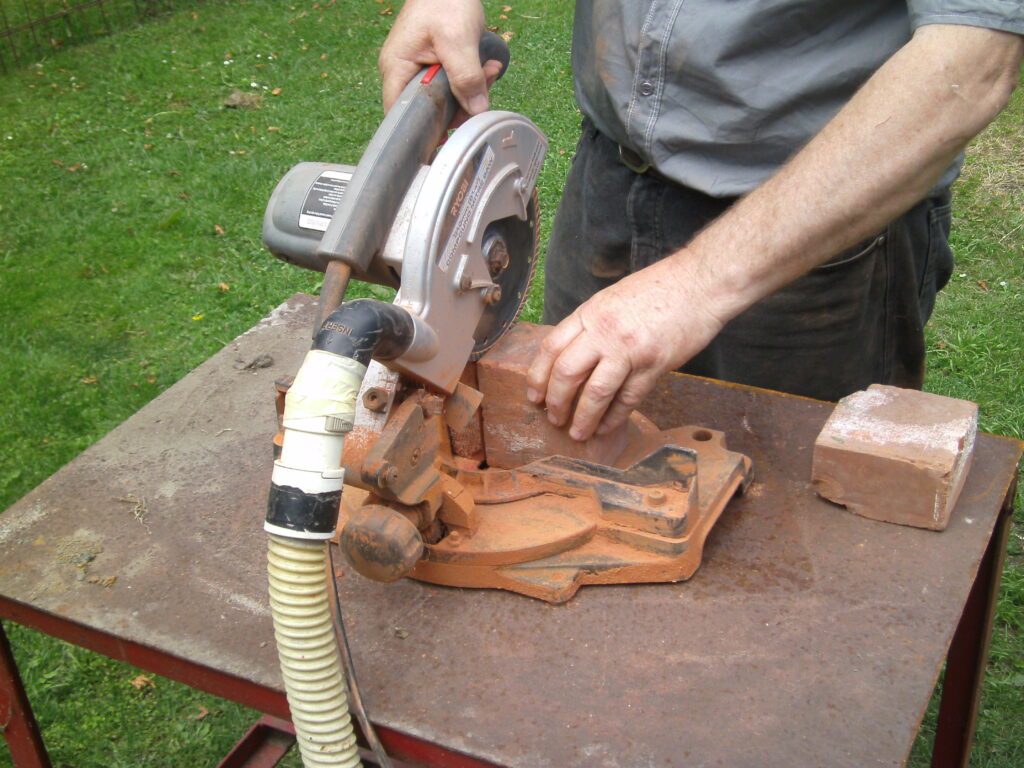
Because of the herring bone pattern, I needed many half-bricks at the edges. I cut with them a diamond saw blade, but this is not recommended because of the large amount of dust produced which is a health hazard. I realise a dedicated brick-cutting saw would be better, using water to reduce the amount of dust and the risk.
Ordinary bricks
Ordinary bricks don’t make the best pavers for several reasons:
- they may be relatively weak;
- they vary more than you would expect in size; and
- the ratio of their width to length causes bigger-than-ideal gaps between bricks.
While the strength of the bricks is an issue, on a well-compacted, stable base they should be up to the task. How they will perform under, say, jacking forces remains to be seen.
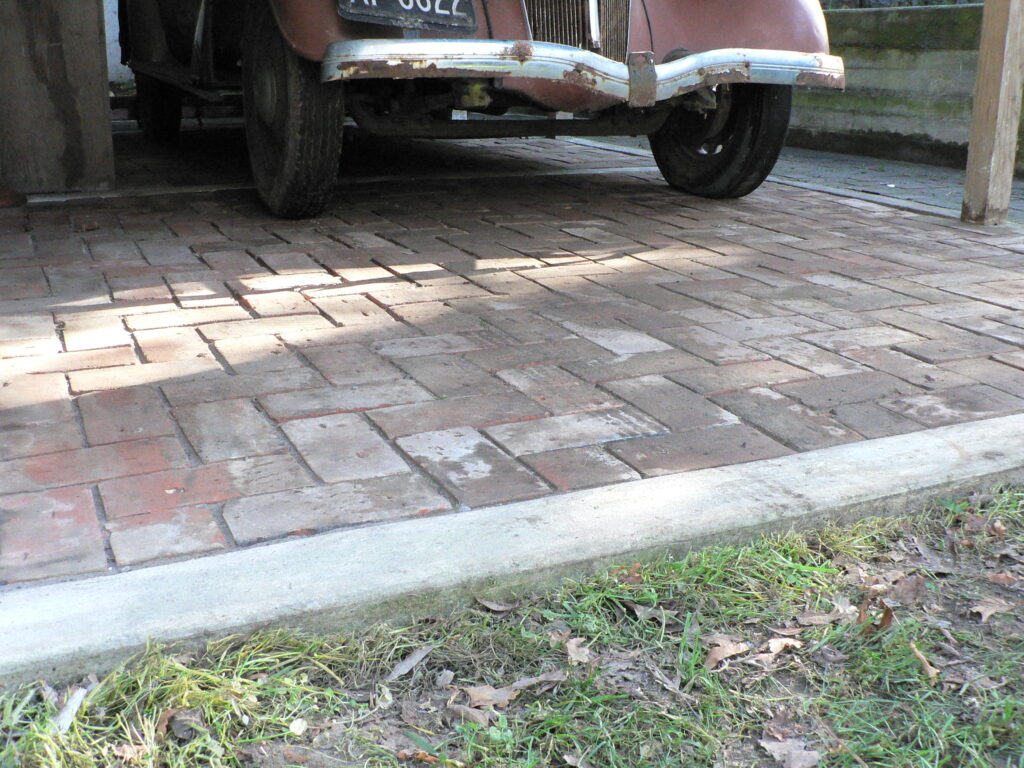
I initially spaced my bricks about 12 mm apart, judging the gap by eye and periodically adjusting these to get a regular pattern. String lines along and across the carport helped me to get reasonably straight lines in both directions.
I tried to get whole numbers of bricks along and across the carport. The dimensions of the space to be paved can be varied by changing the thickness of the concrete edging strips and I had to recast a thicker strip on one side to eliminate an embarrassing gap. I blame the after-shocks.
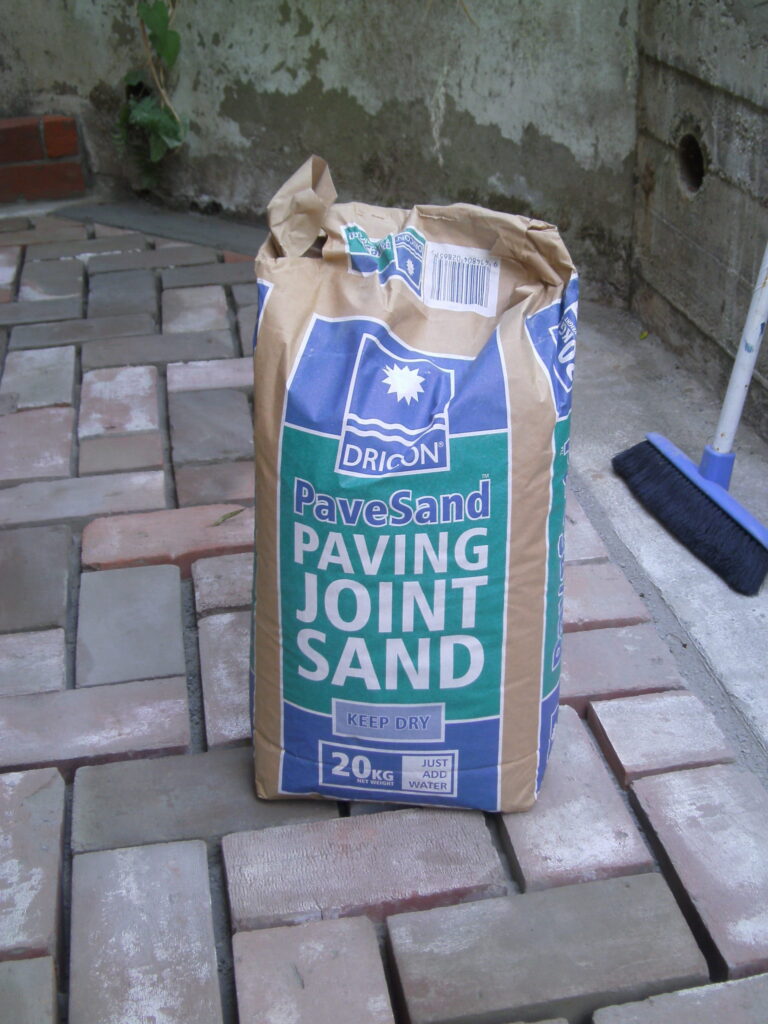
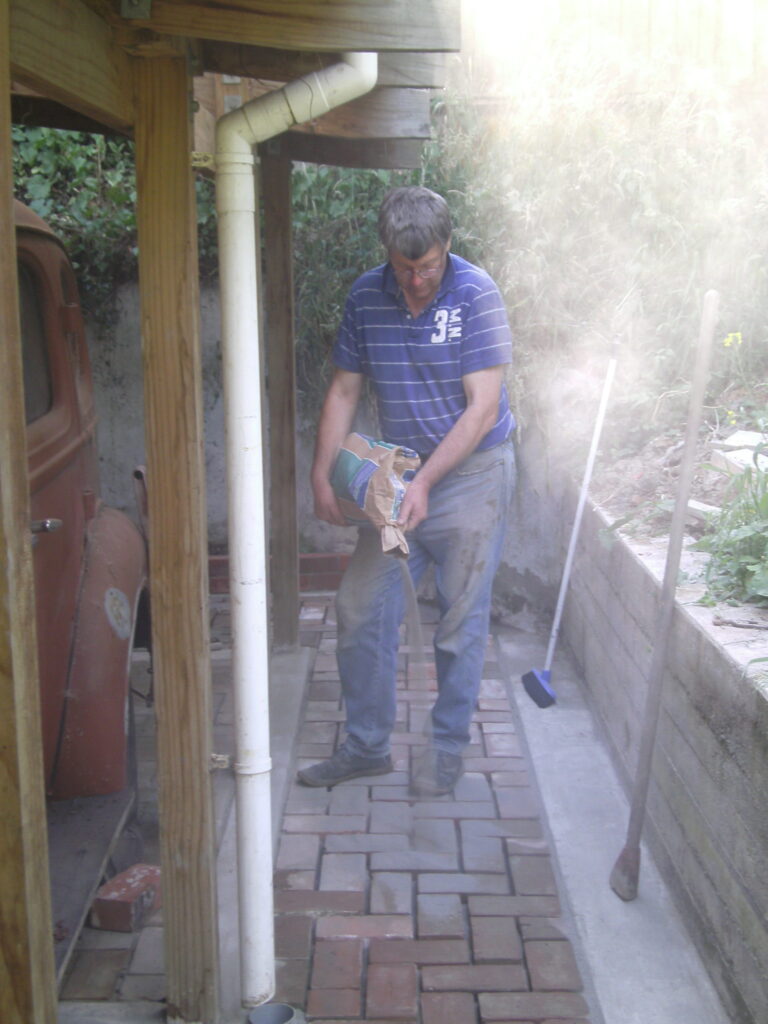
I used specially dried jointing sand ($16 per 40 kg bag) to fill the spaces between the bricks after lightly going over them with the plate compactor to lock them into position. I was guided by the website www.pavingexpert.com which says that 3 mm is the ideal distance between pavers. This apparently maximises locking and eliminates scour action which could see jointing sand lost through the action of wind and rain.
A way to reduce this scouring and increase locking would be to incorporate cement with the jointing sand. However, this would reduce the flexibility of the paving and perhaps its ability to remain presentable after seismic activity, which would seem to be an ongoing part of our lives.
A year later the bricks still look good and add a touch of class to a very utilitarian shed which nonetheless makes good cover for a rather rough 1936 Chevrolet sedan.
I had planned to make an earthquake-brick path to the shed’s back door, but it is many months since I have seen a kerb-side brick stack.
I may have to buy the next lot of bricks.


