No dramas with wind or shielding gas with gasless wire
By Greg Holster
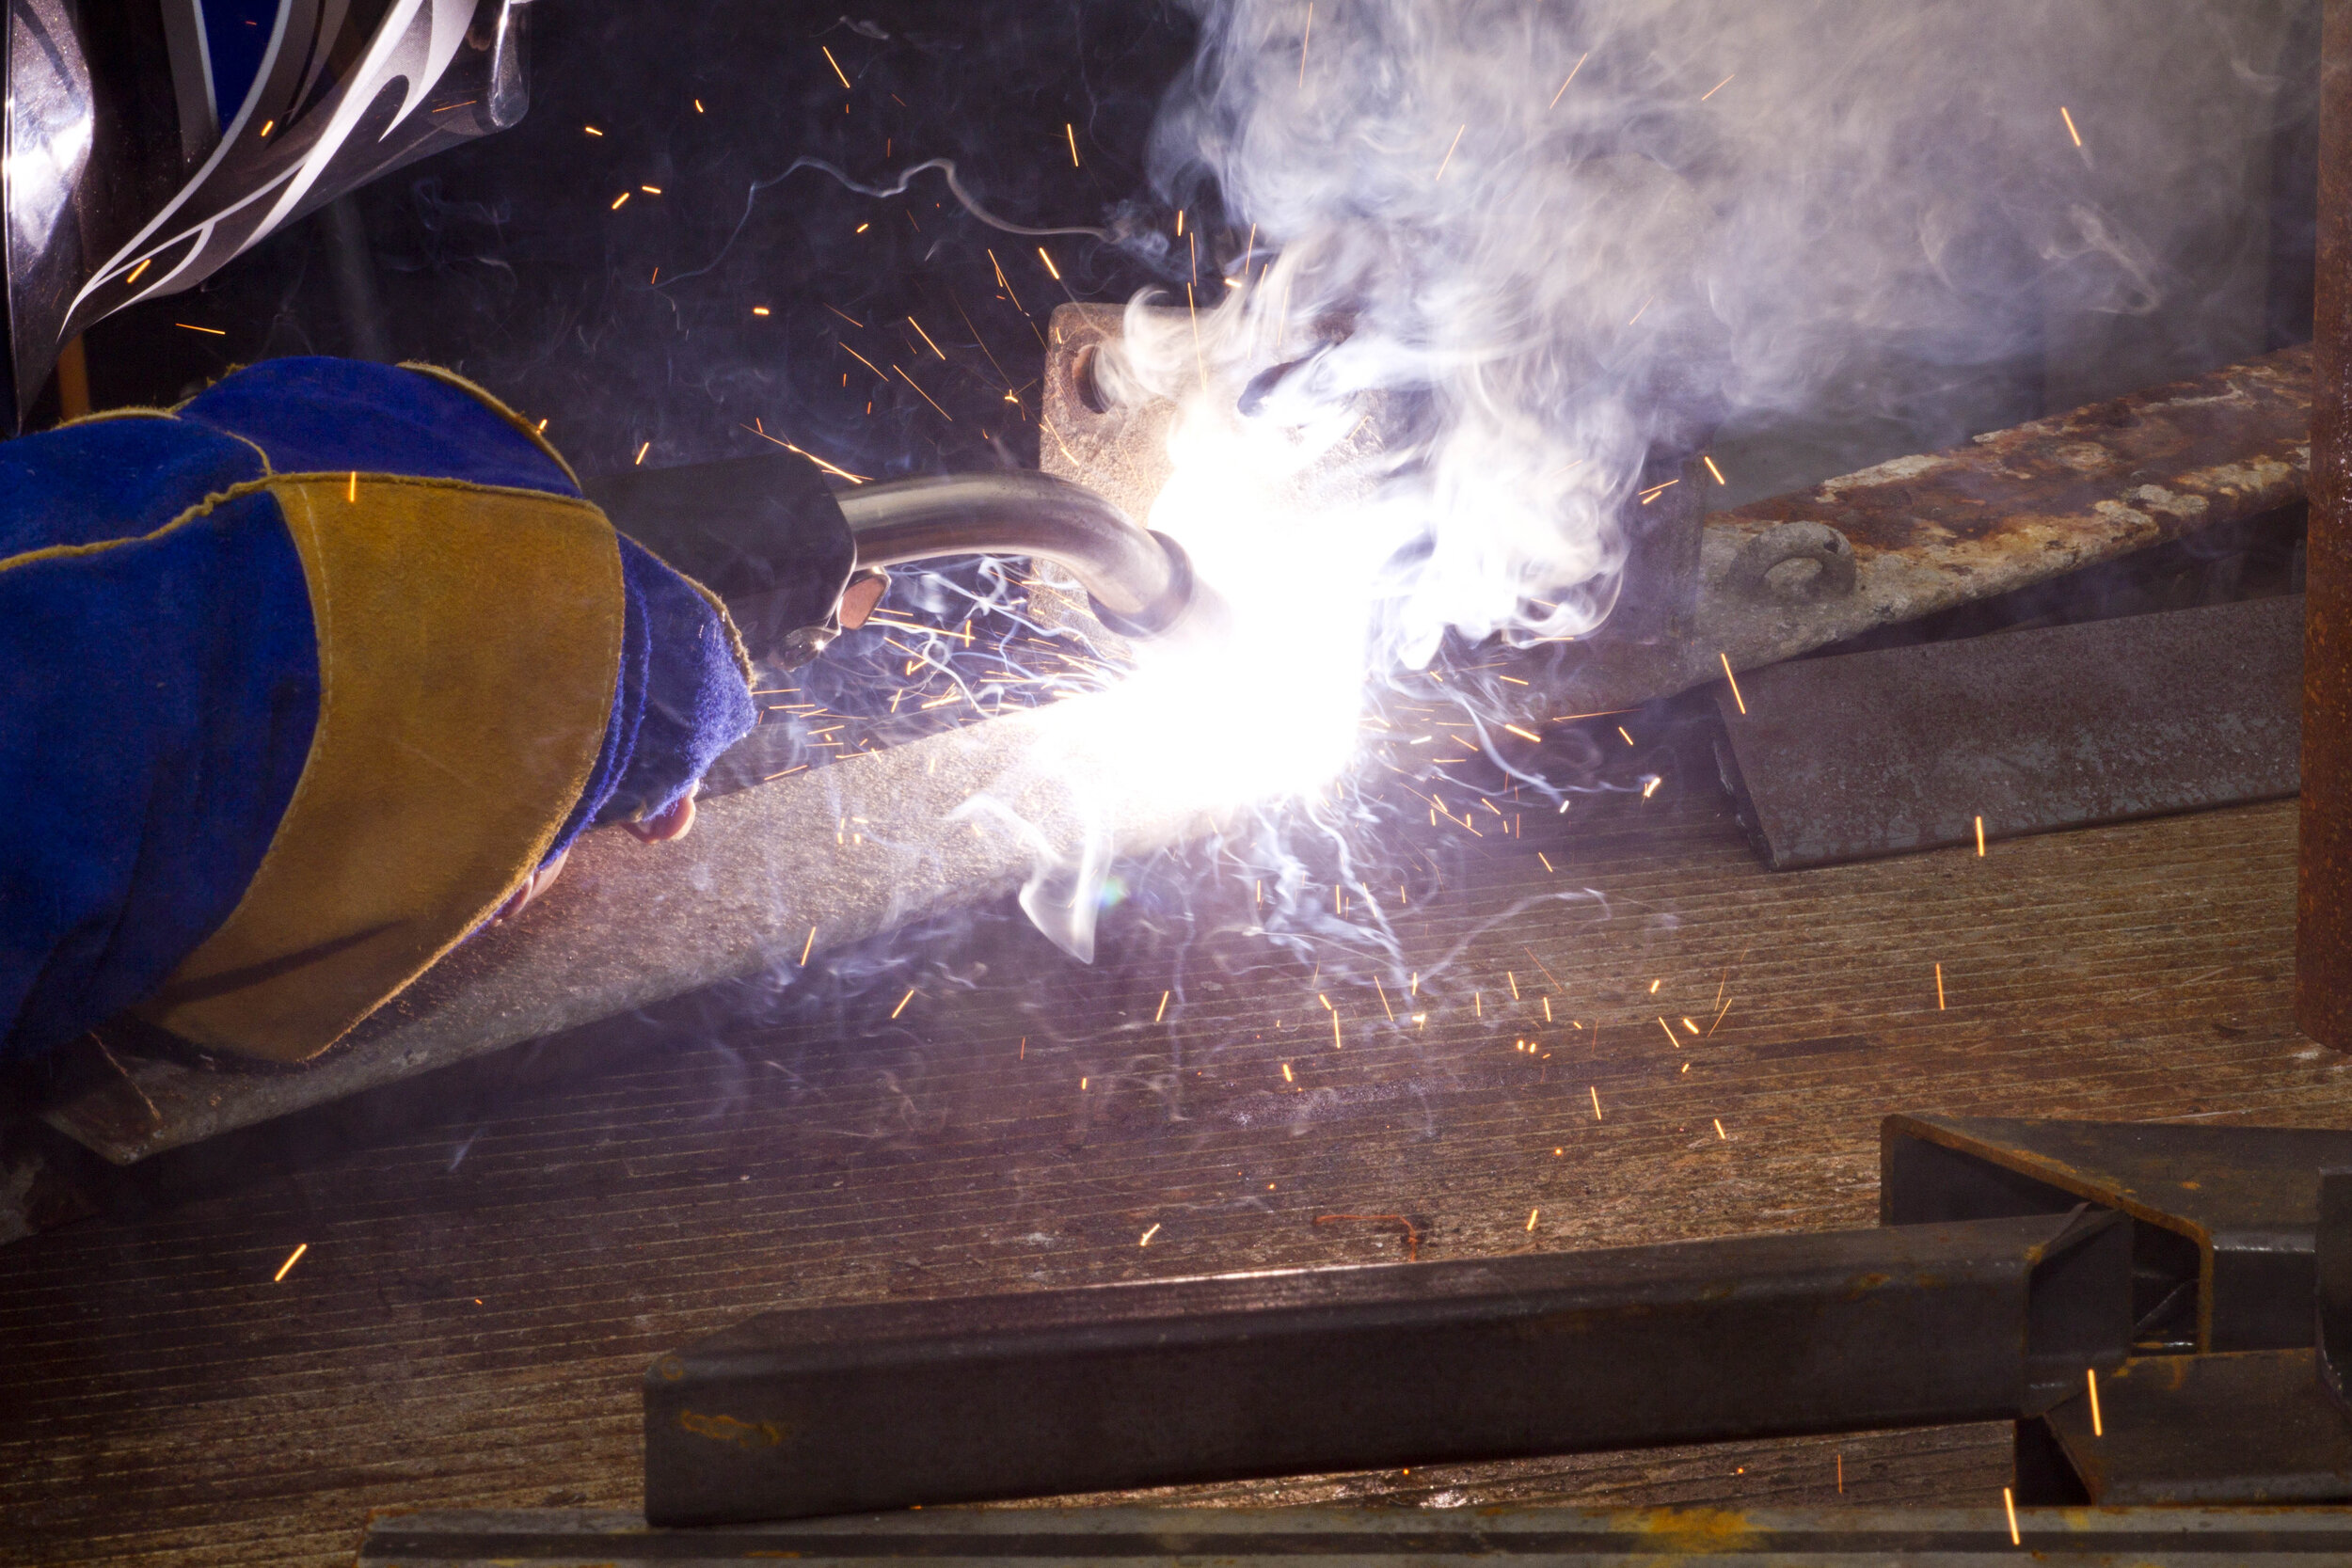
Gasless wire MIG welding
Gasless welding using a flux-cored wire is a MIG welding process that relies on a continuous, tubular wire feed. Gasless wire welding was originally designed as a replacement for stick welding, mostly for use outside where protecting gases could be blown away by the wind and higher productivity was necessary. The filler metal for the weld is basically an arc-welding electrode turned inside-out. This mild steel tube or sheath becomes the main filler metal to the arc.
Wire sizes can range from 0.8 mm up to 3.2 mm and more. Stainless steel gasless wire is available in larger-sized wires but this is a more specialised consumable made by Stoody out of the USA. Hard-facing consumables are also available, normally from 1.6 mm upwards. To my knowledge, aluminum is not available at all.
View fullsize
View fullsize
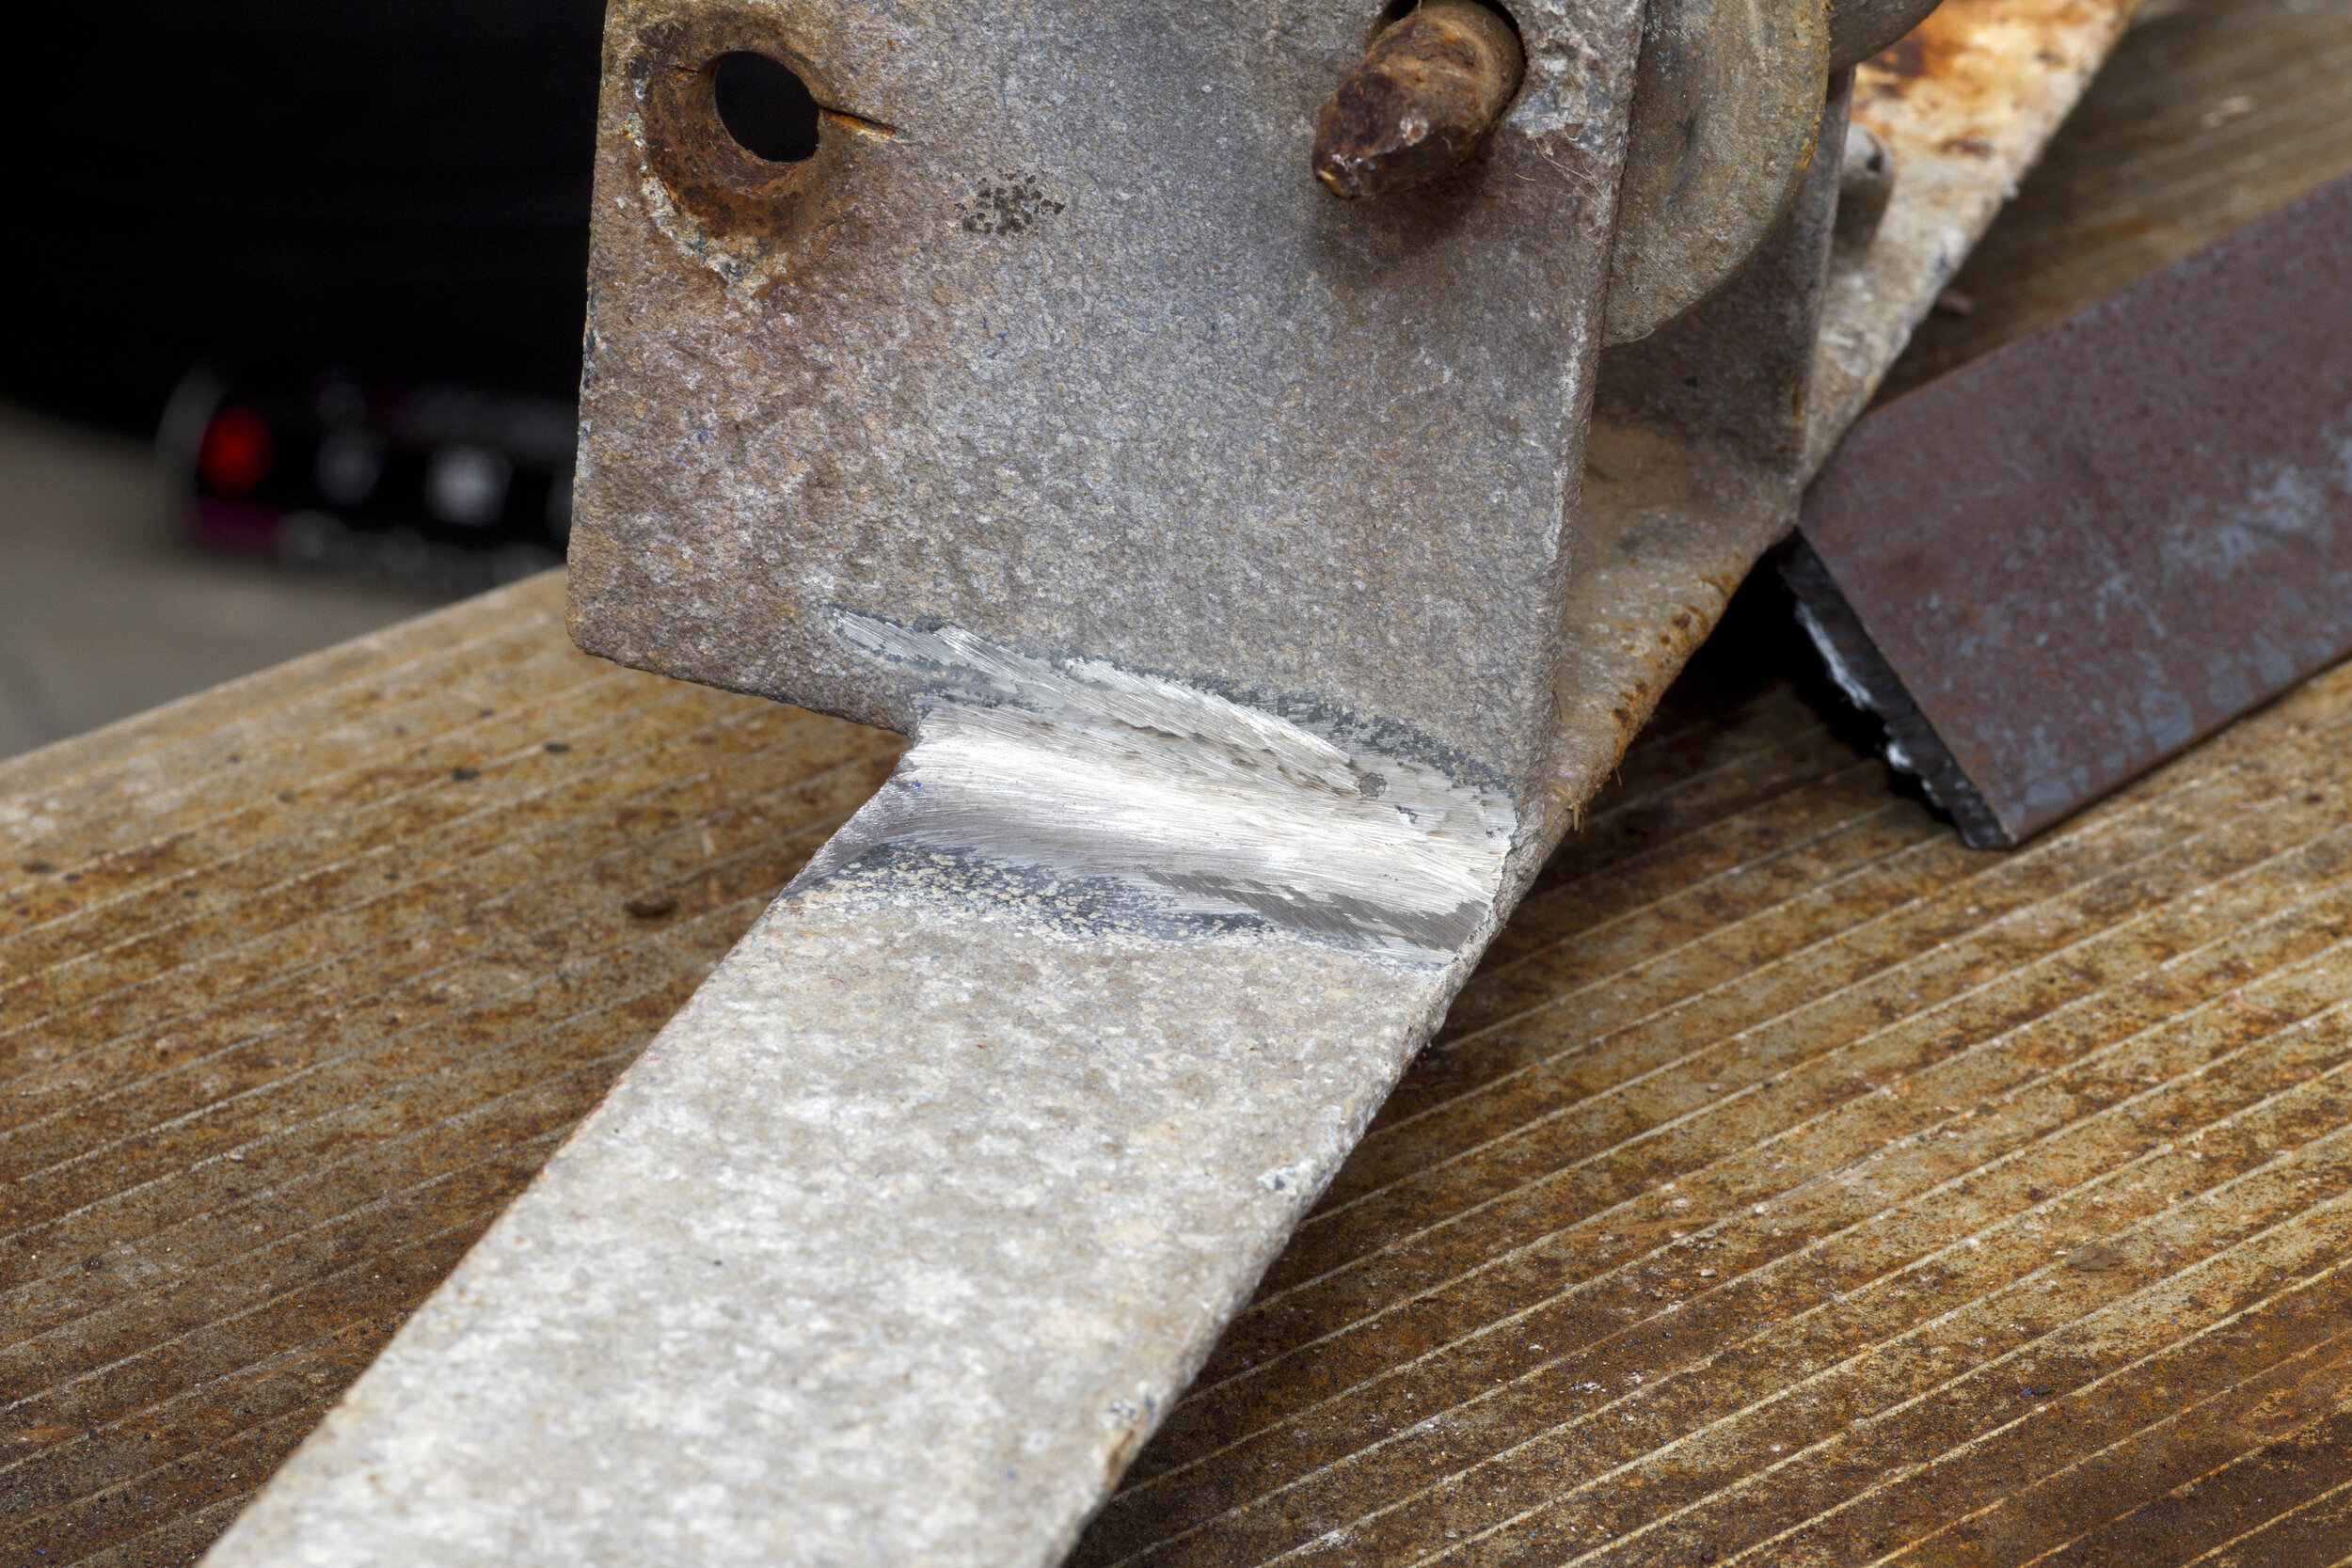
Good practice is to remove coating
Flux
Flux components are rolled into the wire-like a very long “roll-your-own.”
This flux is essential in shielding the arc from the surrounding atmosphere. In chemical makeup, the gasless flux-cored wire has more carbon, manganese, and silicon than a normal MIG wire. The compounds that make up the flux in the core of the wire are approximately 15-20 percent of the total weight of the wire.
The way this flux functions:
* Deoxidizers act as a scavenger to produce a pure, solid weld;
* Slag forms to cover the surface of the weld pool and protect it from the atmosphere until it has solidified;
* Arc stabilisers produce a smoother arc and the good wires have less spatter;
* Alloying elements are an added help with strength and advanced weld-metal properties.
* The flux includes vapour-forming compounds which provide the gaseous shield needed to protect against oxidisation.
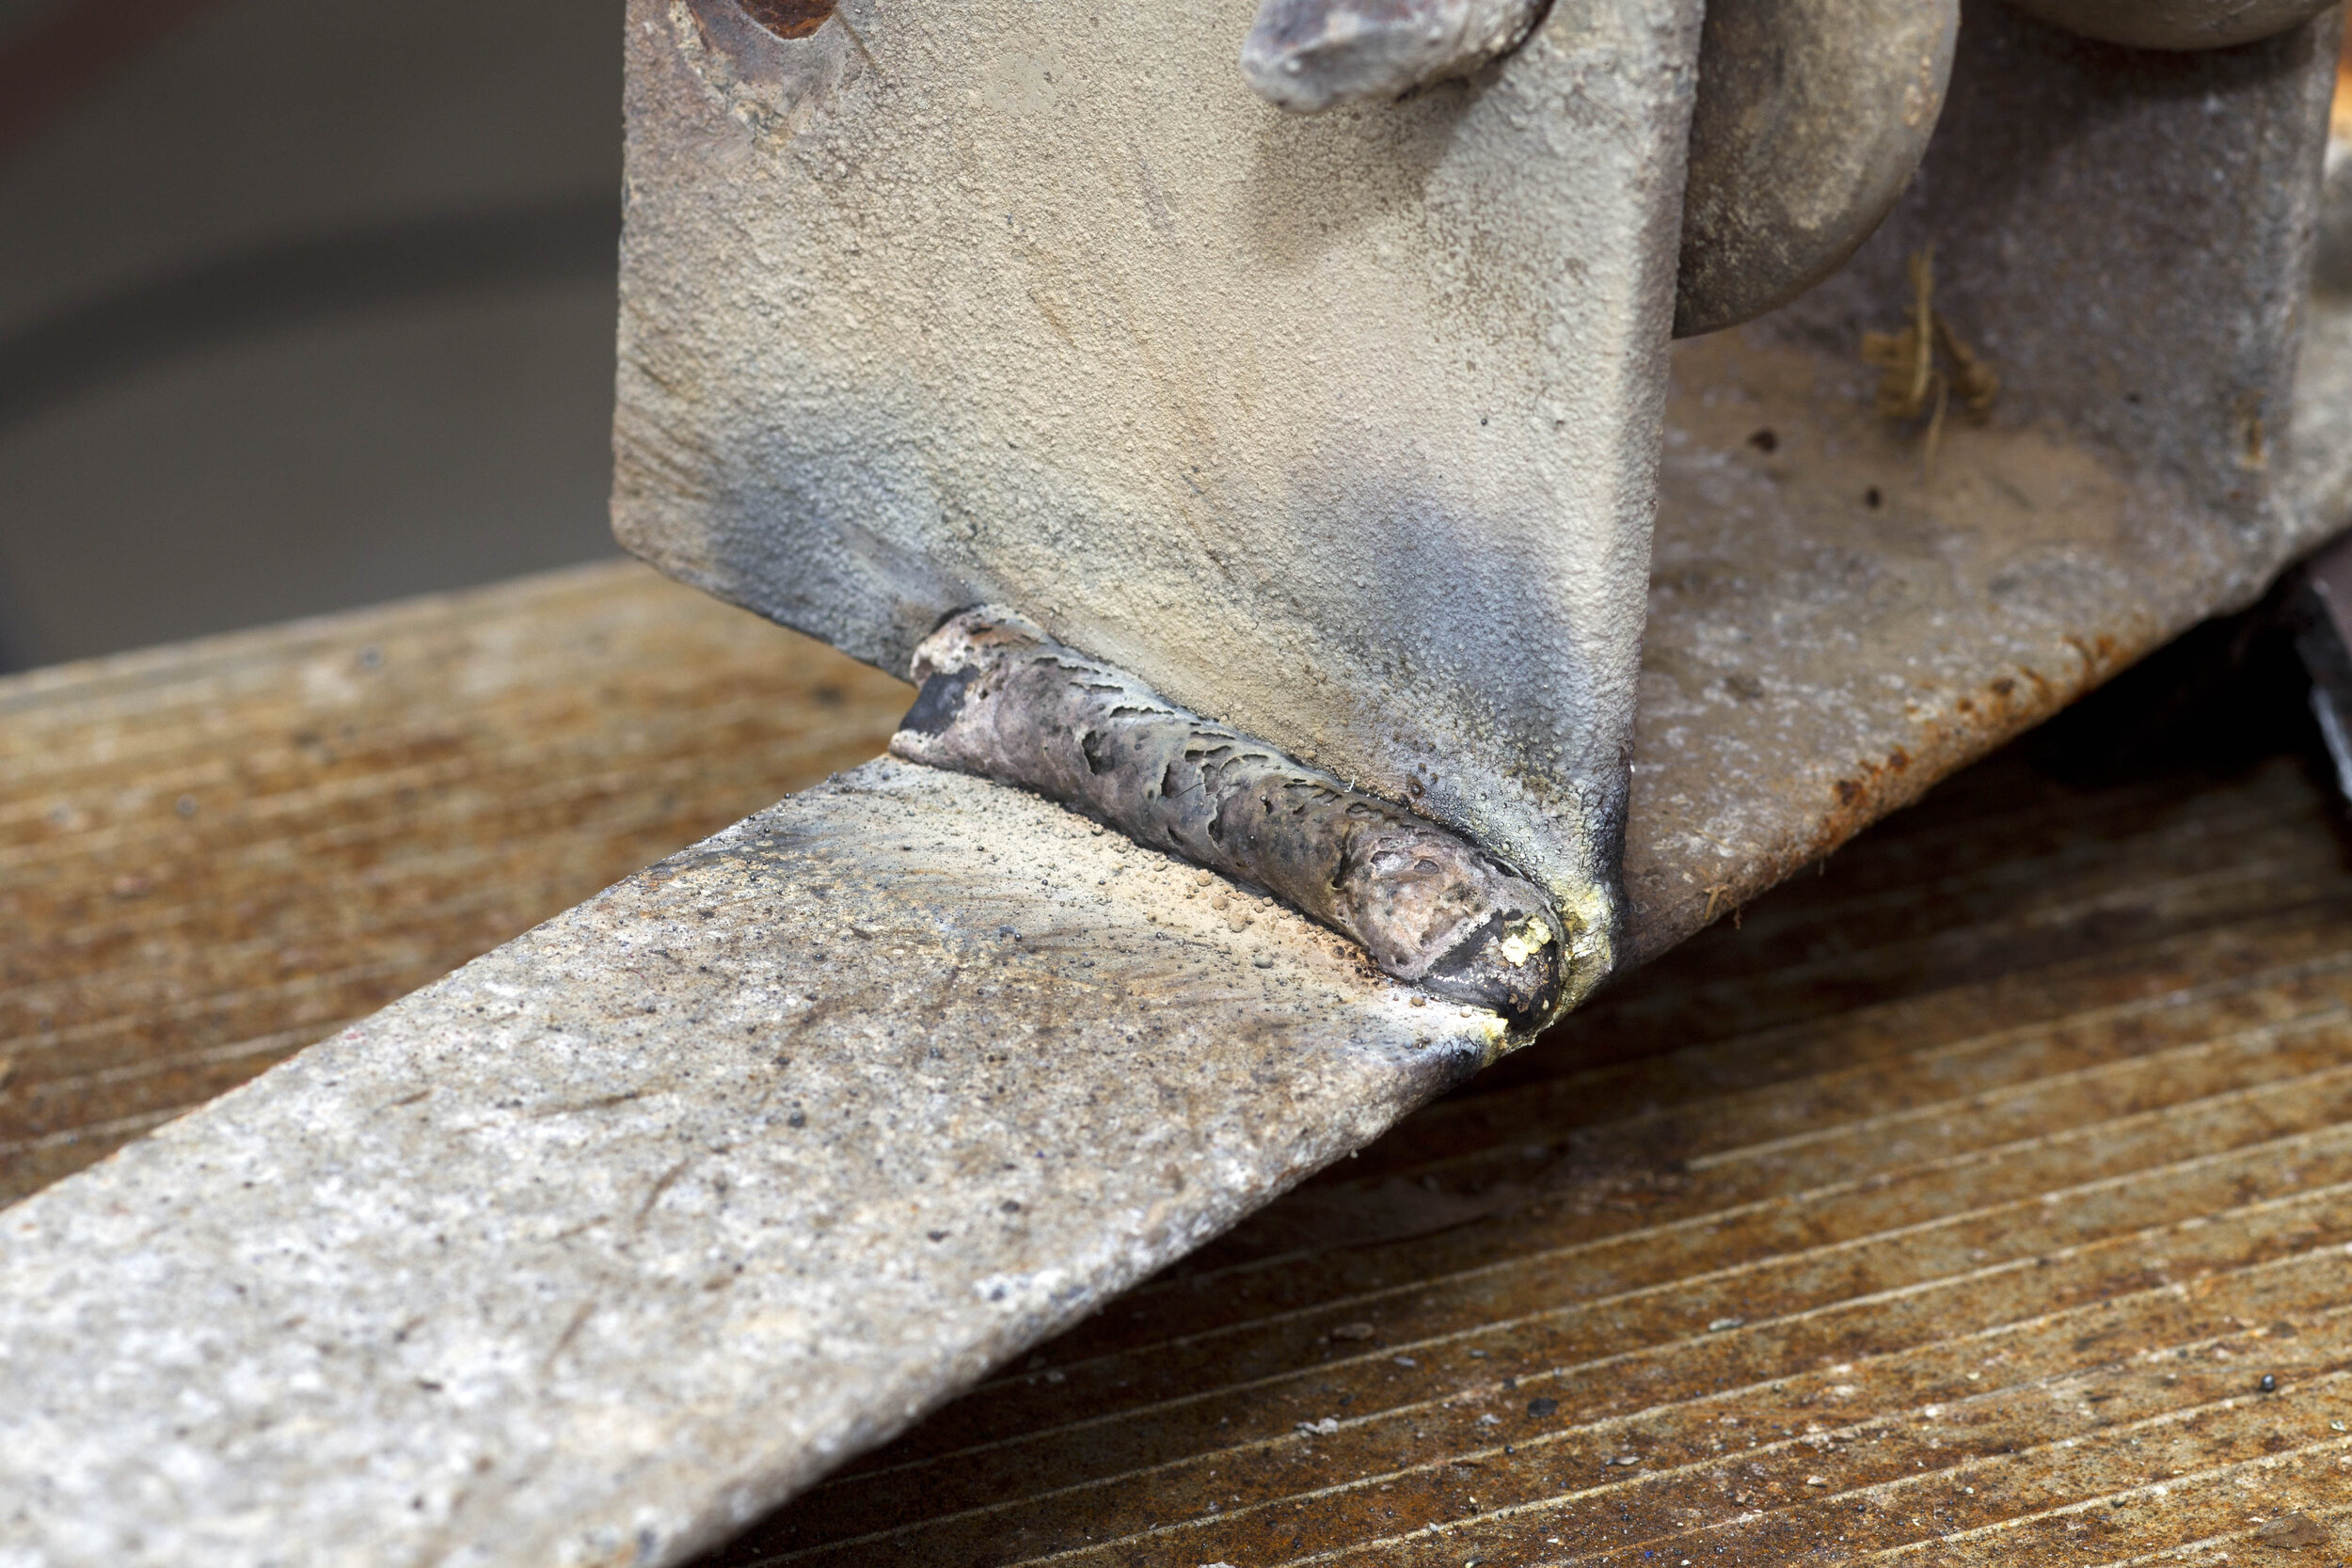
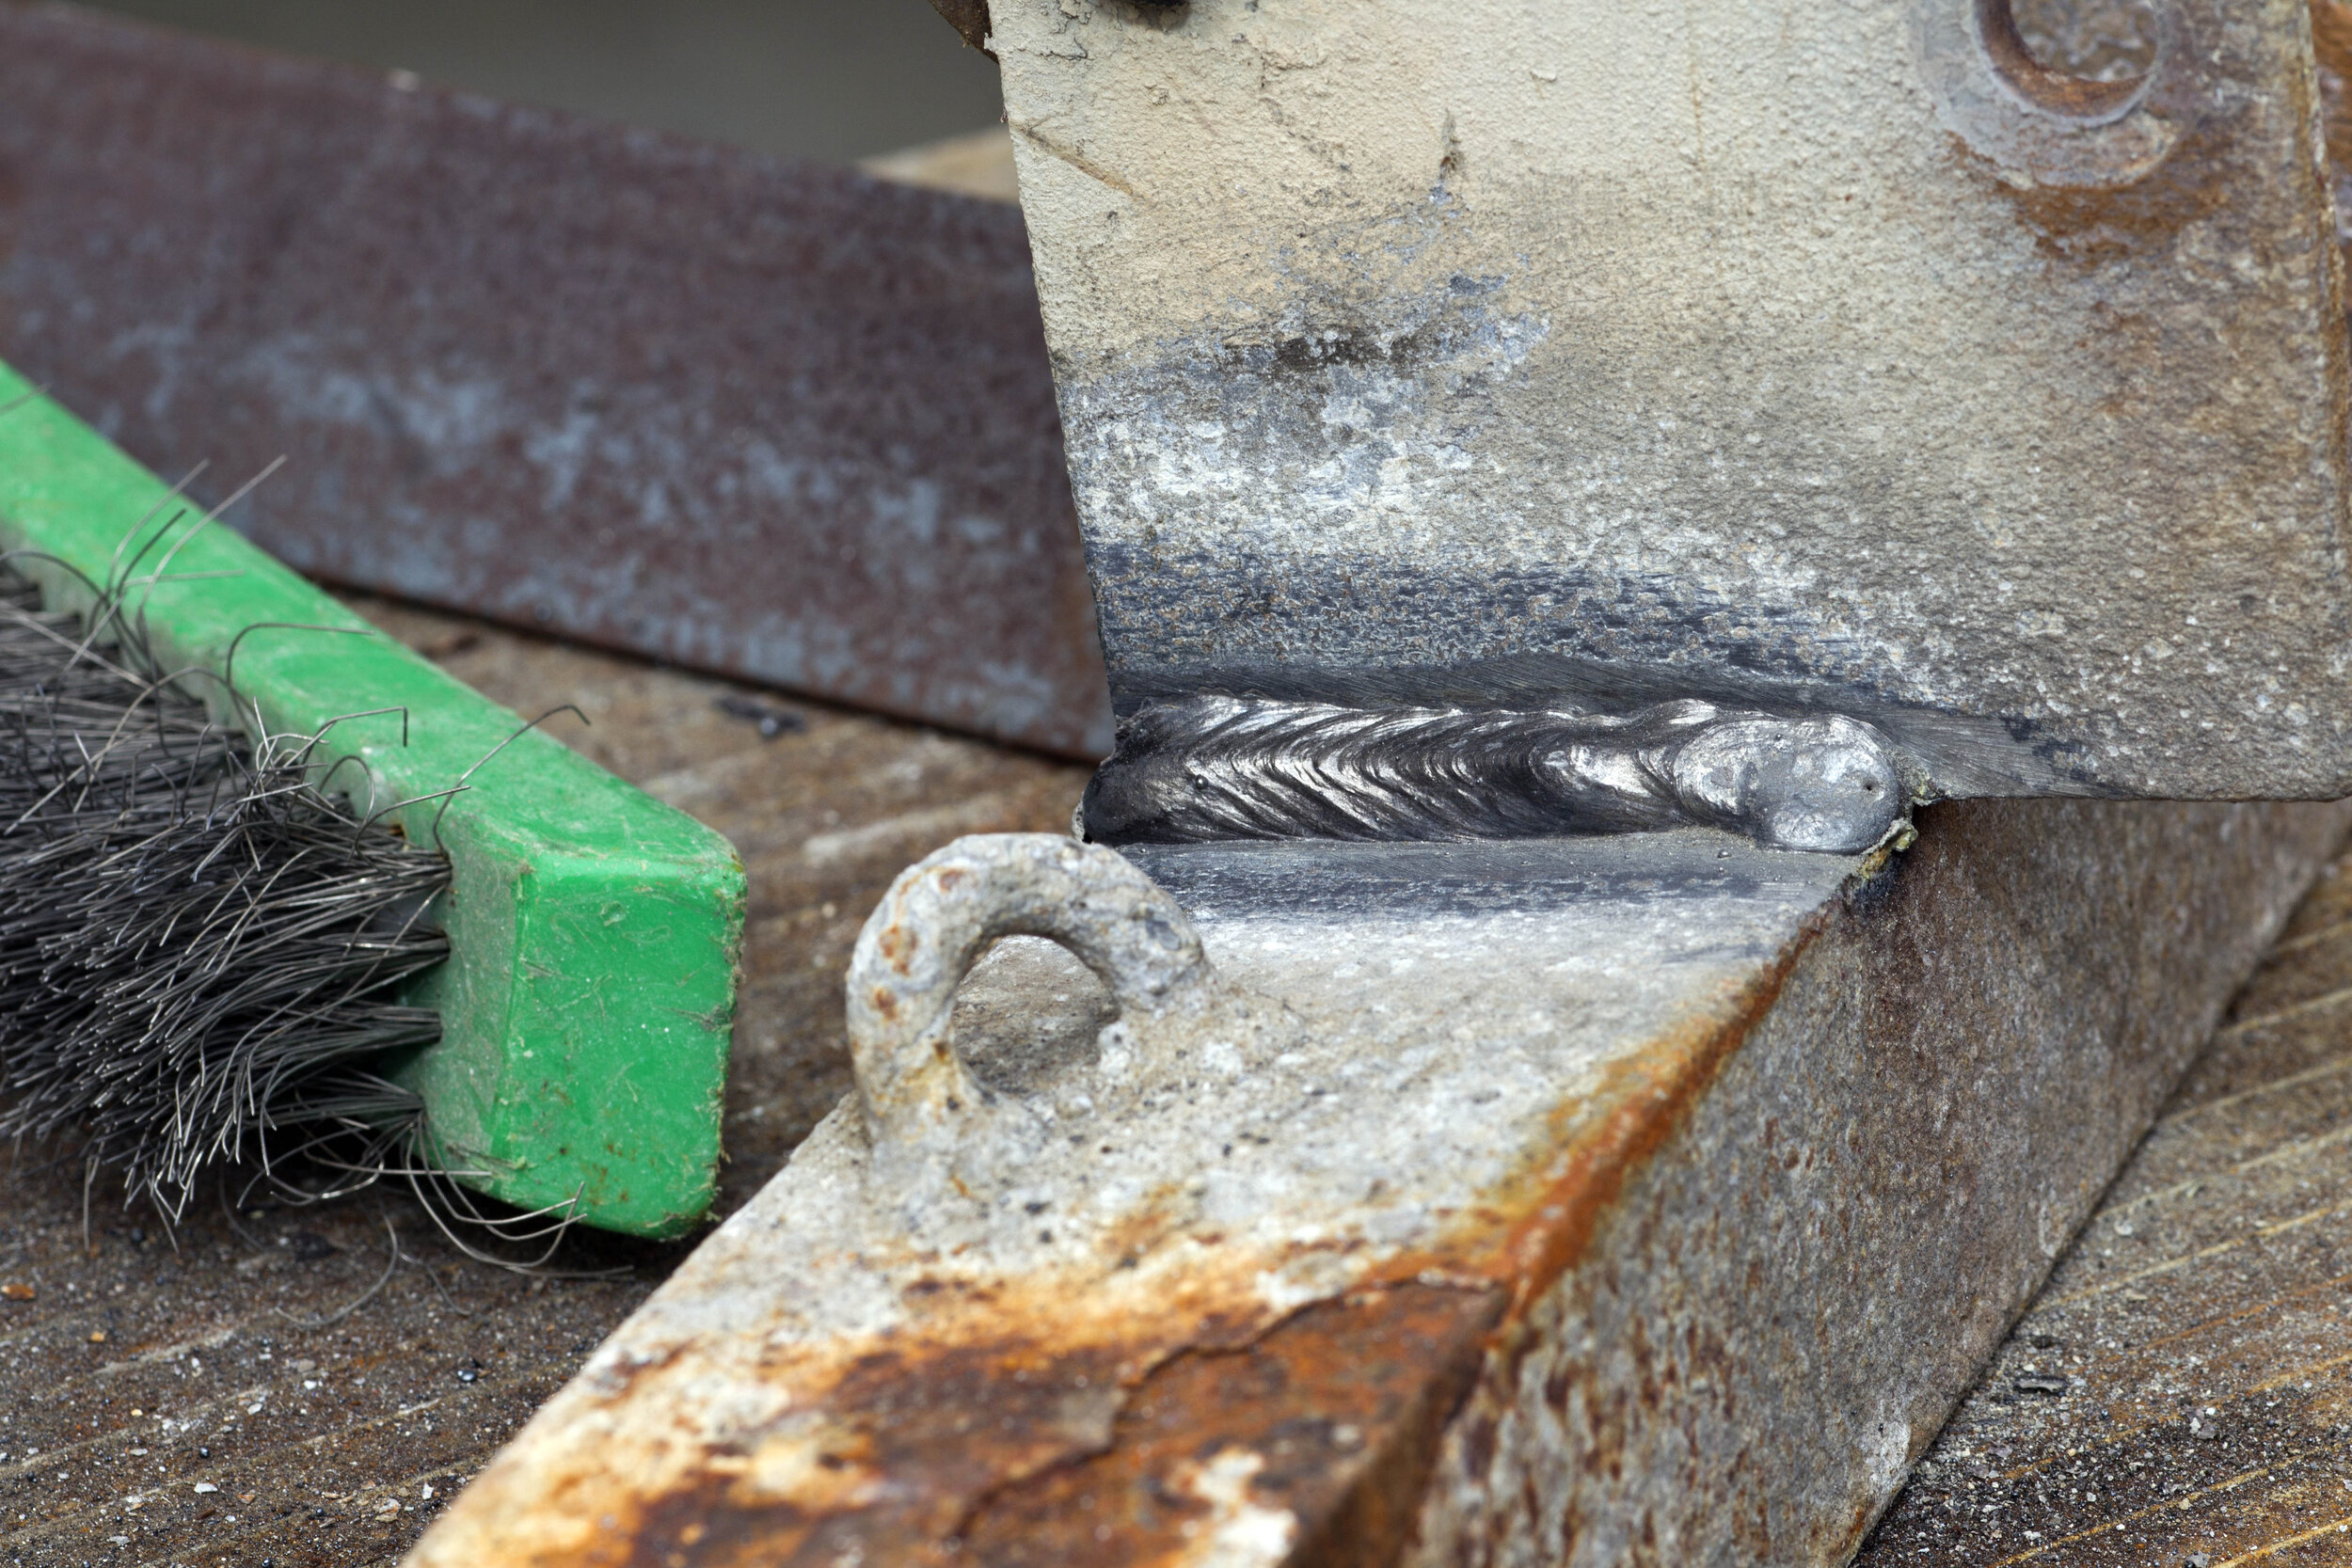
The gasless, flux-cored process does not have as fast a deposition rate as hard wire or flux-cored wire using a shielding gas. As it is an electrode turned inside-out, the deposition rates and welding speed are similar to that of a standard arc rod.
View fullsize
View fullsize
Benefits
Some of the benefits of gasless wire welding:
* Where breeze or wind is a problem, gasless wire is the solution. As with an arc rod, there are no dramas with shielding gas when the wind blows;
* No need to rent or drag around a gas cylinder;
* Tubular construction makes the wires very stiff and they have excellent longitudinal strength. Feedability through the rollers and the MIG torch-liner is excellent.
Polarity
For gasless welding, polarity changes. Your MIG should be set up with a positive earth and negative electrode. This is unlike stick and MIG using a shielding gas, where negative earth is the norm. This puts more power into melting the wire.
Try welding with the wrong polarity to give you an idea of the difference. On some machines, it may work just as well, though most welders will find a big difference. Wrong polarity is a common problem that the inexperienced welder can encounter. Many users I have spoken to who have tried and not liked the gasless process have not been aware of the polarity change; they have been welding with the wrong polarity.
View fullsize
View fullsize
Sheet metal
Most MIG machines will go down low enough to weld very thin, sheet steel. But some don’t. If your machine is like this, try a longer stick-out. This increases the resistance-heating of the wire just before it melts, preheats the wire, and lowers the heat available for melting the parent metal.
The result is that the weld bead has shallow penetration and a small bead. This longer stick-out makes welding light-gauge material very easy, and perfect for bridging gaps, filling holes, and welding projects that have poor fit-ups. This is common when we are rushing.
Seismic, single-pass
Wires used for structural applications should have seismic certifications. Check that what you are using is OK to use when welding anything structural that may need seismic specifications. Some wire specs are limited to single-pass applications. Again, check the wire’s limitations.
Prepare the work
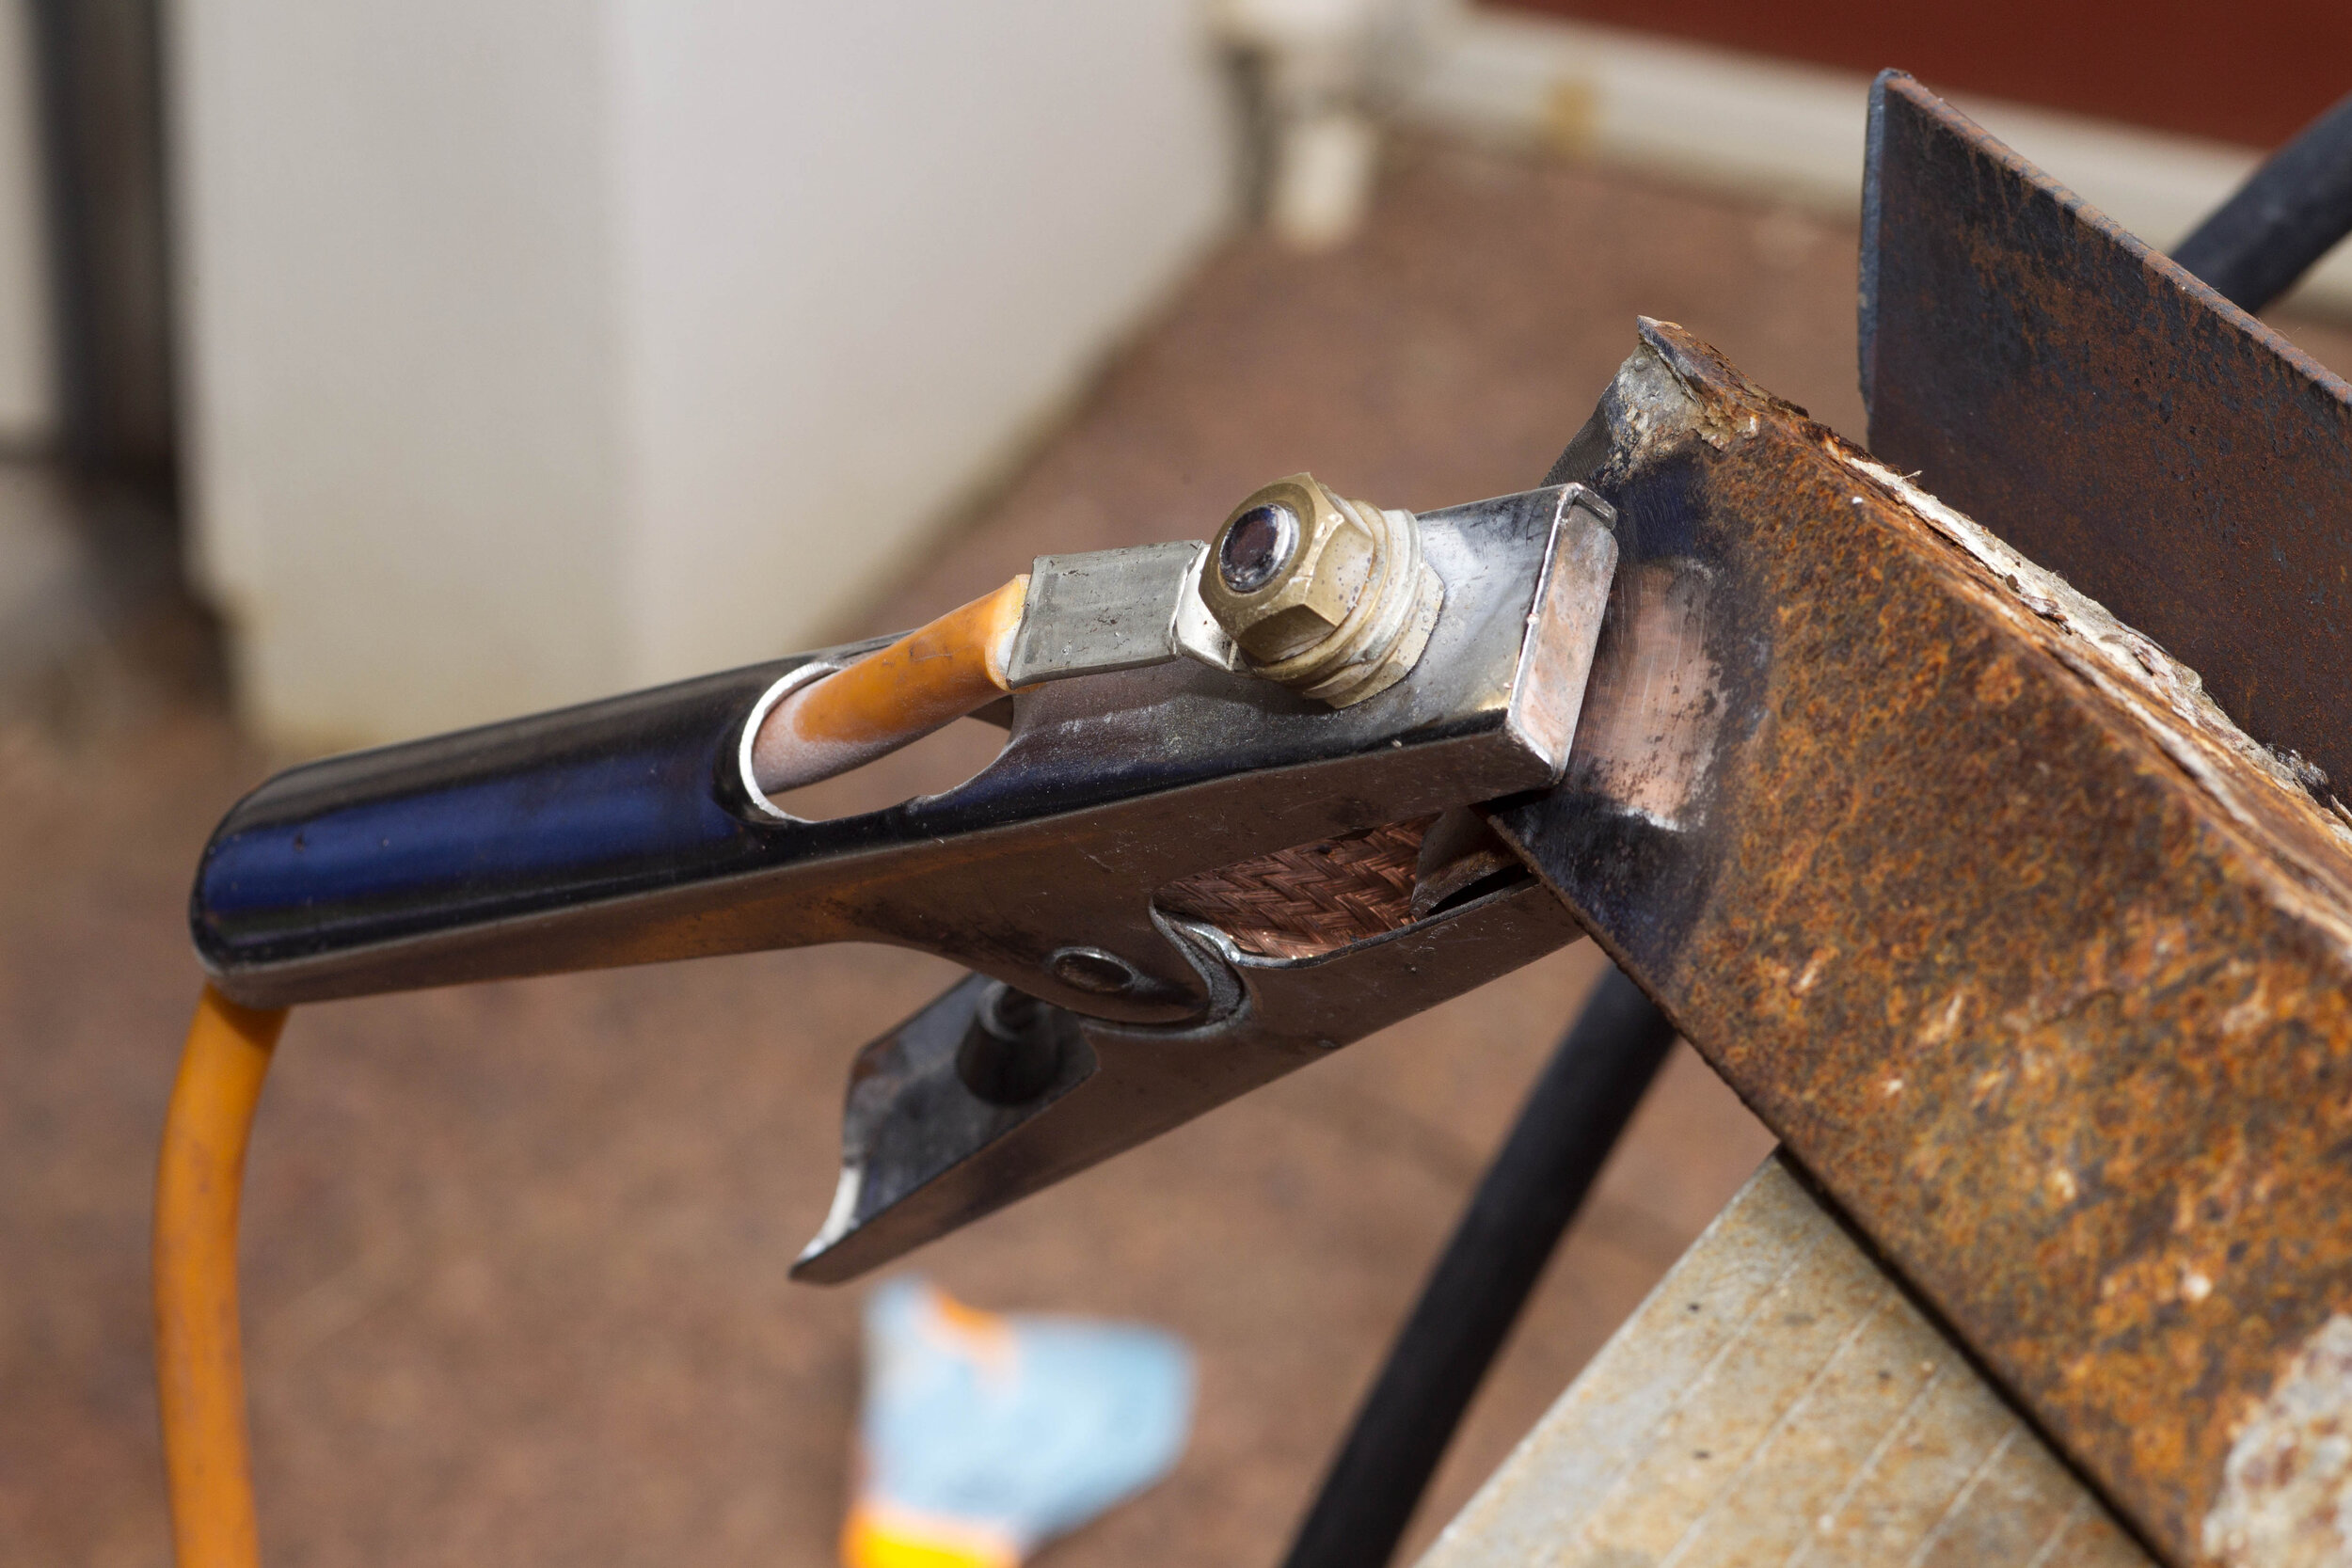
When clamping the earth cable to the job, make sure there is a clean earth-to-metal contact point. As with any welding process, a bad connection can cause voltage losses. The result of this can be convex or lumpy beads which come typically with low voltage. Undersized or badly worn earth cables are also commonplace in backyard applications. It takes five minutes to cut and redo the earth clamp.
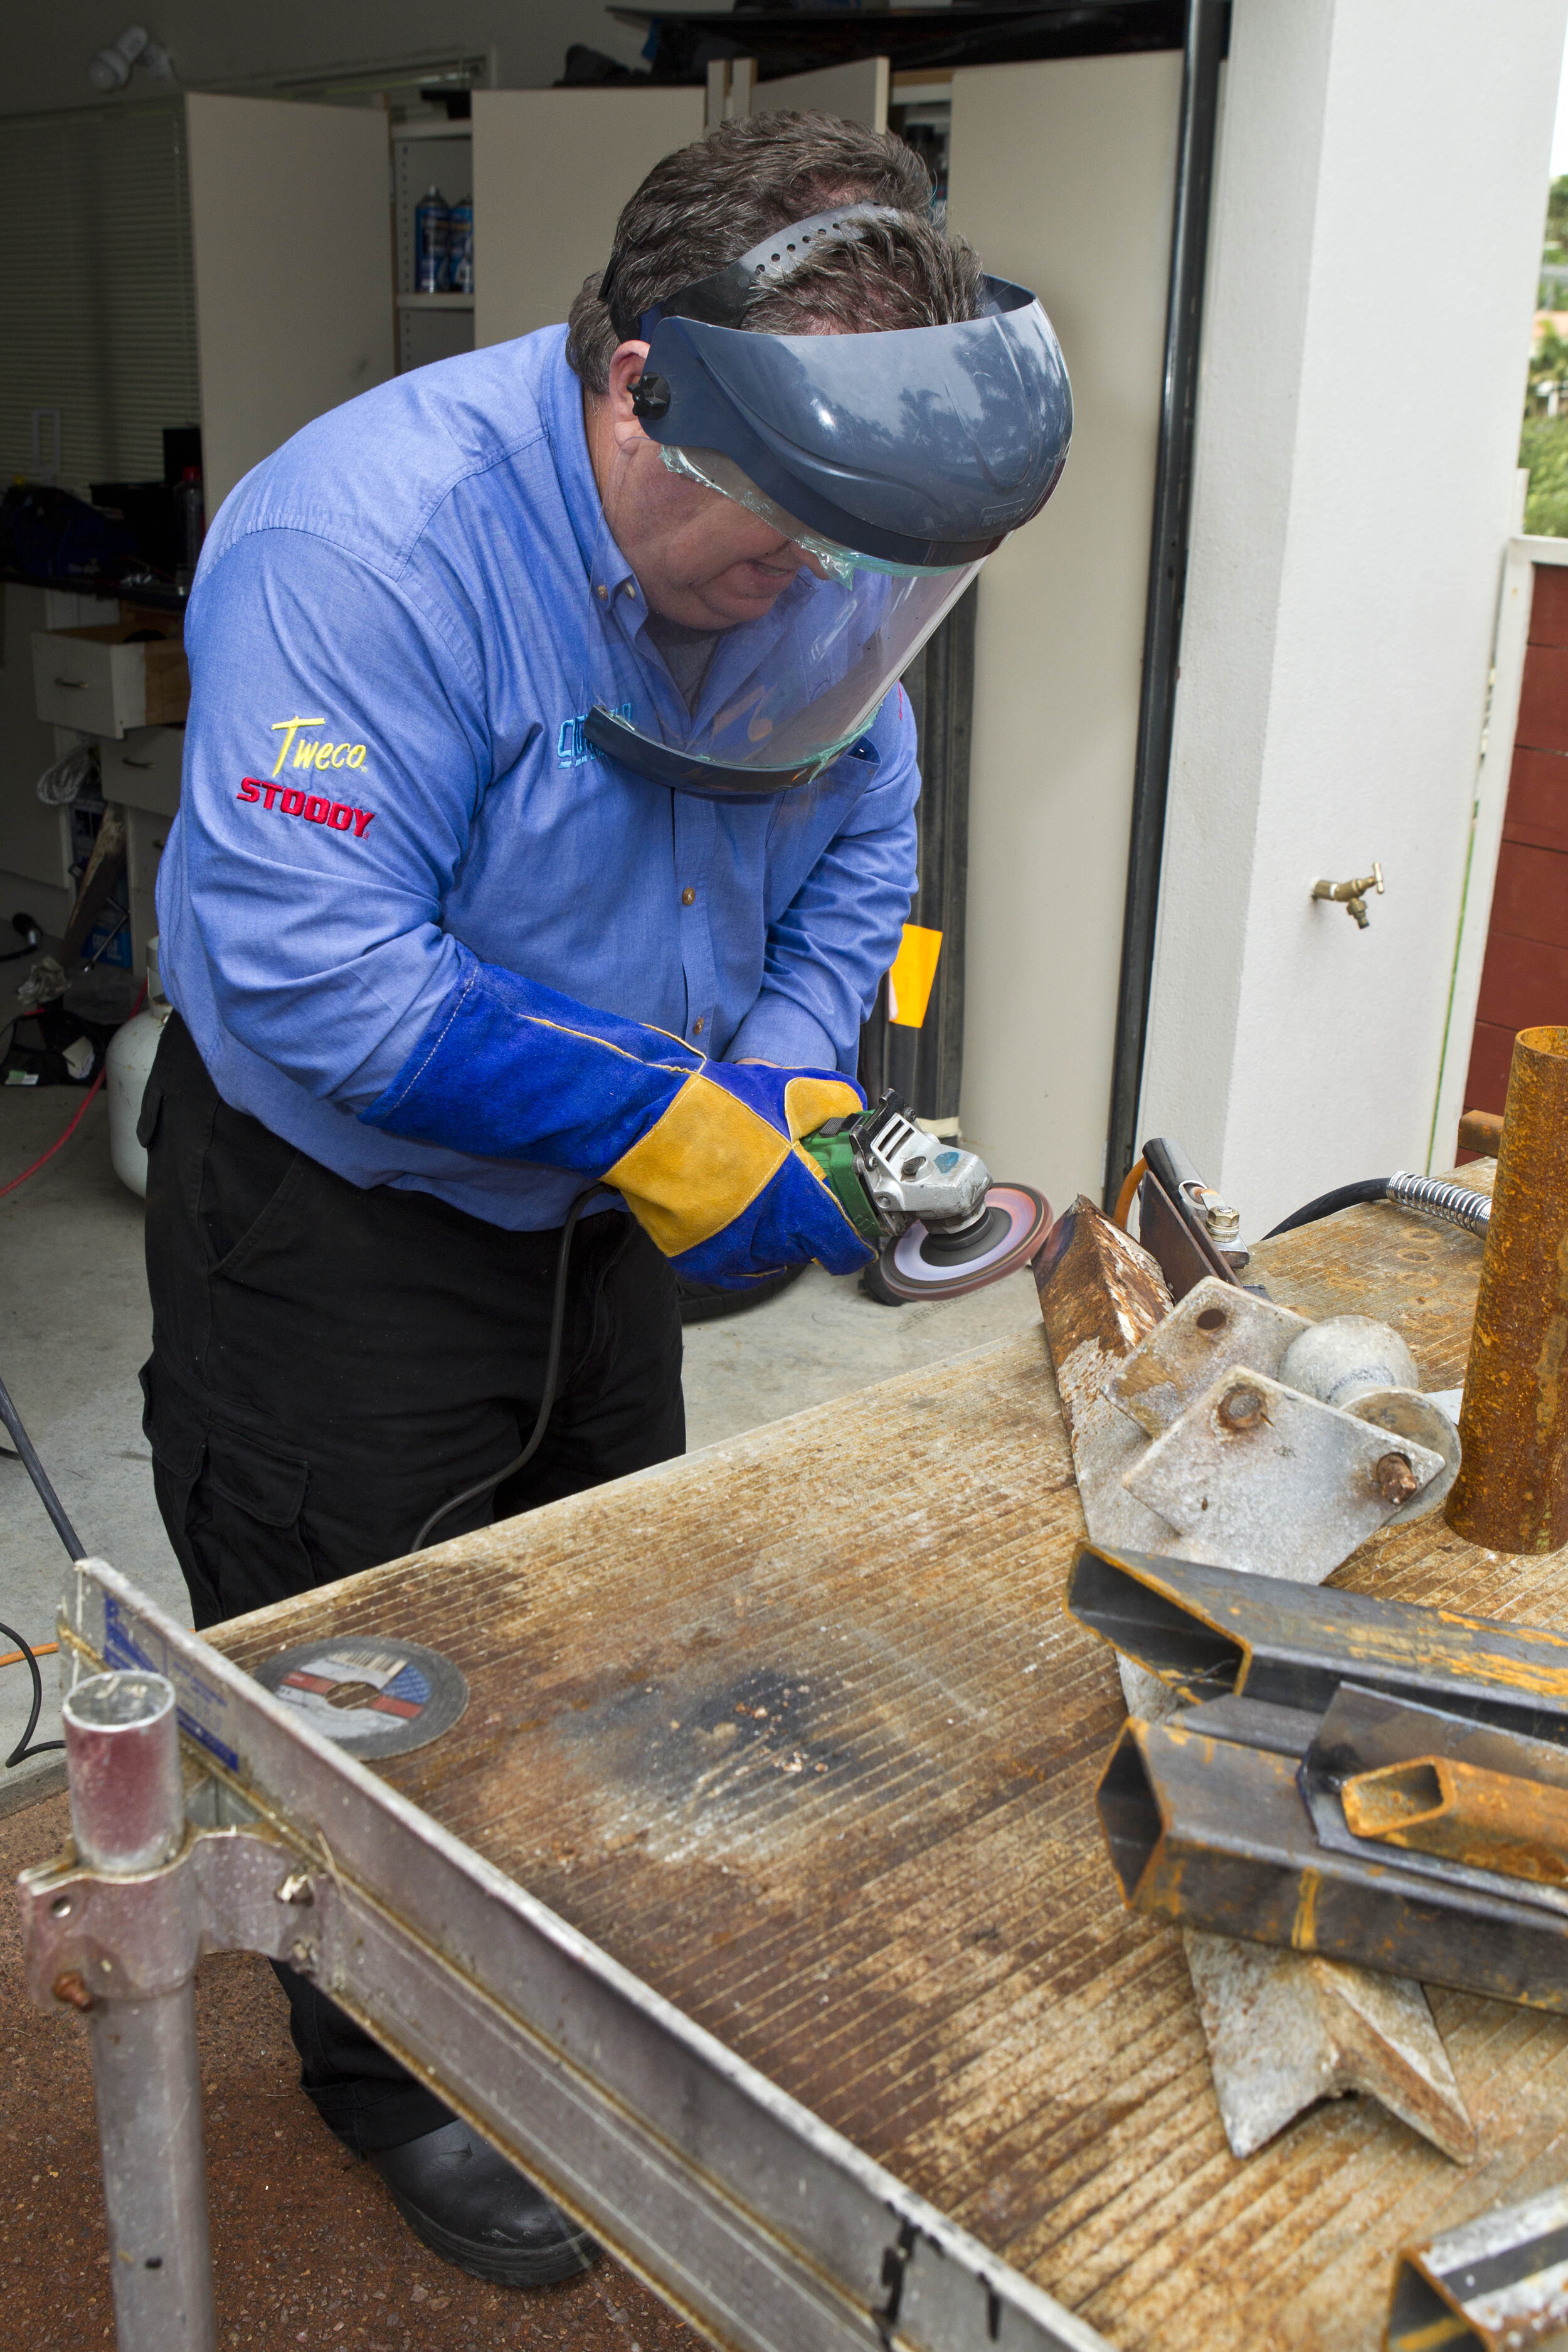
Most gasless wires are renowned for being able to weld over galvanised, painted, and rusty surfaces, primarily because of the extra goodies added to the flux. Gasless flux-cored wire is often used in industry because of its “galv-friendly” characteristics. But normal good practice in any welding prep calls for removing as much of the coating, dirt, rust, etc as possible, especially when you are welding out of position.
Optimum wire-feed
A bad habit for a lot of part-time welders is screwing the wire-feed tension right down. On a tubular wire, this is a bad start. It can deform the wire and cause it to pigtail or curl. Not to mention the filings which will collect in the wire-drive unit.
Sheddies and industry (panel-beaters note) will find dirt and dust gathering, not to mention over-spray, if they leave the welding machine cover open while sanding, welding, or grinding.
Set the tension just enough to start feeding and then give it another half-a-turn for good luck. If more is needed, check that the liner is letting the wire run smoothly.
When was the last time the liner was changed? This is maintenance you need to keep on top of. Clogged or blocked liners are the root of so many feeding problems and often the last thing to be thought of.
When replacing the wire and before putting the new coil into the drive rolls, round the end of the wire and ensure it is burr-free.
Replace the contact tip when it becomes worn or when you’ve had a few too many burn-backs. Remember this is the contact point for your arc.
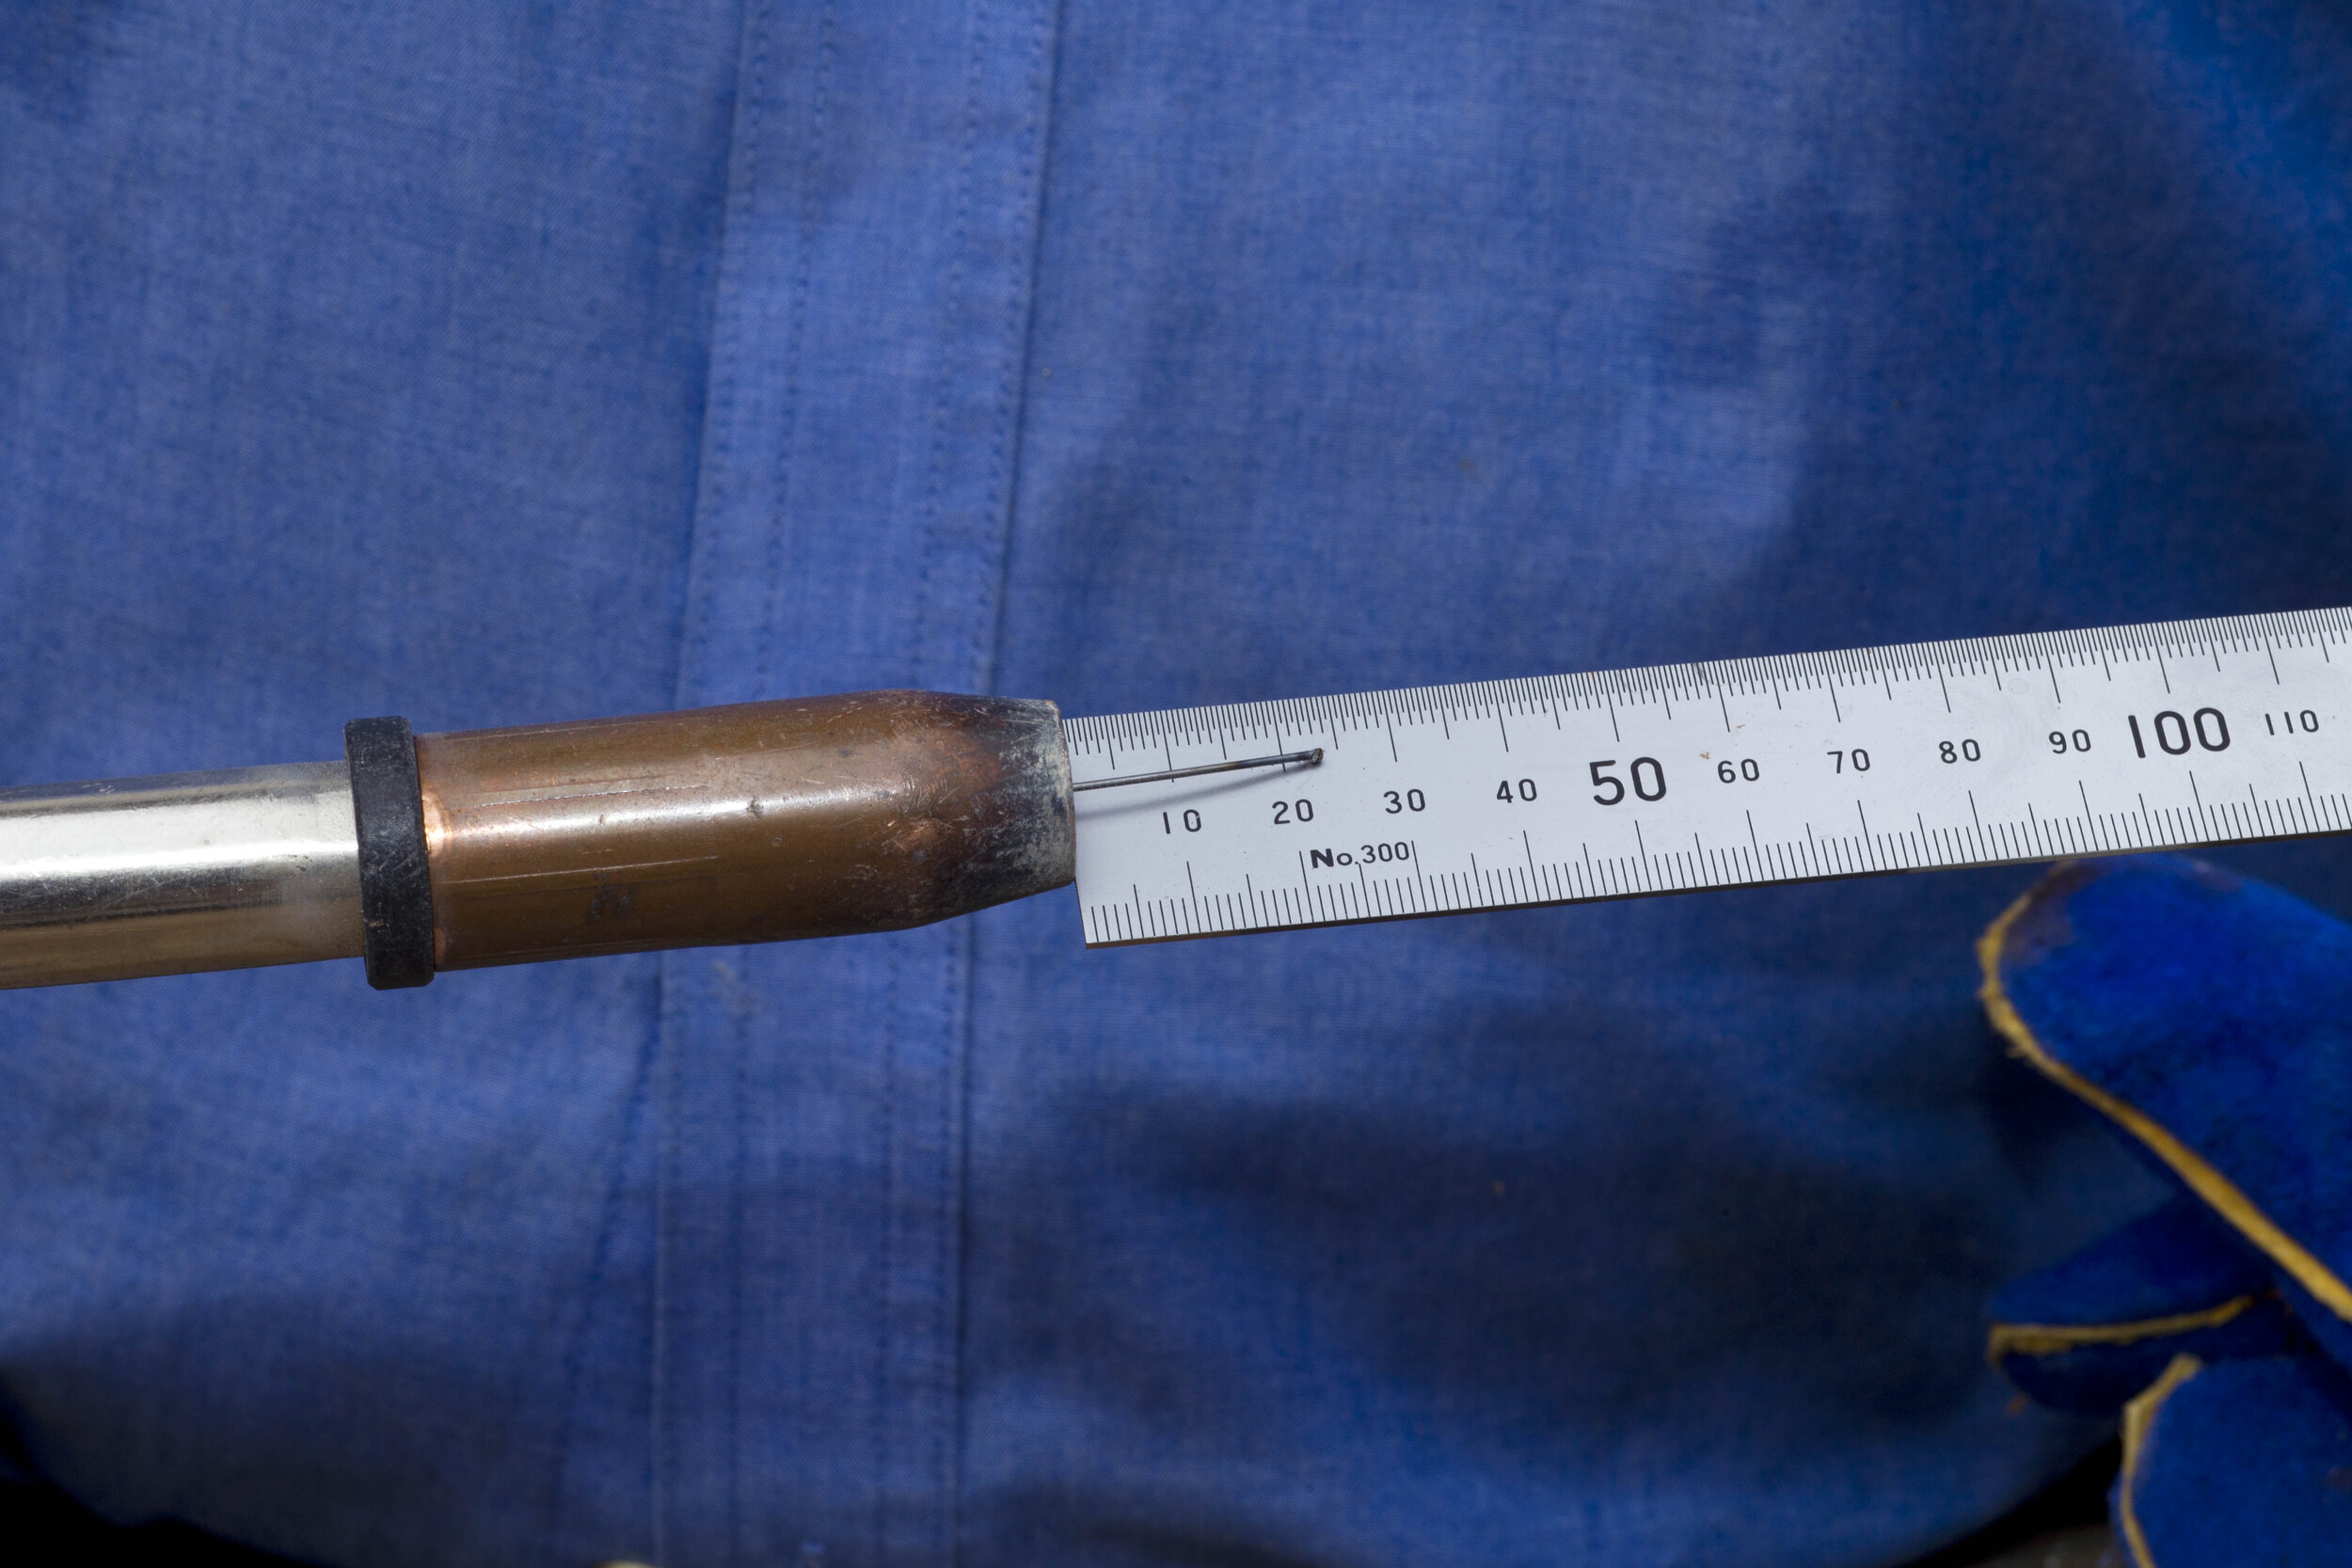
Stick-out at 25 mm
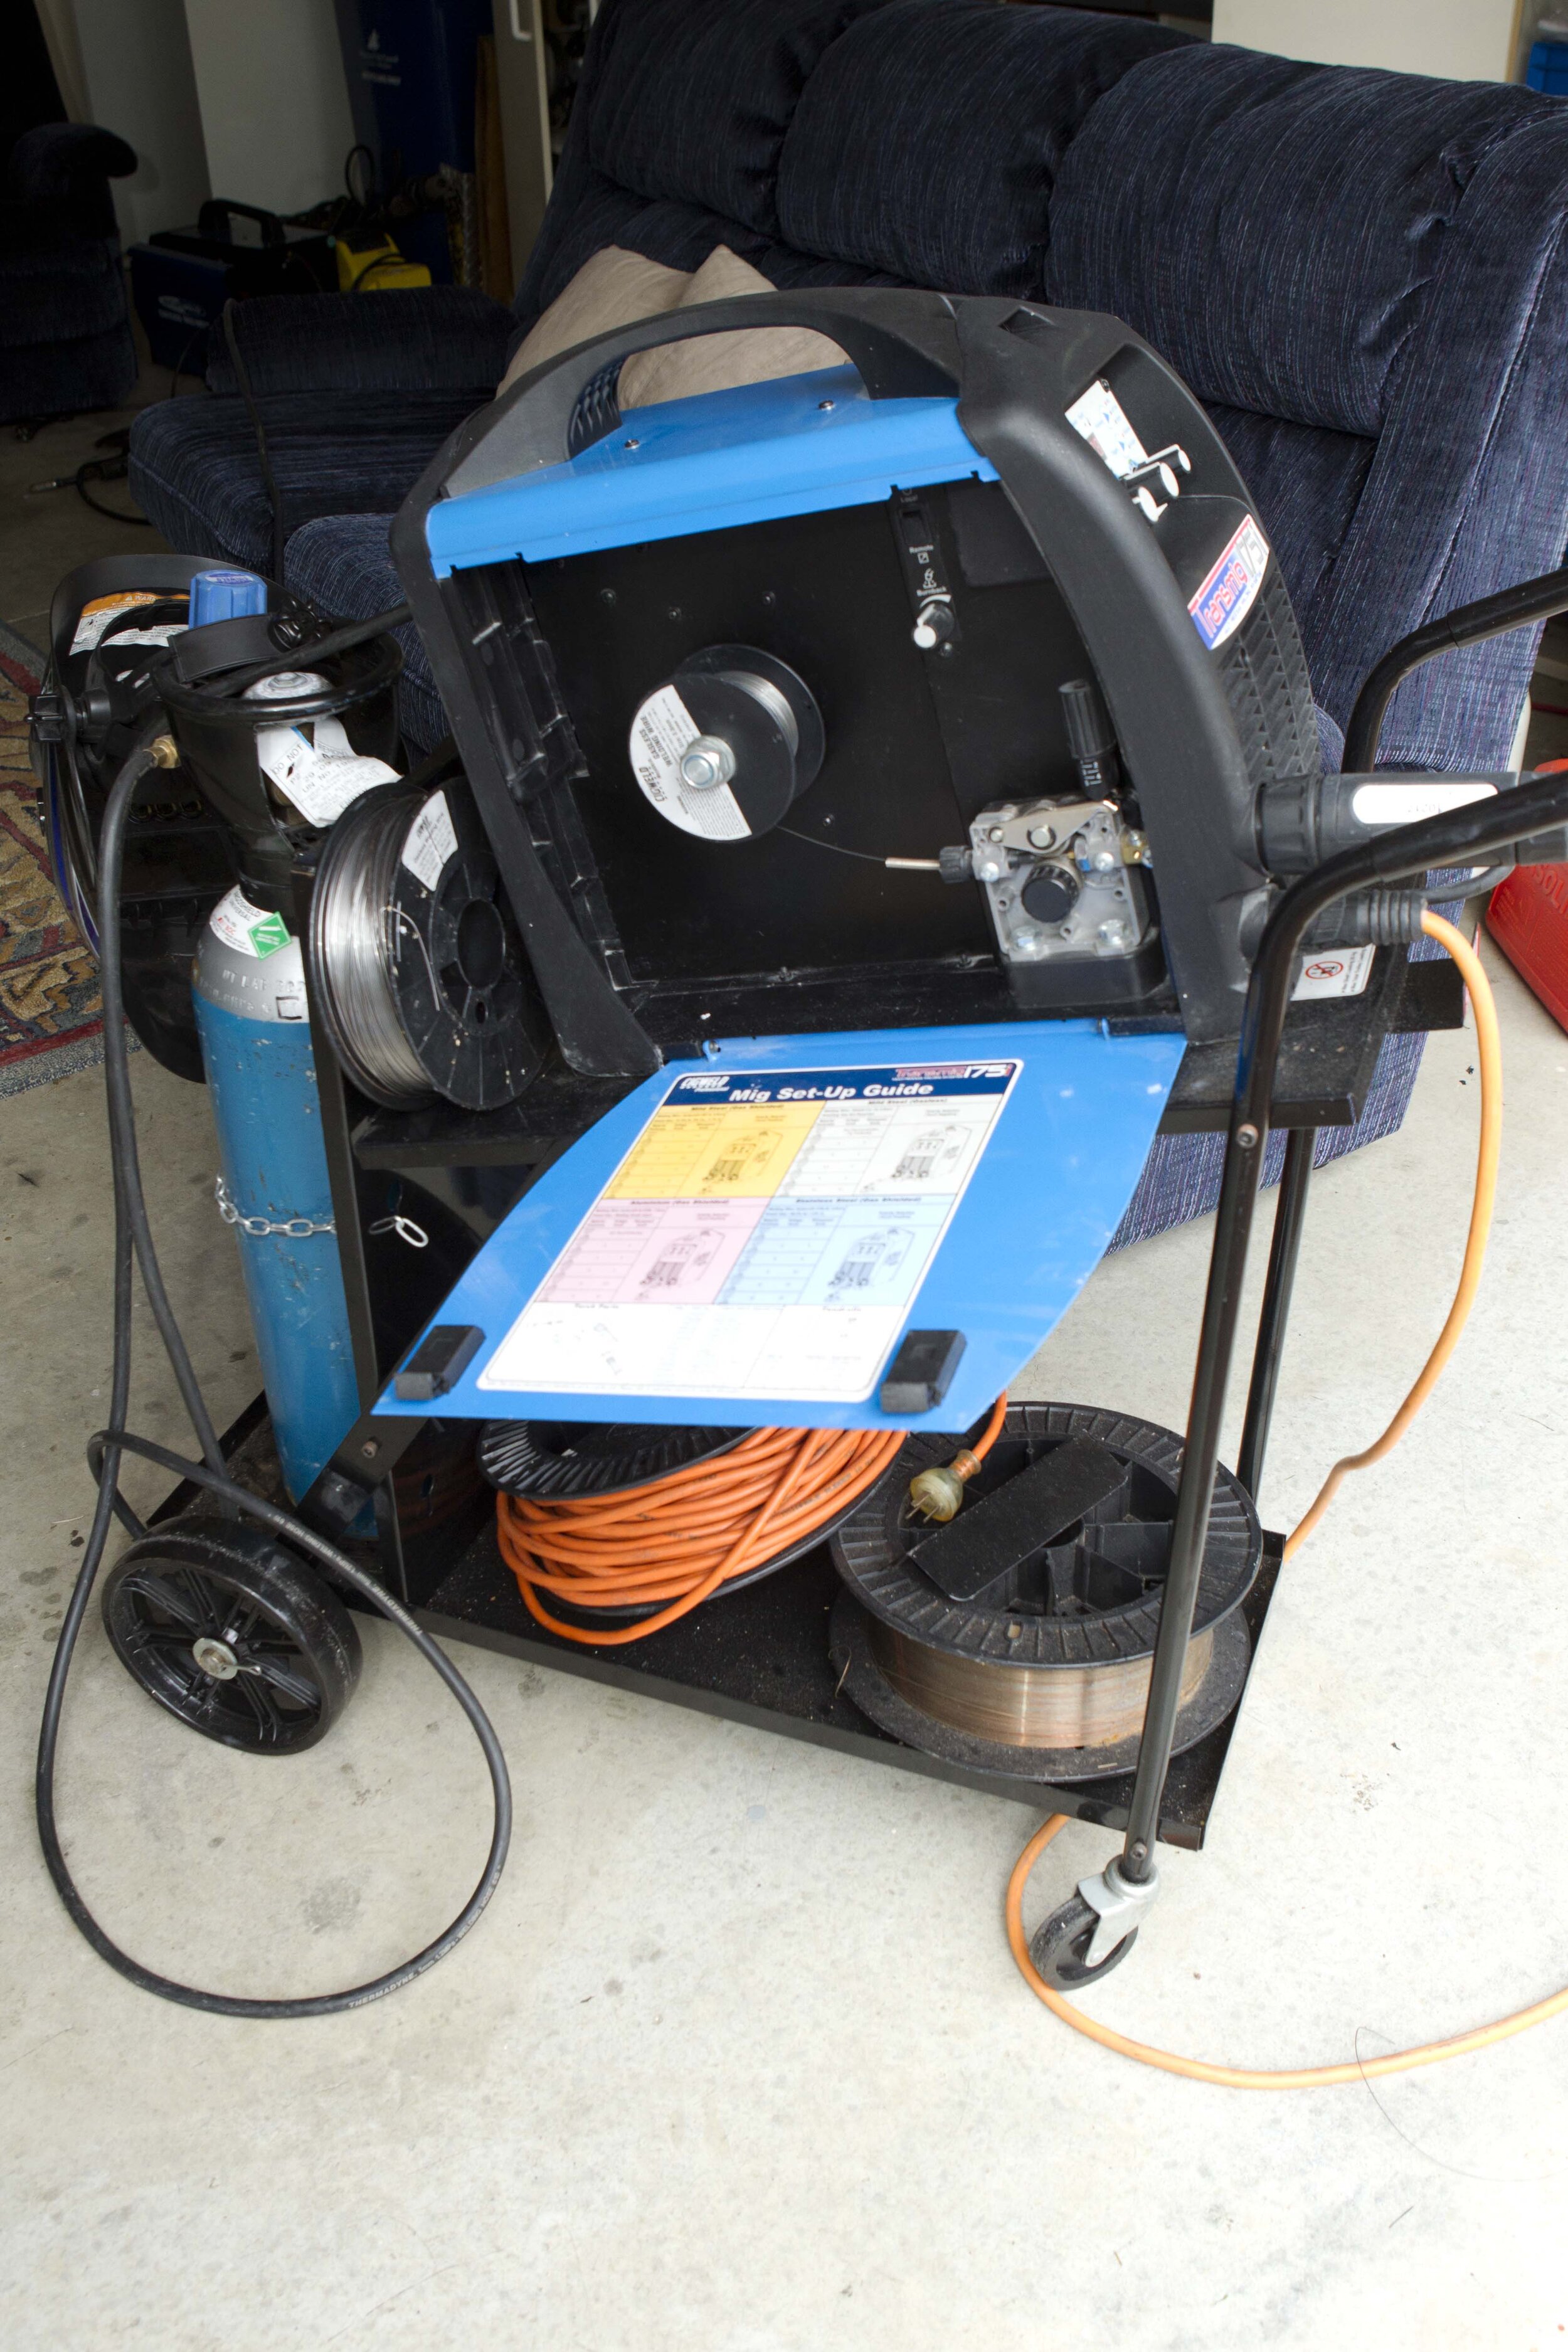
Leaving cover open invites dust and dirt to contaminate wire-feed
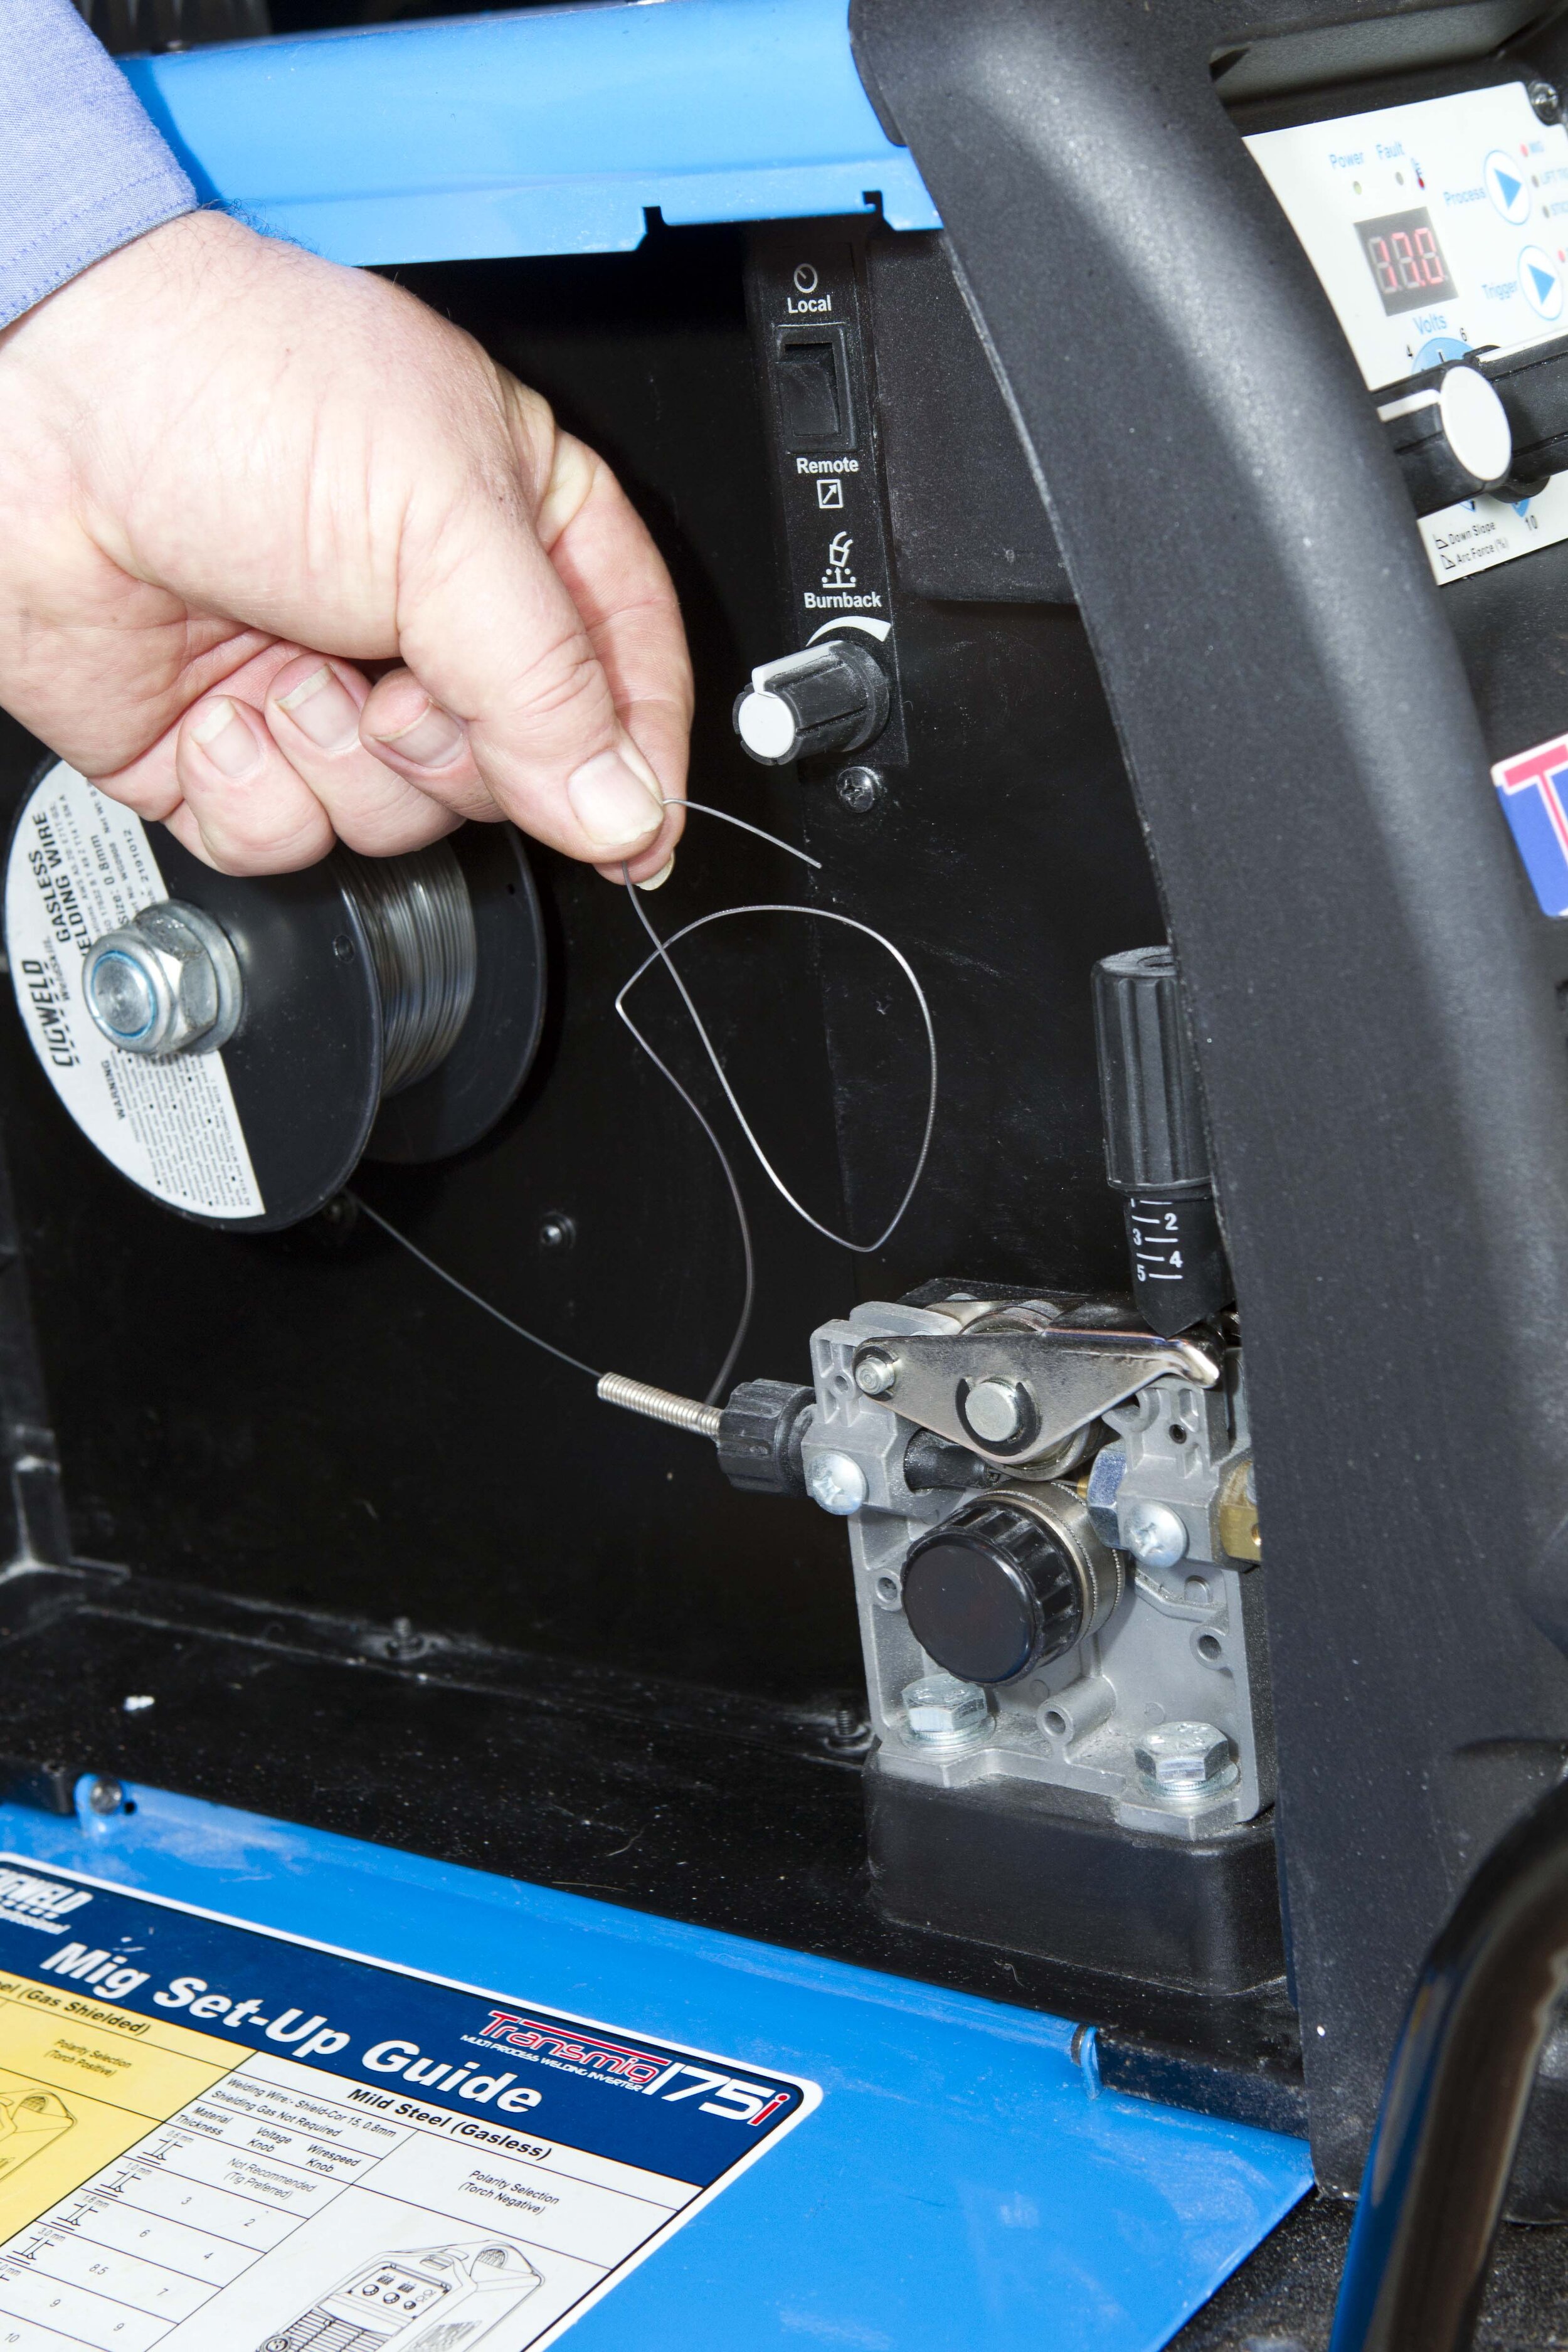
Pig-tail or curled wire can result from screwing down wire-feed tension
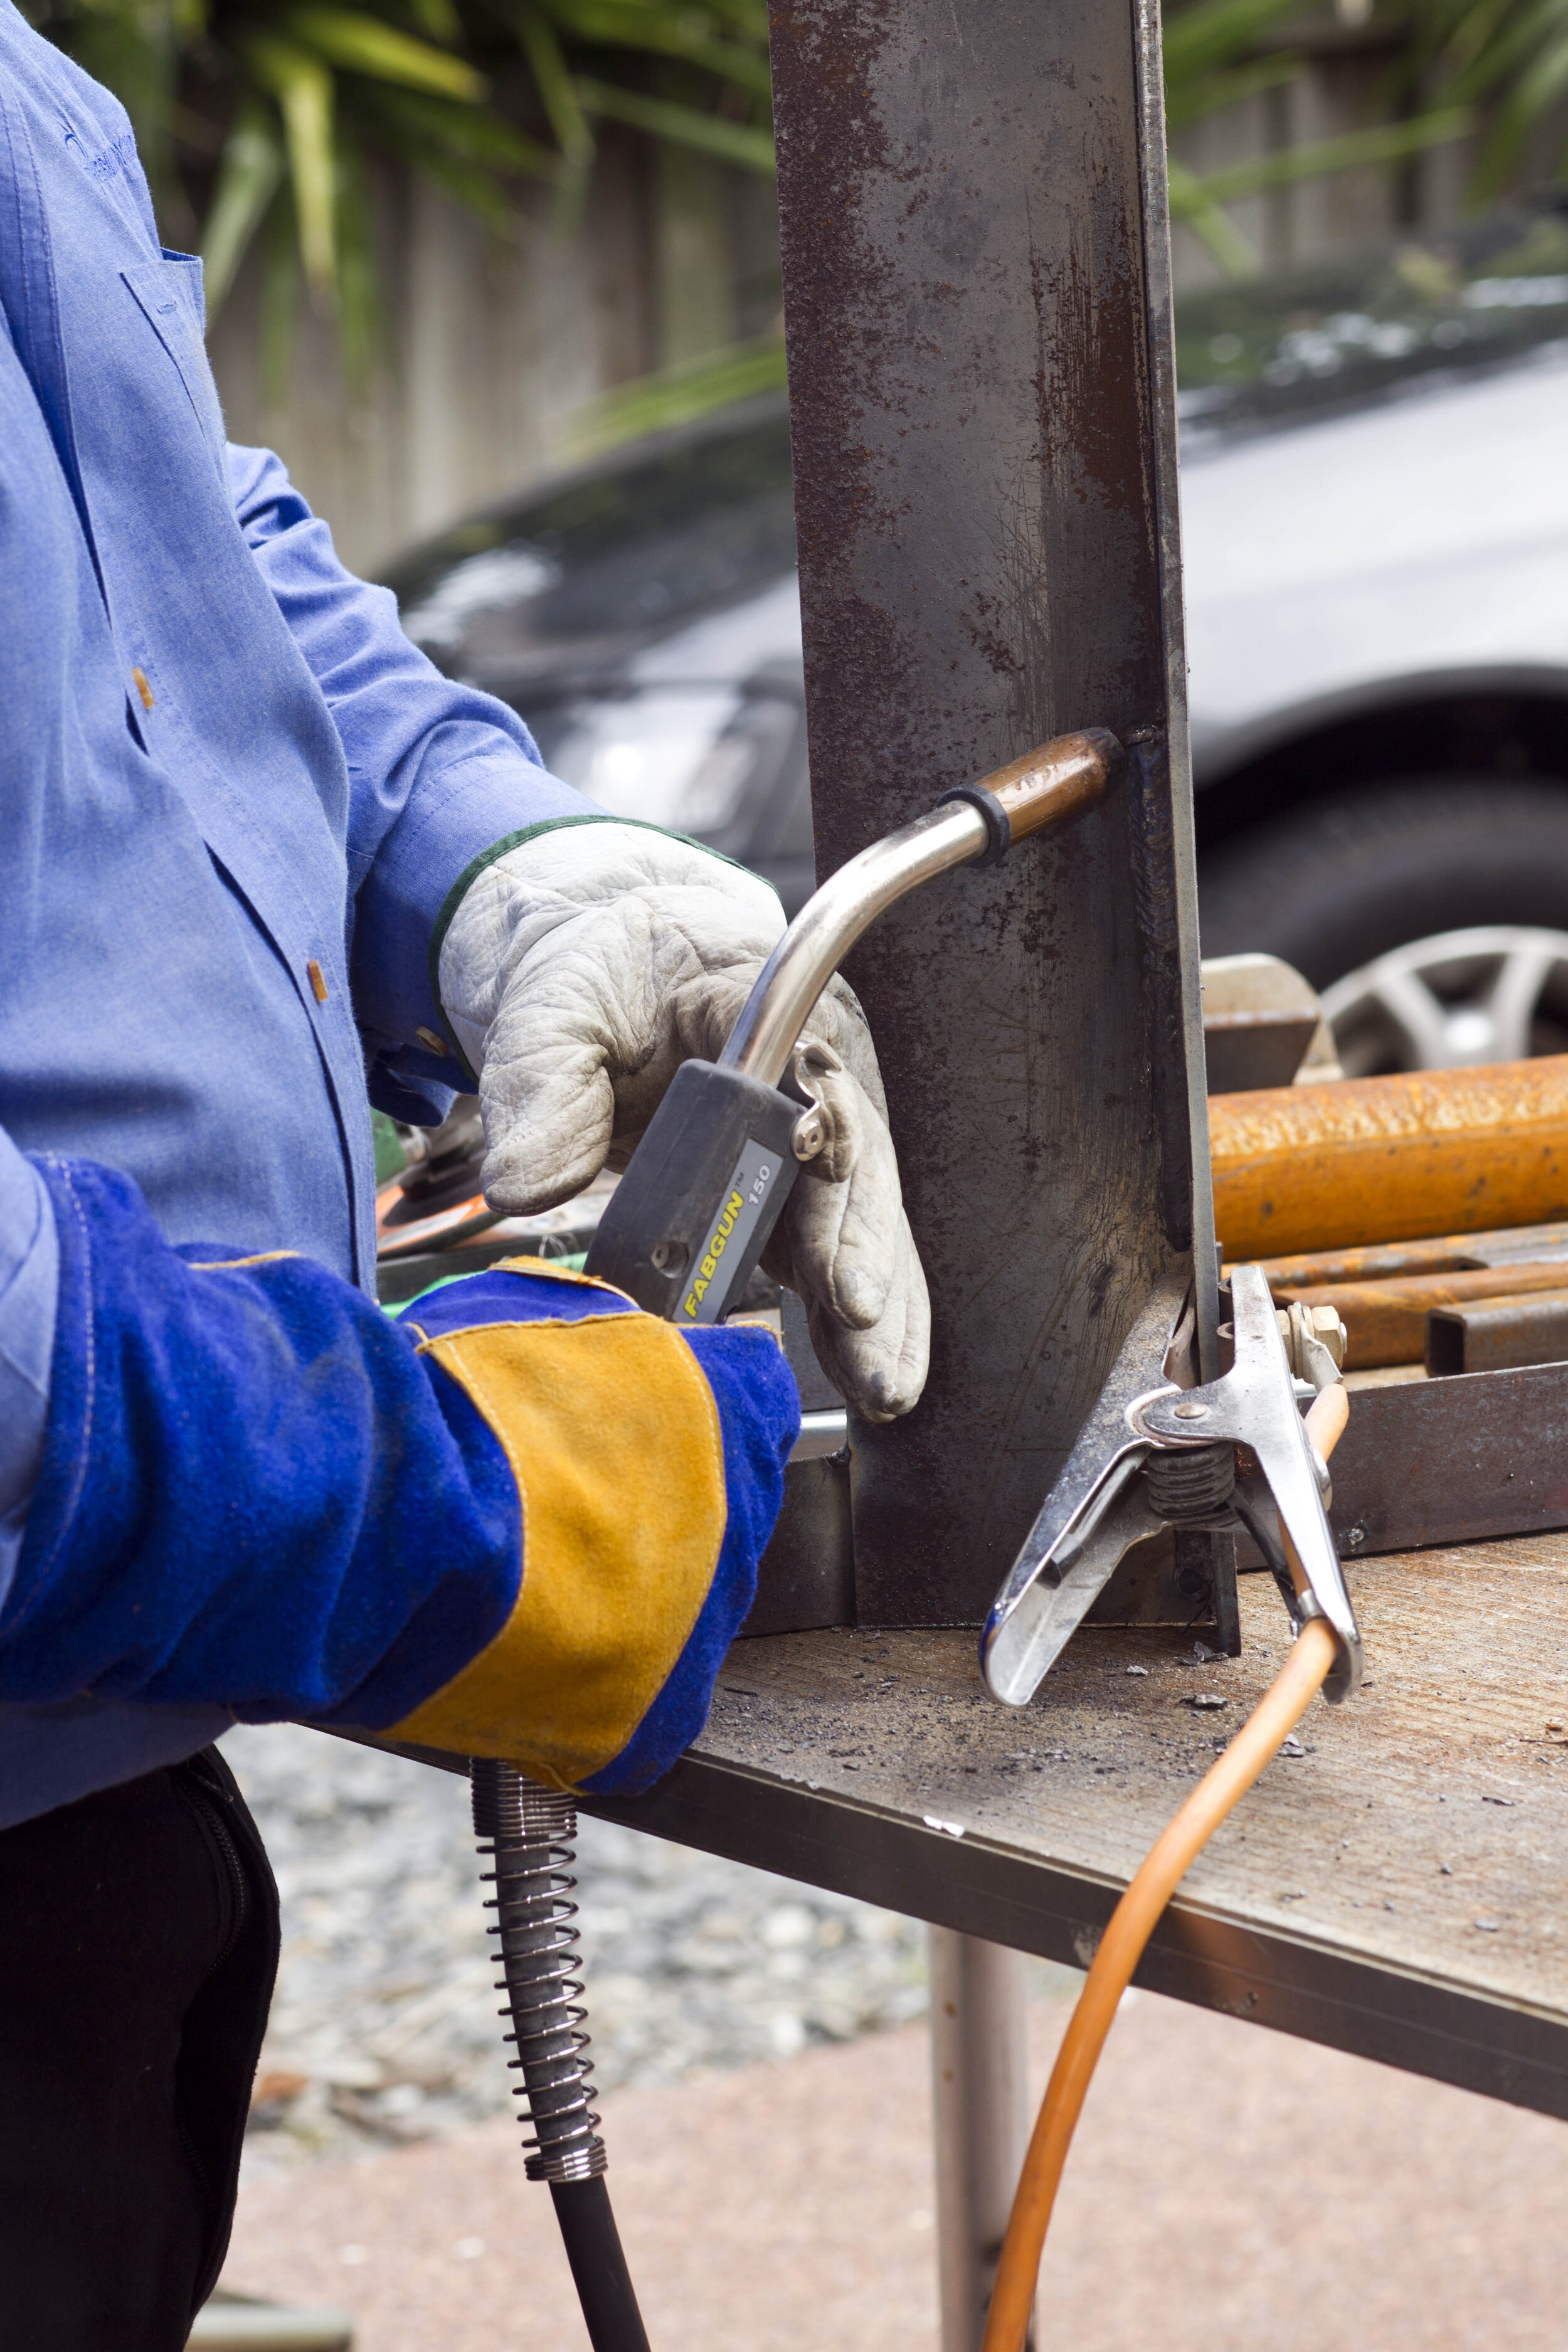
Use upward torch angle for vertical down weld
Best setting
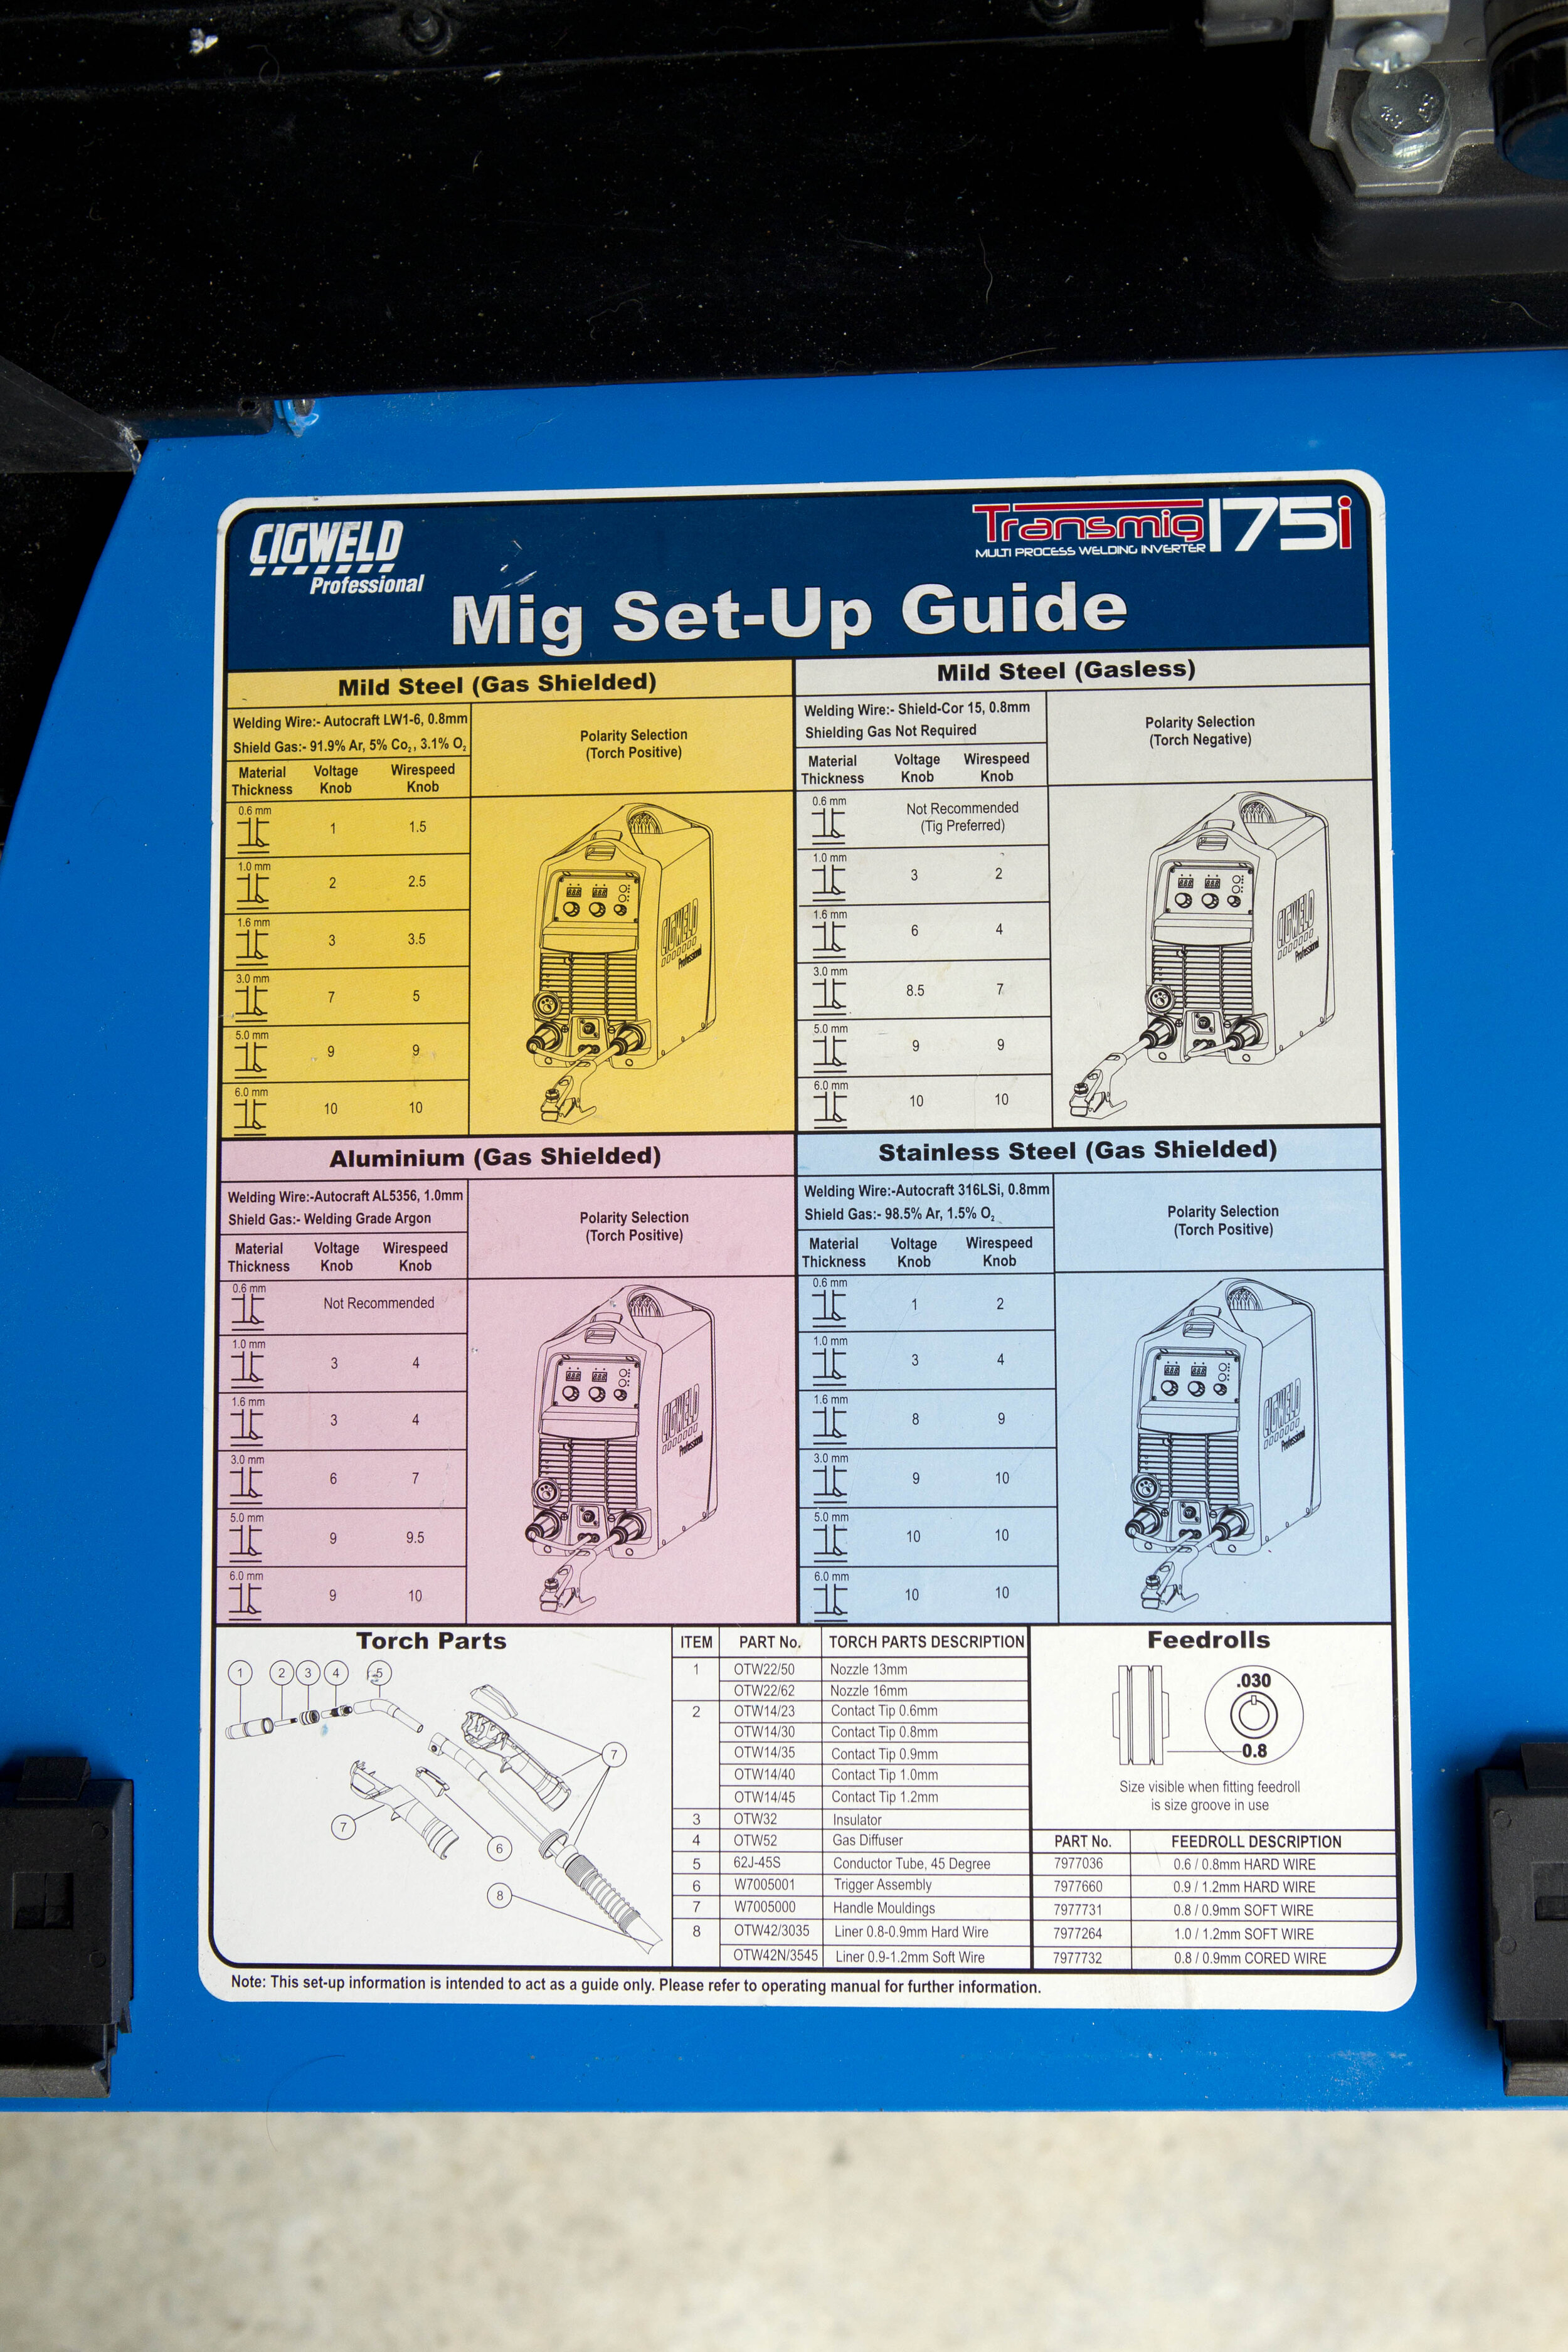
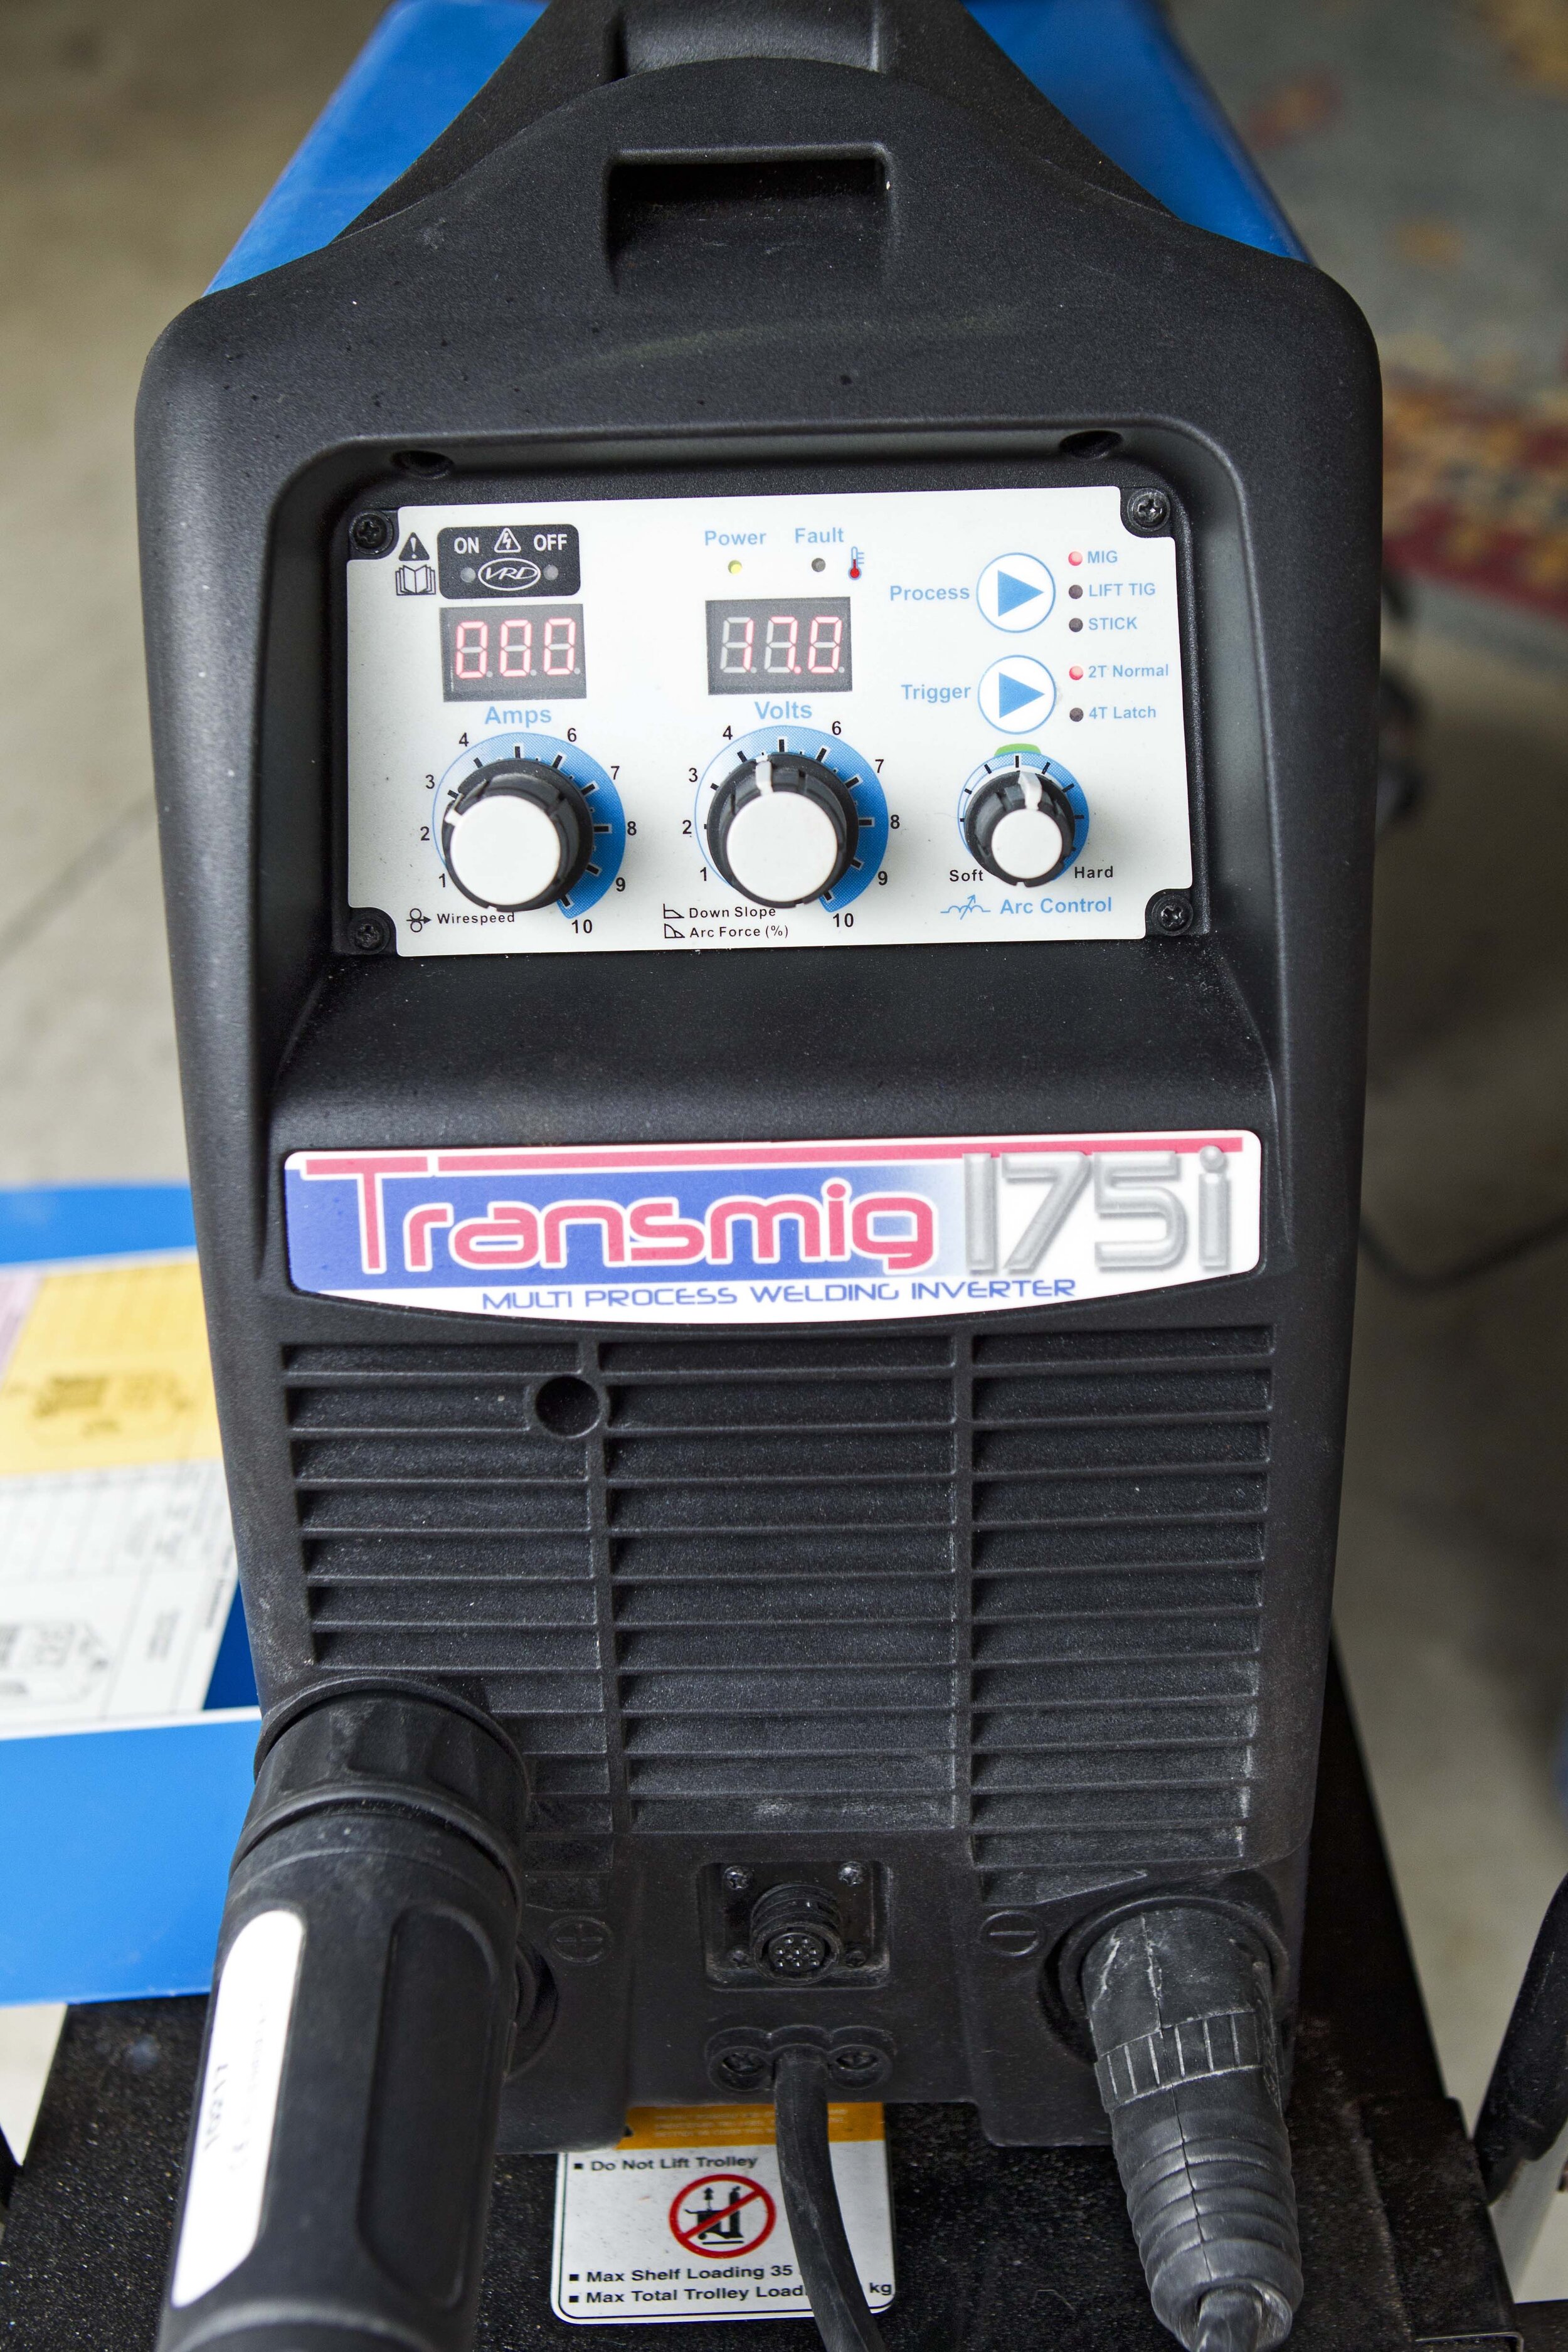
Adjusting the wire-feed speed and voltage should be simple enough if the manufacturer has put the variables on, or inside, the cover of the machine.
If not, try this. To start, try a setting in the centre of the wire-speed knob range and the same on the voltage switch. If the wire feels like it is burning off before it reaches the plate, go up one adjustment on the wire-speed knob. Keep going until the wire just starts stubbing or cracking in sound, then wind the knob back. If the wire is stubbing, either go up one adjustment on the voltage knob or one down on the wire-speed knob.
If you find the weld is too concave or has porosity, the voltage is still too high. A weld that is too convex or rounded means too much wire is coming out for the voltage setting.
The more you play with your welder, the better you will get to know what it will do. But buy a few extra tips, you may need them.
Travel speed
As in other welding processes, the ideal travel speed is one that keeps the arc / burning wire at the front edge of the weld pool and is producing the desired weld size. The best way to maintain a constant and uniform travel speed is through practice.
Maintaining a constant distance between the wire and the molten pool will also help. One supports the other.
When starting out, it can be hard to gauge whether your travel speed is too fast or too slow. If it looks good and feels strong, then you are probably on the right track. But don’t walk under anything you’ve welded that you are not sure of.
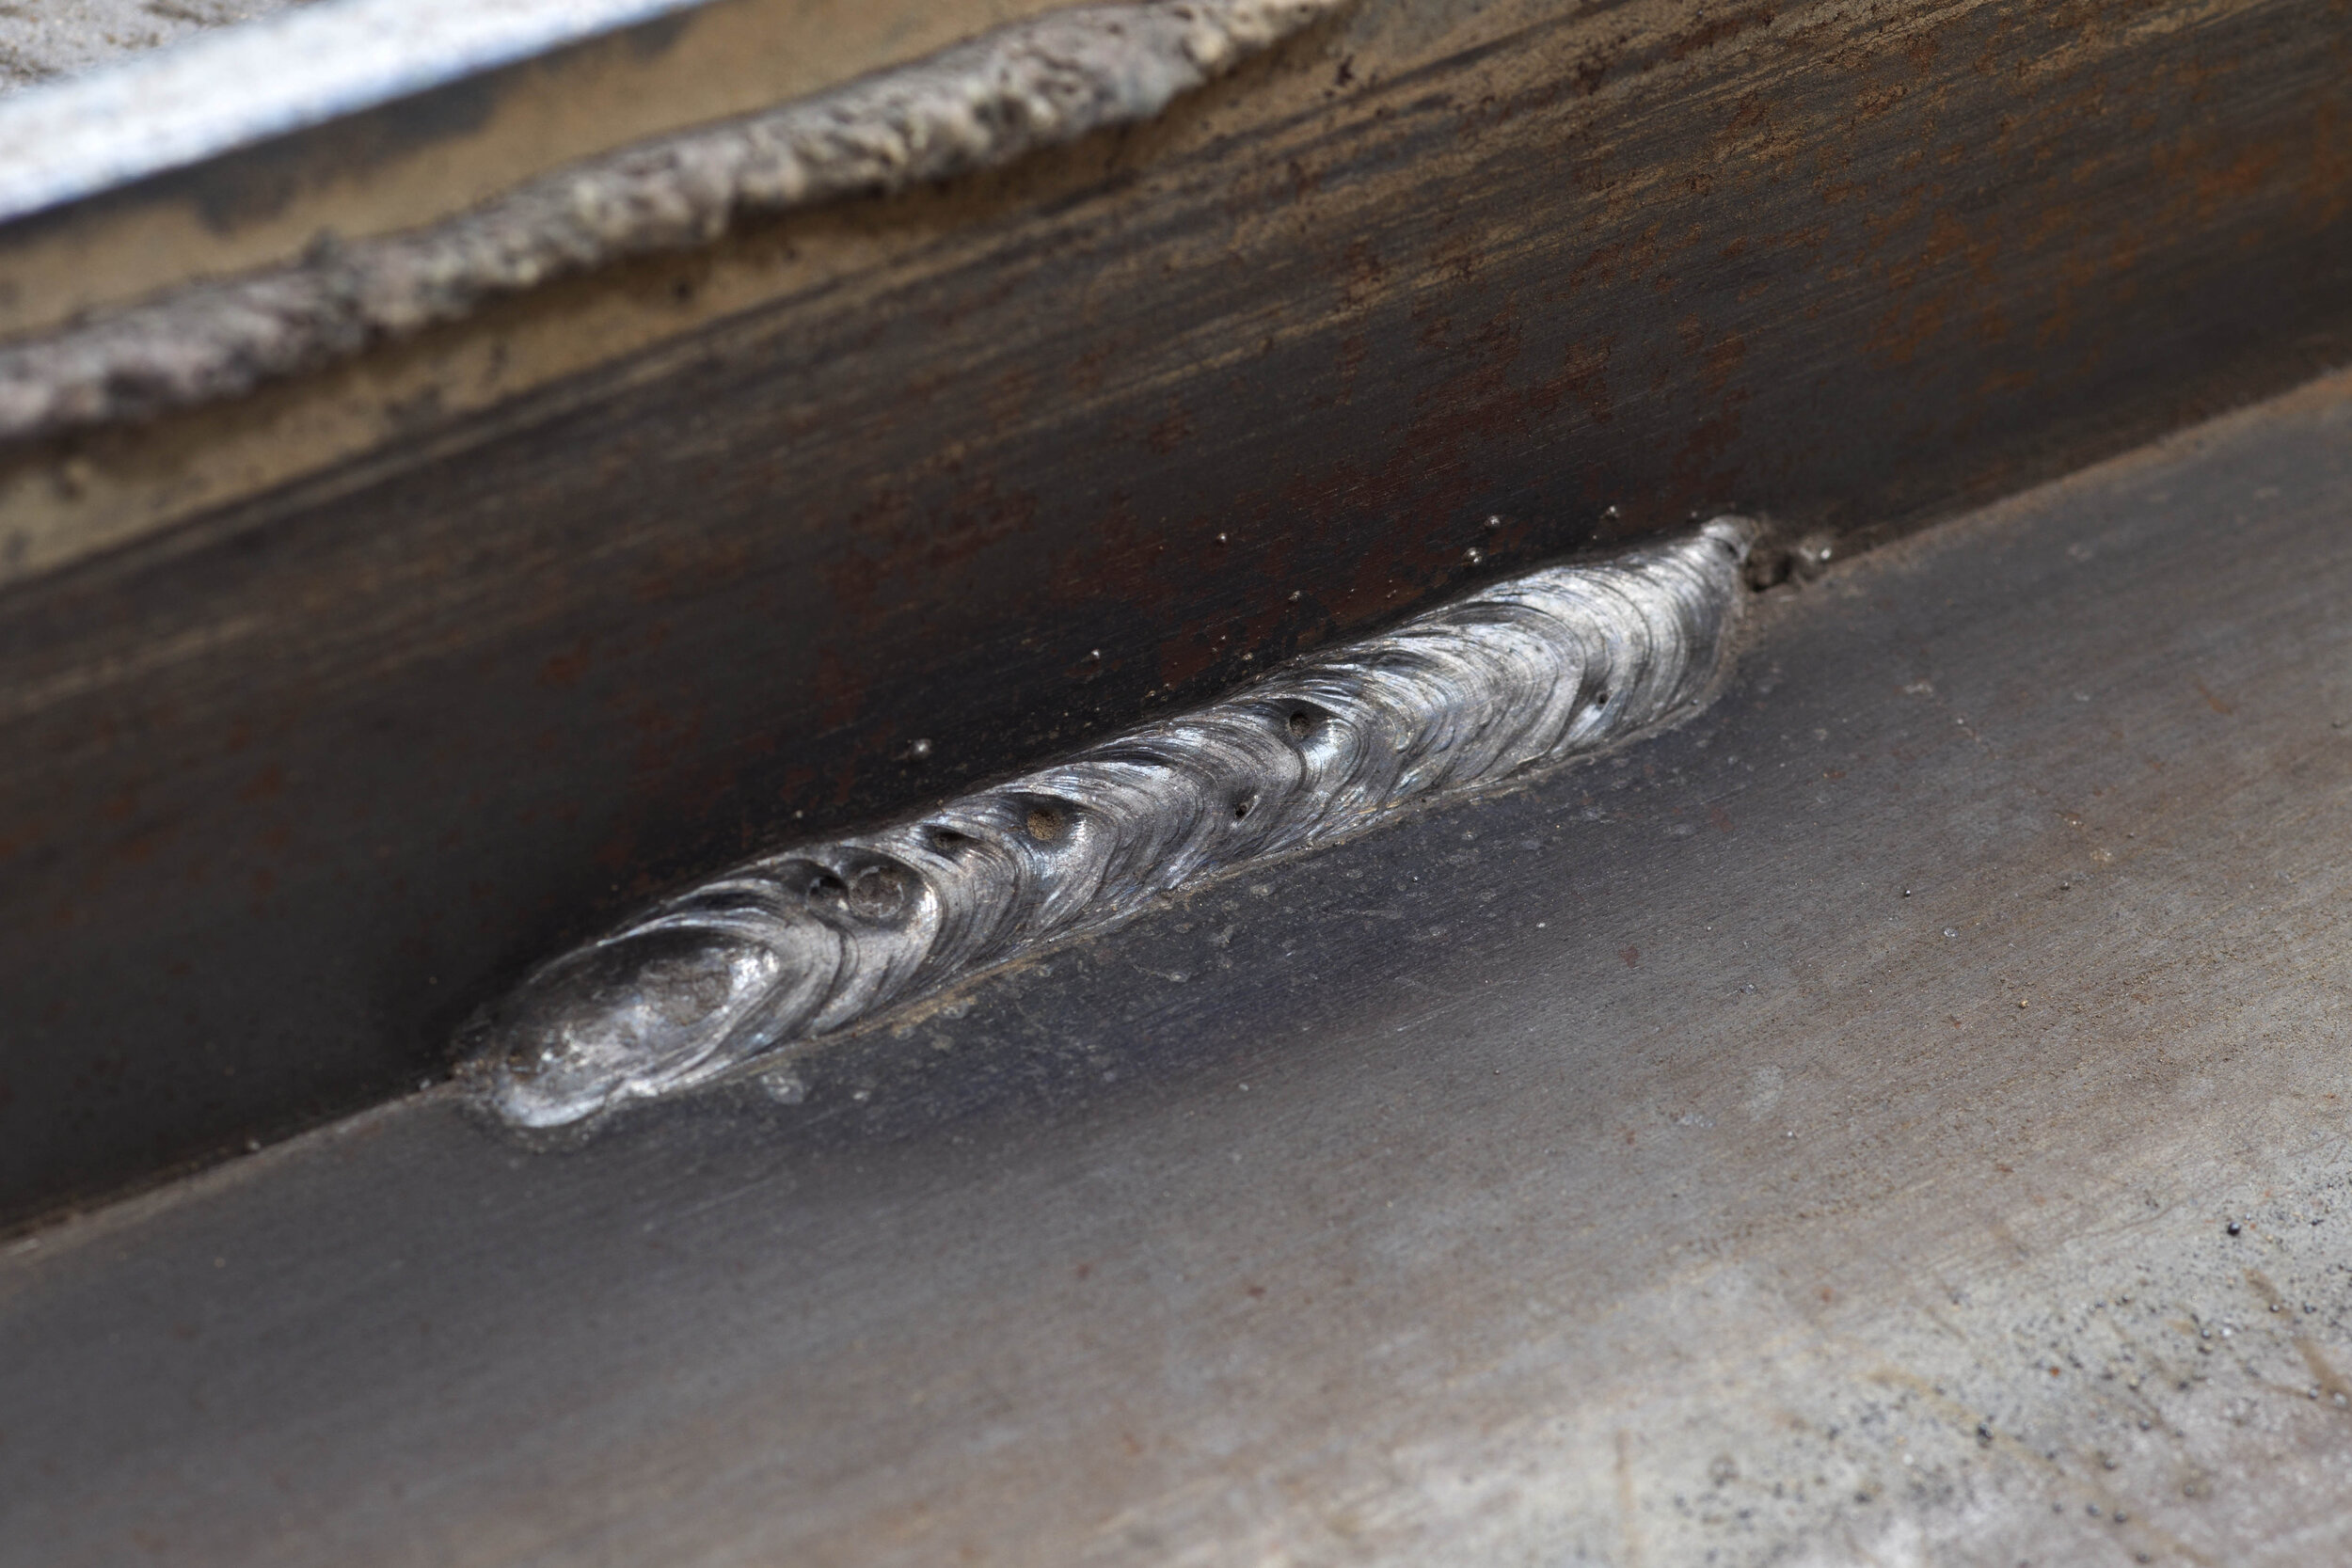
Too high voltage is a common cause of porosity
Stick-out
Stick-out is the distance between the contact tip and the parent metal. Around 25 mm-35 mm is about the mean distance for wires from 0.8 mm-1.2 mm. It is important to keep this constant as the amps and volts will fluctuate if you wander in and out. I like to use a 25 mm stick-out.
But you can use the stick-out distance to your advantage. If you use a longer stick-out (say 40 mm), the wire preheats slightly because of the electrical resistance. In turn, the volts will drop slightly, reducing penetration and the chance of burn-through. This technique is also ideal for bridging gaps.
Backhand technique
Angle the MIG torch back away from the weld pool in the direction you are traveling. This is the same technique as with an electrode in stick welding.
If you find that the slag starts to run ahead of the arc, this means the drag angle needs to be increased. Too great a backhand angle and the arc could become unstable. Porosity and an ugly weld will tell you that you’ve gone too far.
Down-hand fillet welds
To make down-hand and small fillet welds, point the wire at the toe of the joint. Try to keep the wire angle to the joint around the 45° mark. To achieve an even better bead shape, position the wire onto the bottom plate close to the corner of the joint. An angle of 45° between the wire and the base plate will ensure the molten weld pool will wash up onto the vertical plate.
Vertical-up welds
When welding out of position, the secret is to keep your movements steady. Moving fast or whipping the arc will give you lumpy welds because the weld pool has got hot and cold too quickly. Generally, keep the wire nearly perpendicular to the joint for vertical-up welds.
The easiest technique is a short side-to-side motion, counting 2-3 seconds on each side. Do not be in a rush to get to the other side. Practice on a 4-5 mm plate. Do not worry about the centre—it will take care of itself. You should be aiming for a weld 8-10 mm wide. Good penetration can also be achieved with the right settings and good technique. Practice will tell you how quickly to move up the plate.
Vertical-down welds
To make smaller vertical welds, a vertical down technique is usually used. With practice, excellent high-speed vertical welds can be achieved.
For sheet metal work, low-penetration single-pass welds can be achieved by positioning the job on a downhill angle or straight up and down.
You use an upward torch angle (keep your hand lower than the tip) of between 15°- 20° moving down at a speed that keeps the molten pool from running over or onto the wire. You will find you will be moving down quite fast. The force of the arc will help hold the weld pool in the joint.
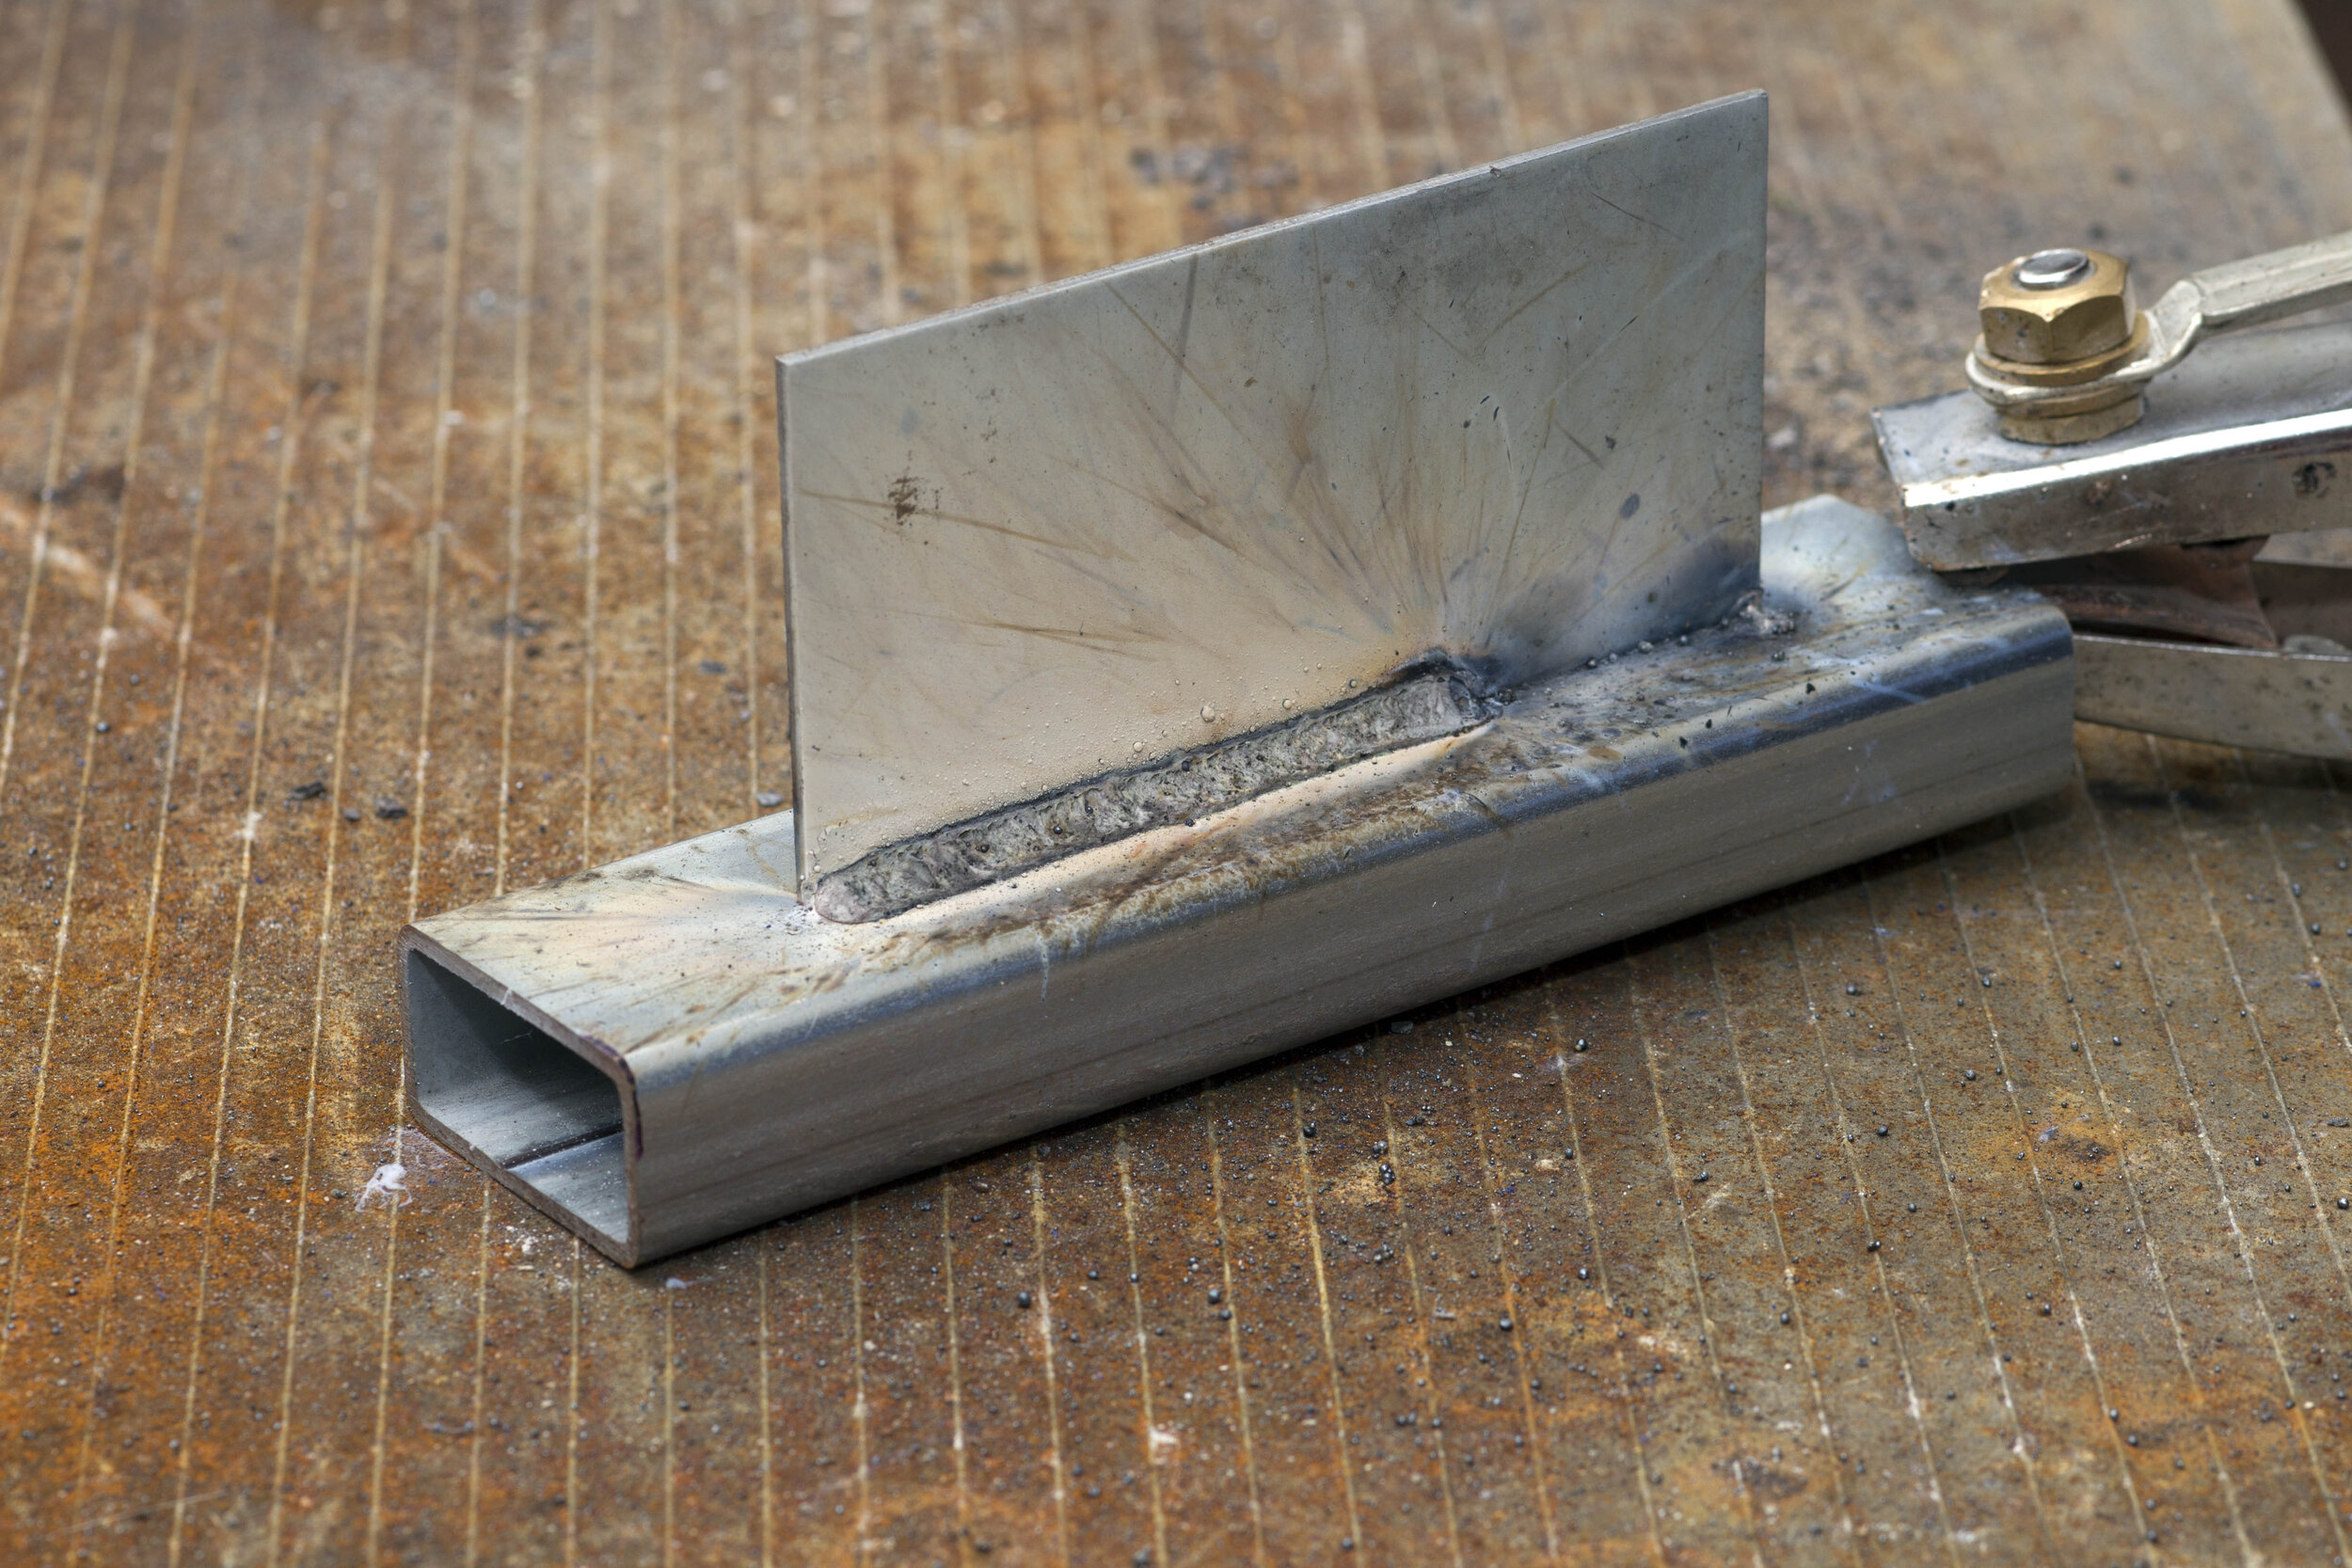
Weld on galvanised…
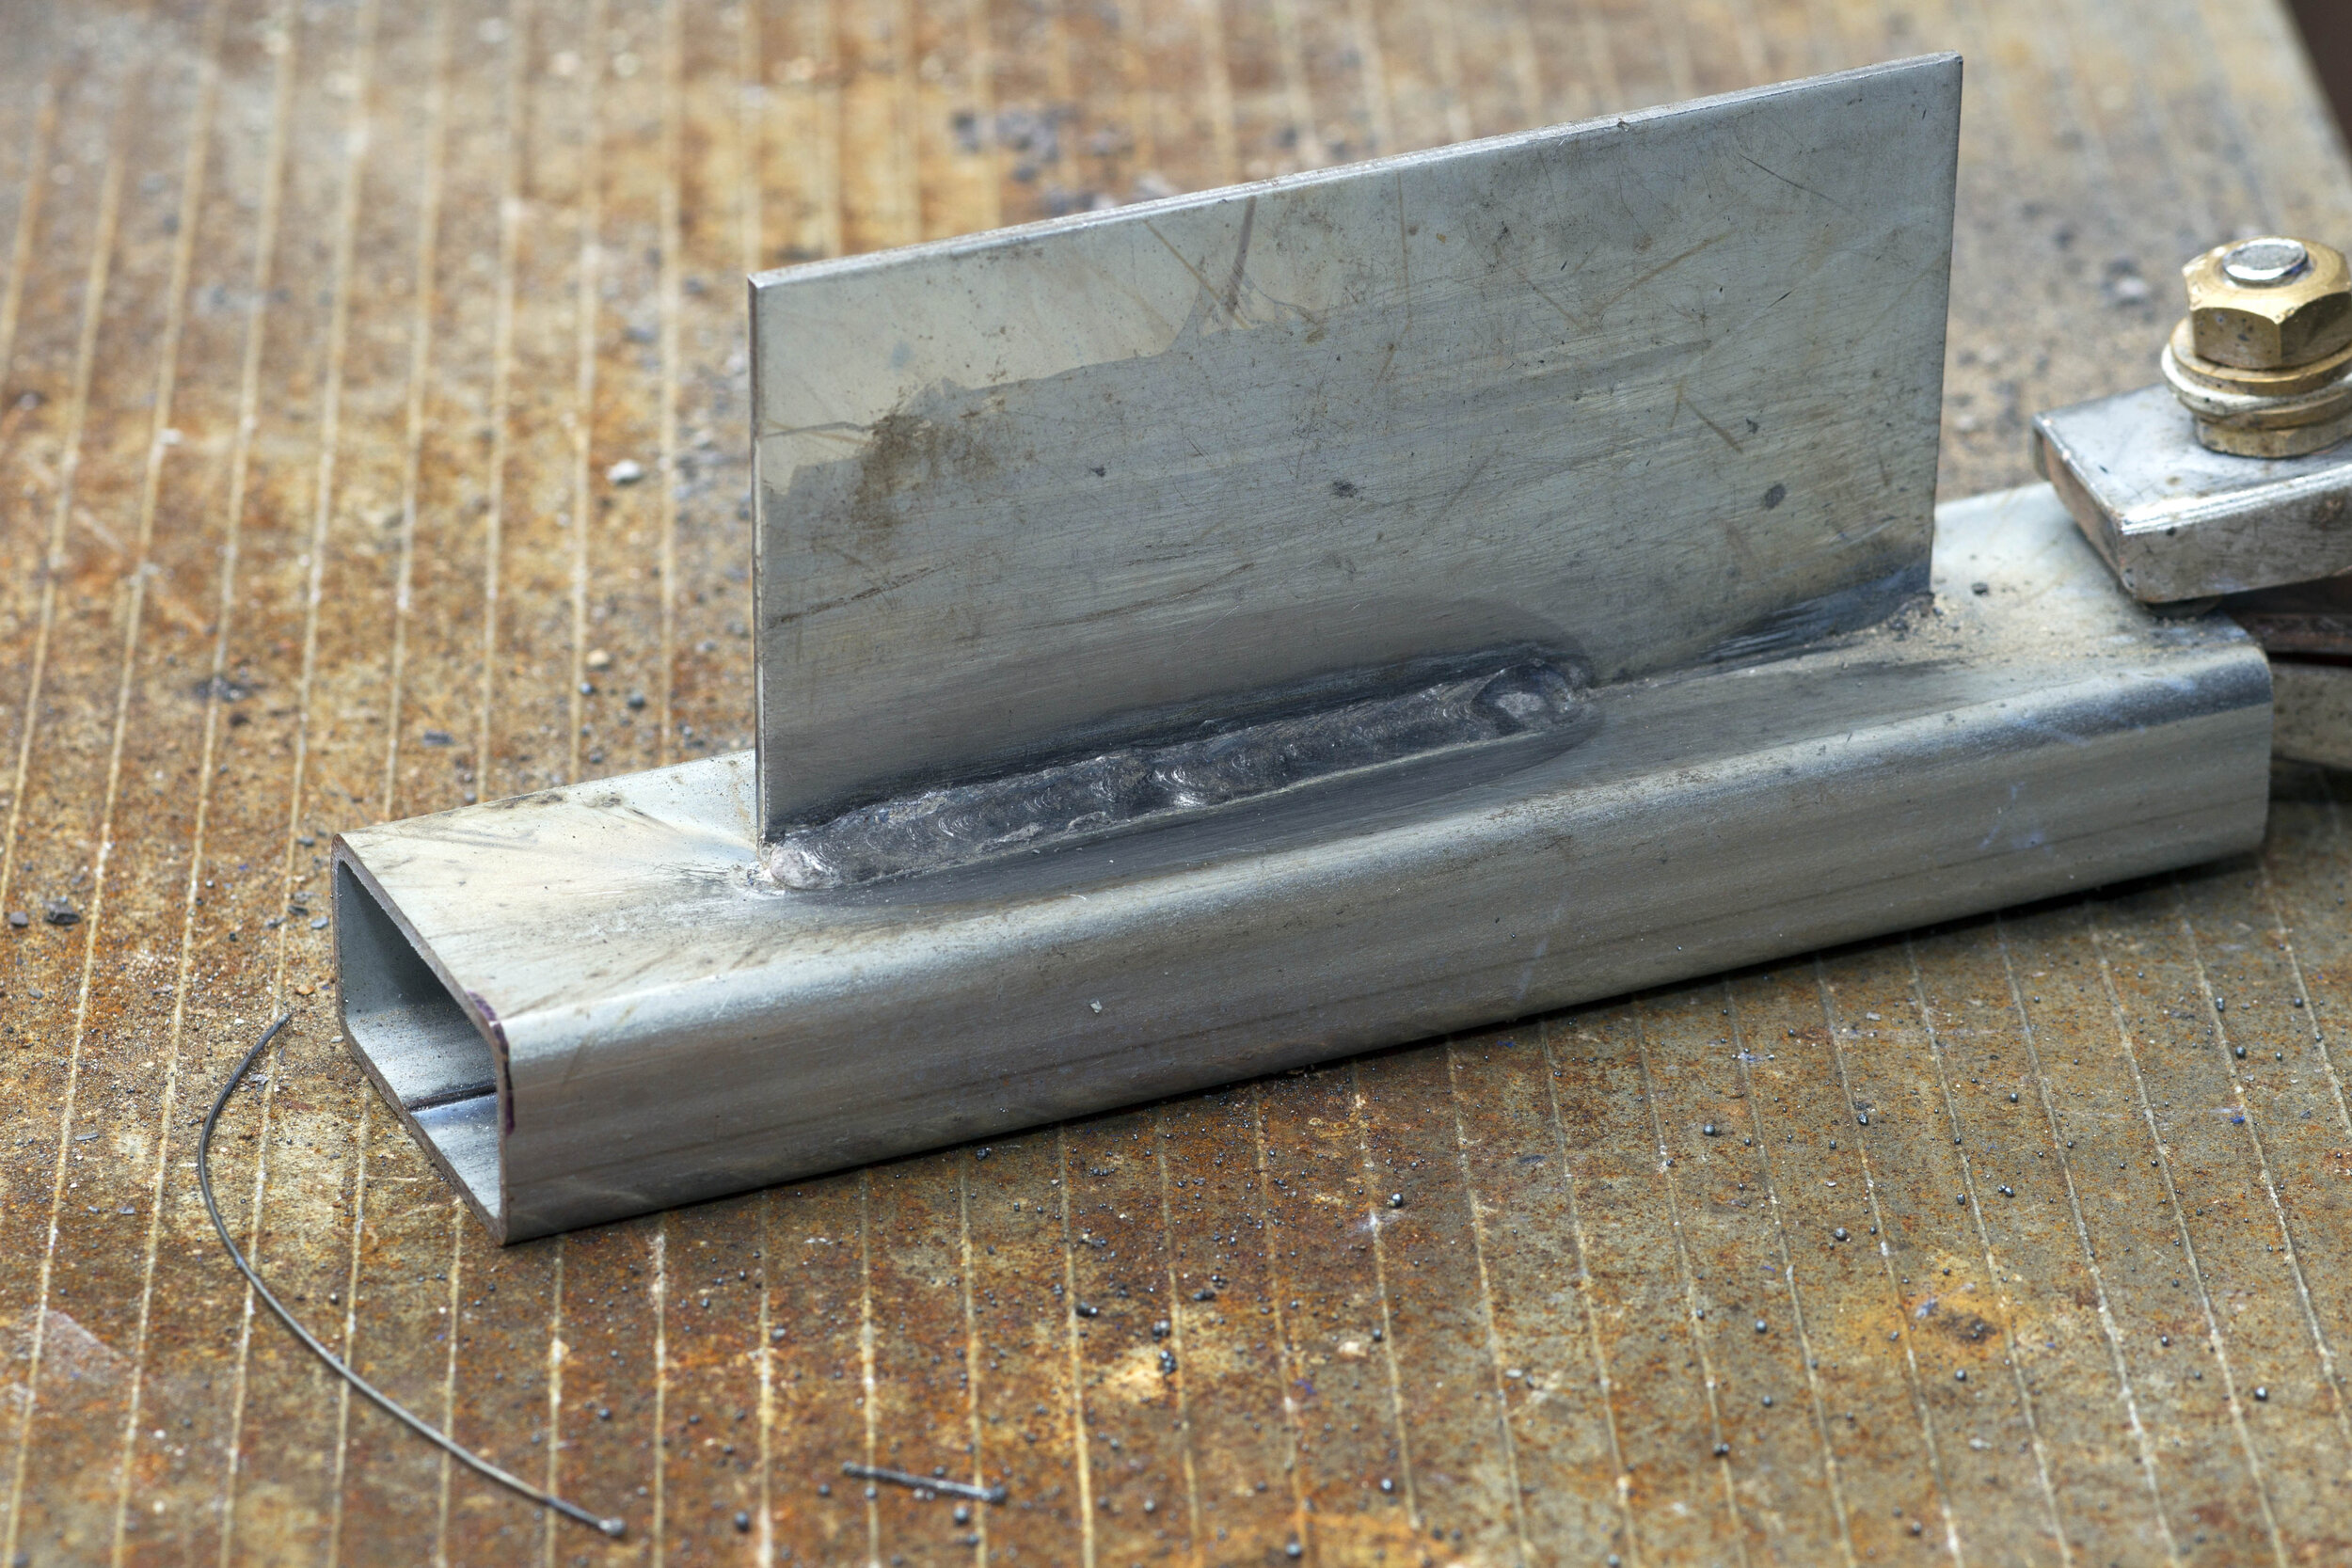
… and weld on galvanised cleaned.
Porosity
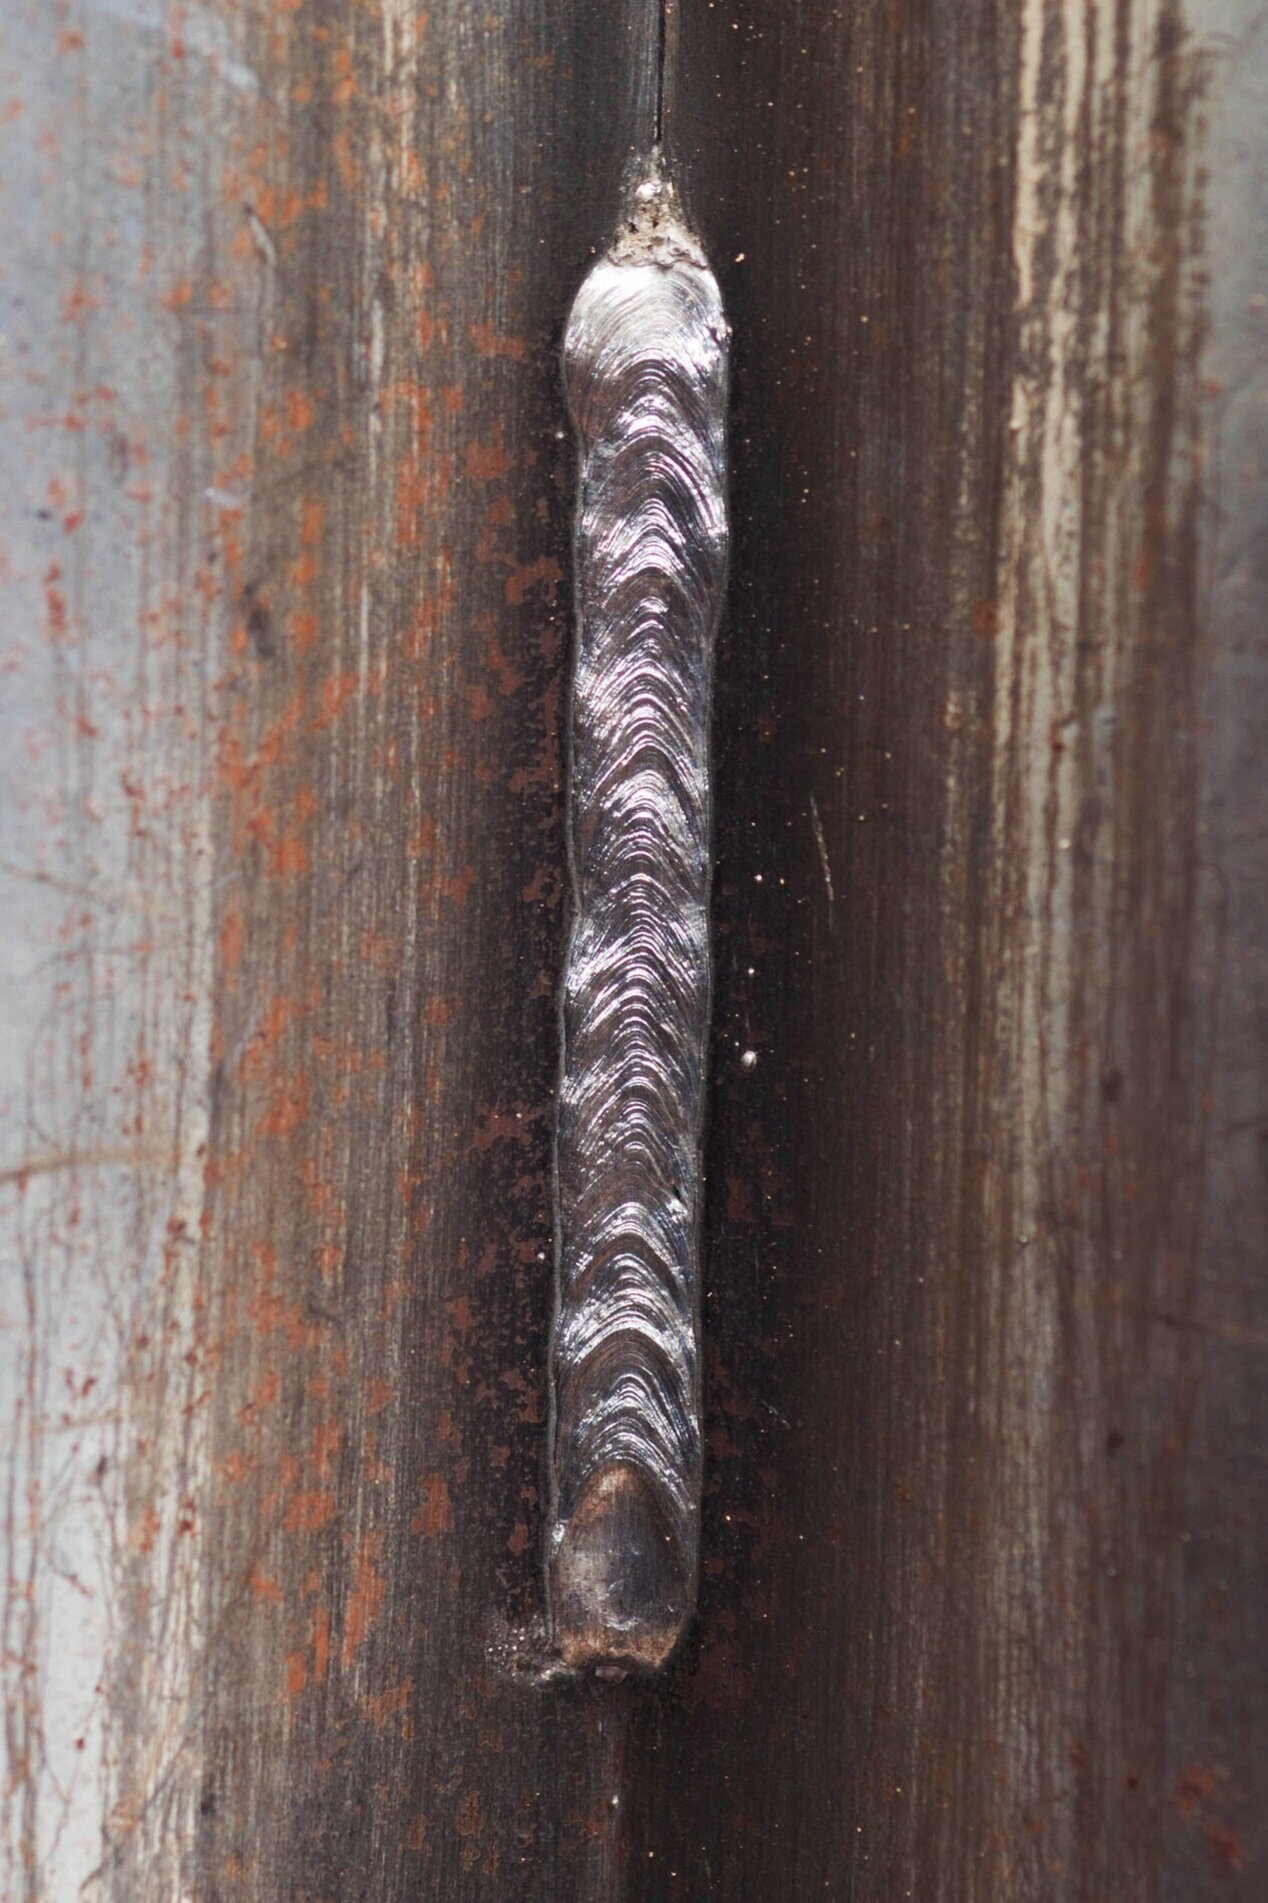
Porosity in gasless wire is a common fault but easy to avoid.
To eliminate porosity:
* Clean the parent metal of moisture, oil, paint, and rust;
* Decrease your voltage. The arc may feel hot and smooth but too high a voltage is the most common fault;
* Increase stick-out. Short stick-out raises the arc voltage;
* Increase wire-feed speed;
* Decrease drag/travel angle. Too great an angle can also cause extra spatter.
Operating variables
There are four major operating variables in MIG welding: arc voltage, wire-feed speed, torch travel speed, and stick-out. If you change one, the other three will probably also need to be adjusted. As stated earlier, too-high voltage compared to your wire speed can cause porosity and pinholes. Too-long stick-out will give you stubbing and heavy spatter
Travel speed isn’t too hard to work out as the finished product will let you know if you need to fix this. Don’t be afraid to move quickly on panels and light sheet.
Fumes
Of course, you need to be aware of fumes from gasless wire welding. With fumes, all welding should be treated with the same precautions. Wear protection of the correct type for the job you are doing. Material safety data sheets on most consumables are available online or ask the company supplying the wire if you have any doubts.
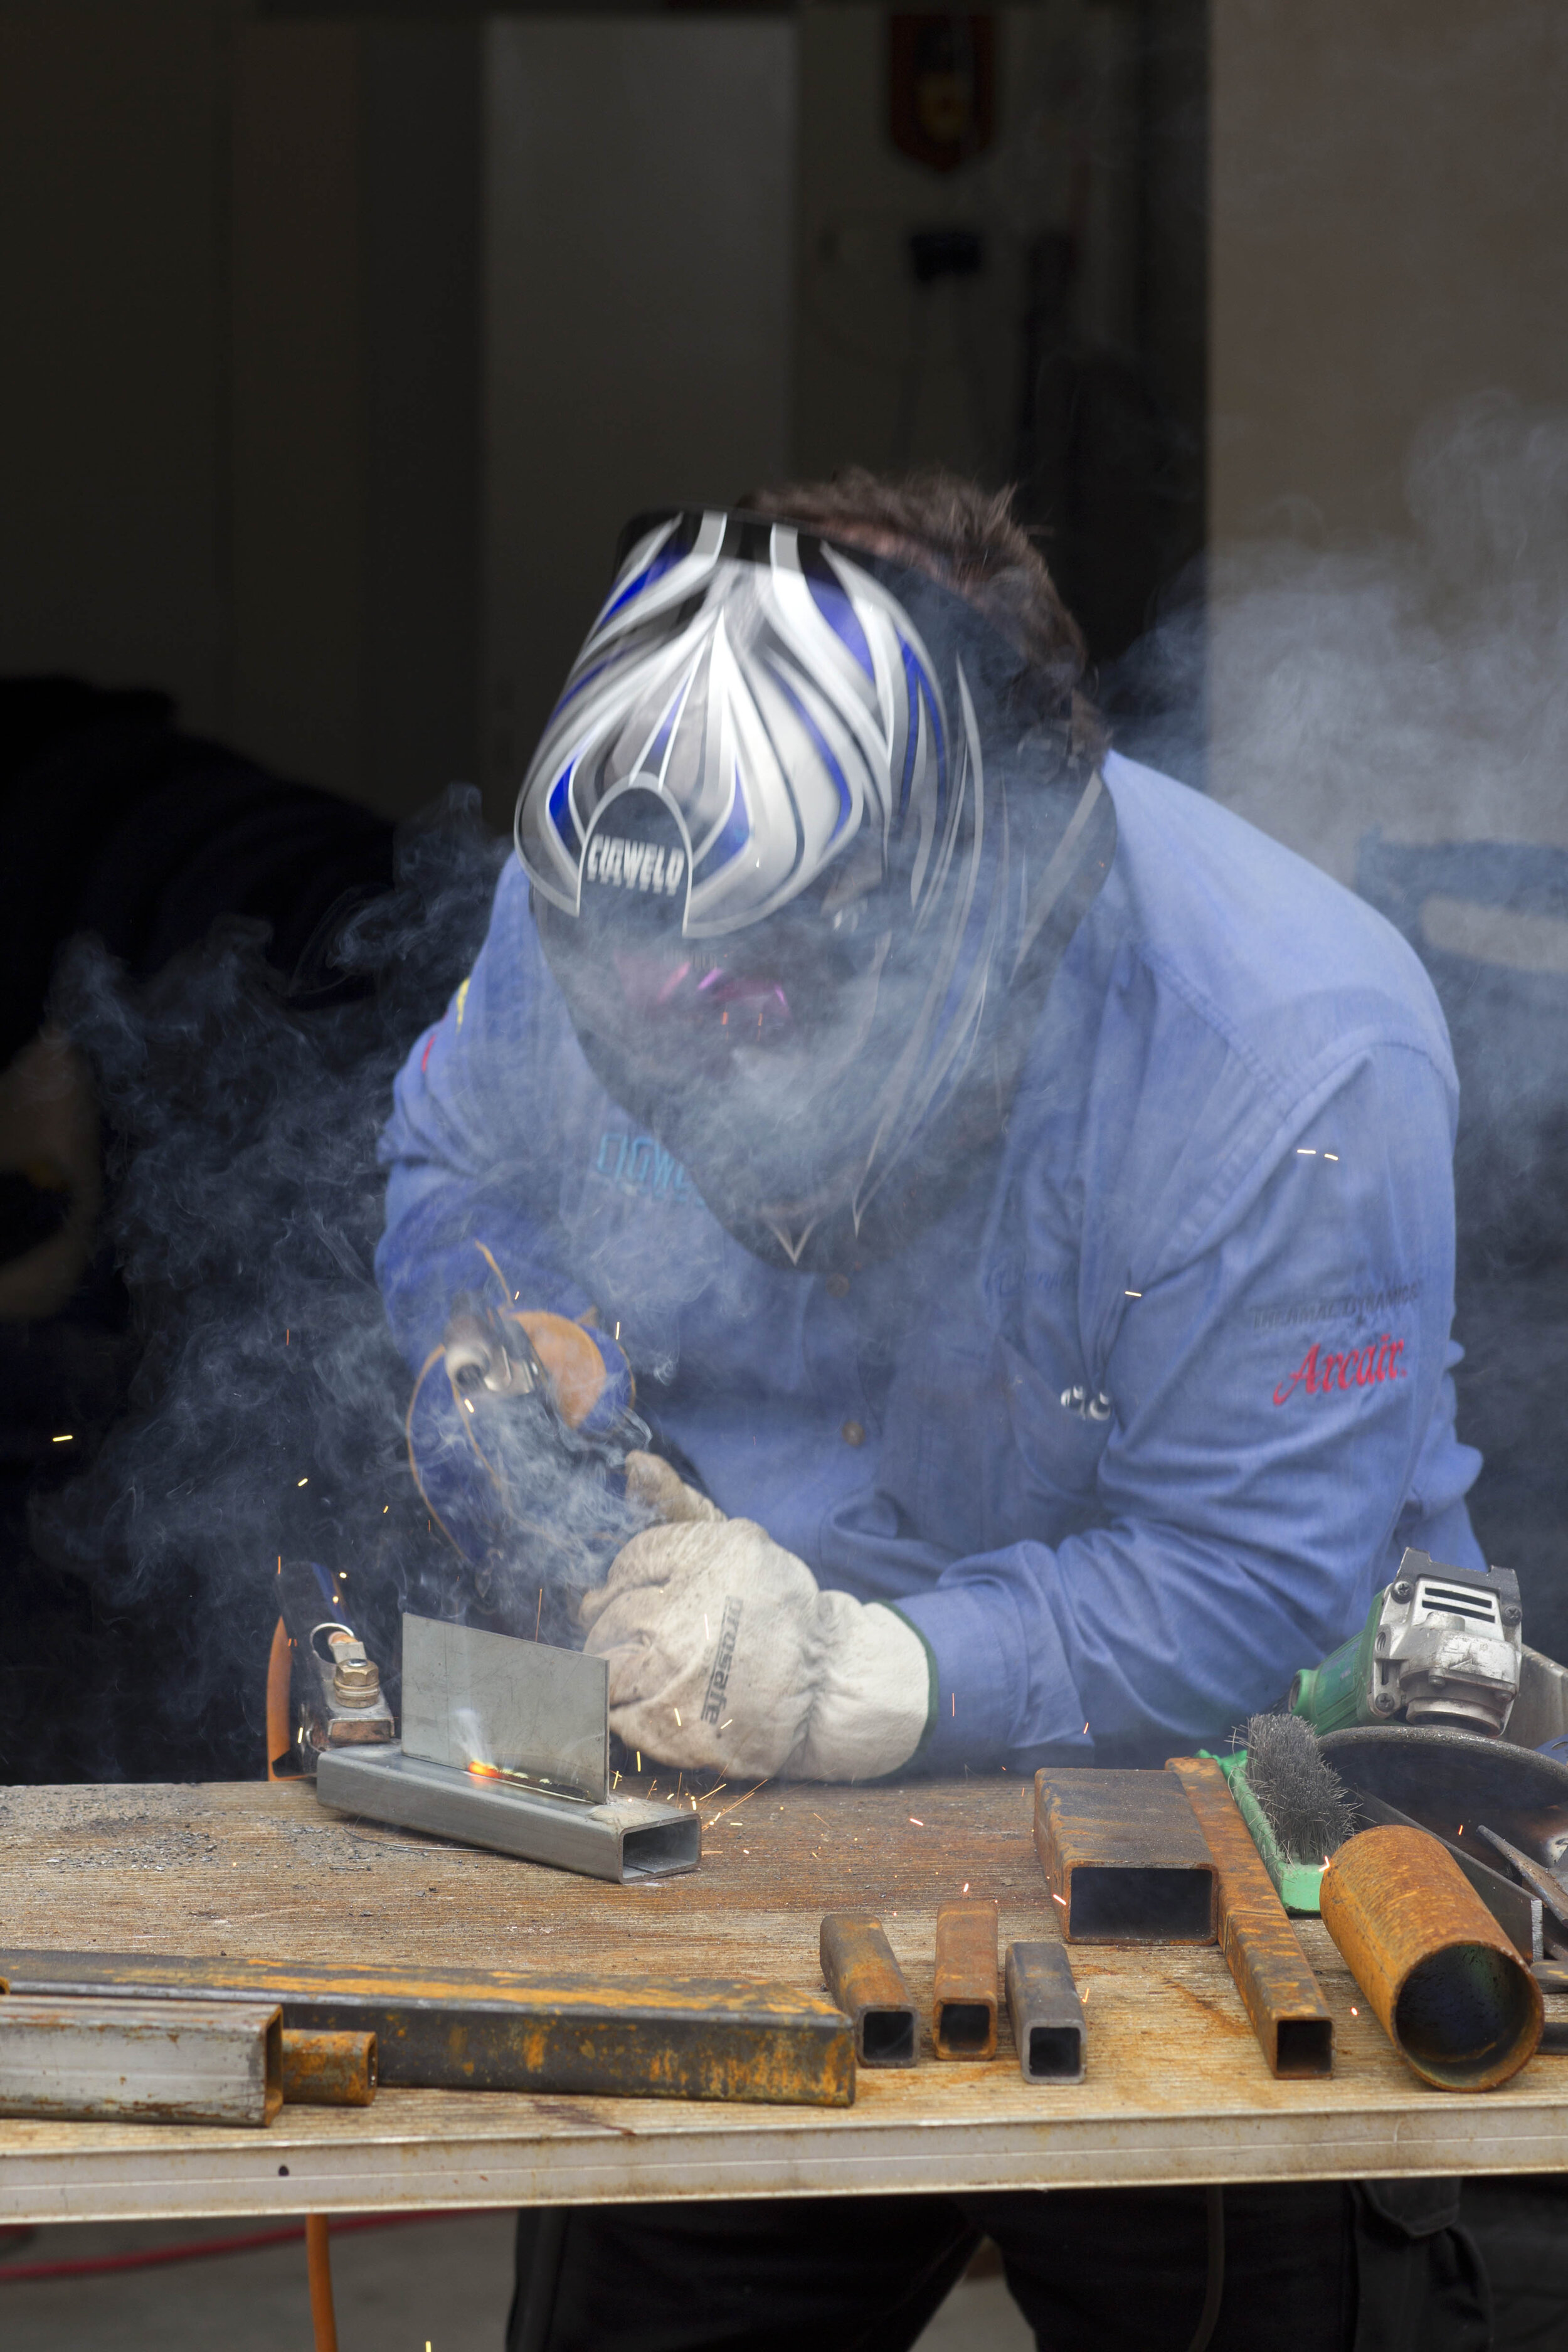
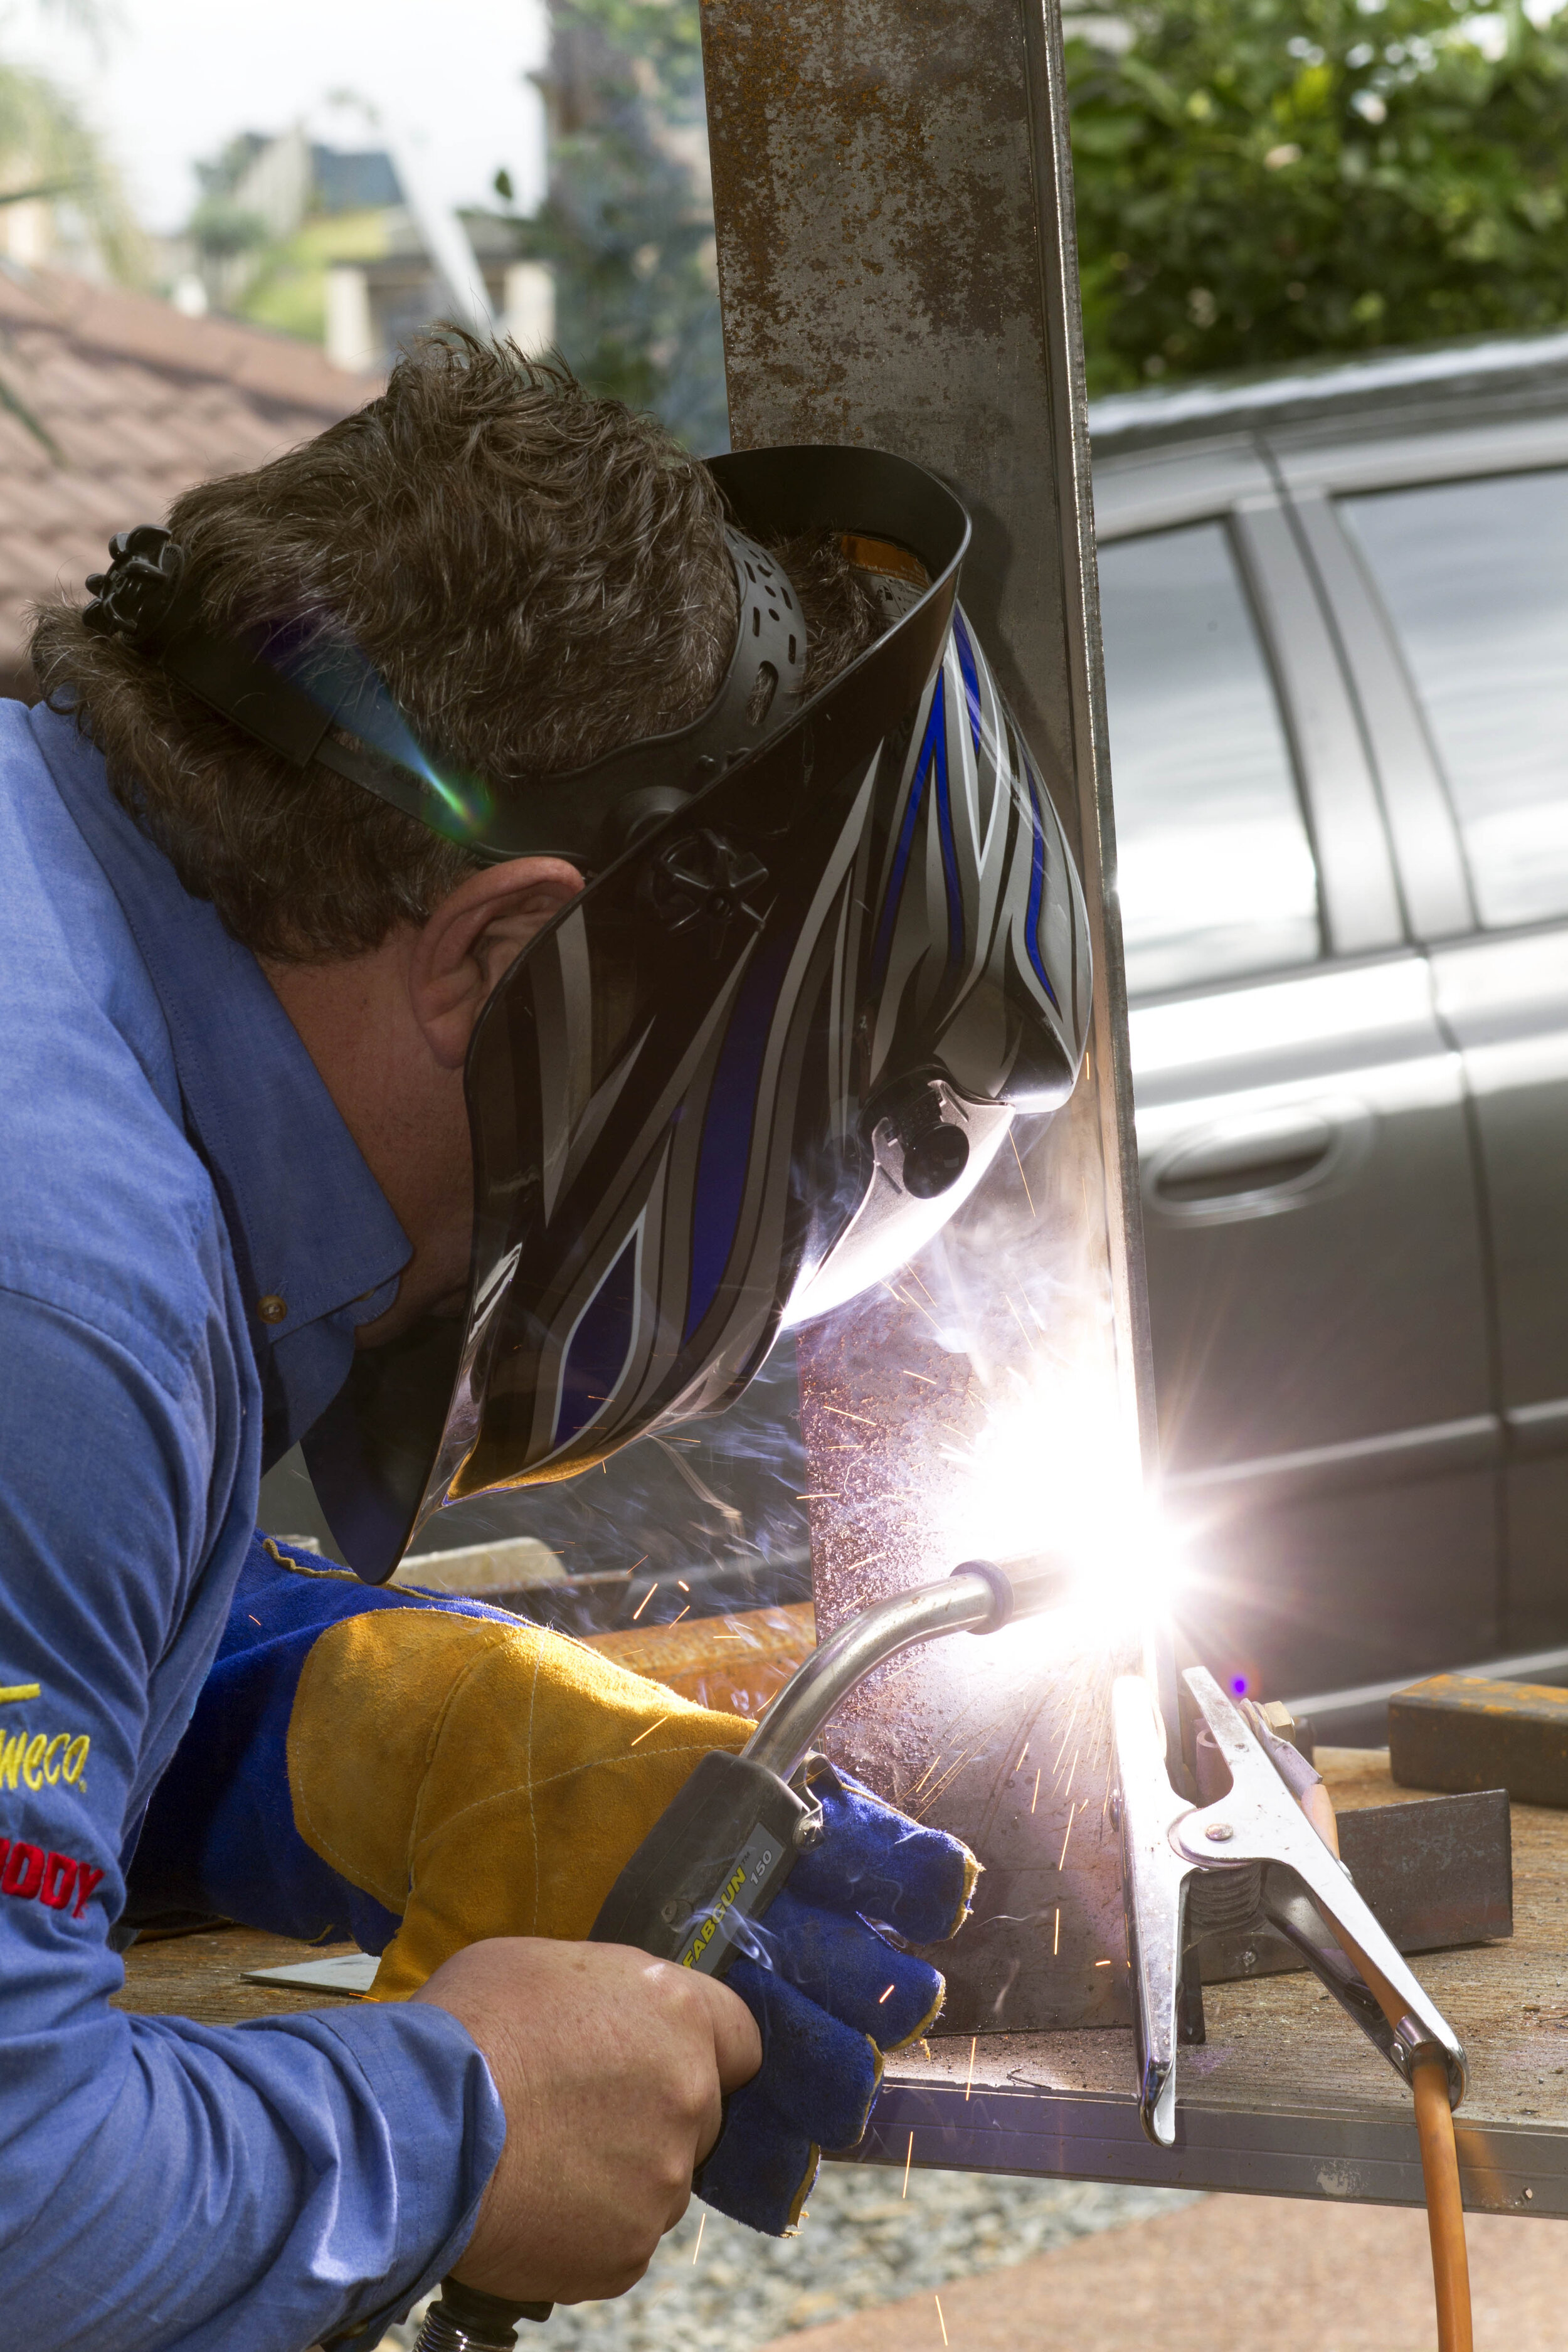
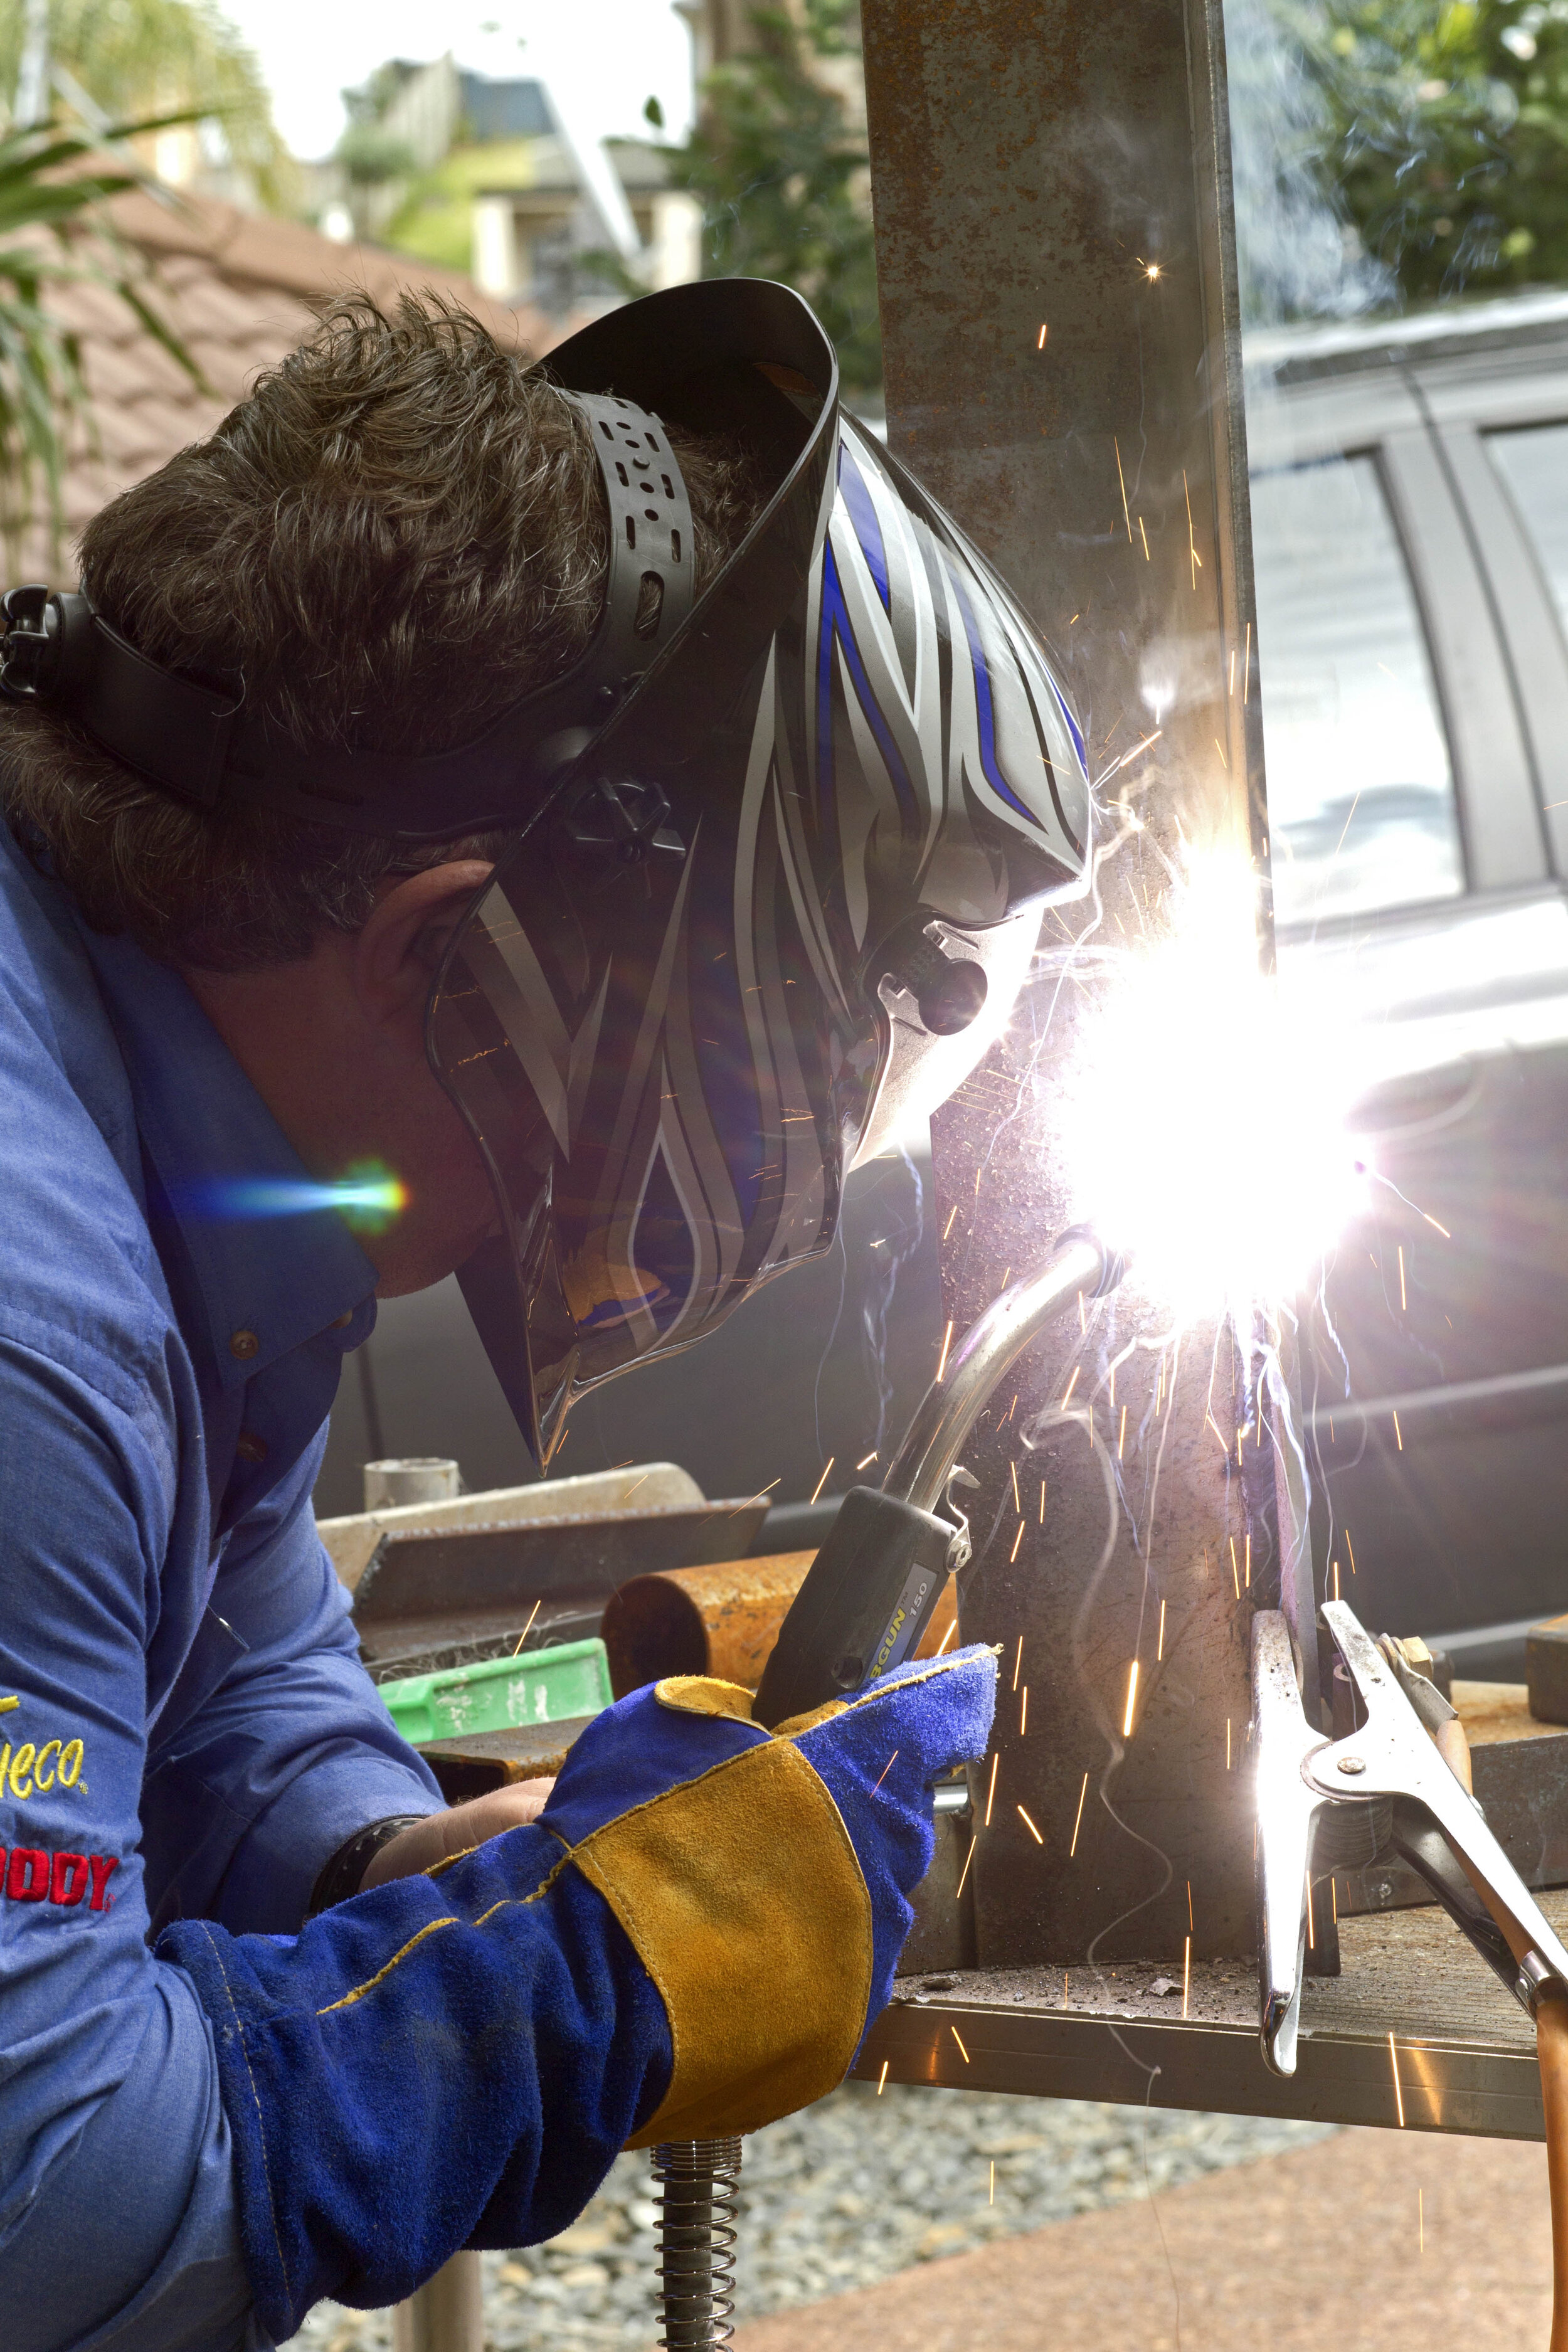
Beware of fumes. This welding is outside in open air
Cost
The cost of gasless-wire welding will depend on where you buy your wire, the size of roll, and the diameter of wire you require. On its own, it is generally more expensive than plain copper-coated hard MIG wire but you don’t need to pay for shielding gas and cylinder rental.
Gasless flux-cored MIG is a great tool to have in the shed. Mine is set up permanently. I switch it on and start welding. And at the end of the day, that’s the name of the game.

