


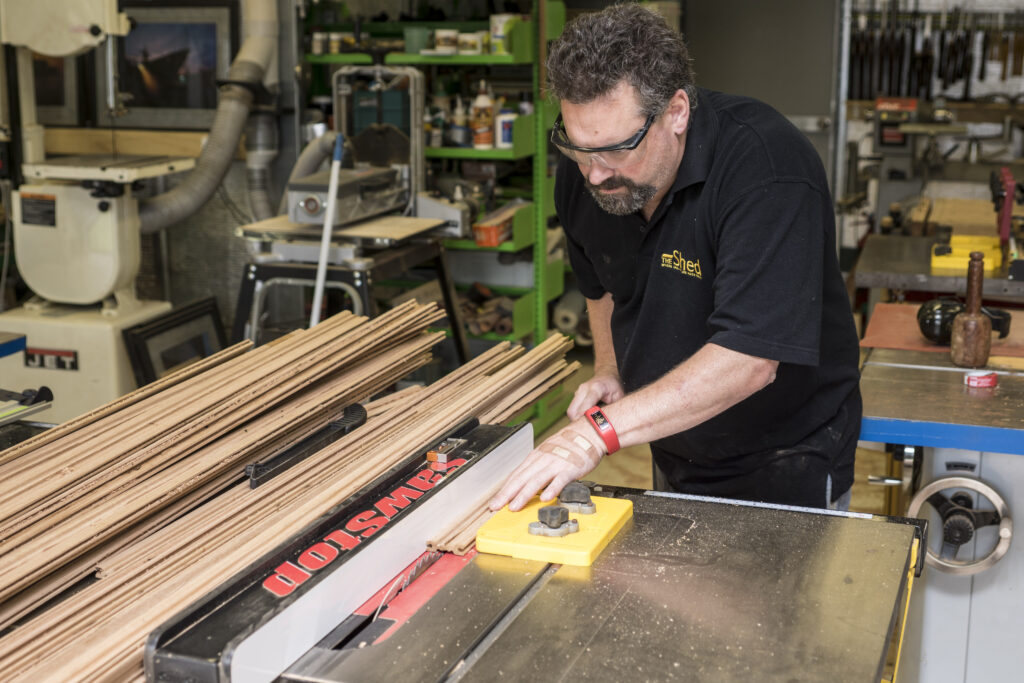

Restoring motorbikes is what South Island sheddie Hayden Tasker loves to do in his workshop, but not just any motorbike.
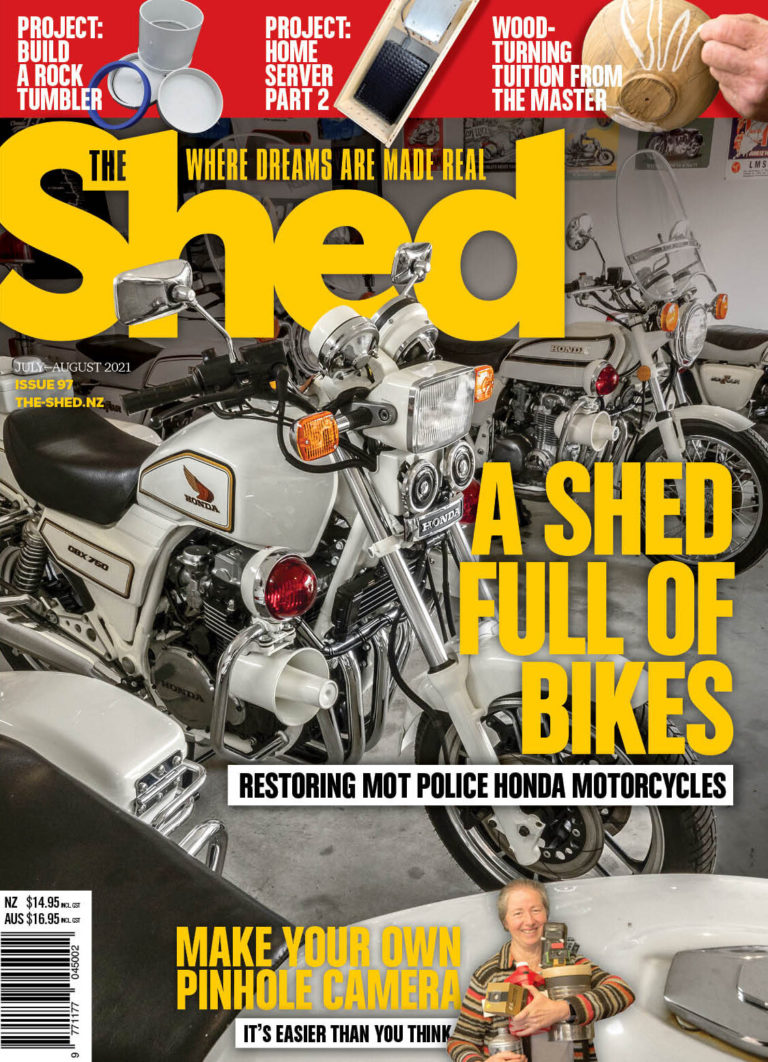
Restoring motorbikes is what South Island sheddie Hayden Tasker loves to do in his workshop, but not just any motorbike.
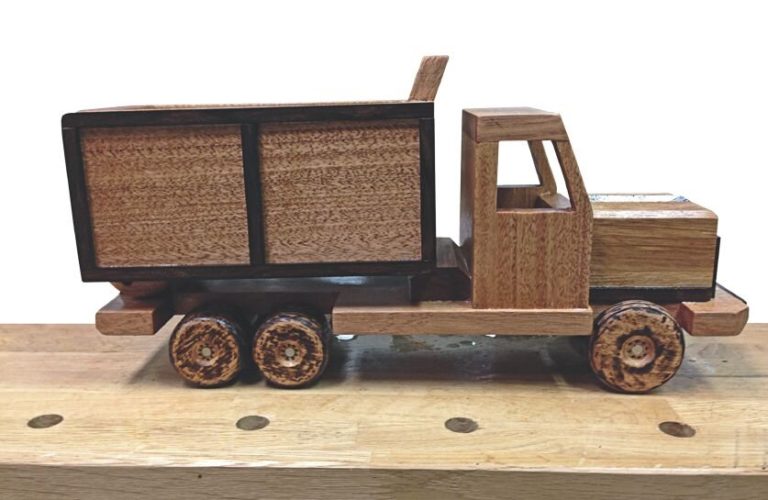
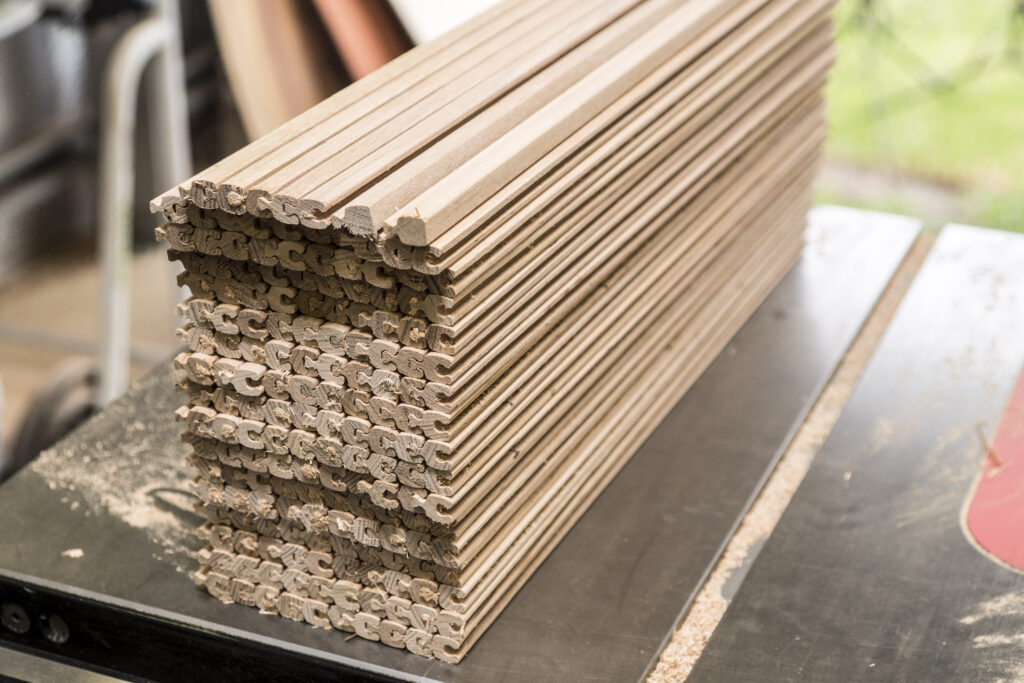
With toys, in particular, maintenance and reparability are important to ensure a long life. A broken plastic toy goes in the bin, whereas a well-designed wooden toy can make many trips to the repair shop over generations of play.