


It started with a teddy bear, then an American Greyhound bus, a wind-up Sherman tank and an aeroplane. Alastair Allan held on to his toys long after others would have put them aside. He’s still got them, along with several thousand other items that he has bought or acquired over the past 70 years or so. He declares he is holding on to the past for the future to tell the story of how people lived in North Otago as far back as 150 years ago.
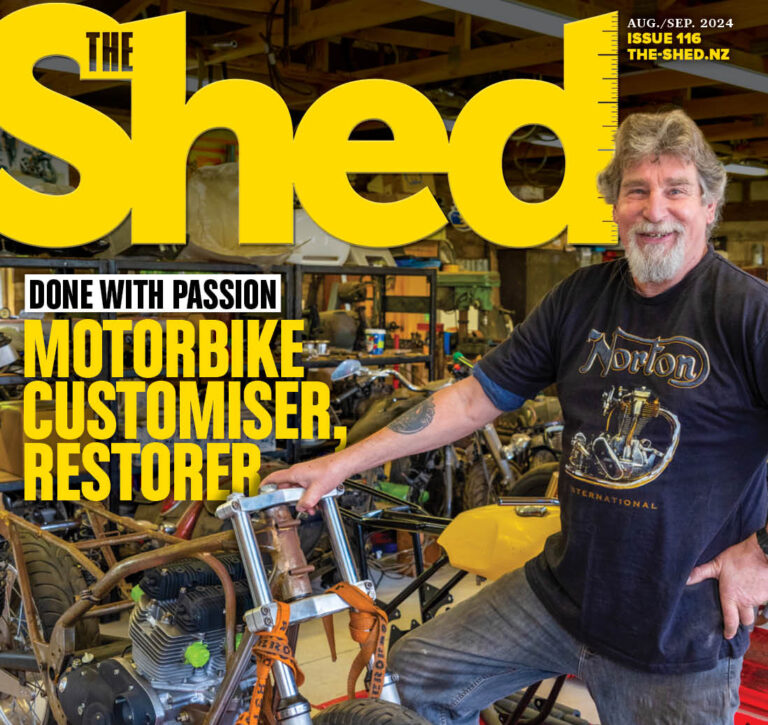
When life deals you lemons, make lemonade: a business collapse led John to build a new, bigger business based on his passion for motorcycles
“I really want an old dairy factory”– that’s what John thought when contemplating the move from Katikati to Taranaki a few years ago.
He sat down after his divorce and thought: “What do I need for the rest of my life?
“Well, I need a shed, a bed in the corner, and a place to stuff around with my motorbikes.”
John’s search took him all over the North Island; he was looking for something that was cheap enough. It didn’t have to be flash, as he wanted a few bob to help his kids to get on the property ladder as well as to be able to follow his passion for building and customising motorbikes – something that he had been doing for a long time.
An old garage in Patea came into the picture but, although it met all the criteria, it became too complicated to purchase. Then an acquaintance told him of a house he had for sale in a small town a little further up the coast. In the end, that turned out to be the perfect location.”
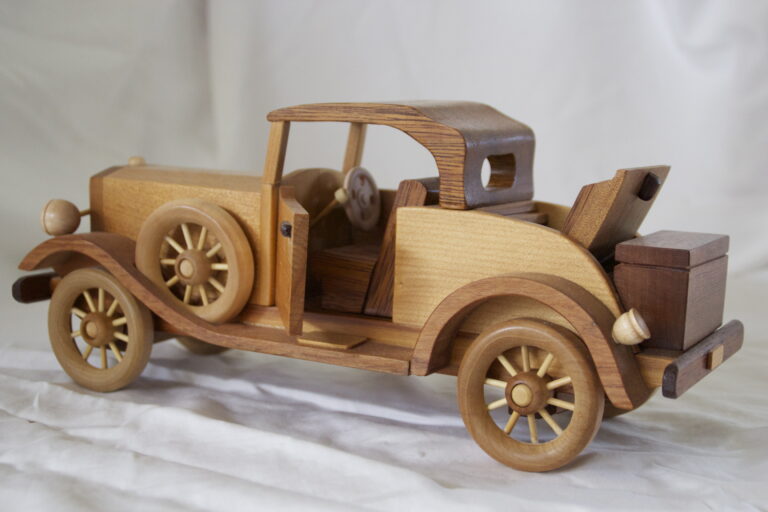
Kaizen is Japanese for a philosophy of continuous improvement, or working methodically seeking to achieve small, incremental changes in the process of improving. This term has been particularly championed by Toyota Motor Corporation as a process to facilitate change within that organisation.
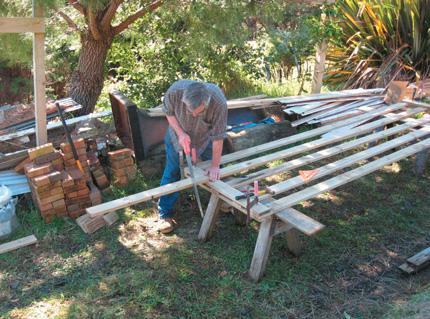
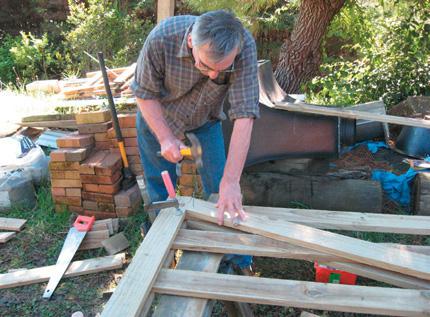
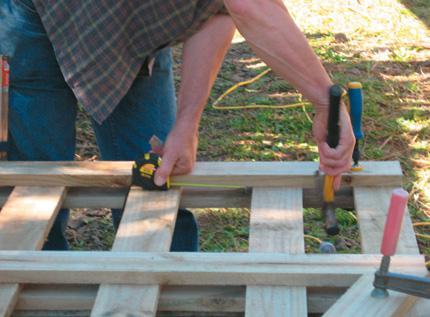
For me, it epitomises my woodworking journey since retirement. I had dabbled in bigger stuff—from building and construction to boat-building (three launches) and fitting out—as sidelines and sanity savers during my years in corporate life.
But when I turned to small and delicate it necessitated a rethink. Thus “kaizen,” which seems to have been driving incremental changes in what and how my projects have evolved.