

I ordered some drawer slides of the appropriate length (350mm) and worked out the width of the slides and thus the width of the drawers. The drawer slides are rated at 45kgs. I couldn’t be sure what weight I would be likely to load but this should suffice. I elected to run with eight drawers and make the second opening in the frame a cabinet to house larger components like the four-jaw chuck. After some fiddling I settled on two drawers each of 75mmx70mmx60mm, and 50mm high, separated by 10mm.
I bought three sheets of cold rolled steel 1mm thick. This is within the limits of the panbrake and I had hoped the material would be stiff enough given that the drawer had to span over 500mm width. I broke the material down into half sheets to make it easier to handle.
On the road again – new life for old caravans
The allure of a classic caravan can be strong, and many of these gems are being lovingly restored – in fact, Beach Hop even has a prize for the best retro caravan.
In this issue, we showcase three very different caravan restorations—one by a man who owns a company that has been building caravans commercially since the 1950s and is now a household name in caravans and Motorhomes.
The second is a lovingly restored 10-footer that started off a real basket case, and the third, well, friends christened it a turd emoji when they saw the project bought by Marty and Zoe.
Their caravan was destined for their annual pilgrimage to Beach Hop, where thousands gather to show off their super-primped or lovingly restored classic vehicles and caravans
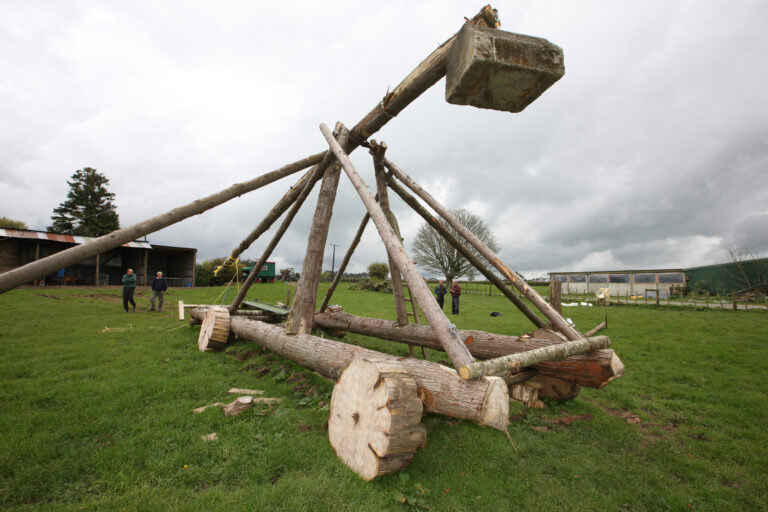
The incentive for the project came from Dave’s sons, Josh and Andrew. The boys were jumping their bikes and Josh (13) came up with the ultimate idea—throwing their bikes with a trebuchet which they had seen in action on computer games. The boys started with a small trebuchet using stones but it didn’t throw them far so dad got into the act. Dave checked out machines on the internet that were even throwing cars. The world record is a 630-metre throw. He was impressed and thought he would give it a go. He had some Lawsoniana trees he intended to drop so thought now was the time. He finds the Lawson trees were straight and the wood is very flexible.