Use products that are kind to the planet
When we planned the renovation of our 1986 rental property one of our aims was to use products and materials that were both affordable and kind to the planet, as outlined in earlier articles in this series in The Shed magazine. We found it was possible to do both with little compromise. In these days of plentiful online information it’s easy to do your homework. A great website to start with is Smarterhomes.
Green
Many products come with claims of being environmentally friendly. But buyer beware. Many of these claims are “greenwashing”—spin to promote the perception that an organisation’s aims, policies and products are environmentally friendly. Credible, independent verification of environmental claims needs a recognised third-party environmental label and there are several internationally. New Zealand has Environmental Choice, a government-owned label that’s internationally recognised as best practice. It uses Life-Cycle Assessment (LCA) to independently assess environmental impacts of products over their whole life cycle. Some of the impacts assessed are embodied energy, ozone depletion, habitat destruction, water use, pollution and toxicity. (Embodied energy normally refers to the energy used to extract the raw material, manufacture the product and transport it to the building site. Full life cycle assessment also includes energy used by the product in the home and energy needed to dispose of it at the end of its life.) On the Environmental Choice website are many products that have been rigorously assessed and have received the tick. Another useful local site is EnviroSpec.
Insulation
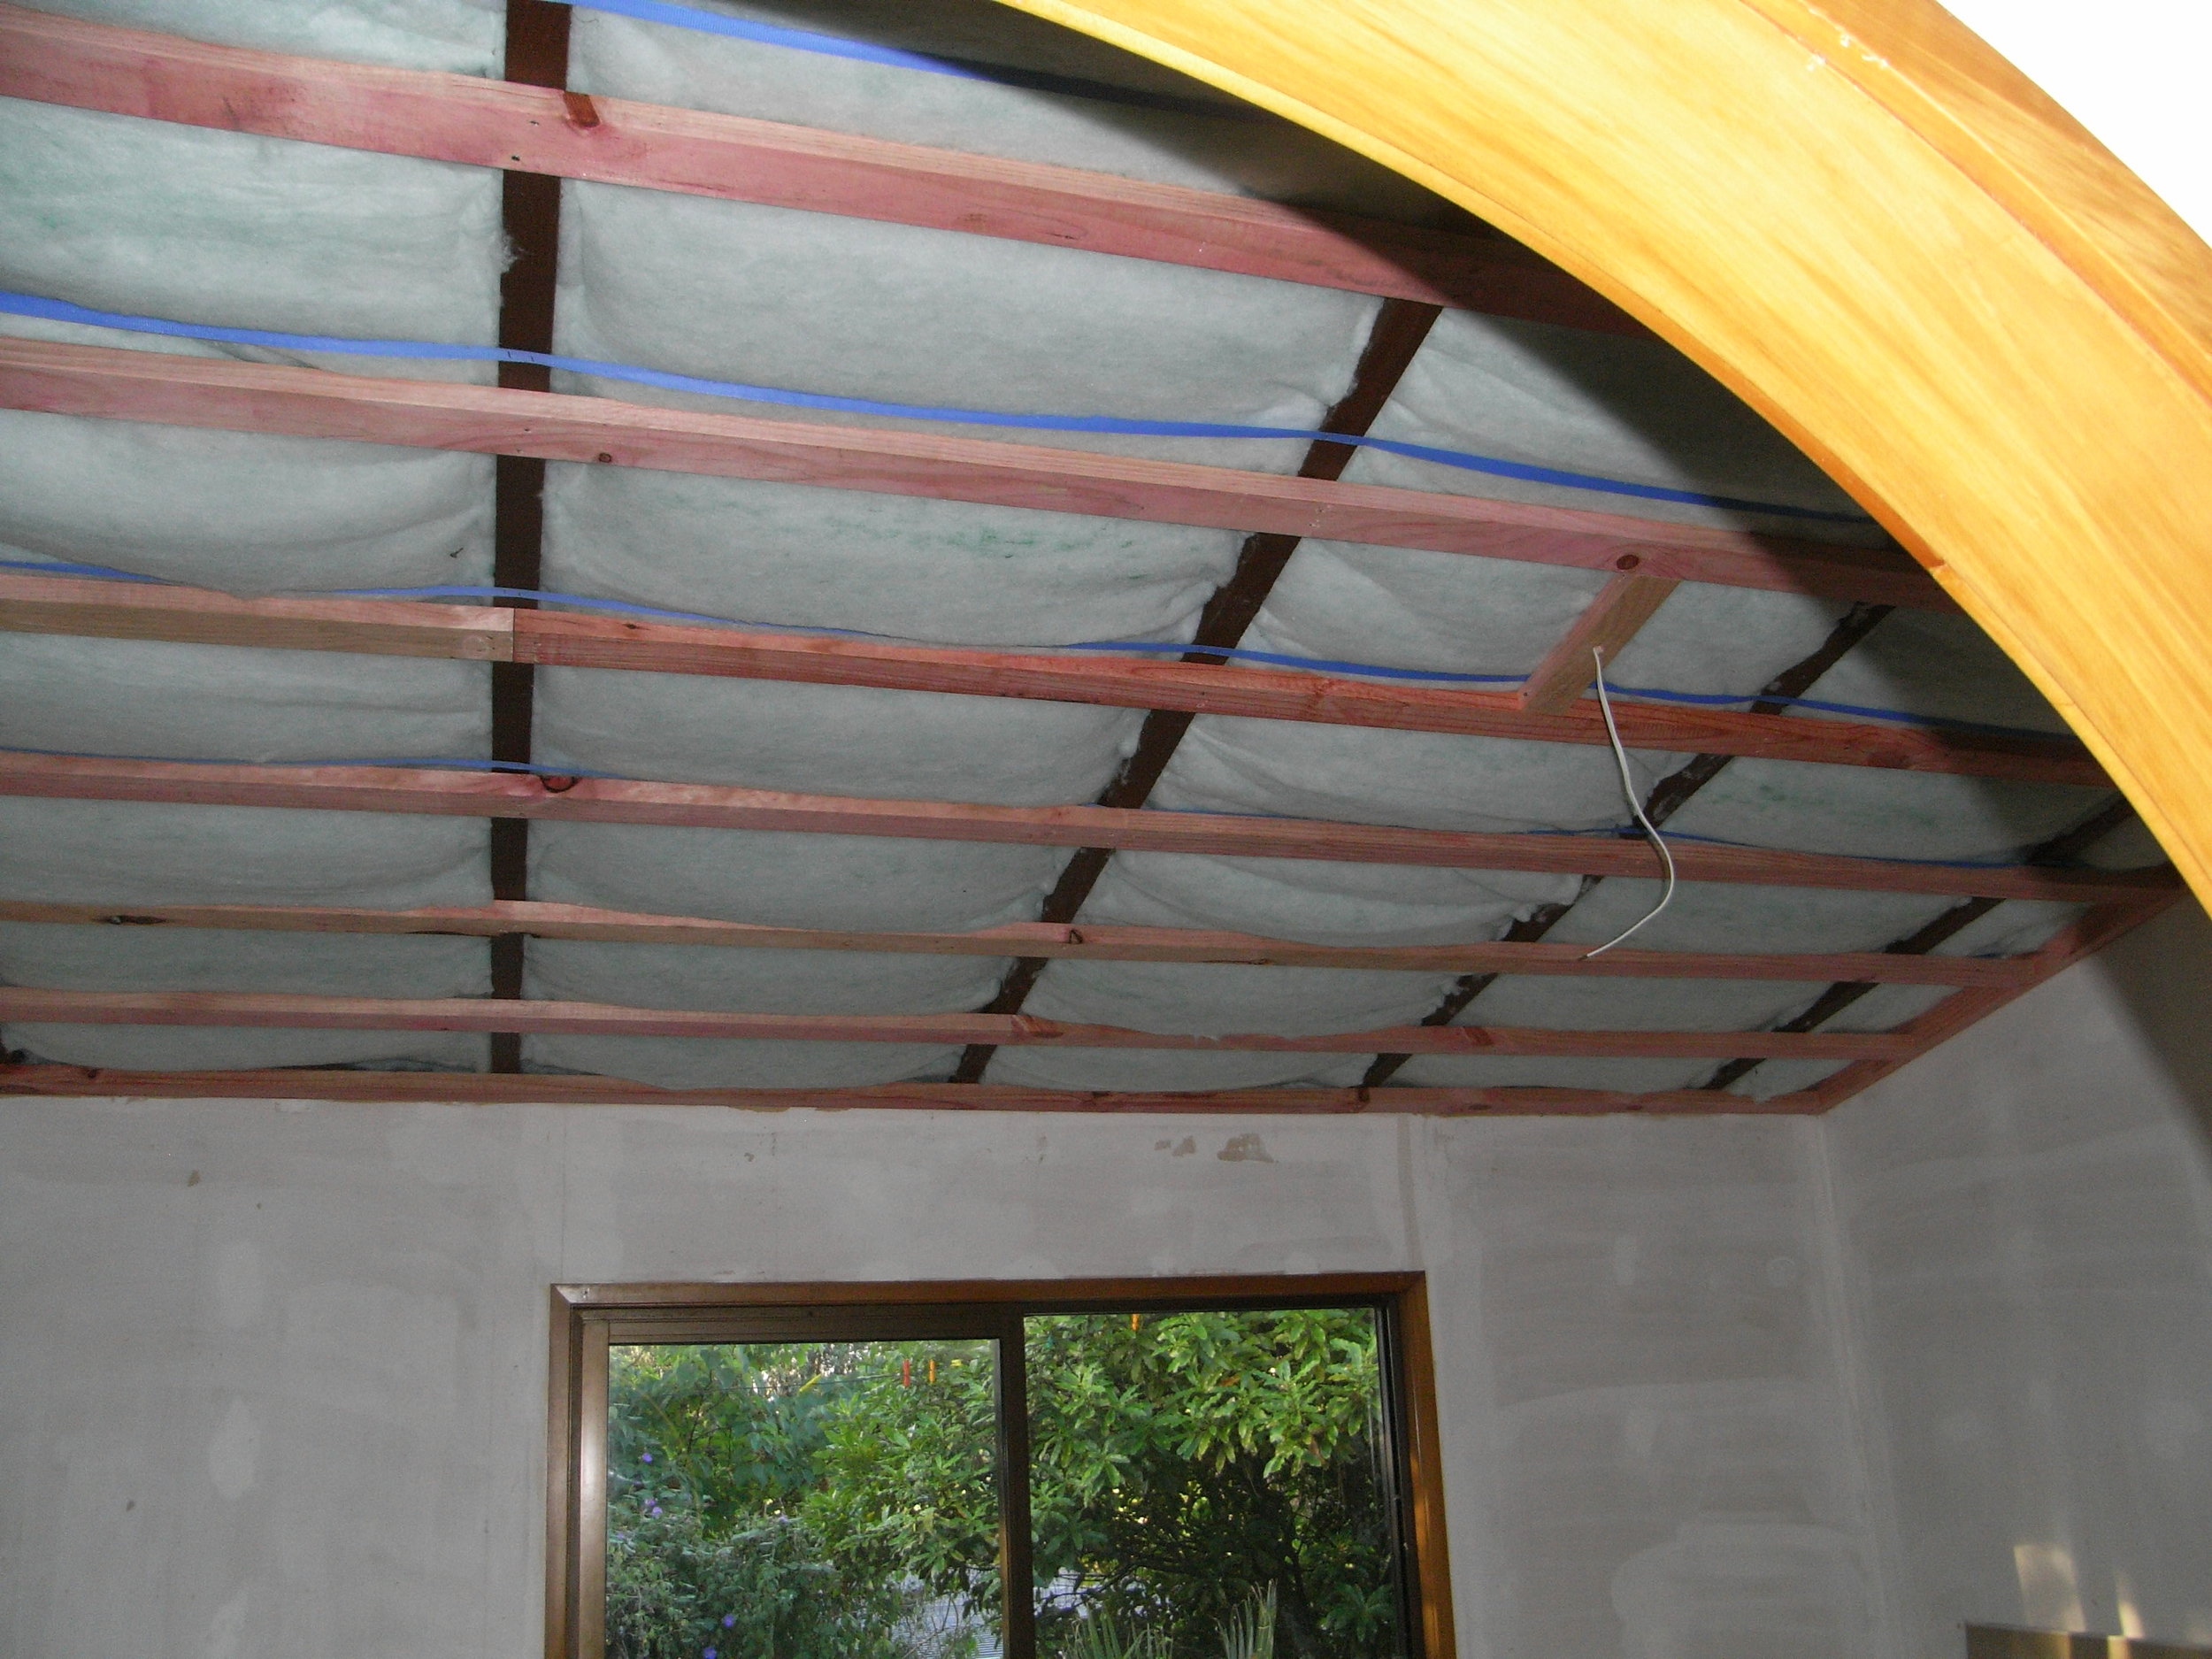
In the ceiling I used a wool product with an R-value of 3.2. I could have used a lower R-value but when I shopped around I found the cost difference wasn’t great. The benefits of exceeding the minimum R-value are a no-brainer. I could have used a slightly cheaper material such as glass wool but I went with my personal preference. At the time, there were no wool insulation products with Environmental Choice accreditation. I chose wool because of its good environmental credentials. It’s made from a waste product, comes from a renewable source, is produced in New Zealand, is durable and offcuts can be reused or composted. For the underfloor insulation I chose a polyester product with an R-value of 1.5 and the Environmental Choice tick. I was able to use the government subsidy for this so had a choice of installers and materials. My first choice was wool and my second polyester. The installer with the best price gave me the option of polyester or glass wool. Although polyester was slightly dearer, I chose it for its non-irritant properties.
Linings
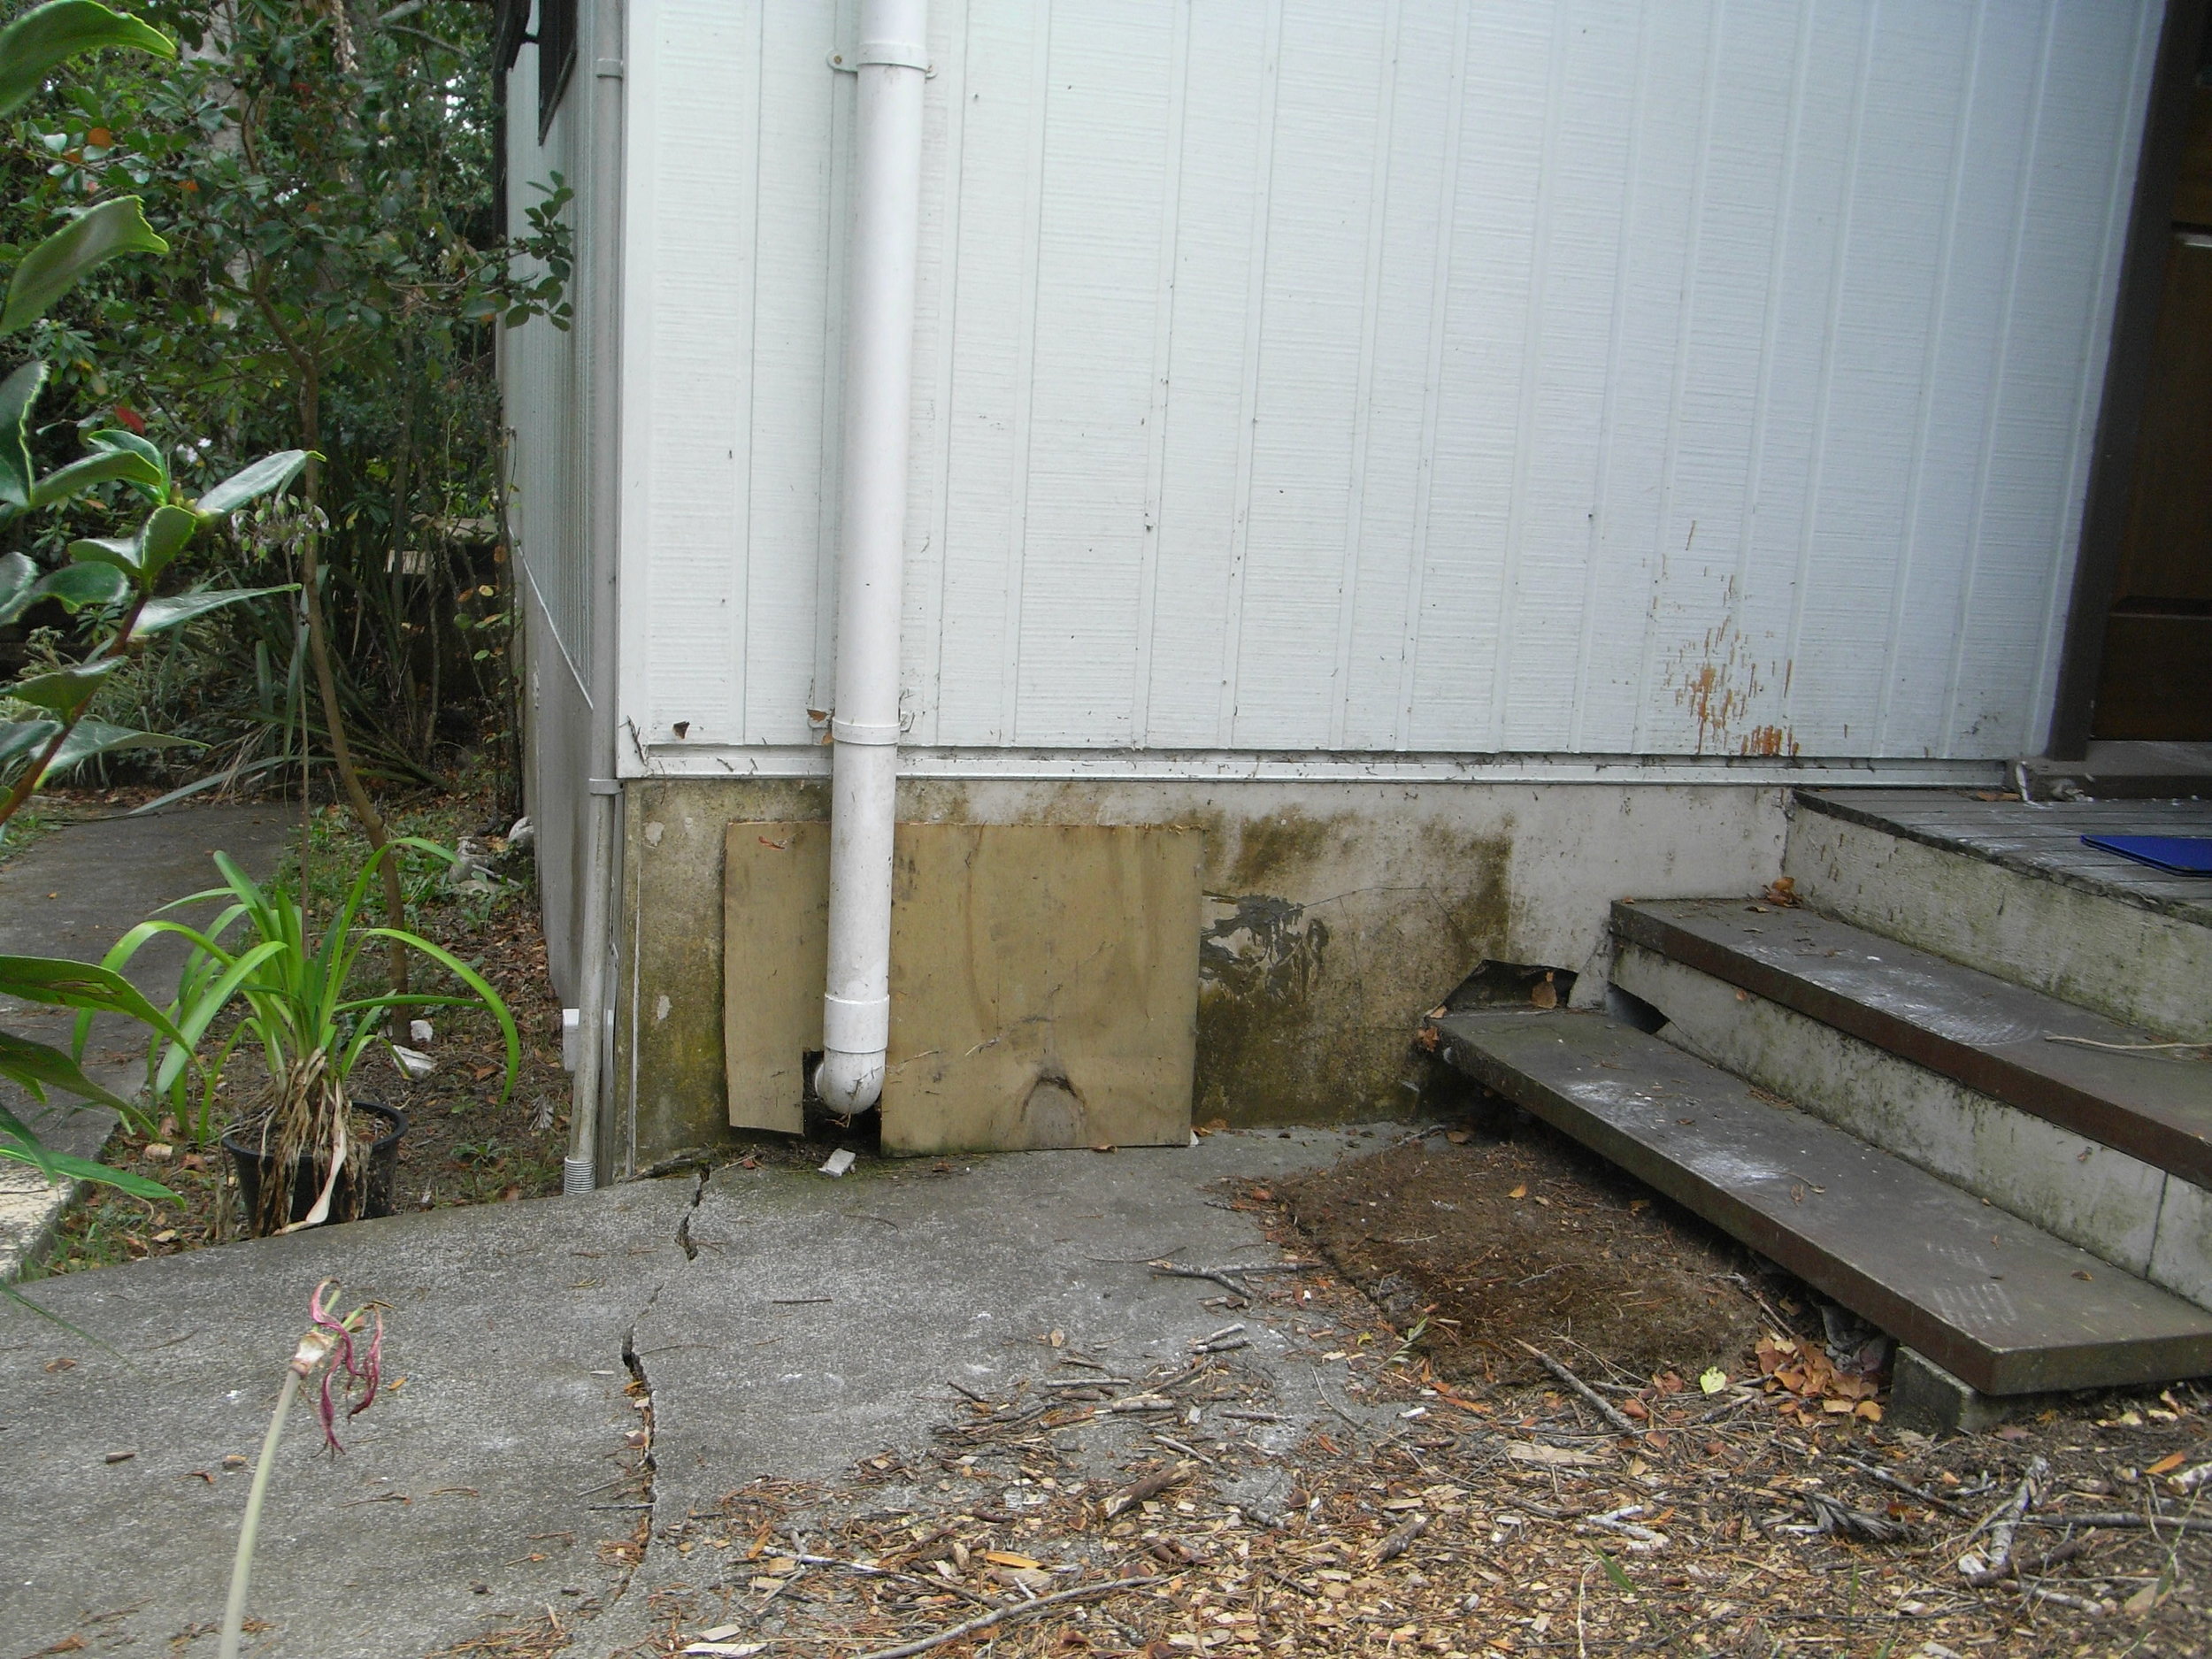
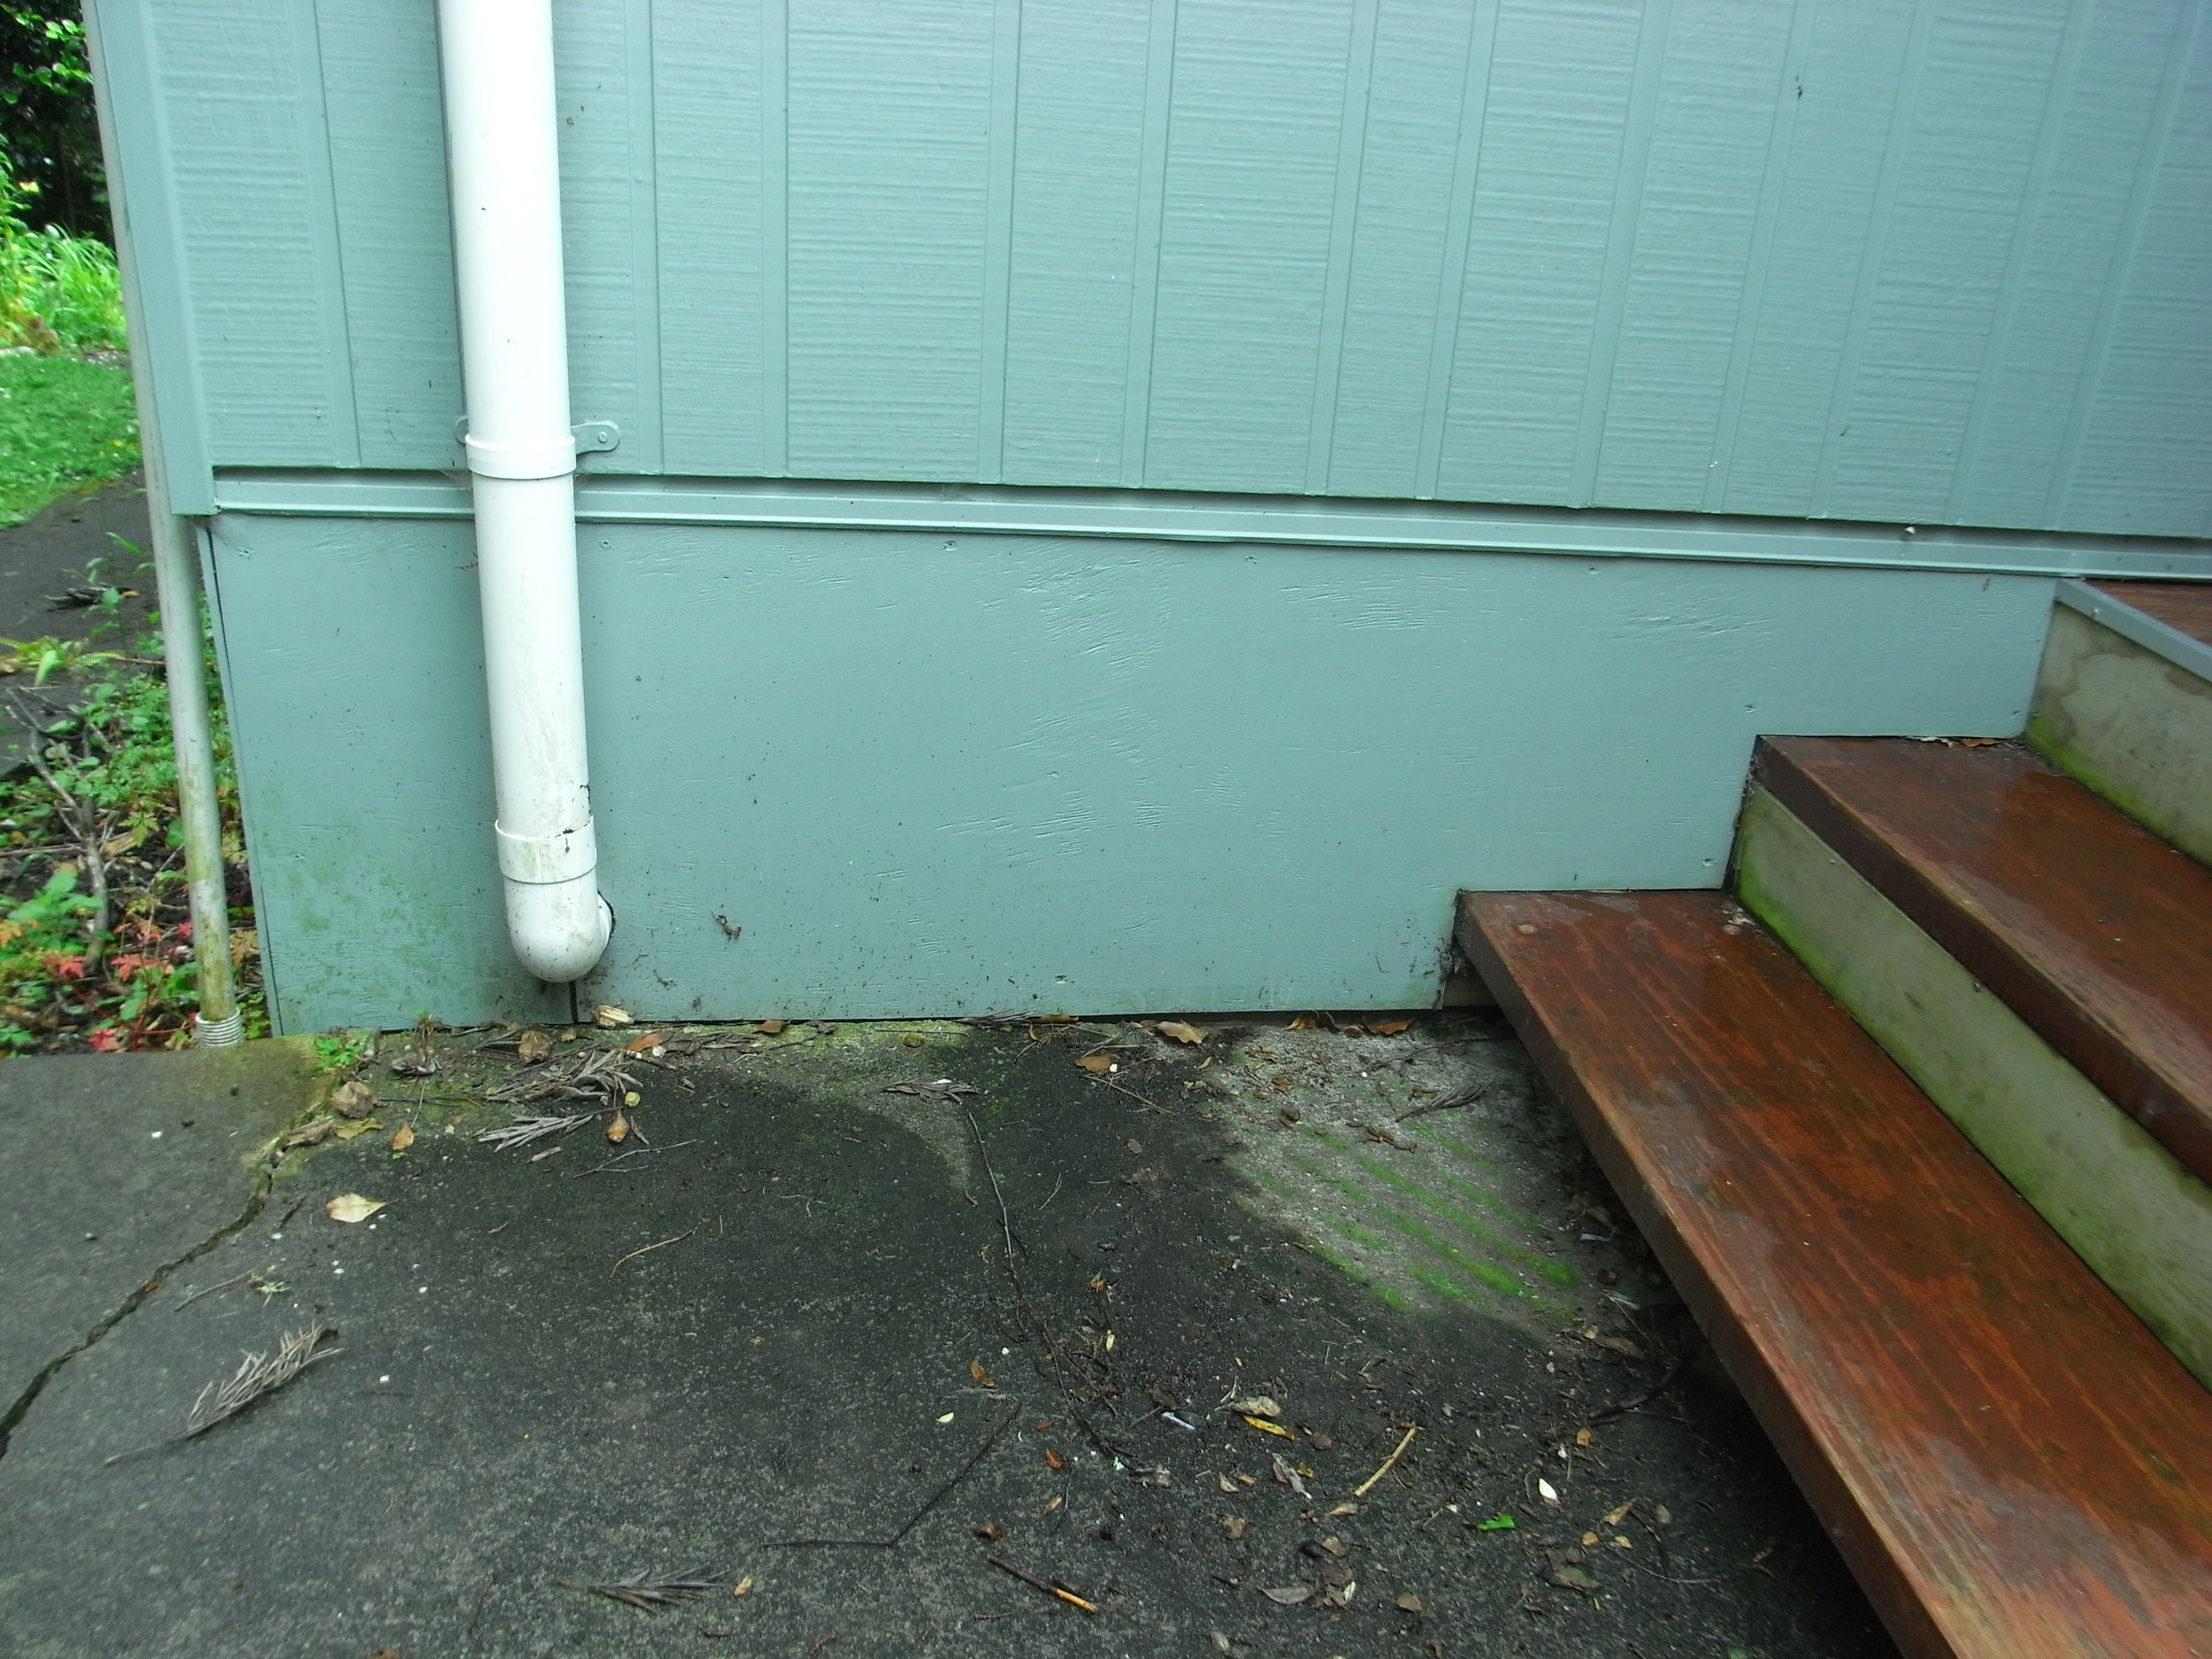
The exterior cladding on the walls and roof was sound. It just needed cleaning and painting. But the fibre-cement base cladding (the cladding around the subfloor) was brittle and damaged, so I replaced it. First I got a piece of the old material tested for asbestos. It came out clear so I was able to remove it myself without special precautions and use it for hardfill in another project. I replaced it with 7 mm H3 ply fastened with stainless screws. I chose ply because it comes from a local, renewable resource and gave it a good coat of paint on the cut edges to make it last as long as possible. I use screws wherever possible because they make renovation/repair/deconstruction easy, and stainless screws are reusable. For the new ceiling lining I used an Environmental Choice-certified plasterboard. Some of the plasterboard wall linings were damaged. I could see that the existing insulation was thin and sagging in places—should I just repair the damage, or replace the linings in order to install better insulation? Ideally I would have relined all the exterior walls and installed better insulation to improve the thermal performance. I decided not to because it would have blown the budget and wouldn’t have made a big difference to the comfort of the house. The windows were where most of the heat was leaking out and I couldn’t spend big money on them at this stage. I’ll look at this in a few years when the next round of major renovation falls due.
Curtains
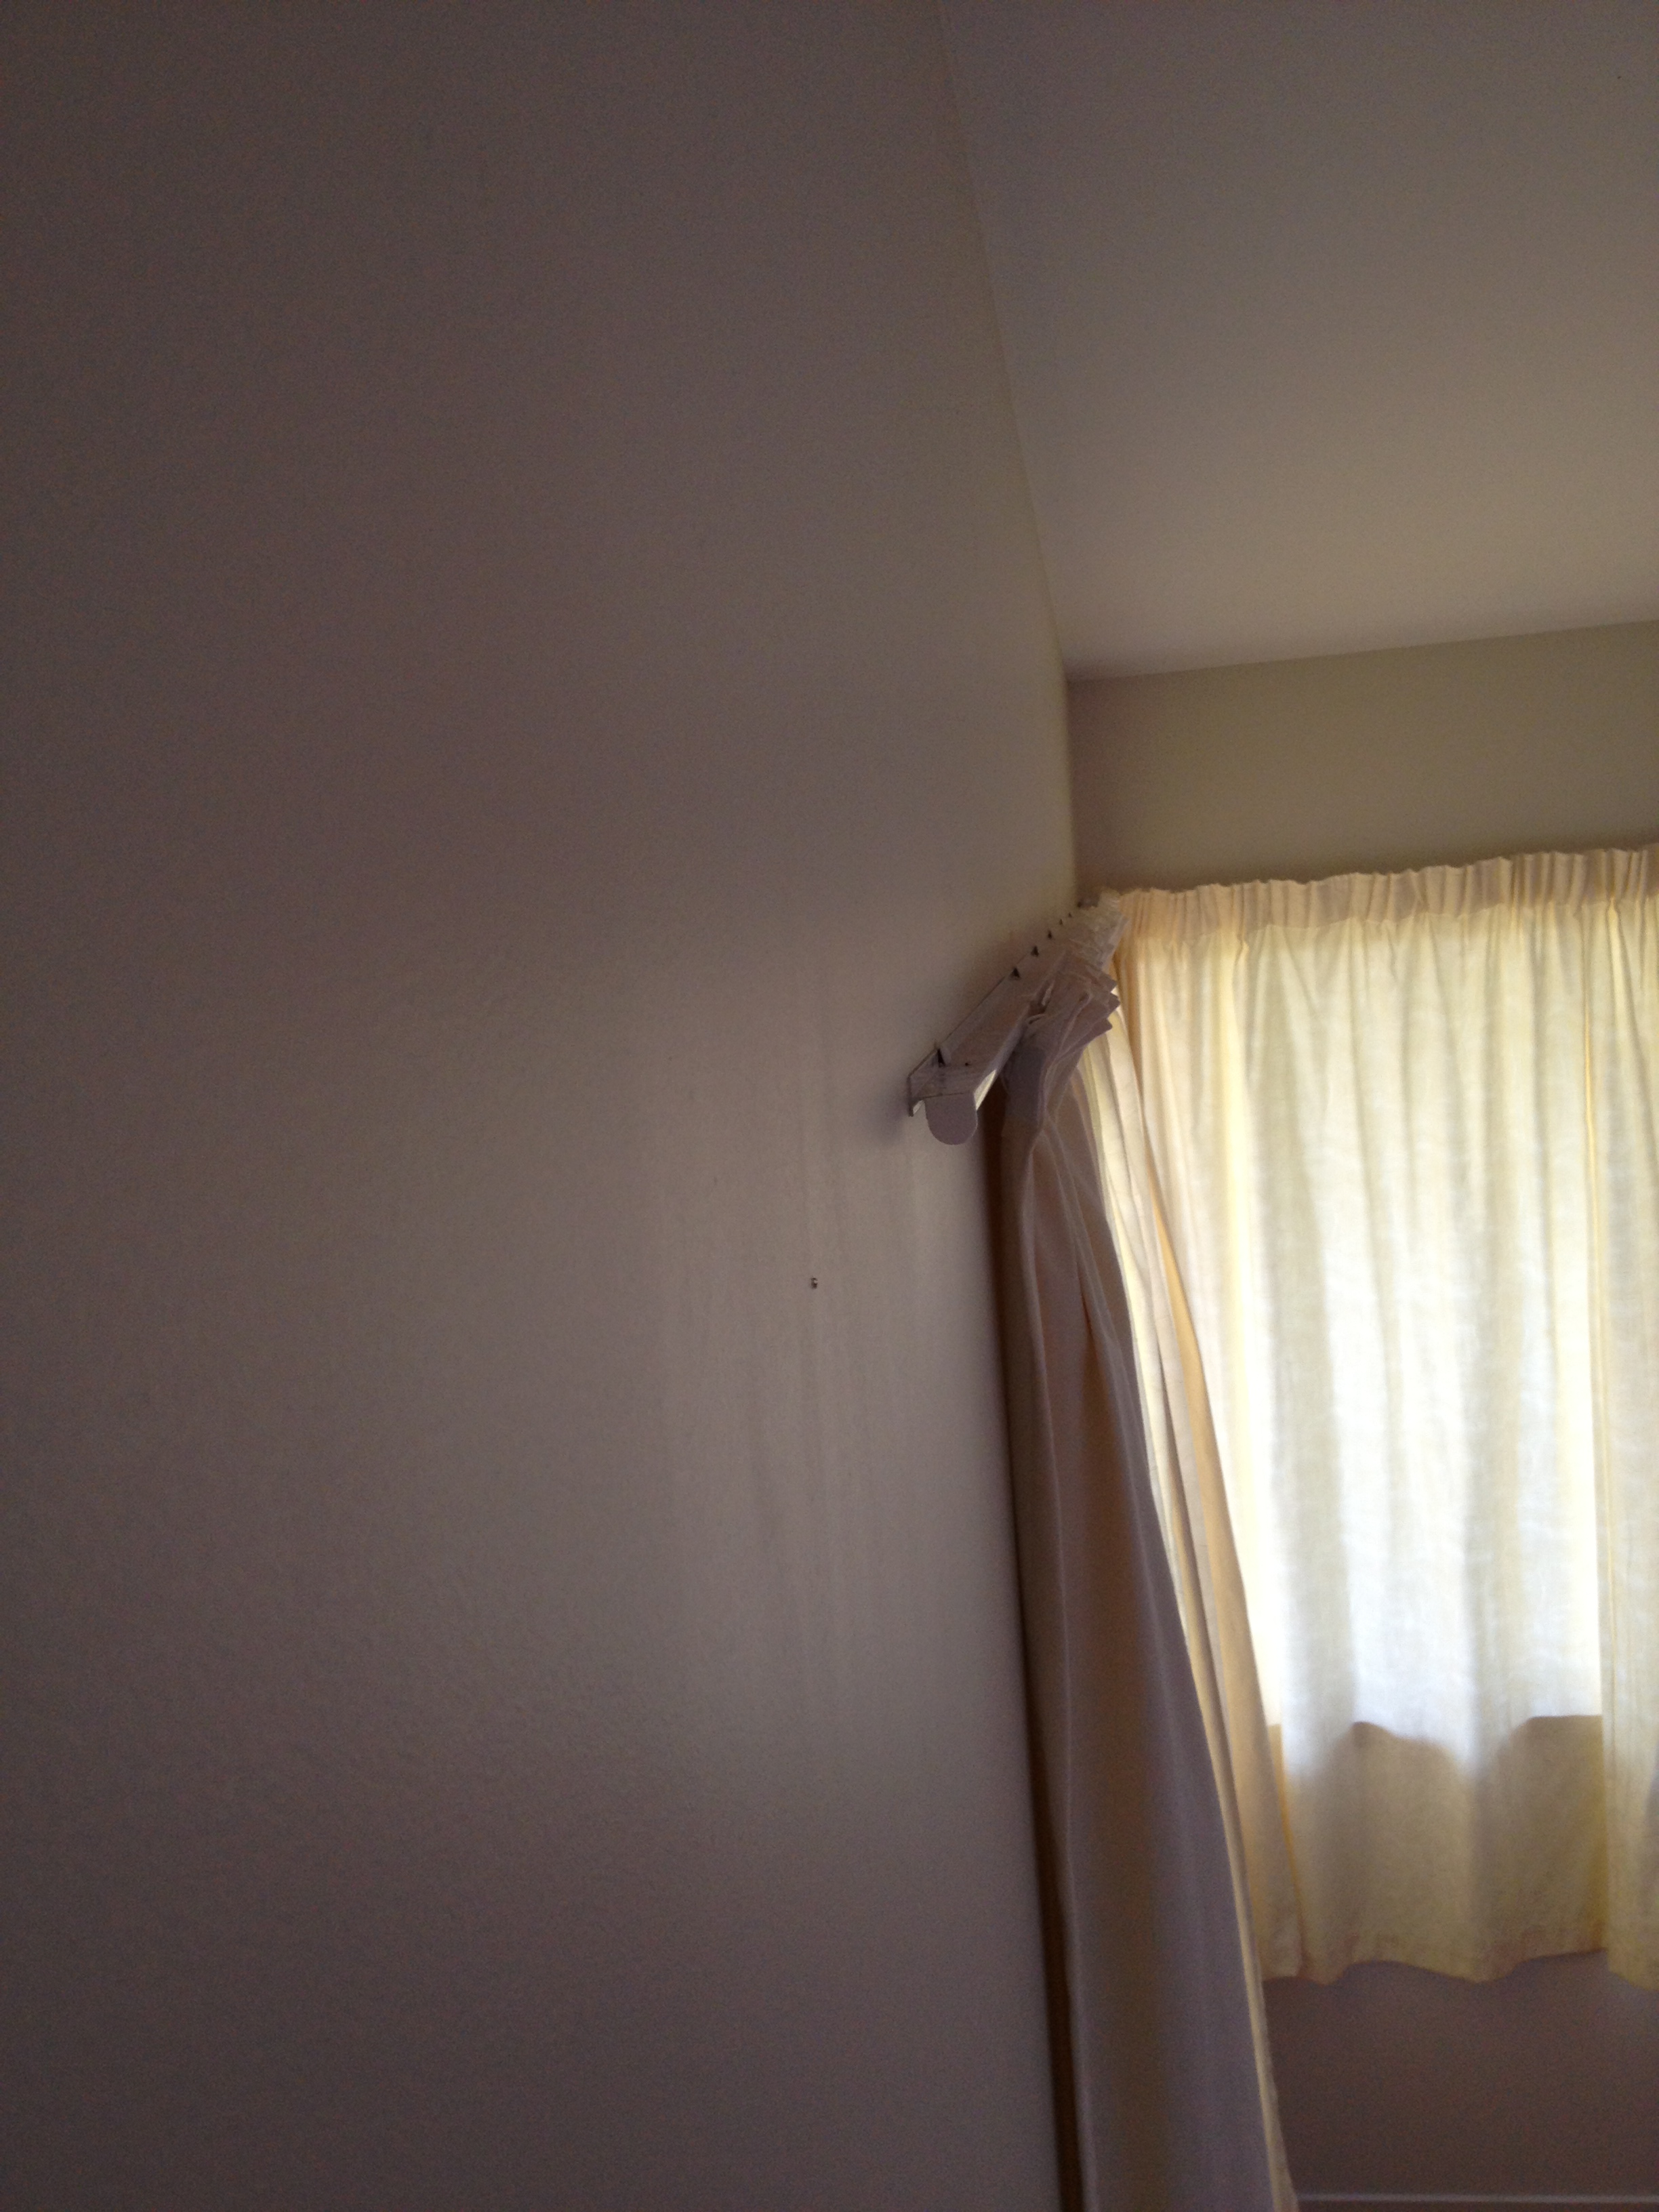
With most of the insulation upgraded, the single-glazed aluminium windows would now be the weakest link in the in places—should I just repair the damage, or replace the linings in order to install better insulation? Ideally I would have relined all the exterior walls and installed better insulation to improve the thermal performance. I decided not to because it would have blown the budget and wouldn’t have made a big difference to the comfort of the house. The windows were where most of the heat was leaking out and I couldn’t spend big money on them at this stage. I’ll look at this in a few years when the next round of major renovation falls due. Curtains With most of the insulation upgraded, the single-glazed aluminium windows would now be the weakest link in the thermal envelope. I couldn’t afford to upgrade them immediately but I knew that well-fitting curtains would make a big difference on winter nights. The existing curtain tracks left big gaps at the top where the warm air could fall onto the cold glass so I replaced them with architrave tracks to close the gaps. I could have added pelmets. The old curtains were shot but biodegradable, so I gave them a new life on weed-suppression duty around our fruit trees. The new curtains do a good job of trapping a layer of still air against the glass. The old aluminium tracks are reusable and recyclable.
Flooring
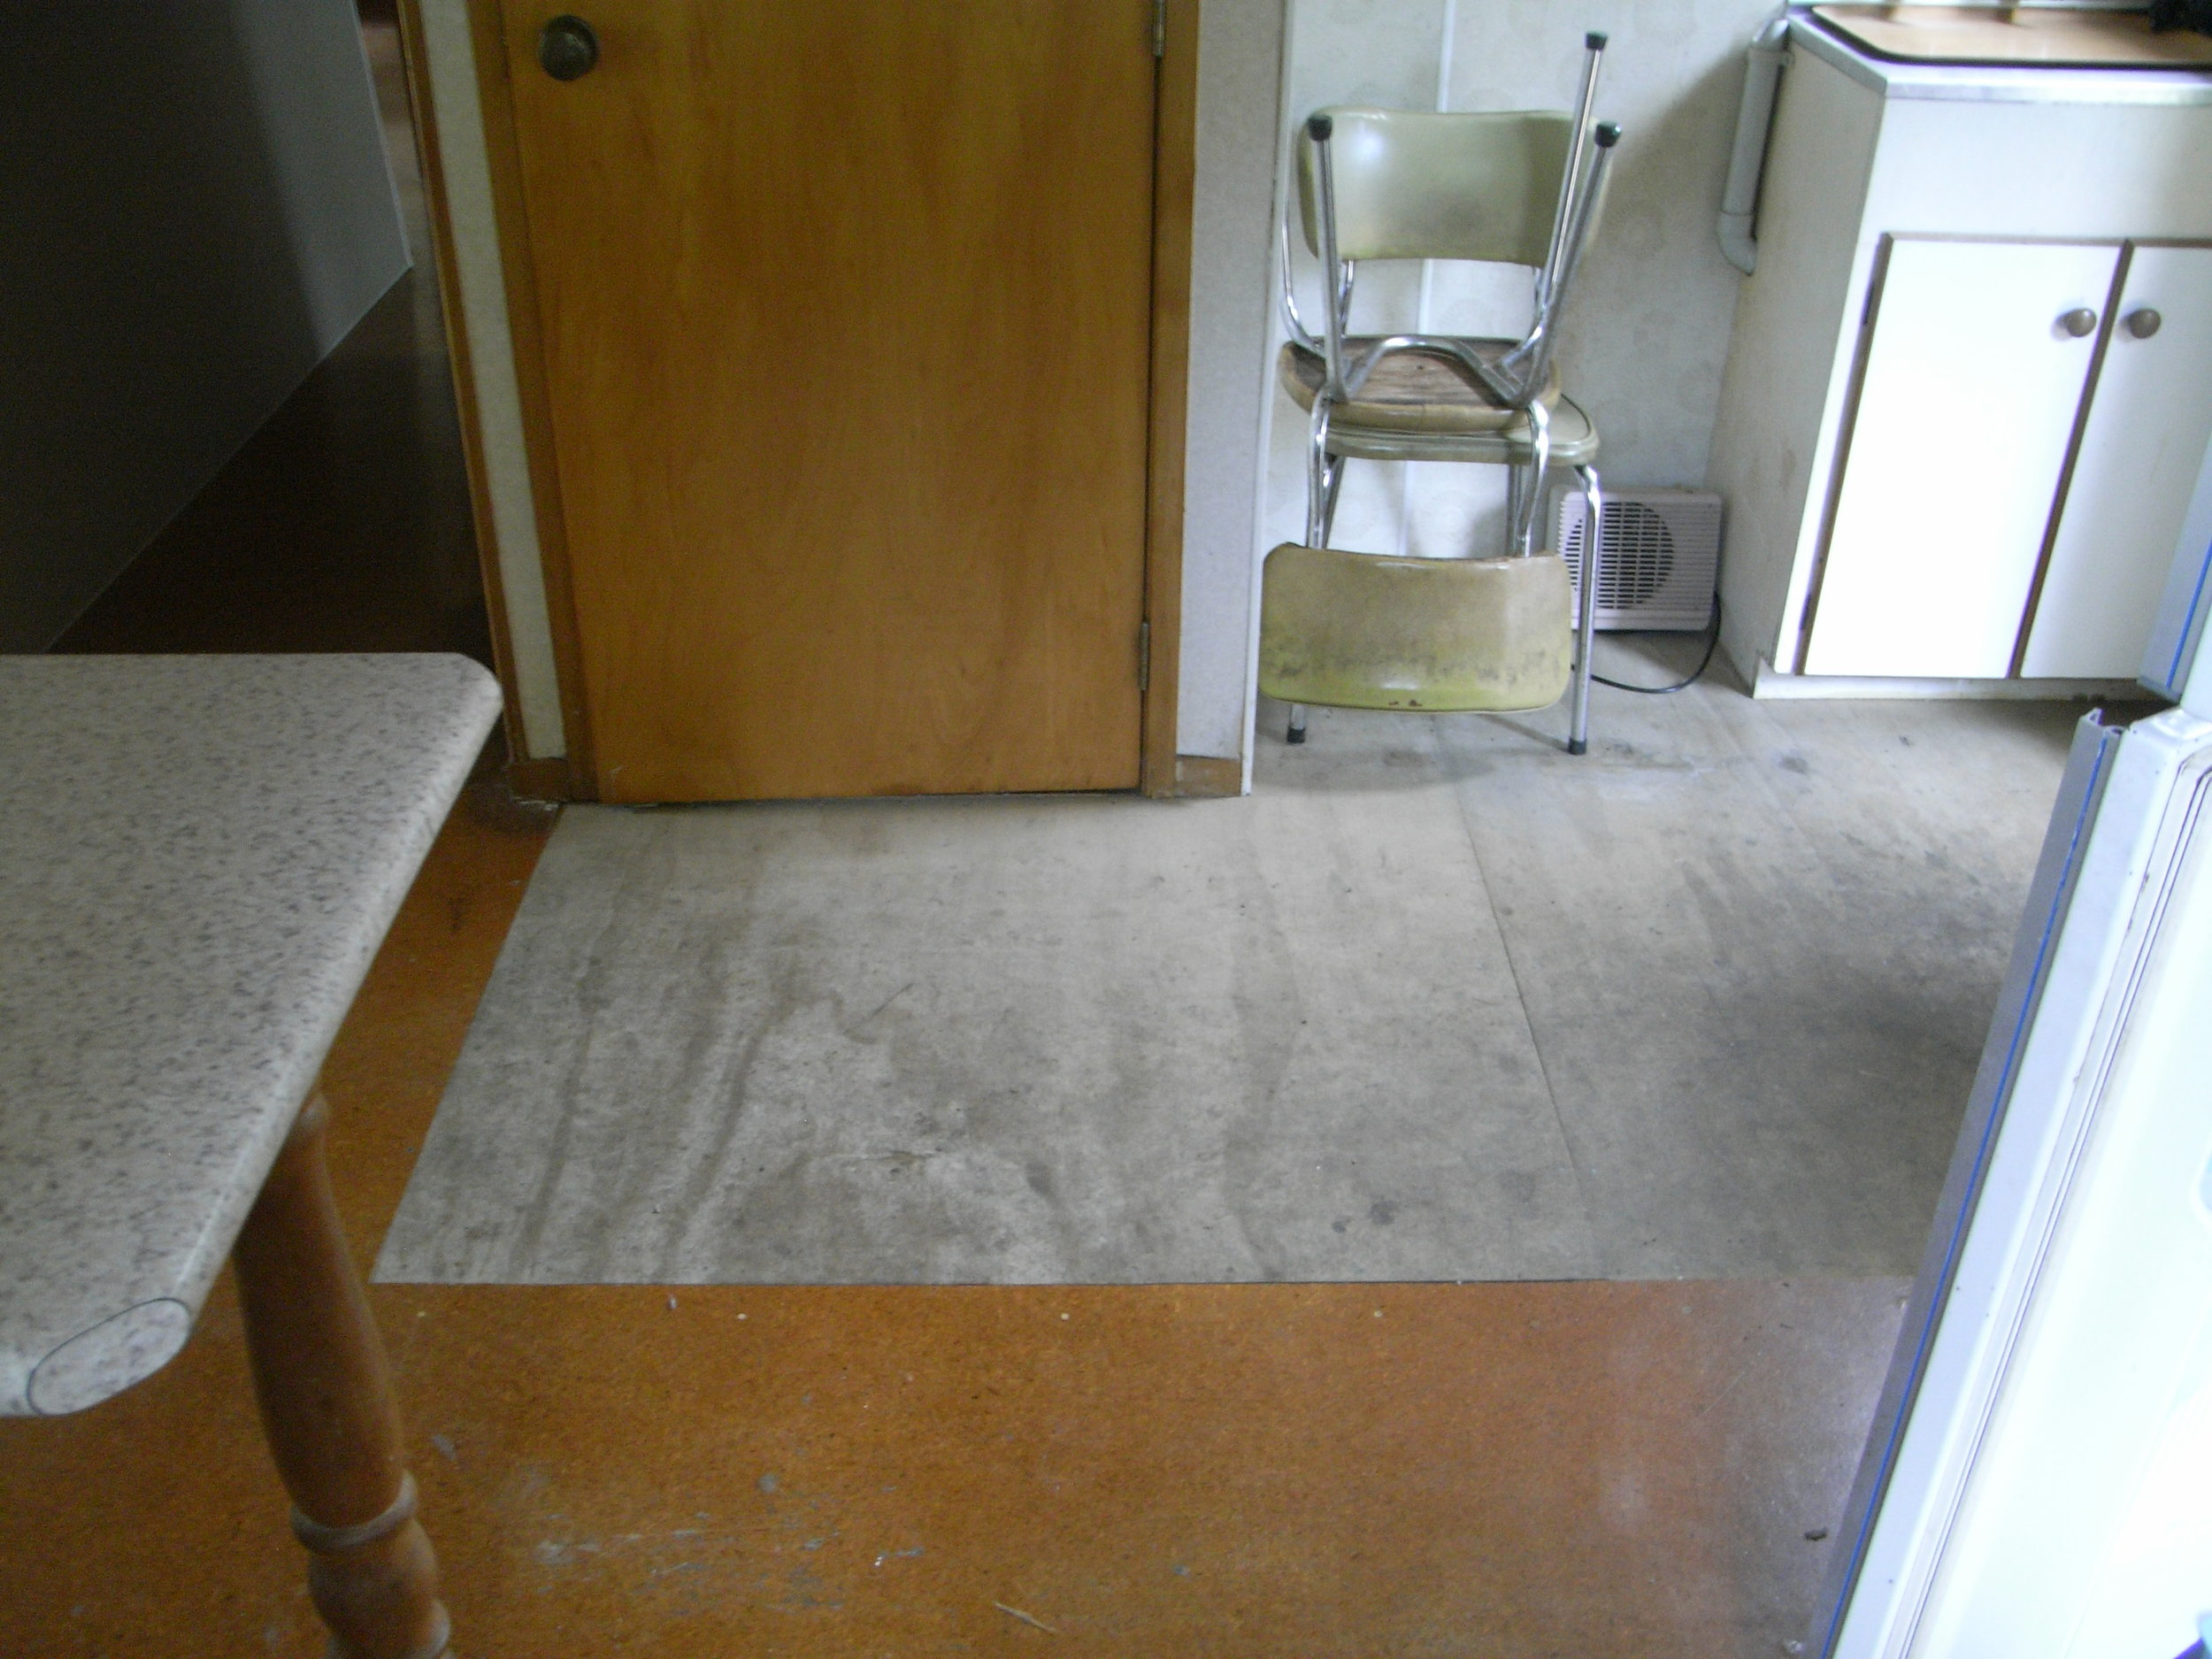
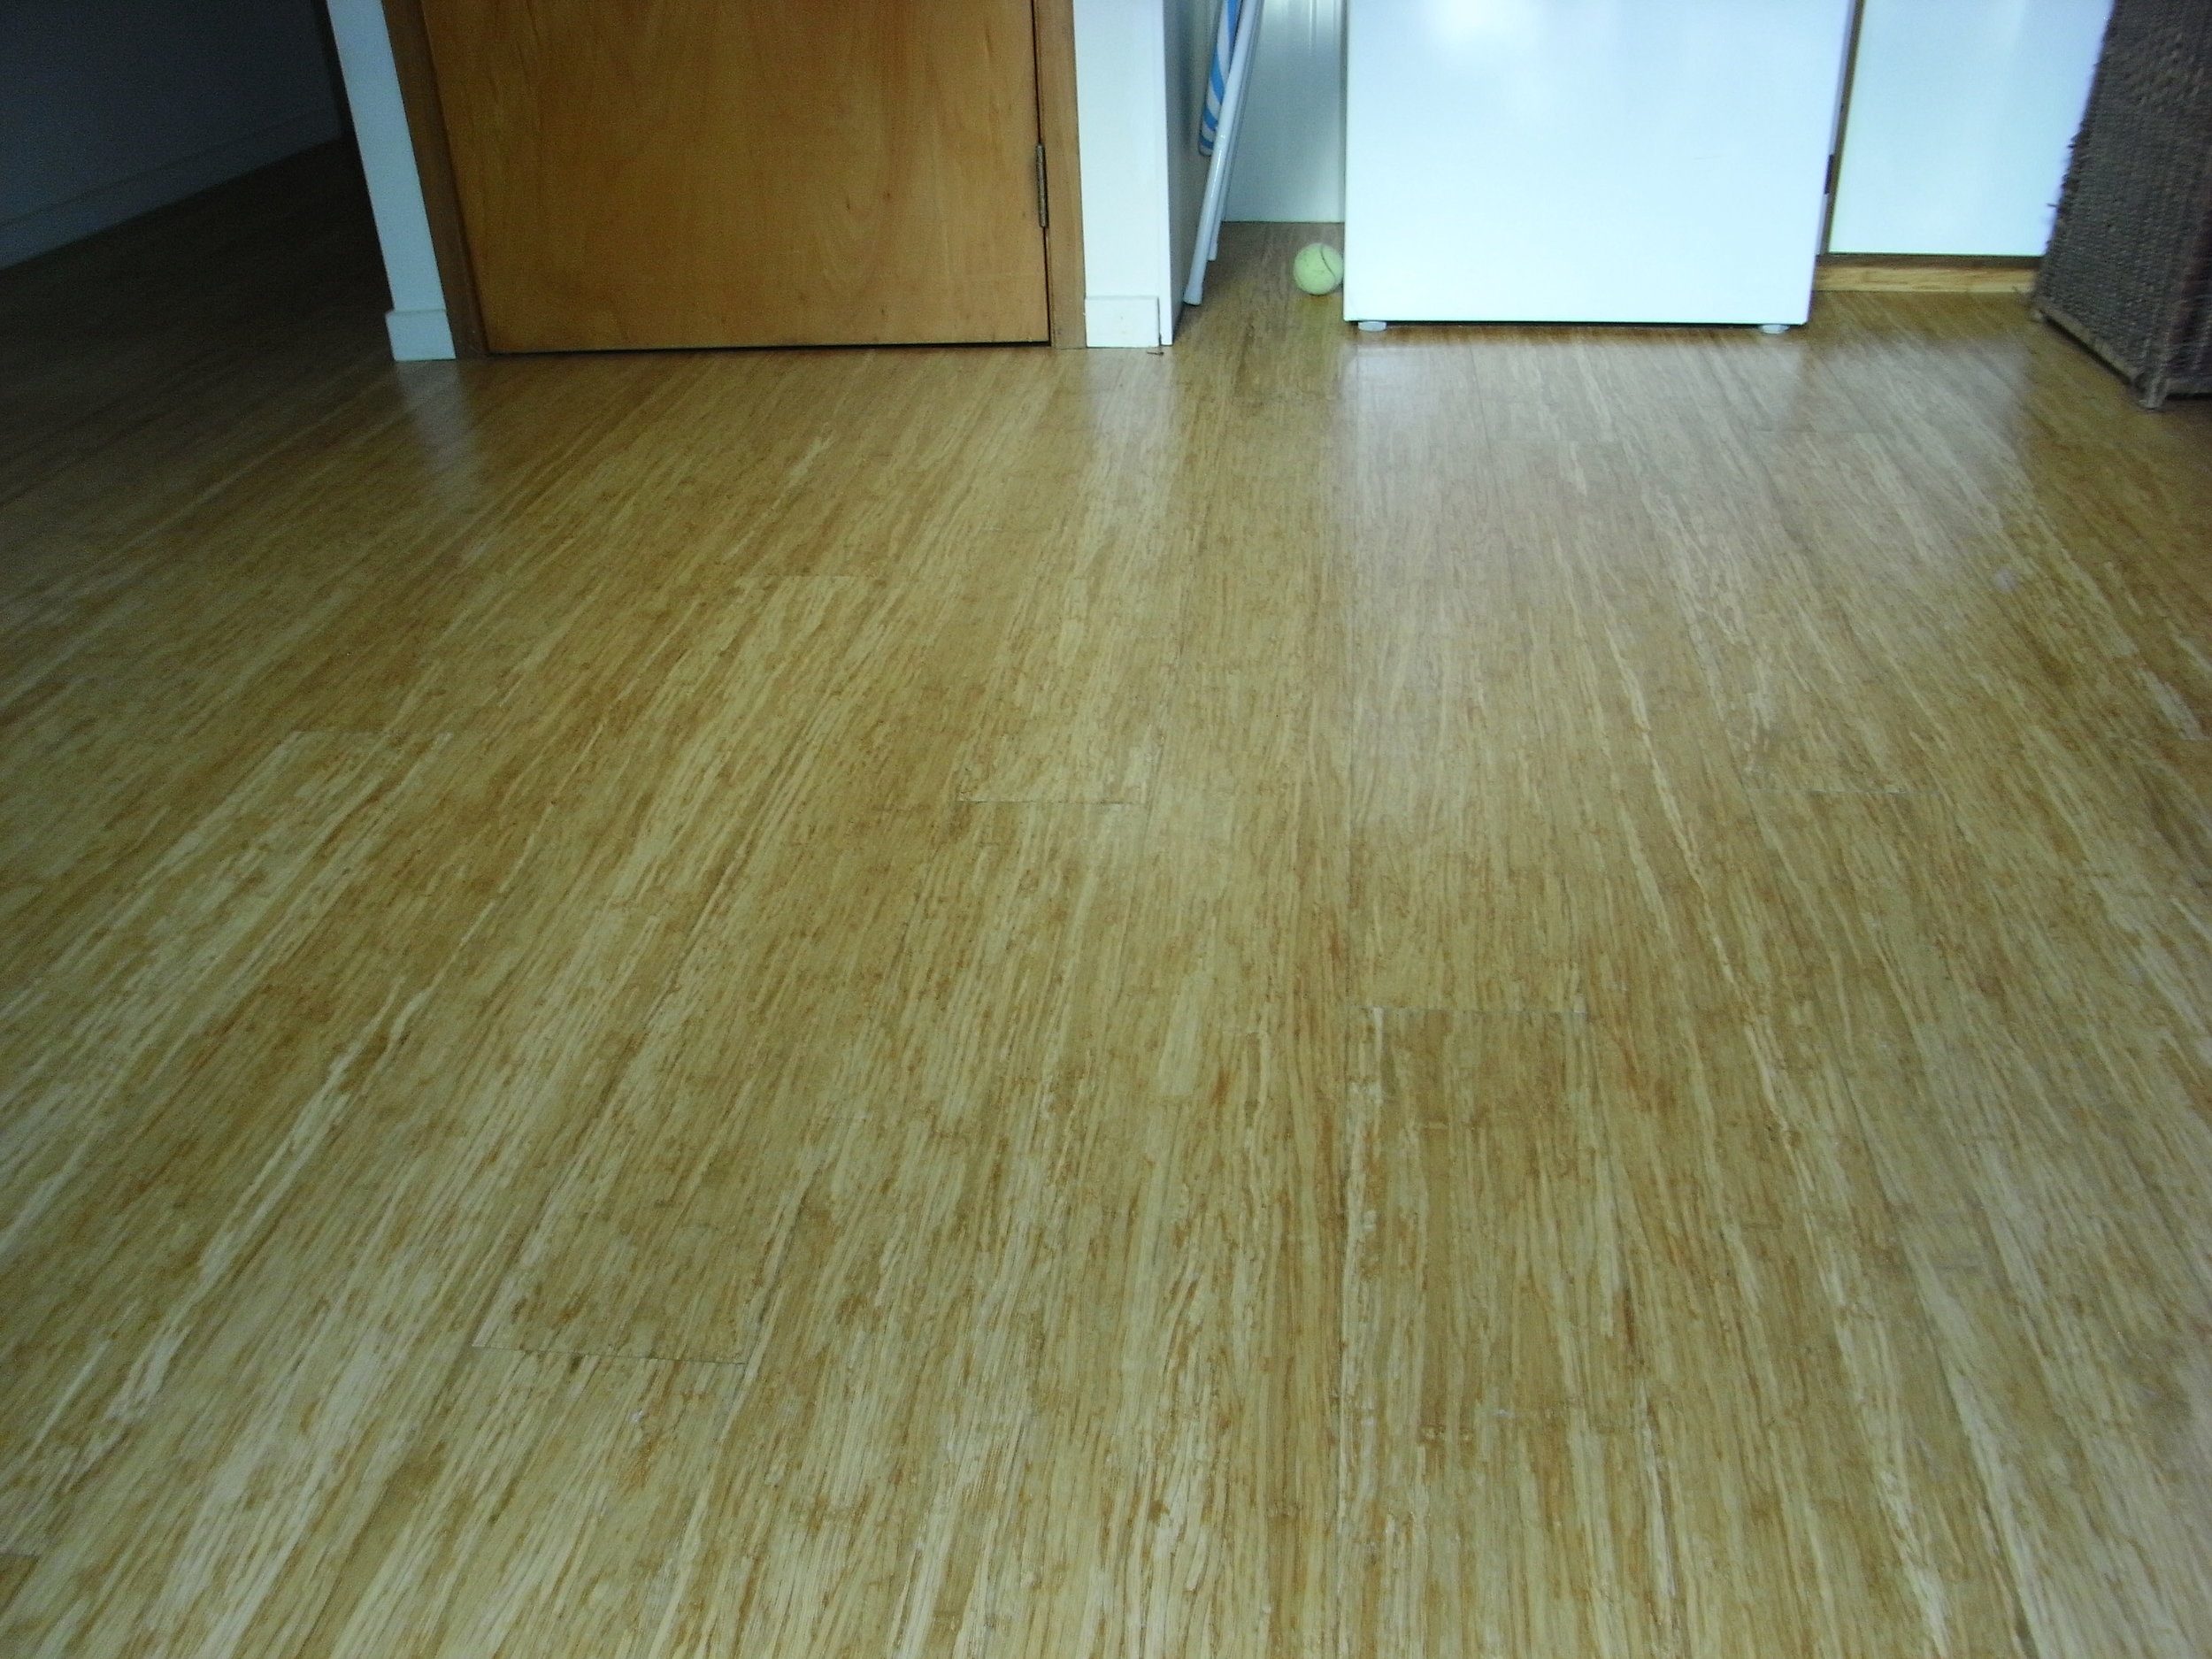
The existing particleboard floor was dilapidated but would look great with an overlay. I wanted something that was hard-wearing, came from a renewable resource, would last a long time with minimal maintenance and had a reputable environmental certification. After looking at various options, for the major traffic areas of lounge, kitchen and hallway I chose a click-together, pre-coated low-emission bamboo overlay with certification by the Forest Stewardship Council (FSC). FSC is the leading label for timber products (see Panel, Weblinks). The extra cost compared with uncertified products wasn’t huge and by using a pre-finished overlay I saved a lot of preparation and finishing costs. Bamboo isn’t suitable for wet areas so I used cork tiles in the bathroom. The bedrooms got cork tiles too because I couldn’t afford the extra cost of the bamboo. I couldn’t find tiles with a reputable eco-label but I know cork is a renewable resource. I finished the tiles with an Environmental Choice waterbased product suitable for low-traffic areas.
Paint
I was able to source paint with the Environmental Choice tick for everything. It’s great to see there’s now a range of manufacturers and products and the price premium isn’t great.
Dealing with waste
Construction and demolition waste is a major part of New Zealand’s solid waste stream. Sending it all to landfill is an expensive habit that we’ll have to get a grip on sometime. From research and experience we know how to manage it well—good design to minimise offcuts, prefabrication where possible, having a waste management plan before construction starts, good practices on-site. Check the REBRI website (REBRI stands for Resource Efficiency in the Building and Related Industries and is part of the BRANZ website). It includes what materials can be rescued or salvaged, and a calculator for the economic value of sending waste to landfill. There was the usual pile of “rubbish” to deal with. I don’t see it as waste, it’s just stuff we haven’t found a use for. I wanted to reduce the amount that went to landfill so I spent a few hours sorting and deconstructing. A scrap dealer paid good money for the fridge and electric cooker, surplus electrical wiring and various bits of steel, brass and aluminium. Resene took some old paint for recycling under their PaintWise scheme. I chopped up plasterboard offcuts and composted them. Various bits and pieces went via Trade Me. Old nails and screws went into the recycling bin. The total amount that went to landfill was ten council rubbish bags and a toilet.