A useful workshop item for repairing threads
by Bob Hulme
You have a bolt or screw with a damaged thread. What to do?
There are various ways of fixing the damage (see Restoring a thread, at the end of this article) but one of the best is to use a die nut.
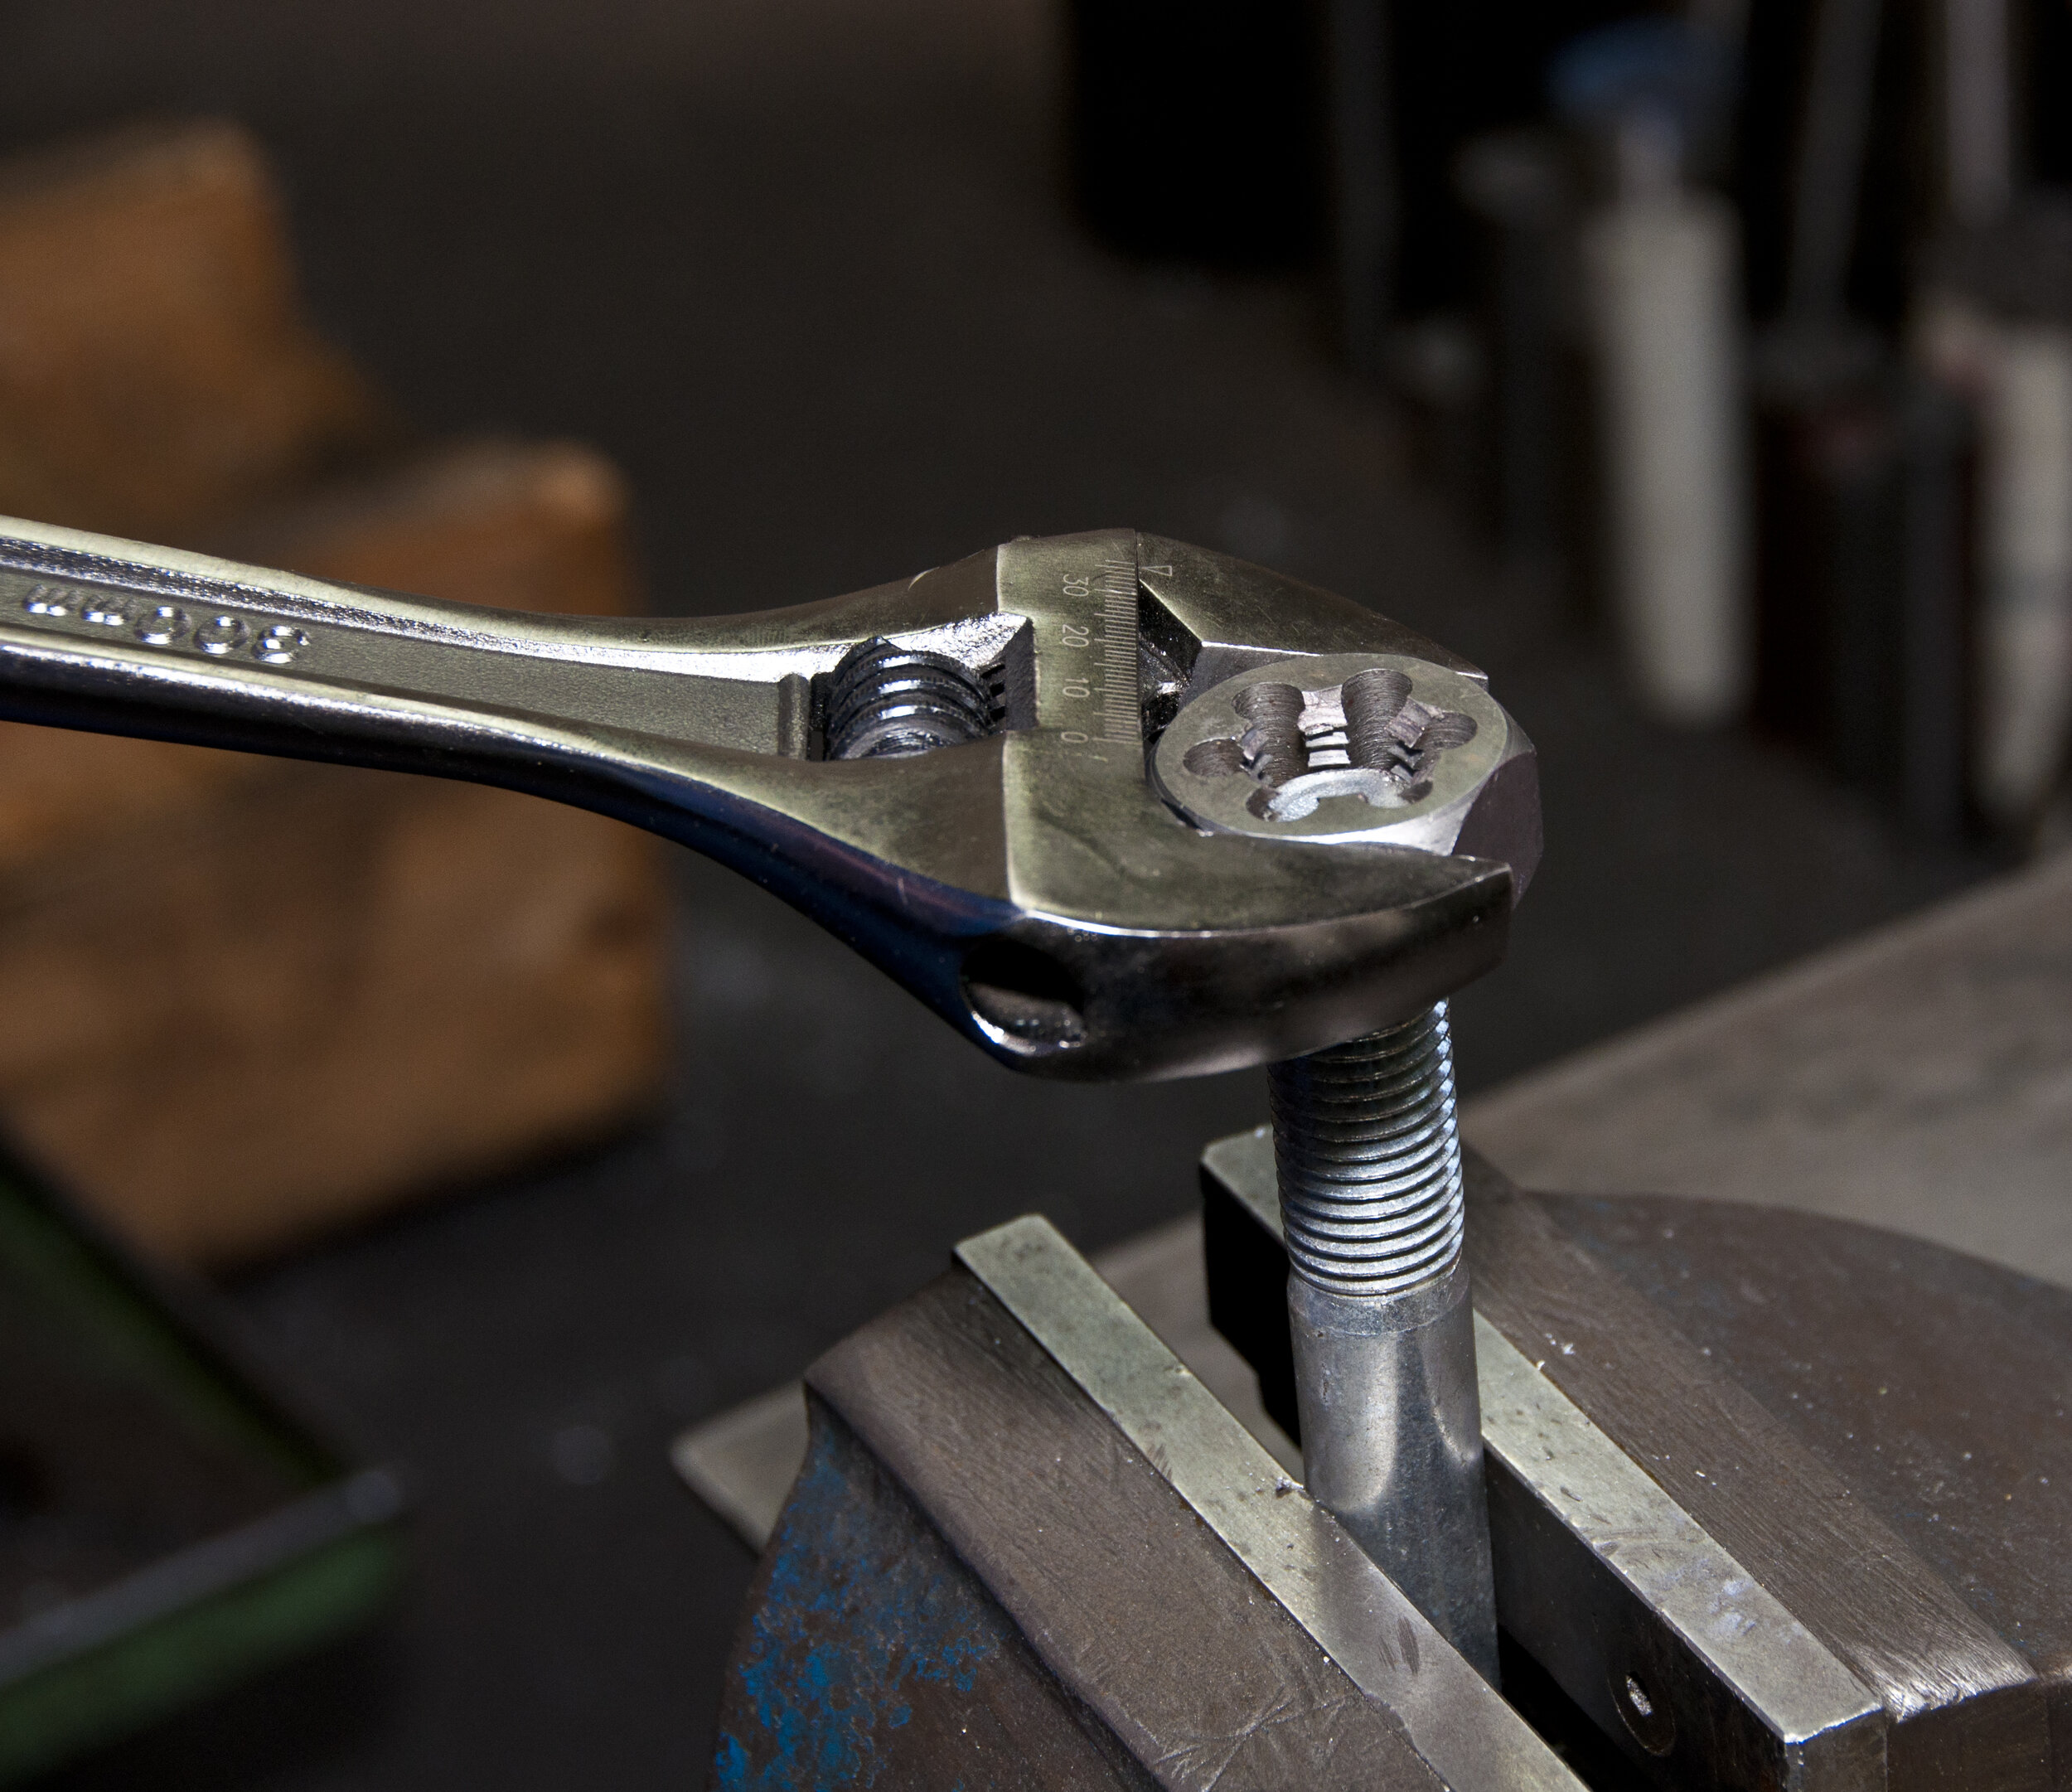
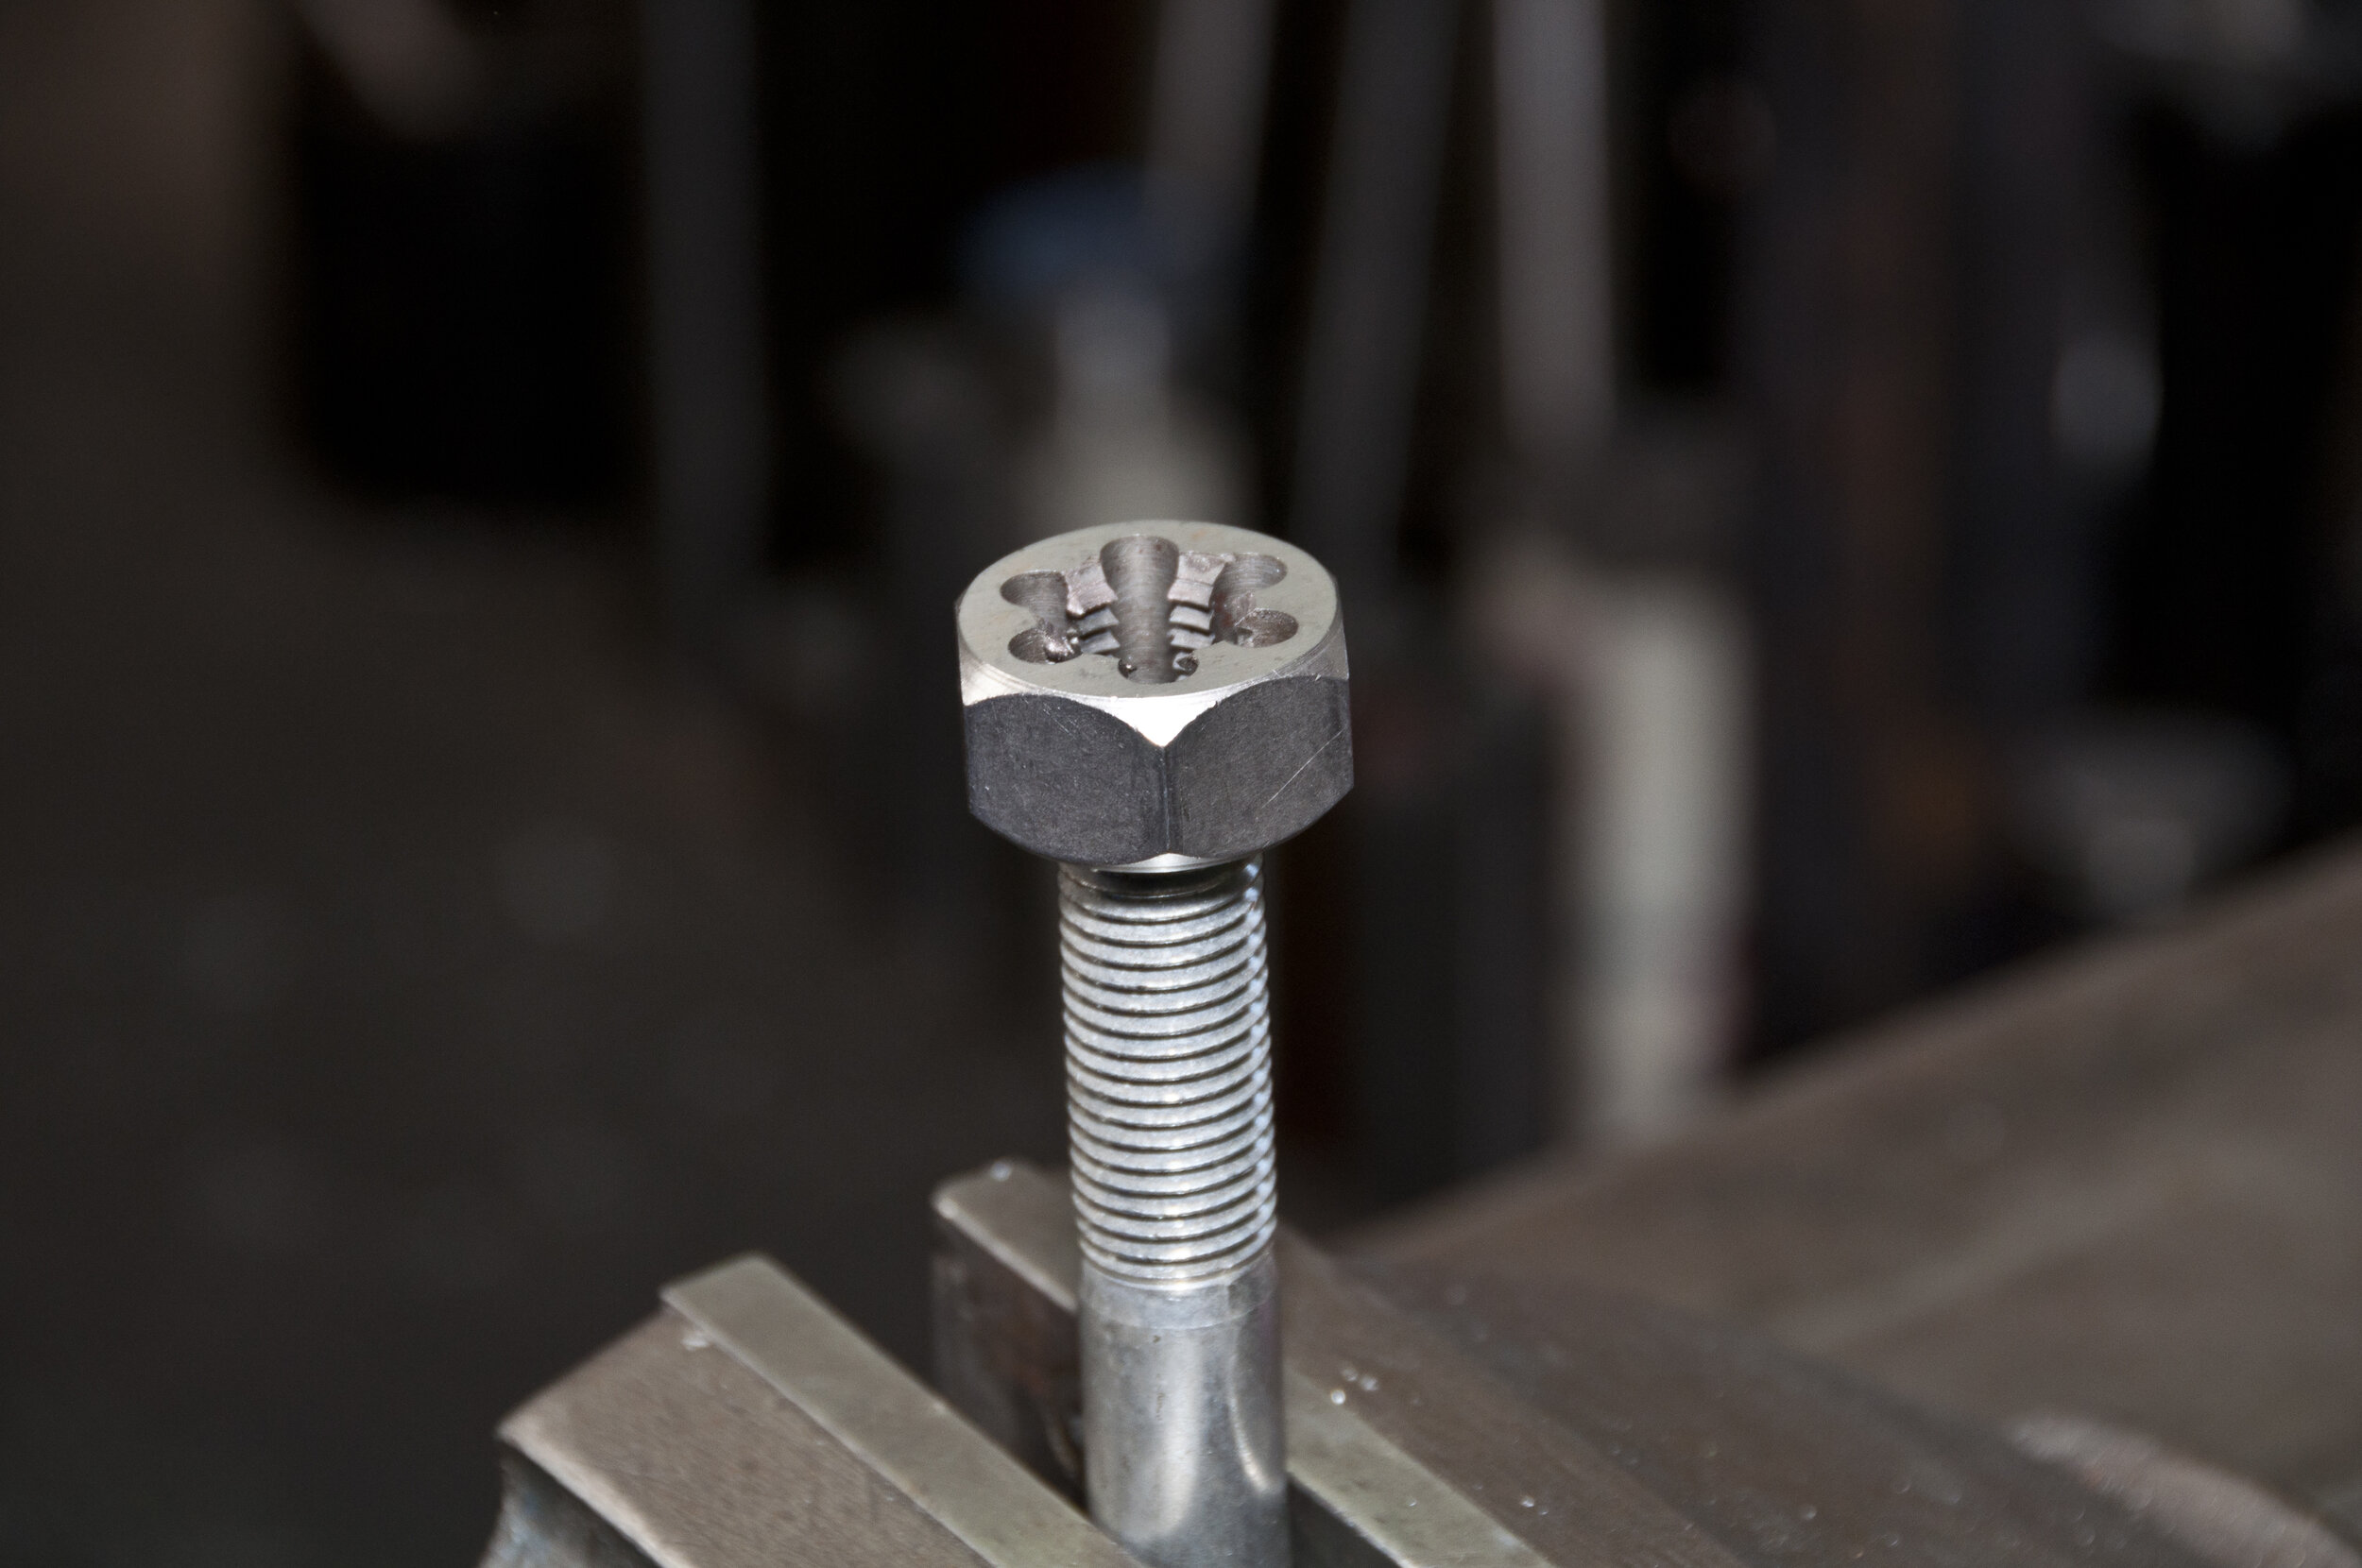
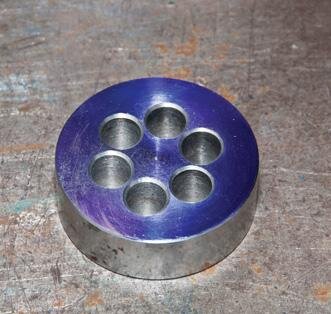
A die nut is created with interrupted sections of thread around its internal diameter. Die nuts are simply screwed onto the threaded part. As they are wound down, they cut away any of the screw thread that is bruised (bent over) or out of line. A die nut cuts irregularities and scrapes off the dirt from the thread it is being used on so needs cutting edges, which are formed by the cut-away places.
The number of times a die nut can be used depends upon the material it is used on and the quality/hardness of the material it is made from. In our project, the die nut should have a useful life of around a dozen times on mild steel or high-tensile bolts. Die nuts are made specifically for one size and one type (pitch) of thread. There is no one-size-fits-all when you are talking die nuts.
Price and challenge
Our project is to make one but why not buy one?
For small sizes, the price may not be an issue. For larger sizes and to restore a thread for which a die nut is not readily available then making your own is an attractive option. (The price of die nuts typically ranges from $30 to over $400 each). There is also the challenge of making your own.
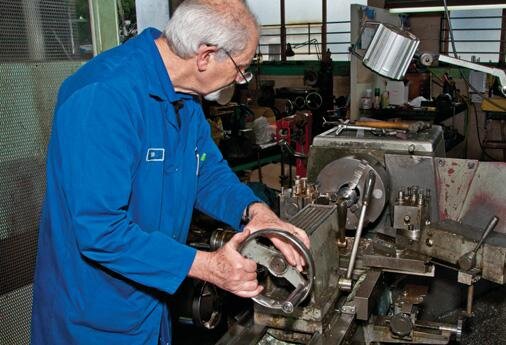
The description here of making a die nut is tailored to suit being made on a regular manual engineering lathe and drill press. The die nut produced will perform its intended function but will not have any clearance back from its cutting edges as good quality, off-the-shelf ones do. In our workshop, we do not hesitate to make them this way when customers have a strange thread size and type that needs to be restored. The result is always good.
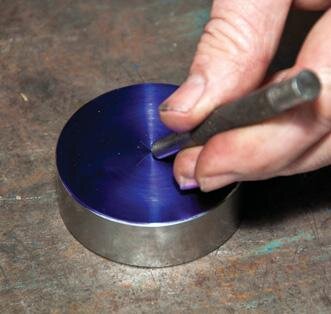
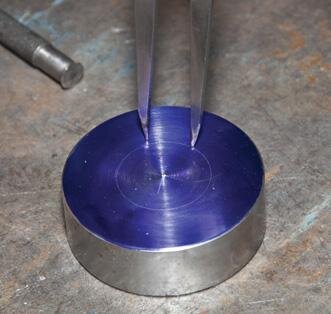
Finding centre
Material
Die nuts purchased are available in High-Speed Steel (HSS) or carbon steel. A cheap carbon steel one will do for using only a few times and on soft material.
For multiple uses, go for HSS. Here we are using a high-tensile steel (4340) which can be hardened with a gas torch in the workshop. You could use different steel and have it specially heat-treated, but our purpose for this article is to make a simple, low-cost die nut.
In this example I am going to produce an M30 x 2.0 fine-pitch, metric-thread die nut using 65 mm diameter 4340 material and I will drill 12.7 mm diameter holes for the fill rods. I am using round bar, the form of 4340 steel I have in my stock rack. For packing the holes, either brass or aluminium rod is fine.
Procedure
Select a size of round bar at least twice the diameter of the thread size. Cut a slice of the round bar about 2/3 the thread diameter. (i.e. for an M30 thread cut a piece of round bar 20 mm long). Face one side in the lathe to produce a good finish to work from.
Using a centre finder, scribe lines across the machined face to establish the centre. Centre punch the centre point. With dividers, scribe the outline of the diameter of the thread then pitch off six divisions around the circle and centre punch those points. These will be the centres of drilled holes which will form the cutting edges of the die nut.
Select a drill size that will suit your fill-rod material and is in practical proportion. By this I mean holes
• large enough not to leave too much thread to rub on the threaded item being restored; and
• small enough that there is plenty of strength in the die nut.
As a rule of thumb, drill these holes about 1/3 of the thread size.
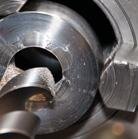
Fill rods
Drill the holes and hammer in the soft material rods to fill them. These minimise burrs from cutting the thread and so make a sharp, clean cutting edge on the die nut.
Peen the rods into the holes so that they are tight enough not to turn when we are cutting the thread. Mount the die nut into the three-jaw chuck in the lathe with the previously machined face against the chuck face so that we can machine the other face this time. After facing the die nut, drill the tapping size for the thread, in this case, 28 mm. If you do not have a drill that size, drill to the nearest size you have and bore out the hole to size with a boring bar. Chamfer the edge of the hole a little more than the diameter of the thread. This helps the die-nut cutting action.
Peening rods
Cutting the thread
Screwcutting internal threads differ from external threads in the shape of the cutting tool which must have more front clearance. If you have a boring bar that holds HSS tool bits then you can grind a tool bit to a 60-degree point.
It is easier with a tool holder with tungsten carbide inserts used for screw-cutting. At around $200, sets of tungsten-carbide insert, lathe turning tools which include screw-cutting certainly make life easier in the home workshop. When screw-cutting the die nut it is important to get the depth of cut as accurate as possible because usually there is no thread tap available to put through as a final, exact sizing cut.
Once the hole has been drilled/bored take a measurement of its actual diameter. Drills can cut above their nominal size and to make sure we cut the thread accurately it is important to know where we are starting from. Wipe marking blue on or use a marker pen to coat the inside of the hole. This indicates when we have a “touch” with the cutting tool.
Don’t use bearing blue for this as it will smear rather than show a clear scratch. With the spindle running, move the cutting tool into the hole then gradually wind the crosslide out towards the sides of the hole until it just touches (indicated by a faint scratch in the marking blue).
Zero the crosslide dial and clear the cutting tool away from the hole. Now you have a reference point for the depth of the cut. A tungsten carbide insert tool will already have a radius on the tip applicable for the thread, but if you have ground an HSS tool bit for a boring bar then you will need to carefully grind a small radius on its end or go deeper with the final cut to compensate (see paragraphl, Radius).
Set the appropriate gearing between the spindle and leadscrew for the thread you want. Here the pitch is 2 mm. I suggest a slow spindle of around 150 RPM speed so you can easily stop and reverse before pranging the toolpost into the chuck. Run the first cut through with the crosslide dial at zero just to check that you have properly established that first “touch”, then make a series of small cuts after that.
With a tungsten carbide insert tool, you should be able to wind on a cut amount directly with the crosslide. If you use your own, ground HSS tool bit you will need to move the compound slide a little each cut as well to keep the cutting on the leading edge rather than expecting it to cut on both sides.
To be absolutely right, the compound slide amount should be 0.29 x crosslide dial depth of cut. (For a 60-degree thread angle, if you are cutting a 55-degree imperial size thread the figure is 0.26.) This figure takes into account that the crosslide dial reads in the amount off the diameter and the compound slide is reading in direct movement.
Just to explain that further— if you rotate the crosslide handle and its dial says that you have moved 1.0 mm then the actual movement is only 0.5 mm because the dial is telling you how much the diameter of a job would be reduced. Once the thread is cut to full depth, remove the die nut from the chuck and knock the packing rods out.
You could cut a couple of flats on the outside of the die nut with your milling machine so that it can be used with a spanner but this die nut can be used with a Stillson wrench or split joint pliers. That sounds rough, but remember this is a project for an item that will be used on rare occasions (perhaps even just the once) and is intended to be made in a home workshop of limited resources.
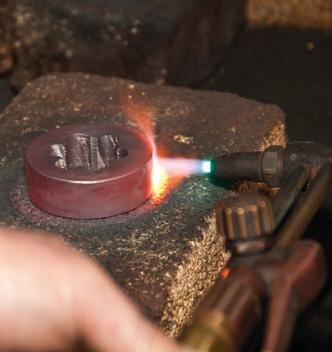
Hardening
Heat treatment is the last task before the die nut is usable. I use an oxy-acetylene torch but an LPG torch would do.
An aerosol-fed propane torch would be too small. Heat the die nut to a bright-red colour then quench it in oil. Keep the flame away from the thread teeth as it can overheat them easily and they will not be sharp. Just aim the flame to the bulk of the material.
You can use old engine oil for quenching (special quenching oils are available), but be sure to have the oil in a metal container (not plastic) and a volume of at least five litres so that the heat disperses. When using any flame-producing torches, have a fire extinguisher handy.
Clean up the cooled die nut with emery tape until it is bright again. To temper, it, heat it slowly again until it develops a straw colour on the surface and quench it again in the oil. This drops the hardness back just a touch and stops it from being brittle.

Sources
If there are some parts of the job you feel not equipped for, ask your nearest engineering business if they can supply the material cut as you require or perhaps to do the flame hardening for you. They should be happy to give you a price first. You may even be able to barter with a slab of beer or some produce from your home garden.
Radius
According to ISO standards, the maximum thread tip radius is 0.125 x pitch of thread.
In our case it is 0.125 x 2 = 0.25. Remember this is a maximum. If this maximum radius is used then the extra depth of cut is 0.375 mm.
If the radius is smaller, the extra depth of cut will be less. If you produce a radius on your cutting tool by grinding or with a hand stone and it’s just big enough to see with the naked eye, then you will be quite close. The objective of this die nut is to cut off misshapen parts of the thread to enable a nut to run on it without problems and therefore we do not have to be too worried about absolute accuracy as long as our die nut is not undersize.
Restoring a thread
Screw threads are surely the most used invention (after the wheel). They hold things together as nuts and bolts and convert rotary motion into linear motion as leadscrew shafts. But they can be easily damaged and, for example, if you are restoring a vintage car or stationary engine, it is likely that parts with screw threads have been ruined over the years.
Modern mechanical items not well made or made from inferior materials in an Asian country can also have problems. Damaged threads may be restored for practical use if there is only bruising or slight cross-threading. Here I am concentrating on male threads. There are several approaches to restoring a thread.
Damaged thread
1/ Use a thread file
These are special files with thread shaped teeth.
On different sides of the file, the teeth are spaced to suit different thread pitches. Typically they are available as separate files for metric or imperial files having the common pitch sizes on them. Thread files are fine for restoring bruised threads, but not for more serious damage.
A triangular file can also be used in a similar way but it has the effect of making the thread teeth shorter and weaker.
2/ Replacement
It is best to replace an inexpensive standard screw or bolt with a new one. Make sure you use one with the same tensile strength which is marked on the bolt head. Engineering supplies businesses offer assortment packs or you could fill your own assortment box with the screws and bolts you need.
The cost of a handy assortment is usually saved the first couple of times you use it when you think of the lost time and the travel to go out especially to get one bolt.
3/ Bumping
This is an old trick that can work well on larger sizes (20 mm and over) and is useful when you are away from your workshop. Simply wind a nut onto the thread by hand until it tightens up at the spot where the thread is damaged. Tighten it with a spanner about a quarter turn more then tap the flats of the nut with a hammer. Hit directly onto the flats and towards the centre.
Back the nut off and repeat the process until the nut winds comfortably over the damaged area. While this can get things going again with minimal equipment, it can damage the nut and is not a method you can use when the damage is at the end of the thread. There must be some good thread for the nut to align on.
Thread files
Thread fi le in action
4/ Use a die nut
This is the surest way to fix a problem with a male thread but is possibly expensive unless you already have a die nut or a button die in your toolbox.
Low-cost sets of die nuts not made from high-quality steel are fine for very occasional use on threads on soft materials. The best are made from High-Speed Steel (HSS) and will stay sharp after many uses on a range of materials. Cost is an issue, particularly on larger sizes and thread types outside the common ones.
Die nuts are simply screwed onto the threaded part. As they are wound down, they cut away any of the screw thread that is bruised (bent over) or out of line. It is best to use cutting oil. Button dies can also be used in the same way as die nuts for restoring damaged threads.
5/ Re-machining
If the part with the damaged thread is a unique bolt or special part then you may have to set it up in a lathe and re-machine the thread by screw-cutting.
The difference between restoring a thread and screw-cutting a new thread is that you must align the cutting tool with the existing thread on the part to avoid ruining it altogether.
As you can imagine, if you cut a new thread that happened to have its troughs just where the old threads peaks were, you would end up with a bald bolt. Any out of alignment will remove metal from thread teeth that is wanted. Align the cutting tool after mounting the damaged part in the lathe chuck and selecting the leadscrew gearing for the pitch required. With the cutting tool well out of the way, start the lathe spindle on the speed you are going to screw-cut at and engage the saddle to the leadscrew. Stop the lathe when the cutting tool is somewhere near the part to be machined. Then you can wind the cross slide to bring the cutting tool very close to the thread and use the compound slide to align it longitudinally.
Once you have it as close as possible to sitting snugly into a thread “V” then lock the compound slide in that position and you are ready to do some screw-cutting. The depth of cut you start with depends upon how badly the thread is damaged. The advice I can offer here is to be conservative and take it slowly. Too much depth of cut to start with and you could break the cutting tool.
Cutting new thread on the lathe
6/ Make a new one
As opposed to restoring a thread, I mention this way of making a new bolt if you need to replace an unusual thread type or size.
Purchase the same-sized bolt (wrong thread type is okay) with enough length of plain shank to make your desired bolt from. Are you with me? Yes, buy a bolt much longer than you want, cut the threaded bit off, and cut a new thread on the remaining shank. For minimal effort, you keep a proper forged hex head with the strength markings — all you have to do is chop some off and cut the thread type you want on it. So there you have it, some ideas to help when faced with things that won’t screw together because the threads are damaged. As shown in the article above, you could make your own die nut as an alternative to spending bucket loads of money on buying one.
Cutting threaded part off long bolt before re-threading