Making models is time-consuming
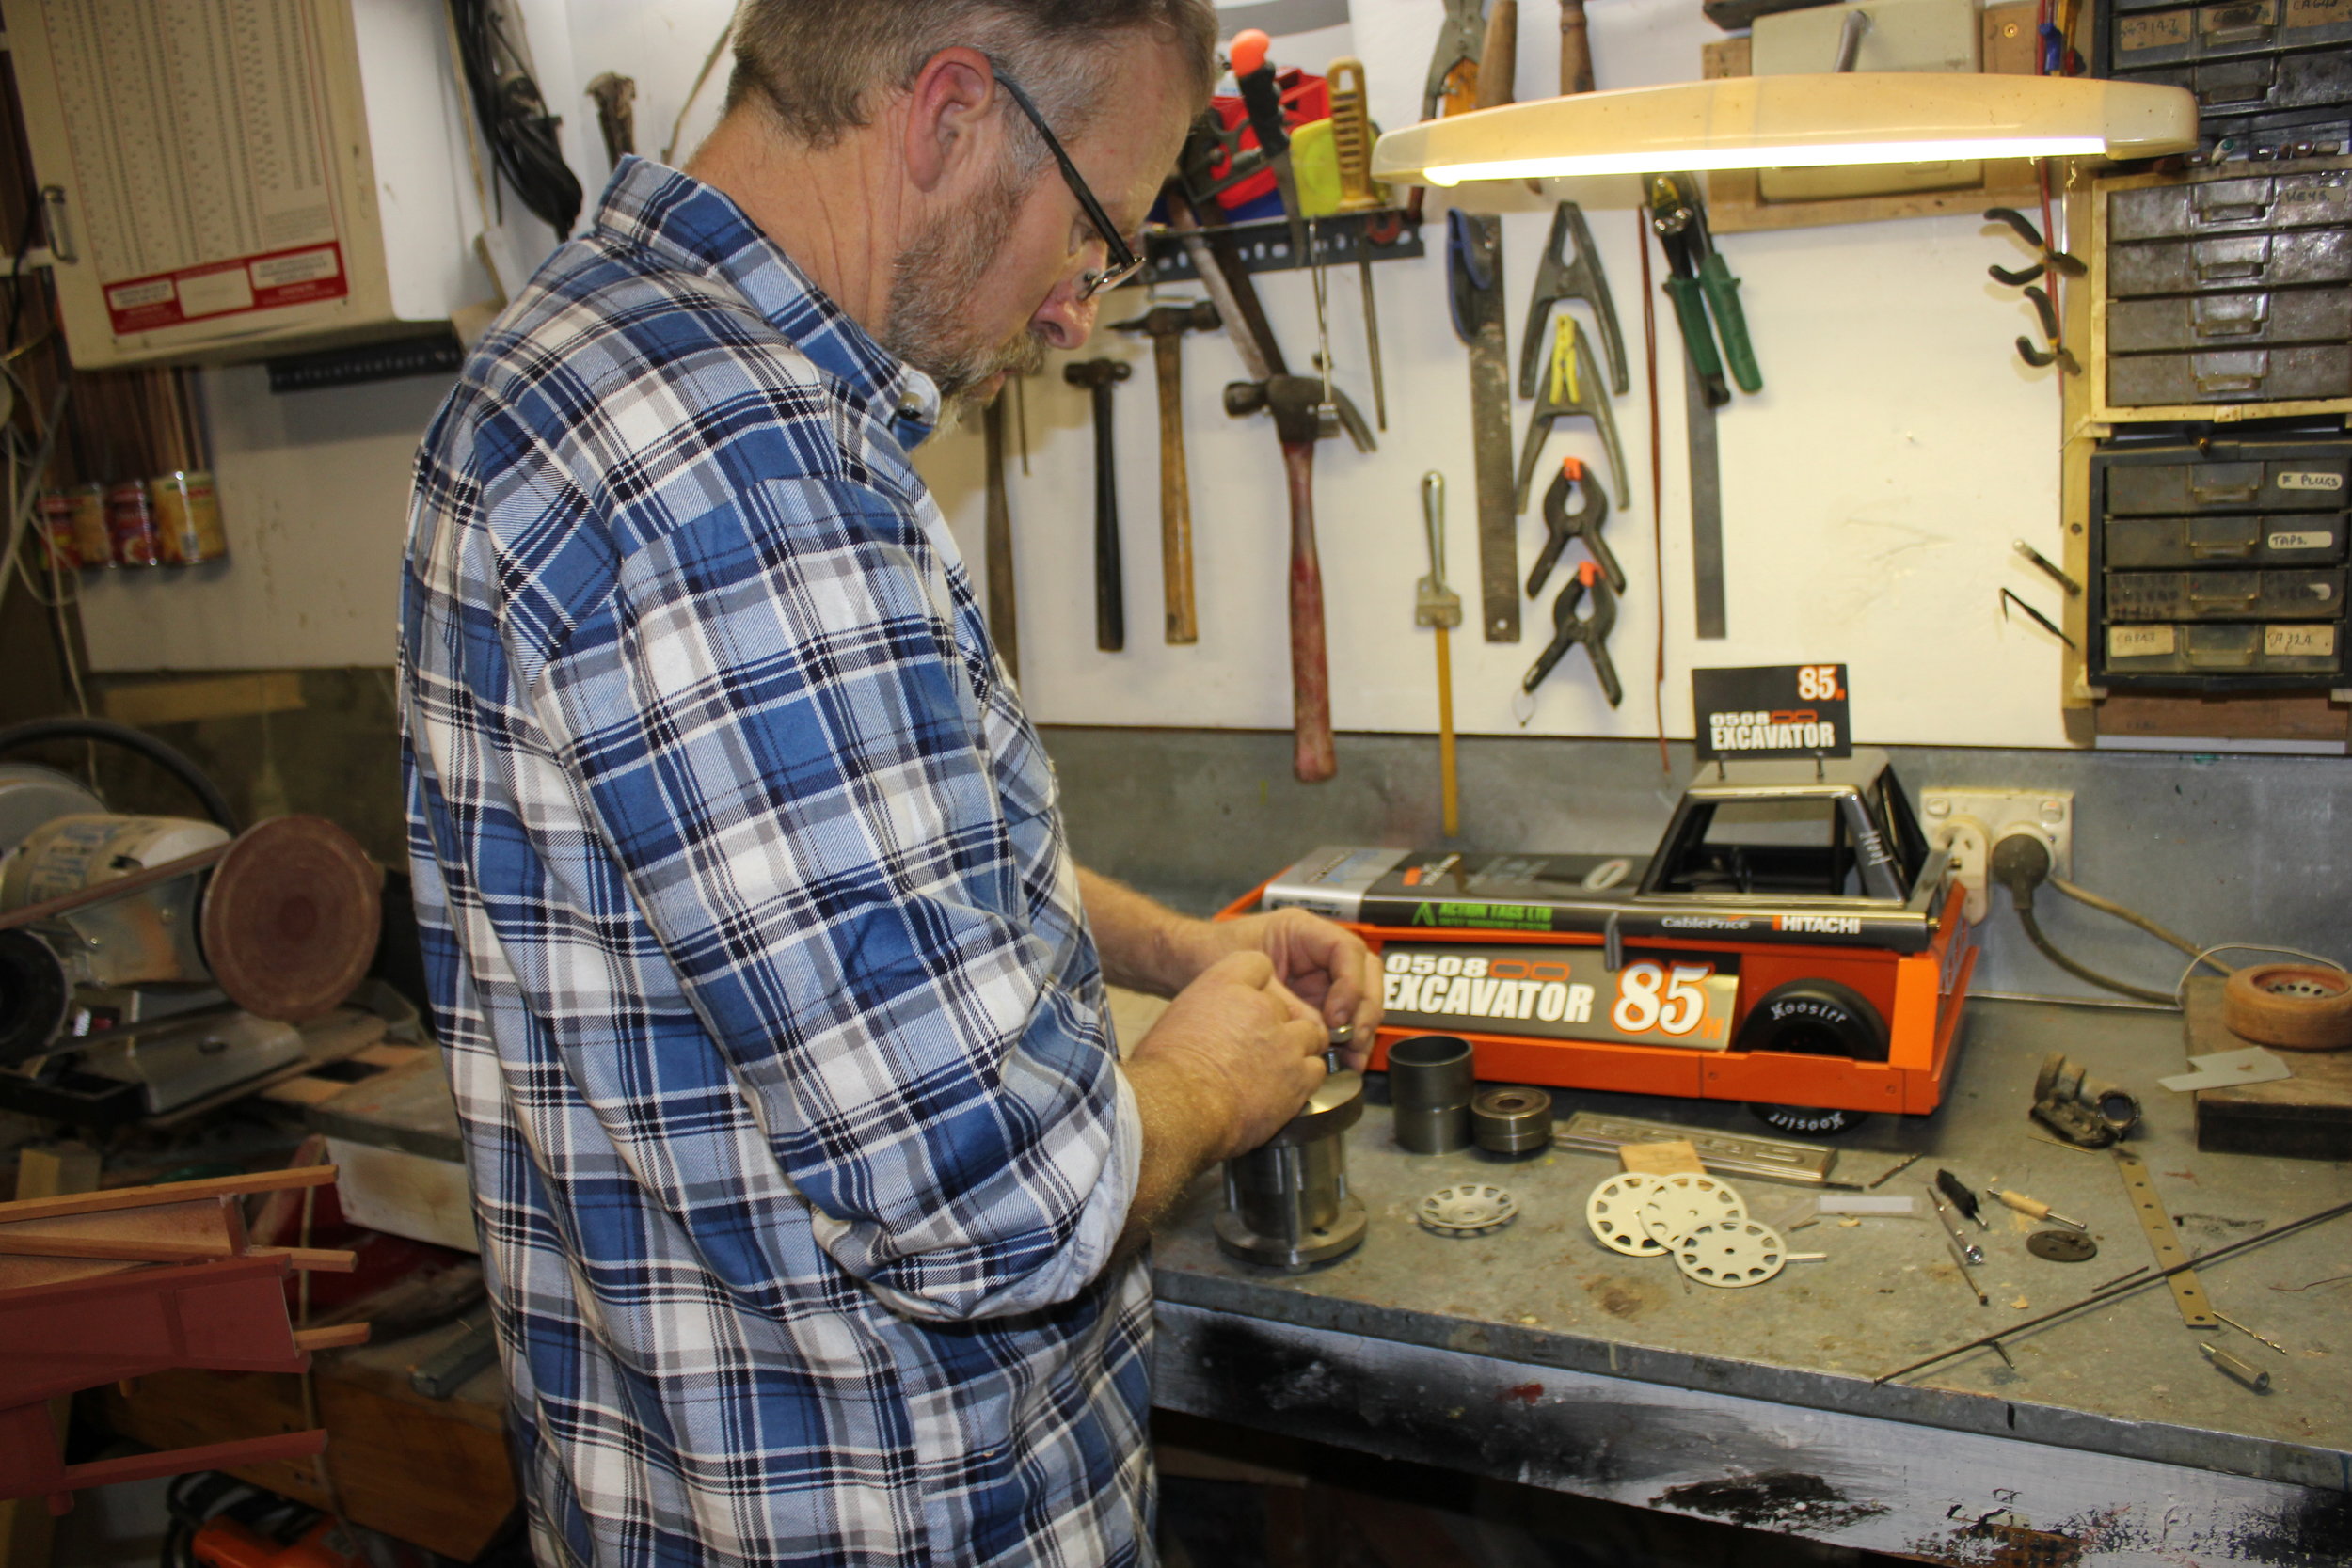
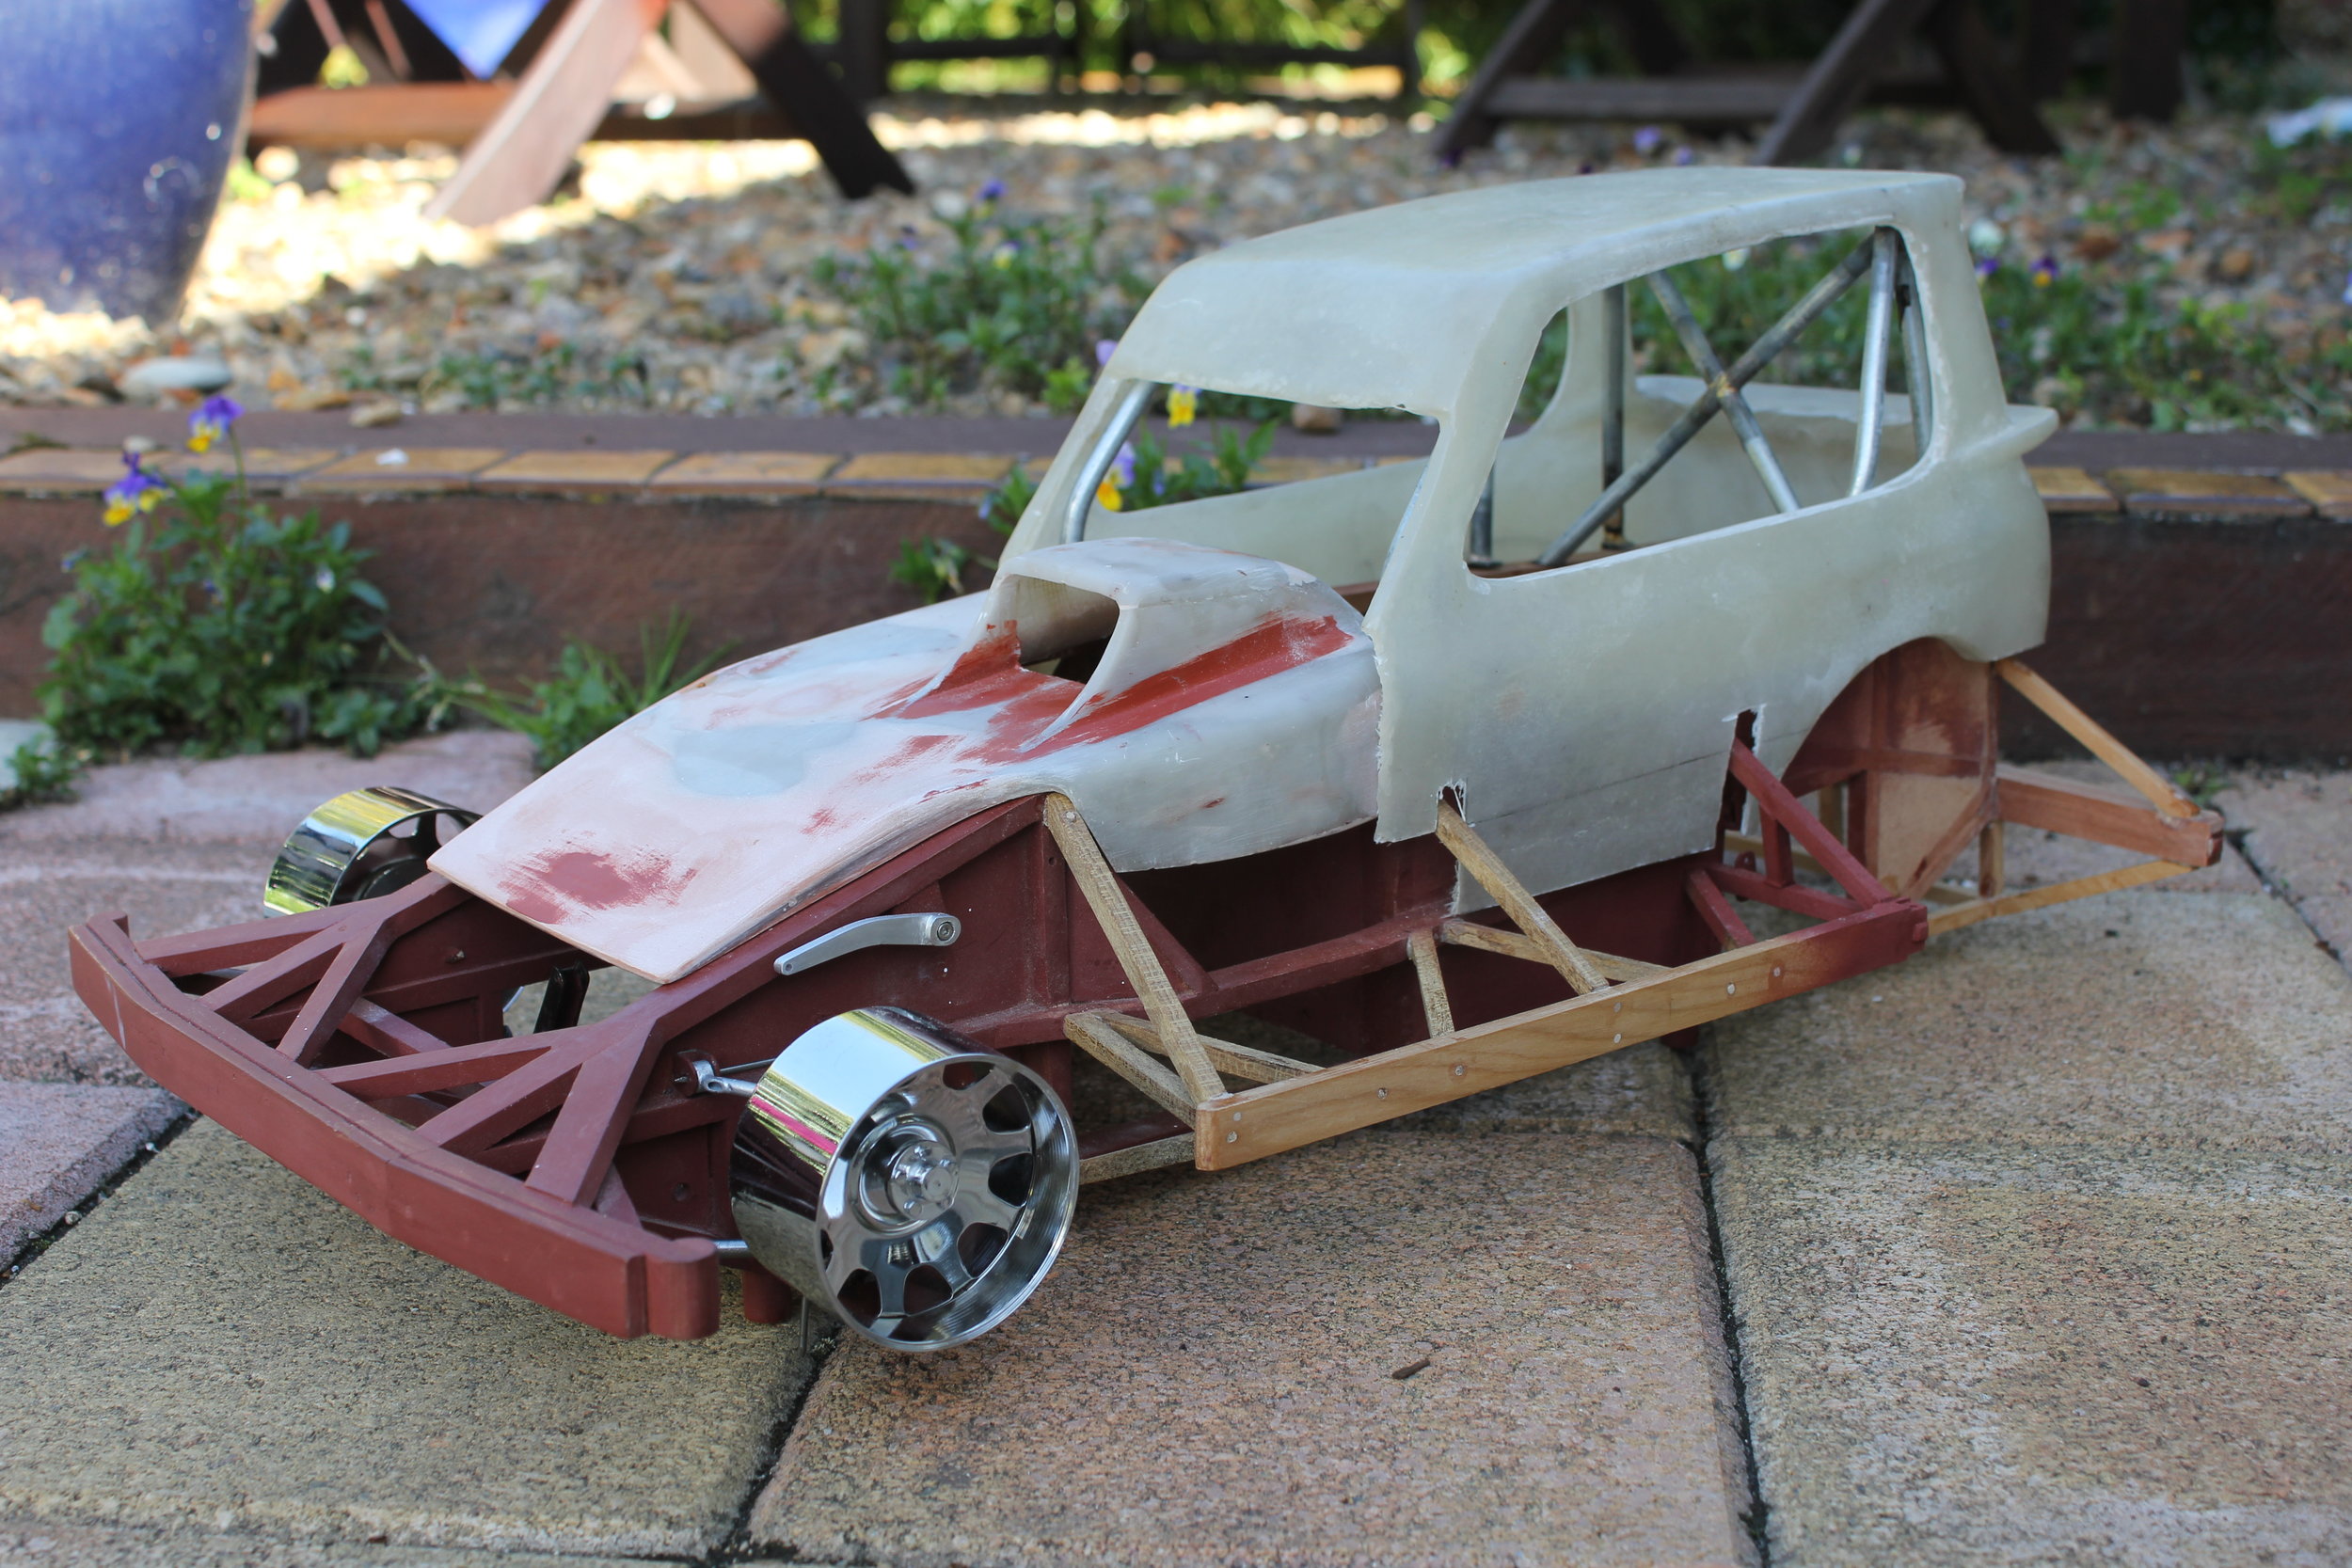
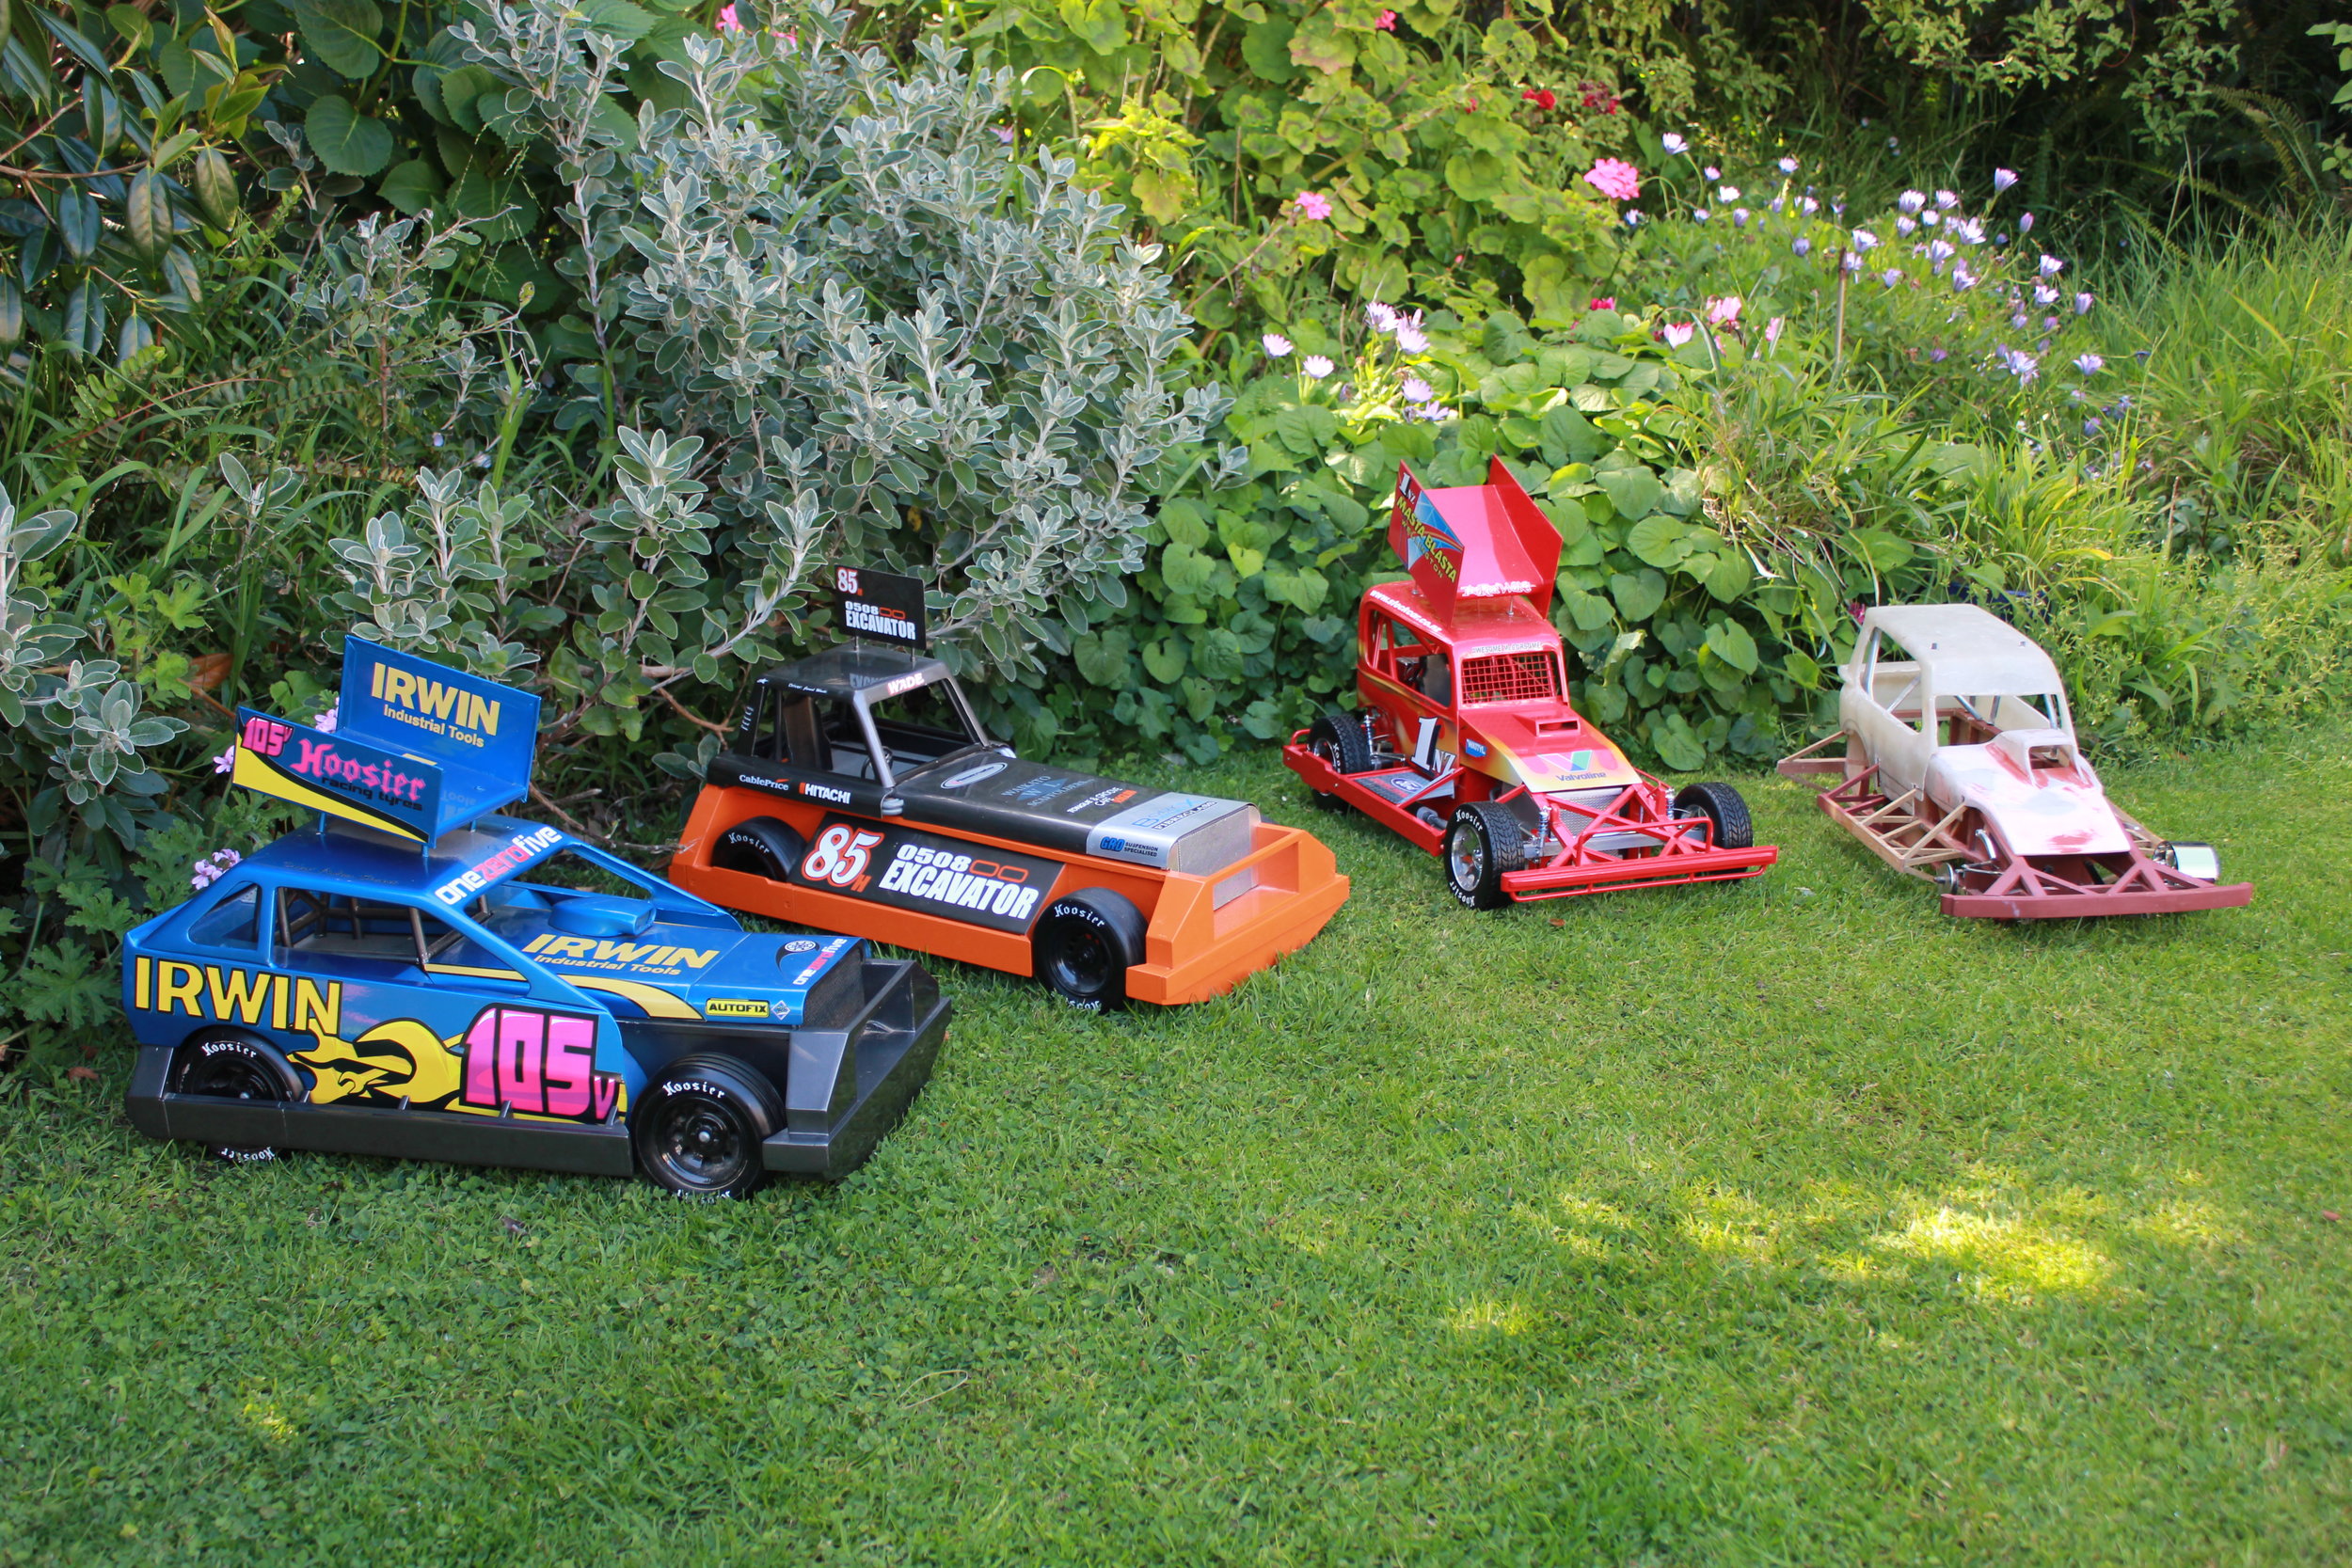
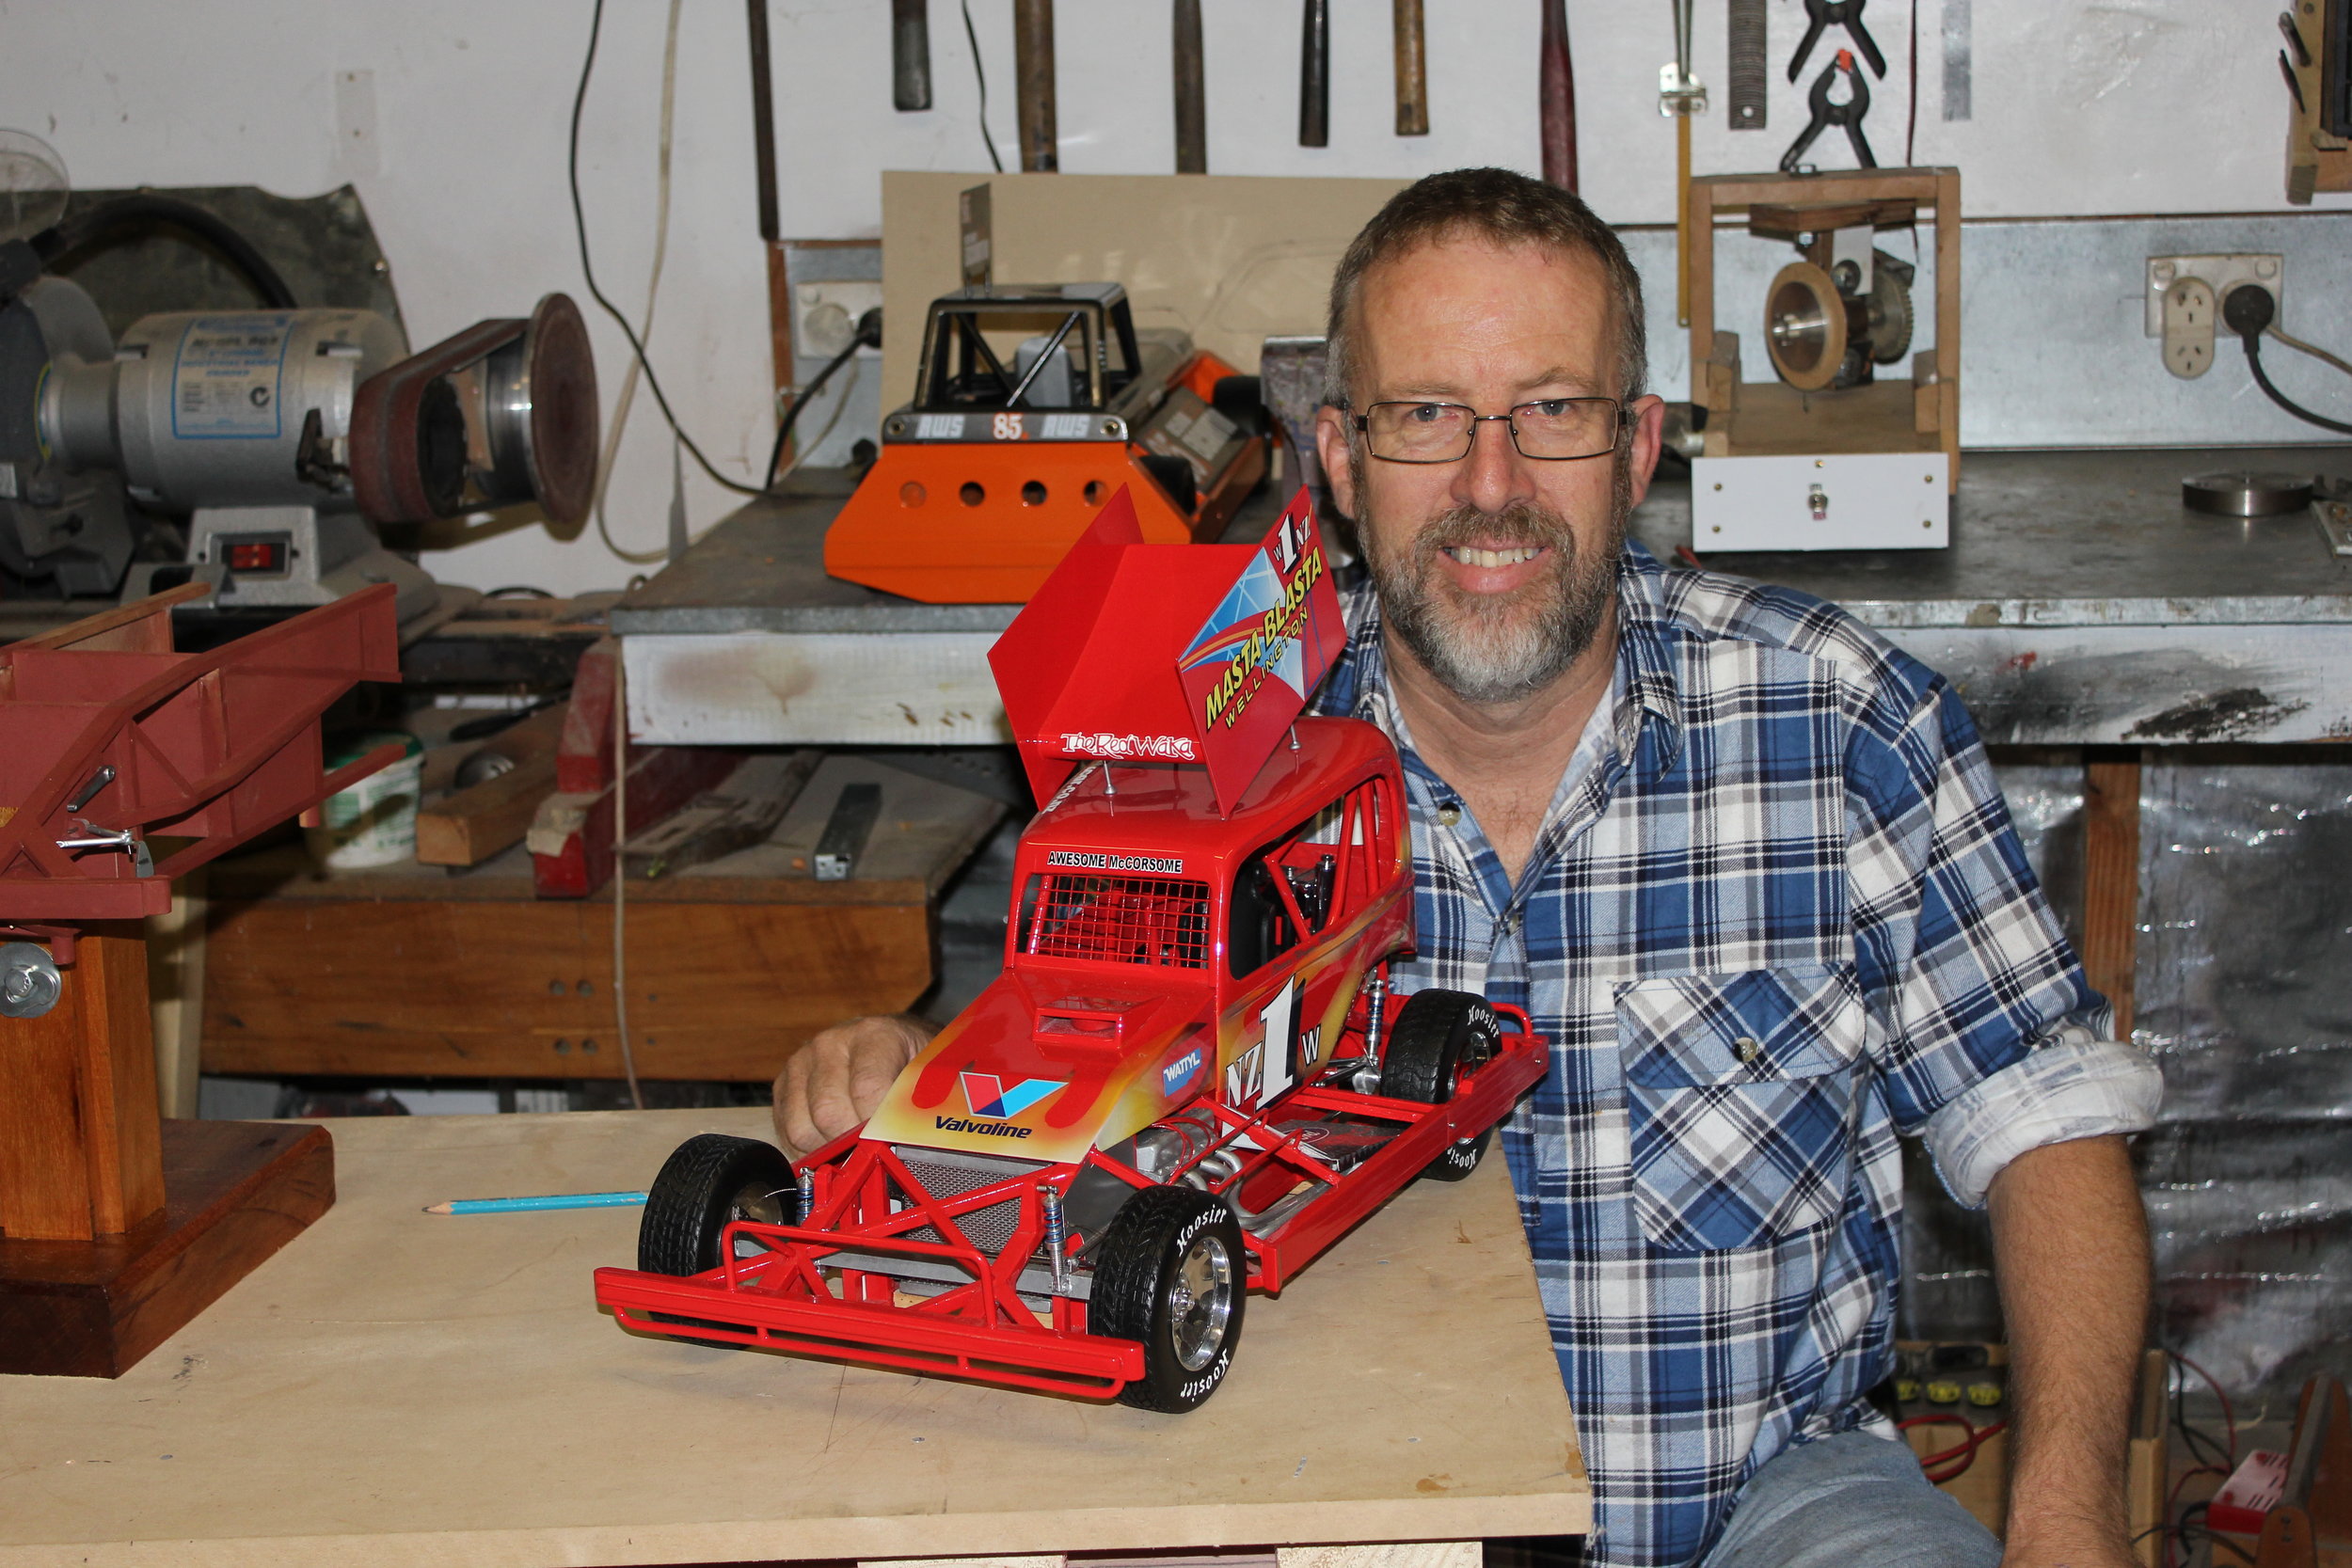
“You must have too much time on your hands.” That’s what people often say when they see my model cars. I’m never really sure what to reply, because it’s something I do instead of watching television or building the real thing. But the question I get asked the most is how long it took to build. The answer is that I don’t know. Sometimes I make a start and then find that it’s too cold in the shed or I’m not happy about what I’m doing, so go back inside for the evening and start again when I feel like it. I’m a mechanic, have always been interested in motorsport and have tried ” to help our good friends, the Wade family of Hamilton, with their super stocks. I got to know these cars very well. The main reason I started to build model cars was because my son, Andrew, who owns his own graphic design company, AWS Graphics, needed a large model on which to show a graphic design for his final university assignment. After hunting everywhere to find the correct type and size of car, we decided to build one just for the job. It would be the first model car I had built from scratch and, as far as I was concerned, would be my last. We chose an uncommon, big-bodied super stock because Andrew liked them and they had once been raced by the Wades. This first model was finished in Irwin Tools colours. Although it turned out well, I saw ways it could be improved, so I began to build a copy of Jared Wade’s tank-bodied car. This model was built of MDF and looked really good, but once again I identified ways it could be improved. For example, despite it being professionally painted, I could see the ends of the small pieces of MDF and they really annoyed me. Next, I decided to build a type that is normally made of box section steel. No more MDF for me, except for such items as bulkheads. I drew some plans from memory and a few sneaky measurements; it’s frowned-on to measure people’s cars. I decided on using straight-grained totara and macrocarpa for the chassis and was lucky to find small strips of timber in various model shops. However, they were far too expensive for the amount I needed. I tried to cut the strips myself but eventually went to a friend who helped me produce a good range of sizes. I hand-sand each piece before using it because it’s impossible to sand them once they are glued into the car. I also use a piece of toothpick to dowel pieces together for extra strength. The best glue I have found is Gorilla Glue. This expands to fill small gaps, can be easily cut off with a knife when dry and generally doesn’t need sanding. Lately I have been using the New Zealand tree fuchsia (Kōtukutuku), because of its strength and tight grain. Once the lower section of the chassis is done, I build the upper roll cage from steel tubing using a small bender that I made from a pulley wheel and several pieces of timber. This makes it easier to bend each piece to match the opposite side of the roll cage. A linishing wheel is the best for creating all the strange angles found in a real chassis design.
Suspension
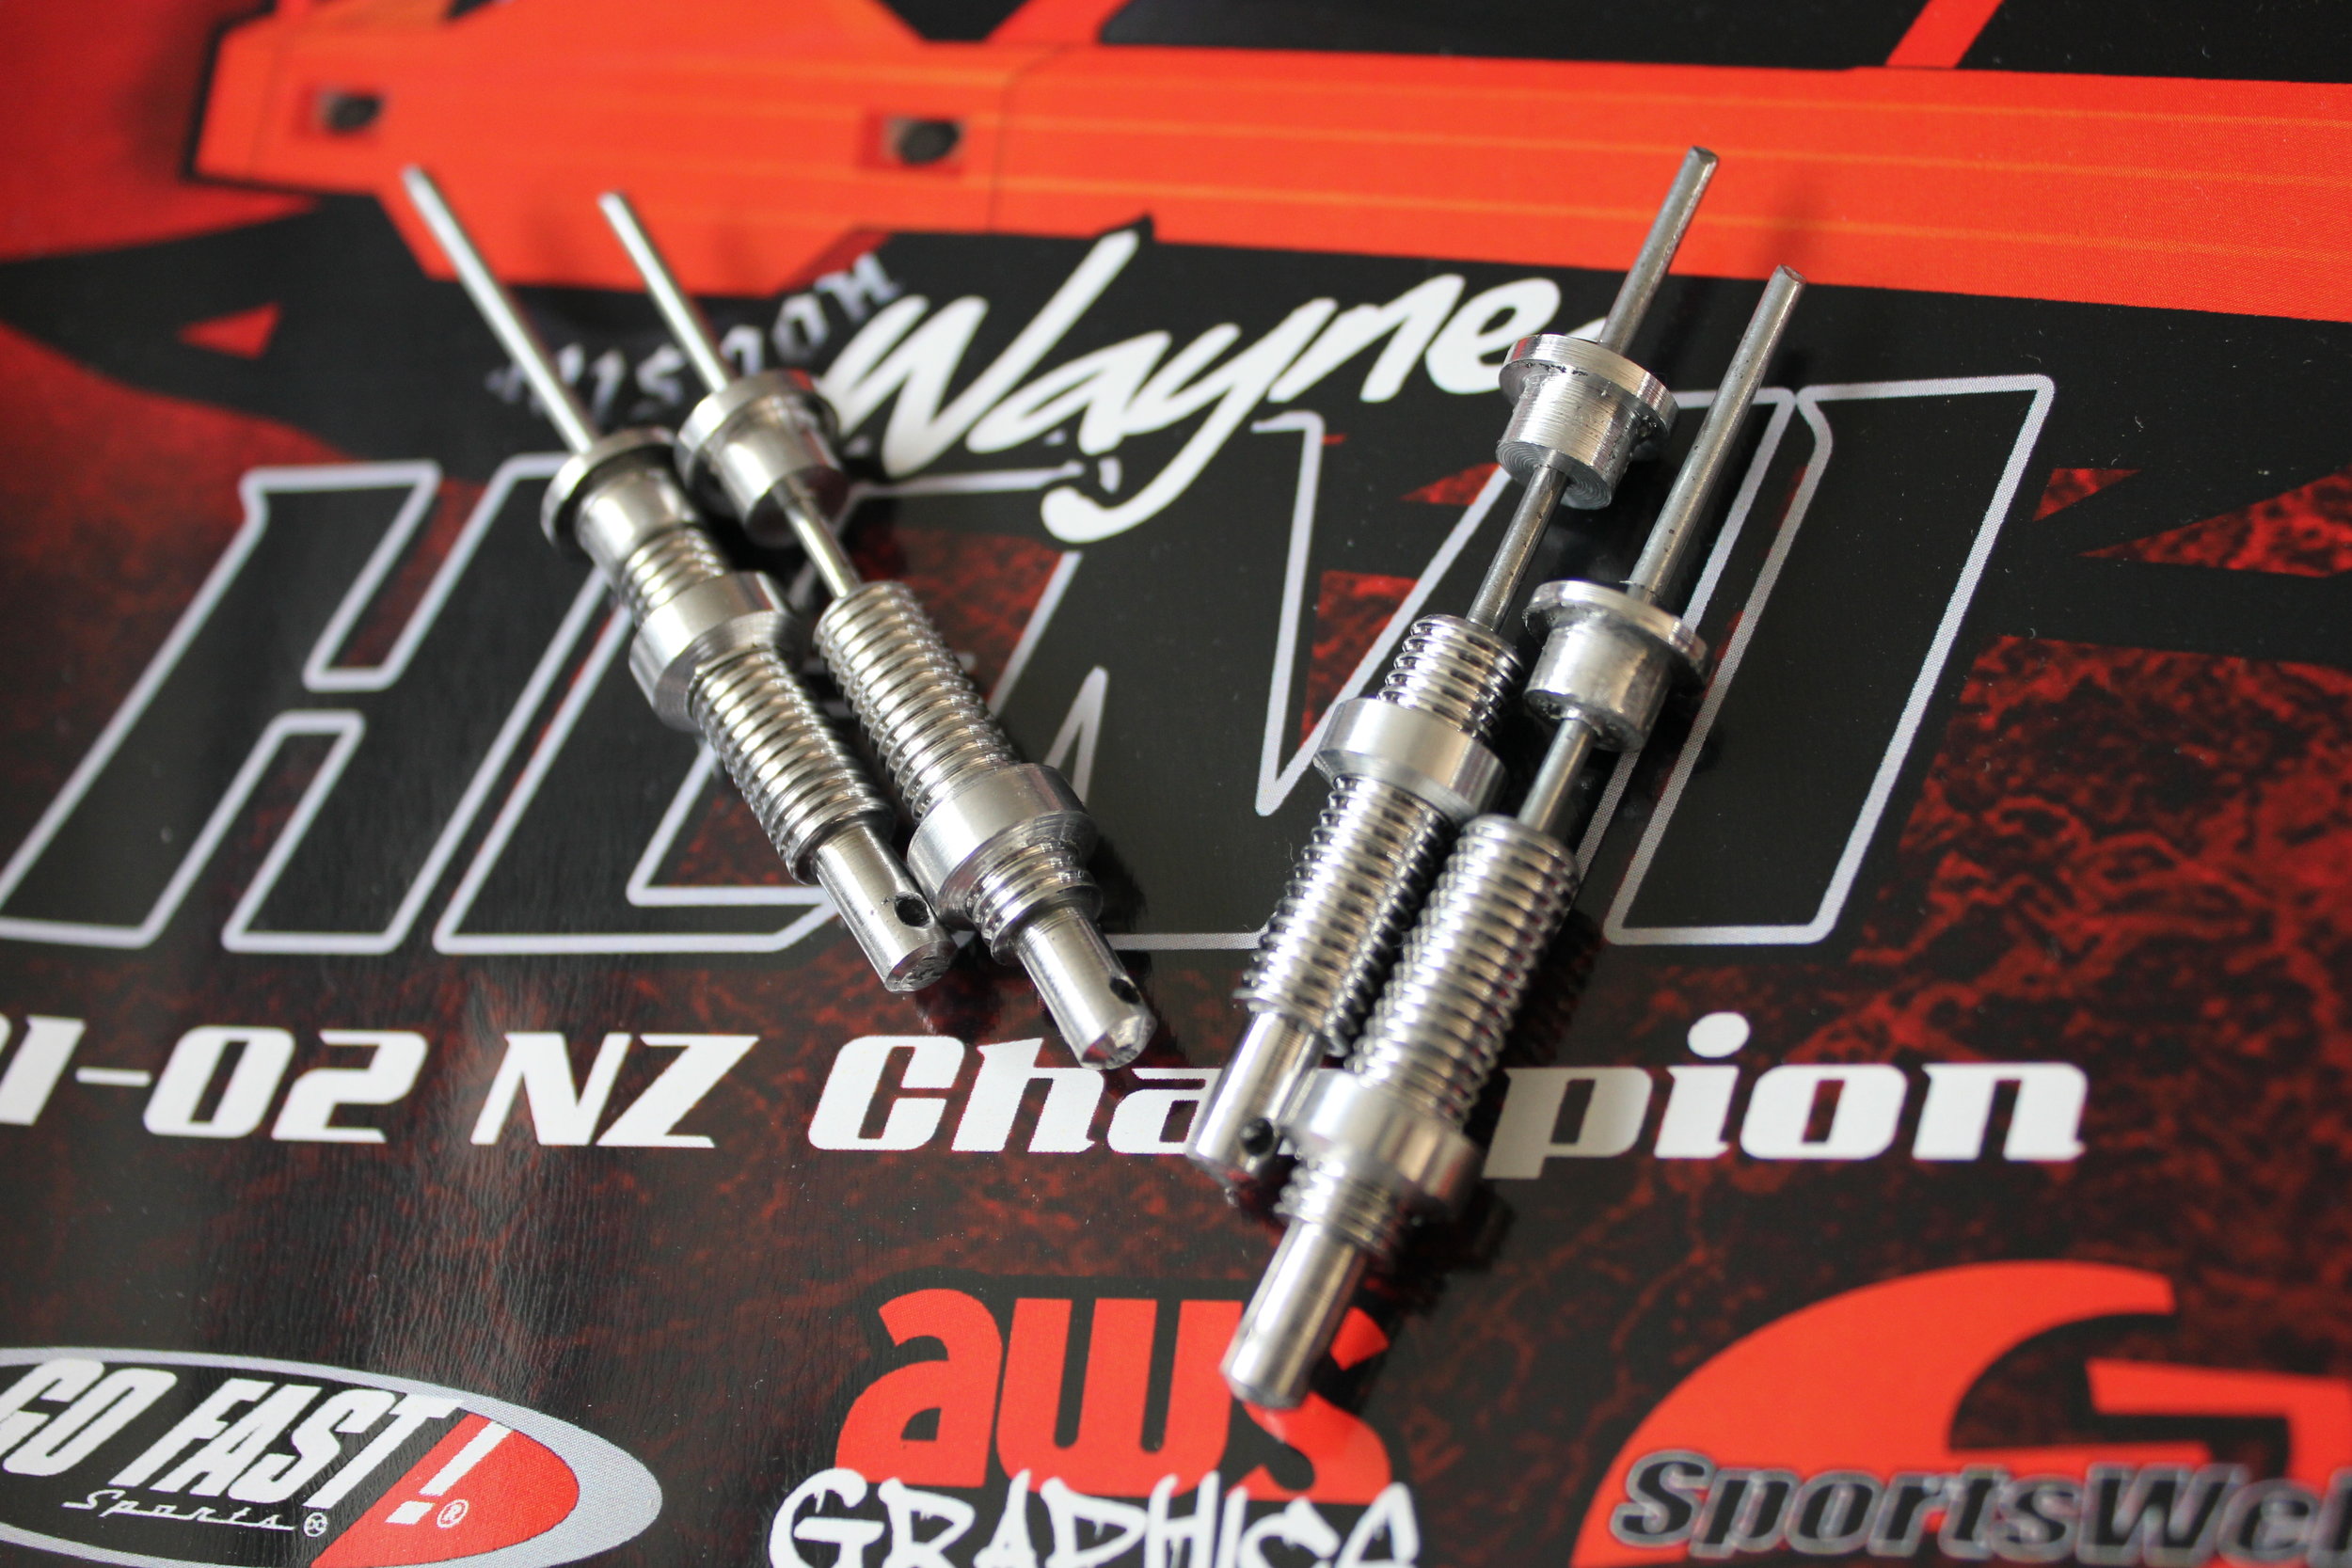
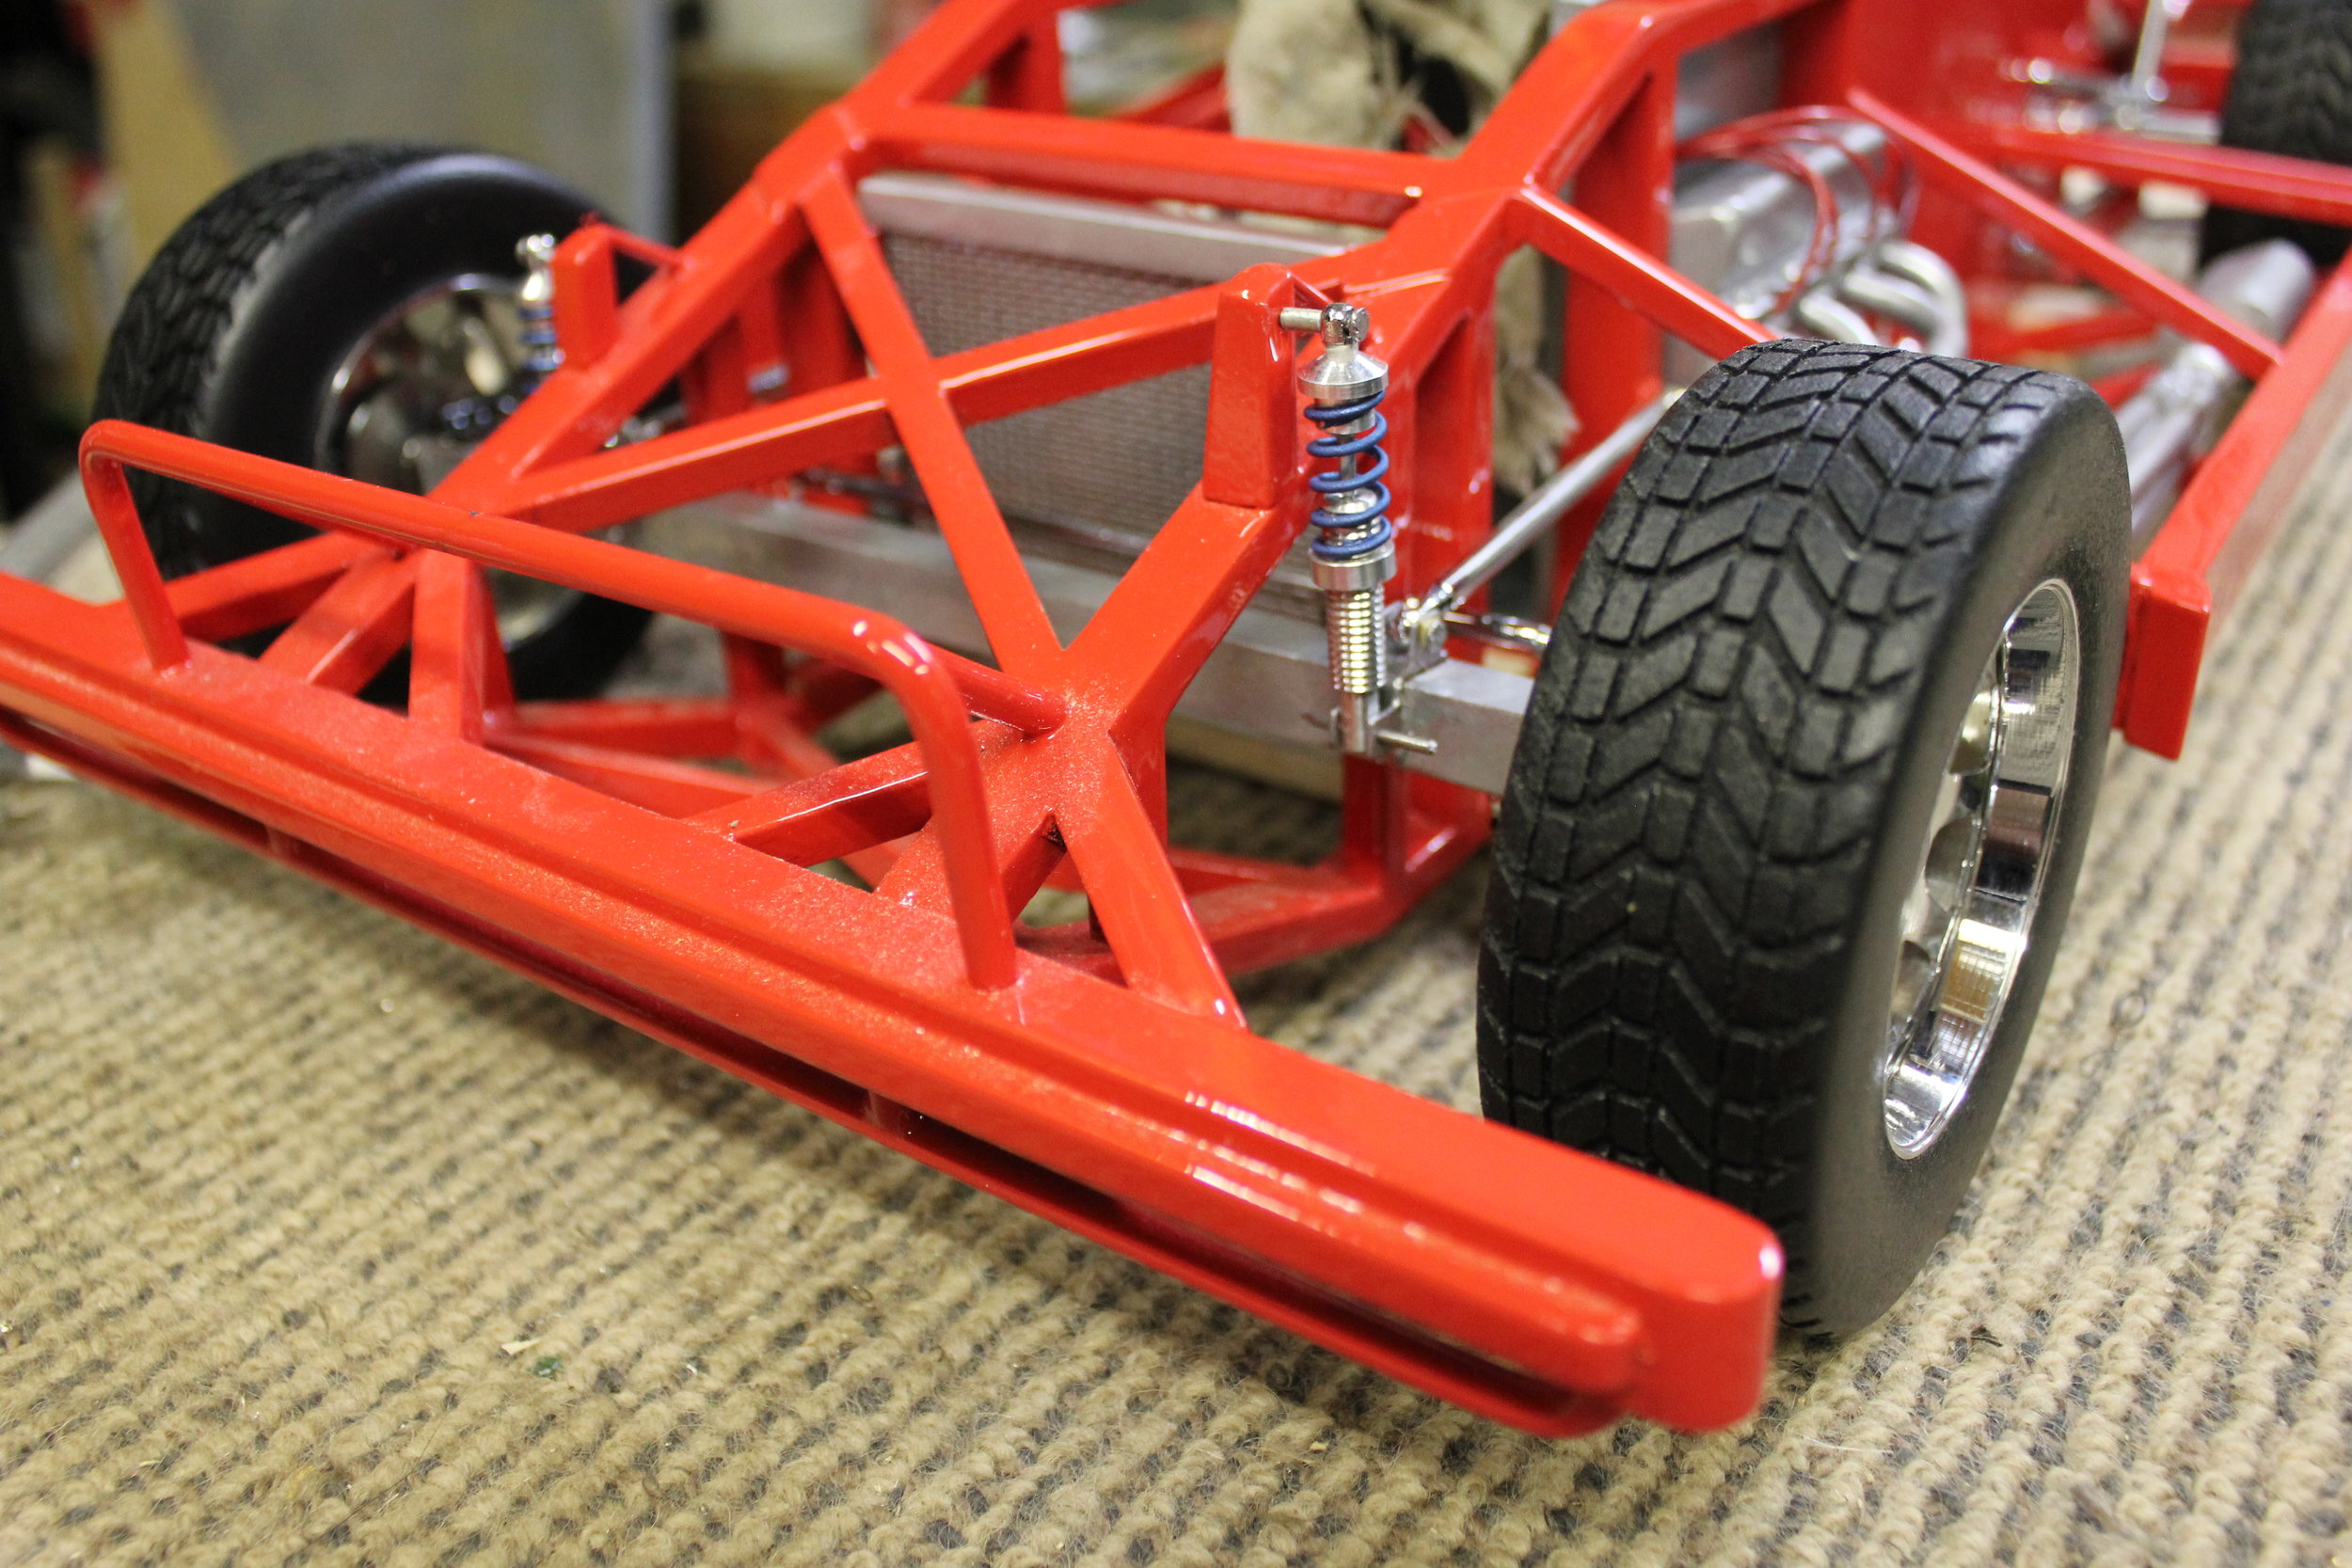
A suspension is always hard to make. Obviously, I can’t make up the small ball joints but still try to make it look as authentic as possible. I decided to make the suspension non-working because I didn’t want components flopping about at strange angles. I use 100 mm nails to make the arms, turning small ball ends and then cross-drilling them for mounting pins. The model I am now building is called a tri-rail because of its three chassis rails running the length of the car. As a solid front-beam axle is not possible I’m making top and bottom arms, but these create another set of problems in getting each side identical. A 3D printer would be just the ticket. Shock absorbers are turned out of aluminium and polished as best I can. For coil springs, I over-stretch thick extension springs. I find these look better than compression springs.
Tyres and rims
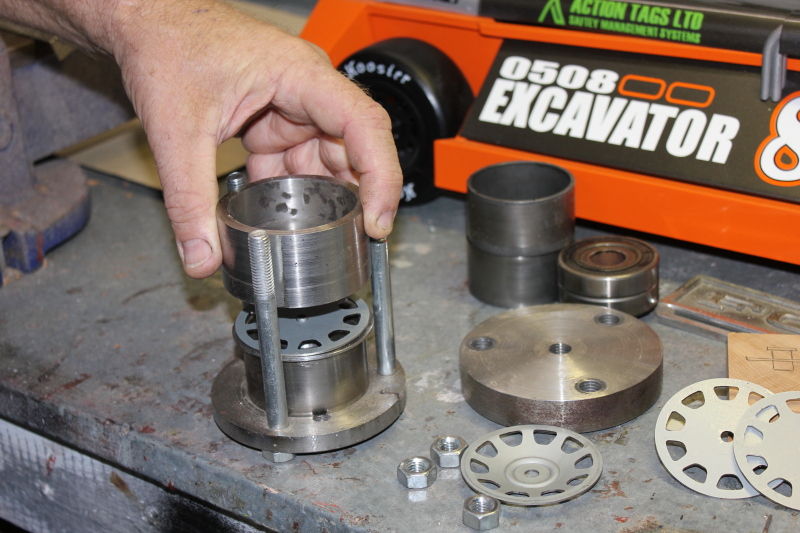
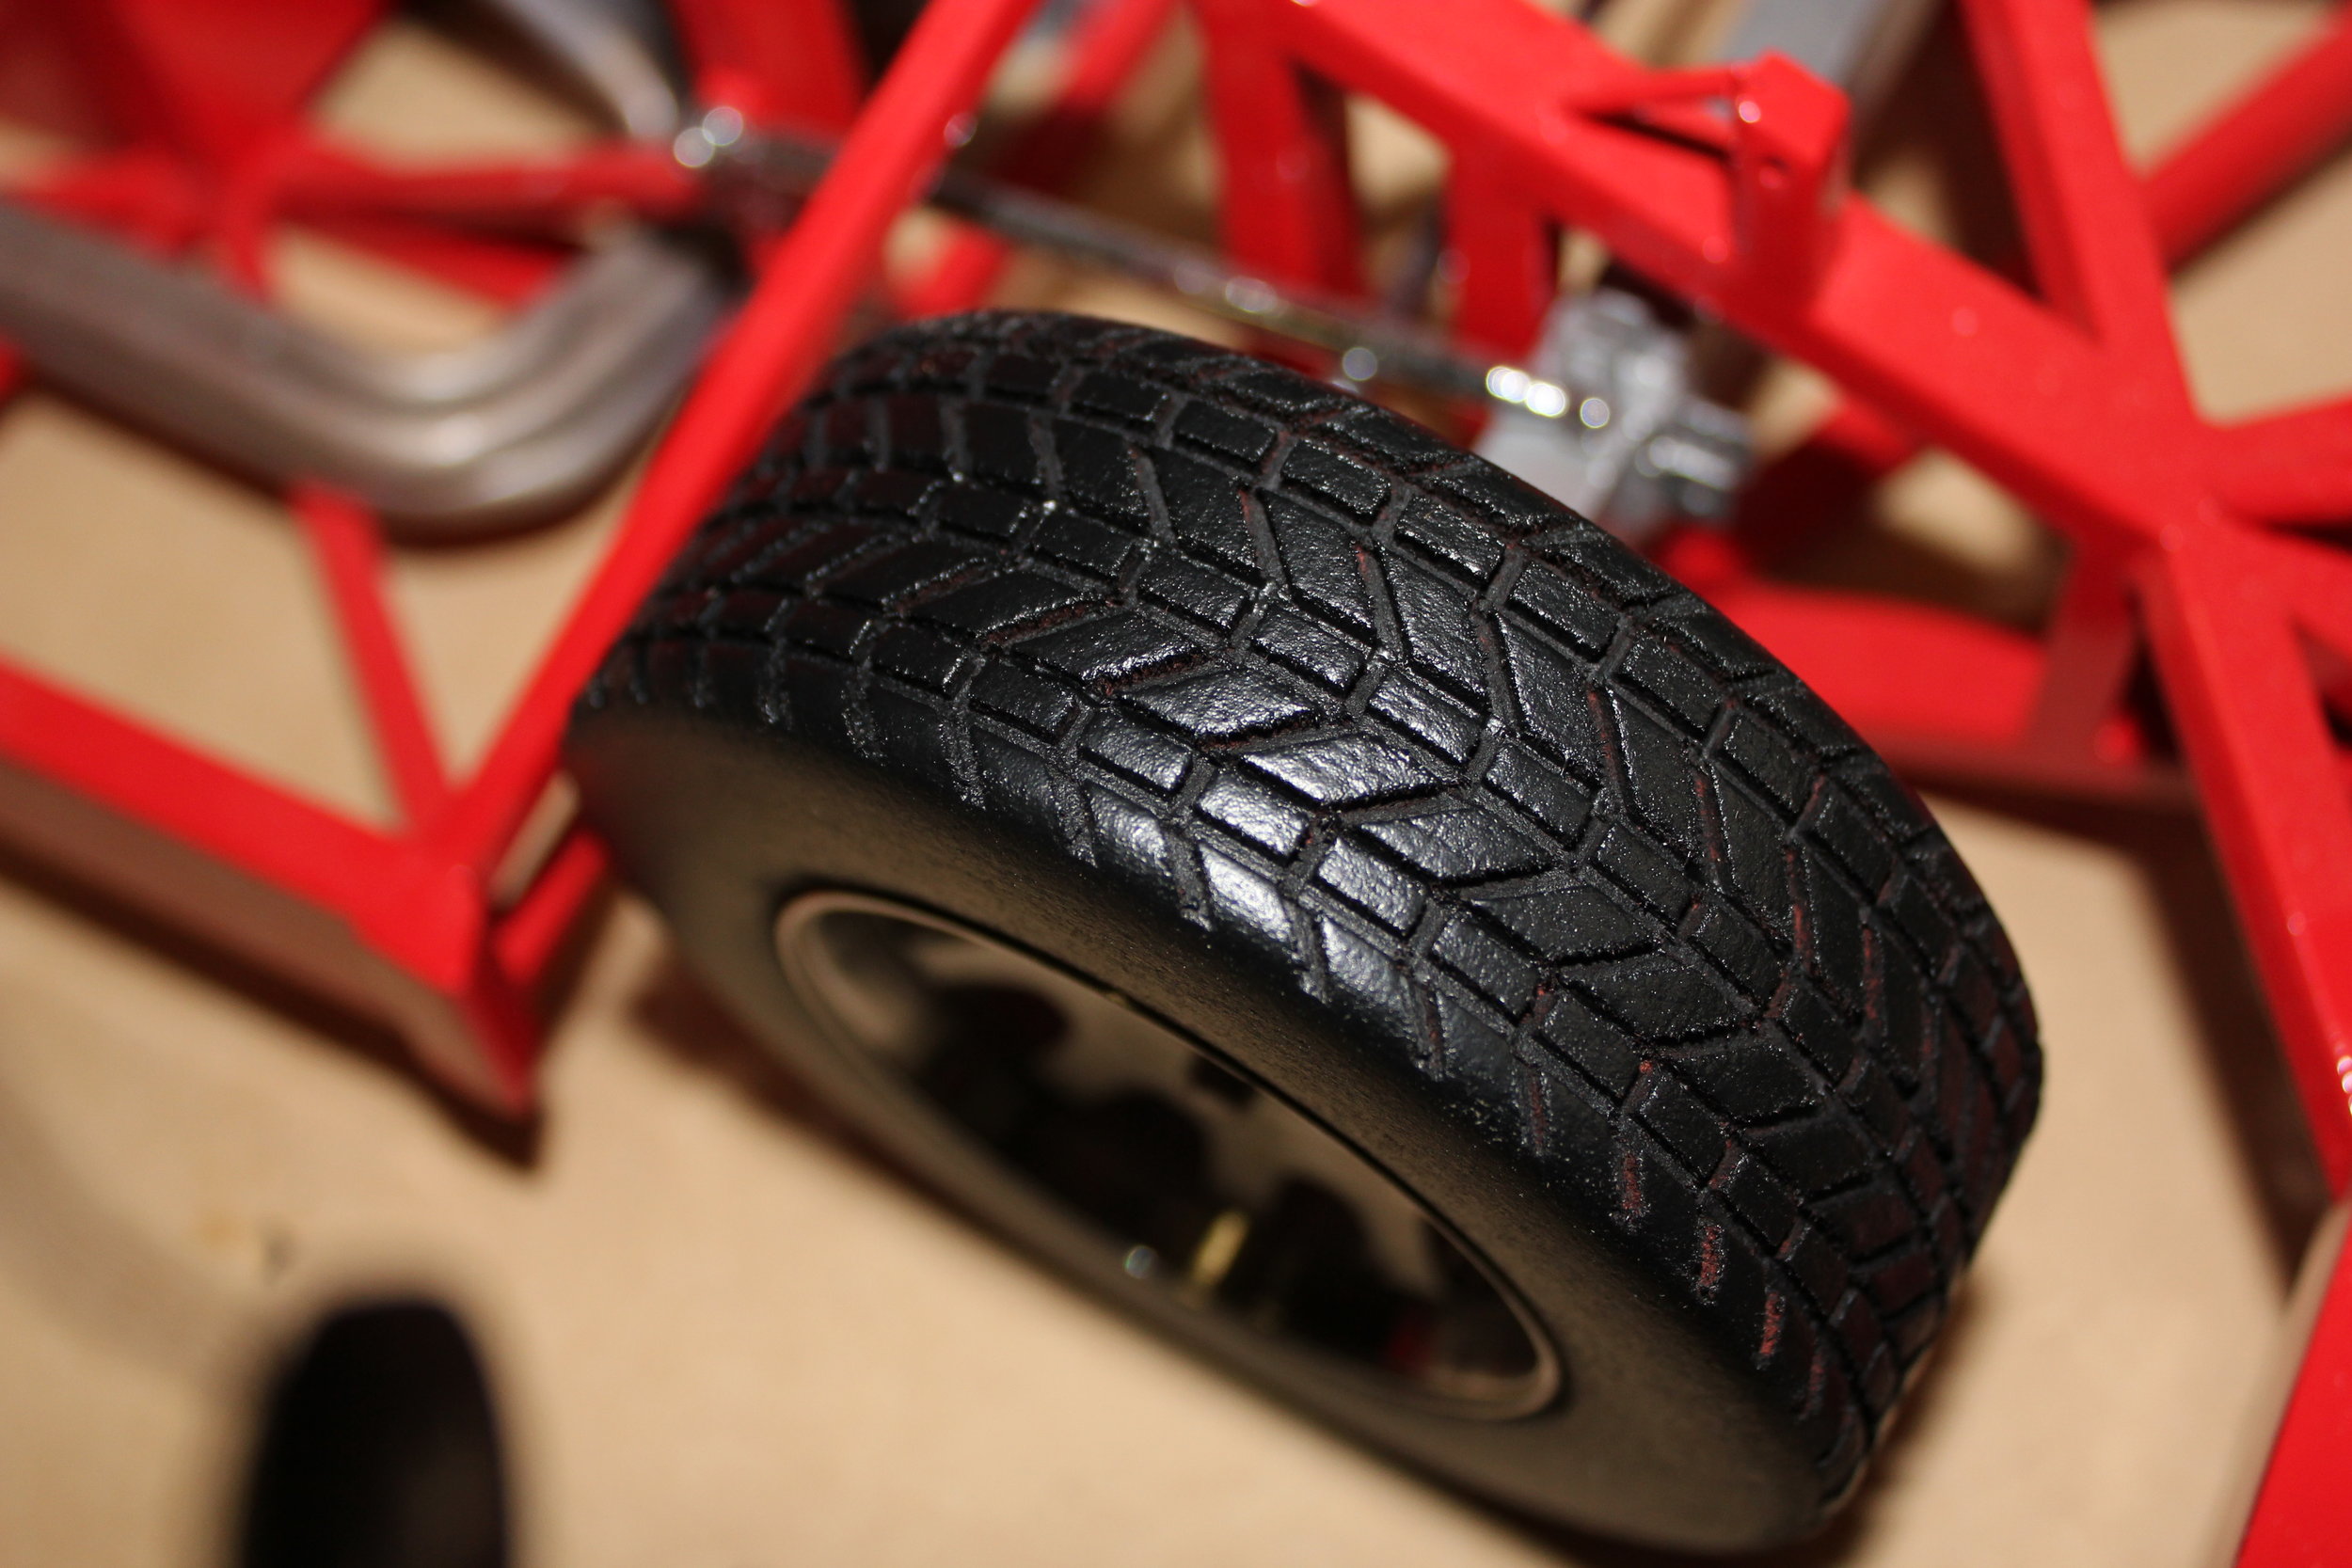
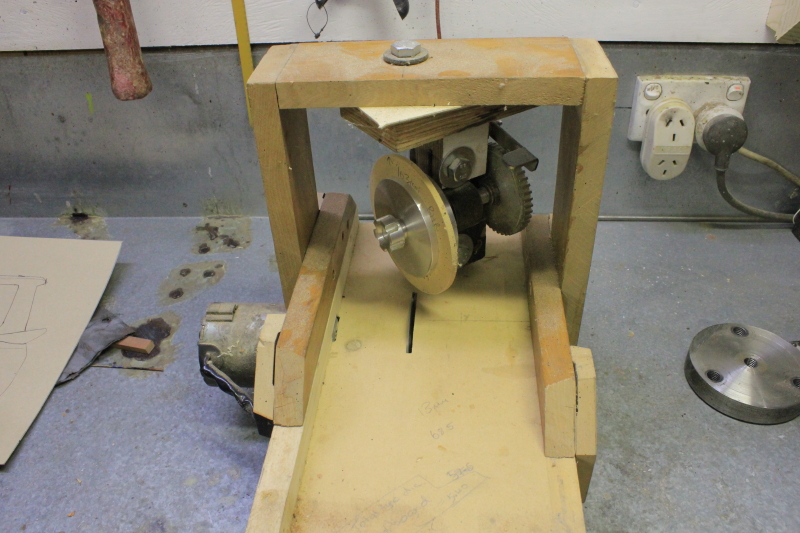
My first tyres and rims were made from a single piece of wood but I was never happy with the finish. Fortunately, I found a way of making them look pretty close to the real thing. I use MDF of various thicknesses, cut out the centre holes with a hole-saw then mount the rough tyre onto a machine I made of wood to cut the final outer size; then I cut in the tread. This small machine uses a pump motor from a 12-volt, Honda antilock braking system (ABS) with a 75 mm tungsten-tip saw blade. It’s mounted on a small wooden saw bench. I also built a cradle with a swivel-type head that slides and turns to let me make angled cuts for the tread. The swivel has an ABS Hall-effect sensor ring so that every tread is evenly spaced around the tyre. The thinner the MDF, the more intricate the tread. The individual pieces can easily be damaged by rough sanding so I use a small blowtorch to burn off any loose material. The thin pieces are then glued together to form the tyre. The rims were a problem until I found that certain auto cam belt tensioner pulleys had the exact outside diameter of the tyres’ centre hole. The inner and outer edges are machined to mimic the bead of a full-size rim. The centre of the rims were hard to get looking right so I had a few centres lasercut from panel steel. All I then had to do was machine the outer edges to fit inside the outer rim section. I made a press device that allows me to create a dish in the centre that is exactly the same from one wheel to the next. Before I attempted to weld the wheel together I decided to talk to Wanganui Electroplating about chroming the rims and was advised to glue them together after chroming. This turned out to be good advice. The cost to have the wheels and suspension arms chromed was well worth it. I love dealing with people like Dave Carol, who showed a great deal of interest in my small project.
Bodywork
The first two bodies I made were of panel steel but because the latest cars have been designed around Ford Model Y bodies I decided that it might be better to use fibreglass. I had done a little fibreglassing and was confident enough to give it a go. My first problem was how to make a plug of the body until, one day as I opened a new jar of my wife Shirley’s homemade pickle, I thought it might be a good idea to try sealing wax. I created a rough body-shape box of cardboard, poured the wax into it and waited for it to harden. I carved the final shape from this and it turned out well. It was all done from memory, with no real measurements. The costly part came next. After research I purchased a product called Pinkysil, a two-part silicone moulding material. It’s not cheap so I made up another outer case that I could mount the body inside, then poured in the Pinkysil using as little as possible. It turned out well and lets me reuse the mould. The final body was a success, fitted the chassis perfectly and needed little sanding needed before painting. Painting was never going to be something I would tackle myself, so I went to see Larsen Collision Repairs in Wanganui and talked to Steve Loney about what I wanted done. I think he was a bit nervous about how small it was, but unhesitatingly gave it his best go. Wow, it was good. The chassis came up so well, even with all its small hard-to-reach spots. The chassis rails still had nice sharp edges on them but were well-covered in paint wherever I looked. The body and chassis were so shiny yet very tough once baked in Larsen’s oven.
Completing the car
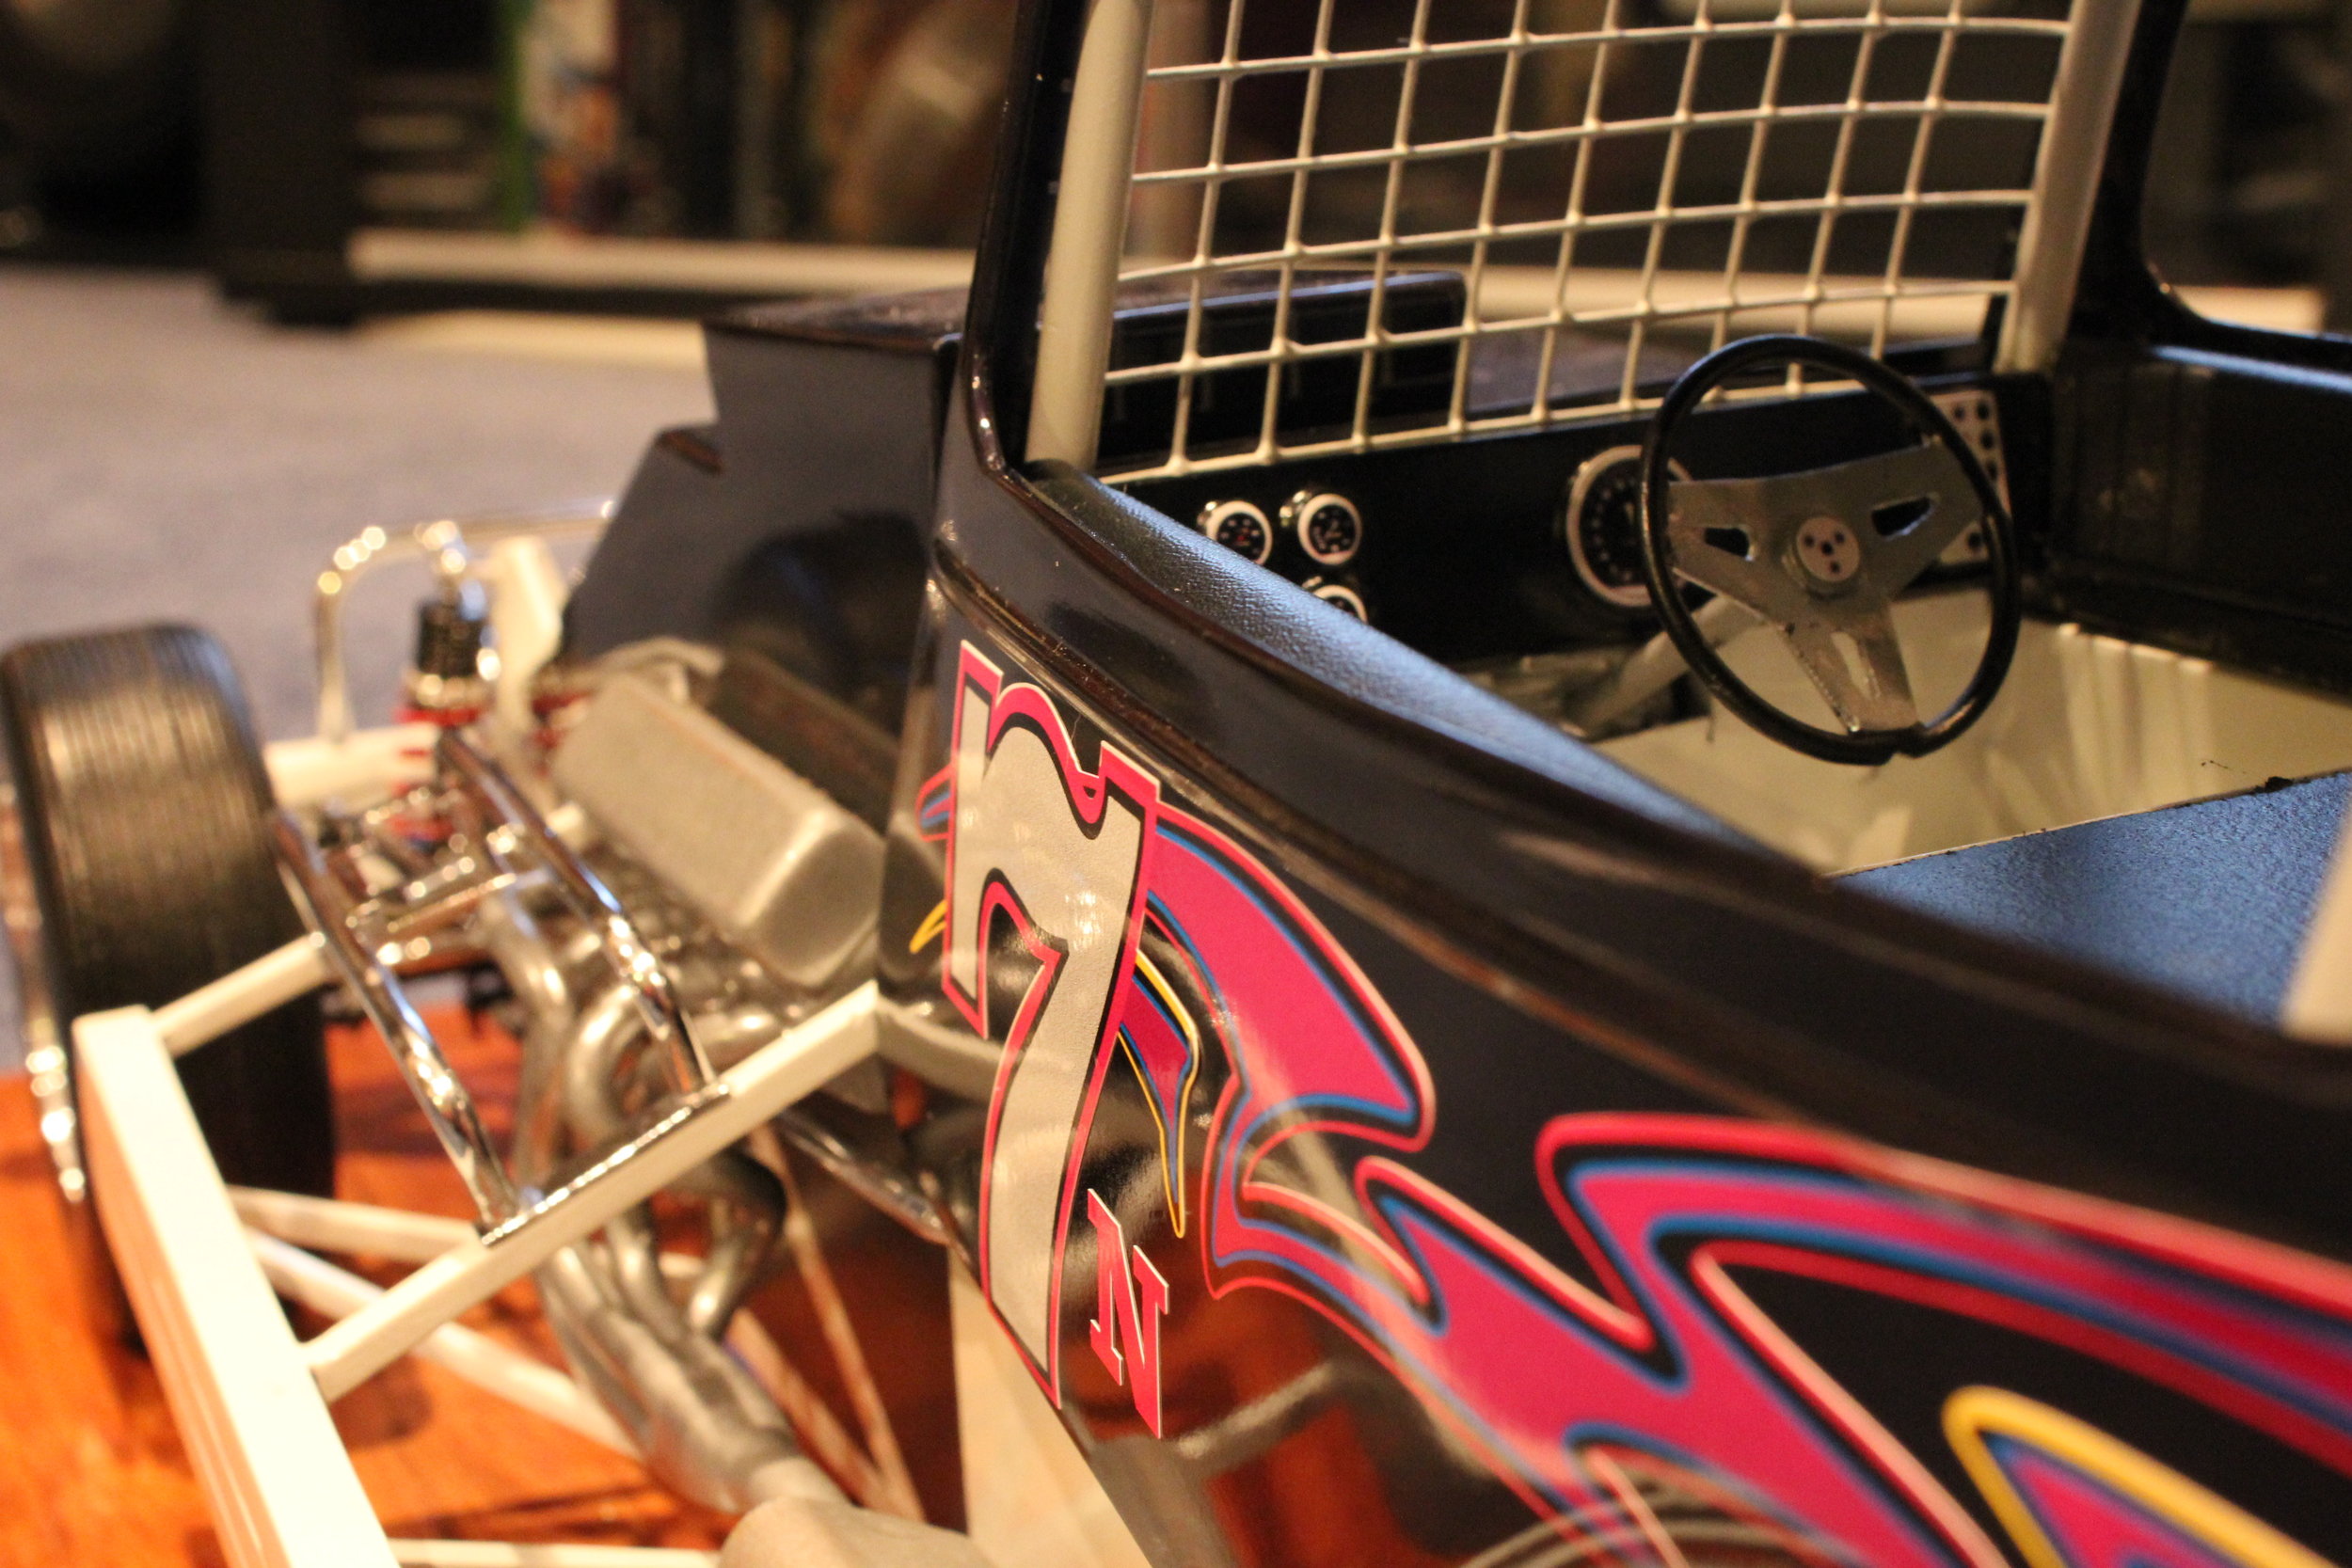
This last part was the best and the worst, rolled into one. The part I enjoy is putting it together without causing scratches or damage to small parts. And there it was, complete except for the stickers. That’s where Andrew came into it. He drew all the signage used on the real cars to the correct sizes and colours. The gauges even have our name in the middle, but so small that they’re impossible to read. Printing them was the nightmare part. On one occasion the gauges came out so perfectly the rev counter, oil and water temperatures could be read, but when done by another signwriter they were a blurred mess. Eventually I got it all sorted—but the cost can run to $300 for a full set of stickers. I always like to show a completed model to the people who have helped or given advice so that they can understand that even the smallest amount of time they spared for me was much appreciated.

