Tools, techniques and tips for successful de-soldering
By Mark Beckett
Photographs: Mark Beckett
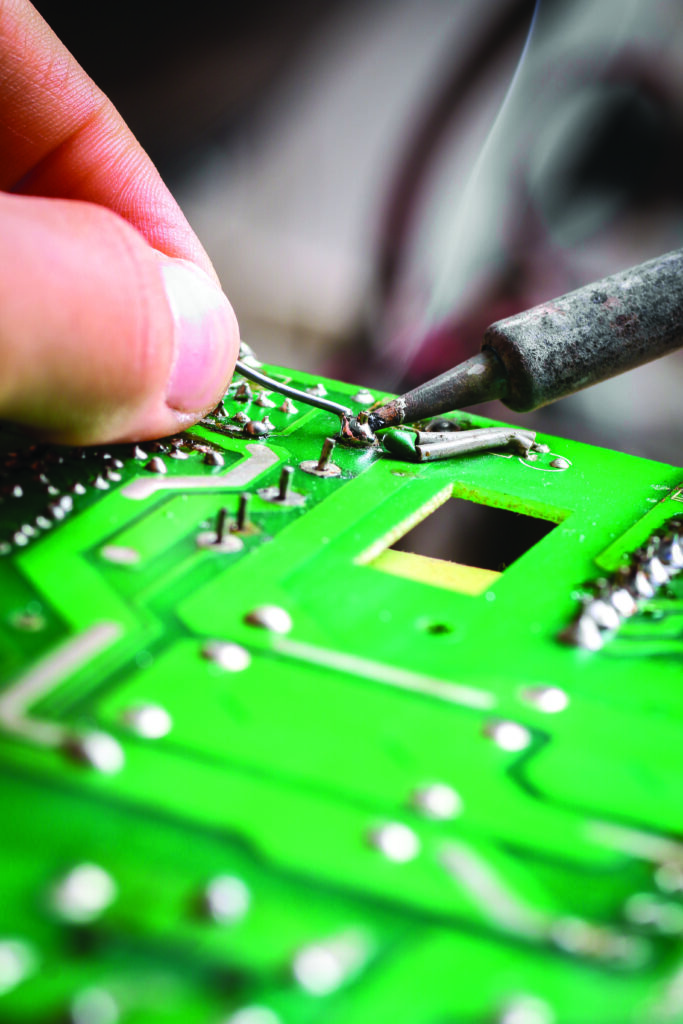
We touched on some simple de-soldering methods in part one of this two-part series.
Just like other workshop tools, there is more than one way to achieve it and with less damage and frustration.
De-soldering involves removing the solder from the joint to either release the component or repair the solder joint. The aim is to do this with minimal damage to either part, but since you can generally replace the component, protecting the PCB is paramount.
SMT (Surface Mount Technology) is a whole other subject, and because of the design and density of the components, different tools are required.
De-solder or rework stations consist of a box controlling a heated tip and a vacuum pump. There are many manufacturers, but I’m only going to discuss some of the ones I’ve had experience with.
While the control box may have shrunk, there is a limit to reducing the handset. The handset consists of a tube to collect the solder and filters to absorb the flux residue. The tips are hollow and reach right through into the collection tube.
I prefer the pistol-type handset rather than the fat tube-style that PACE commonly use. I find it allows you to reach into tighter spots and is more ergonomic.
While personal preference plays a part, the type of PCBs that you will be fixing has an influence. They aren’t getting bigger, and tall components can get in the way.
There are several different types and styles available, along with prices. Our Asian friends have their own version, and sometimes it’s hard to know whether to stick with a reputable brand (and pay for the name) or buy the cheaper version along with some spares.
Whichever path you choose, buy consumables at the time. Murphy will ensure you need them on the day when it is “… just a 2 minute job …”
Self-contained
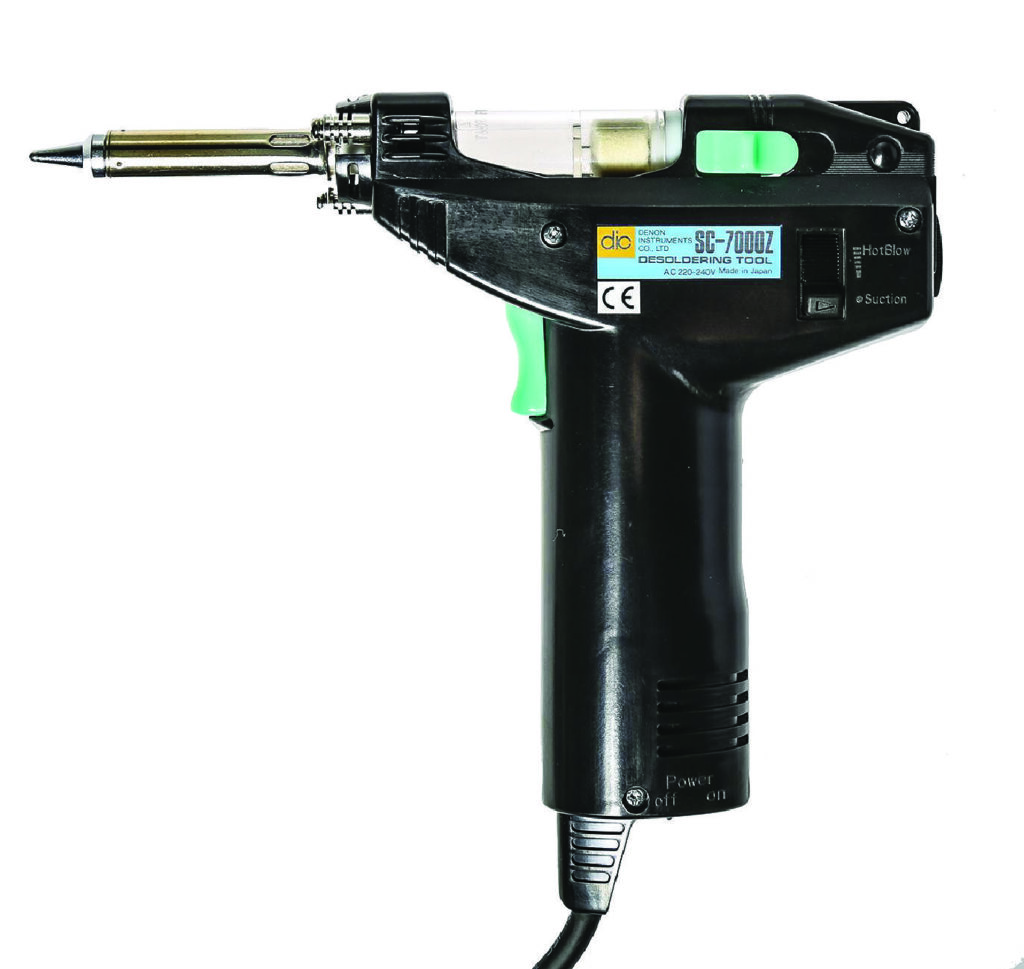
Many years ago I had a Denon desoldering gun. They are a brilliant device.
They are easy to use, have good suction, fit into your toolbag, and the motor (that provides the suction) is in the handle so there is some vibration transferred to the joint you are trying to de-solder.
We had issues with the tips (which weren’t cheap) and it may have been linked to our techniques, rather than the tips themselves.
The other issue we experienced was the control board had a tendency to burn out a resistor.
Sadly mine killed the resistor and I no longer have any good boards to compare the value to.
Pricing a replacement board from the company some years ago brought more than tears to my eyes, and I haven’t found a schematic.
There are some alternative-looking devices, at more realistic prices, and if they perform as well as the Denon did, then they would be high on my list of choices.

PACE
I have nothing against PACE as a company, but I do have troubles with the de-soldering stations we have at work. We have both the earlier versions and the newer models.
While the control side has changed, the basic principle and “hot” end hasn’t really changed much.
The large part contains the power supply, temperature control and vacuum (or blow) pump, and this model has a controllable soldering iron.
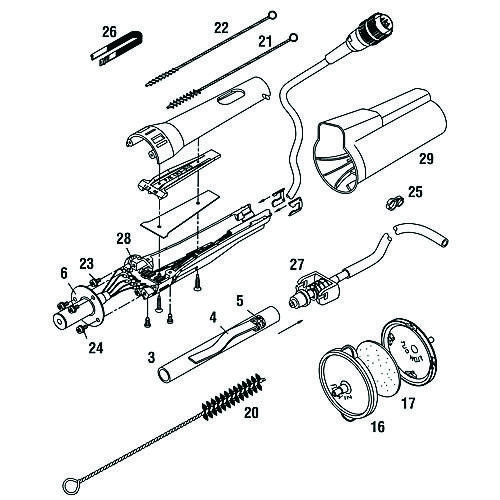
The tube (3) holds a bent piece of aluminium (4) to collect the solder and a filter (5) at the end to trap solder particles and most of the flux.
A secondary filter (17) was fitted at the end of the vacuum tube to ensure no particles went through the pump.
Earlier collection tubes were glass, with a rubber end that fitted around the end of the tip.
The collected solder was visible, and the rubber end made a good seal to ensure all the vacuum went via the tip.
For some reason, the glass tube got replaced by a cardboard tube on our units.
They are cheaper, and you only broke the tube by rough handling or way too much solder, causing localised overheating.
However, there are Health and Safety issues in the workplace, and it could be these considerations that has resulted in our work using these instead.
They are more difficult to clean out since you can’t stick something in the other end to push out the bent aluminium “catcher”. Perhaps they aren’t designed to be cleaned out (more consumables to buy).
What this picture is not showing is the end is rounded and pushed back on itself. This forms a surface that seals against the tip.
The glass tube seemed to seal better around the end of the tip, which is why I find the suction is not great on ours. As I said, the PACE units aren’t mine, so it’s very likely that there are some tweaks to make, or the end seal needs to be changed.
Both earlier and later models use a similar handpiece, and you hold it like a very large pencil. Whatever the reasons, I’ve never had much luck de-soldering at work using these. The results have been frustrating, plus it seems to take a lot longer due to the double and triple de-soldering.

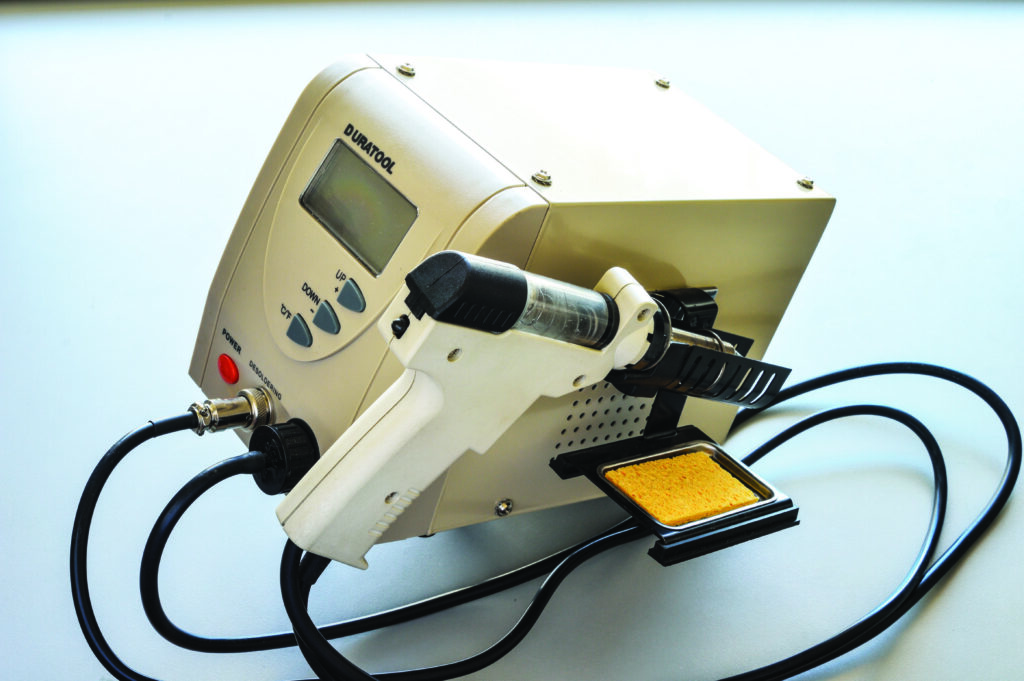
Duratool
I was lucky enough to go to England in August 2015 and meet some of the other members of the element14 community (www.element14.com/community), along with a tour of the Leeds Distribution Centre.
While I was there, the Duratool came on sale and consequently was added to my baggage. Along with the station, we decided a spare handpiece, tips, and filters would be useful.
The main box contains a power supply and control logic, along with the vacuum pump. Unlike the PACE, the output of the pump is not provided on the front panel, so you only have suction.
The collection tube is similar to the Denon and PACE, and it fits between the tip and the suction line, but there are two minor issues:
- The instructions are sparse and there is no reference to the loose, rubber-like washer. This fits around the end of the tip and provides the sealing surface for the tube assembly. Without it, the suction leaks around the end of the tube.
- The spring tries to push the disc and filter out the suction end whenever you open it.
I think that a bent piece of aluminium to collect the solder on and a larger disc that holds the filter and increases the exposed filtering area would help.
These are easily fixed and should not stop you from adding this to the list of choices.
Techniques
All de-soldering stations will block if not used correctly and while you can clean them out with the included rod, the better technique is to keep the trigger on for a second or two after lifting the tip from the joint.
This will remove the flux and residue at the very end where it meets the collection tube.
It is also worth cleaning the tip using the tip cleaner before turning it off, as Mr Murphy is likely to visit when you turn it on and find it is blocked just as you want to use it for that quick fix.
For plate-through holes, you should apply movement to the component as you’re sucking. It will release the solder trapped between the component lead and the hole.
As discussed, we want to avoid damaging the PCB, so it may be worth sacrificing the $1 component by cutting off the legs and then removing each leg separately.
This works well for ICs and is a must for header pins or other sockets.
https://www.sparkfun.com/tutorials/97
There is a good tutorial here, but I’d use side cutters to nip each leg rather than risk cutting the board.
For headers or sockets, you need to be careful not to damage the plate through part of the hole.
Generally, the hole is snug, so it’s important to separate the pins.
https://www.sparkfun.com/tutorials/339
Step 1: Cut the pins.
Step 2: Heat and remove each pin.
Stubborn joints
I’ve struck solder joints that will not de-solder. Despite the correct technique, the solder seems to stick to both the part and the board.
Lead-free solder is particularly sticky when it comes to de-soldering, so remove as much as you can and then re-solder the joint, adding new solder (and flux). You should then be able to fully de-solder it.
Sometimes, a little sideways pressure can break the small bridge of solder that is resisting the component from exiting the board.
Many boards have the power and ground as internal layers, or the ground end of the component is on a very large earth plane. Sometimes fitting the board into a holder and applying heat to one side, and a solder pump to the other side, or a soldering iron to one side, and de-solder station to the other side, will get the job done.
Whatever you do, avoid excess heat to small pads, or you’ll lift them from the substrate and then have problems putting the replacement component back in.
Hopefully, this article has provided some useful tricks and tips to tackle the next through hole soldering job.

