


On the road again – new life for old caravans
The allure of a classic caravan can be strong, and many of these gems are being lovingly restored – in fact, Beach Hop even has a prize for the best retro caravan.
In this issue, we showcase three very different caravan restorations—one by a man who owns a company that has been building caravans commercially since the 1950s and is now a household name in caravans and Motorhomes.
The second is a lovingly restored 10-footer that started off a real basket case, and the third, well, friends christened it a turd emoji when they saw the project bought by Marty and Zoe.
Their caravan was destined for their annual pilgrimage to Beach Hop, where thousands gather to show off their super-primped or lovingly restored classic vehicles and caravans
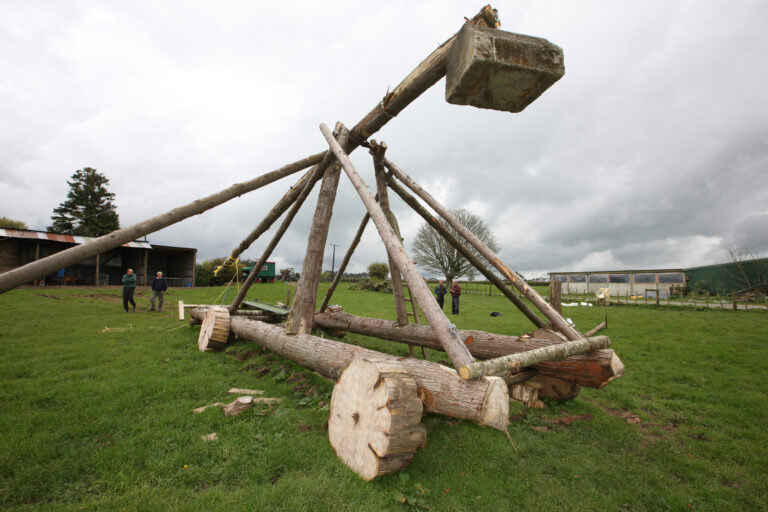
The incentive for the project came from Dave’s sons, Josh and Andrew. The boys were jumping their bikes and Josh (13) came up with the ultimate idea—throwing their bikes with a trebuchet which they had seen in action on computer games. The boys started with a small trebuchet using stones but it didn’t throw them far so dad got into the act. Dave checked out machines on the internet that were even throwing cars. The world record is a 630-metre throw. He was impressed and thought he would give it a go. He had some Lawsoniana trees he intended to drop so thought now was the time. He finds the Lawson trees were straight and the wood is very flexible.
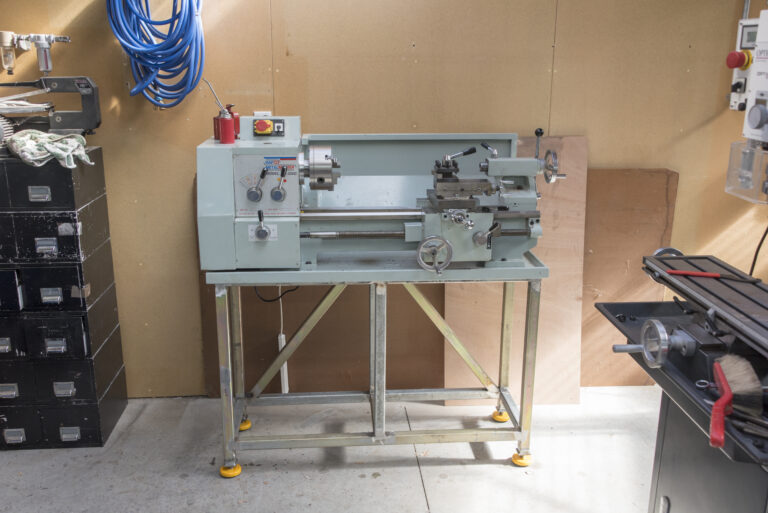
I moved recently and in the haste to pack I loaded my lathe complete with its stand. The stand, which is really just a couple of sheet-metal cabinets, didn’t really survive the move all that well and it was bent out of shape.
That didn’t really bother me since I have wanted to make a decent stand for the lathe since I got it, and include some drawers for tooling and other bits and pieces. Now that the lathe is in its permanent home I have my chance. This is just a small lathe but it weighs 250kg nonetheless.
I wanted to make something sturdy and solid that would serve to support the lathe without sagging and eliminate any vibrations.