Sash window lets light in a villa wall
By Stan Scott
Old villas don’t necessarily have all the windows desirable for modern living.
In the project here, the homeowner wanted to install another window into an outside wall. The most effective method was to buy a window that was made by a joinery firm to match the existing window and create the hole in the wall to match.
Measure and mark the overall size of the full window frame on the weatherboards outside and on the wallboard inside. An old house is likely to have wallboards with pumice in the gypsum; it would blunt your saw really quickly unless you use an old saw blade where it didn’t matter. The other thing about using a saw on gib is that you don’t necessarily know where the nails are. For this reason, and to cut down on the dust created, it is better to cut into the plasterboard wall with an old Stanley knife. It’s more painstaking but less messy. The sash window or double-hung window we are installing is 1200 mm wide to the outside of the architrave. When you are cutting the weatherboards outside, start at the top and the weight of the saw will drop it down. It makes for easier cutting. When cutting out boards or scrim inside, if you are using a saw, set the saw to a depth equal to the combined thickness of the gib or plasterboard plus scrim boards only. The depth of the blade is set to the minimum in case there are power cables inside the wall. Double-check for these.
Use a Stanley, or a builder knife to cut plasterboard
Pull plasterboard off
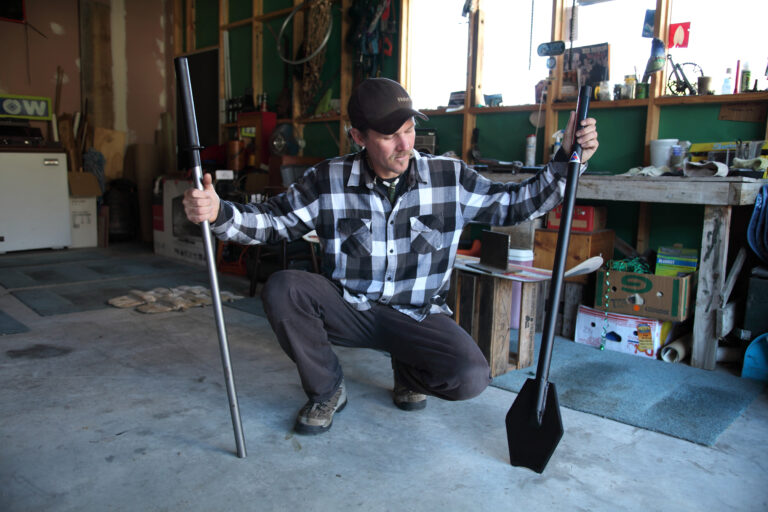
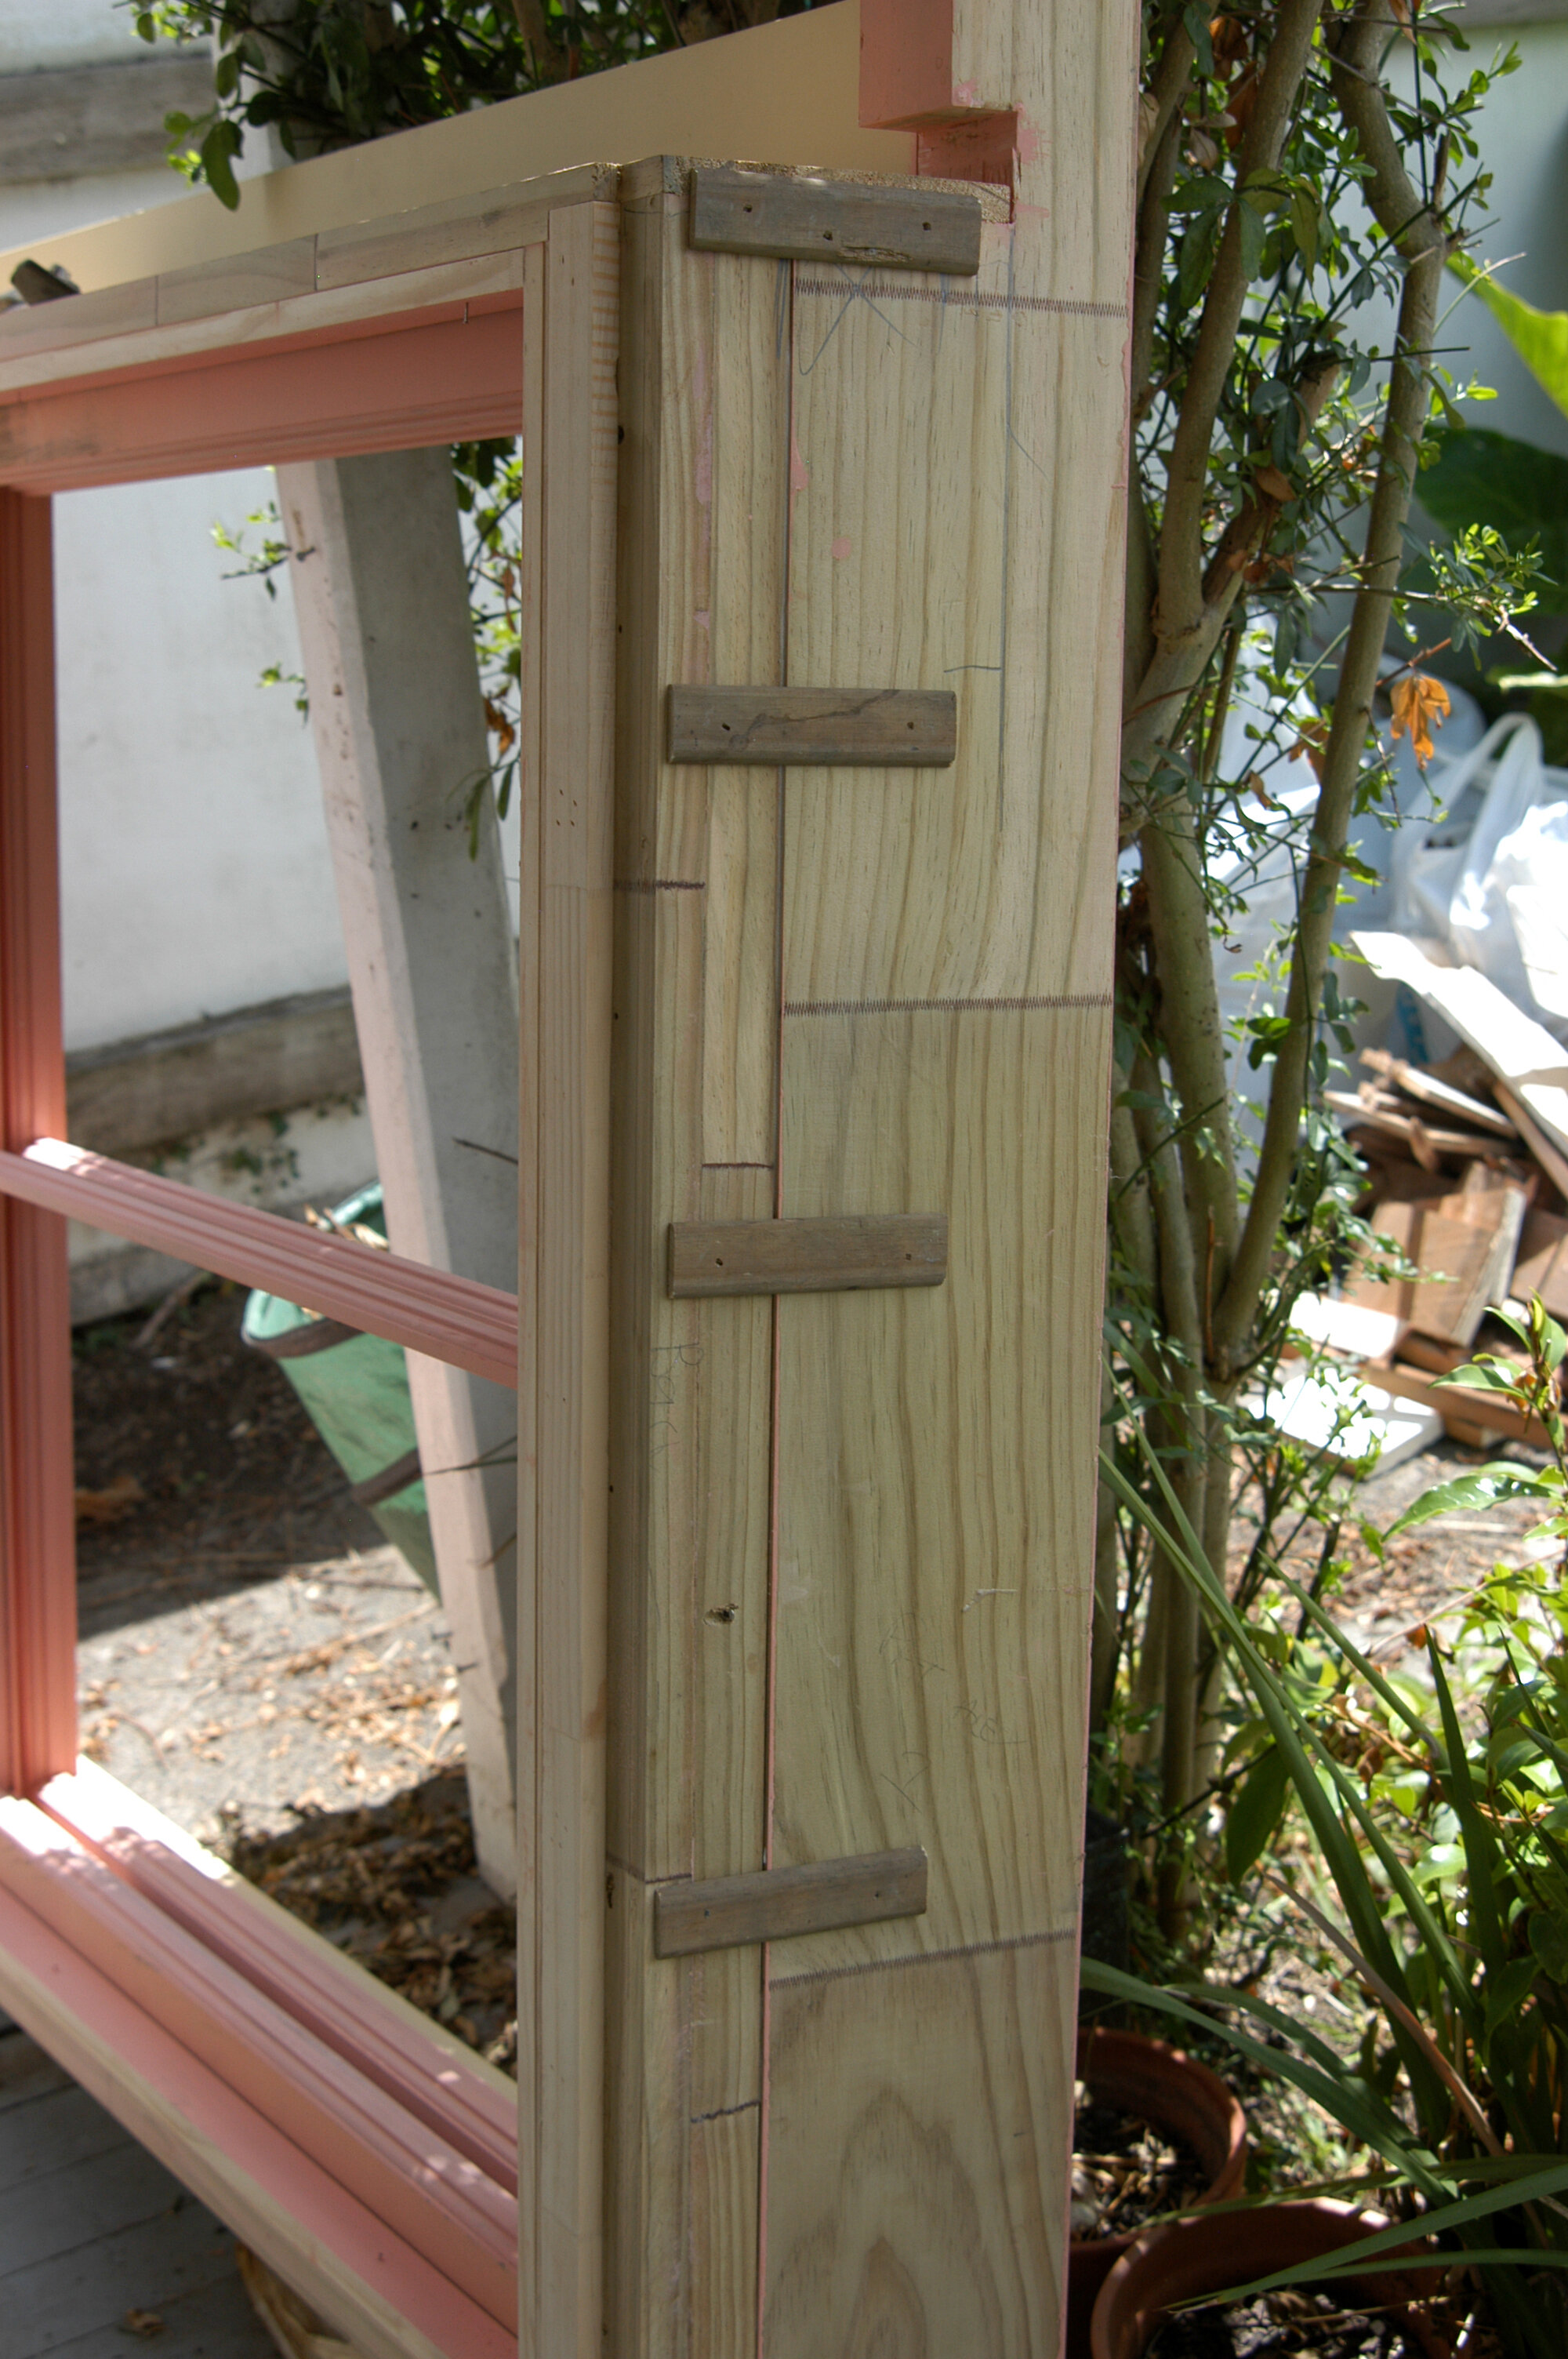
Weights
When installing the window, you have to allow for the weights.
For the final check, we wait for the actual window with glazing in before finalising these. In the case of renovation, when replacing old 2 mm thick glass with the new standard thicker 3 mm glass, you will need to re-balance the weights. You can buy lead extensions for old weights. If you are putting in a new double-hung sash window, your joiner should supply the correct weights for the weight of the window plus glass. You have to allow a cavity for the weights, with the gib board cut back. In the older sash windows, there is usually a trap door in the groove where the sash frames run and you can open it to access the weights. Some modern joinery has no trapdoor. Then to access the weights, it’s necessary to take off the architrave to expose the cavity where the weights hang. When you remove the wallboard covering in the room you are likely to find old scrim boards. The weatherboards when cut off outside expose the studs at the side. In this villa, the scrim boards would have had hessian put on by hand, then wallpaper. Cut out the scrim boards and clear out existing timber with a sabre saw.
Existing stud

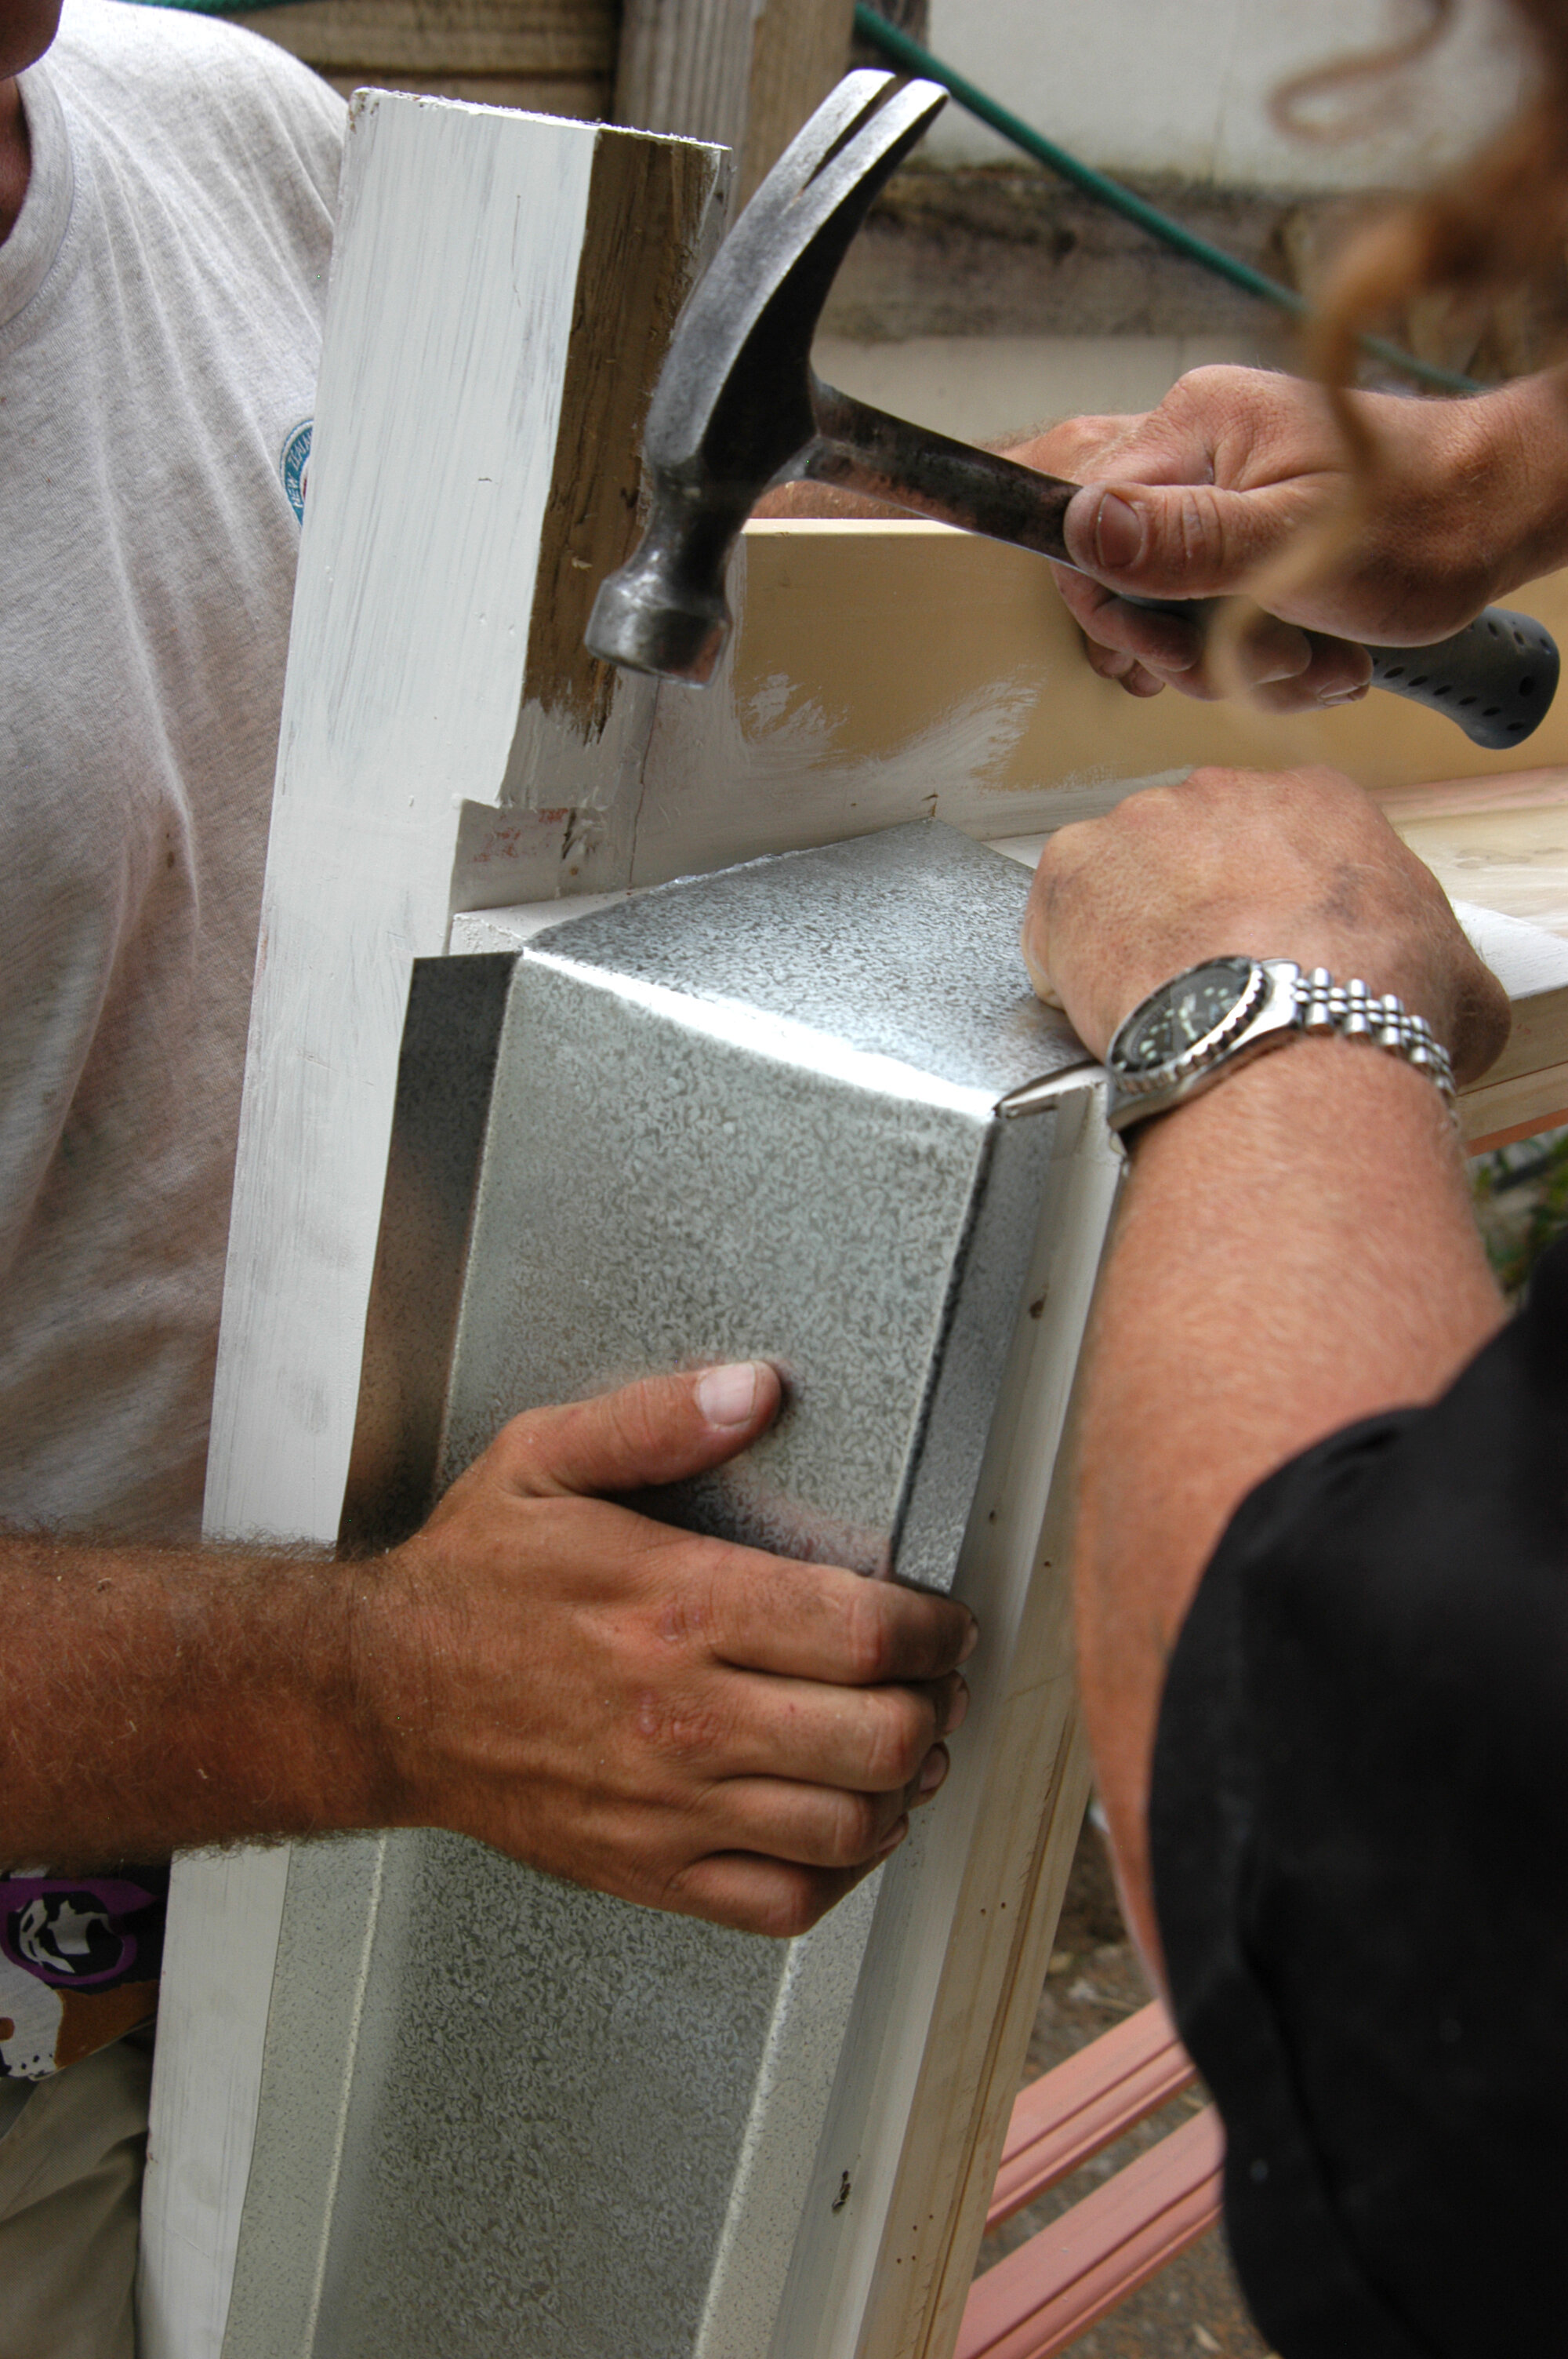
Lintel
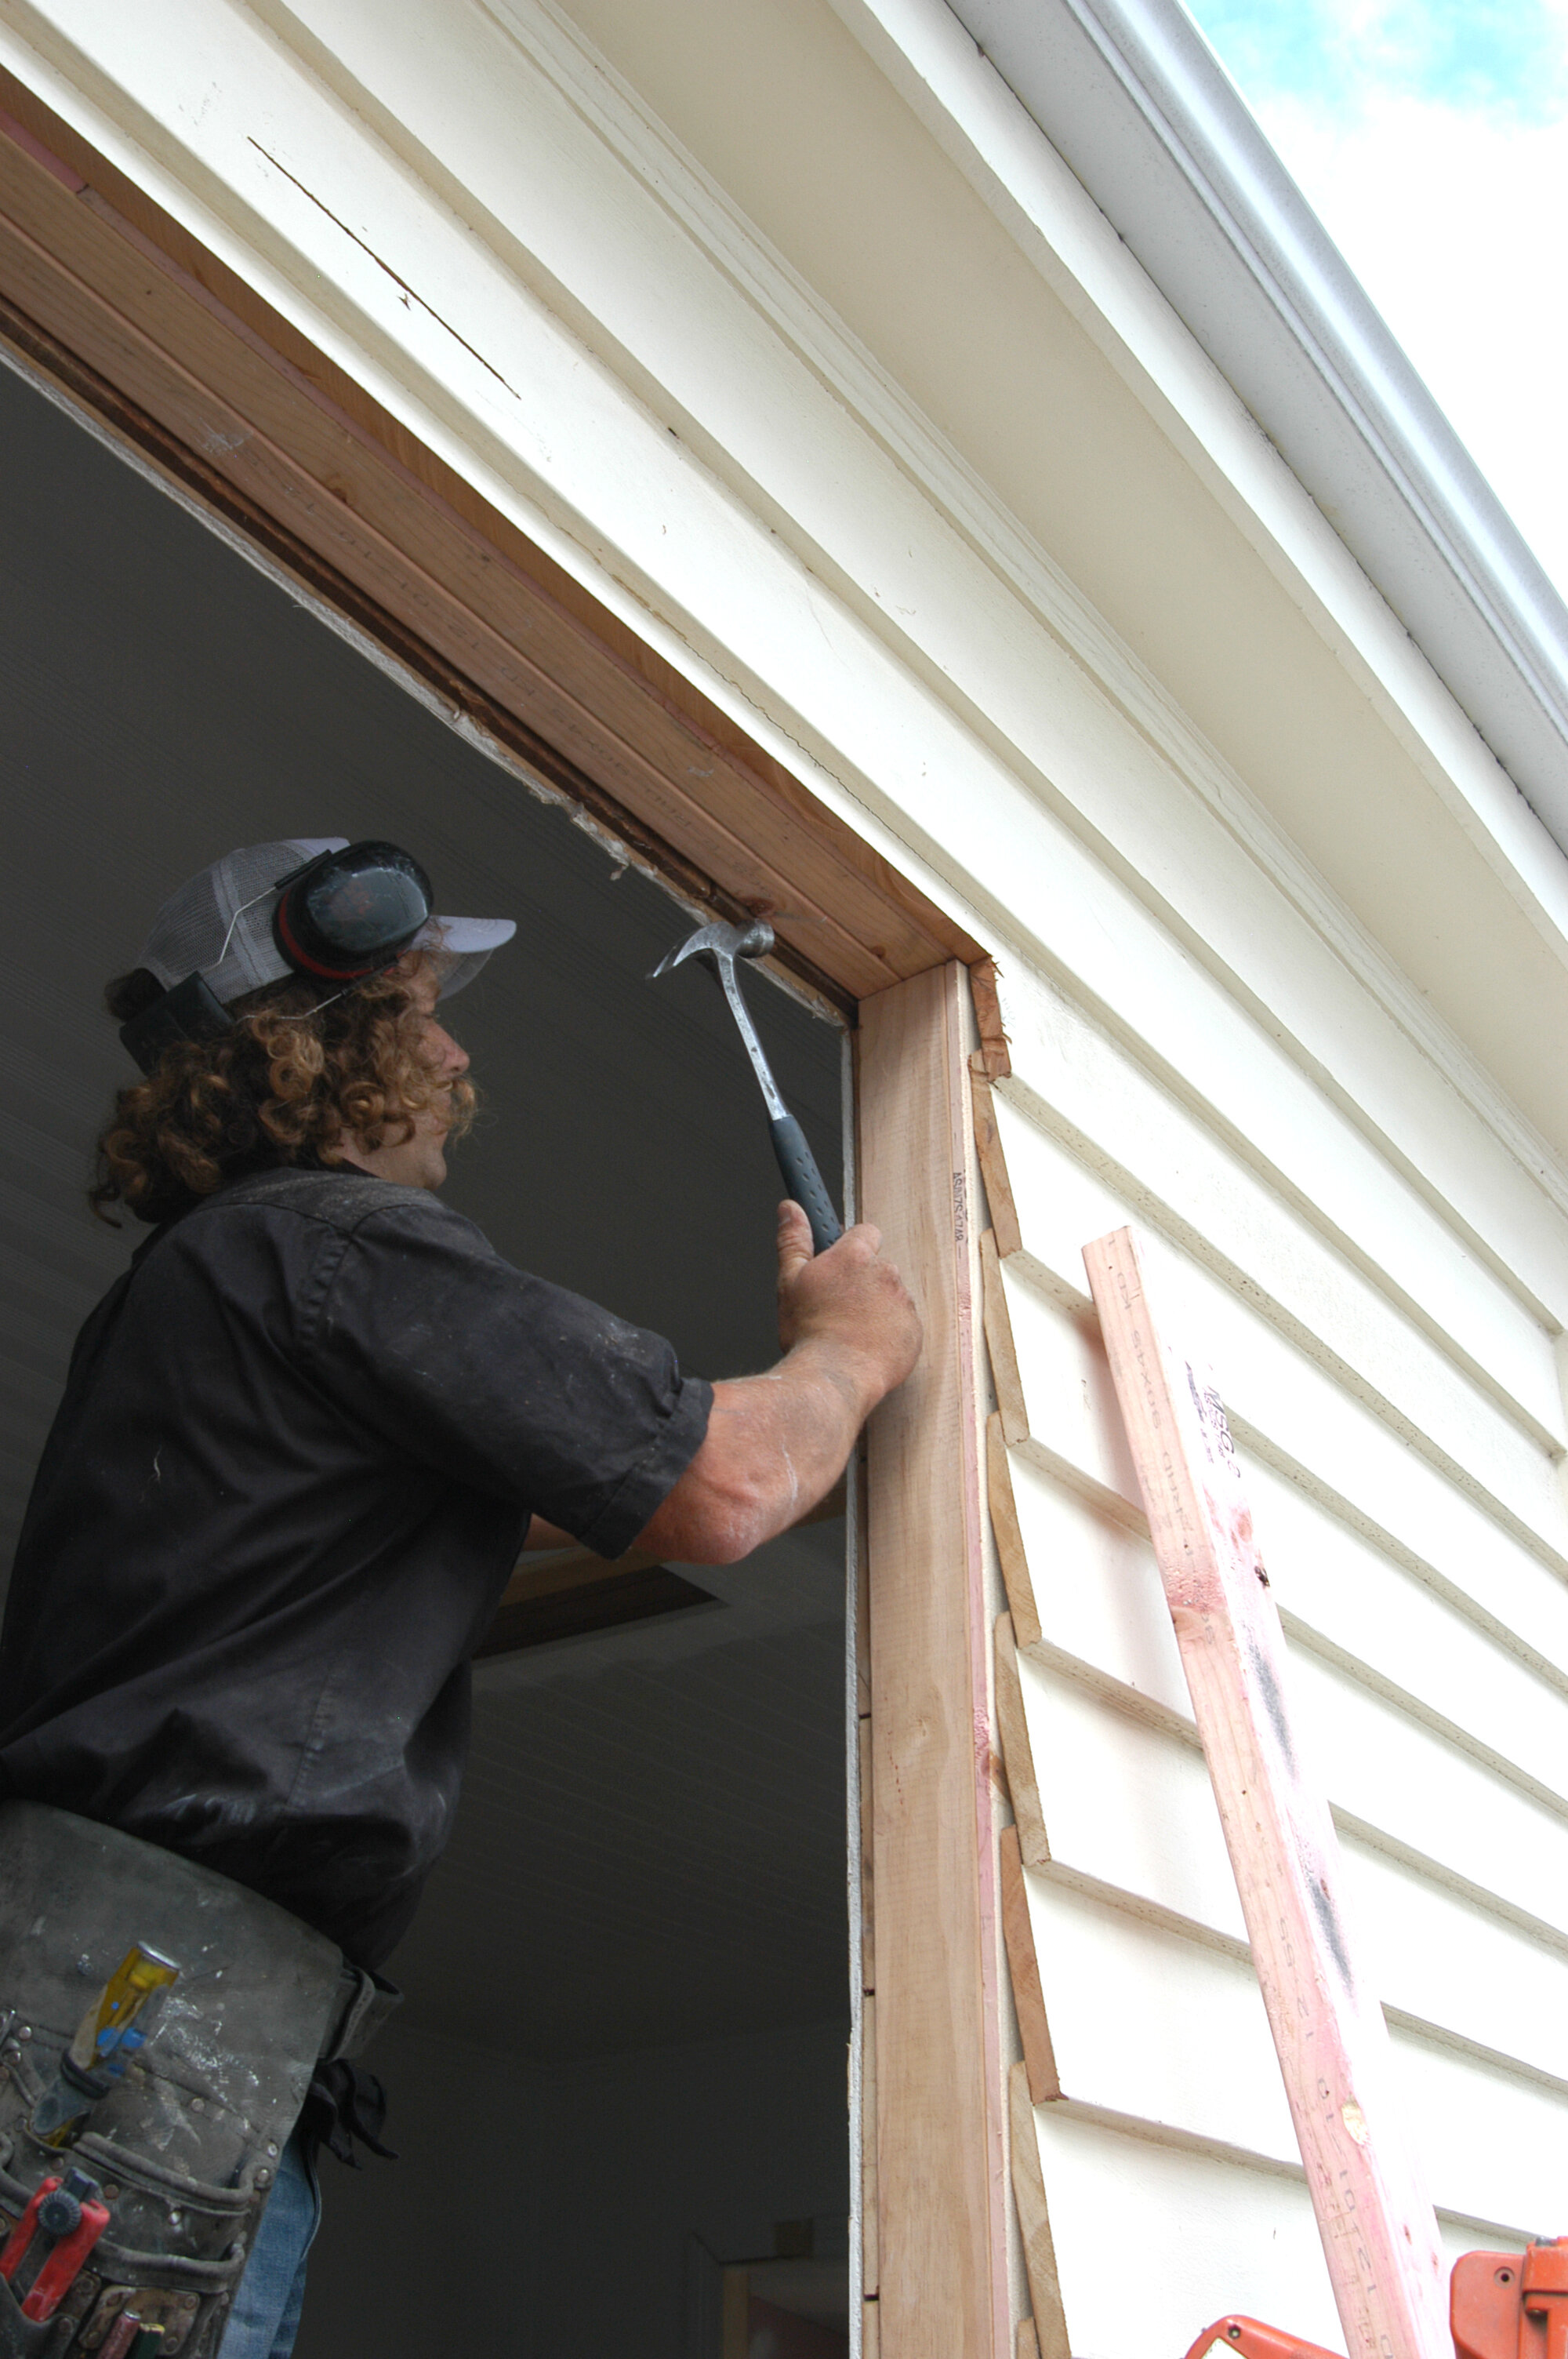
The next step is to put the lintel in without damaging the wall.
If the window is bigger than the one we installed here, you would have to support the internal ceiling before removing the studs and creating the hole for the new window. In that case, the lintel goes in after the ceiling is propped and the studs added. For a smaller window, such as the standard double-hung sash window here, you can put in the lintel first, punch in skew nails then place the trimming studs (they are also called jack studs or under-studs). They bear the weight of the new lintel. In this case, we install the 2/150 x 50 mm lintel first (it is important the lintel beam is fixed to the existing stud) then put in the trimming stud to support it, using MSG8 treated pine for both.
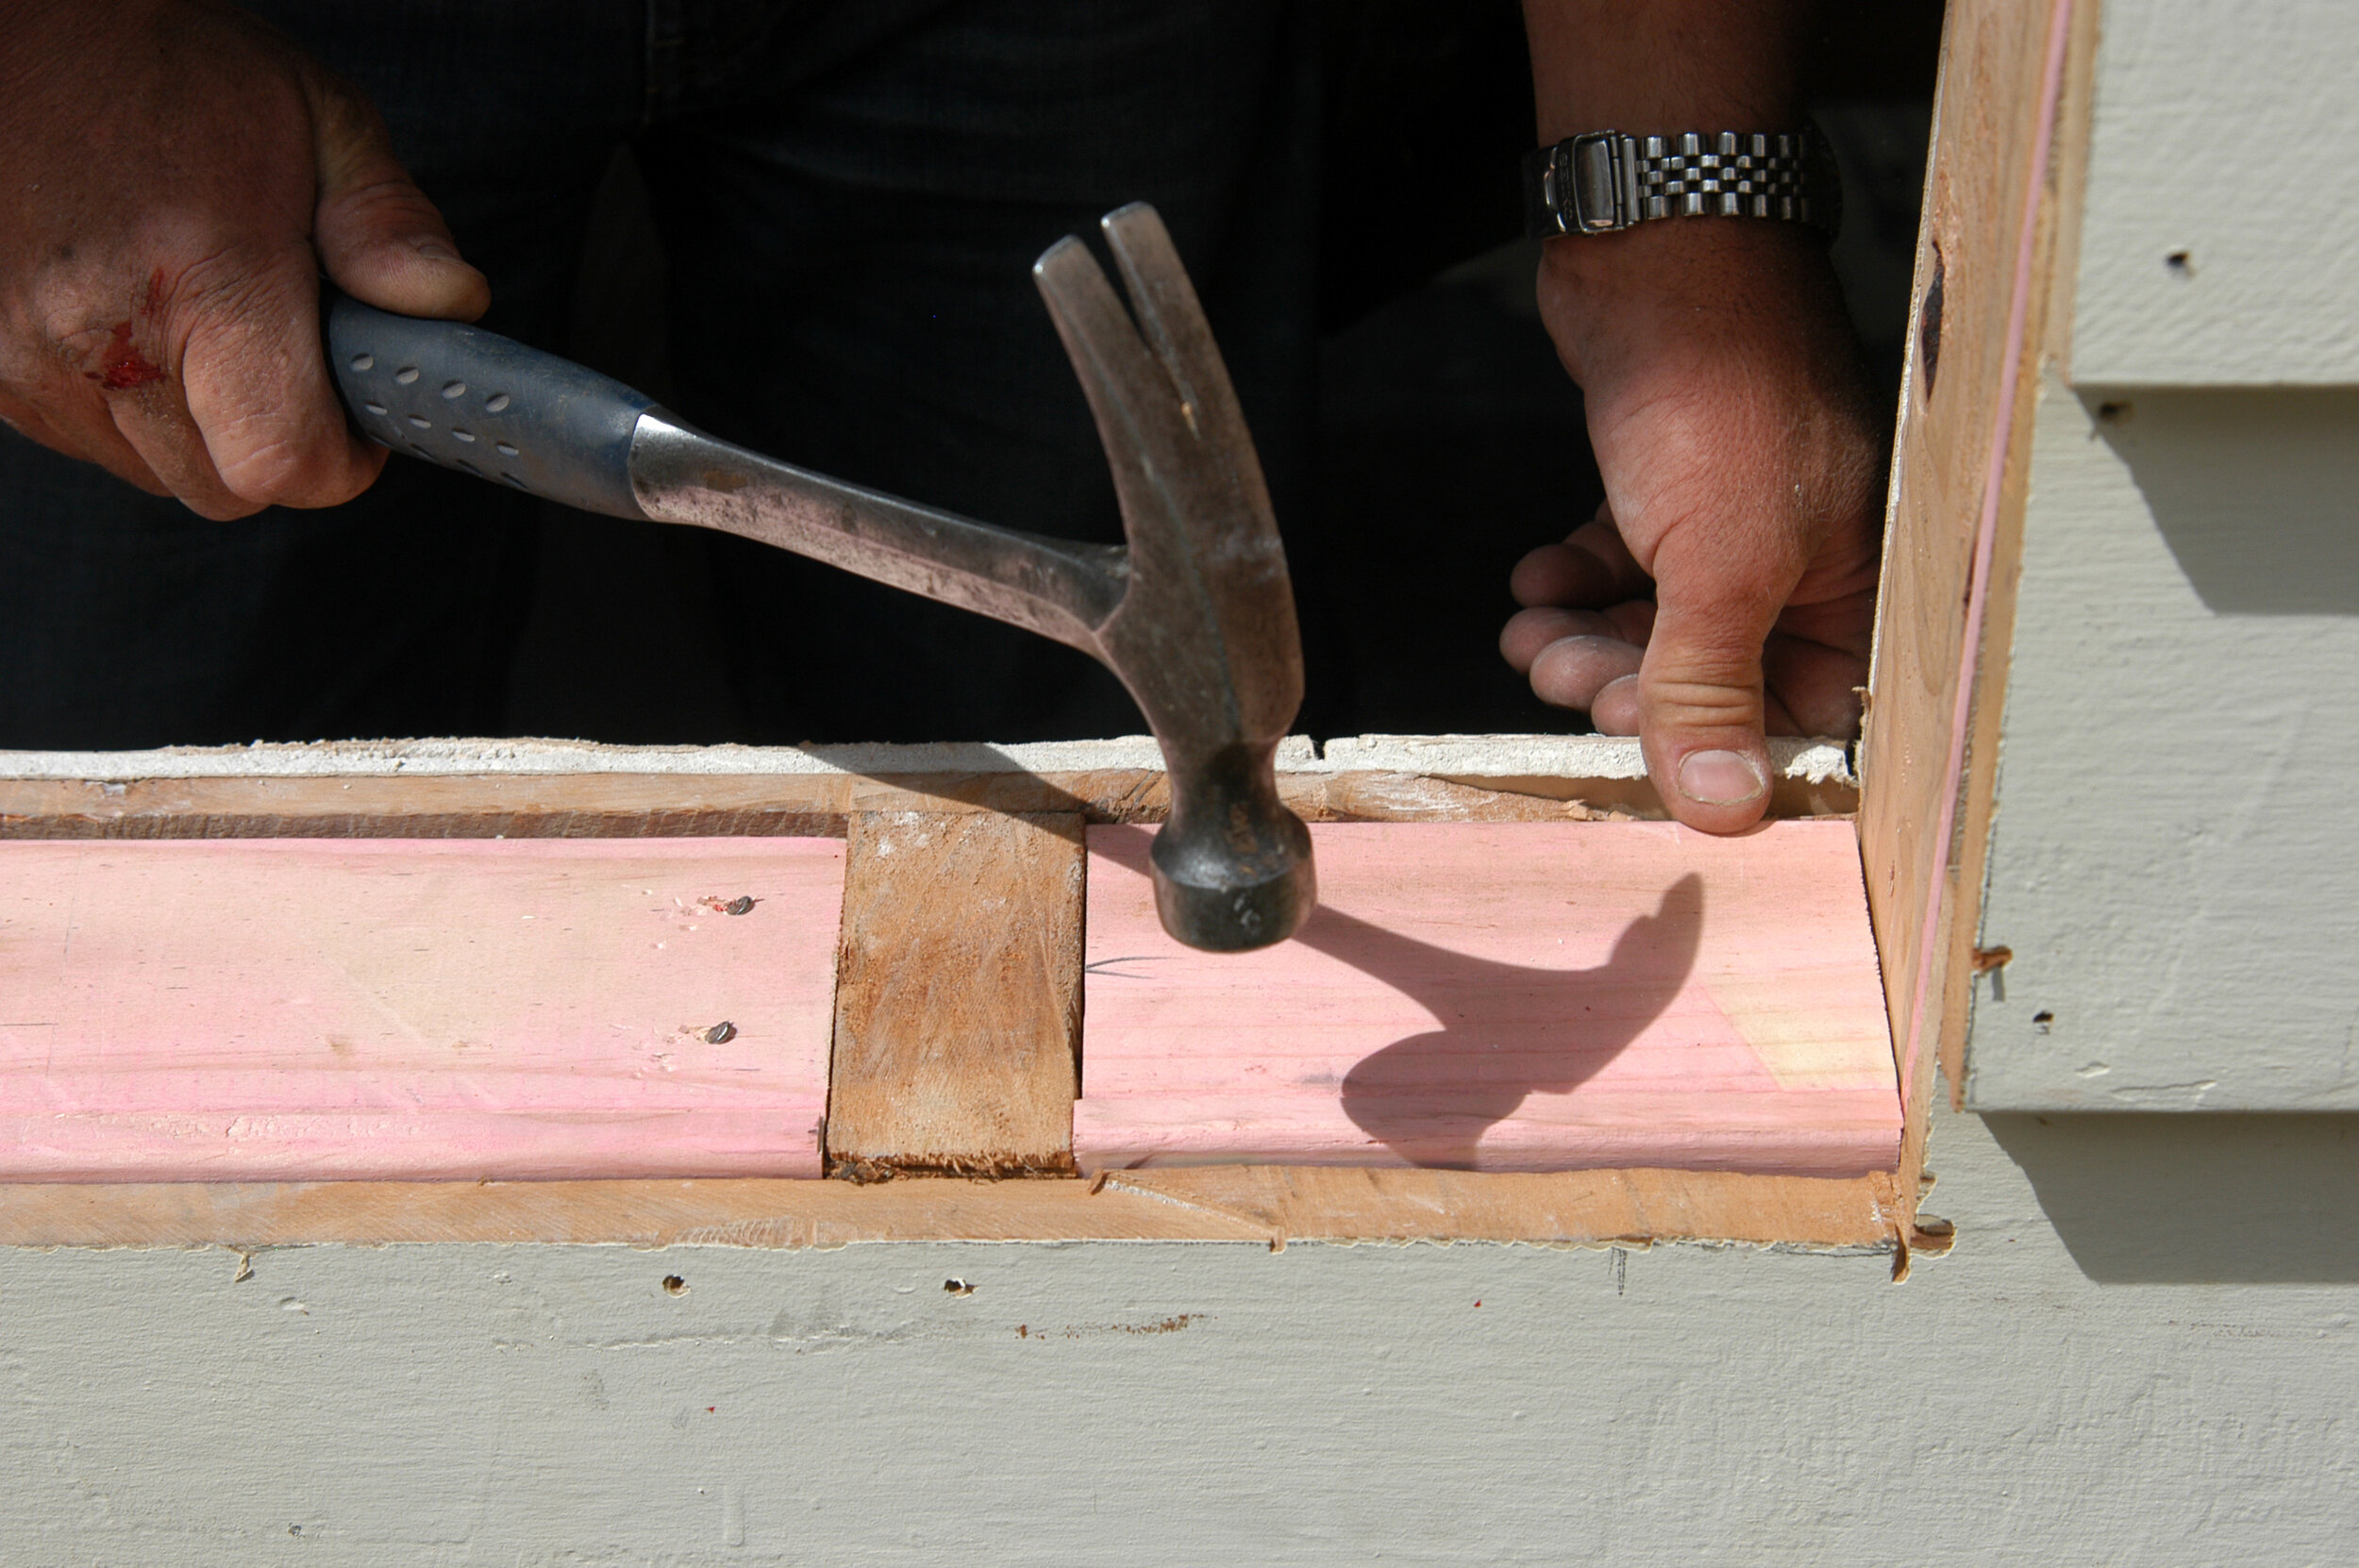
With old houses, you never really know what you are going to come across when clearing everything out to fix in the lintel. If the studs are 2.2 metres apart, make a longer lintel to get across to the existing stud. The timber used in the old villas could be 100-105 mm thick. Today we use 90 mm-wide timber unless you buy rough-sawn timber at 100 mm.
For this old villa, we had to pack out the 90 mm timber to match it to the 100 mm space, particularly on the lintel. There’s a lot of detail to be observed on old houses, with leveling and making renovations plumb to match the way the house was built or has moved and altered shape over the years. You may have to hammer the lintel in if the fit is tight. When you have hammered the lintel up, check the level. The lintel is attached with 90 mm nails skew-nailed into the existing stud at the side. Place in the trimming stud next to the existing stud and fix it to the existing stud. Once the lintel is fixed into the existing stud, nail it into the newly installed trimming stud which is under the lintel, and takes the load.
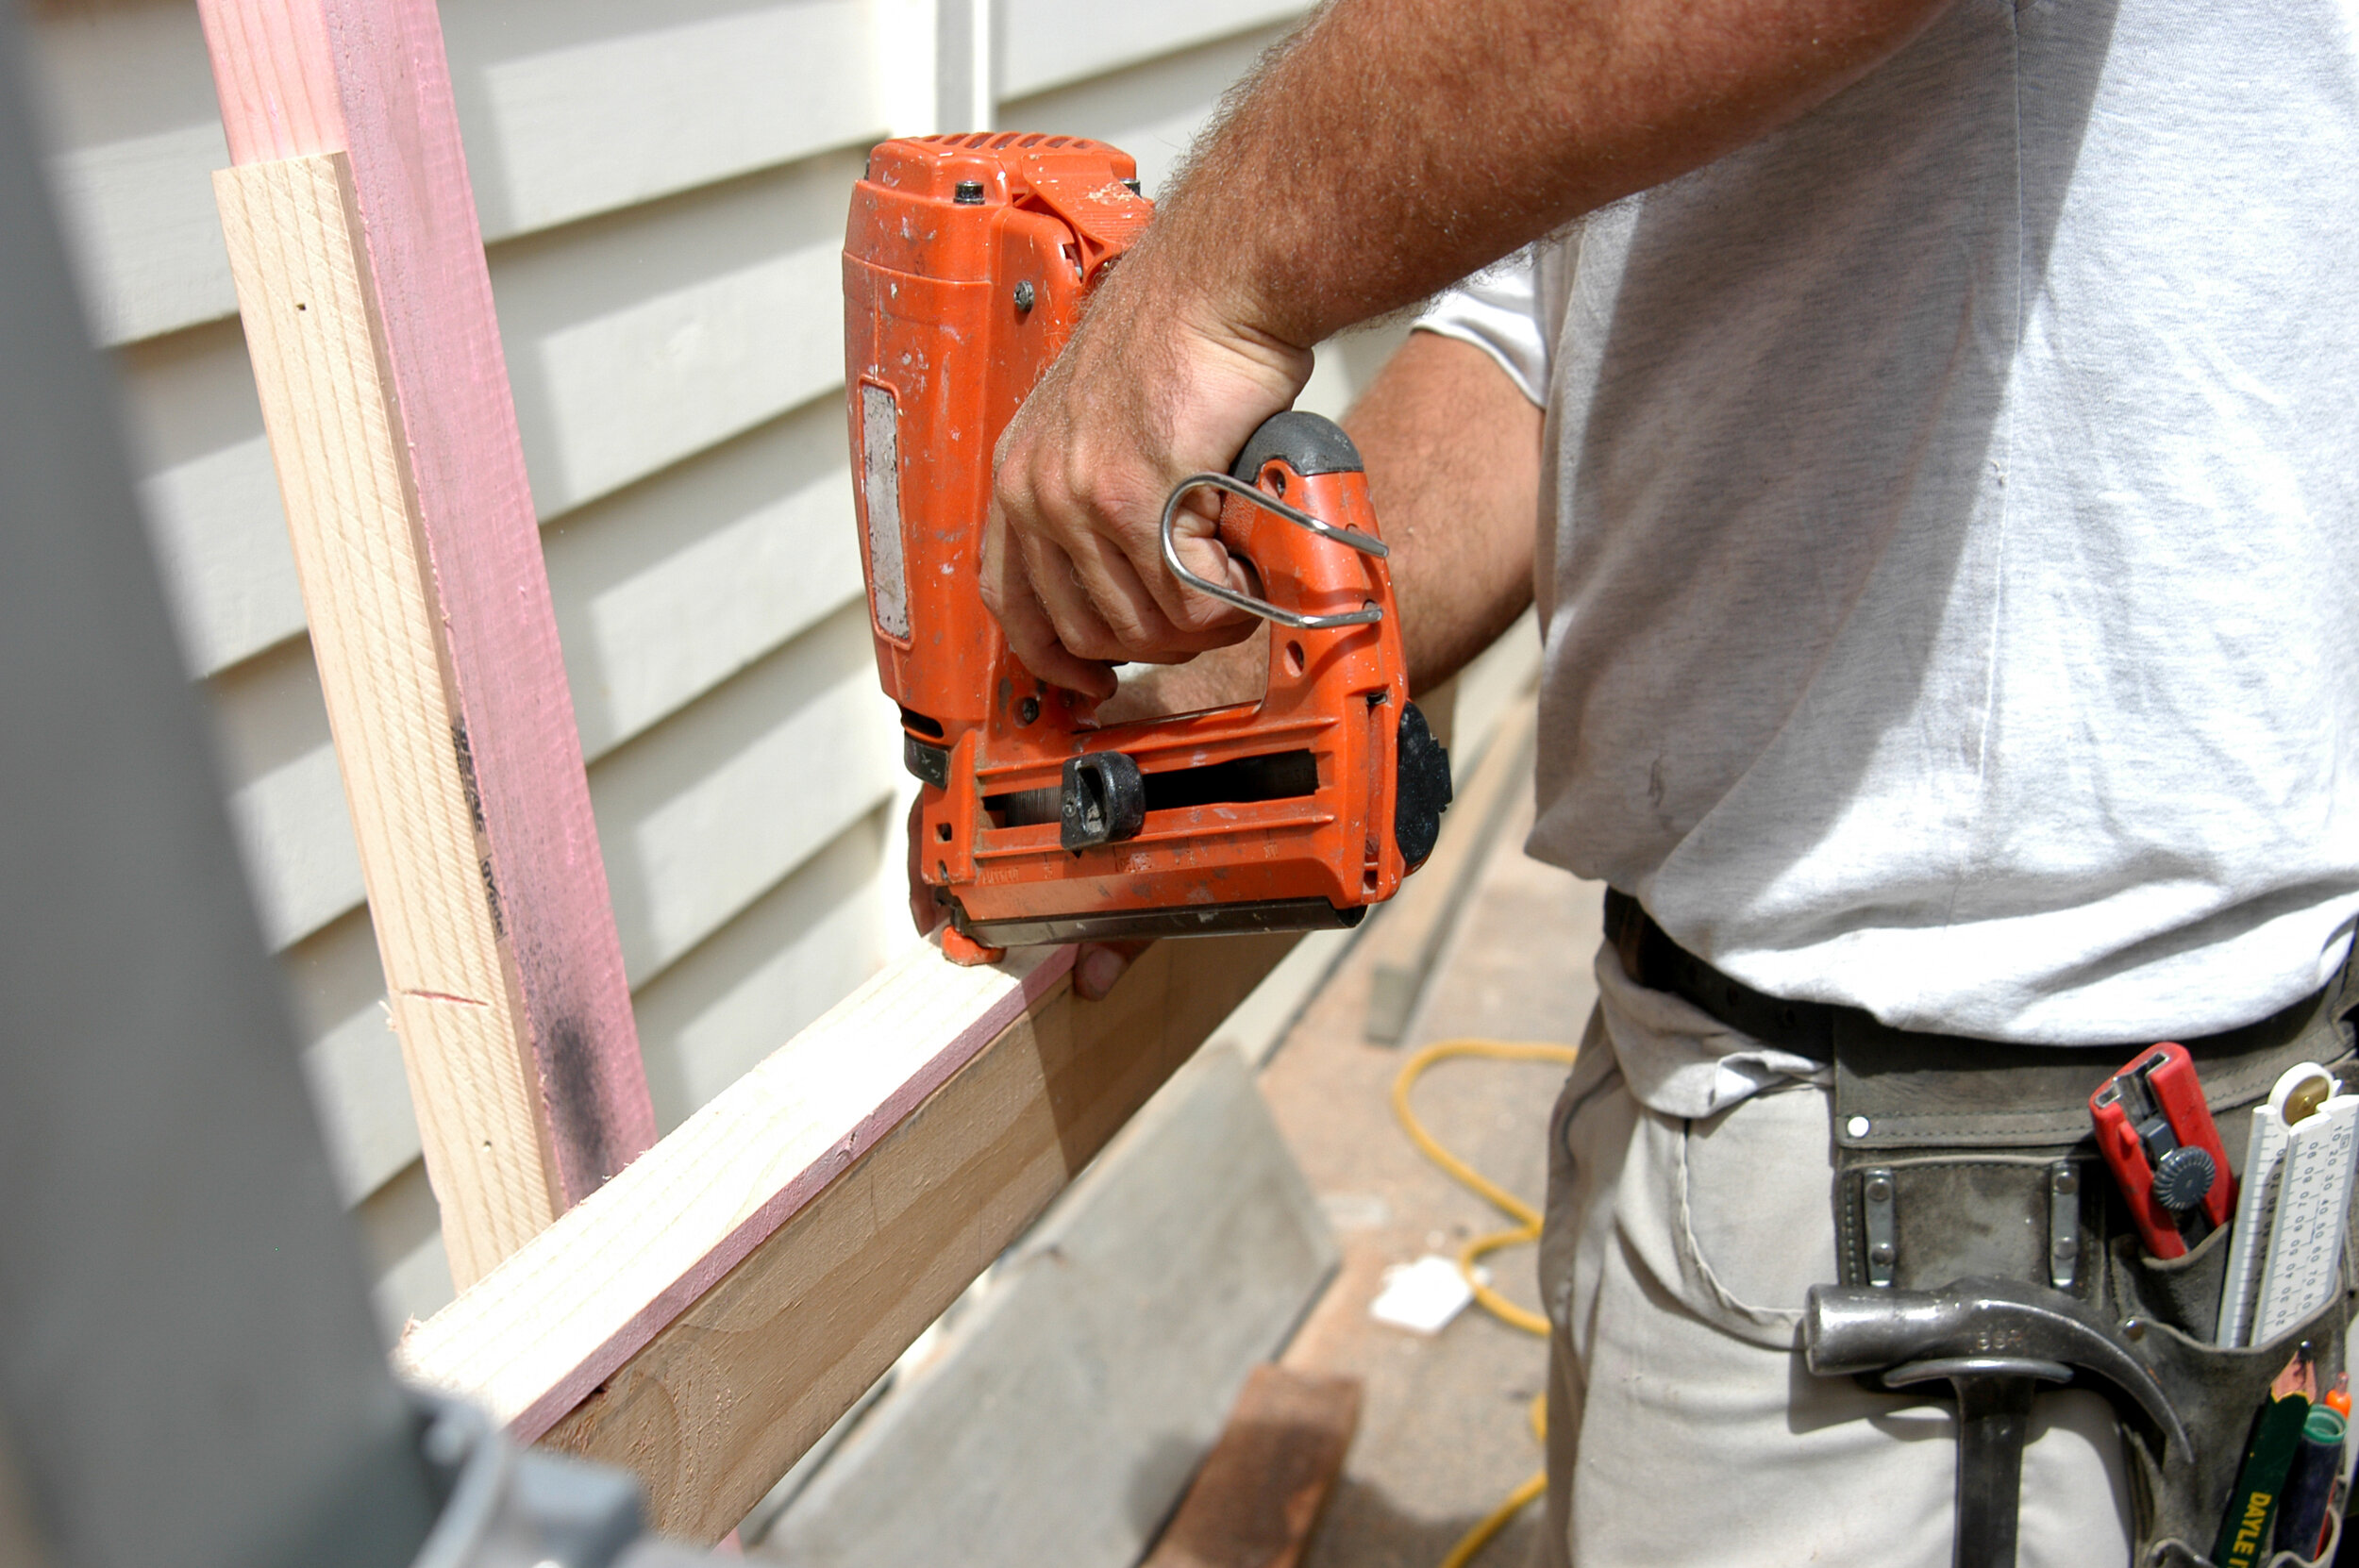
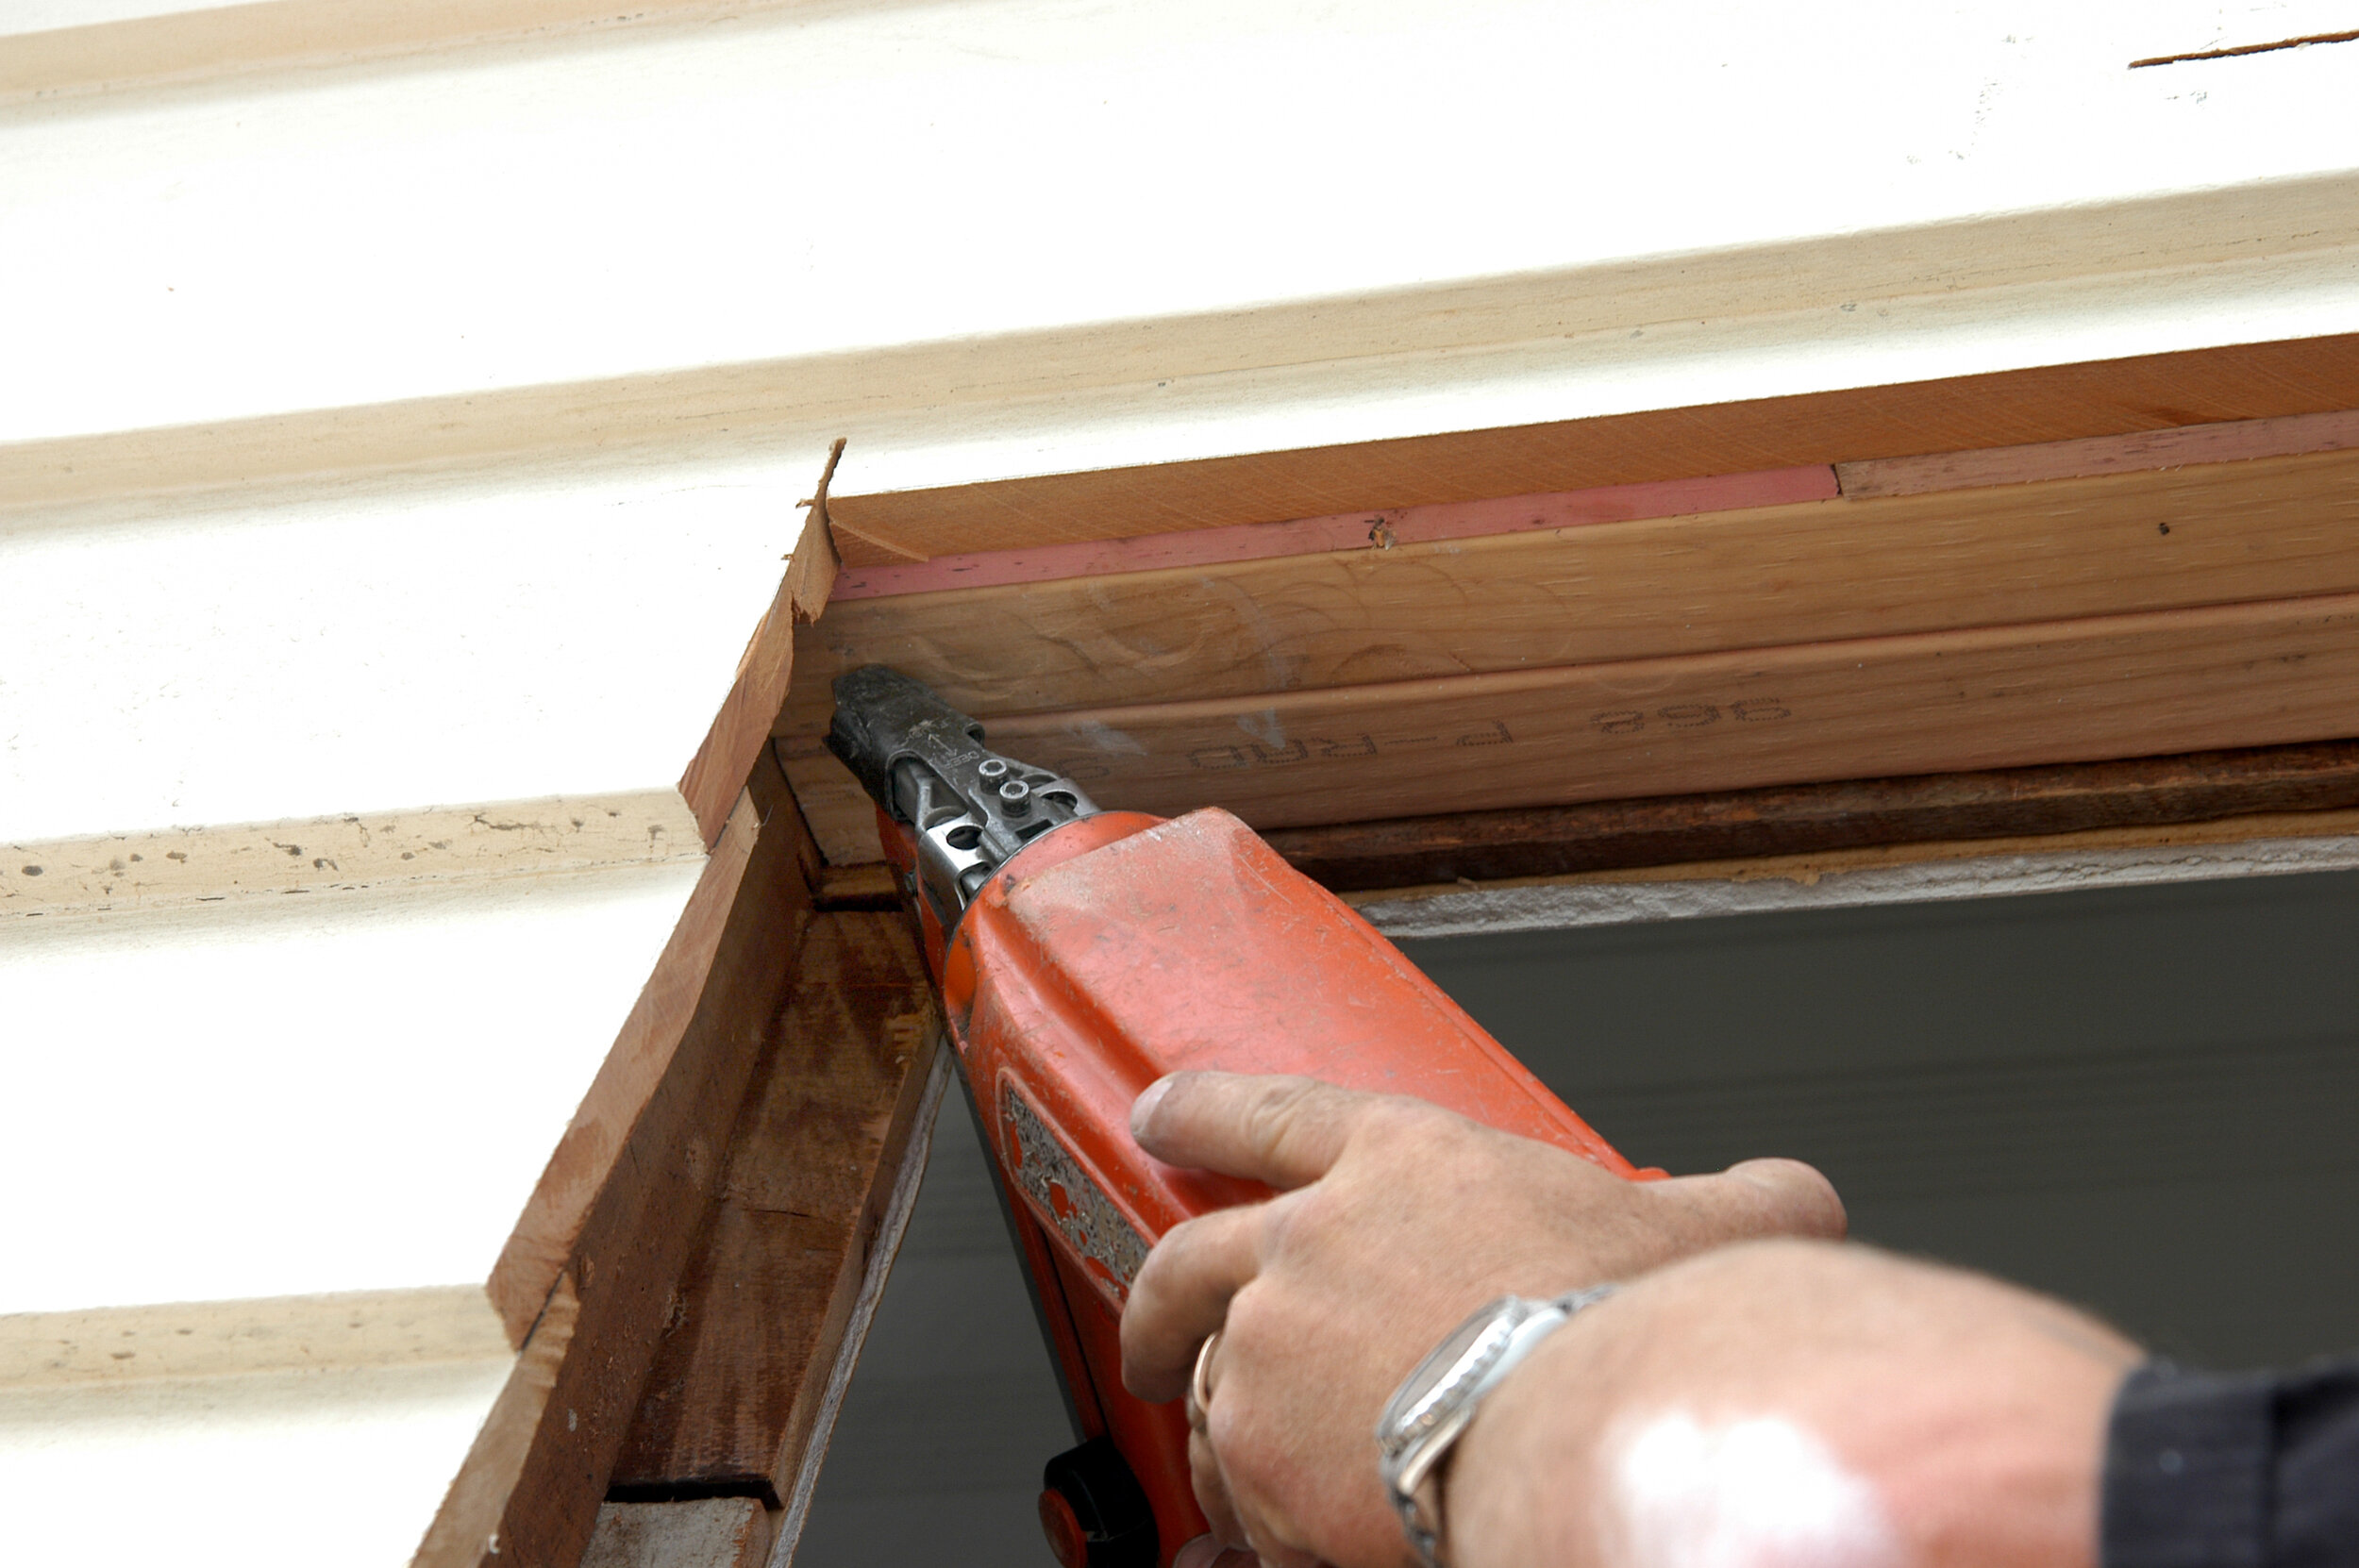
Sill tape around top corners
Sill tape
Before dry-fitting the window, put in sill tape for waterproofing to direct any water outside.
You need a continuous solid surface for sill tape to go on. We installed wood packing to level the old sill in the window space and used a pin gun to punch nails down for sill tape preparation. If necessary, you could level the job with a hand saw. We brought the sill tape up around the window jamb by 150 mm according to council regulations.
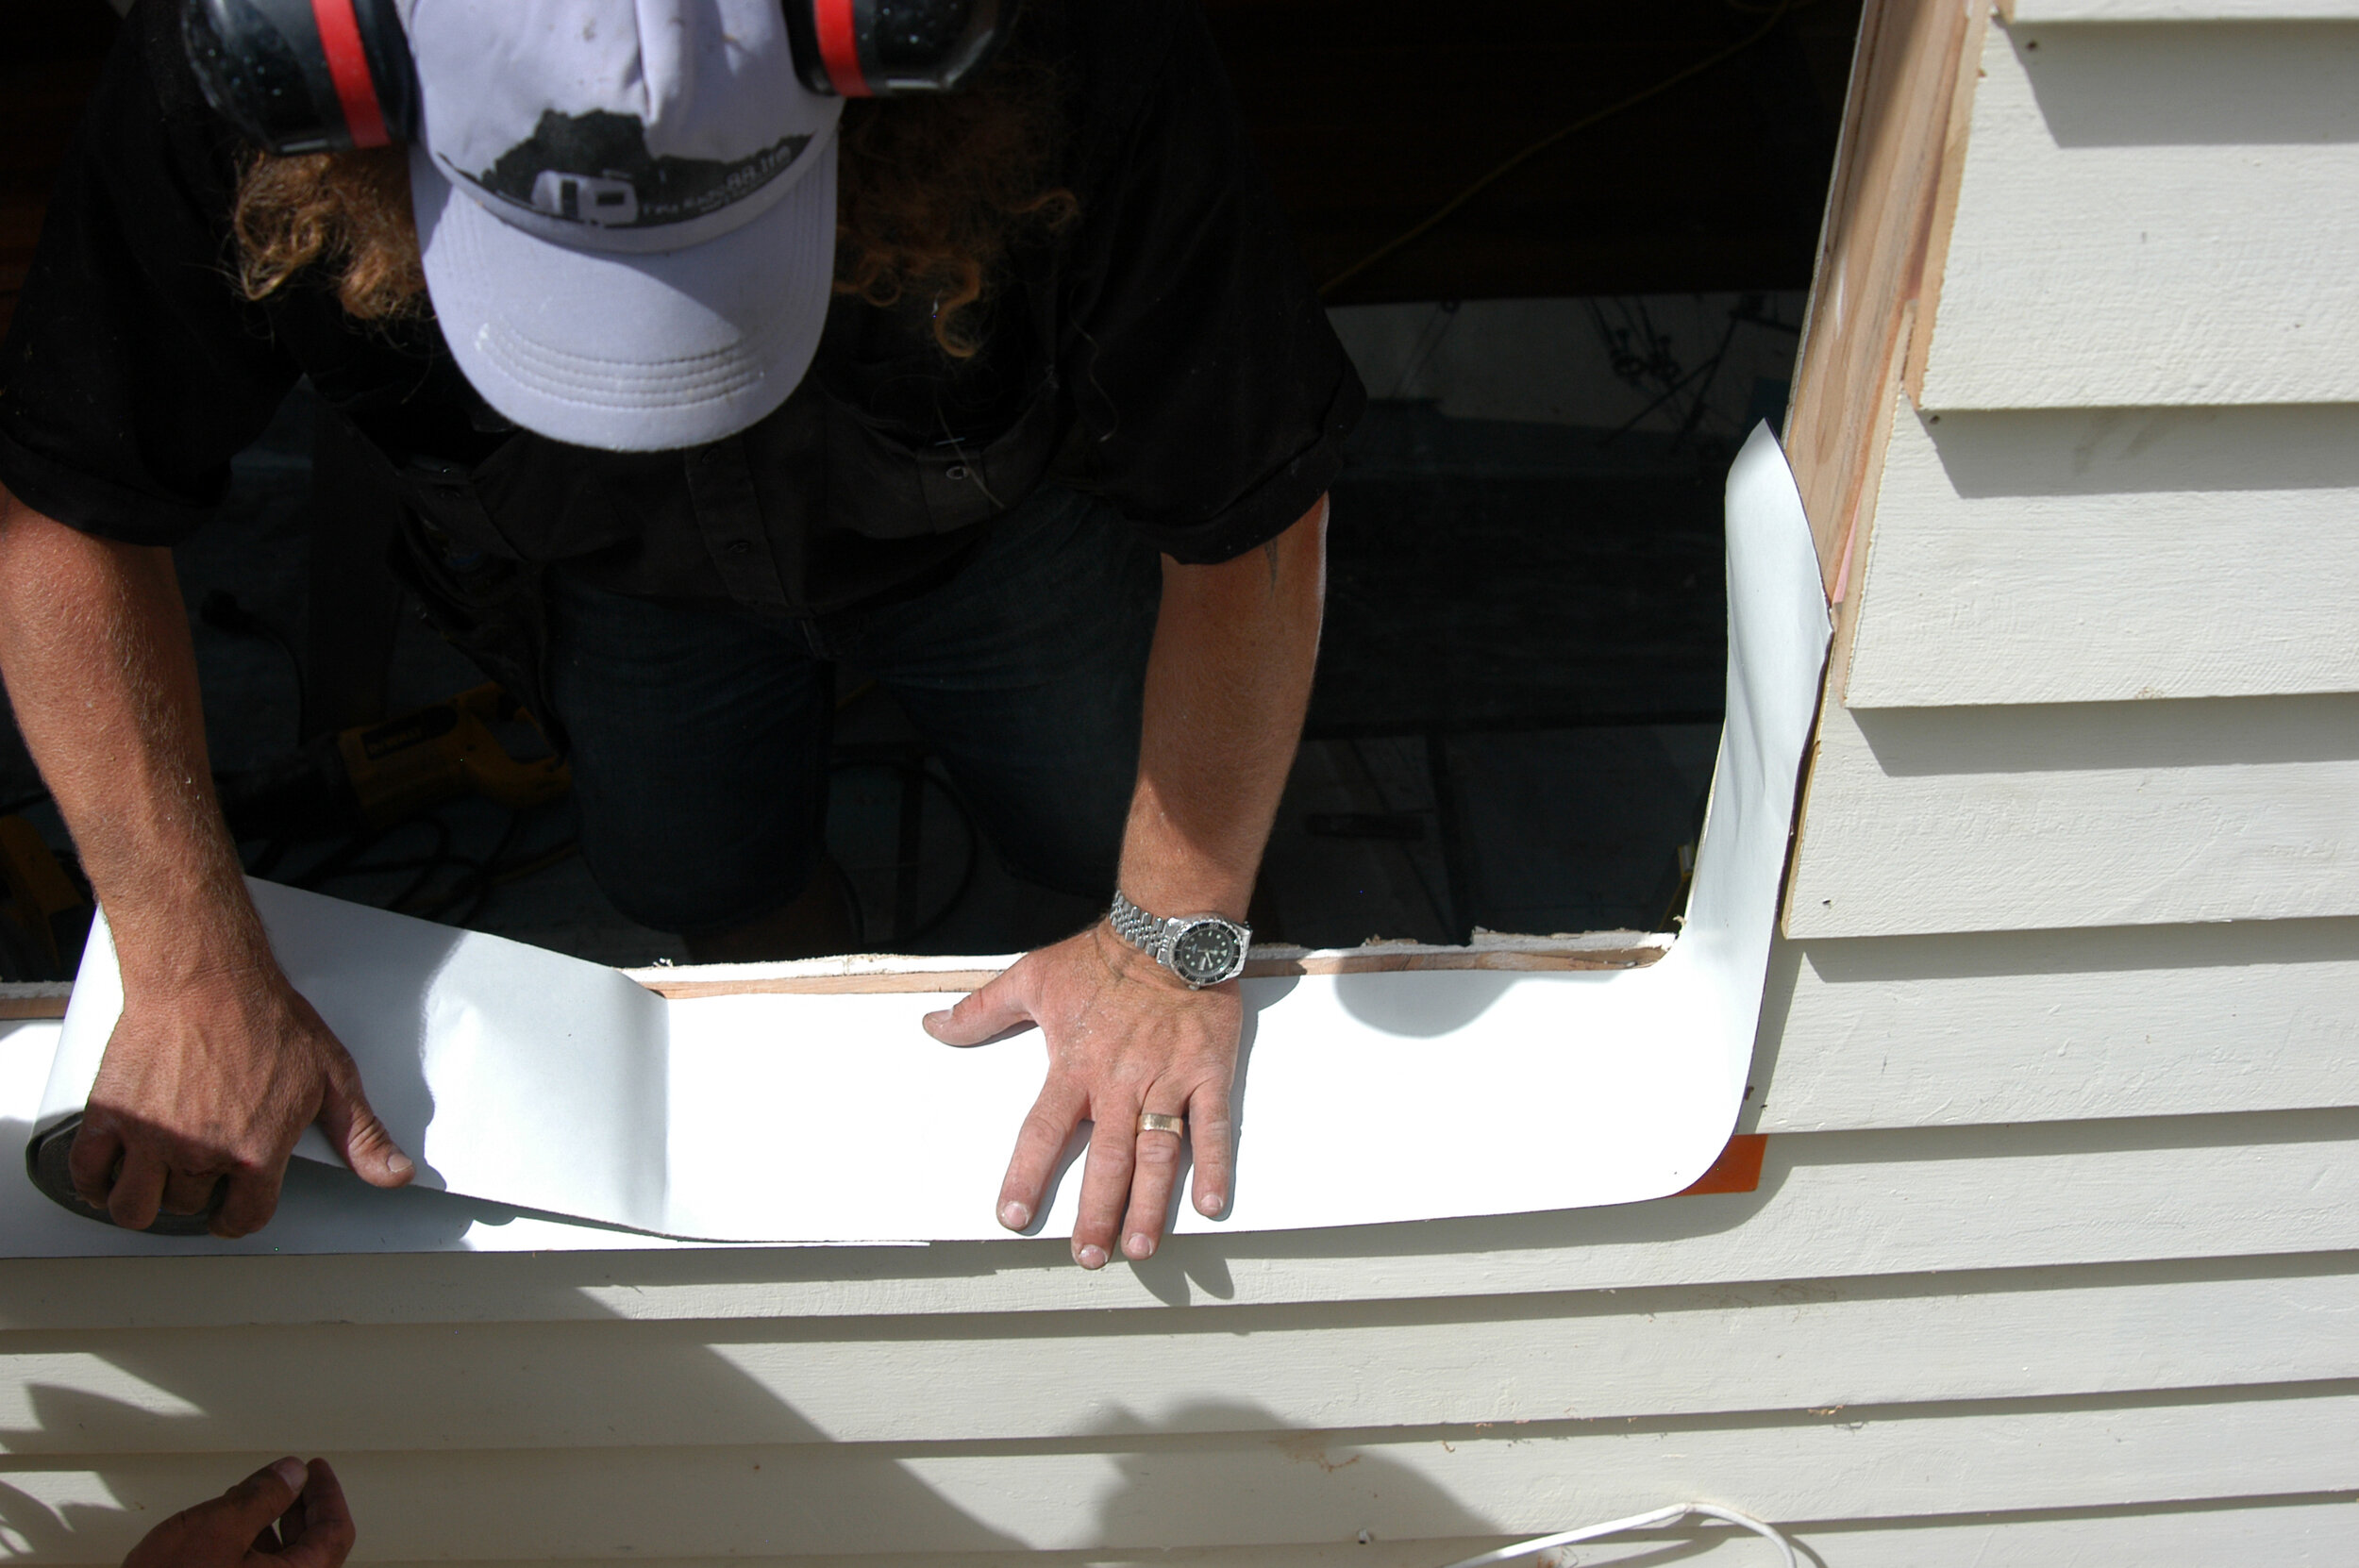
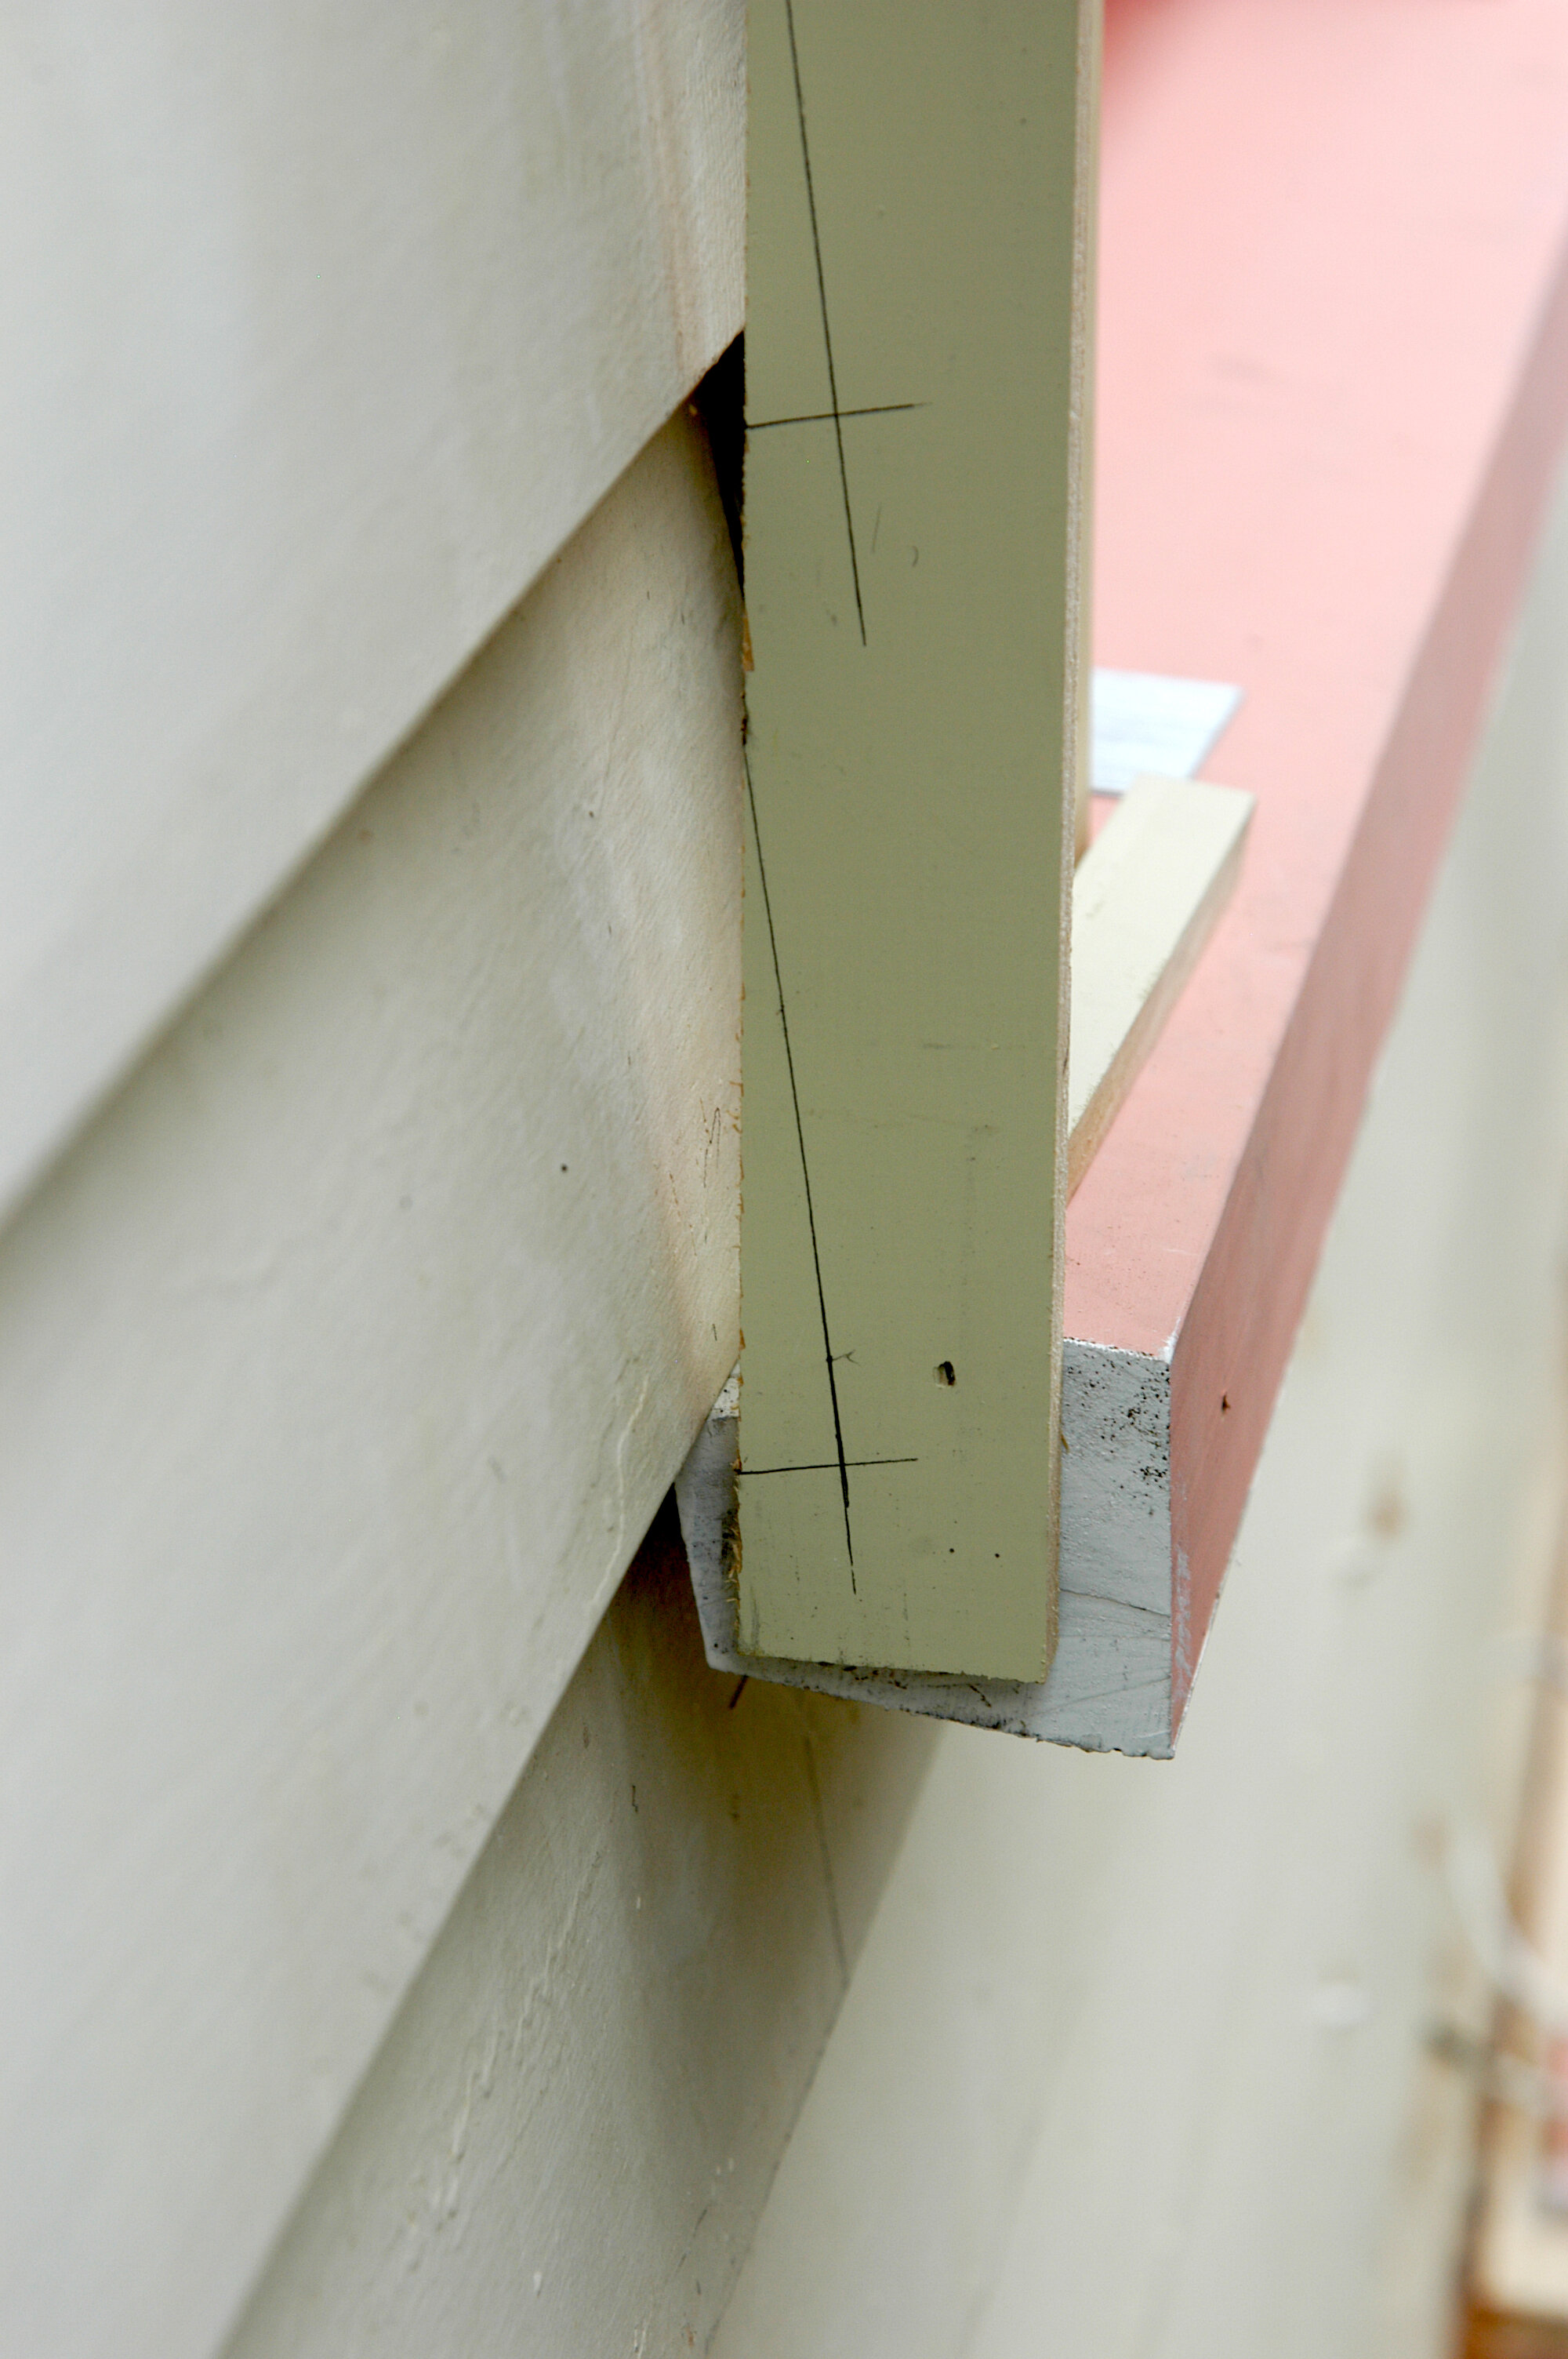
On the top corner, the sill doesn’t have to be continuous across the top but just to cover the corners. Under the window to be installed, we nailed on pieces of wood as a 5 mm ripping. This creates a gap between the bottom of the window and the sill below with the flexible flashing tape, which will cope with any water that might leak through the window section. If rain got in and the window was sitting hard on the sill, the water would be trapped. These packers under the window frame allow water to be shed outside. Measure the sill on the window and trim it to fit the weatherboard line.
As with many older houses, we had to cut out a piece of the sill for the weatherboard to sit in. The cut in the sill was at the same angle to fit the weatherboard angle. The weatherboard line in every old house is different. Here we had to measure off to match the existing window. For a renovation or restoration, the overhang of the sill past the facing must match the original on the house. Then the metal sill tray is measured, cut, and nailed under the window. It is brought up around the side of the window frame.
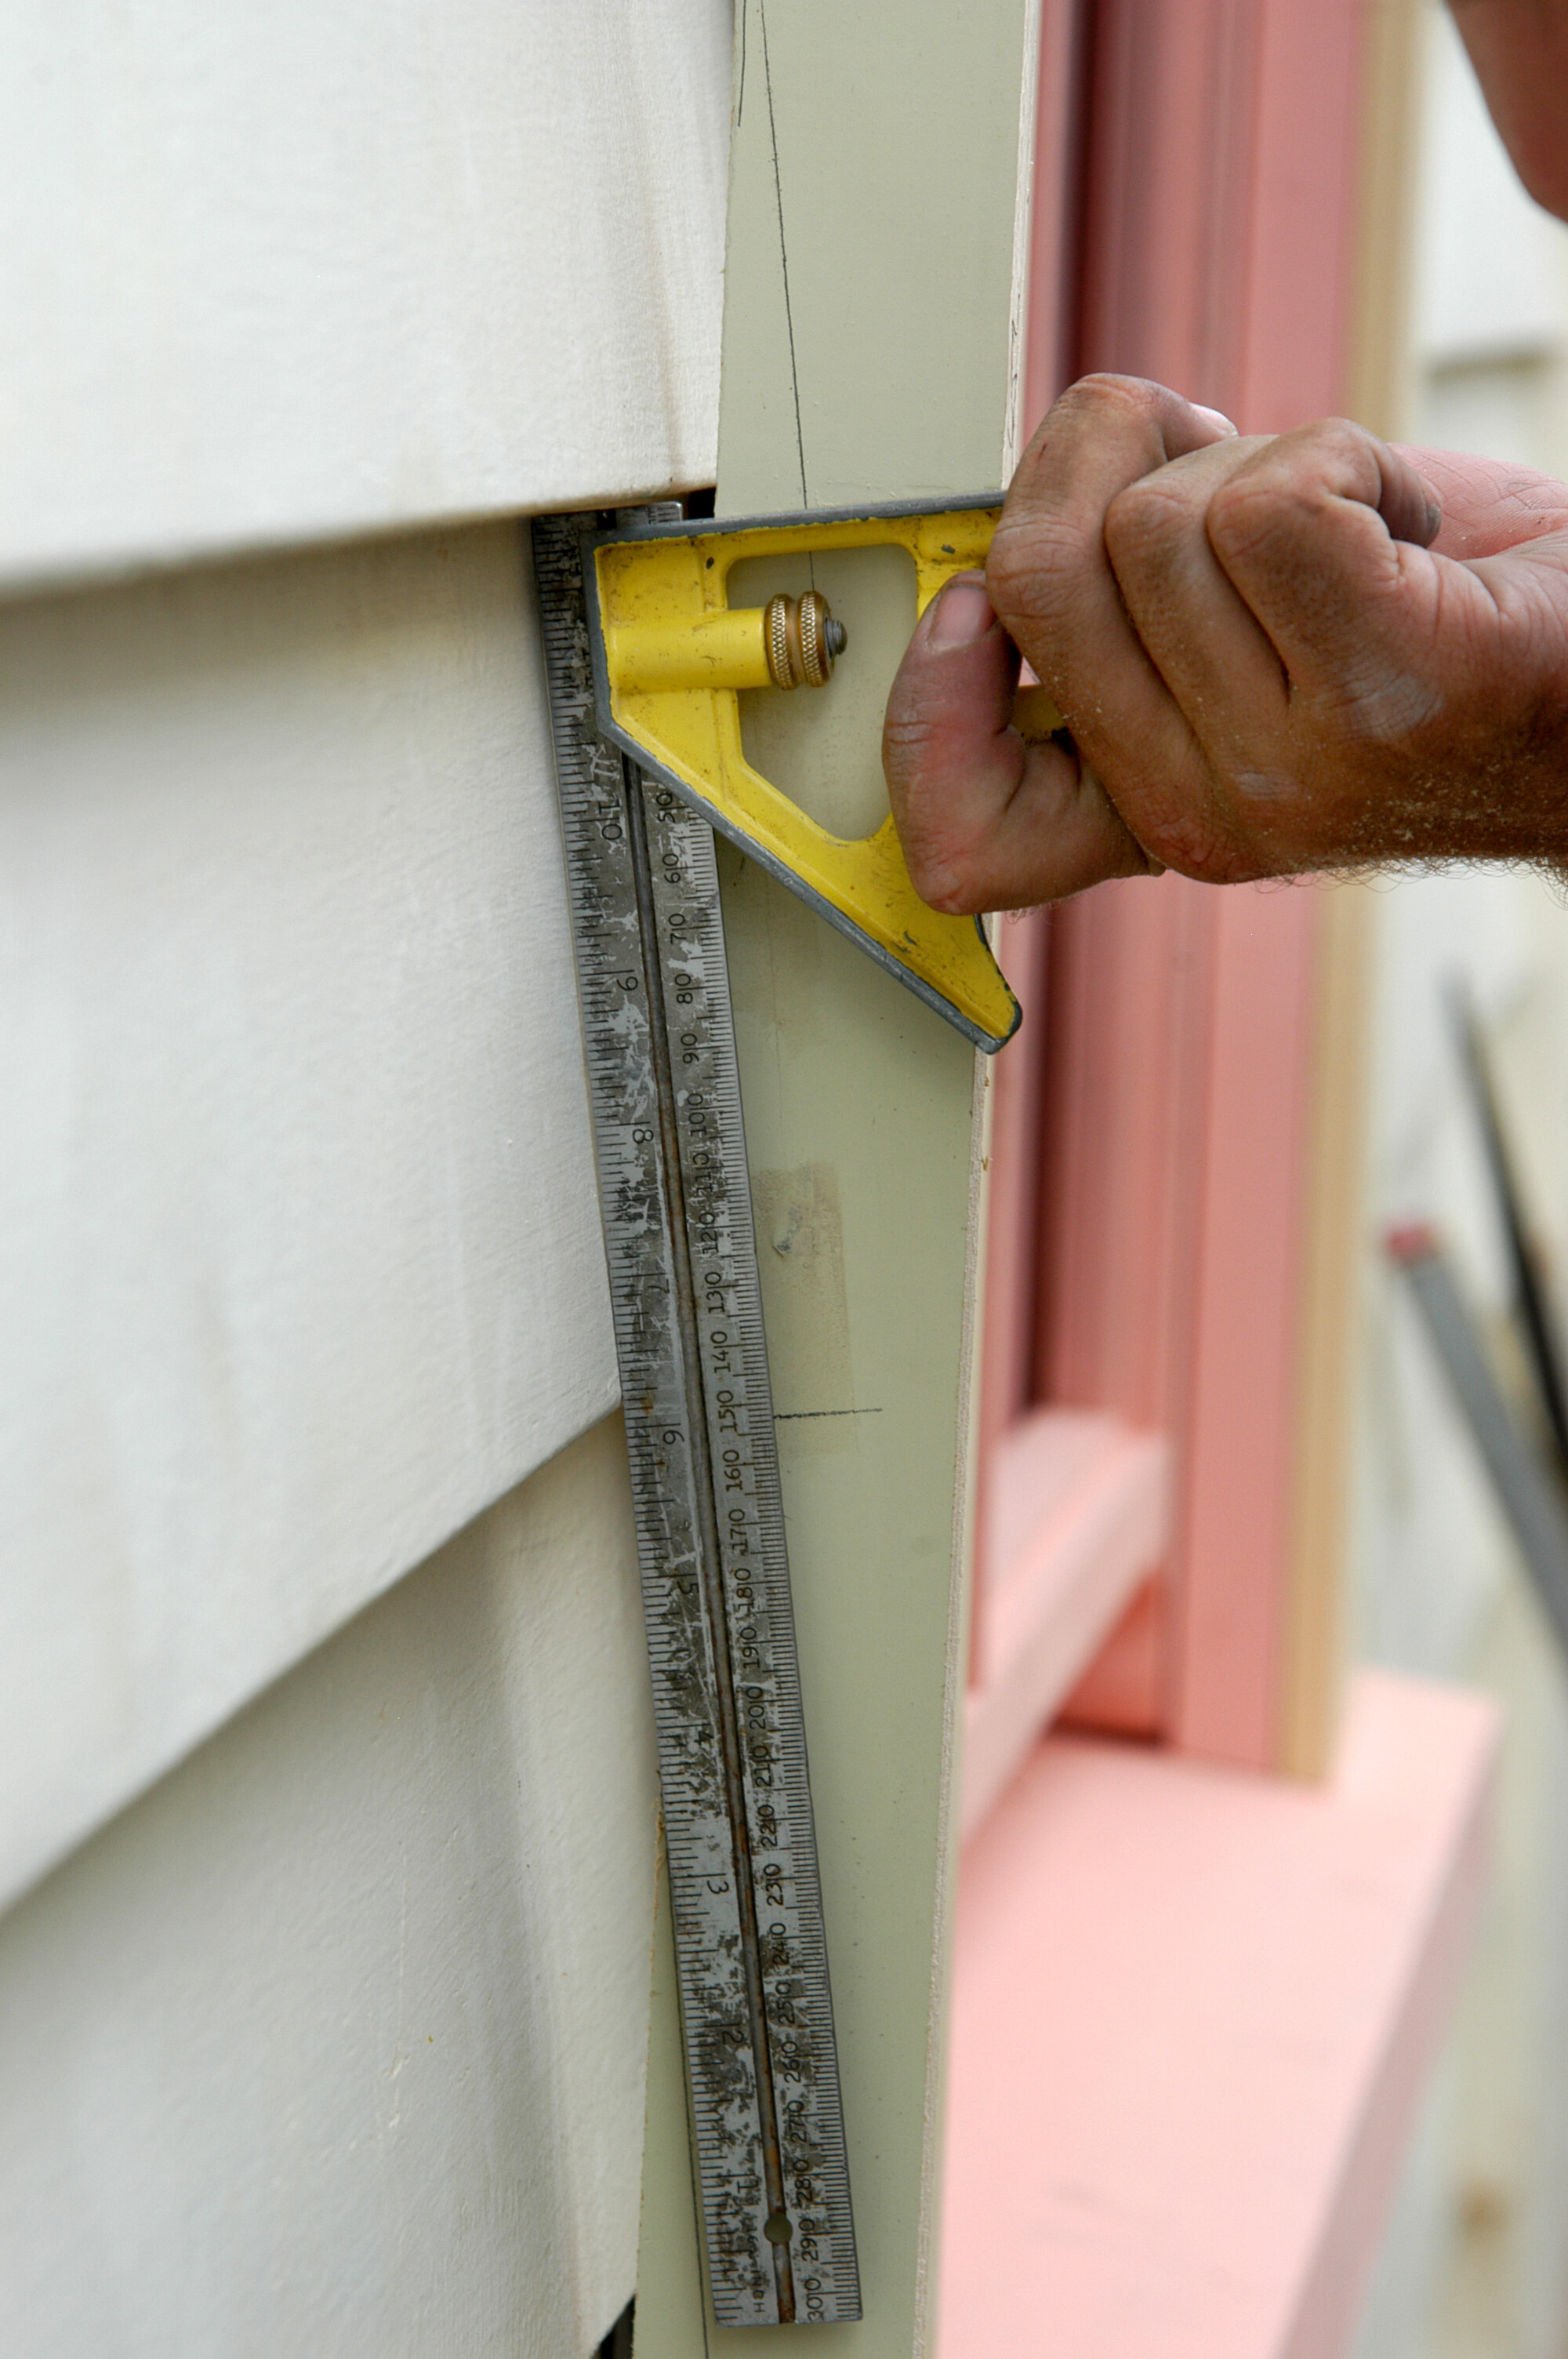
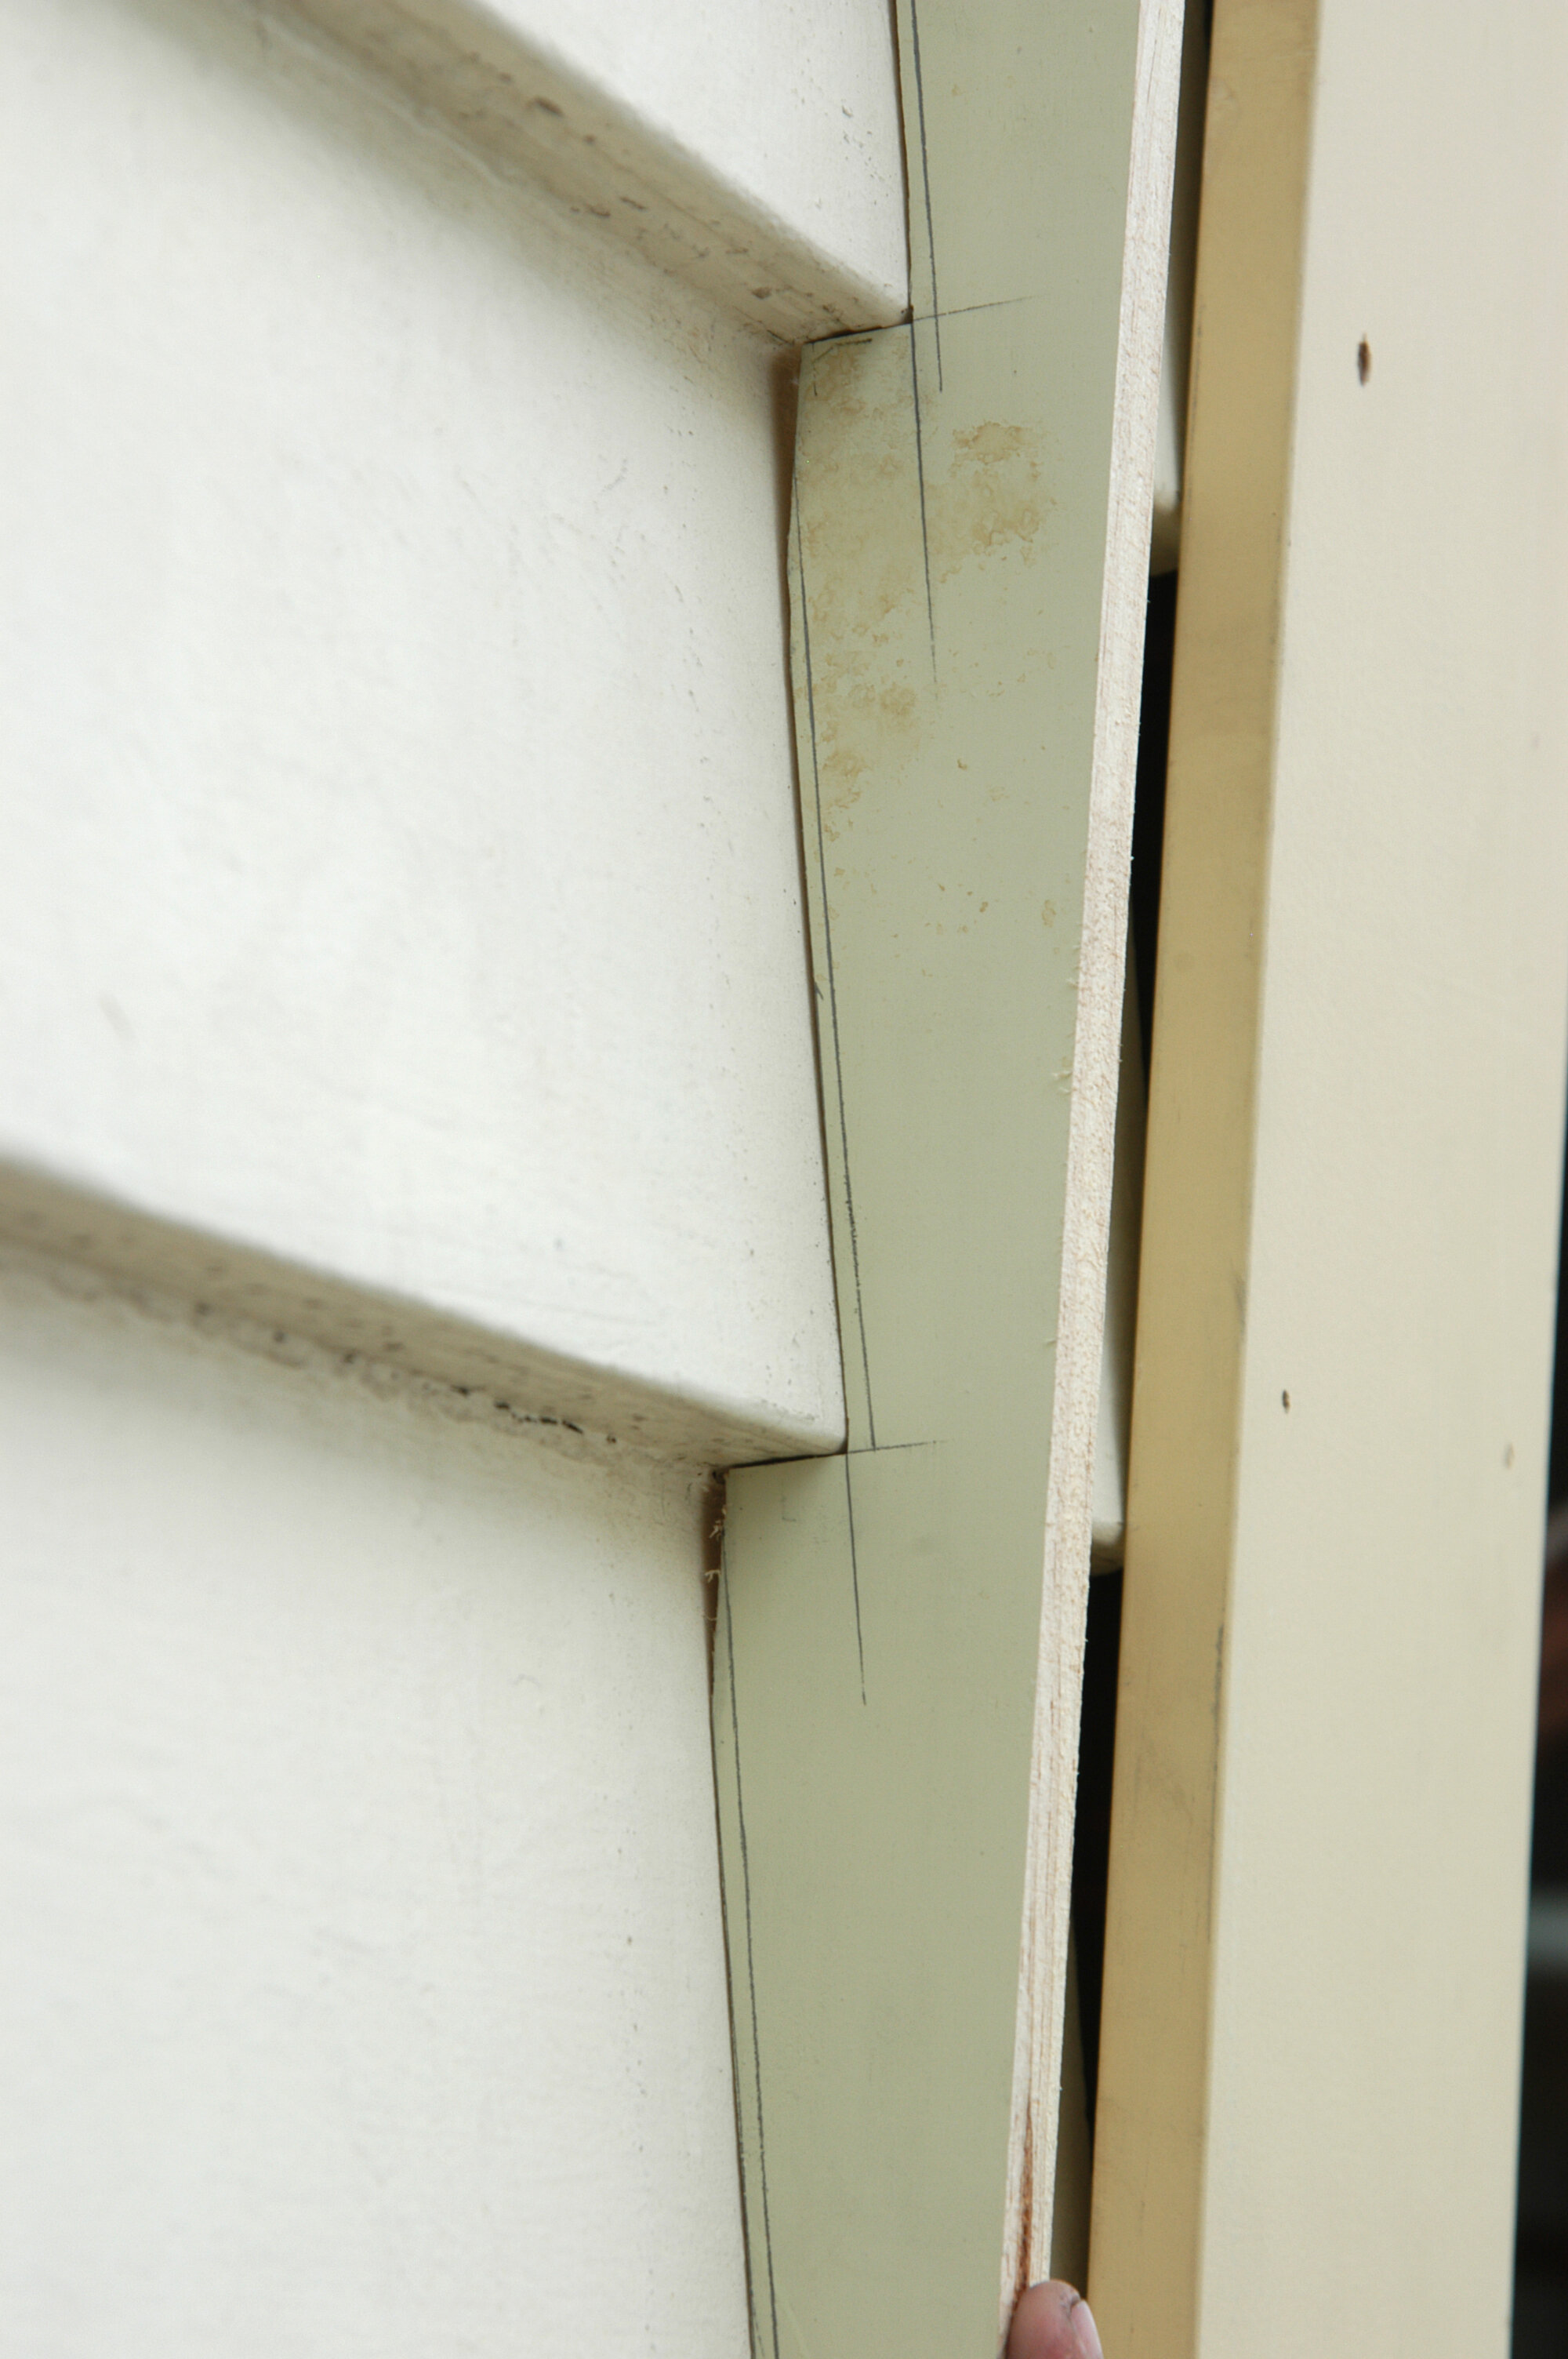
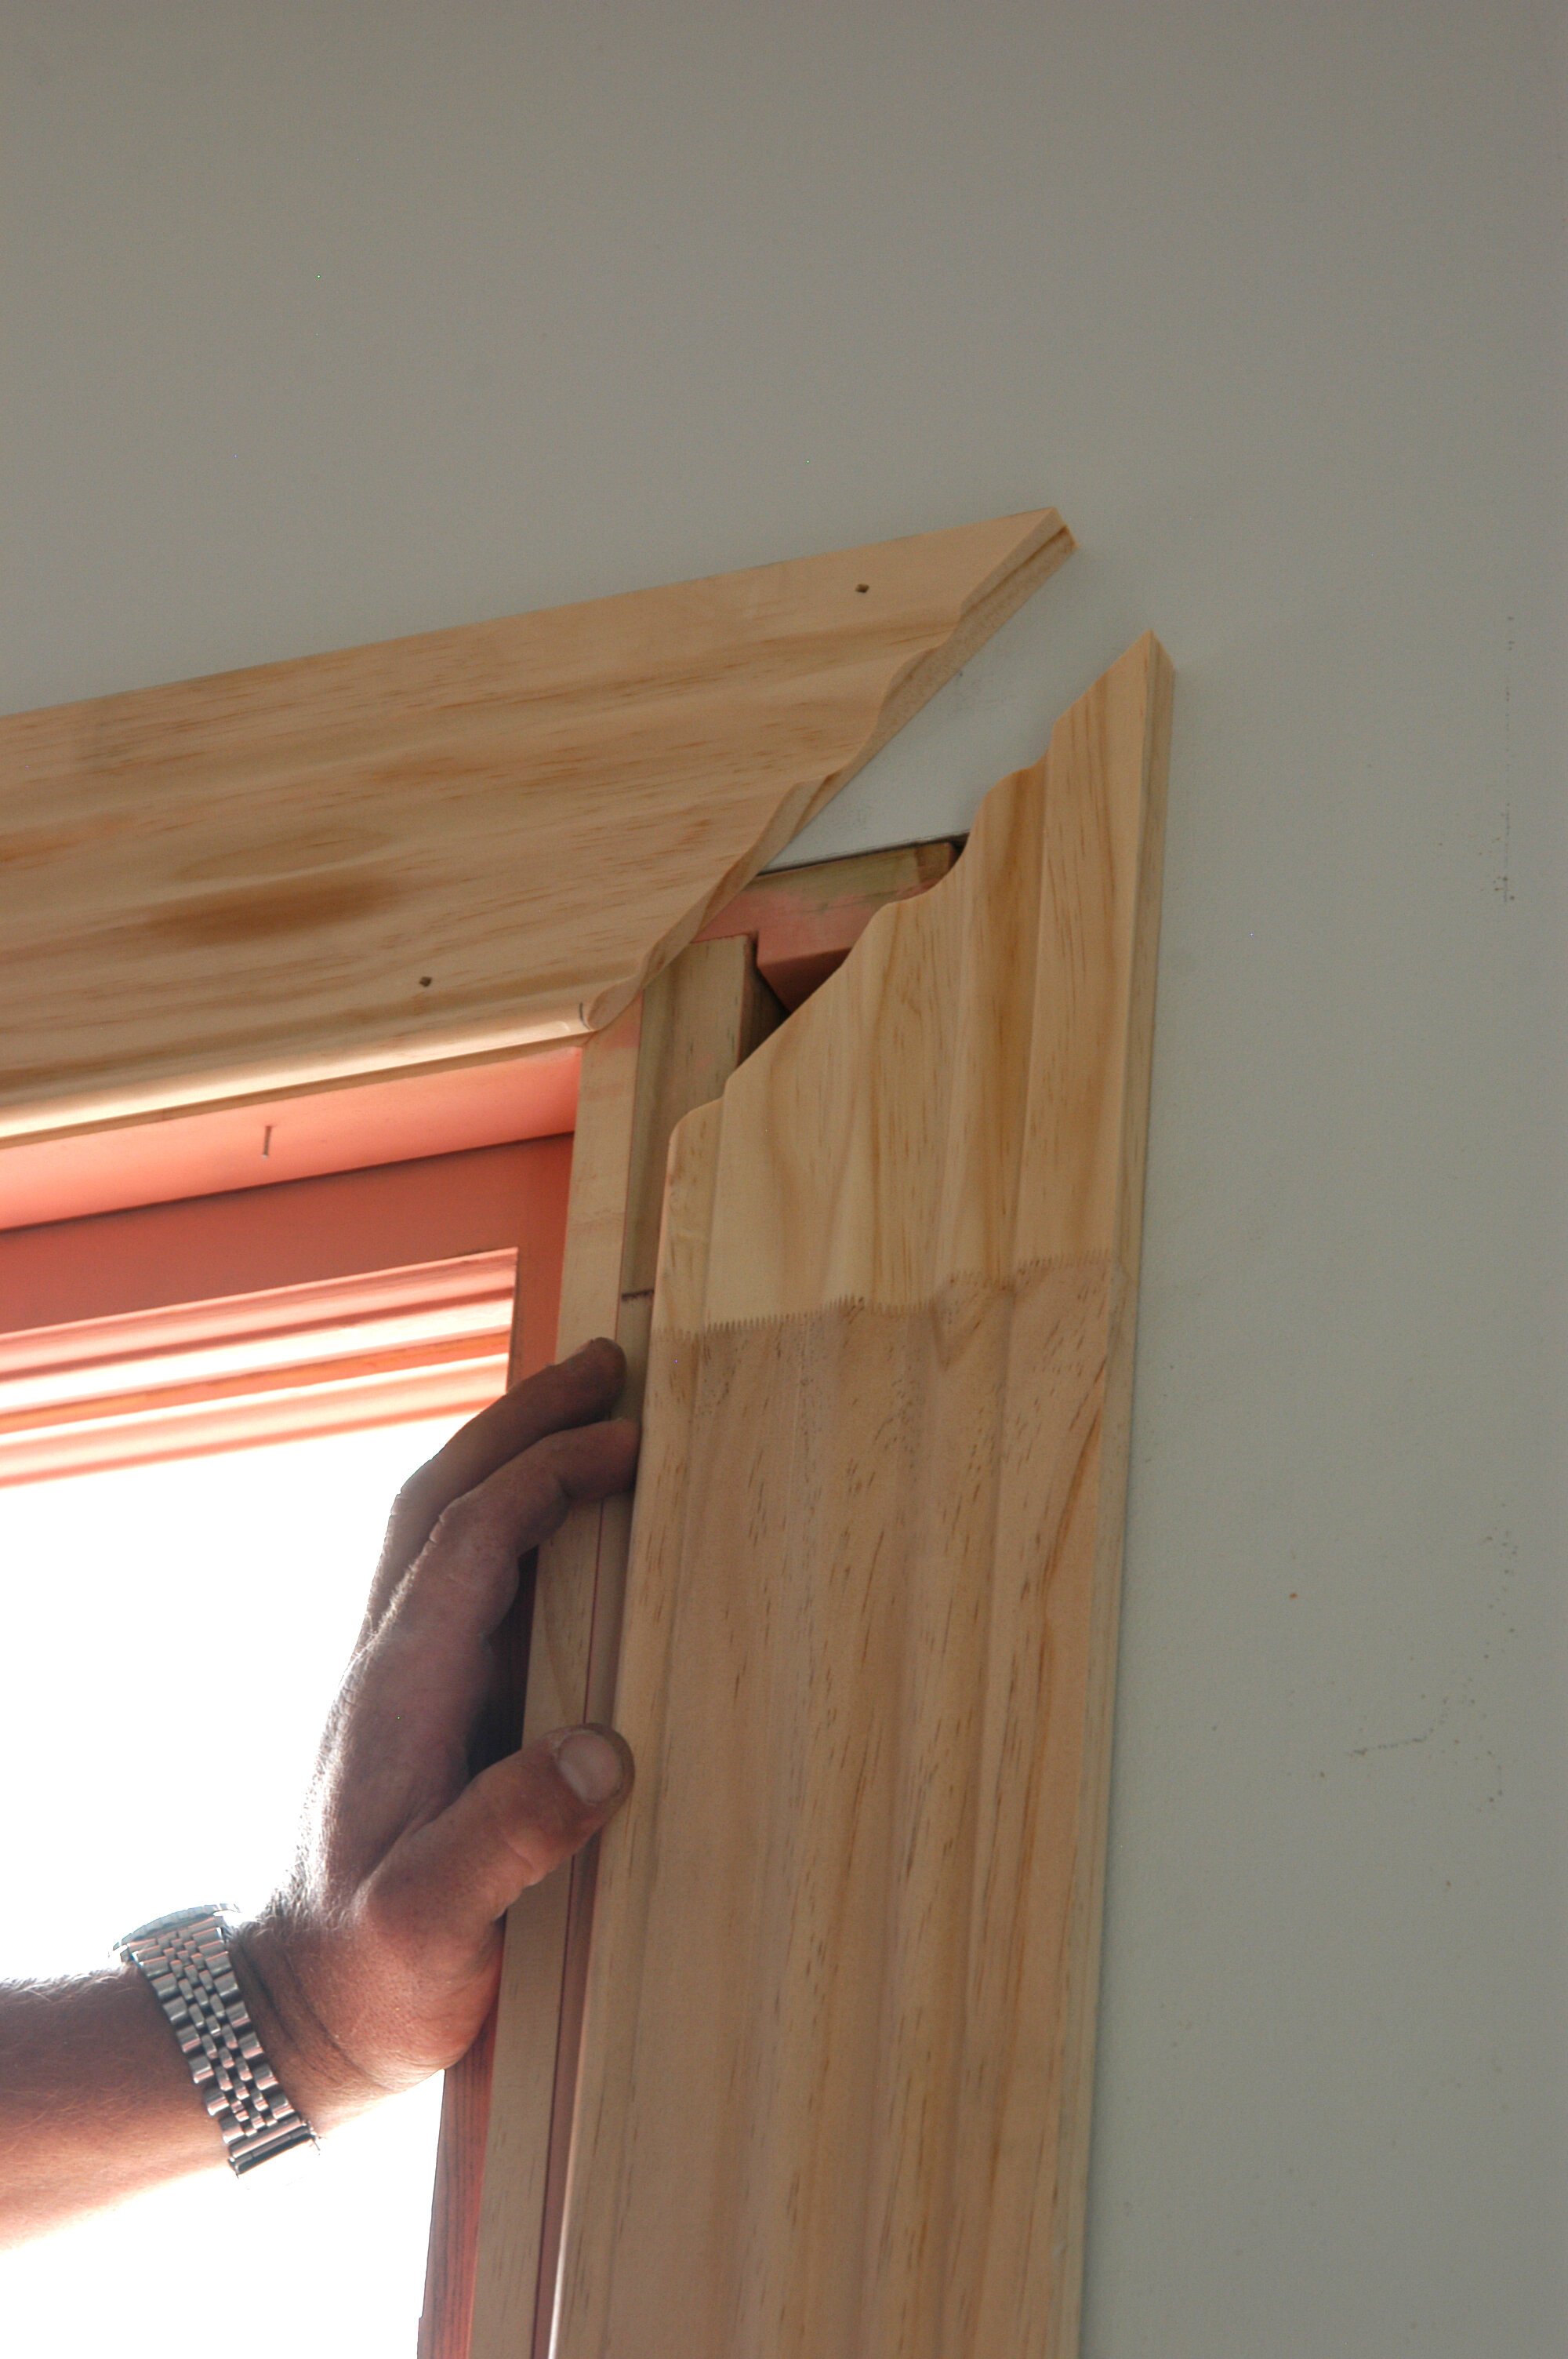
Check each side carefully, as they were different in the case of this villa. Prime the bare wood on the base of the window and the sides of the window that sit against the house before the window is finally fitted, nailed, and screwed in. For the outside, the architrave covers top facings and a tin flashing is pinned on and inserted under the weatherboard above the window to cover the wooden head flashing. To make the scribers for either side of the window outside, set up the front face of the scriber parallel to the facing. We measured the distance from the front of the facing to the front of the scriber and then calculated the total less 3 mm, depending on how it is set up on the house.
Generally, the weatherboard is 3 mm proud of the facing. The scriber is placed down the weatherboard. The plane of the bottom of each weatherboard points at an angle back down to the house. The scriber has to be marked at the highest point of each weatherboard. Measure off a pencil line to the front of the scriber. Using a square to mark the scriber is a good idea as you will get the correct angle of the plane at the bottom of the weatherboard. Set the square to about 4 mm to allow for travel in the scriber as it is fixed on. Pre-prime the back of the scriber before you install it.
Gap with packers
Top flashing
Cut and fold the metal head flashing which has to be inserted under the weatherboard and over the wooden head flashing. Use a sabre saw to cut nails in the weatherboard so the flashing is inserted a minimum of 30 mm. An under-sill is nailed under the window outside and inside. Inside, only tack the architraves because you have take them off to adjust weights later when the glazing has been installed.
Insert head flashing
Weights
The counter-balanced weights which enable a double-hung sash windows to stay open in the classic system were usually cast iron and suspended on sash cords. New double-hung window systems now may use polypropylene cords.
Weights may be lead, although because of the expense you might like to source old cast iron weights from a demolition yard. Weights are attached in different ways. In one set-up, the cord goes through a small top hole on the weight and out a large side hole where the cord is knotted and fitted back. A ring on top with the cord tied to the ring is less common.