Form items for your models in handy plastic
By John Borrows
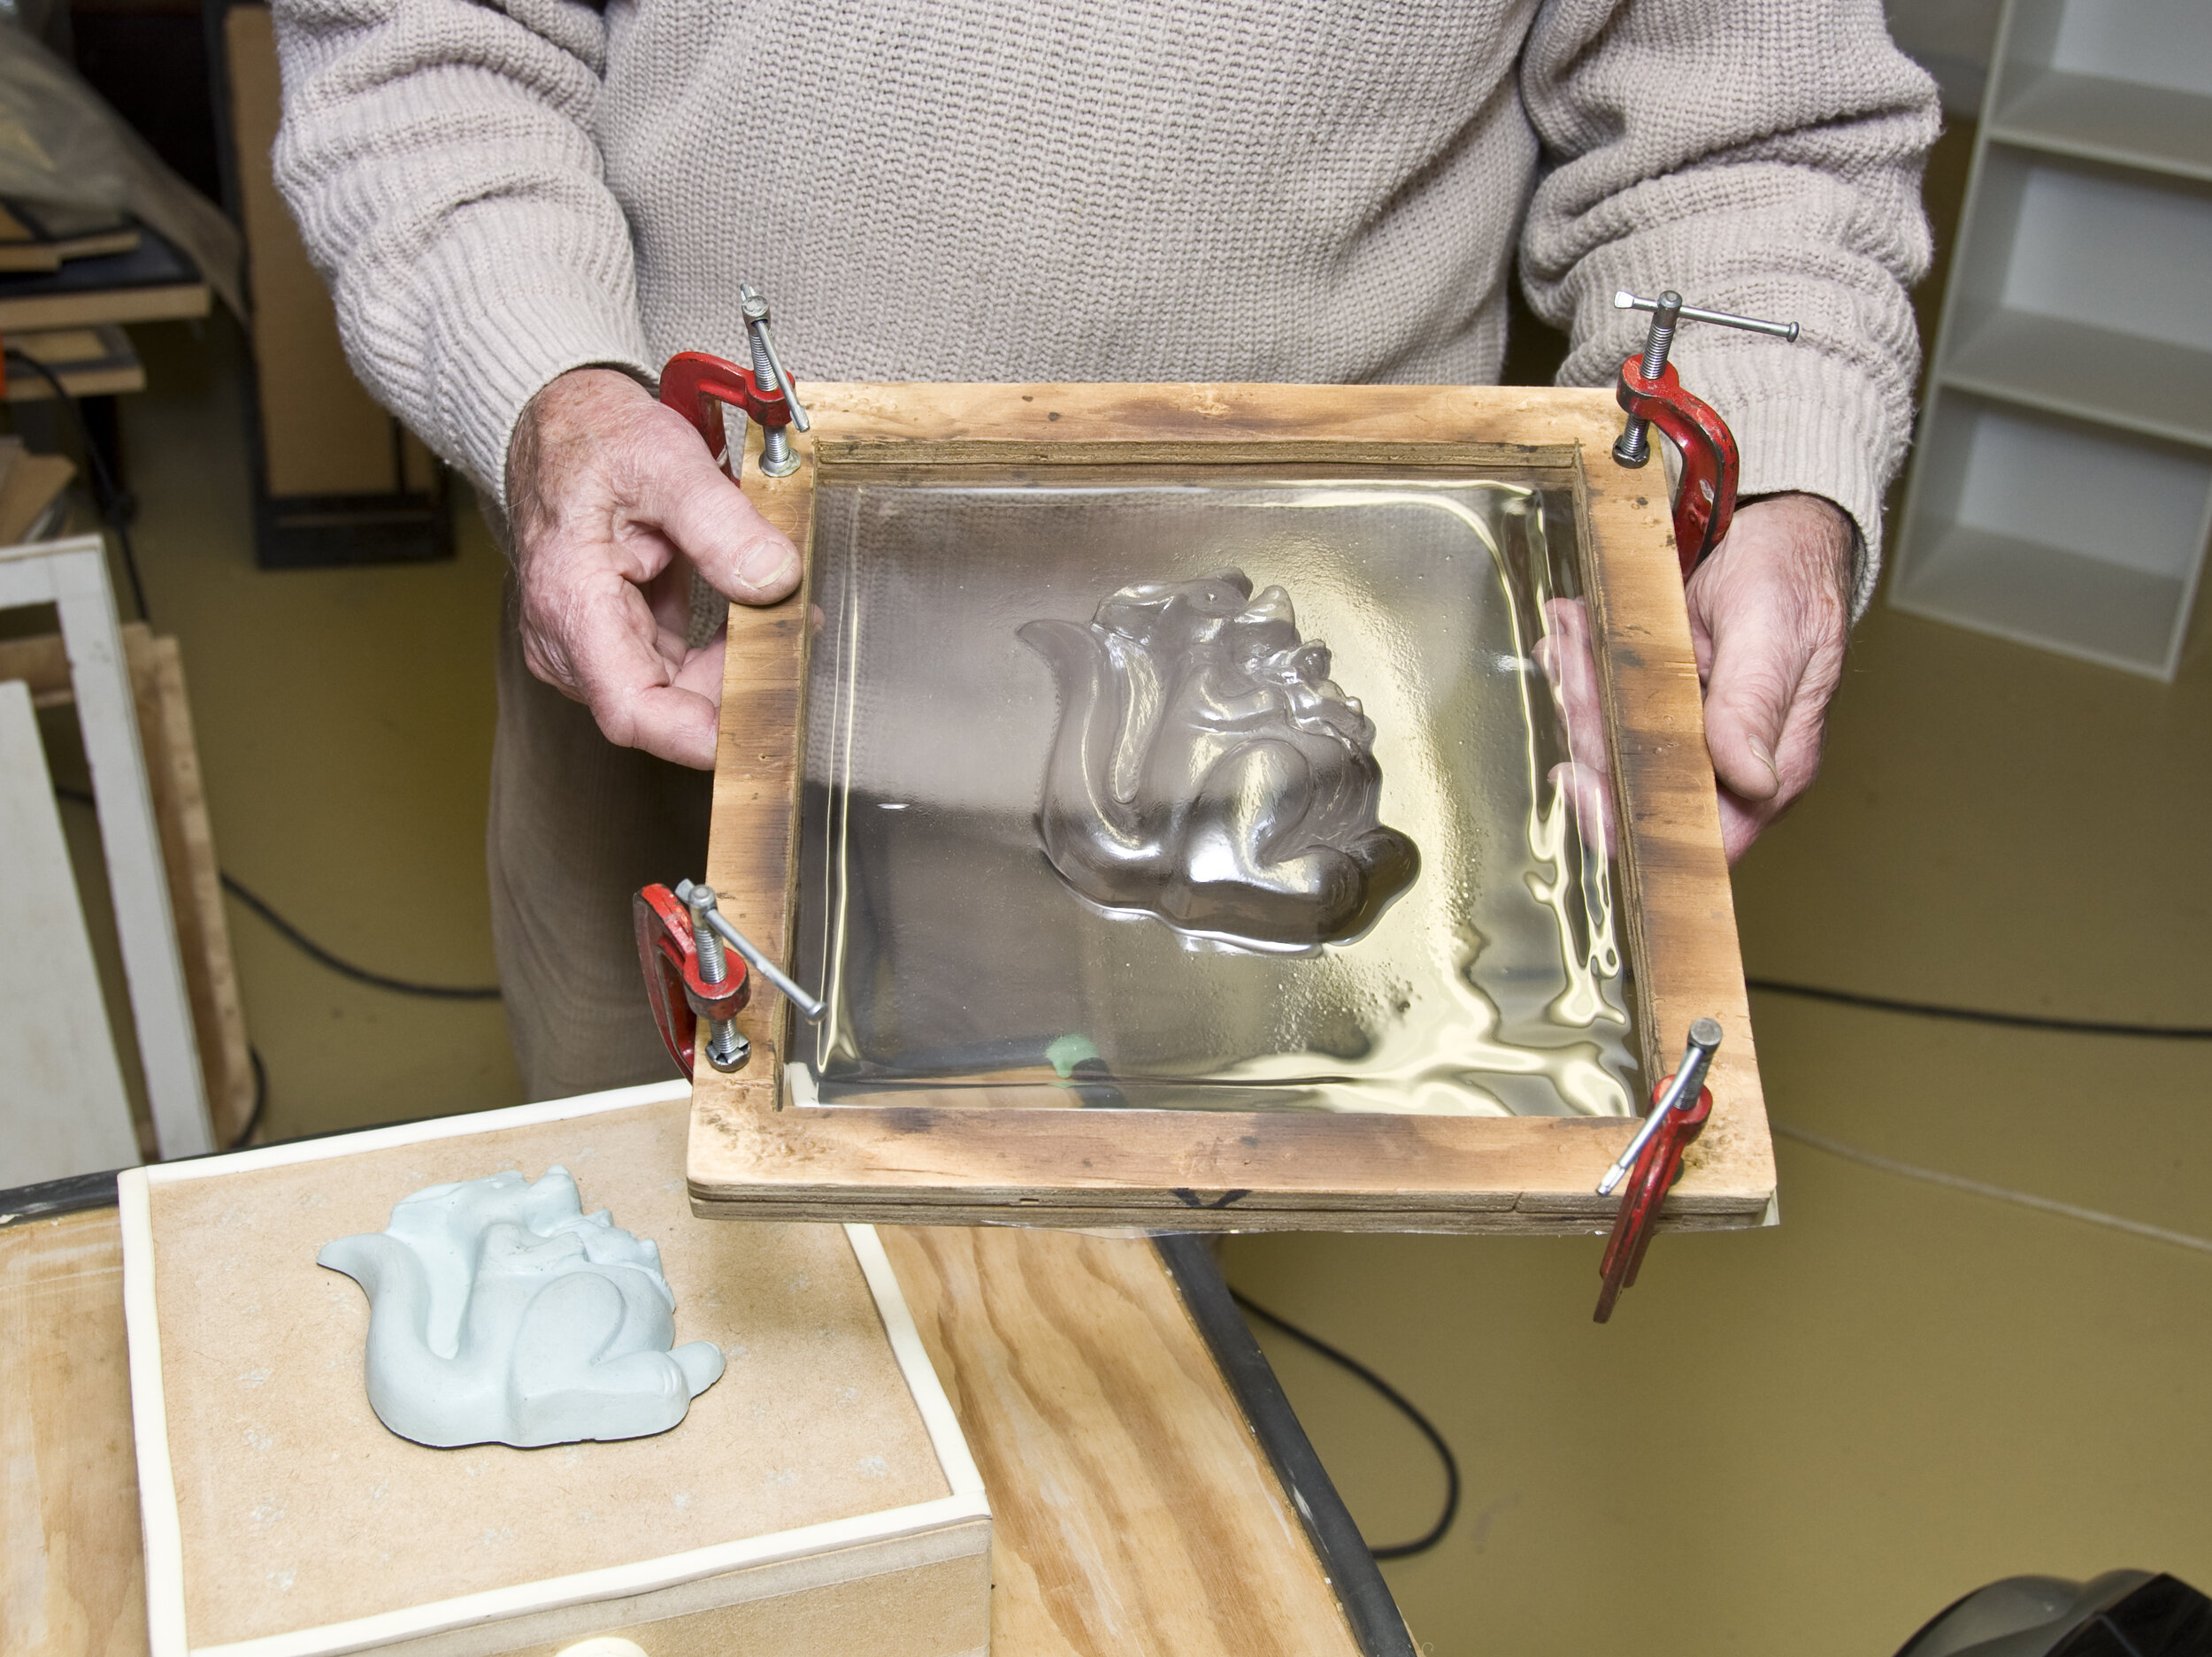
Plastic is sucked over the form by industrial vacuum pump. Note gloves for retrieving frame from oven
A vacuum former is a very handy piece of equipment to have around the home workshop.
It works quite simply: heated plastic is sucked rapidly and strongly over a pattern or formed shape. As soon as the plastic has set again, it retains the shape.
You can see this most commonly in food packaging blisters and packaging that contains nearly everything in the hardware aisles. Over the years, I have been asked to produce sample plastic shapes for various packaging companies that supply mass-produced plastic containers for their goods, for everything from food to farm equipment and power tools to electronic items.
I produce patterns of the various forms – often carved from a piece of builder’s bog with a Dremel tool or out of wood – and then I vacuum-form a plastic shape. Once this is approved, the manufacturers re-create the form pattern by pouring resin and aluminum powder into the prototype forming. The aluminum powder allows the form to be used for longer. These are the patterns that industrial-scale vacuum-forming works on. I have often been asked to make prototype plastic blisters for different chocolate animal shapes to be sold in zoo shops. I have made the shapes of a kangaroo, small koala, a tiger, and a crocodile; I even made the shape for a chocolate rugby ball for the 2011 Rugby World Cup period.
Clamps applied to frame which holds plastic sheet
Frame placed in oven
Three 1000w domestic oven elements produce 3000w. Because of the draw, John uses two circuits, plugging them into two separate power points
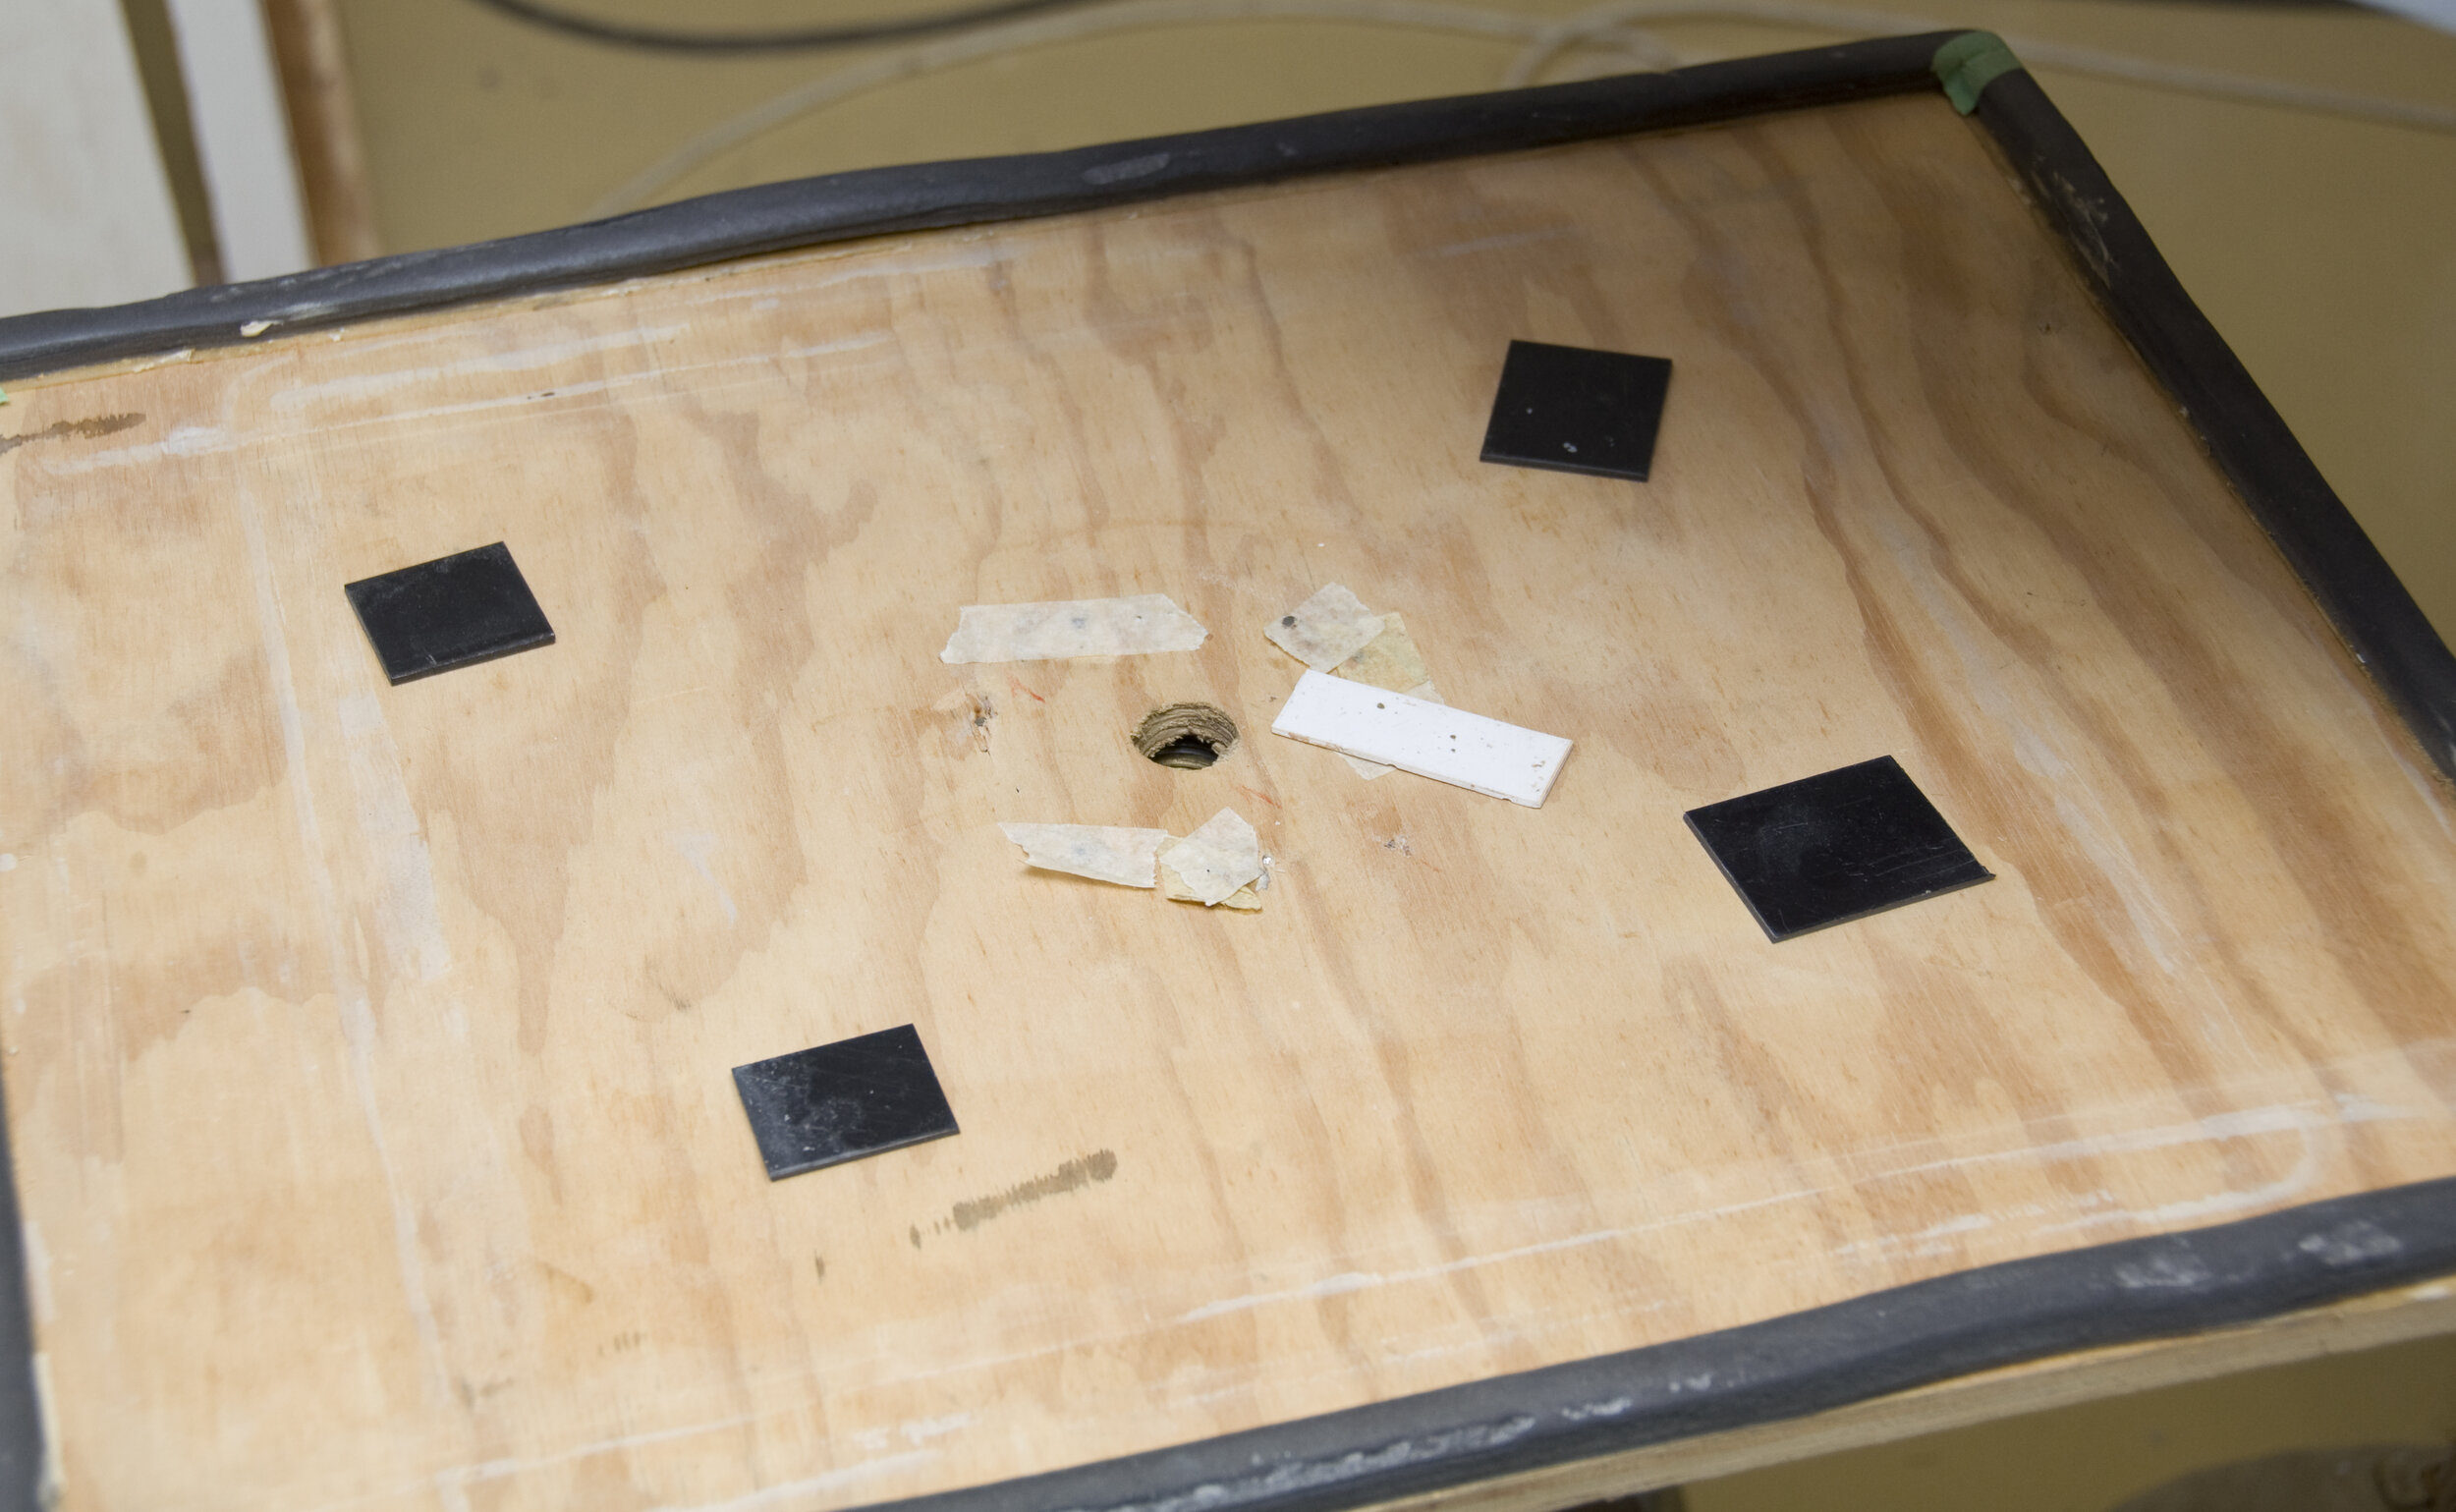
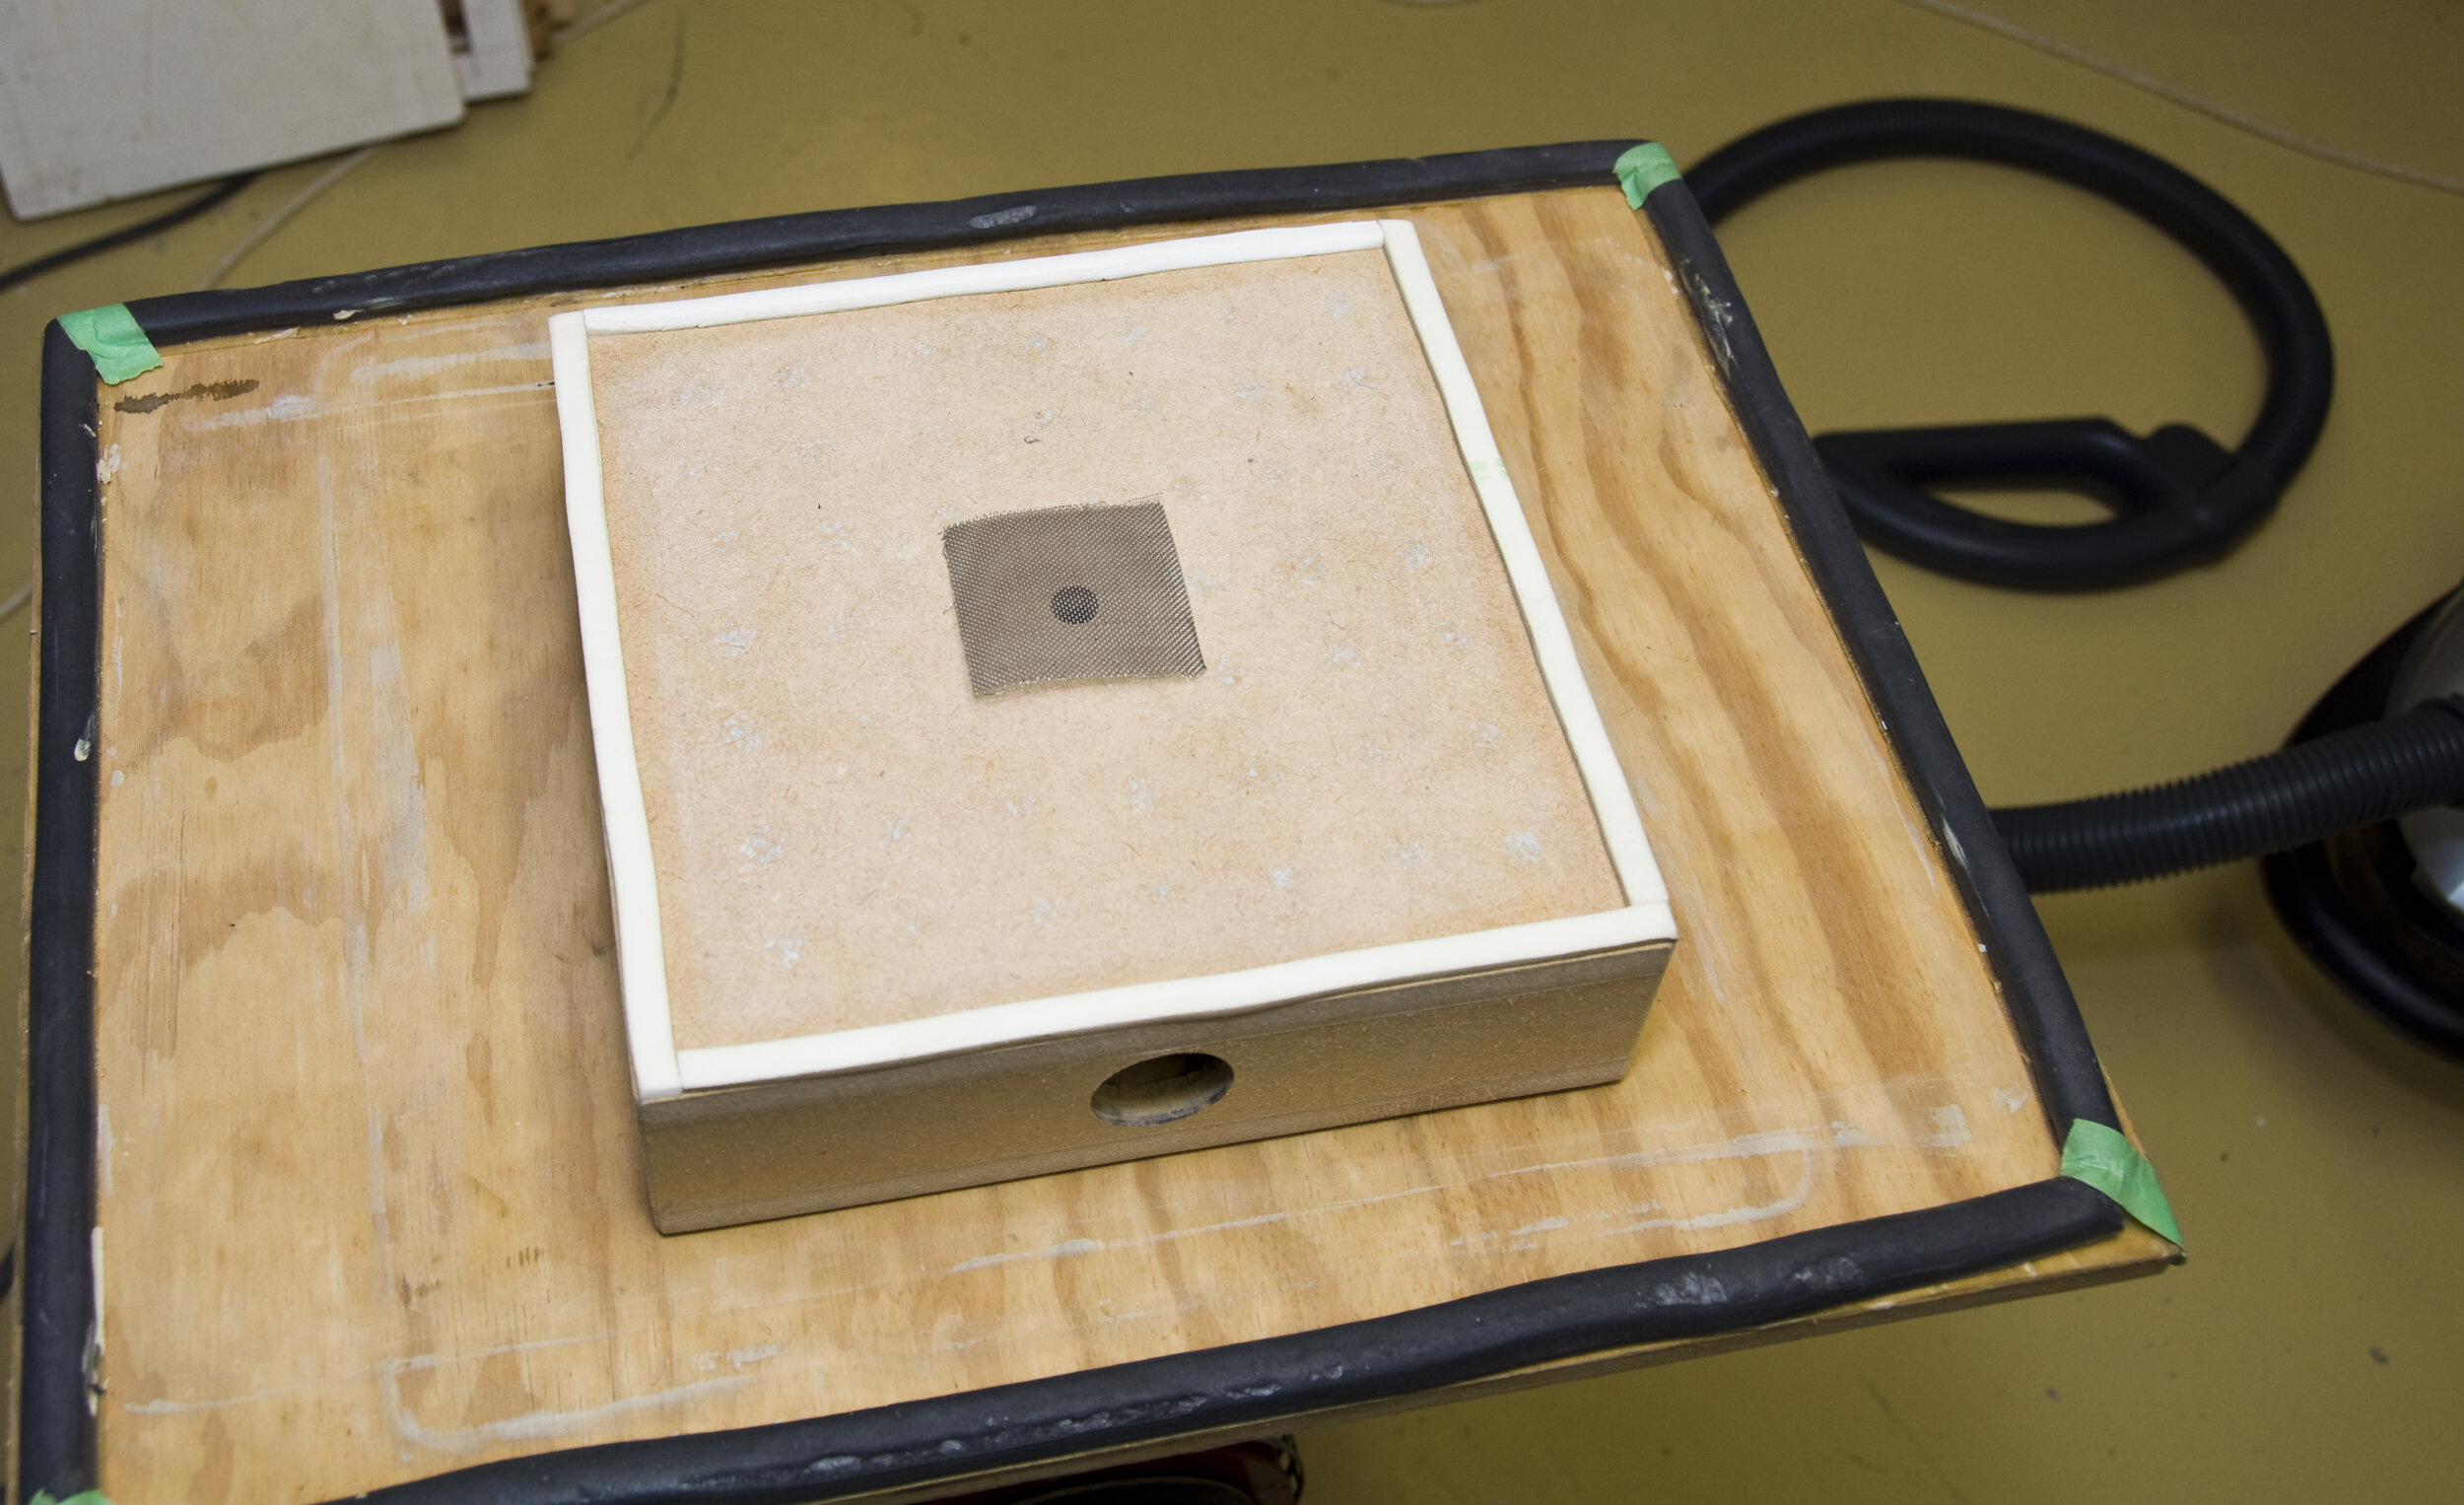
Vacuum former
The vacuum former is simply a table with a hole in the centre through which the air is forcibly sucked.
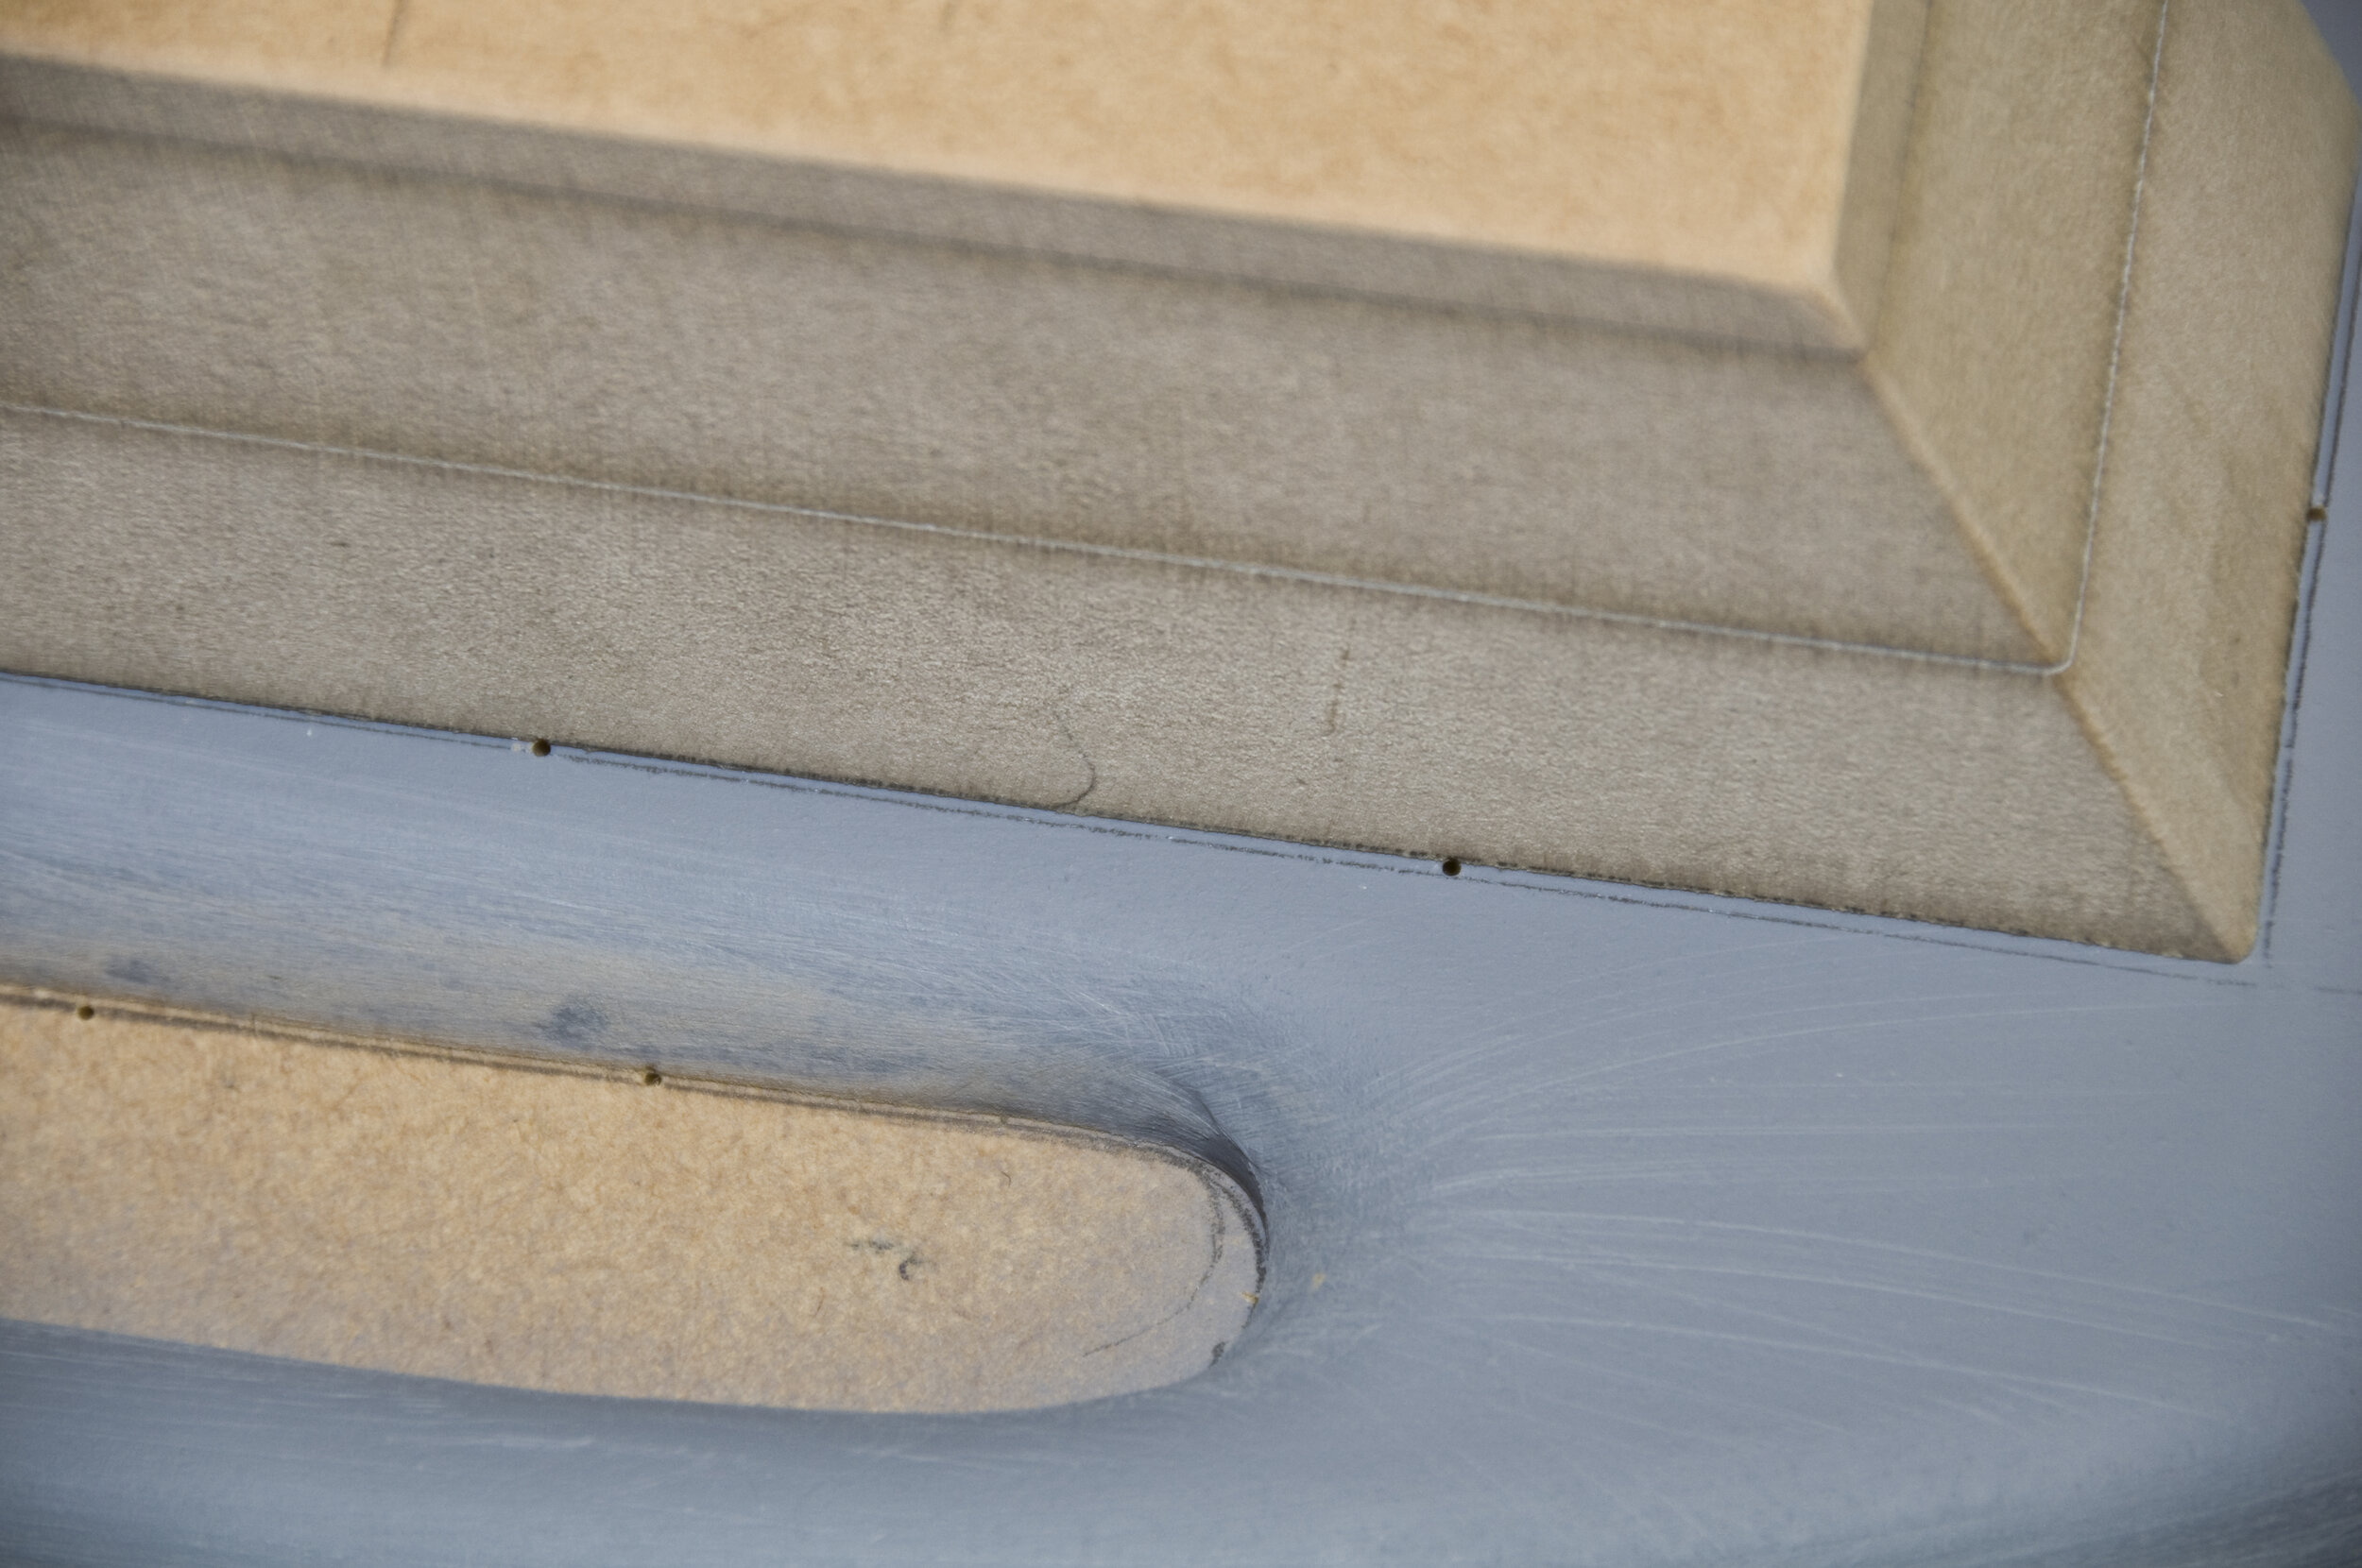
For a lot of my work which is commissioned, I use an industrial vacuum pump. For smaller model items, a small box is useful and the air can be extracted simply by a strong domestic vacuum cleaner. In the beginning for the box, I put eight holes all round the central hole on the surface. But then I found it better to have one hole in the middle of the top of the box to concentrate the force of the air being sucked in and drawing the plastic around the shape or form.
On the small box, I made or on my vacuum-forming table, I sometimes use a piece of wire mesh over the central hole. This is simply to lift the pattern up so that the air which draws in the plastic can circulate. I also use shims on the table or box to keep the pattern lifted, or alternatively carve some grooves under the pattern shape. I also drill small holes in the wooden pattern through which air is sucked.
On the small vacuum box, you could try the idea of using a double-vacuum cleaner to gain enough suck. You could have a T-joint and put two vacuums on either side. When I place the frame with the plastic over the pattern, the frame sits outside the edge of the table or box so that the edge of the platform on which the pattern sits seals the plastic.
Job done
Model-making
This system of vacuum-forming plastic is most useful for models.
When I made my 125:1 scale model of the 269-metre long RMS Titanic I needed 20 lifeboats to fit on the 2.1-metre long replica.
I carved a small shape for the lifeboat out of wood. I place the carved shape of lifeboat upside down on the vacuum-forming table and clamped the heated plastic over it, quickly switched on the vacuum, and formed the plastic version of the boat. I also vacuum-formed the lifeboat covers in plastic.
The top of the funnel was vacuum-formed out of plastic. I have made 12:1 scale models of two famous British steam locomotives, the Flying Scotsman and the Evening Star. The Flying Scotsman was an LNER (London and North Eastern Railway) Class A3 Pacifi c locomotive that famously made the non-stop journey from London to Edinburgh in eight hours at a top speed of 160 km an hour, thanks to its coal and water capacity.
The Evening Star was the famous last mainline steam locomotive built in Britain in 1960, designed for 20 years’ service but made obsolete only five years later when diesel-electric trains were introduced. It is now preserved at England’s National Railway Museum in York.
I needed six spring modules for the wheels of the Evening Star and eight for the Flying Scotsman. I carved the modules out of MDF and vacuum-formed them using black High Impact Polystyrene (HIPS). Once I had the shapes, I filled them with bog to make them solid and painted them in engine colours.
Method
I find the best plastic for vacuum-forming is PVC.
I use 0.5 mm thick PVC for prototypes needed for packaging large objects. Other material frequently used is HIPS, common for food containers and food packaging and ABS (Acrylonitrile butadiene styrene) plastic which you find, for example, in computer cases and monitors.
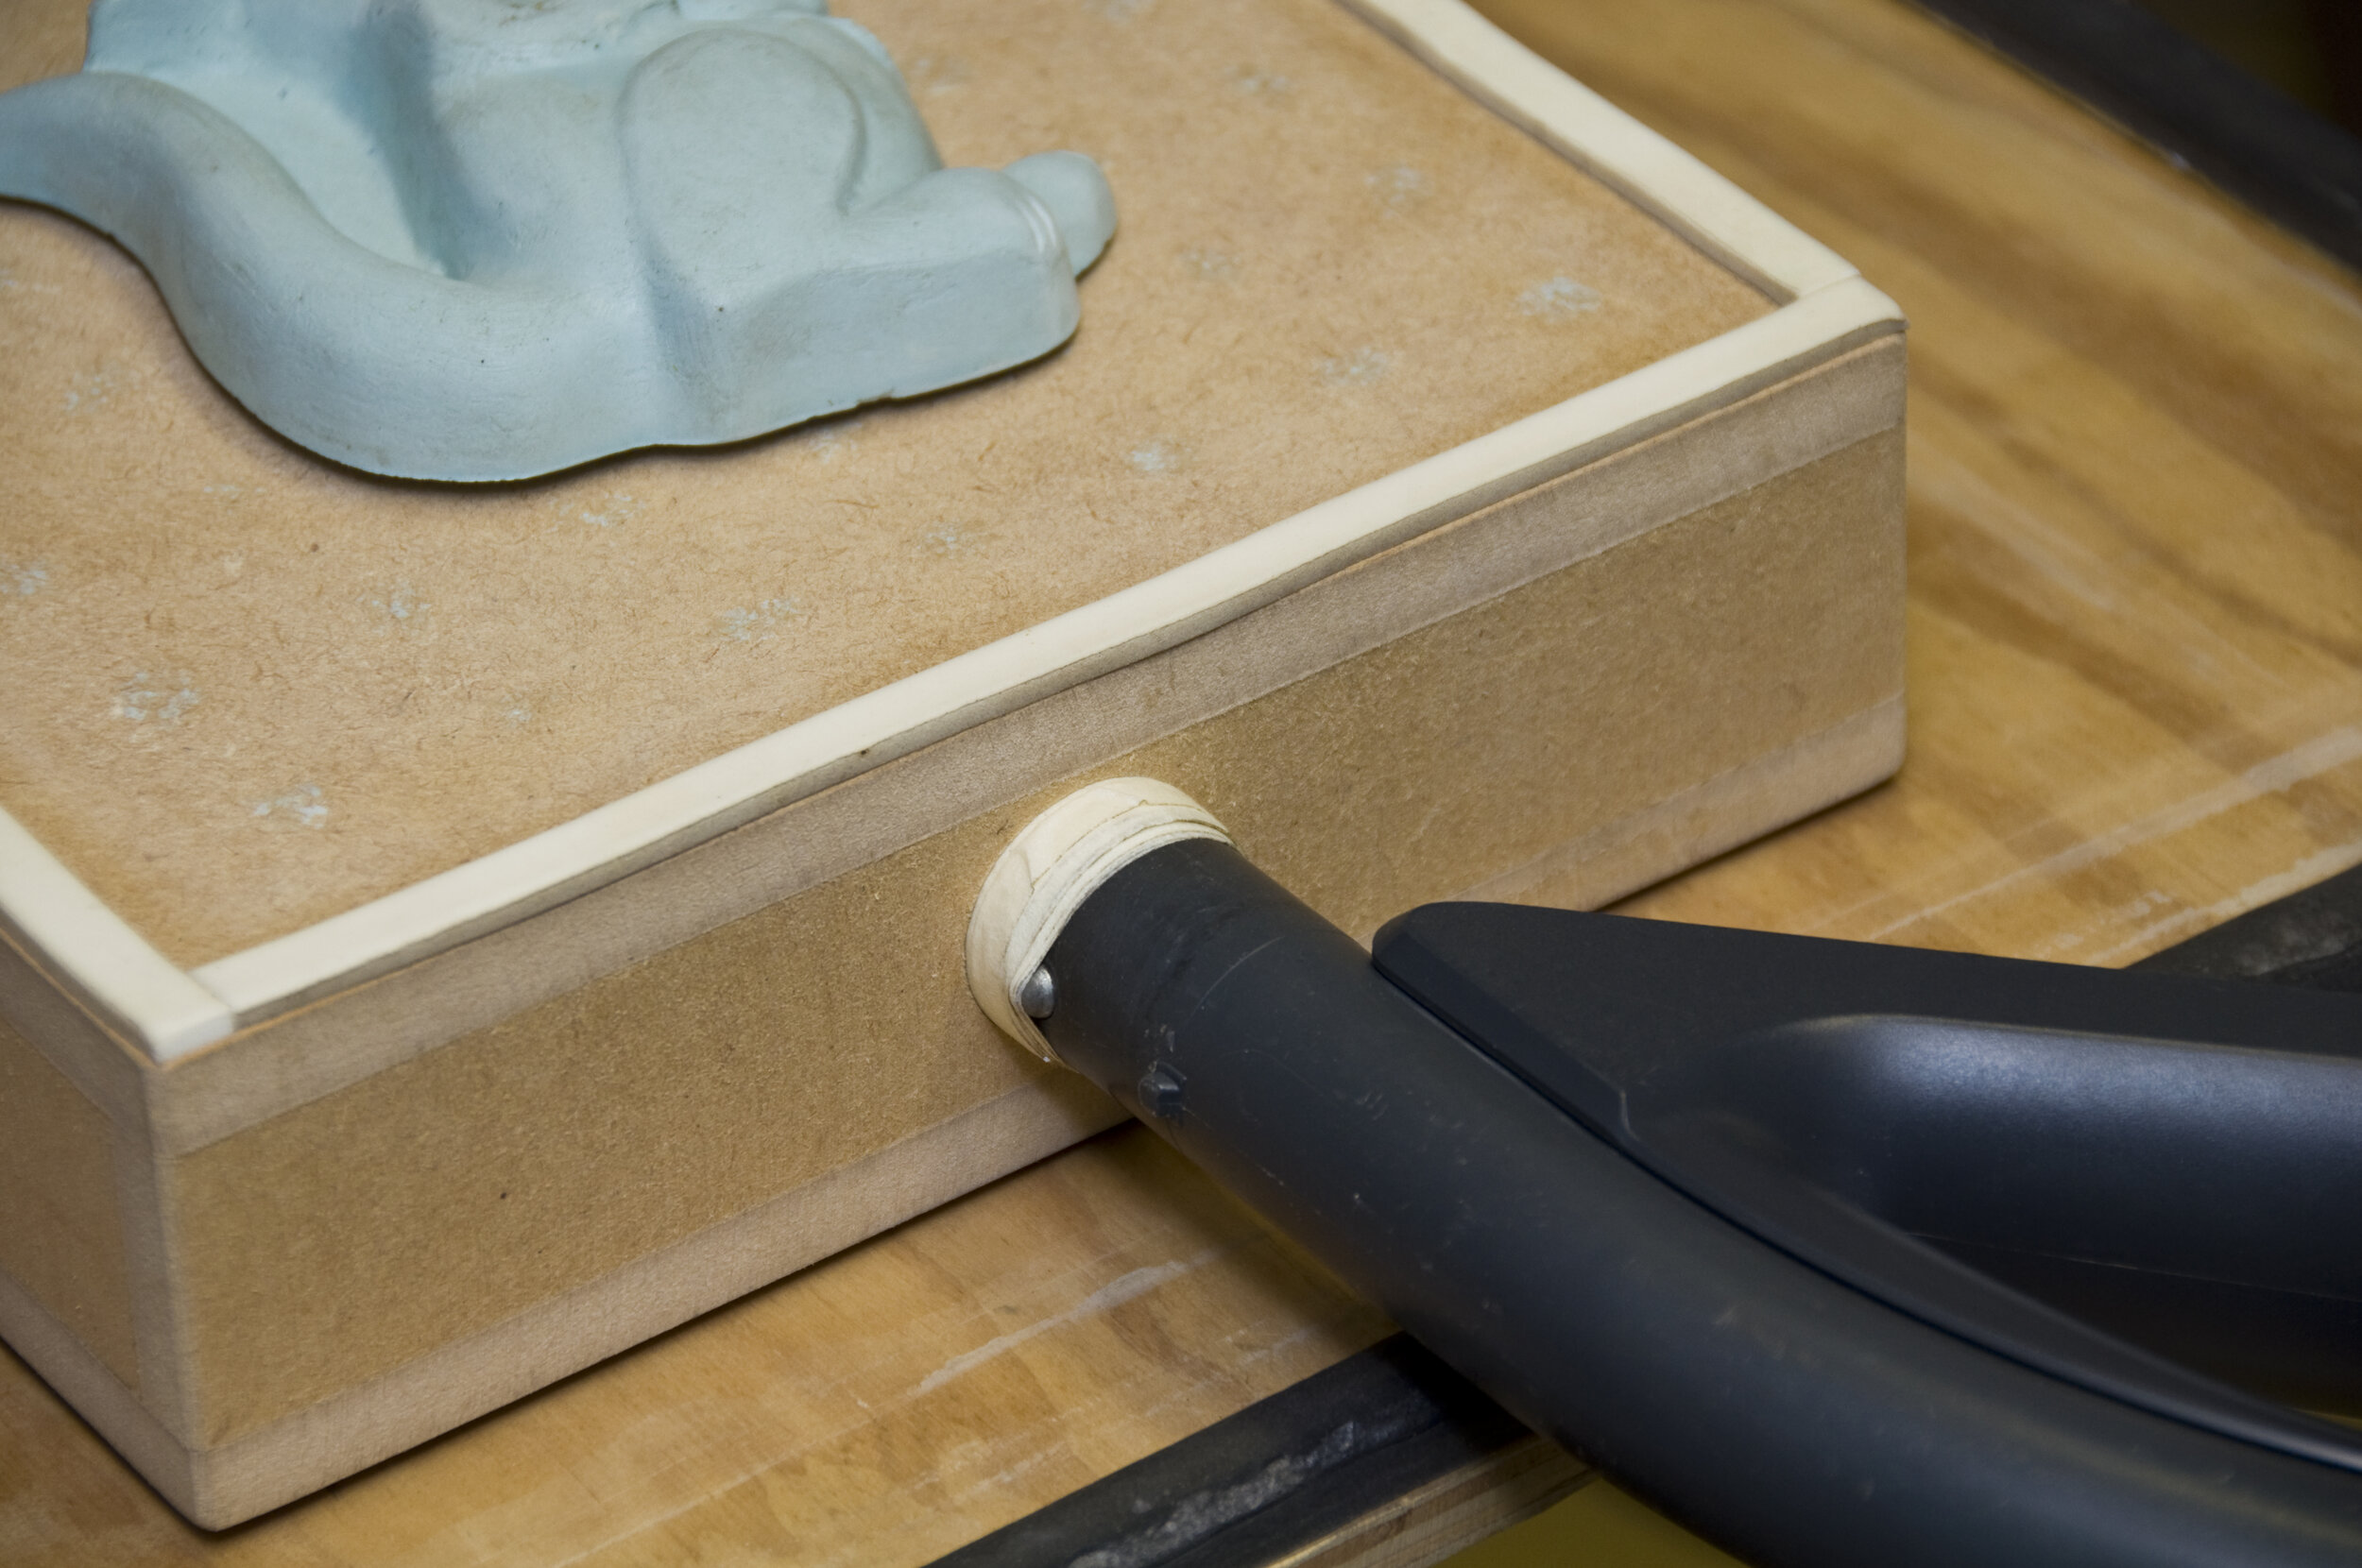
You cut the sheet of plastic the right shape to fi t the wooden frame. I have several different shapes and sizes of frames. You don’t want to waste plastic and the smaller frames are adequate for some of the smaller items, especially for model-making. Make sure there is plenty of room to cover the formed shape when the plastic is shrunk. Clamp the sheet in the wooden frame and prepare the table or box with the vacuum ready to be switched on.
I use an oven with three elements delivering a total of 3000w but for smaller objects, a domestic oven or purpose-made heating box will do.
For some of the items for models where the plastic is not so thick, I find a hot air gun is okay. I have also used a small, portable domestic electric heater. This is a metal-box type with two bar elements enclosed by a grille front and a reflector.
This gives off enough heat when you hold the plastic in the frame close to the grille. You have to be quick at placing the frame and heated plastic over the vacuum-former when you are using thin plastic which you would typically heat with a hot air gun. The thin plastic in the frame starts to go cold as soon as you remove the hot air gun. So move quickly to place it firmly over the pattern where the vacuum can start sucking it around the shape.
Thicker plastic tends to hold the heat longer and is more forgiving about the speed with which you place the frame over the mould before creating a vacuum.
Make sure an even heat is delivered to the plastic. If it gets too hot, the plastic collapses. You can tell when the plastic is soft enough to be molded when you see it sag or you can touch and find it yields.
PVC is pretty forgiving but if you have formed the shape and it has not come out right, you can always heat the plastic again and try a second time. The shape goes back to a flat plastic inside the frame. I use heat-proof gloves as it is hot extracting the frame from the oven and you need to be careful when holding any frame and using the heat gun on the enclosed plastic.
Hot air gun is enough to heat plastic for small items

Carved pattern used to vacuum-mould wheel springs for the model Evening Star, a British Railways BR Standard Class 9F locomotive
Wheel springs for the model of the Flying Scotsman. The model of the Titanic in the background had lifeboats and funnel formed from plastic moulds


Fancy chocolate container was vacuum-formed from a pattern of wallpaper pasted on bog
Domestic oven
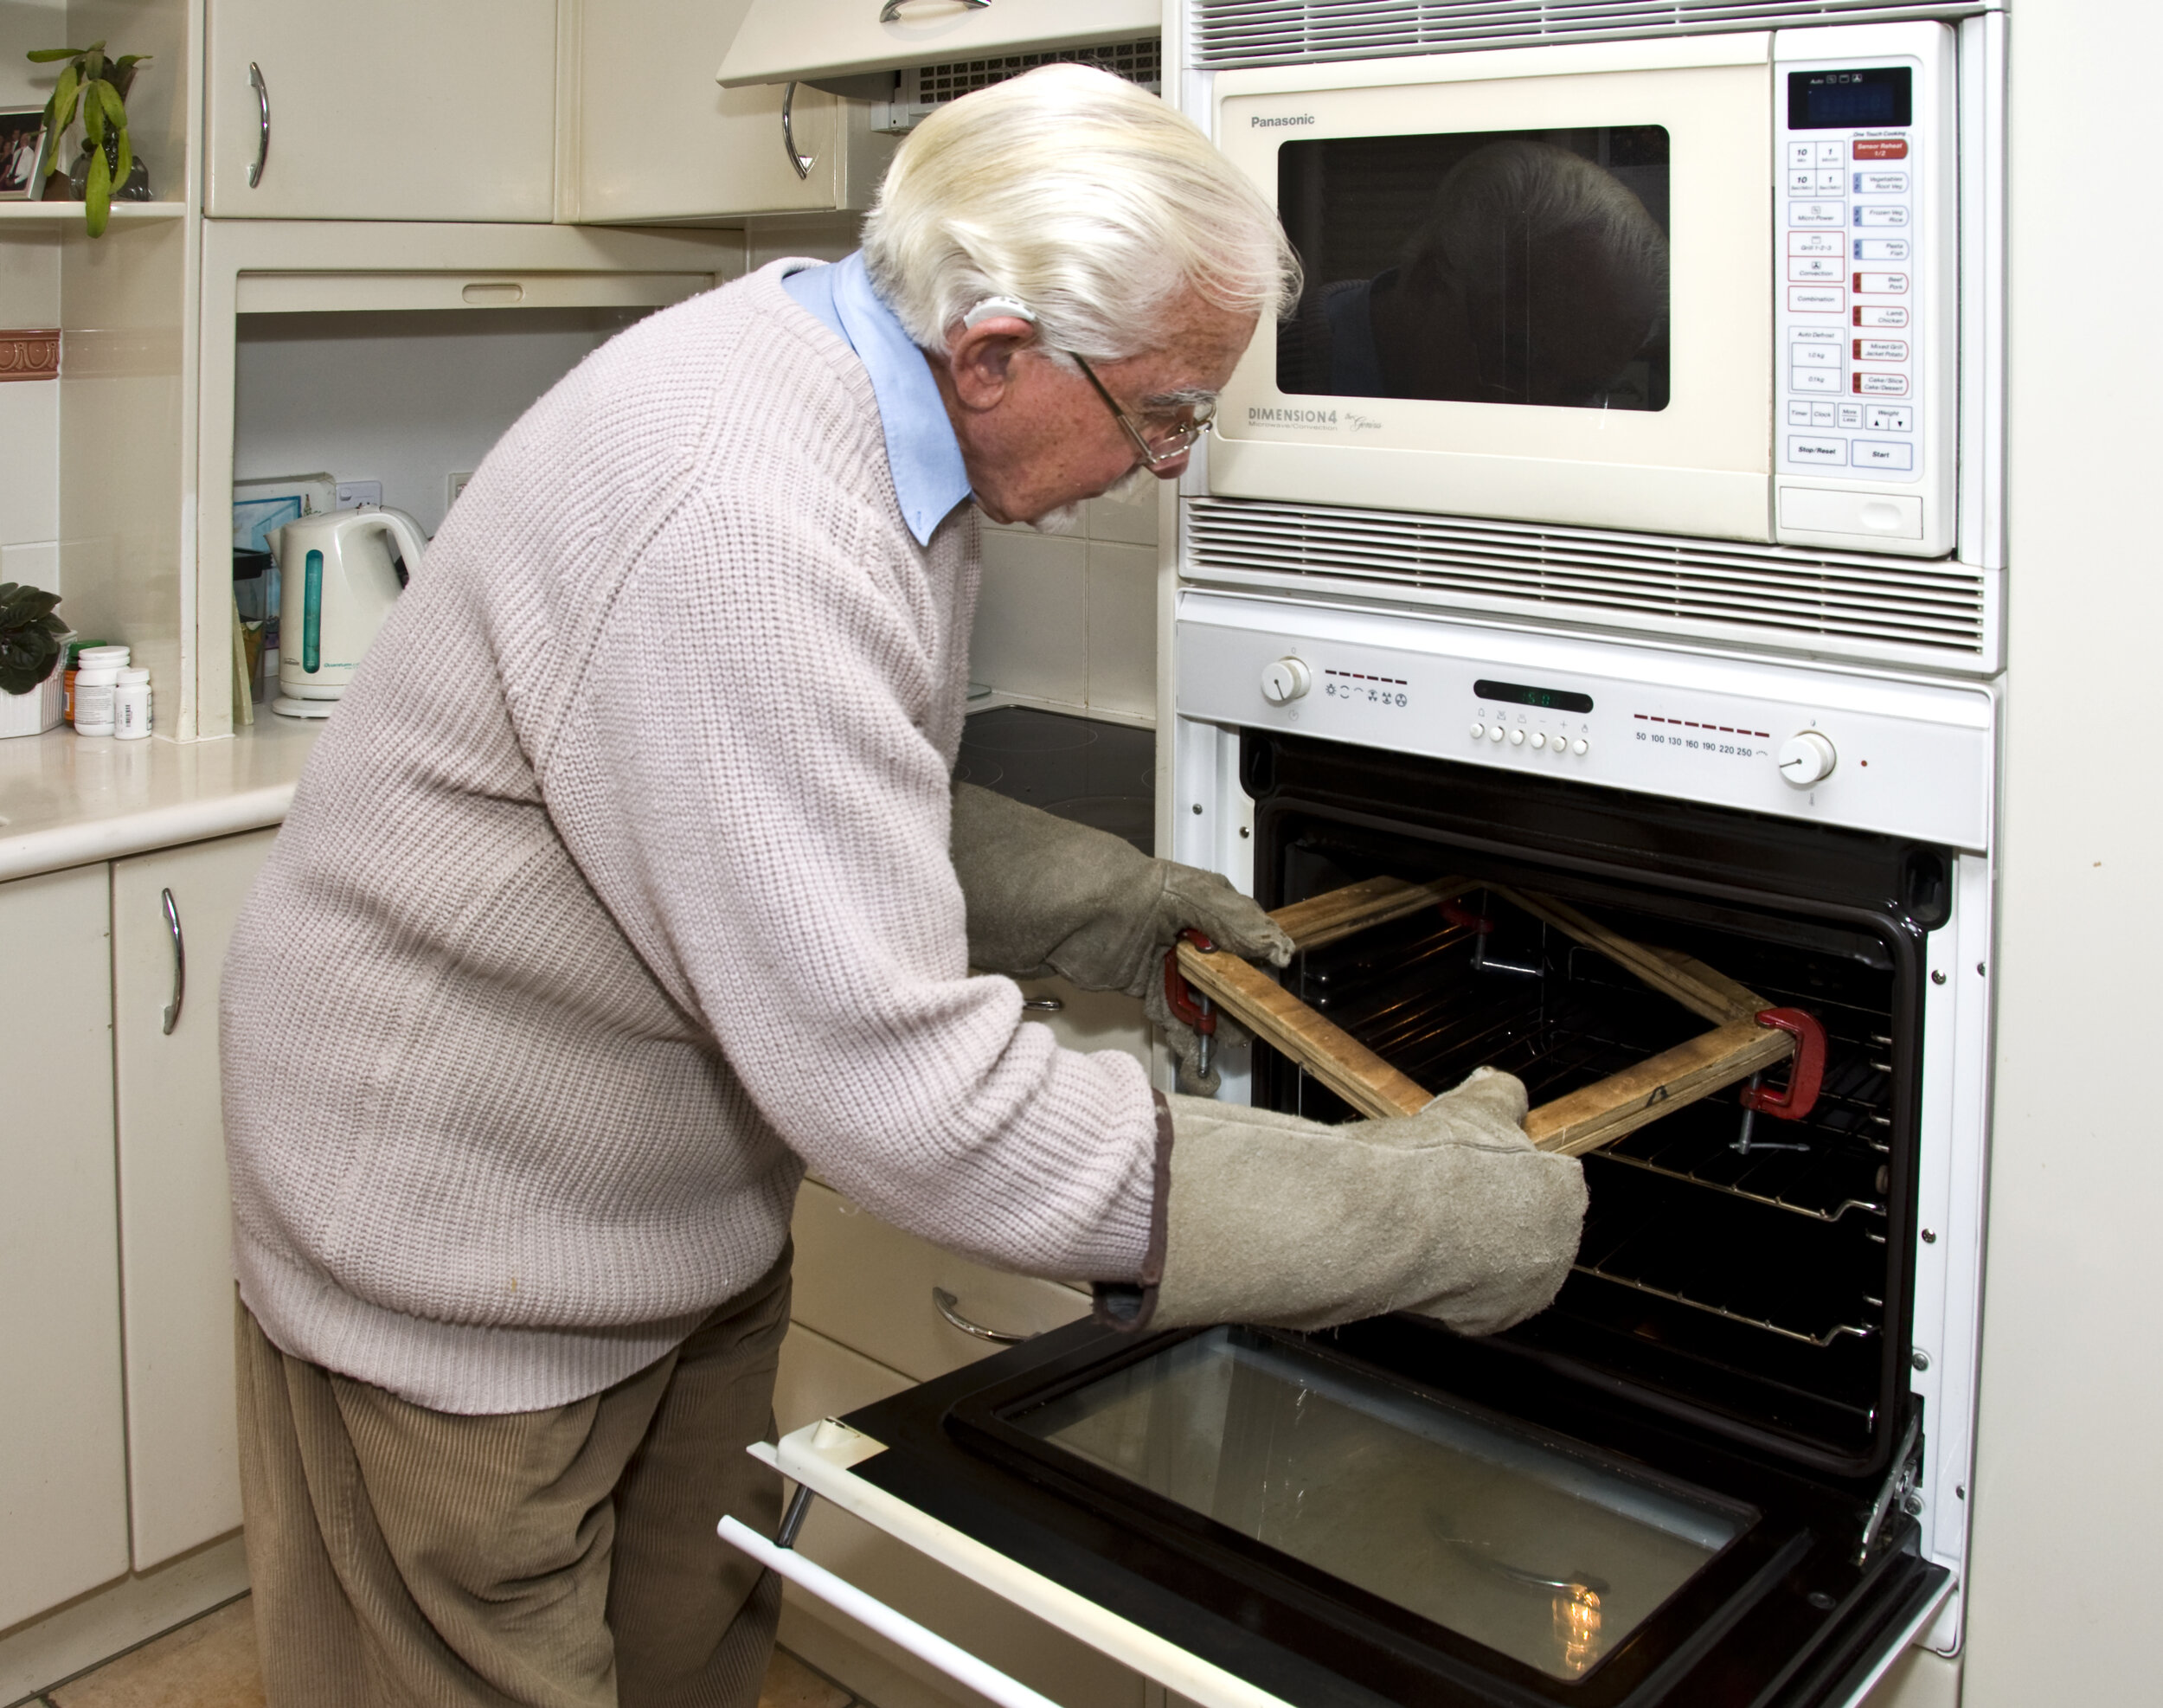
When I heat the plastic in the ordinary domestic kitchen oven, I use the top “high” setting to start.
Wearing gloves, I put the frame in on a rack so it is close to the top element. Because the element has bars, it pays to move the frame and turn it around because the elements in a kitchen oven provide localised heat and you want to avoid heat spots.
It takes a while to get the plastic soft because our kitchen oven has only one 1000w element unlike my three-element 3000w heating box in my workshop downstairs. You can feel the plastic to see when it is starting to go soft and you can also see the plastic starting to sag in the middle. You have to play around, bringing it up close to the element to get the plastic nice and soft. You could close the door to contain the heat. You have to be quick to get the plastic over the form.

Oven building
This article wouldn’t be complete without some tips on building an oven and John Borrows kindly undertook that for us.
The task was made easier by a timely visit to The Warehouse where he managed to find a small set of metal shelves for only $19. The shelving storage unit set consisted of a top and two sides of pressed steel and four shelves. They were exactly the right proportions and converted easily to become an oven frame. Each one of three shelves became one side of the three-sided oven (the fourth side remained open) and the shelving framing was used to connect the shelves and contained the cladding.
We located a replacement element for a stove for only $32 from an appliance repairer. It’s rated at only 1600 Watts and while a higher wattage would work a little faster, this is adequate. The wires that run inside the oven need to be high-temperature wires that are available from any electrical wholesaler.
The whole unit is clad with tile underlay cut to size. A small reflector made from a piece of stainless steel was added to the roof. It was separated by a small standoff and bolted to the braces on top.
The reflector holds the element. The wires run back to a hole in the rear of the box where the connections run into a connector housed in a shaped block of Formica holding a terminal block.
Home-built moulding oven. Element is bolted to the reflector
Adapting the original shelving storage unit
Earth connection and high-temperature wires
Shaped Formica block holds terminal connector
Cutting the tile underlay to fit
John used Formica as this was what he had to hand, but an electrical junction box cover mounted on MDF would suffice.
There is no heat at this point. It’s essential to connect the earth. As the reflector is bolted to the braces which in turn are bolted to the casing, the whole structure can be earthed via the earth lead. It’s very important to get this right. CHECK the continuity just to be sure. We also recommend that you connect the oven to the power supply through an RCD device.
When the element working heats up, it can take 2-3 minutes to get to the right temperature. This time could be sped up with a higher wattage element but this one works fine.
Test the temperature by testing the flexibility of the plastic sheet that you want to mould. It may take some trial and error with different materials to work out the optimum time to heat the plastic. In the case of the project outlined here, John used High Impact Polystyrene Sheet (HIPS).
Testing flexibility of plastic sheet
John Borrows and finished mould