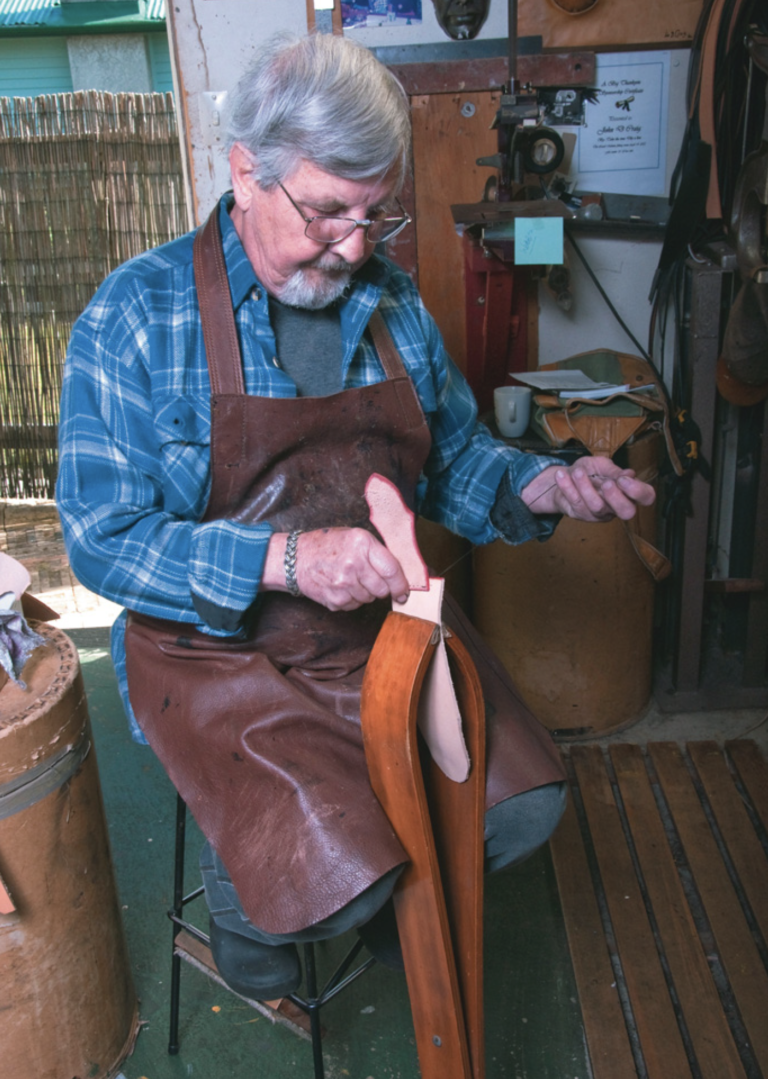
A leather craftsman’s take on great Kiwi summer footwear
By John D Craig
Photographs Jude Woodside
The name “jandal” appeared back in late October 1957 referring to a style of summer footwear that has become synonymous with Kiwis and BBQs. Not many New Zealanders have never owned a pair of jandals. The name Jandal is trademarked and refers to the original rubber thong variety with its specific rubber formula which sets it apart from jandals made in other materials. But it is within the capabilities of any good craftsman/handyman to make a pair of leather jandals (or thongs).
First, we need a pattern for the sole. For yourself, stand on a suitable-sized piece of paper and have someone draw around your foot. It’s best to do so while you stand erect to give the maximum silhouette of your foot. The person marking must hold the pen perpendicular and be careful not to slant the pen under the arch of the foot or the heel.
Mark between your large toe and second toe for the slot where the front strap anchorage will be located. Also, mark on the template where the ankle bone is as this will be the location of the strap slots.
You now have the beginnings of your sole. The length is as drawn but allow an extra 10 mm at both toes and heels. The sides need to be shaped for the arch and some allowed for the outside of the foot. Although the outside of the foot is not as wide as the silhouette, this is the fatty side of the foot and not in contact with the sole, so it tends to splay sideways when our weight is supported.
Refining the shape of the sole. You could make a cardboard template either freehand or by tracing an existing sole.
Drawing foot outline
Bark-tanned leather
For the inner sole and upper straps, I use bark-tanned leather (russet) as opposed to chrome (chemical) tanned leather. The difference is a bit similar to a piece of real wood being compared with custom wood. One still has life, the other none. The same with leather. Bark-tanned leather still breathes and is affected by the environment so if we look after it, it will give many years of service. Chrome tanning tends to affect the elasticity and breathability of the hide, compromising its durability and length of life.
Inner sole
For the inner sole, you need russet leather from 1.5 mm to 2 mm thick. This is glued to a 3 mm plain rubber runner using latex glue. Latex glue is basic rubber (from the tree) with water added and used here to glue rubber to leather prior to stitching around the edge.
There are two reasons for this rubber runner:
1/ it cushions the foot from the straps tucked underneath; and
2/ it gives a good surface for gluing on the outer sole.
The term runner refers to this sheet of rubber having no pattern, unlike the bottom sole.
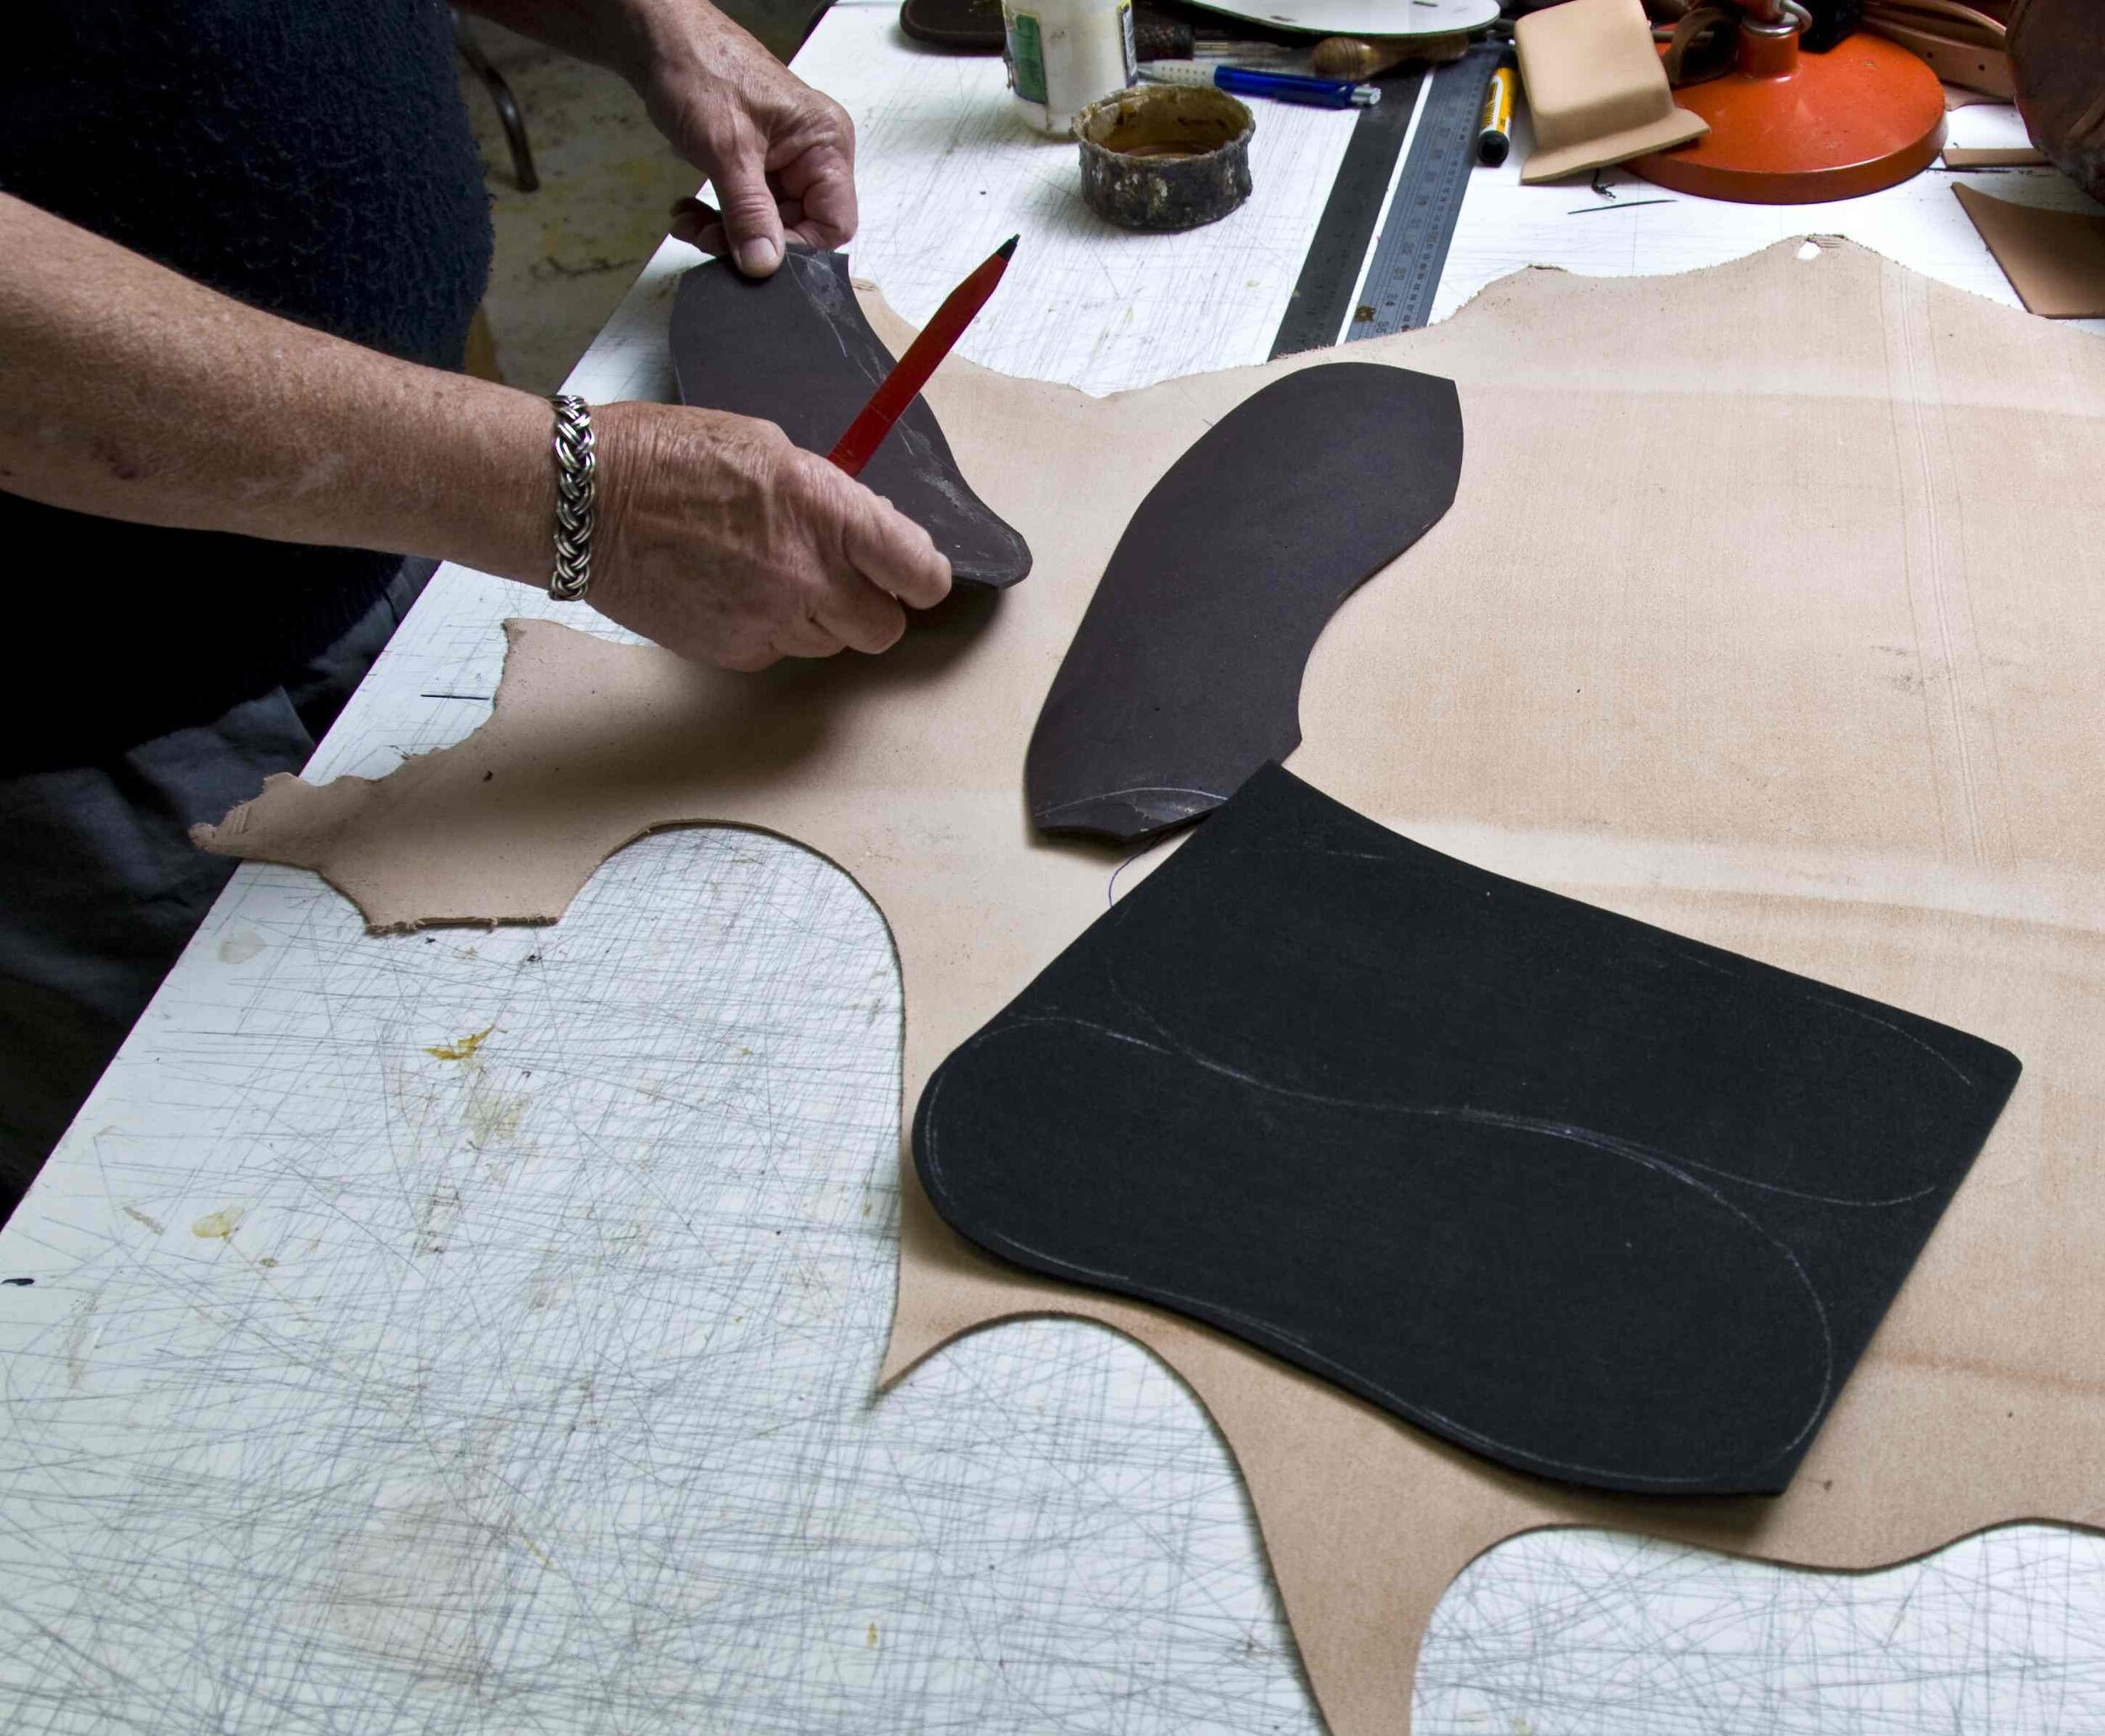
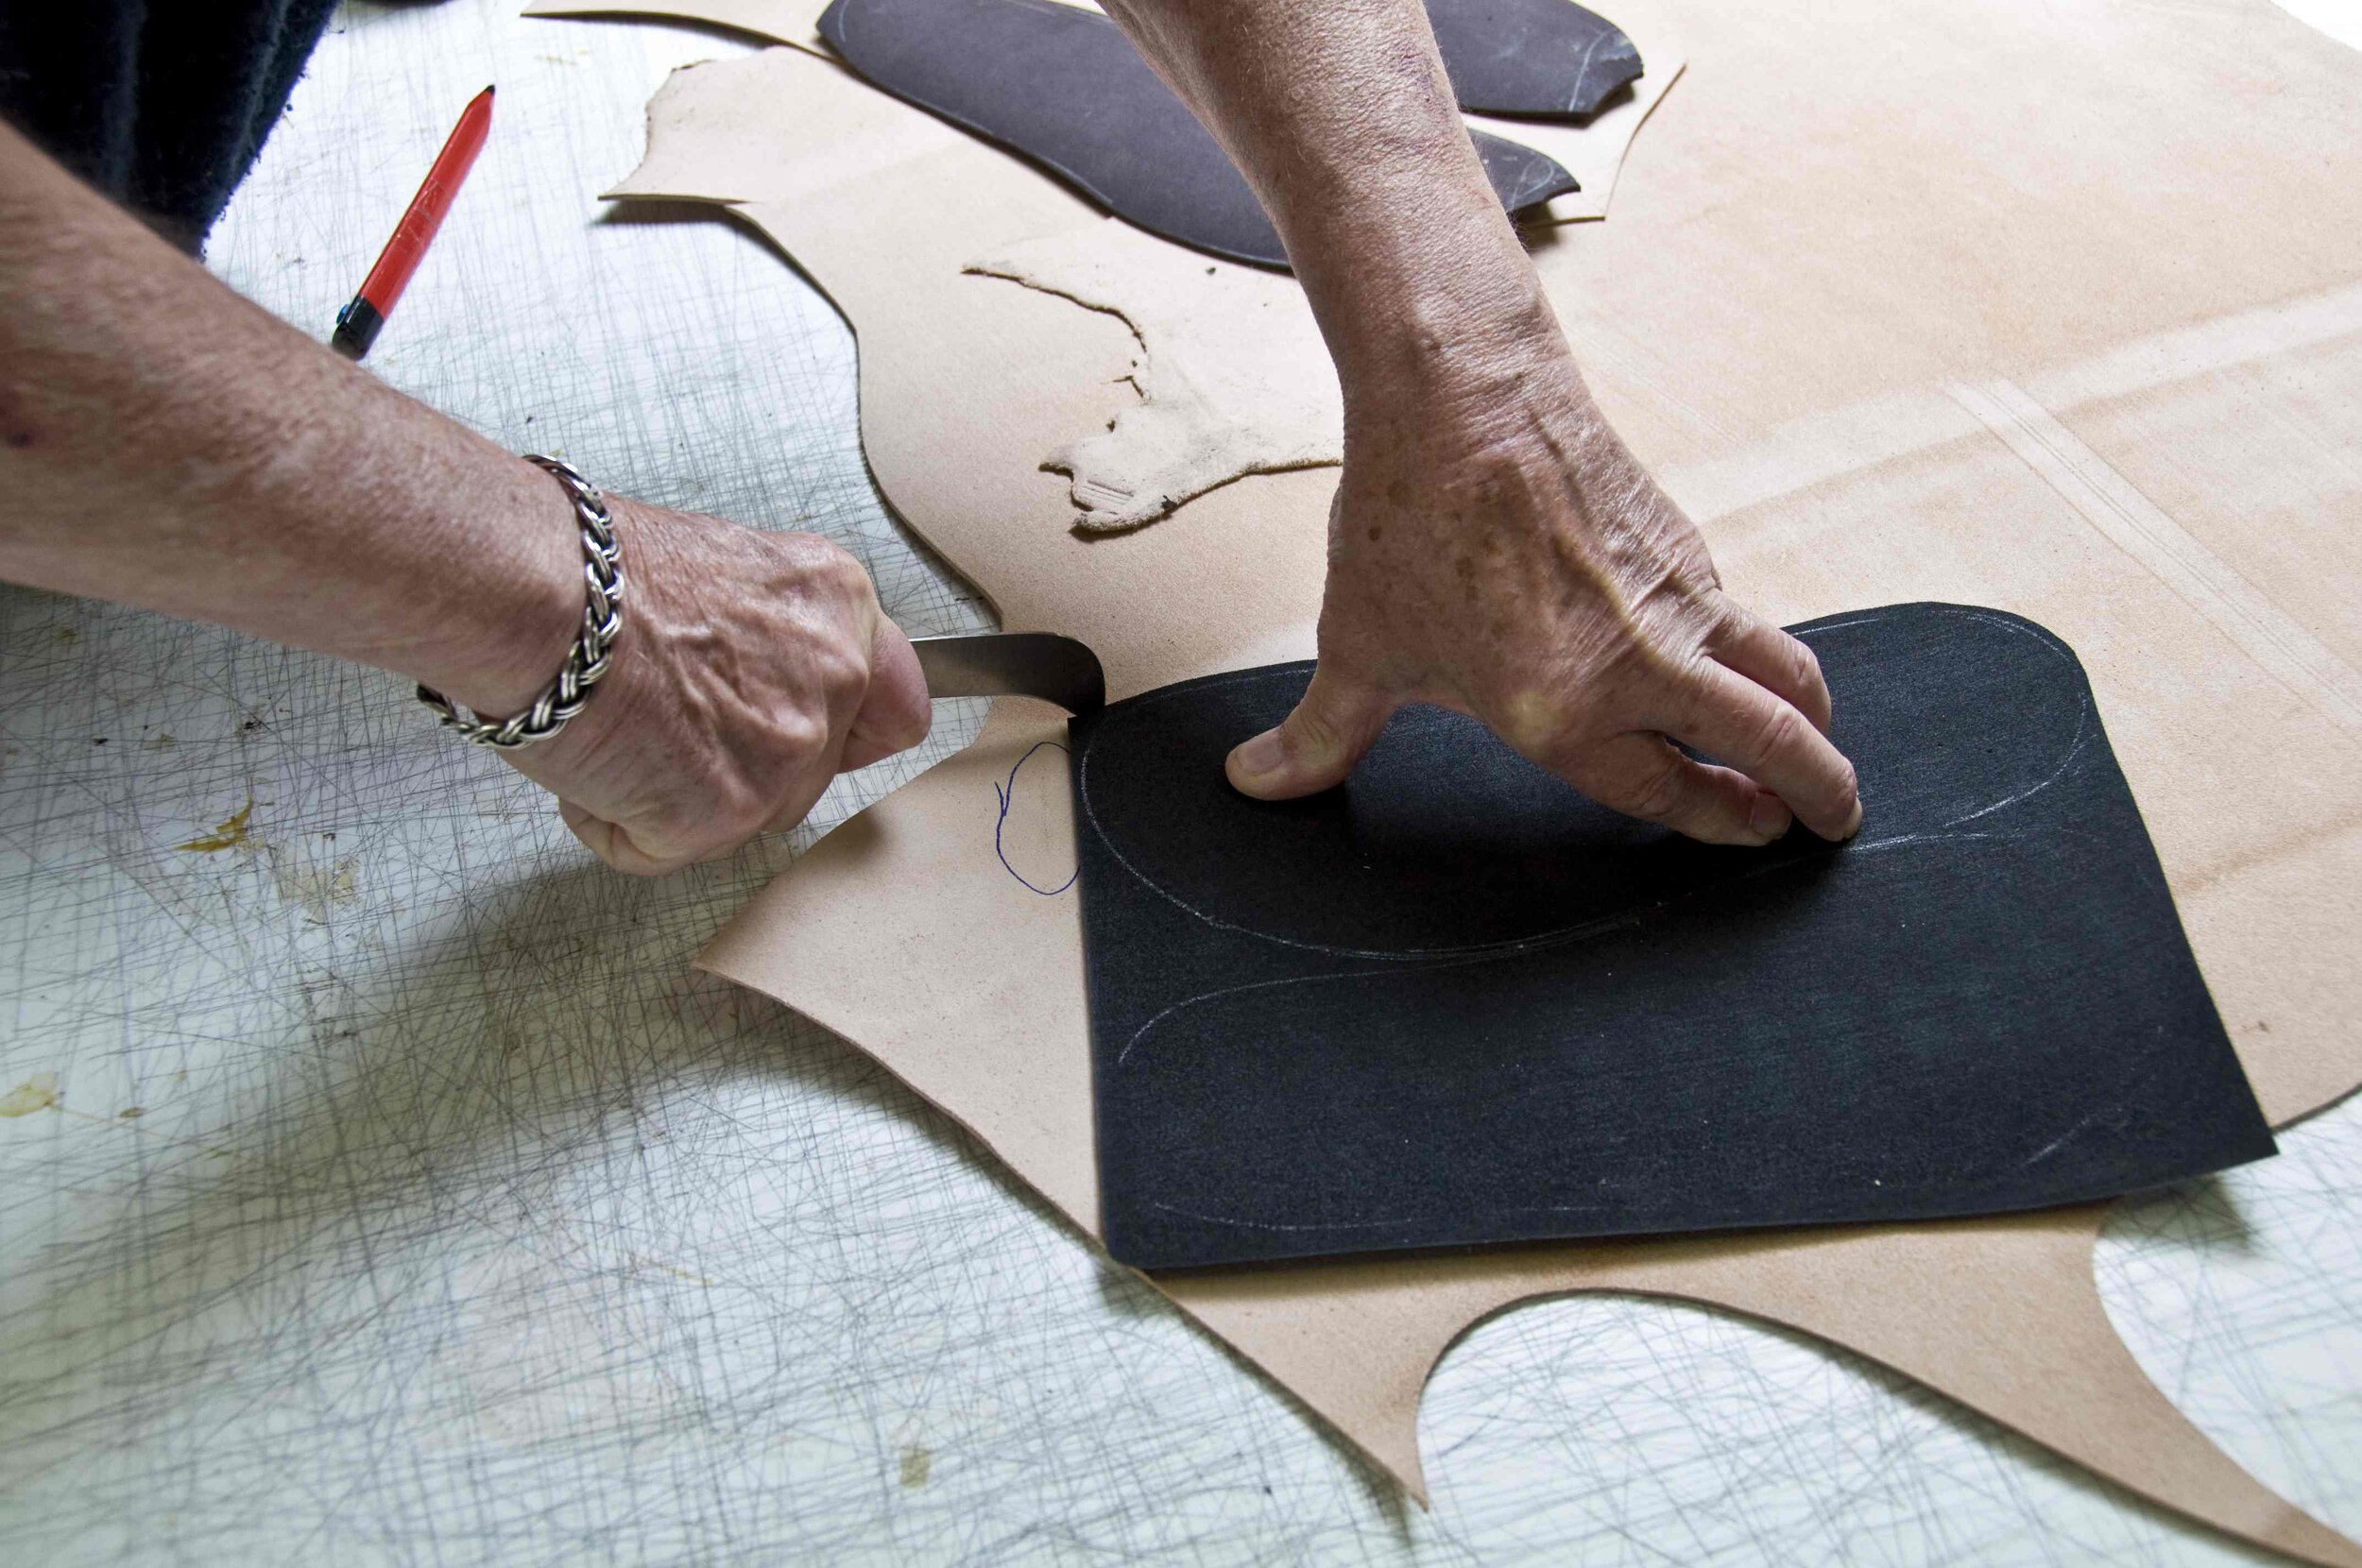
Apply the latex to both pieces and wait till it is just tacky, a bit like contact cement. Then press the two pieces together. Once they adhere, you can proceed to carefully cut out the shape of the sole.
I have the advantage of a specially made form to press them out. But for one or two pairs, it is possible to cut them out by hand. Make sure your knife is very sharp; use a good craft knife with a new blade and go carefully.
View fullsize
View fullsize
Sewing
To sew rubber to leather, if you don’t have access to a heavy sewing machine you can do it by hand. A “speedy stitcher” or an awl and two needles and thread will be all that’s needed to sort this out. Mark 4 mm in from the edge with dividers and using a No 5 stitch pricker, mark out, and stitch together.
Transfer the marks from your pattern, using a 16 mm slot punch (Crewe punch) for the toe and a 20 mm slot punch for the back two holes. These slots at back are punched at an angle so straps will curve under the arch of the foot for maximum comfort. If your slots are too far forward, the jandal will have a tendency to be loose and flap as you walk. Your inner soles are now ready for the straps.
Applying latex to rubber runner and the leather sole
Strap cutter cuts the cross-straps and plaited straps
Bevelling the edges prevents fraying
Straps
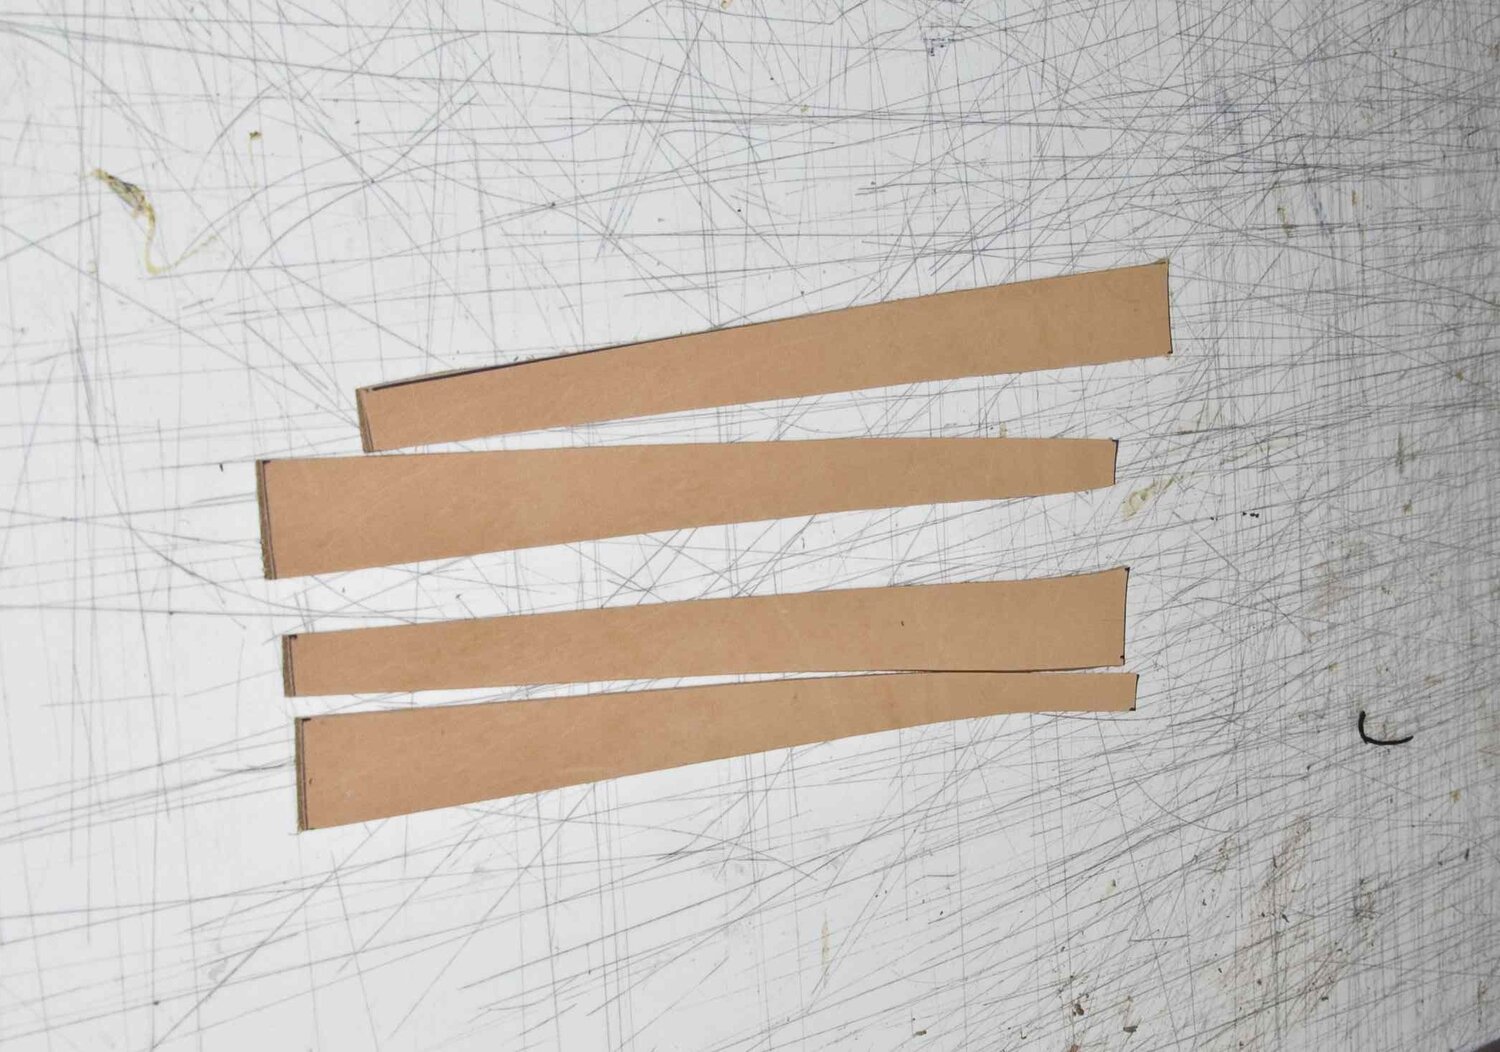
There are two 275 mm straps for each foot. I make them 13 mm wide at the toe end and 25 mm wide at the heel end. I prefer to use straps that are shaped because they are more comfortable between the toes and give wider coverage over the feet. This helps to keep the jandal on without it slapping at the heels which happens with loose-fitting rubber styles.
As you do not want straps to stretch, select leather from the butt end of your hide which will be 2.5 mm thick and comes from the area towards the spine of the animal. This area has the least amount of stretching. This is no different from our own bodies where we experience the maximum amount of stretch in the belly area and the least in our back and backside.
Mark out the area 275 mm long and top and tail the width lengths (13 mm and 20 mm) to make the least amount of waste when they are cut from the hide. All four edges are beveled using a beveller. A beveller is a sharp tool that comes in a straight or convex shape and shaves off the sharp, cut edge.
Shaving of this edge is important for the wear and strength of the strap. Otherwise, the sharp edge resulting from a knife cut could tear and weaken the strap.
View fullsize
View fullsize
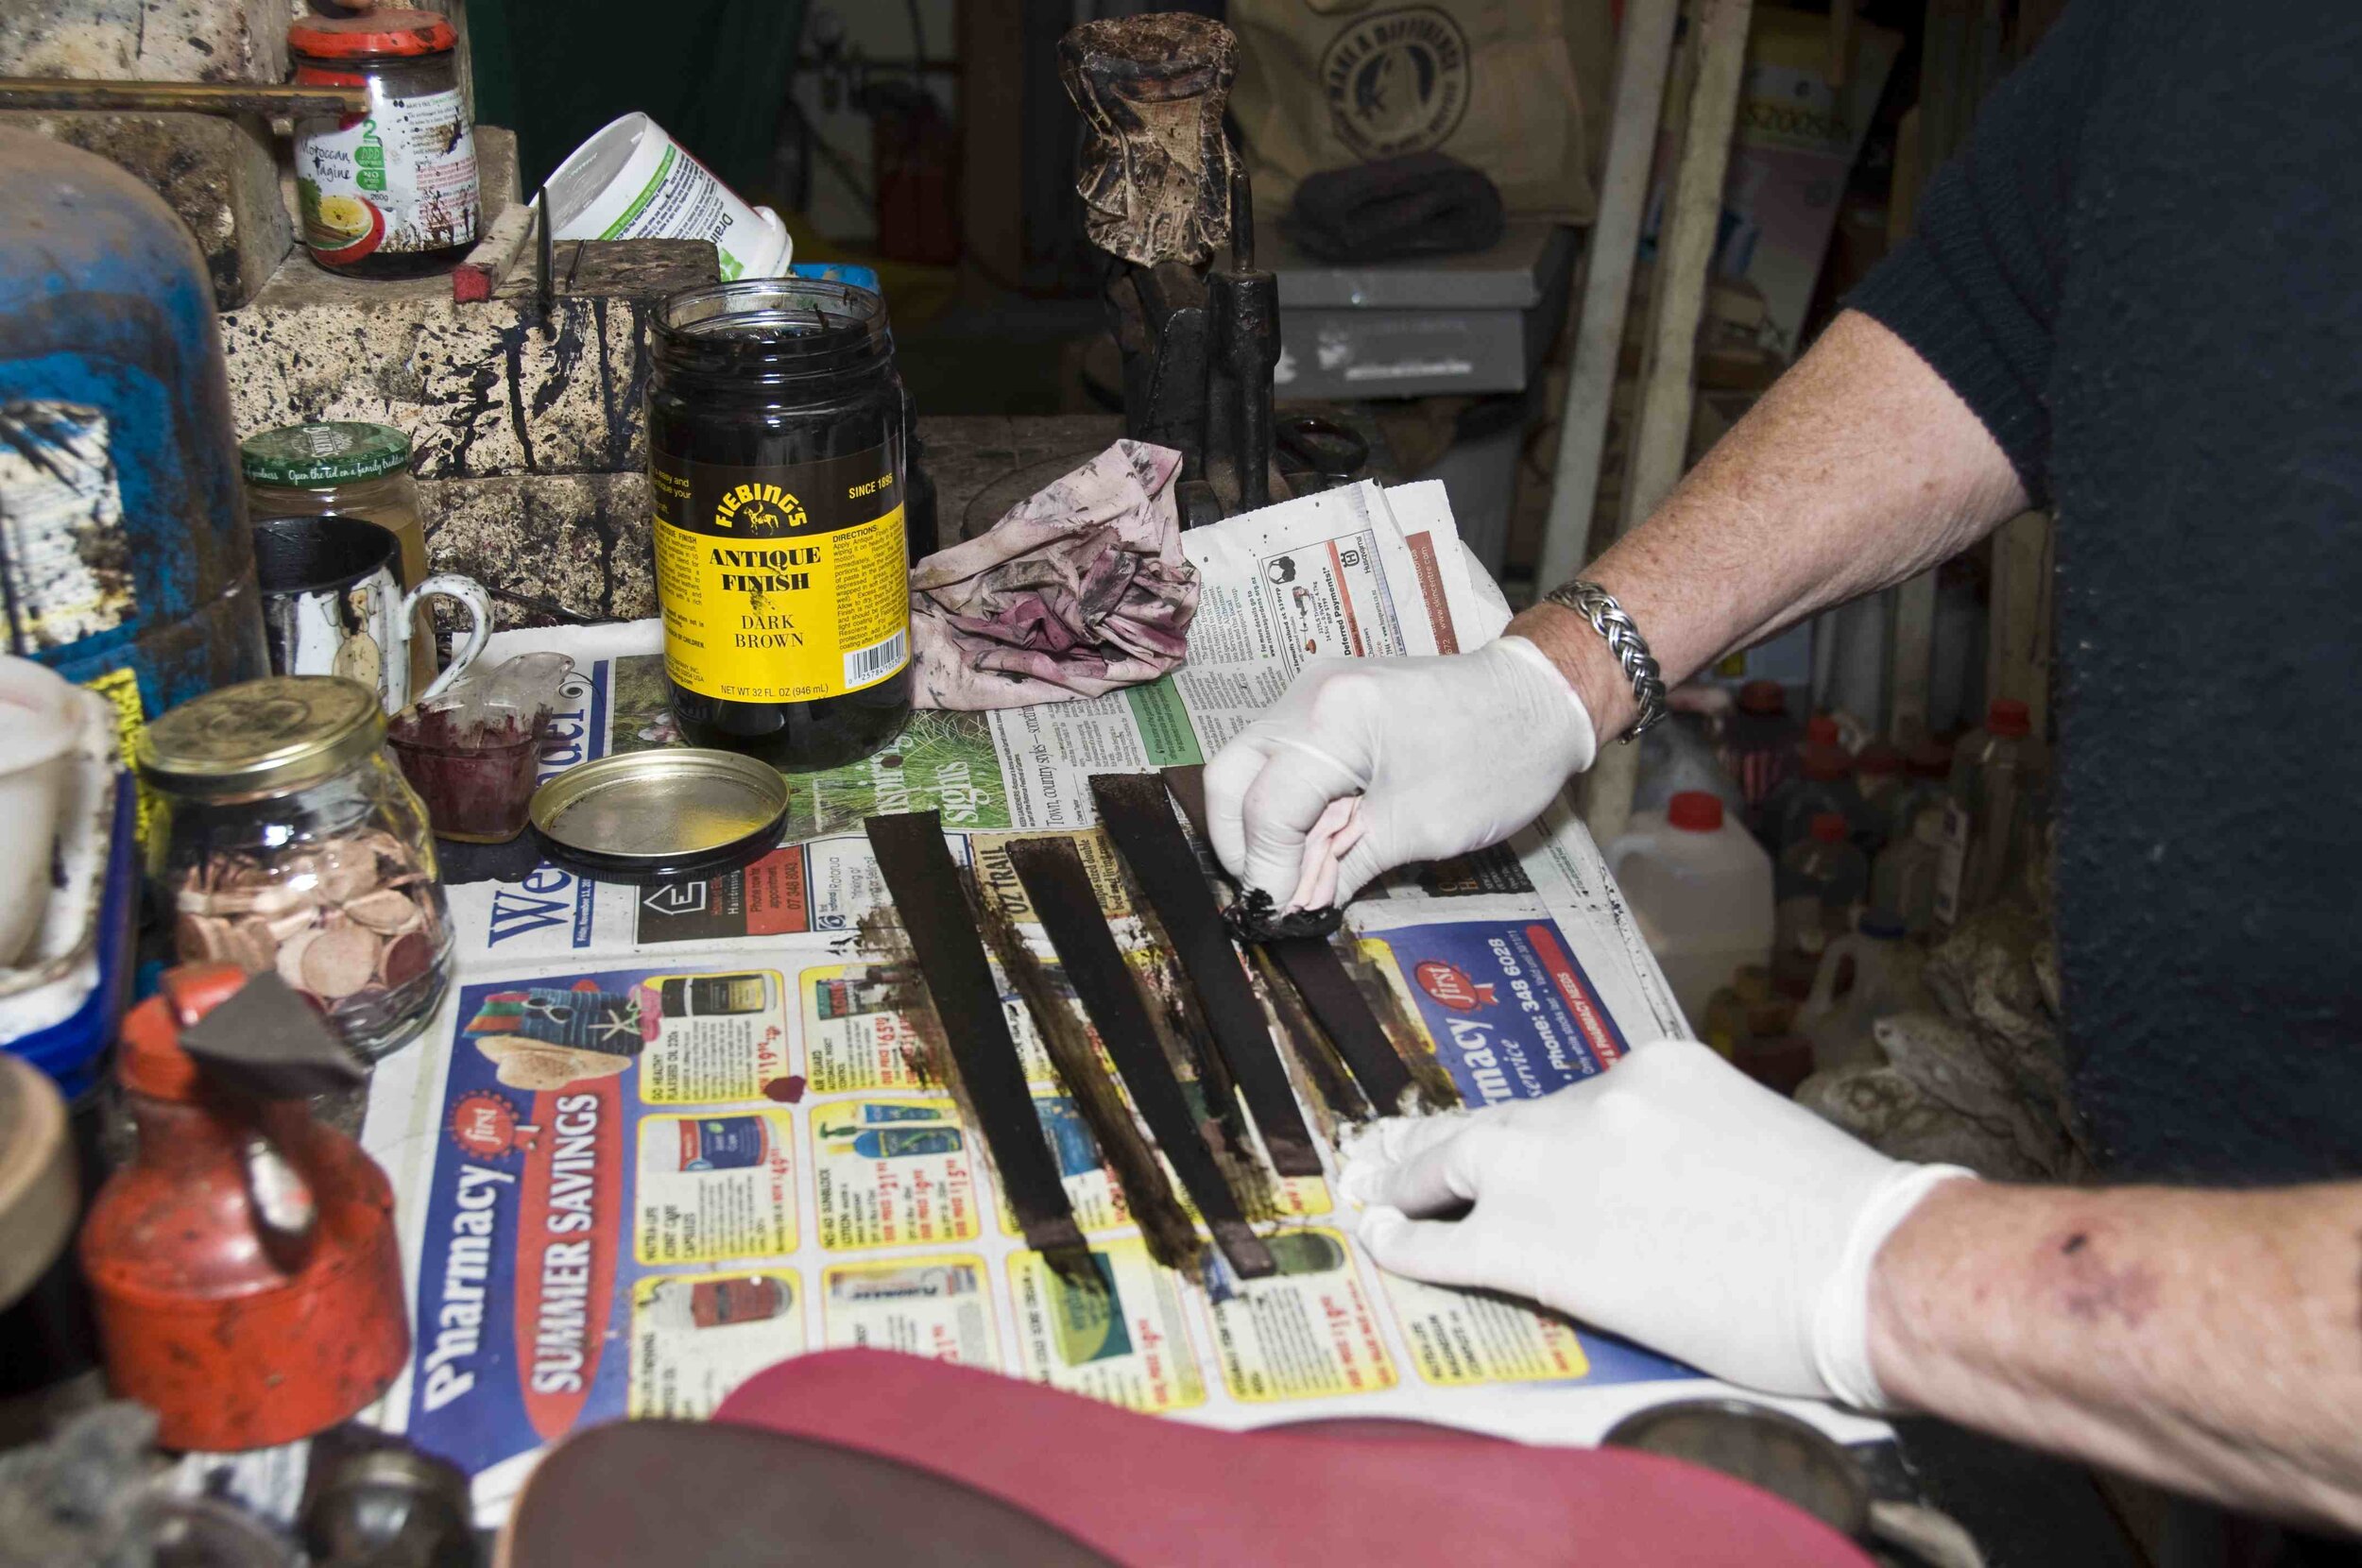
Colour dye
With the straps and soles cut and ready, the next move is to choose the colour. I use acrylic dyes specifically formulated for leather. They are colour-fast and best of all not as lethal to your health as the dyes predominantly used in the old days. Make sure dyes have been formulated with spirits as straight acrylic will fade quite quickly with wear. Best of all, you can clean up your brushes and spray equipment in water.
When dyeing leather for any project, you can either spray or brush the base colour on. With brushes, it can be tricky to obtain a uniform colour hue. It’s difficult not to “blob” too much dye on the leather as the brush makes contact. Also, trying to eliminate brush strokes when trying for a lighter brown is not easy. I suggest for darker brown-to-black colours a brush is totally adequate, but for all other colours spraying is the way to go.
The dye should dry in approximately ten minutes, depending on the weather. Use a cloth and rub (burnish) hard to remove any “bloom” of dye (this is the powdery residue).
Next, I wipe antique paste on all surfaces, using a rag to ensure a good cover without leaving a build-up. Antique paste is a dye in a thixotropic state so it can be wiped on with a cloth which allows one to have control over the depth and intensity of colour. It does not act as a sealer so a sealer must be used over it. Wipe the flesh side of leather in one direction as the paste will hold the “hairy” nature of the flesh side down, creating a smooth finish.
This goes for the edges, too. Wipe off the excess paste while it is still wet. If the dye has dried, use a little more wet which will reactivate the dye so you will be able to remove any excess. Once the surface is dry, again burnish it hard with a cloth to remove all the excess dry paste.
Applying dye
Applying the acrylic sealer.
Stitching the sole
Punching the slots for the straps
Plaiting the straps
Roughing the strap ends
Fitting the toe end of the jandals. Note the ends of the straps have been roughened
Attaching the long strap for the cross-strapped jandal. Remember to roughen the underside.
Sealer
Now a good acrylic leather sealer is used to seal the colour into the leather. If you miss out the burnishing stages, no amount of sealer will actually seal the colour into the leather and it will leach out, in this instance onto your feet. Or I should say into your feet, as it will take a few washes for the colour to disappear.
We are now ready to assemble jandals. First 25 mm at each end of the four straps must be scuffed with coarse sandpaper on the flesh side of the leather. If this is not done, dye and sealer will prevent the glue from being absorbed and it will be ineffective.
Holding the two straps with the flesh side together at 13 mm ends, push them through the front slot and glue them down.
Attaching the leather ring
Sizing the straps
Glue
The glue to use for the straps and the soles is good contact cement. My choice for this is Bostik 1222 but any good brand would do.
Apply a thin coat of glue to both surfaces and allow it to dry for approximately 10 to 15 minutes. Contact cement work best when dry and heated with a heat gun before you press the surfaces together. This “reactivates” the glue and produces maximum bonding strength.
Push the other ends of the straps through the back slots and the jandal is ready for fitting. Using your foot like a cobbler’s last, pull the straps snugly to your foot. Pulling the straps towards your heel and not across the jandal is also important for comfort. Mark where the straps enter the slot.
Trim the excess off the straps so they lie flat beside each other and not on top of each other. Glue these down. Have another fitting to make sure all is correct and fitting nice and snugly. These tucked-under straps need to be scuffed with coarse sandpaper, especially on the edges, so they do not create a lump under the foot. Now we are ready for the outer sole.
Attaching the jandals to the wedge rubber sole
Outer sole
For the bottom rubber for the soles, I like to use EVA wedge rubber. The name refers to the thickness at the front being 8 mm, increasing to 18 mm at the heel. Wedge rubber is bought in sheets which are one metre long and 300 mm wide and have a small diamond pattern. You can buy them from footwear repair supplies or perhaps from your local friendly repairer.
So again, it’s the same process of a thin veneer of glue on both surfaces, awaiting drying time, reactivating the glue with a heat gun, and then aligning the jandal in a straight line and adhering it to the rubber soling. The rubber is then trimmed with a sharp knife and pressed together. It is important to make sure glue is even out to the edges (with no dry spots) and that the edges are pressed, perhaps with the use of a vice with smooth jaws. If there is no vice or press available, use a smooth hammer and tap vigorously all around.
A linisher or belt sander which you could turn upside down in a vice will make the sanding and smoothing of the sides much easier. Once the sides are sanded, stain the edges with Fiebings’ Edge Kote which is available in black and brown. This weatherproofs the edge of the leather, increasing the life-span of your footwear while giving them a fine finish.
You’re there. You now have a pair of Jandals which will give you many years of wear.
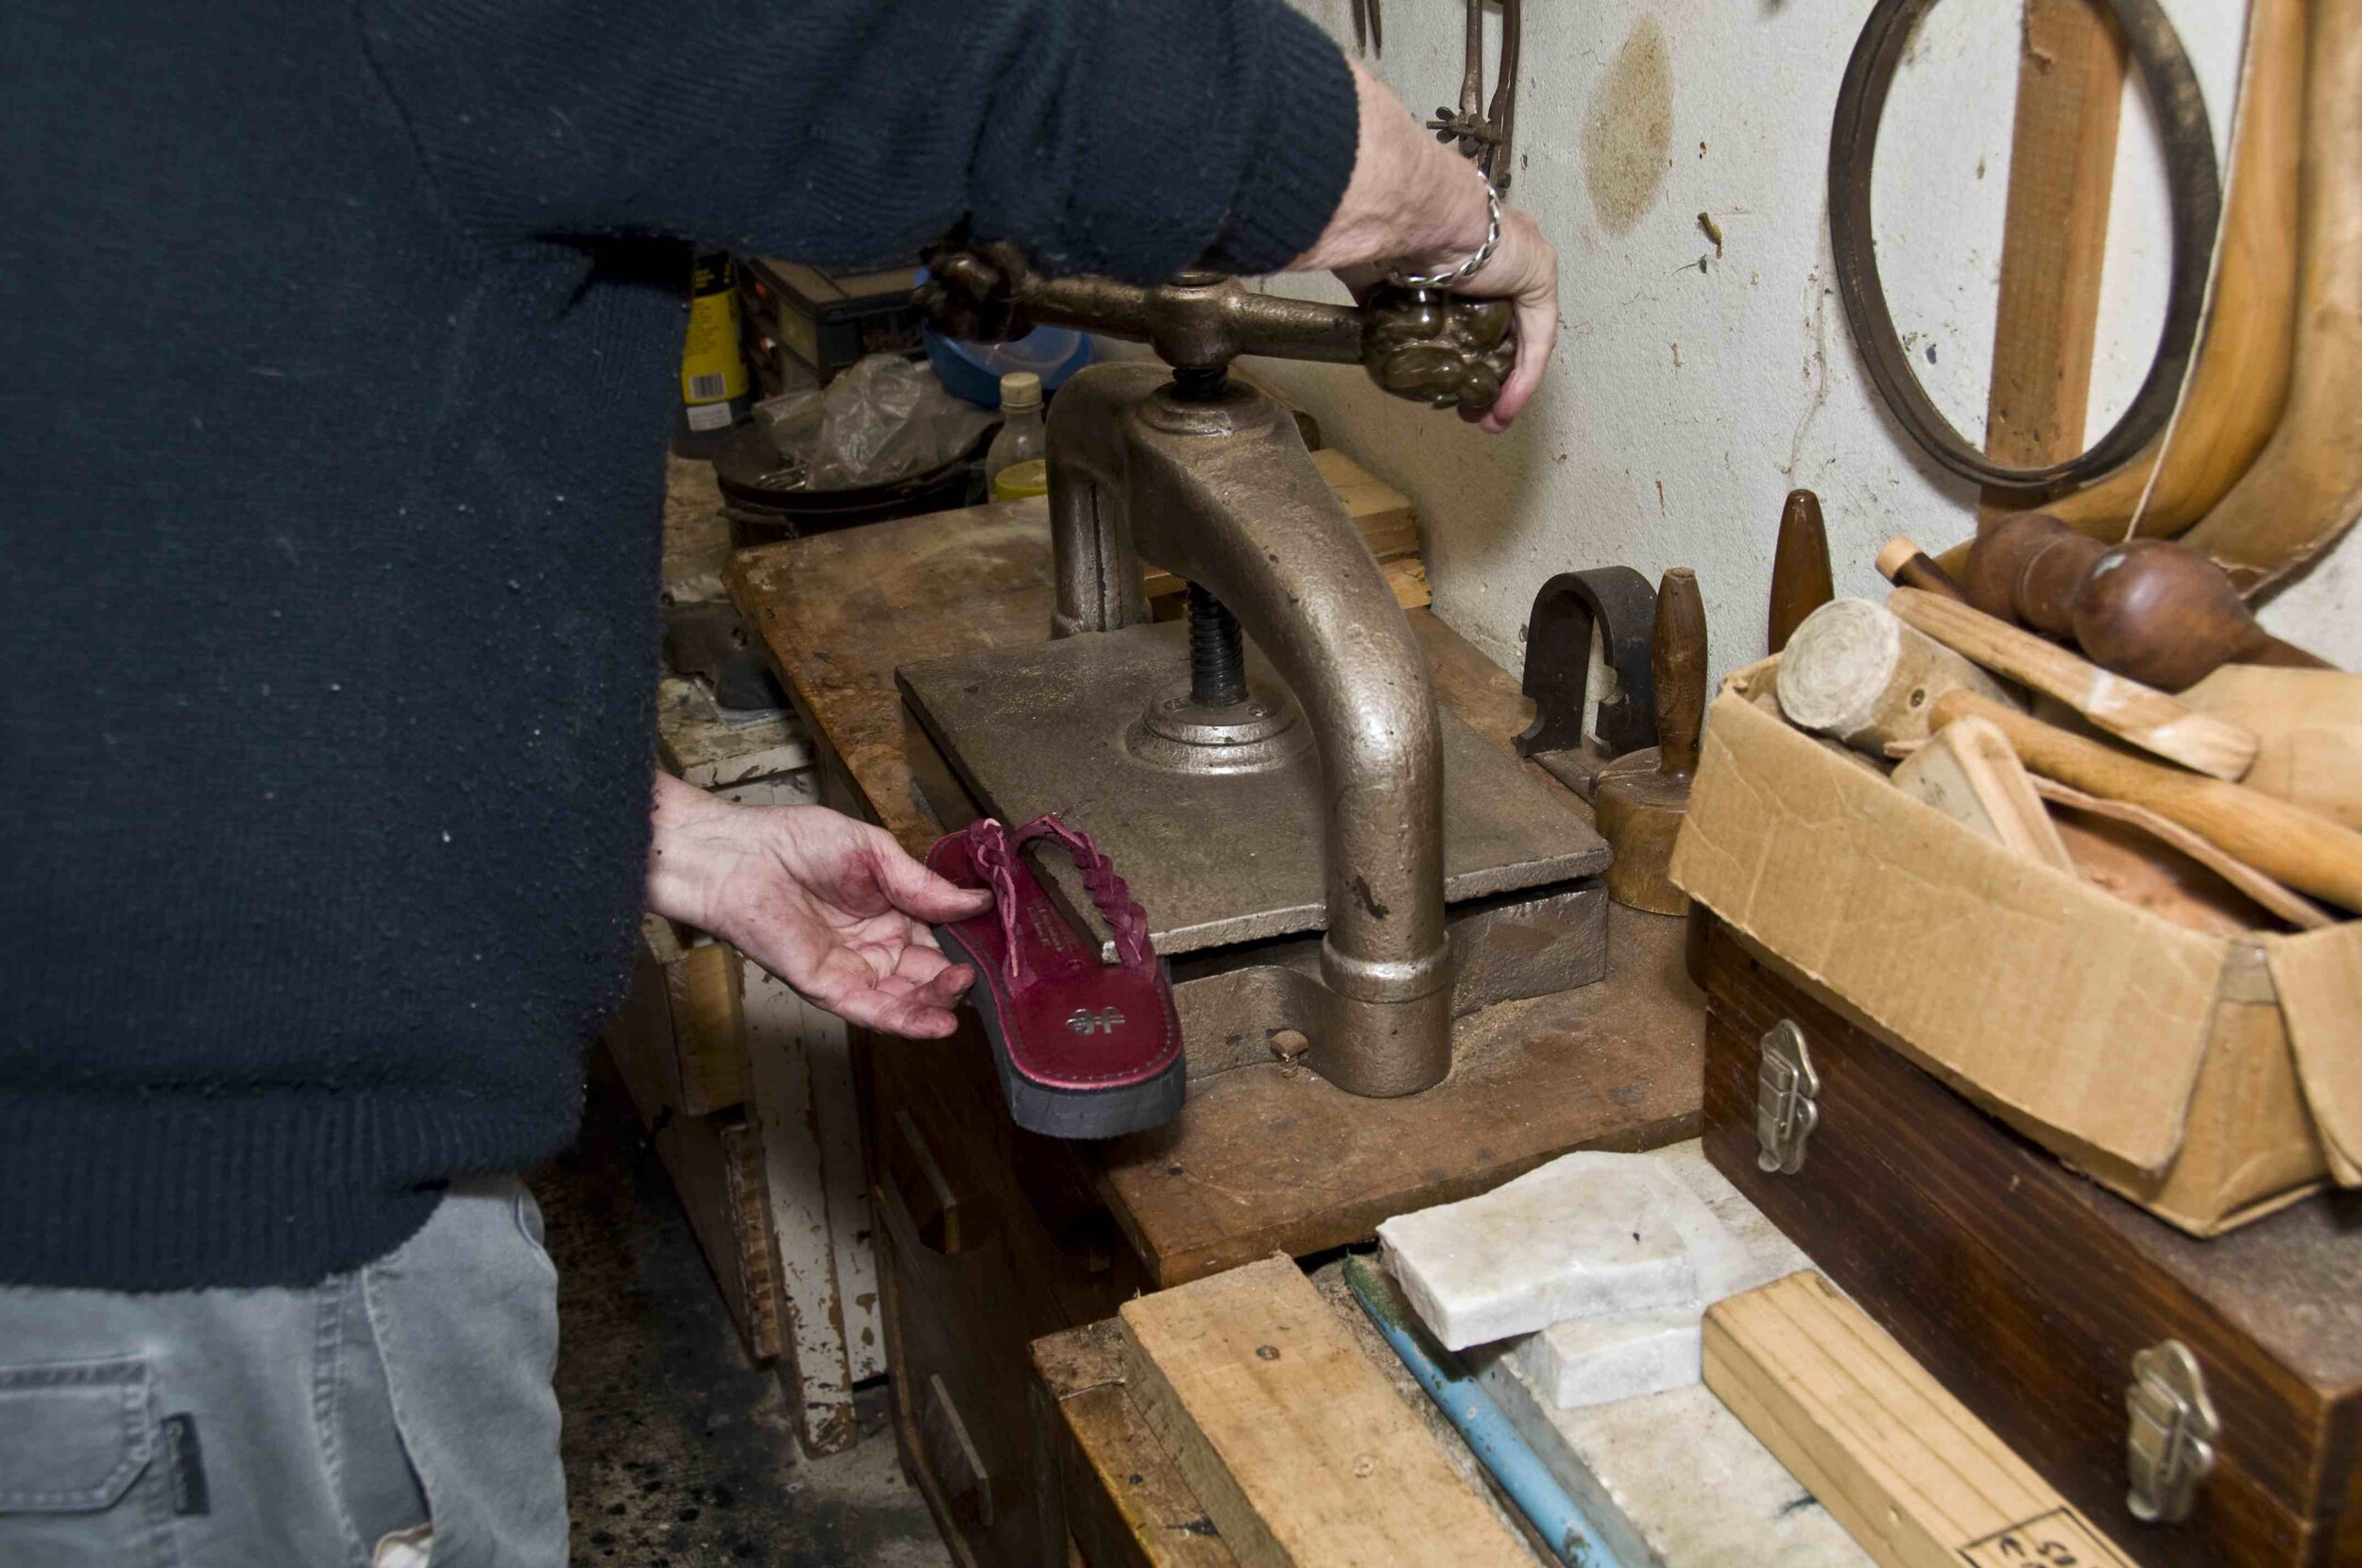
Pressing. You can also use a vice with soft jaws
Trimming out
Plaited, strapped jandals
Four straps are needed to make an alternative style of jandal with plaited straps. From 2.5 mm thick russet leather, cut four straps 20 mm wide by 300 mm long. Marking 75 mm from the end, you produce three equal width strands with two slits 150 mm long which are to be cut with a sharp knife.
The three strands are then plaited by passing the tail through the bottom which will untwist the strap. Keep the plait tight so you can pass the tail through for the last time, easing out the strands for the finished look. After you have plaited the four straps, fit them as above.
Smoothing the edge of the sole
Crossed-strap, toe-ring sandals
You can make an alternative style using the same weight leathers as for the jandal and the same construction. Use your feet as lasts for fitting the straps around. All straps are 13 mm wide. The long strap is 60 cm long, the toe strap is 13 cm. The leather ring is punched out of a firm, not a stretchy, piece.
Applying edge coat to protect the finished edges
Stitching by hand
You can stitch it manually with a stitching awl or with two needles.

