How to make stout and wheat beer
By Terry Snow
For his 21st birthday, Allister van Mil asked his parents for a business suit and a business opportunity. His mother chose him a nice suit and the chance of a home brew shop came up. Allister had made a couple of brews, thanks to his Dad’s experience and interest, and was three-quarters of a way through a university degree in finance and economics. But he was itching to put that commercial knowledge into practice.
“We were able to open the shop and set up the business for just $12,000—including $9000 for stock. Now I am in the top ten suppliers to home brewers in the country,” the 24-year-old says proudly. And he has retained the basic premise at the heart of his interest—to make good beer and encourage others to enjoy the same experience.
“If someone needs a hand with their first brew, I don’t mind going to their home in the evening and helping out, showing them what to do and answering any questions,” he says. He agreed to talk The Shed magazine readers through a couple of brews, one a hearty stout suitable for winter and the other a wheat beer.
Liquorice stick
In a previous issue of The Shed we had gone through the full range of making a brew starting with all the raw ingredients such as grains and hops (“Something brewing in the shed” The Shed, Oct/Nov 2011). Here, we see a home brew being made using a 23-litre home brew container suitable for a smaller workshop or shed and with kit ingredients for which Allister claims a degree of superiority over more mass-produced kits.
Allister explains the standard recipes for these brews which he has adapted at Home Brew West for his own purposes: We are going to make about 15 litres of stout which will be nine percent alcohol. If you want to take the quantity up to say 18 litres then it would be seven percent and if you want to make as much as possible then you would go towards 23 litres. The more water, the less the alcohol content. Stout is the first brew I made because I like Guinness but I had some awesome problems with it. The first time I didn’t have a big enough pot and it boiled over—still got the stains there today. A brew of stout I made in March 2010 is drinking better than ever as the flavour improves. I don’t think you can keep a lager-type beer for very long.
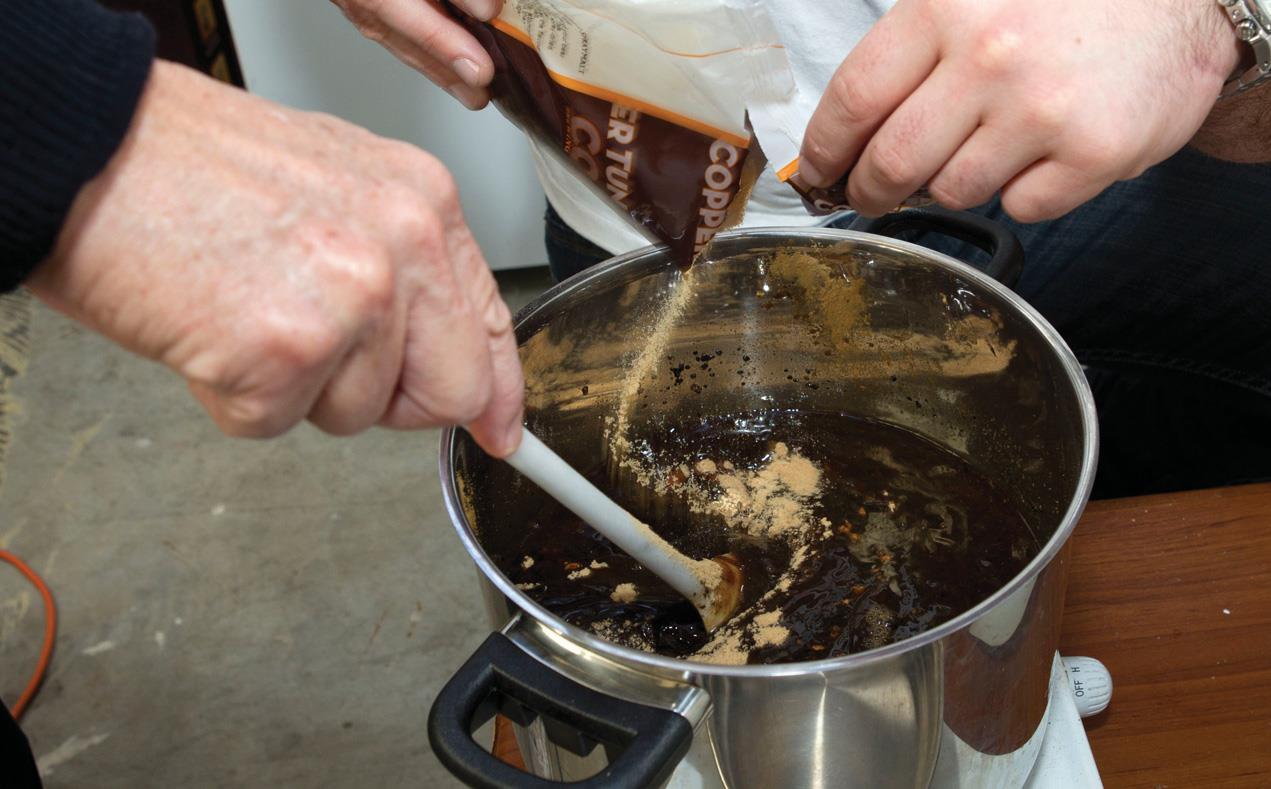
Stir out the lumps – a friend helps
Stout
Ingredients:
Mangrove Jack’s Irish Stout mix (including pouch of yeast)
Brew Craft No 74 Irish stout brew enhancer
500 gm dark unhopped spray malt extract
Liquorice stick
Method
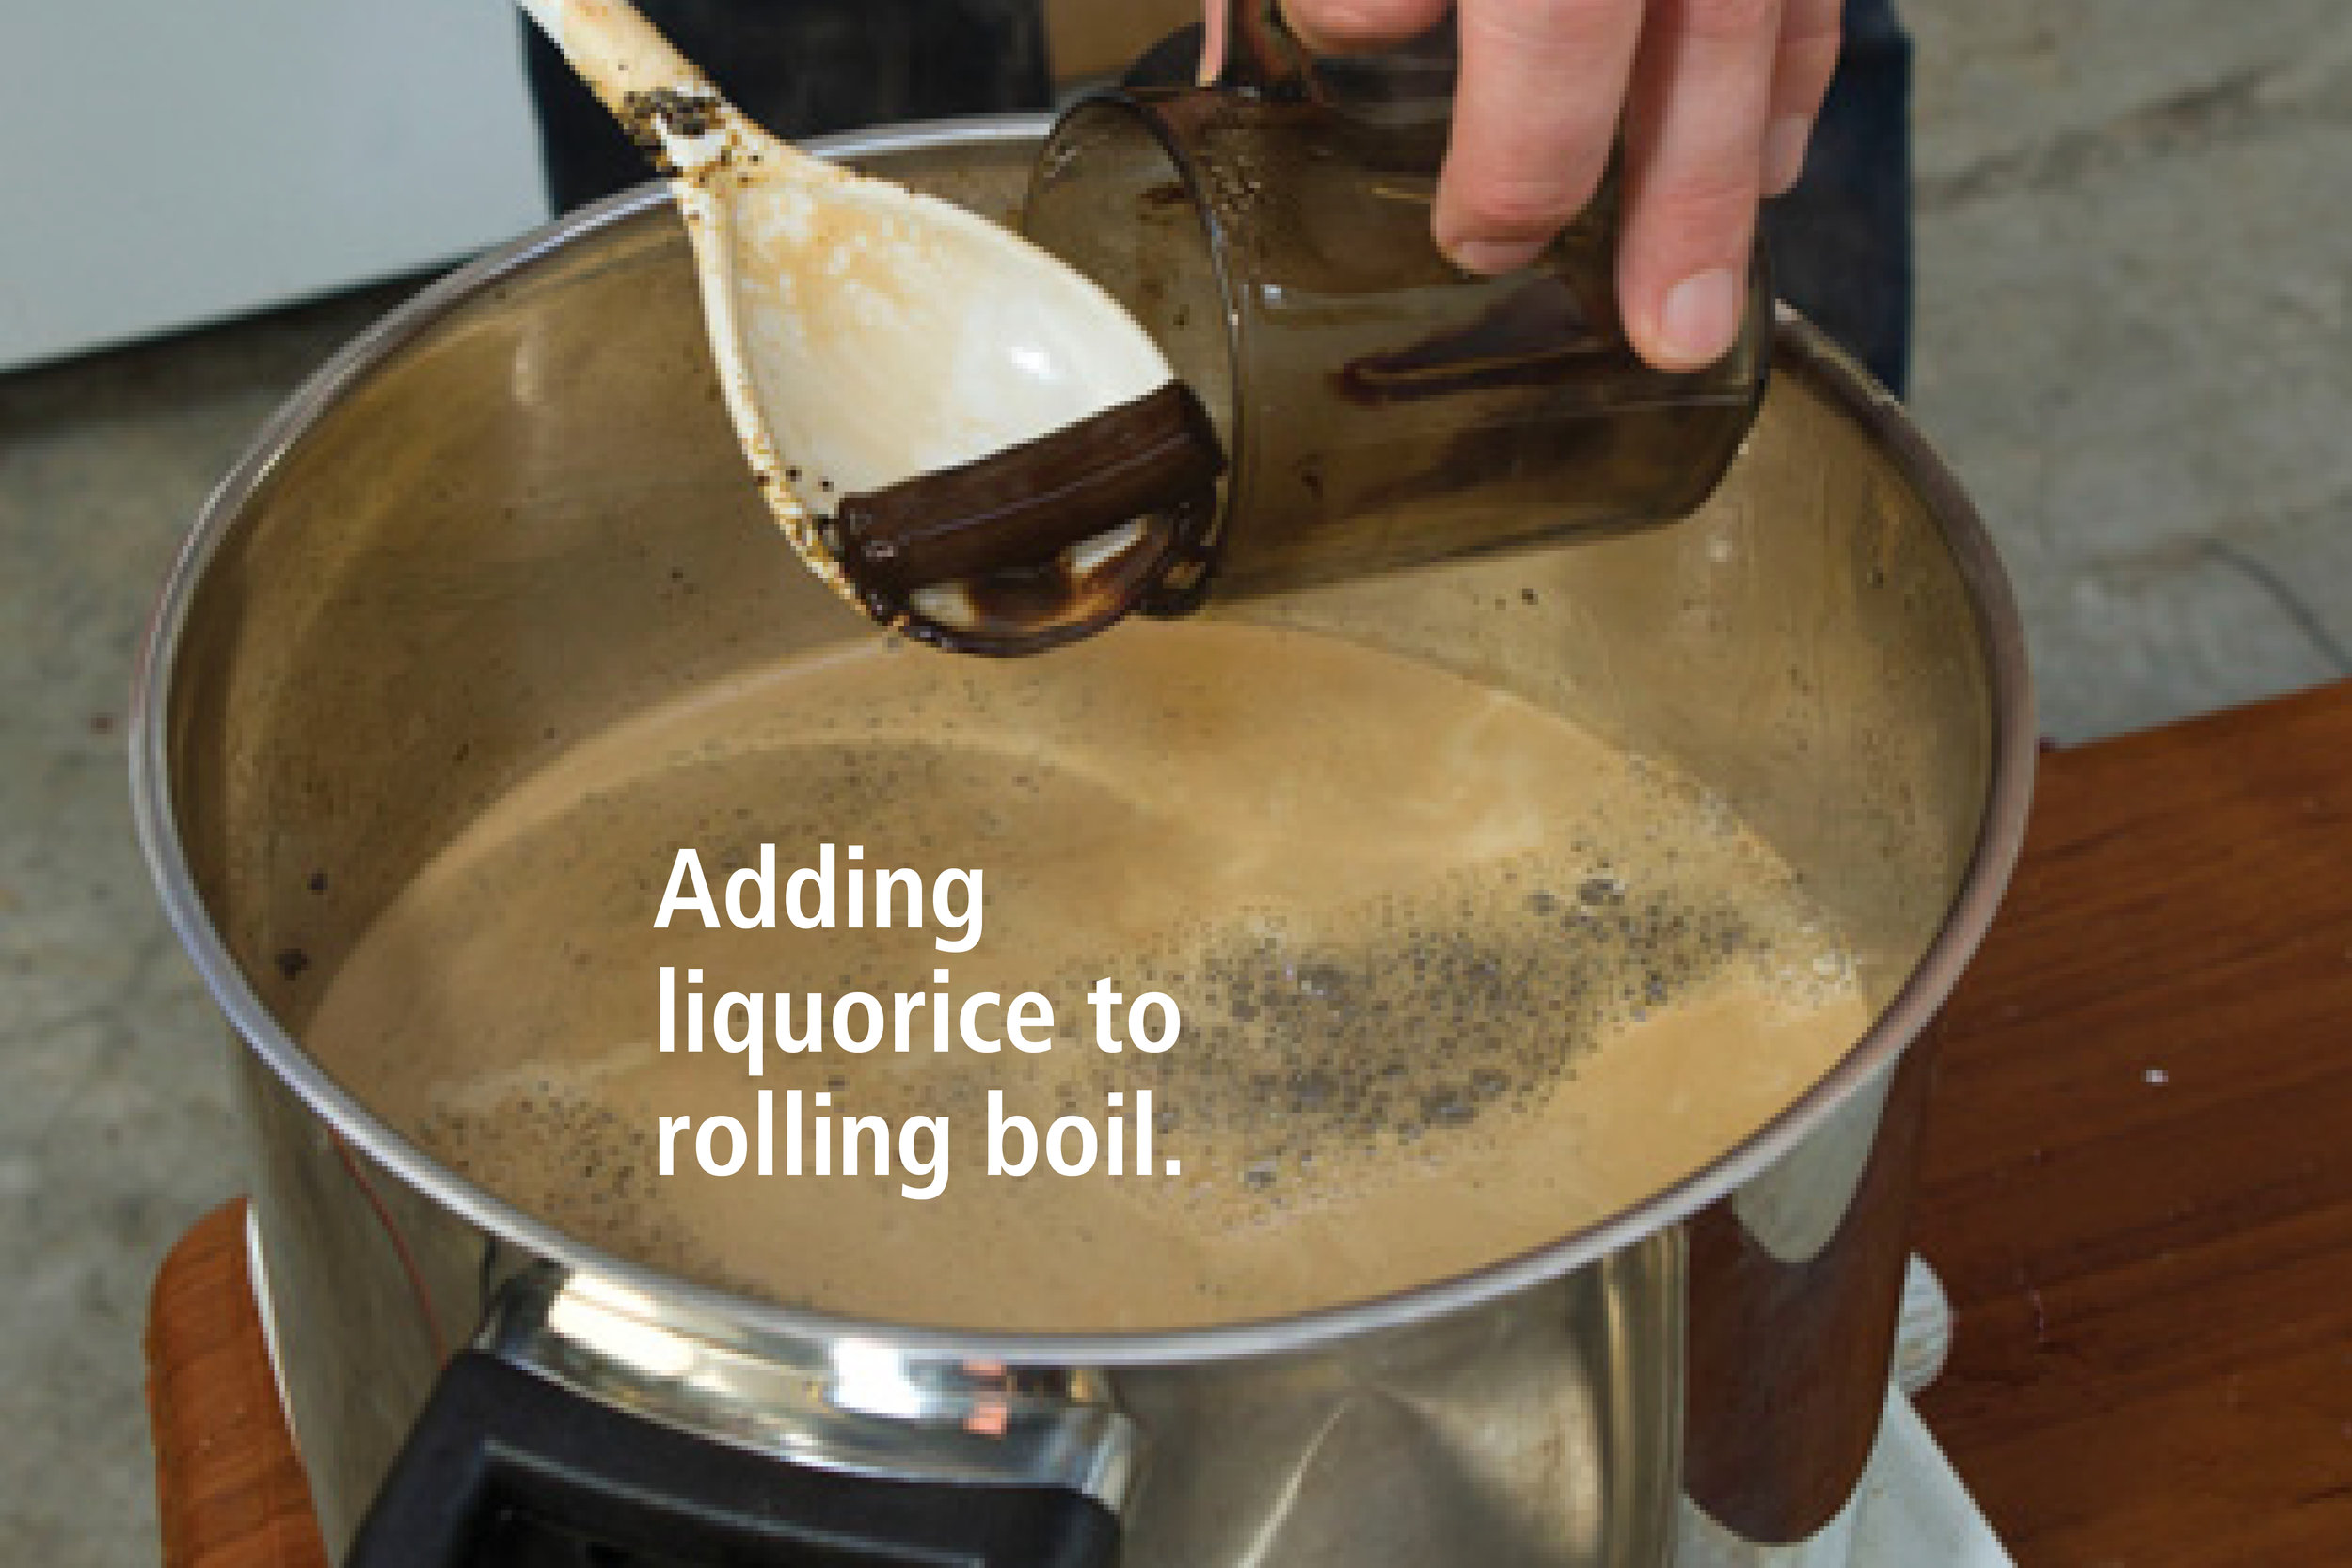
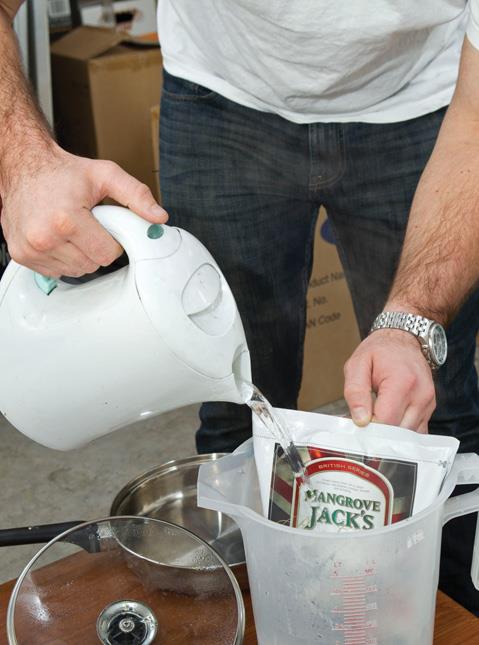
1. Gradually add the Brew Enhancer No. 74, dark malt extract and the stout mix into two litres of hot water in a sterilised pot. Stir until completely dissolved. Put the liquorice stick in a cup of boiling water to dissolve it and then add this liquid to the hot mixture. (Optional extra step: you can greatly increase the quality of your beer if you gently boil this mixture for 15 minutes). The container must be sterile or super-clean because any contamination affects the flavour of the stout. Liquorice adds the aniseed flavours to it. I do take the step to gently boil this mixture for 15 minutes because it improves the flavour. Cold-packed ingredients sitting on the shelf for a while can go a bit dormant. By boiling the mixture, your break down all the complex sugar chains, the yeast is able to eat it better and you create a reinvigorated hop flavour throughout the brew. This helps increase the intensity and define the flavours.
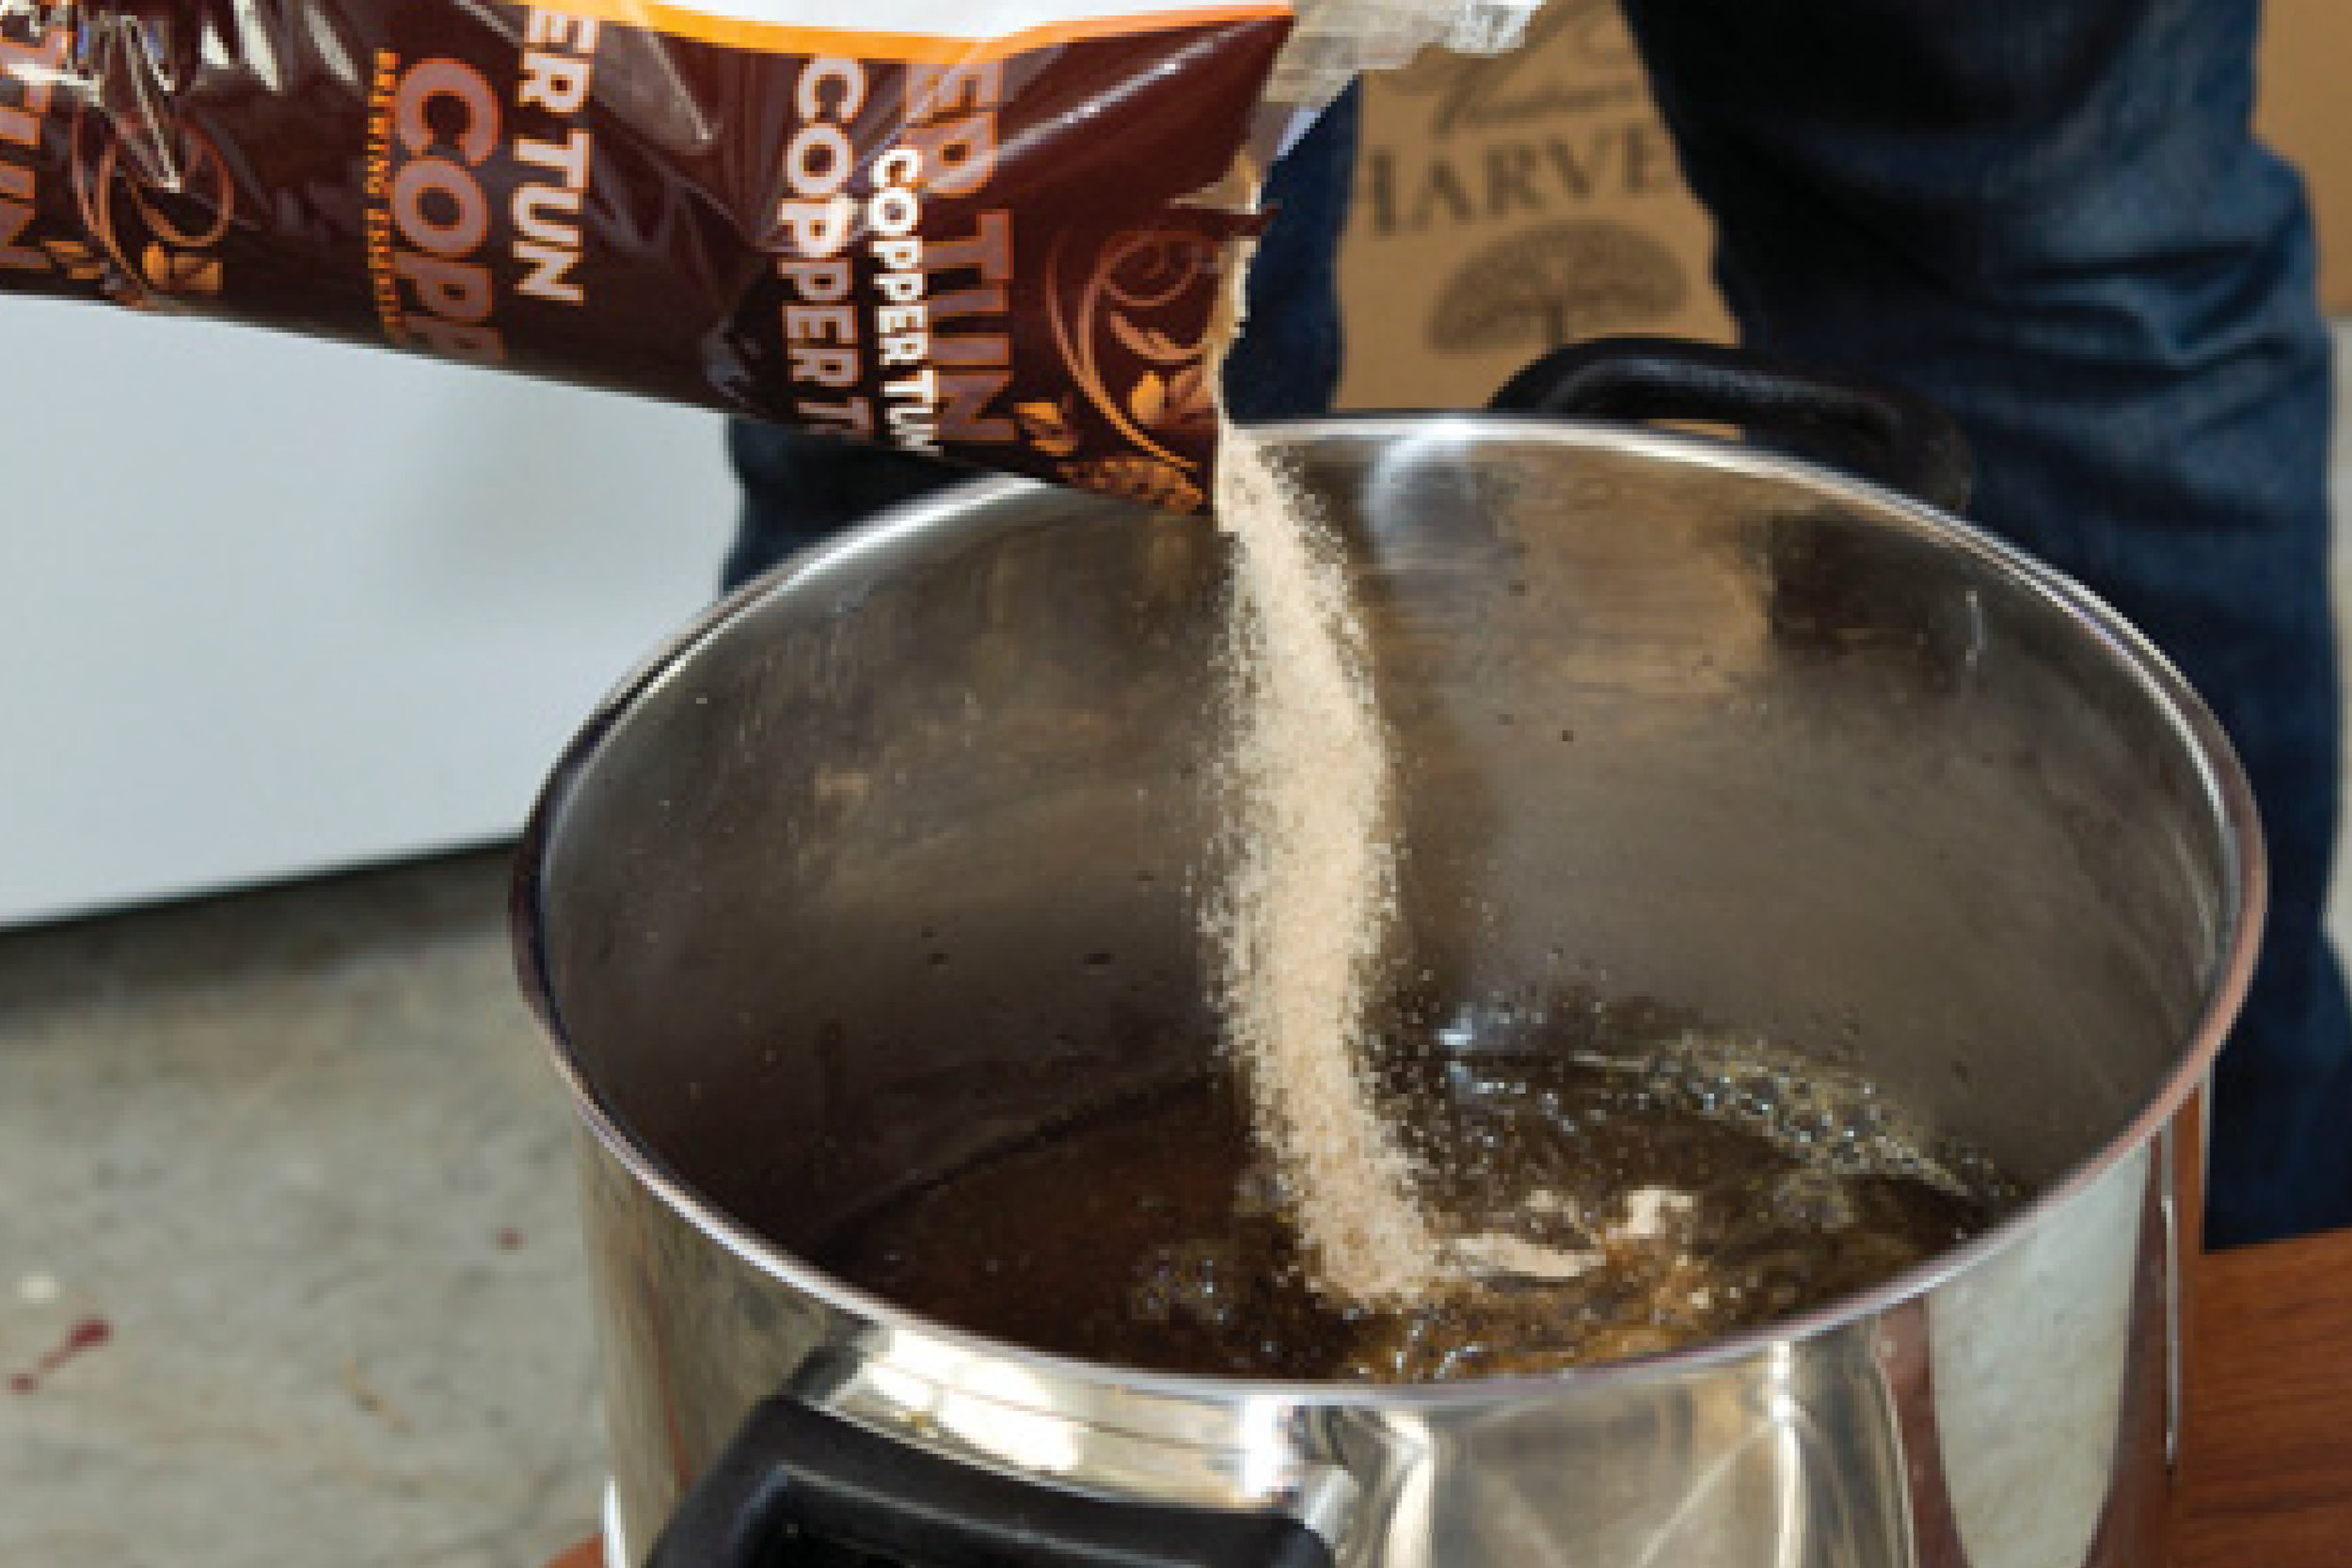
You can see the liquorice stick did not all dissolve in the hot water in the cup. You could leave it overnight beforehand to dissolve completely but I am going to put the remains of the stick into the mixture as well. The liquorice is Dutch-style rather than the commercial confectionery you buy from the shops which have many other things added that you would not want in your brew. When you are adding the malt extract, make sure you sprinkle the powder in gently. Constantly stir it to mix it in. Do not add it all in one go or you end up with a gooey lump in the mixture.
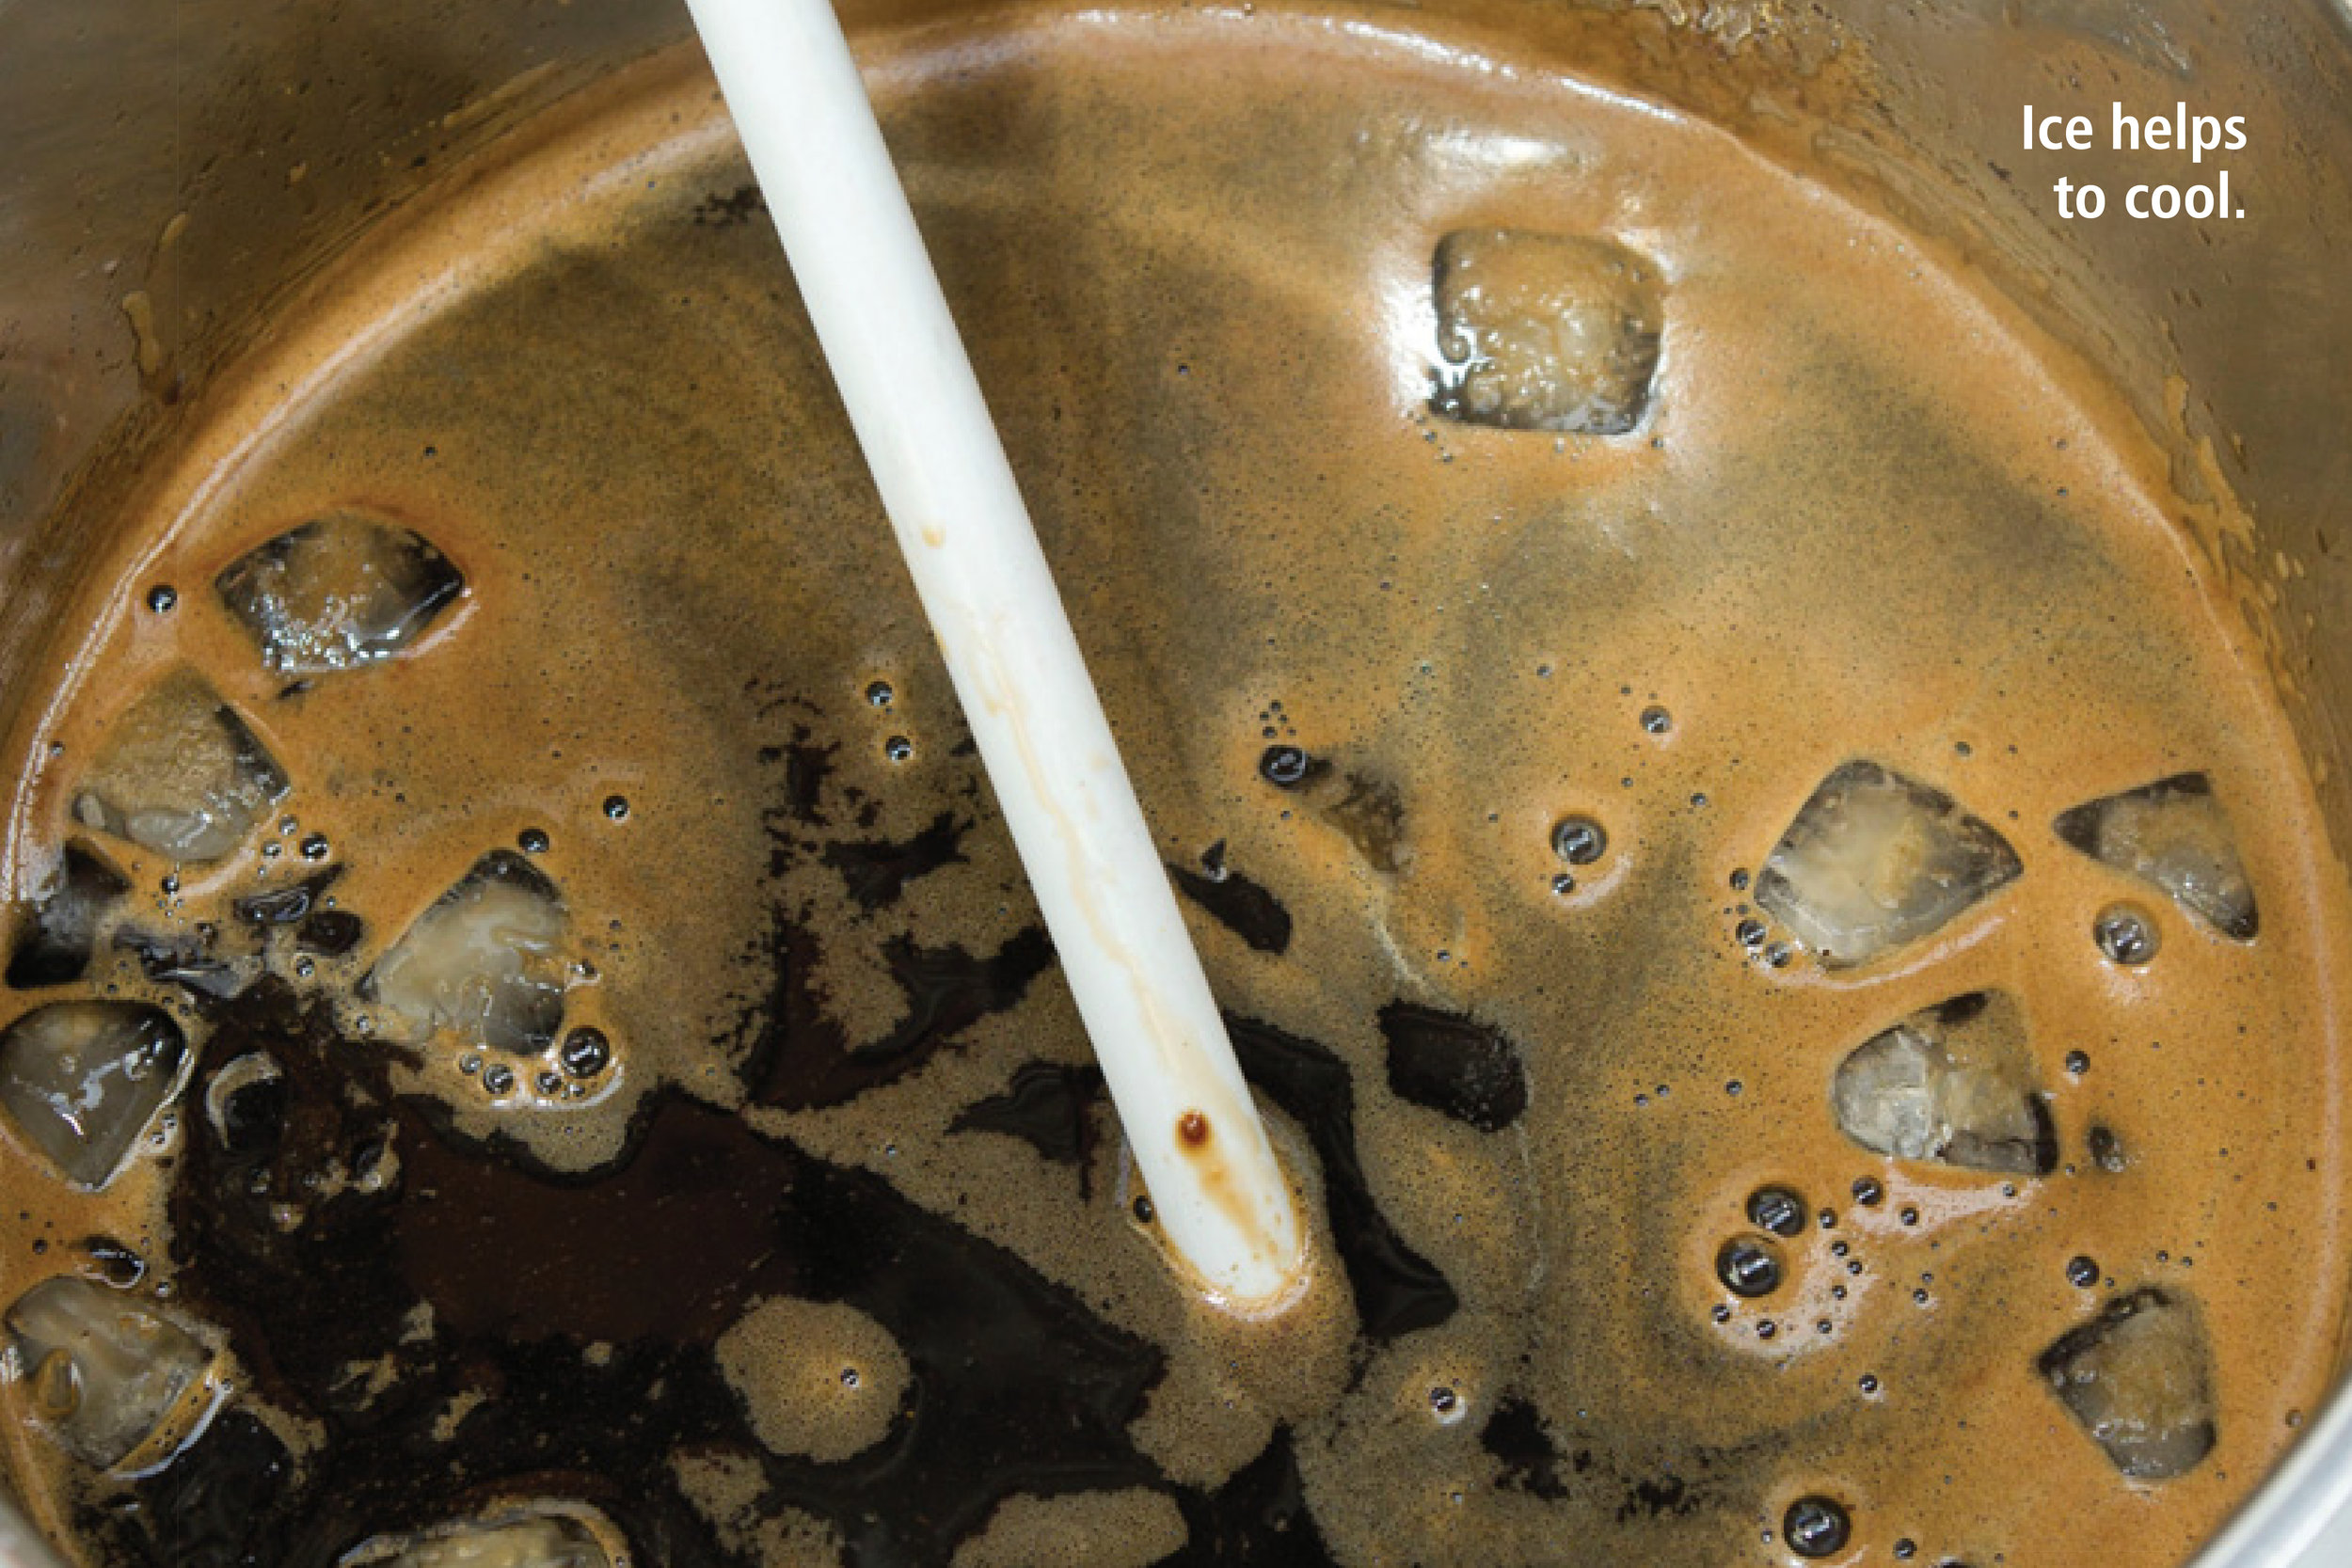
While the mixture is boiling and simmering for 15 minutes, I stir it with a plastic spoon. Do not use a wooden spoon which could contain wild yeasts and add odd flavours to your brew. Keep the mixture from sticking to the bottom of the pot. I add ice to help the mixture cool down quickly before adding the yeast – the quicker you cool it the more flavours get retained. But the temperature has to be correct between 25ºC and 30ºC.
Each of the kits contains about half of the sugar needed. You will see some recipes say add sugar – that is not a good idea as it may contain fructose which gives an unwanted cider taste. The sugar added in the kit is just sucrose and dextrose.
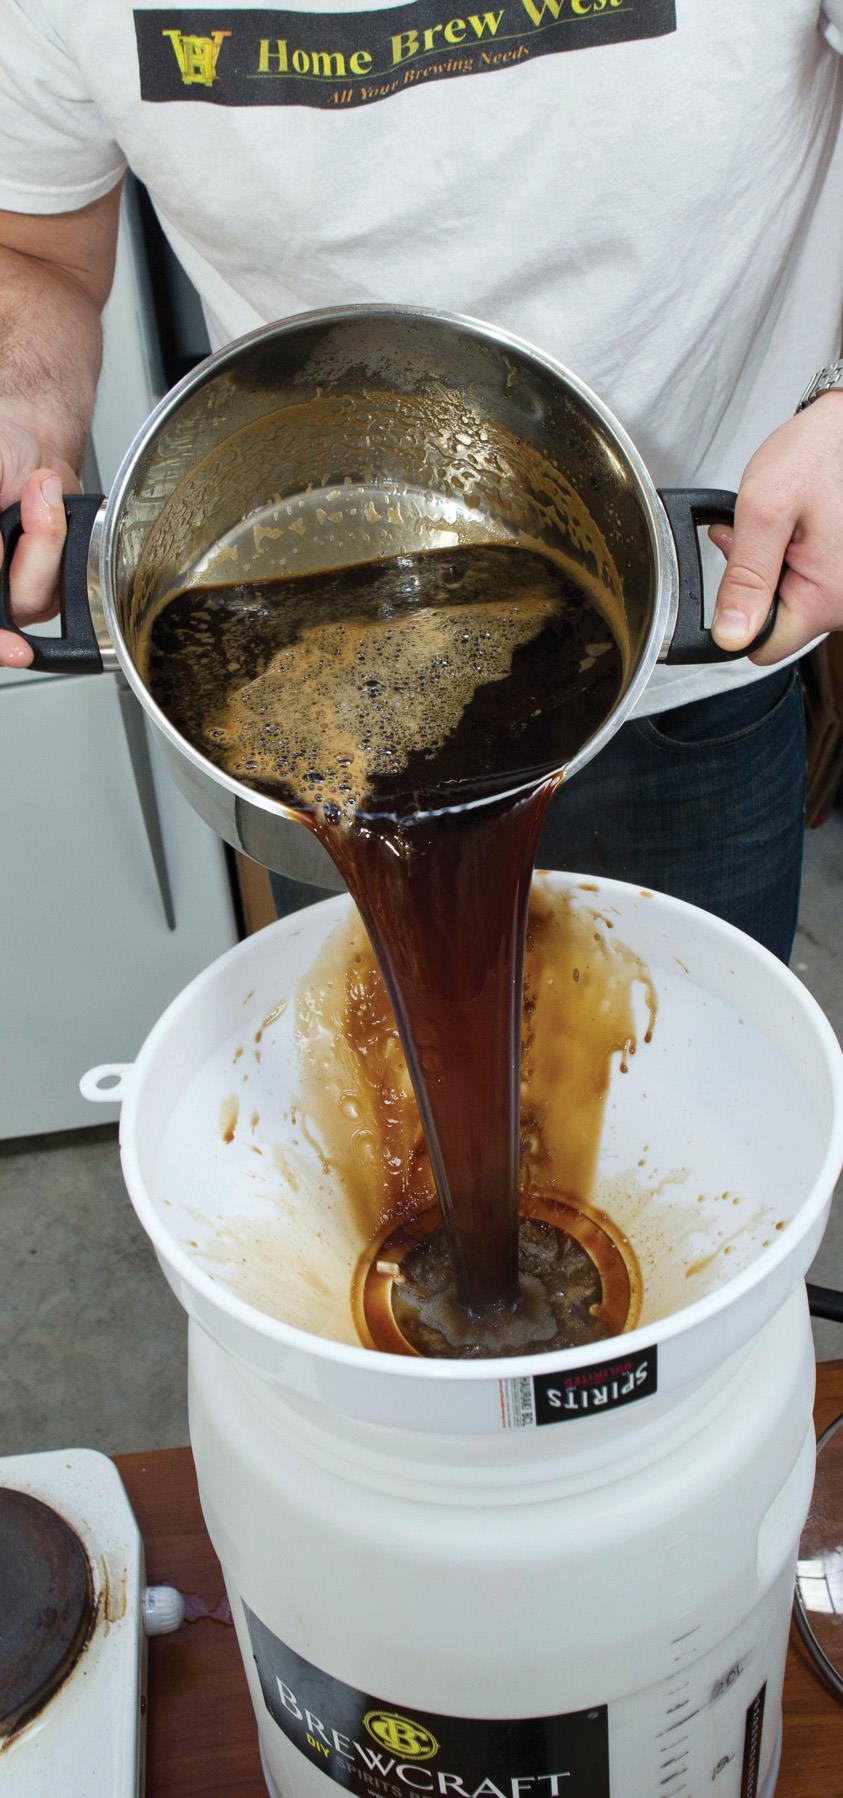
Warm the stout mixture first
2. Add about eight litres of cold water to your fermenter, which is the plastic brew barrel or container, and then add the hot ingredients from step 1. Once you have mixed it in add cold nd hot water to get to the 15-lire mark, making sure the wert is between 25ºC and 30ºC. Make sure the temperature is not hotter than 30ºC.
I pour the hot mixture into the fermenter or brew barrel through a funnel with a mesh filter on top to filter out the hops and other grains that are in the mixture. There is a “big boy’s toy” filter to take out all the sediment before you bottle the brew, but some of the best goodness is in this material and restores the Vitamin B which alcohol strips out of the body.
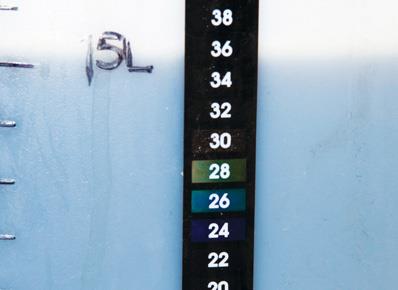
Wert (pronounced “wort”) is the young beer. You could make your whole brew in a glass carboy but they are diffi cult to clean around the neck. I have a thermometer on the side of the brew barrel as a constant check on the temperature.
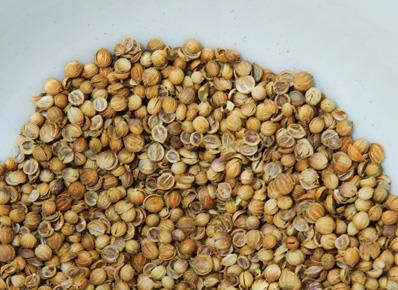
1: Temperature check 2: Cracked coriander
3. Sprinkle the yeast into the wert and stir just enough to make it all sink below the surface. With the hydrometer, take a Specific Gravity (SG) reading (should be 1080). Put the lid on and half fill the airlock with water.
Make sure you just sprinkle the yeast and stir it in. The airlock allows air under pressure to get out but prevents contaminating air from getting in.
4. Leave in the fermenter in a warm place around 20 ºC (preferably within 18-22 ºC but no higher than 24 ºC) until it stops bubbling. This should take 7-10 days. Stout needs to be warmer than conventional beer because it is a thicker mixture and needs the warmth to allow the yeast to work.
5. Use the hydrometer to check the SG (it should be at 1019 meaning about 9% alc/volume). To confi rm it is ready to bottle, the SG should be stable for at least two days.
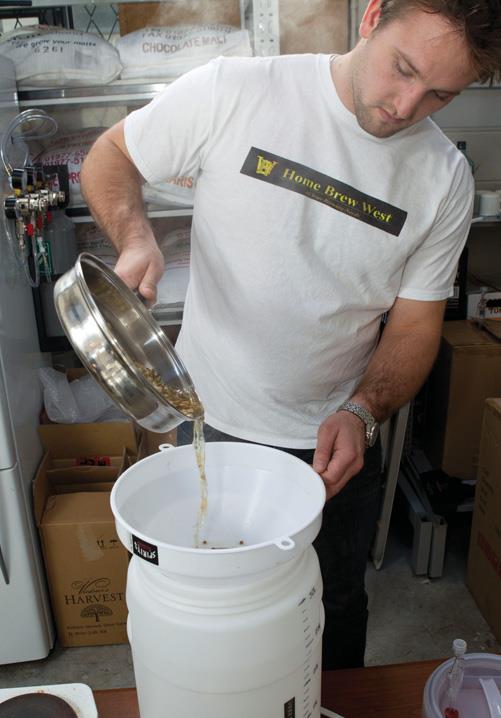
Filtering
6. Sterilise about 25 640-820ml bottles and put one carbonation drop in each one (or a medium measure of sugar). If you are using small bottles you will need about 40 to bottle this quantity with 2/3 carbonation drop (or a small scoop of sugar).
The bottles should be amber or dark glass or plastic –light is the enemy of beer and destroys the flavour.
7. Fill each bottle with beer using your brew bottler or beer wand, leaving about 50 mm (a two finger width or two inches) from the top and seal it with either a crown seal, PET bottle cap, or clip-on bottle top. The beer wand enables you to hold a bottle on the brew barrel until the bottle is full then pull it away while the pouring stops.
8.Store your bottles out of the way in a warm, dark place. You can taste your stout after 3-5 weeks. The longer the period the better the taste as you give the flavours more time to mature and mellow.
9. Enjoy your home-made stout.
For wheat beer, the method followed is similar in principle, but the most unusual ingredients that give this brew its flavour are coriander seeds and orange peel.
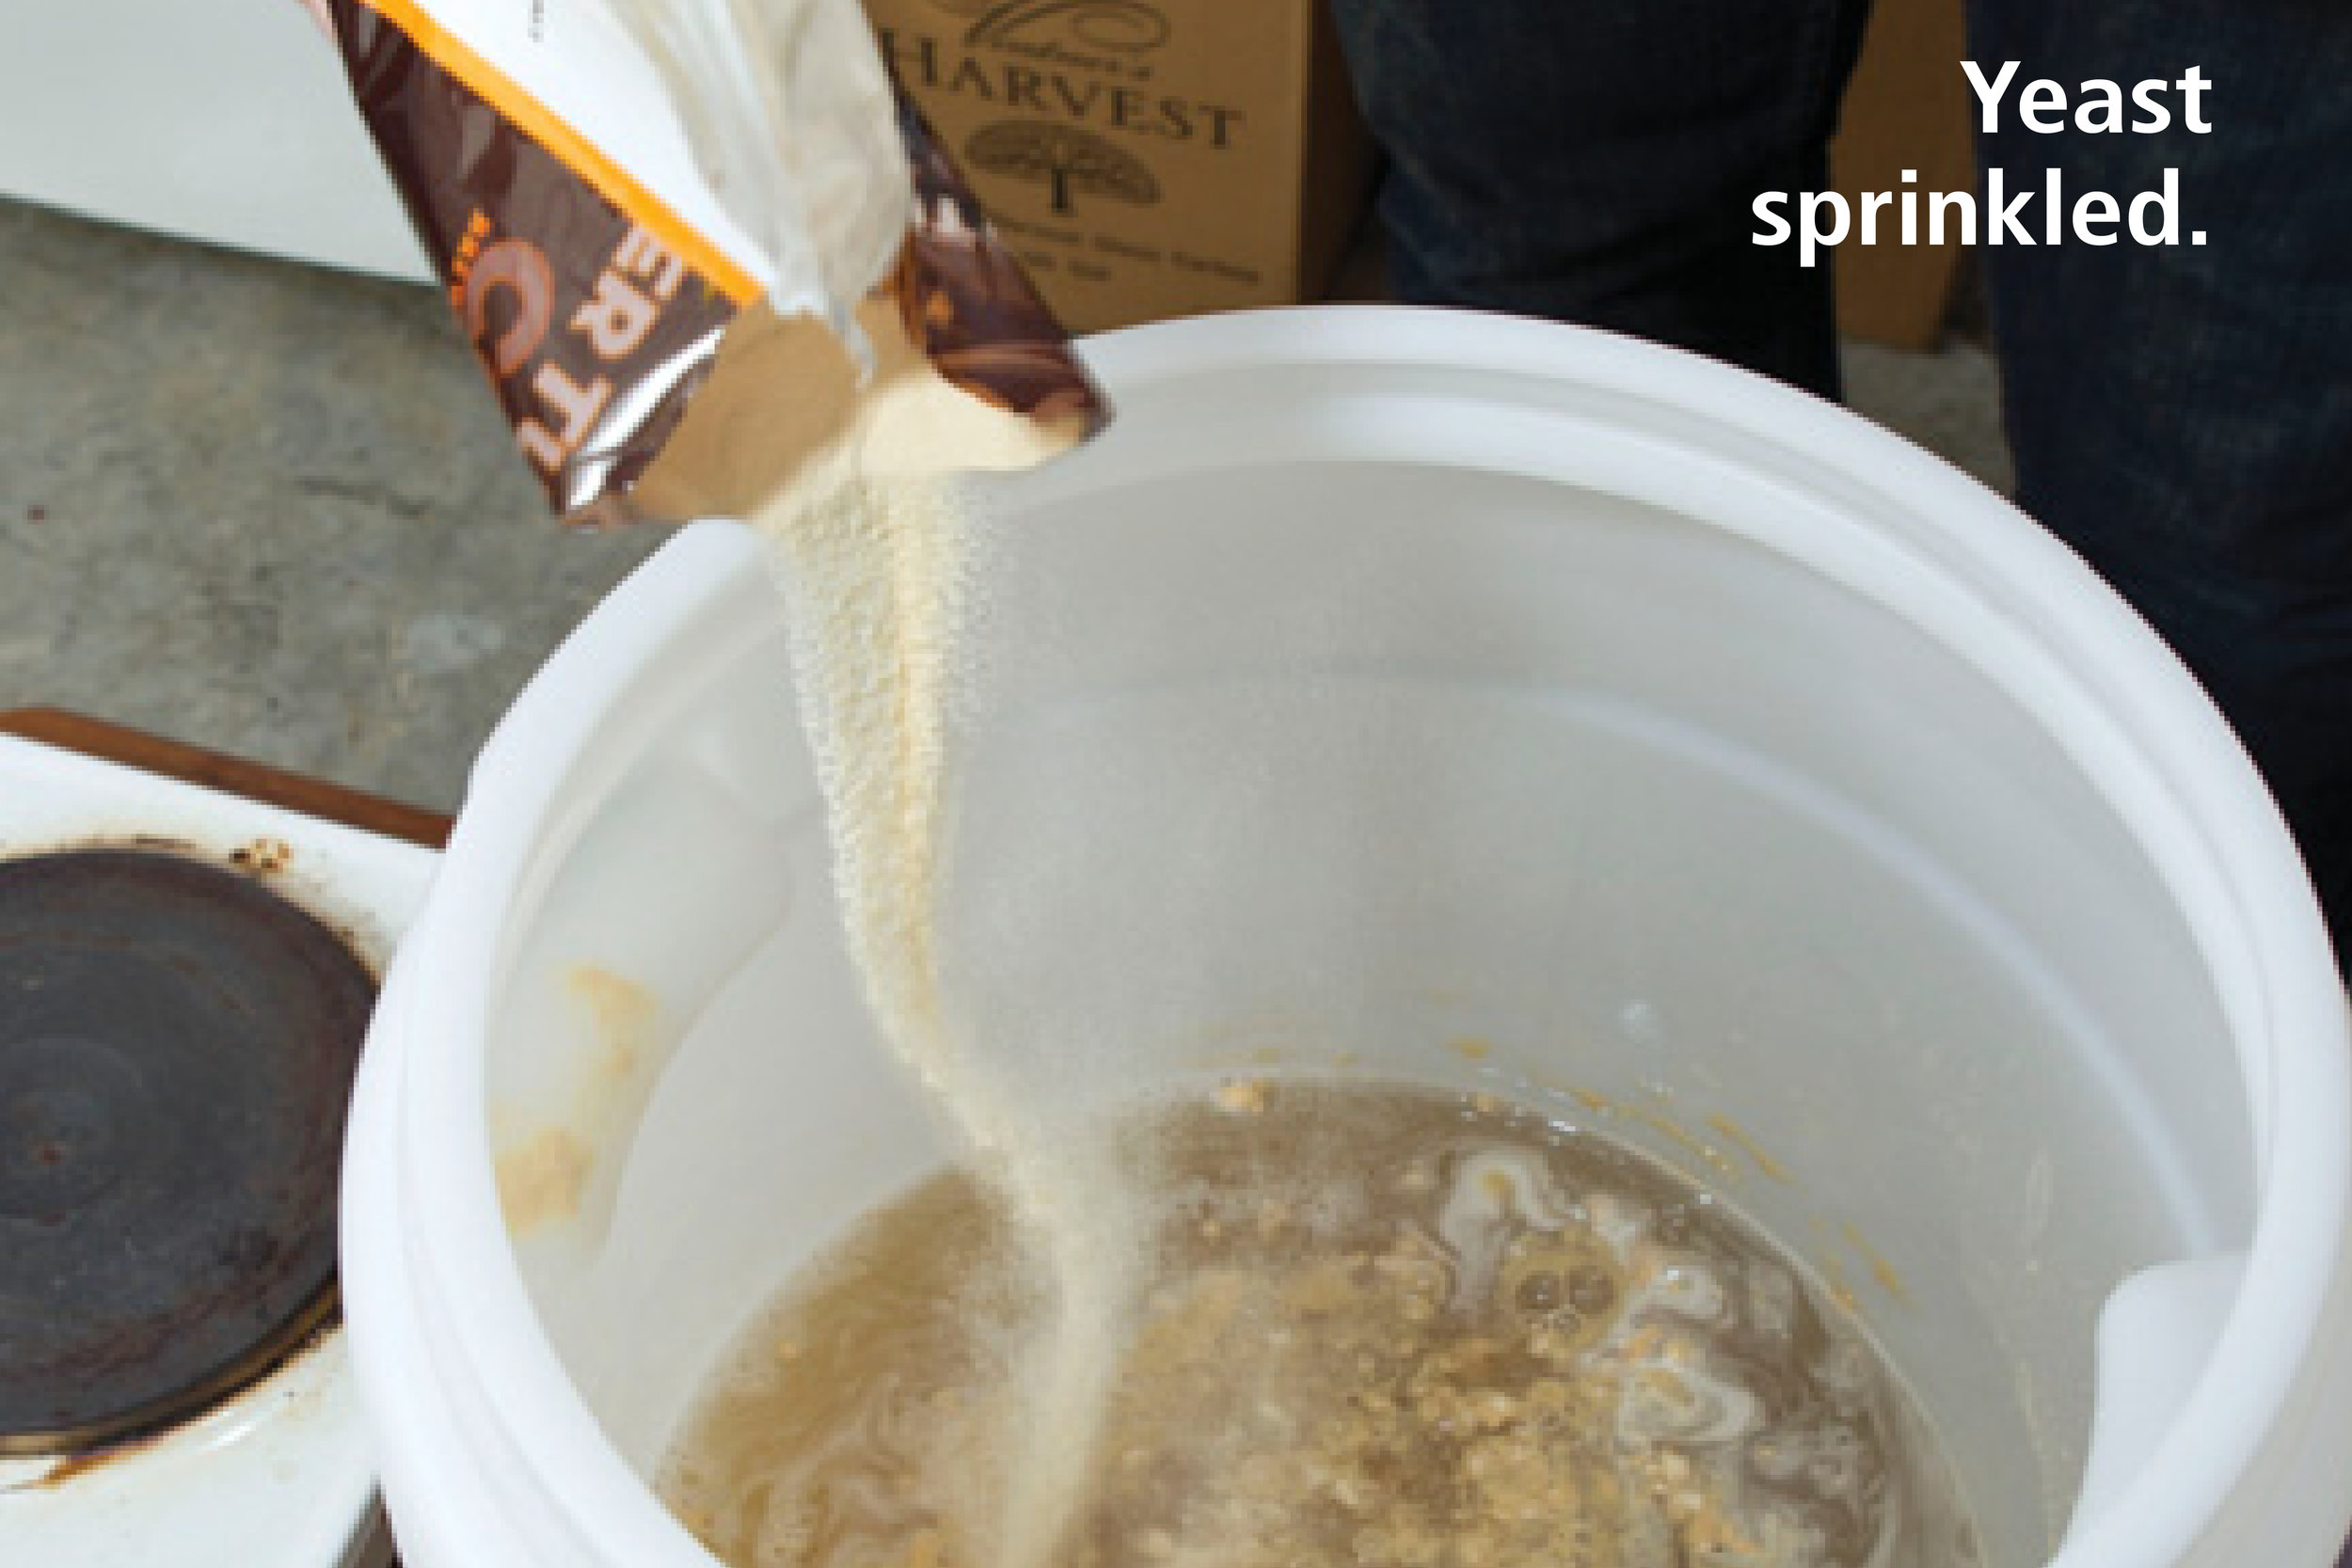
Yeast sprinkled
Mangrove Jack’s British Series Wheat Beer
Ingredients:
1kg Copper Tun Light Dried Wheat Malt
15 gm cracked coriander seeds
2 tablespoons orange peel zest
Method:
1. Mix the coriander and orange peel with one litre of boiling water in a saucepan. Reduce the heat and simmer for 15 minutes. Rest the mixture for 15 minutes and strain it. It is important to just crack the coriander seeds and not grind them into powder. This is just to allow the water to get into the spices and release the flavours.
2. Add about ten litres of cold water to your fermenter and then add the hot ingredients including the wheat beer pouch. Once mixed add cold and hot water to get to the 21 litres mark making sure the wert is between 16 ºC – 24 ºC. Make sure the temperature is not hotter than 24 ºC.
3. Sprinkle the yeast into the wert and stir just enough to make it all sink below the surface. Take a specific gravity reading with the hydrometer reading.
Put the lid on and half fill the airlock with water.
Hydrometer test
4. Leave this in the fermenter in a cool place about 18-20ºC (definitely lower than 20ºC) until it stops bubbling should take 7-10 days.
5. Use the hydrometer to check the SG to confirm it is ready for bottling. The SG should be stable for at least two days. You do not need to add finings before bottling as this is supposed to be a cloudy beer. Bottle as above, this time using about 30 (640-820 ml) bottles and putting two carbonation drops in each one. If you use small bottles you will need about 50 with one carbonation drop in each. You could taste this beer after 3-4 weeks, but six weeks is recommended and the longer the period the better the taste. Enjoy.
www.HomeBrewWest.co.nz
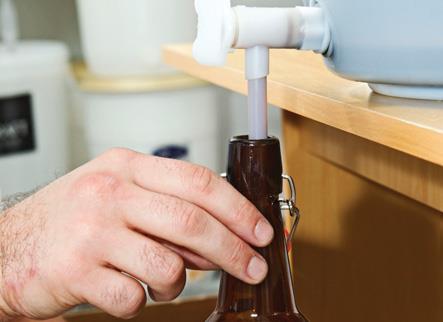
Bottling with a beer wand
A man’s fridge
For the purposes of ready access to his brews, Allister drilled a few holes in a standard fridge and set up a ready, home bar. There are two regulators controlling a keg each and one regulator to control two similar kegs. A carbon dioxide cylinder pressurises the lines which have to be a minimum of 2.5 metres long if the pour is not to be affected, says Allister.

