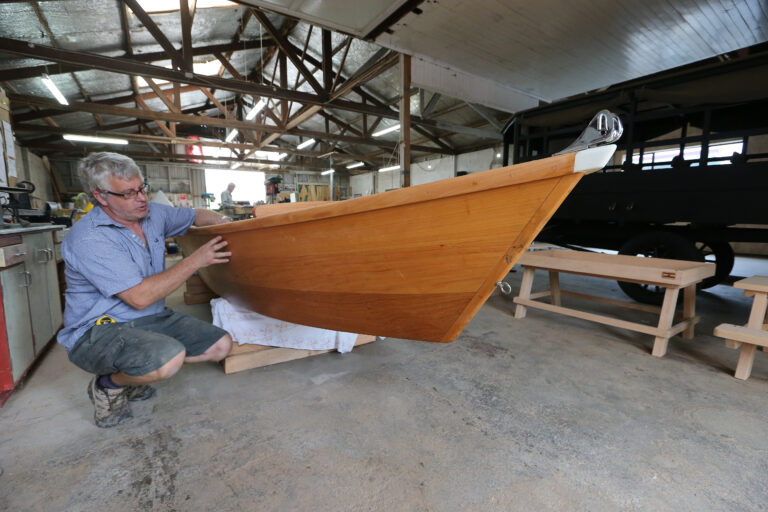
Rocking role
Almost ten years ago when I was in Poland, I saw the general concept of this rocker in the background of a magazine photograph. It always stuck in my mind as something I wanted to make.
I had no real idea of size when I started my planning so I made two or three mock-ups using 12 mm MDF and my then-one-year-old granddaughter as the guinea pig. Developing the concept of an item through the mock-up stage is to me one of the rewarding parts of the whole process and it allows fine-tuning before you use the more expensive woods.
Bandsawing outline from solid ply
Final shape
Basic
This rocker can be made with the most basic of hand tools although a bandsaw, a drill press and a stationary belt-sander do speed up the process considerably.
On a piece of thin MDF (I used 5 mm) mark out a grid of 25 mm squares and then copy the shape from the drawing onto the MDF. Mark the position of the other holes and drill a small hole just big enough to enable you to transfer a mark onto the ply.
When you feel you have it to your liking, carefully cut the shape out of the 5 mm MDF and sand the shape until it fl ows smoothly. It is much better and easier in the long run to spend a little extra time getting the template correct before transferring the shape to the 12 mm ply.
I used hardwood ply for the rocker but you could use almost any sort of ply you wish. If you decide to use a softer lighter ply, maybe you should use a thicker width.
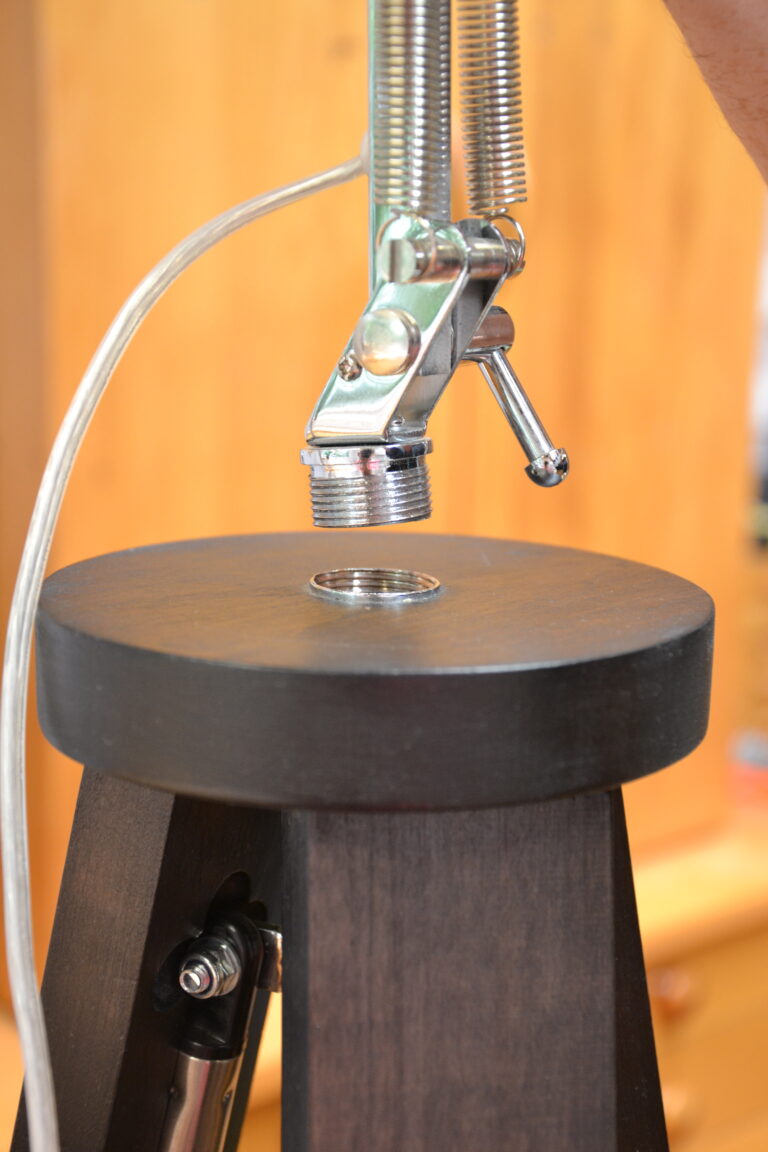
Simple drilling jig with a 7 degree angle on it. The angle on the bevel in the photo is 97 degrees
Bandsaw
Mark out the shape onto your plywood and carefully bandsaw the shape out. Do a couple of test cuts and if you have unacceptable tear-out then cut it on a sacrificial piece of MDF, say 5–12 mm thick. Sand the two sides to ensure you have a smooth finish and the shape you want.
Mark the position of the holes and carefully drill a 1-2 mm pilot hole where the handle goes. This is marked C on the drawing. Drill 12 mm holes in the three positions marked A for 12 mm-sized hardwood dowels to fit snugly. These positions take the screws to secure the handle and the foot rests. Glue the dowels in these holes and trim them off once the glue has dried.
Drill and countersink the holes marked B to suit the screws you are using but making sure you have a left-hand and right-hand side. These screws fi x on the seat supports for the webbing and the batten supports across each end of the rocker. To drill the 25 mm hole for the handle, you need to make a very simple drilling jig with a 7 degree angle on it. I suggest you use a 25 mm Forstner drill bit and that you do a couple of test drills in a piece of scrap to ensure you know how the drill will react. Be sure to work out a left-hand and right-hand side and drill them appropriately. Once the 25 mm holes have been cut, trim the plywood through the centre of the hole as this end is only left on until after drilling. Fabricate the footrests as per the drawing and drill and countersink the screw holes.
Screwing in seat supports
seat webbing is inexpensive
End-Grain Fastening
When you are putting a screw into the end-grain of ply to secure another component, the fastening is not very strong; the screw can sometimes split the ply and thus loosen the screw. A solution I have often used is to drill a hole into the ply near the planned screw hole and glue in a piece of dowel across the ply at right angles to the screw hole. Once the glue has dried, I carefully cut the dowel flush with the ply and sand it smooth. The distance from the end depends on the type of ply and the end-result required. But on 12 mm ply, a good guide is that the edge of the dowel which is at right-angles to the end-grain should be about 12 mm from the edge of the ply. Use a screw long enough to go through the dowel and drill a pilot hole for the screw to avoid any splitting. The aesthetic look of a different type or shade of timber in the dowel can be very effective.
Dowel glued across ply at right angles to screw hole
Seat
Cut the two seat supports out of 42 by 25 mm wood and the bottom stays out of 25 mm square. I used Southland Beech as it sort of matches the plywood and also I have plenty of scrap lying around.
Once I had the 7 degree angle on the bottom stays, I drilled a 2 mm pilot hole in the centre of the ends to assist my assembly process. Trim a piece of 25 mm dowel for the handle and drill and countersink the two screw holes. This is the time before assembly to sand all the components and remove any sharp edges.
Assemble the rocker by gluing and screwing it together and then carefully fi nish the sanding. Complete construction with three coats of Danish oil. Where the screws are going into the cross dowels I suggest you drill a small pilot hole to avoid any splitting.
Webbing
I found the 38 mm-wide webbing at a local upholstery supply house and a whole roll was very inexpensive. I cut strips to length and melted the ends with a match to avoid them coming apart. I then fastened them in place at each end with two upholstery tacks. Please ensure young children are well-supervised when using the rocker as it can rock over backwards if they are not a little careful. The rocker made for this article has been given to a special needs school.
Satisfied customer