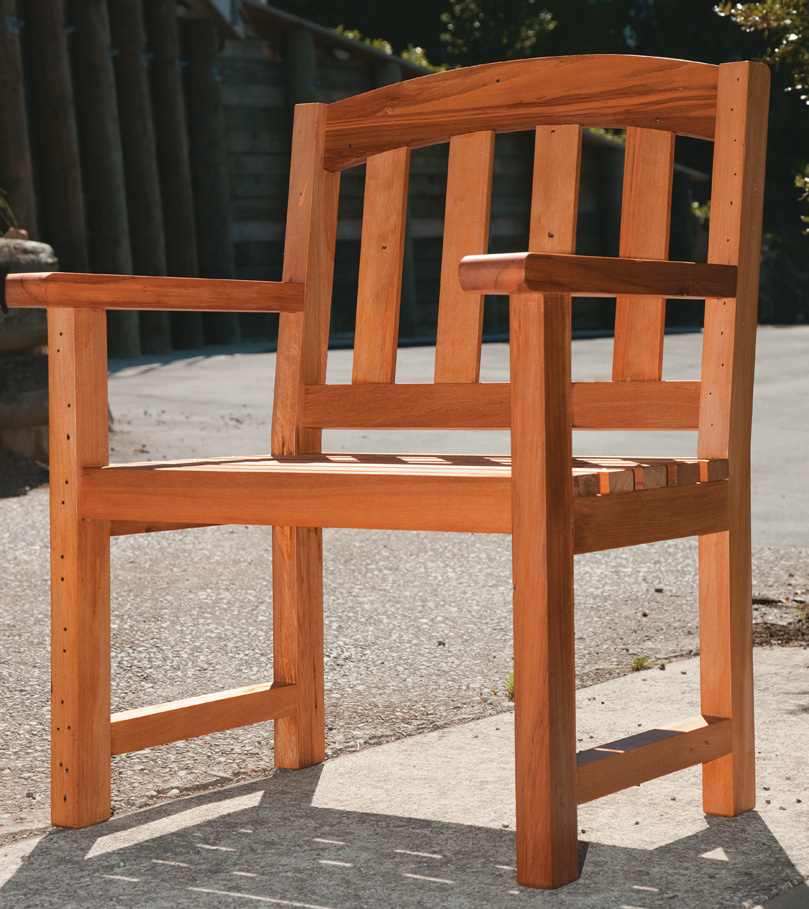
Recycled rimu outdoor chair
A simple and easy to make outdoor chair can add considerably to the aesthetics and usability of your garden or entertaining area. Over the last 15 years, I have made more than ten for my home and the homes of my family. They are simple to make and have a nice charm about them if they are made of recycled timber. While I have used a planer, a thicknesser, a mortiser, a bandsaw, a drill press and a saw bench, you could very easily just cut them on a saw bench and use a hand plane to remove the saw marks and then complete the chair with basic handtools.
Rimu
I have almost always used recycled rimu for my chairs as it is easy to obtain and relatively cheap to buy. It seems to last for ever and once the finish has weathered a little it has that rustic look. Buying recycled rimu from secondhand building supply dealers has the advantage that you can get it when you want it, you can pick and choose the actual sticks you buy and it comes de-nailed. But I also continually keep an eye out on the internet and generally for second- hand rimu and just buy it as it is available. The pile I bought to make this outdoor chair came full of nails but was more than 100 metres in total length and a mixture of 125 x 50 mm, 100 x 50 mm and some 75 x 50 mm. I spent about two to three hours removing the nails, going to considerable lengths to ensure I carefully examined each stick as a little extra time at that stage could avoid a chipped tool further on in the process. At a guess, I would get five to six chairs from this purchase which I picked up on Trade Me for $50. I always de-nail the timber as soon as I get it and then stack it in a place out of the sunlight so that it is ready to use when I require it. Many years ago I made two chairs for my son and daughter-in-law out of Southland beech which they painted white. Unfortunately, the chairs did not last very long out in the weather with the legs rotting through within a few years. I am not sure if it was the timber or the Palmerston North weather that caused the problems. I would certainly never use anything other than rimu for outdoor furniture in the future.
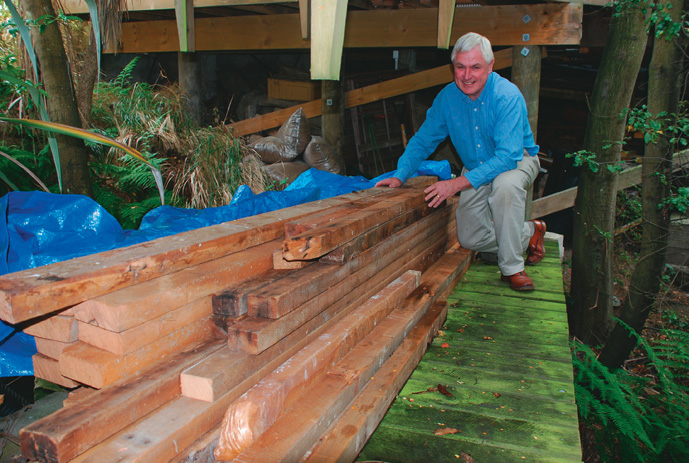
Recycled rimu stored flat, out of the weather
Mark out
You could mark out the chair components using the dimensions in this article or you could make MDF templates first and then just trace around them. I think I carefully marked out the first two chairs I made before making the time-saving templates. The chances of making a marking-out error are reduced to nil once you have the templates correct. A ruler or thin strip of MDF makes an even curve to draw around. A third hand makes the process easier. My chairs are all made with mortiseand- tenon joints which I really enjoy making. But they also ensure the chair stays more or less square when you are gluing up, as well as creating very strong joints because of the total gluing area. I use Gorilla polyurethane glue and have never had a problem, although you may also consider an epoxy two-pot glue. The epoxy glue is a little more fiddly as you need to mix the two parts before applying it to your glue-up. I usually need to glue two pieces together to make the back legs and the curved top but the rest of the components I just cut from the timber I have. While it seems obvious, you need to be aware that you require a left-hand and a right-hand side of the chair when marking out.
Mortises
The mortises can be cut in two different ways and I find they both take about the same time to make. I have a cheap Chinese-made mortising machine on which I can change the size of the chisels. These machines are handy but like anything that is built to a low price, they certainly have their limitations. While cutting mortises in the harder materials, such as rimu, they tend to flex more than a little and thus their accuracy is suspect. While you do learn to allow to some extent for the inaccuracies, it can become frustrating particularly to a person like me who likes to work to close tolerances. The other method of cutting a mortise is to drill out the slot using a Forstner drill bit and then finish with a chisel and a mallet. To get the mortise accurate, it is important that you mark it out accurately and then carefully cut to the line. I put a set of verniers on it regularly and I find I can get it cut very accurate in no time at all. If you use a back stop on the drill press, then you know the drill is in the middle of your markings. The mortises need tidying up later on the bench with a chisel.
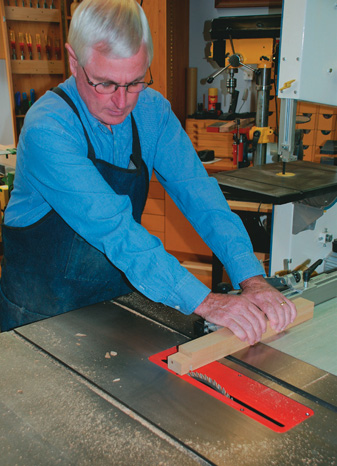
Cutting the tenons on the saw bench
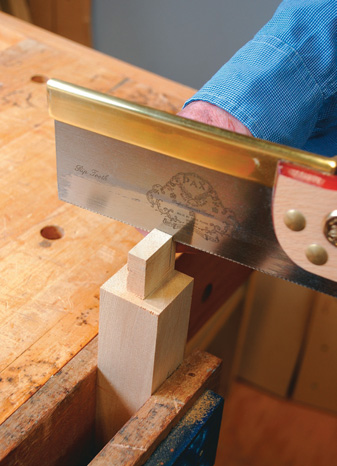
Trimming the side of the tenons by hand
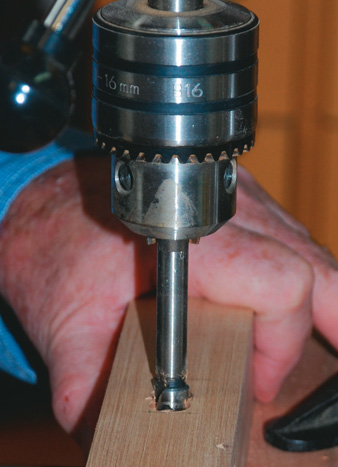
Drilling the mortise using a Forstner bit
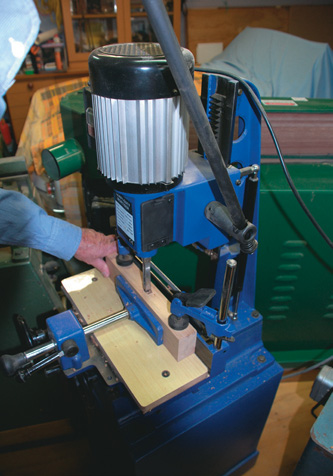
Using an inexpensive Chinese mortising machine
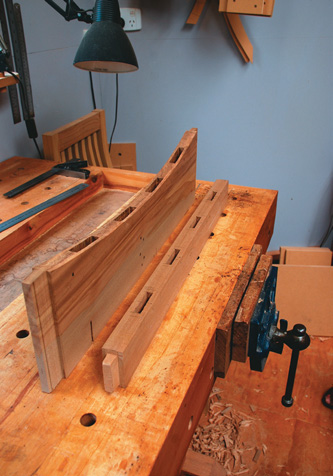
Mortises cut on the back, top and bottom rails
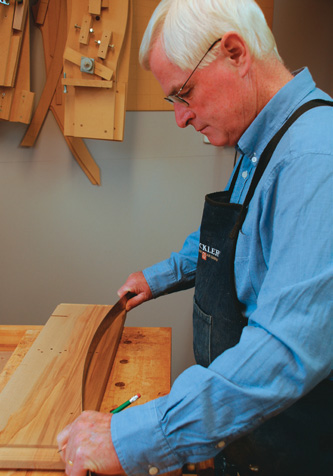
A ruler or thin strip of MDF makes an even curve to draw around
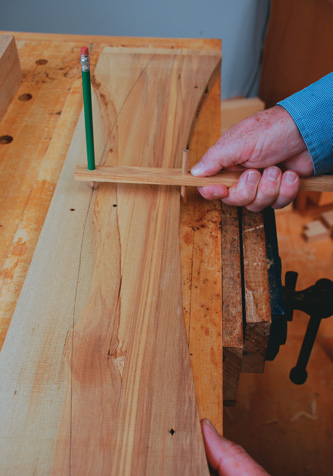
A simple jig transfers the curve to the top of the back rail
Tenons
The tenons can be cut by hand after carefully marking them out, or as I do, by removing the riving knife from my saw bench and cutting them by using the sliding table of the saw. When you are cutting the tenons on the saw bench, you can achieve considerable accuracy by adjusting the rise and fall. I find it is best to finish them fractionally oversize and then trim them to size with a square edge file or shoulder plane. They should not be too tight a fit otherwise the glue is squeezed out and the joint will lose its integrity. For ease of handling when making the curved top I find it is easier to cut the underside curve first and then cut the mortises before cutting the top curve. It can be done the other way but it is easier to have a square edge for as long as possible. A simple jig holding a pencil traces the curve from the bottom to the top. The back slats are machined to a thickness to fit in the mortises in the curved back and can float up or down while you are gluing everything together. The slats at the bottom are made to fit a narrower mortise which locks them together neatly.
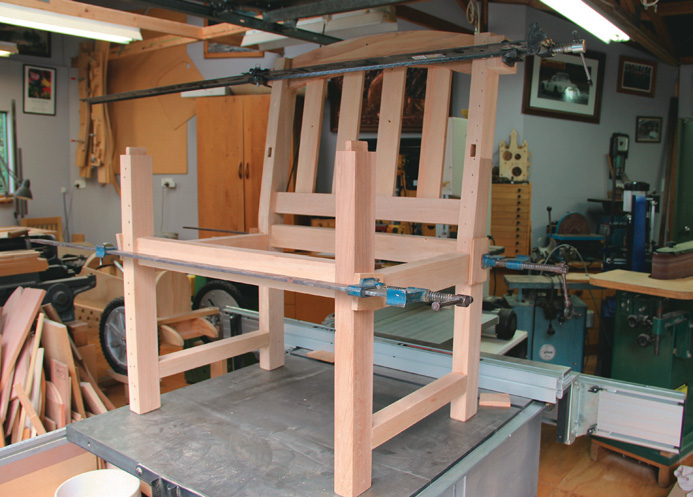
Glue up
Once you have made the components, excluding the two arm rests, sand them all to the level you wish. Then put a small chamfer on the bot-toms of the legs to avoid thin slivers of wood breaking away when the chair is moved around on the ground. Glue up the two sides first, excluding the arm rests, and allow the glue to dry, ensuring the sides are both square and flat. As I mentioned earlier the mortise and tenon joints will tend to pull things square, presuming you have the clamps reasonably straight. Always double-check as you go before the glue starts to set. When you glue the cross-members, the back and the slats together as one unit, you need at a minimum a third hand so invariably my wife is pressed into service. Even with two people, it requires some work to get the glue on all the joints and then put it together and clamp it. I always do this final glue-up assembly on my saw bench as I know it is flat. Sometimes I need to loosen the clamps and tweak things a little to ensure all four legs are flat on the saw bench.
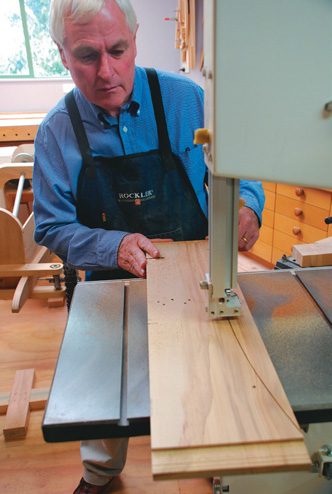
The top rail curve easily cut on the bandsaw
The glue up without the arm rests fitter
Arms
Once most of the chair is together, it is then time to make the arms. While they are still parallel, you can cut the tenons on the ends and then fit them to the mortises you had cut earlier. The final two mortises now need to be cut on the underside of the arms. Fit the arms onto the chair, mark and then cut the taper back to the rear legs. They can now be glued into place. To finish the chair I like to use two or three coats of Cabot’s furniture and deck oil (I purchased 10 litres on special several years ago) which looks excellent upon completion and then gradually weathers to look like it has been there for a long time.
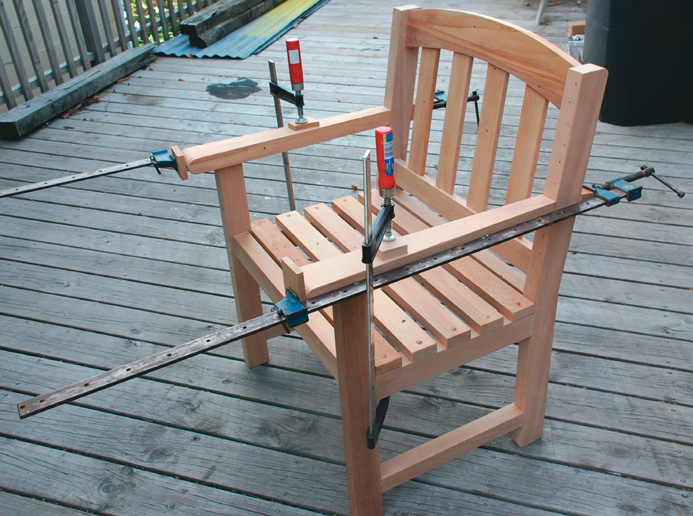
The arms glued and clamped
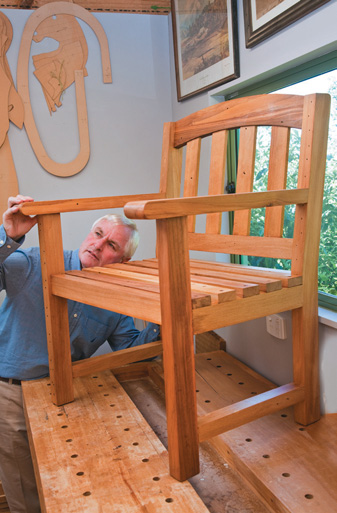
Final check