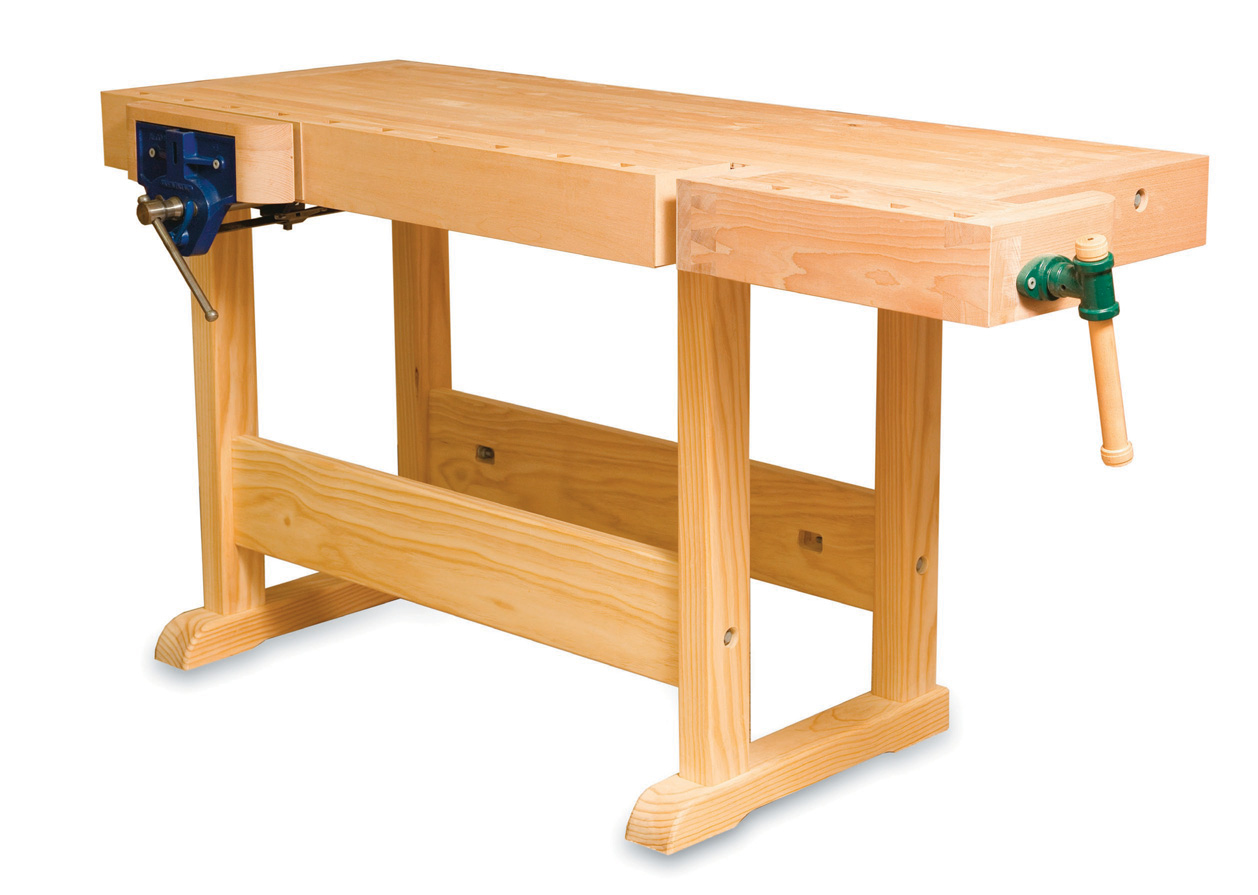
Part one of building a classic cabinetmaker’s bench
Why a cabinetmaker’s bench? Since the founding of the Centre for Fine Woodworking, we have built benches especially to meet our needs. The bench is fundamental in its role within any workshop and we feel the higher
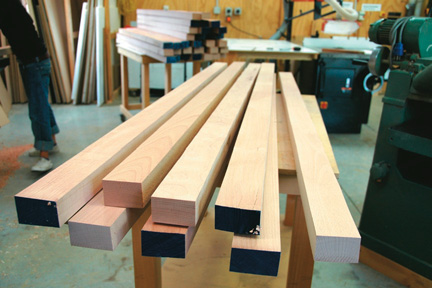
Timber thickness for benchtop
the quality the bench is, the more care will be taken in its use. Consequently this will reflect in the work being carried out. A true and flat surface acts like a datum for your work. Combine this with flexible and effective ways of holding your work and a rock-solid support structure which positions the work surface at the correct height for your endeavours and you have a multi-faceted holding system for fine woodworking. Here is the perfect foundation for careful and accurate work. The Centre’s benches are based around the classic European/American cabinetmaker’s bench which combines a broad heavy wooden
surface with two vices. Originally the side or shoulder vice was simply a screw, usually made of wood set in an L-shaped structure, allowing the screw to apply pressure to the side of the main bench.
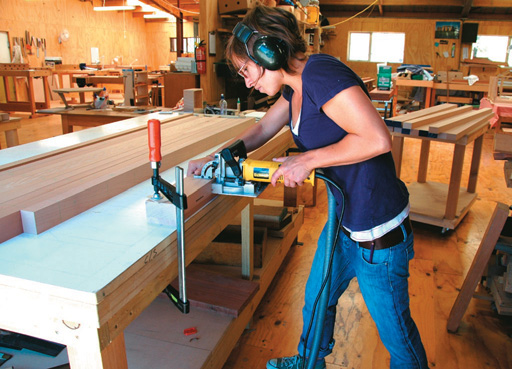
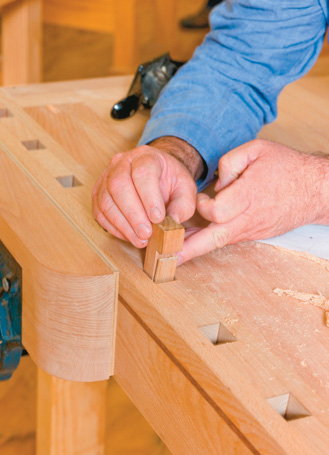
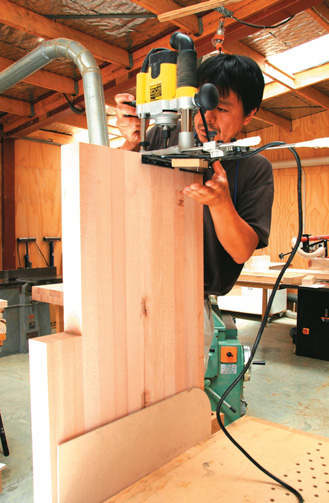
Cutting biscuit slots in bench planks
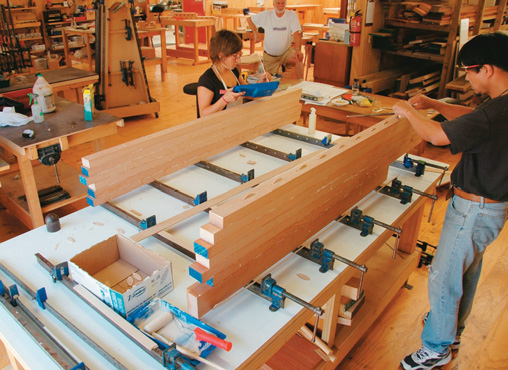
Ryo Mogami and Mia Trew glue and biscuit-joint benchtop
My own bench which I made in 1982, having dragged all the hardware back from Denmark in my backpack, has this feature and I love it dearly for its flexibility. Mind you, certain others who have at times had the privilege of using it have been less than generous in their praise for it. Most of the doubters prefer a more contemporary side vice that nowadays tends to be a cast-iron model in the style of Record. Here at the Centre it is generally a 52 1/2 or 53 for the ease of fitting and the advantage of the quick release.
Updated
Others choose an updated, traditional-style, double-slide singlescrew type with a solid wooden jaw. These have recently become available again and look great on a good bench. This is complemented by a classic tail vice. The advantages of this are the clear opening between the jaws (allowing one to hold pieces without interference from any steel slides or runners), the orientation of the jaws at 90 degrees to the face of the bench and, most importantly, the cramping and fixing of pieces on the bench surface between opposing pins or “dogs” made possible by the sliding movement of the jaw. We’ll discuss this more fully in the second part of this two-part article in the next issue. Then I will illustrate and compare two of the methods used to make the tail vices for these benches. Here, I have set out and illustrated the process we went through when two of our students, Mia Trew and Lachie Park under the guidance of our technician Ryo Mogami built some benches for the Centre.
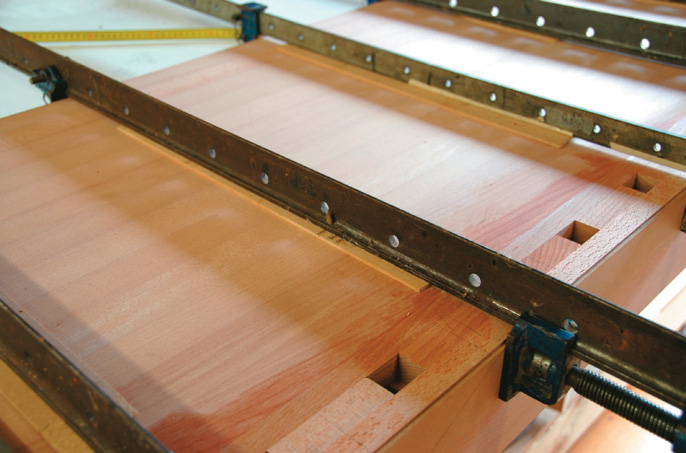
Joining benchtop
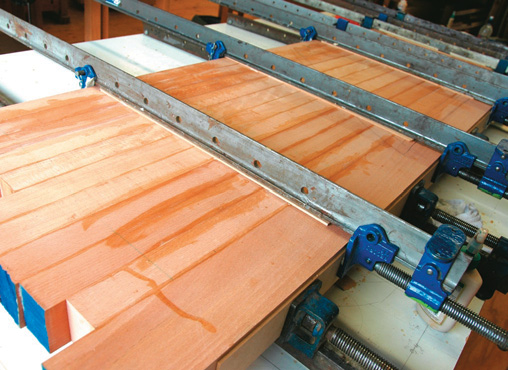
Benchtop cramped
Timber
Two timbers are popular historically for this type of bench: in Europe, European beech (Fagus sylvatica); and in North America hard or rock maple (Acer saccharum). These timbers are chosen essentially for their availability and relative hardness. They are both technically mediumdensity hardwoods. In New Zealand both these timbers are available from timber importers; beech is less expensive but less stable when you are re-sawing. New Zealand timbers which you might consider include tawa, matai, rimu, and red or silver beech. Australian timbers include Eucalyptus saligna (Sydney blue gum), jarrah and Eucalyptus pilularis (blackbutt). For the support frame we use radiata.
Breaking down
Generally these timbers come in random widths and we will have to rip them down into planks of rough-sawn size, approximately 70 mm x 50 mm x 1.8 m long. Make sure you dock any checks and ideally any major knots as they will increase the potential for movement in the finished surface. Twelve of these planks should then be machine- straightened and thicknessed to a dimension of approximately 61 mm x 42 mm and be glued together to make the top. Lamellos or biscuits are used in the joints to ensure good alignment and minimal wastage. Splines are also fine although, in order to prevent glue being trapped in the grooves, use several short pieces with small gaps between rather than one long spline. If you work quickly, a general purpose aliphatic resin glue is perfectly adequate for this work although you could use urea formaldehyde or epoxy resin. Applying the glue with a small paint roller speeds up the process greatly.
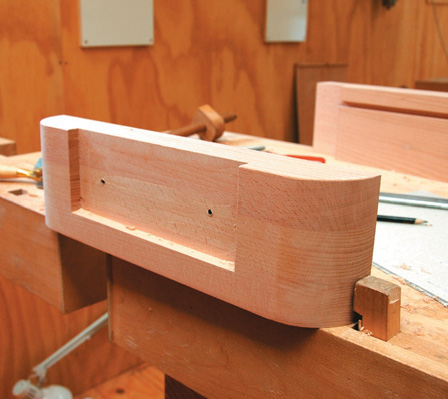
Recess
When the top is glued together, all excess glue should be removed. Doing this while the glue is still wet saves a great deal of work. Otherwise use a scraper when the glue is dry. A further component is then added to the front edge. As this should be 61 mm x 60 mm, it will have to be laminated from two pieces and then machined to finished size. It should be shorter in length than the rest of the bench in order to create a recess which the tail vice will later fit into. If you are right-handed this recess should be at the right-hand end, and vice versa if you are left-handed. The position of this recess is shown clearly on the drawings. The whole unit should then be taken to a joinery and fed through a thickness sander, where you aim to keep it flat and true and finish with a thickness of 60 mm. You can of course whip out your number 7 Stanley jointer and plane the whole top surface flat and the bottom parallel if you’re feeling lively.
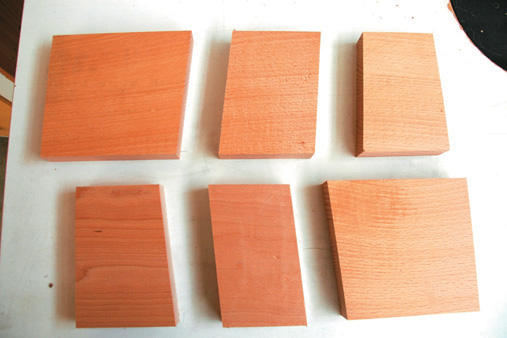
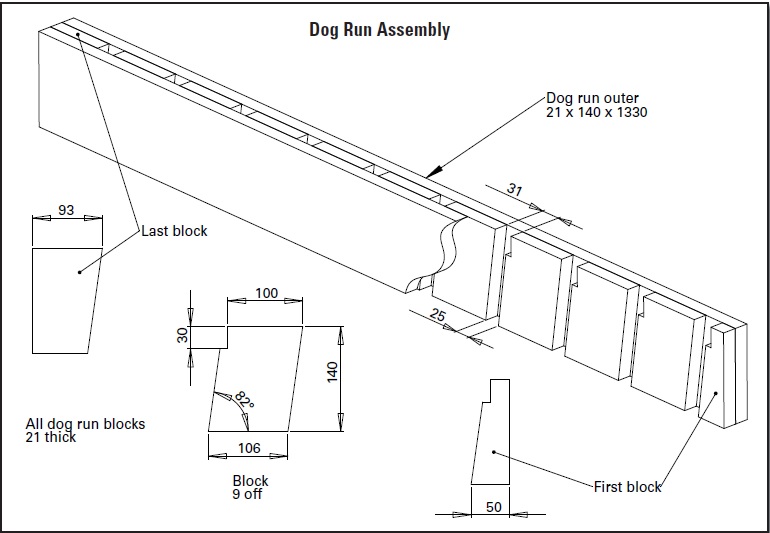
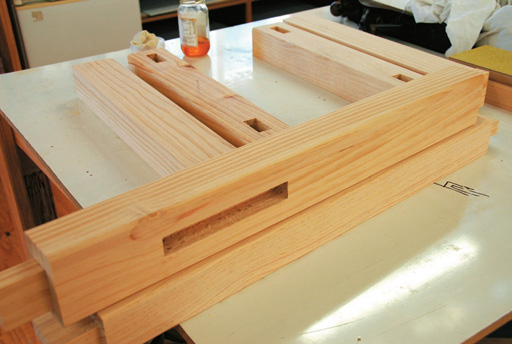
Dog run blocks

with step corner
Trim
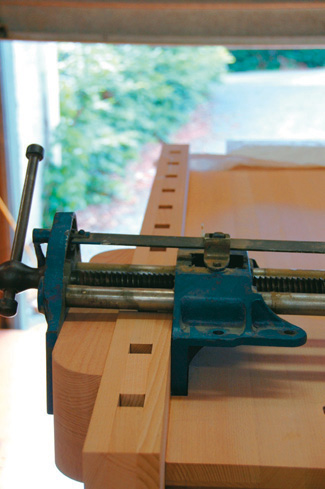
Trim the unit to a finished length overall of 1600 mm using the end of the recess (or jaw face) recently created as a datum; measure 360 mm to the nearest end then back 1600 mm to set out the two cut lines. This correctly locates the face of the end vice. Both the front and back edges should now be re-squared in relation to the top of the bench. It is important to note that a recess for the rear jaw of the steel vice that you are using for your side vice must be routed into the front edge of the bench prior to your gluing on the apron or “dog run”. The edge of the recess should be at least 100 mm from the near bench end to allow an easy drop-in fit, i.e. loose not tight! Ensure that the top of the recess is within 25 mm of the top of the bench.
Dog run
The dog run is a critical component of the bench. It provides you with the ability to fix lengths of wood to the surface using “dogs” i.e. springloaded pieces of wood which act as jaws in conjunction with the sliding ability of the end vice. The dog run is constructed from three pieces of material 150 mm x 25 mm rough-sawn by 1500 mm long. Each piece is machined to a true finished dimension of 140 mm x 21 mm. Choose two of the pieces to be the inside and outside faces of the dog run and trim the remaining piece into eleven internal blocks as shown in the drawings. Carefully cut out the step in the corner of each block. These are then glued between the two faces of the dog run, using spacers to keep everything the right distance apart and properly aligned. The spacers should be thinner than the central elements and have bevelled edges so they can be removed as soon as cramping pressure has been applied to the whole unit. This piece is now glued to the front edge of the bench so that the dog holes lean towards the jaw of the tail vice. Make sure that the small step which has been cut out in the central blocks is up and that the end of the dog run is flush with the recess face already created on the bench top, as this will become your tail vice jaw. This piece should have been trimmed to length prior to gluing.
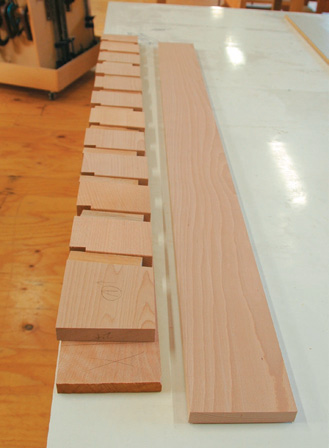
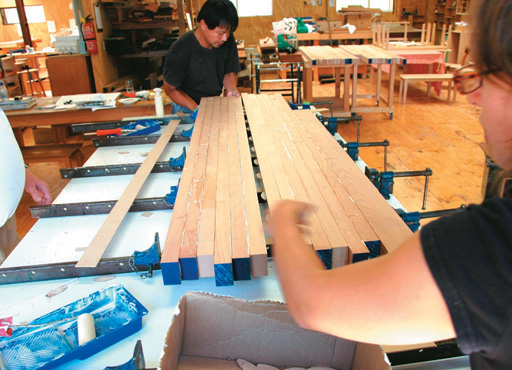
Dog run blocks spaced
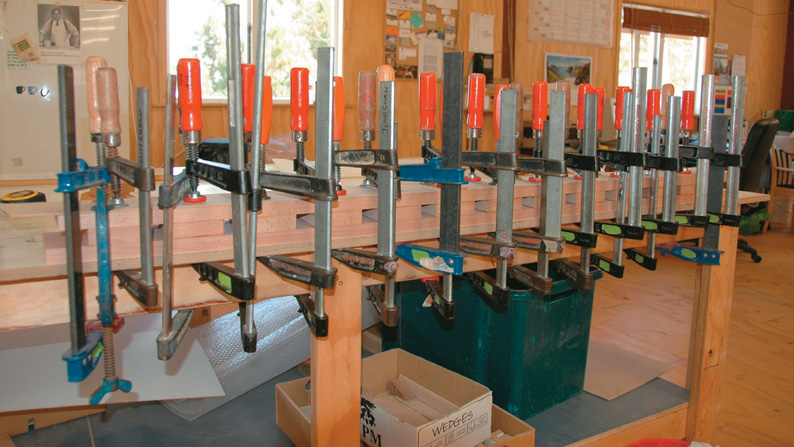
Dog run glued and clamped
Dog run clamped to benchtop
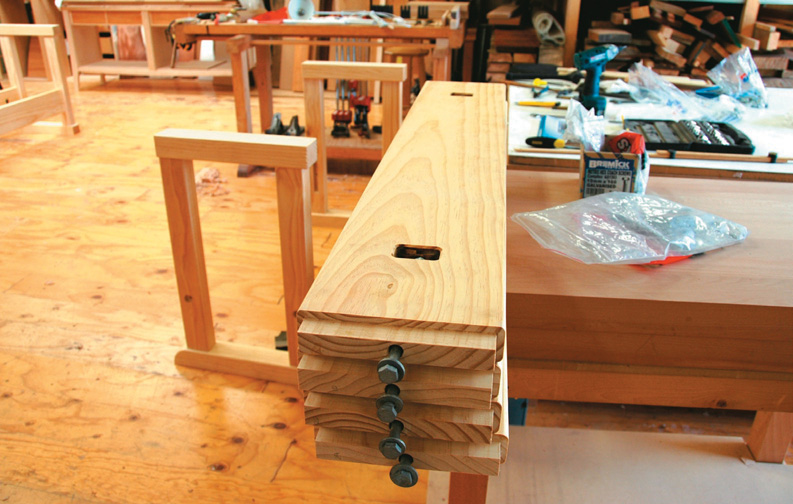
Left and right end-rails
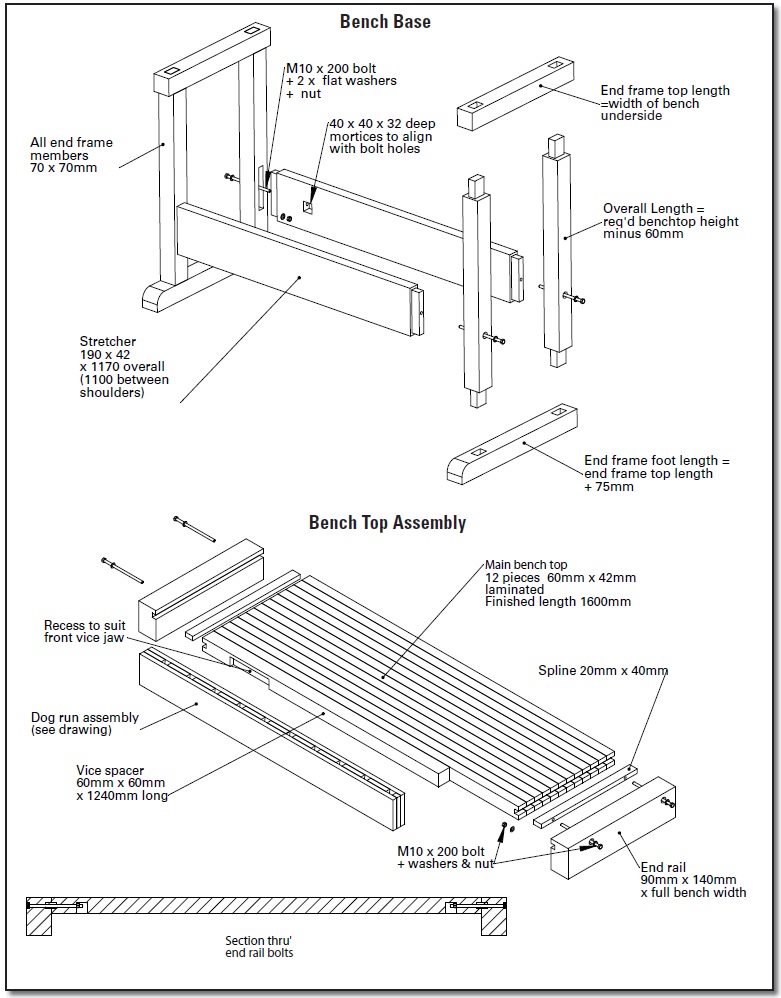
We now need to add two end rails to the bench. They should have a finished dimension of 90 mm x 140 mm and they are usually glued up from two pieces of rough-sawn 50 mm x 150 mm timber. In order to keep your options open for choosing a type of tail vice construction, make both their lengths at least the maximum width of the glued-up benchtop. These rails work to prevent the bench from warping in use. They are fitted using a 40 mm x 20 mm friction-fit spline. The grooves for this spline must be routed into each end of the bench top, 20 mm down from the top face, while a matching groove must be routed into the face of the end rails so that the top face of the rail is flush with the benchtop. They MUST NOT be glued into place. They are held in place on the bench by two 200 mm x 10 mm engineers’ bolts. Careful layout is required to locate these bolts so they do not interfere with the fixing screws of the side vice you have chosen to use. Mortises are then routed in the underside of the bench to locate the captured nuts which tighten the rails into place. All of these holes should be oversize by several millimetres, say 4-5 mm, to allow for the inevitable movement that will occur along this joint. The bench and rails should be assembled and kept in this state from now on.
Ryo routs bench for friction-fit spline
For bolted-on benchtop end rails and long rails in base, mortises were routed in the underside to locate captured nuts
Bench height
Here we make a critical decision: the height of your bench. It is traditional to set it at the height of your wrist when you are standing upright. I recommend you set a temporary surface at this height and try working at it for a while to see how it suits you. Pay particular attention to your back and don’t be afraid to adjust it until it feels right for you. Incidentally, there is always some scope to adjust it up but its a lot harder to shorten it. The stand consists of two frames and two connecting rails. Each frame is made from 75 mm-square stock, machined to finish at 70 x 70 mm. The legs are mortised at the top into rails that span the width of the underside of the bench and at the bottom into rails that have additional material (approx 75 mm) on the front to act as a toe. These joints are glued. Two rails are machined from 200 x 50 mm stock finishing at 190 x 42 mm. The connection between the frame and the rails is achieved by a 35 mm deep mortise into the frame legs and a matching stub tenon on the end of the rails, Ensure that you have all the parts correctly oriented before committing yourself to cutting the joints. These joints are not glued but held together by captured nuts and engineers’ bolts in the same way as the rails on the benchtop are connected. This facilitates the dismantling and easy transportation of the bench.
Bench stand and rails

Bench height
Side vice
To begin the process of fitting the Record side vice, set the bench top upside down on its stand. The inside jaw of the vice should be slid into the recess previously prepared behind the apron on the underside of the bench. Blocks are then placed under the fixing surface of the vice through which 12 mm coach bolts are run into the underside of the bench. A jaw of approximately 70 mm thick x 140 mm high by 400 mm long is then connected to the opening jaw of the vice and tuned to close parallel onto the apron. The top of the jaw should close onto the apron before the bottom. Assuming everything has gone well, you should now be able to position your bench on its stand, step back and mentally prepare yourself for constructing the tail vice.
Side vice component cramped
Component for side vice (upside down)