SOLVE THE PROBLEM OF HOW TO BEND SHEET METAL IN YOUR HOME WORKSHOP WITH THIS EFFECTIVE SHEET METAL FOLDER
How often do we need to bend sheet metal, but are put off because of the drama involved? We may turn to a couple of bits of angle iron fitted into the jaws of a bench vice and try to exert even pressure as we fold the metal. I’ve done this and felt less than satisfied with the results. This design-and-make plan will enable you to make a small pan sheet metal folder that folds mild sheet metal from 18 to 26 gauge. With it, you’ll be able to fold “U” or “Z” sections or a lip on a sheet of metal. The way we’ve constructed the metal folder will also allow you to bend metal to more than 90 degrees—try that with two pieces of angle iron mounted in the vice. To use this folder, you loosen the wing nuts at the top of the clamp bolts and insert the sheet metal between the top and bottom form bars from the front or the back. Tighten the nuts to hold the sheet metal. When the handle is raised, the anvil/pressure-bar assembly is brought up and forces the metal sheet upwards to a chosen angle of up to 130 degrees. Throughout this article “pilot drilling” is referred to in every part of the hole-drilling procedure. Pilothole drilling is using a small twist drill of 2.5 or 3 mm after using the centre punch at the point where drilling a hole is required. This is a very advisable technique for ensuring that holes are located in their correct position without drifting during the hole-drilling operation. It also ensures that holes line up correctly with other holes when required to do so. Skip the pilot-hole drilling procedure at your peril.
Getting Started
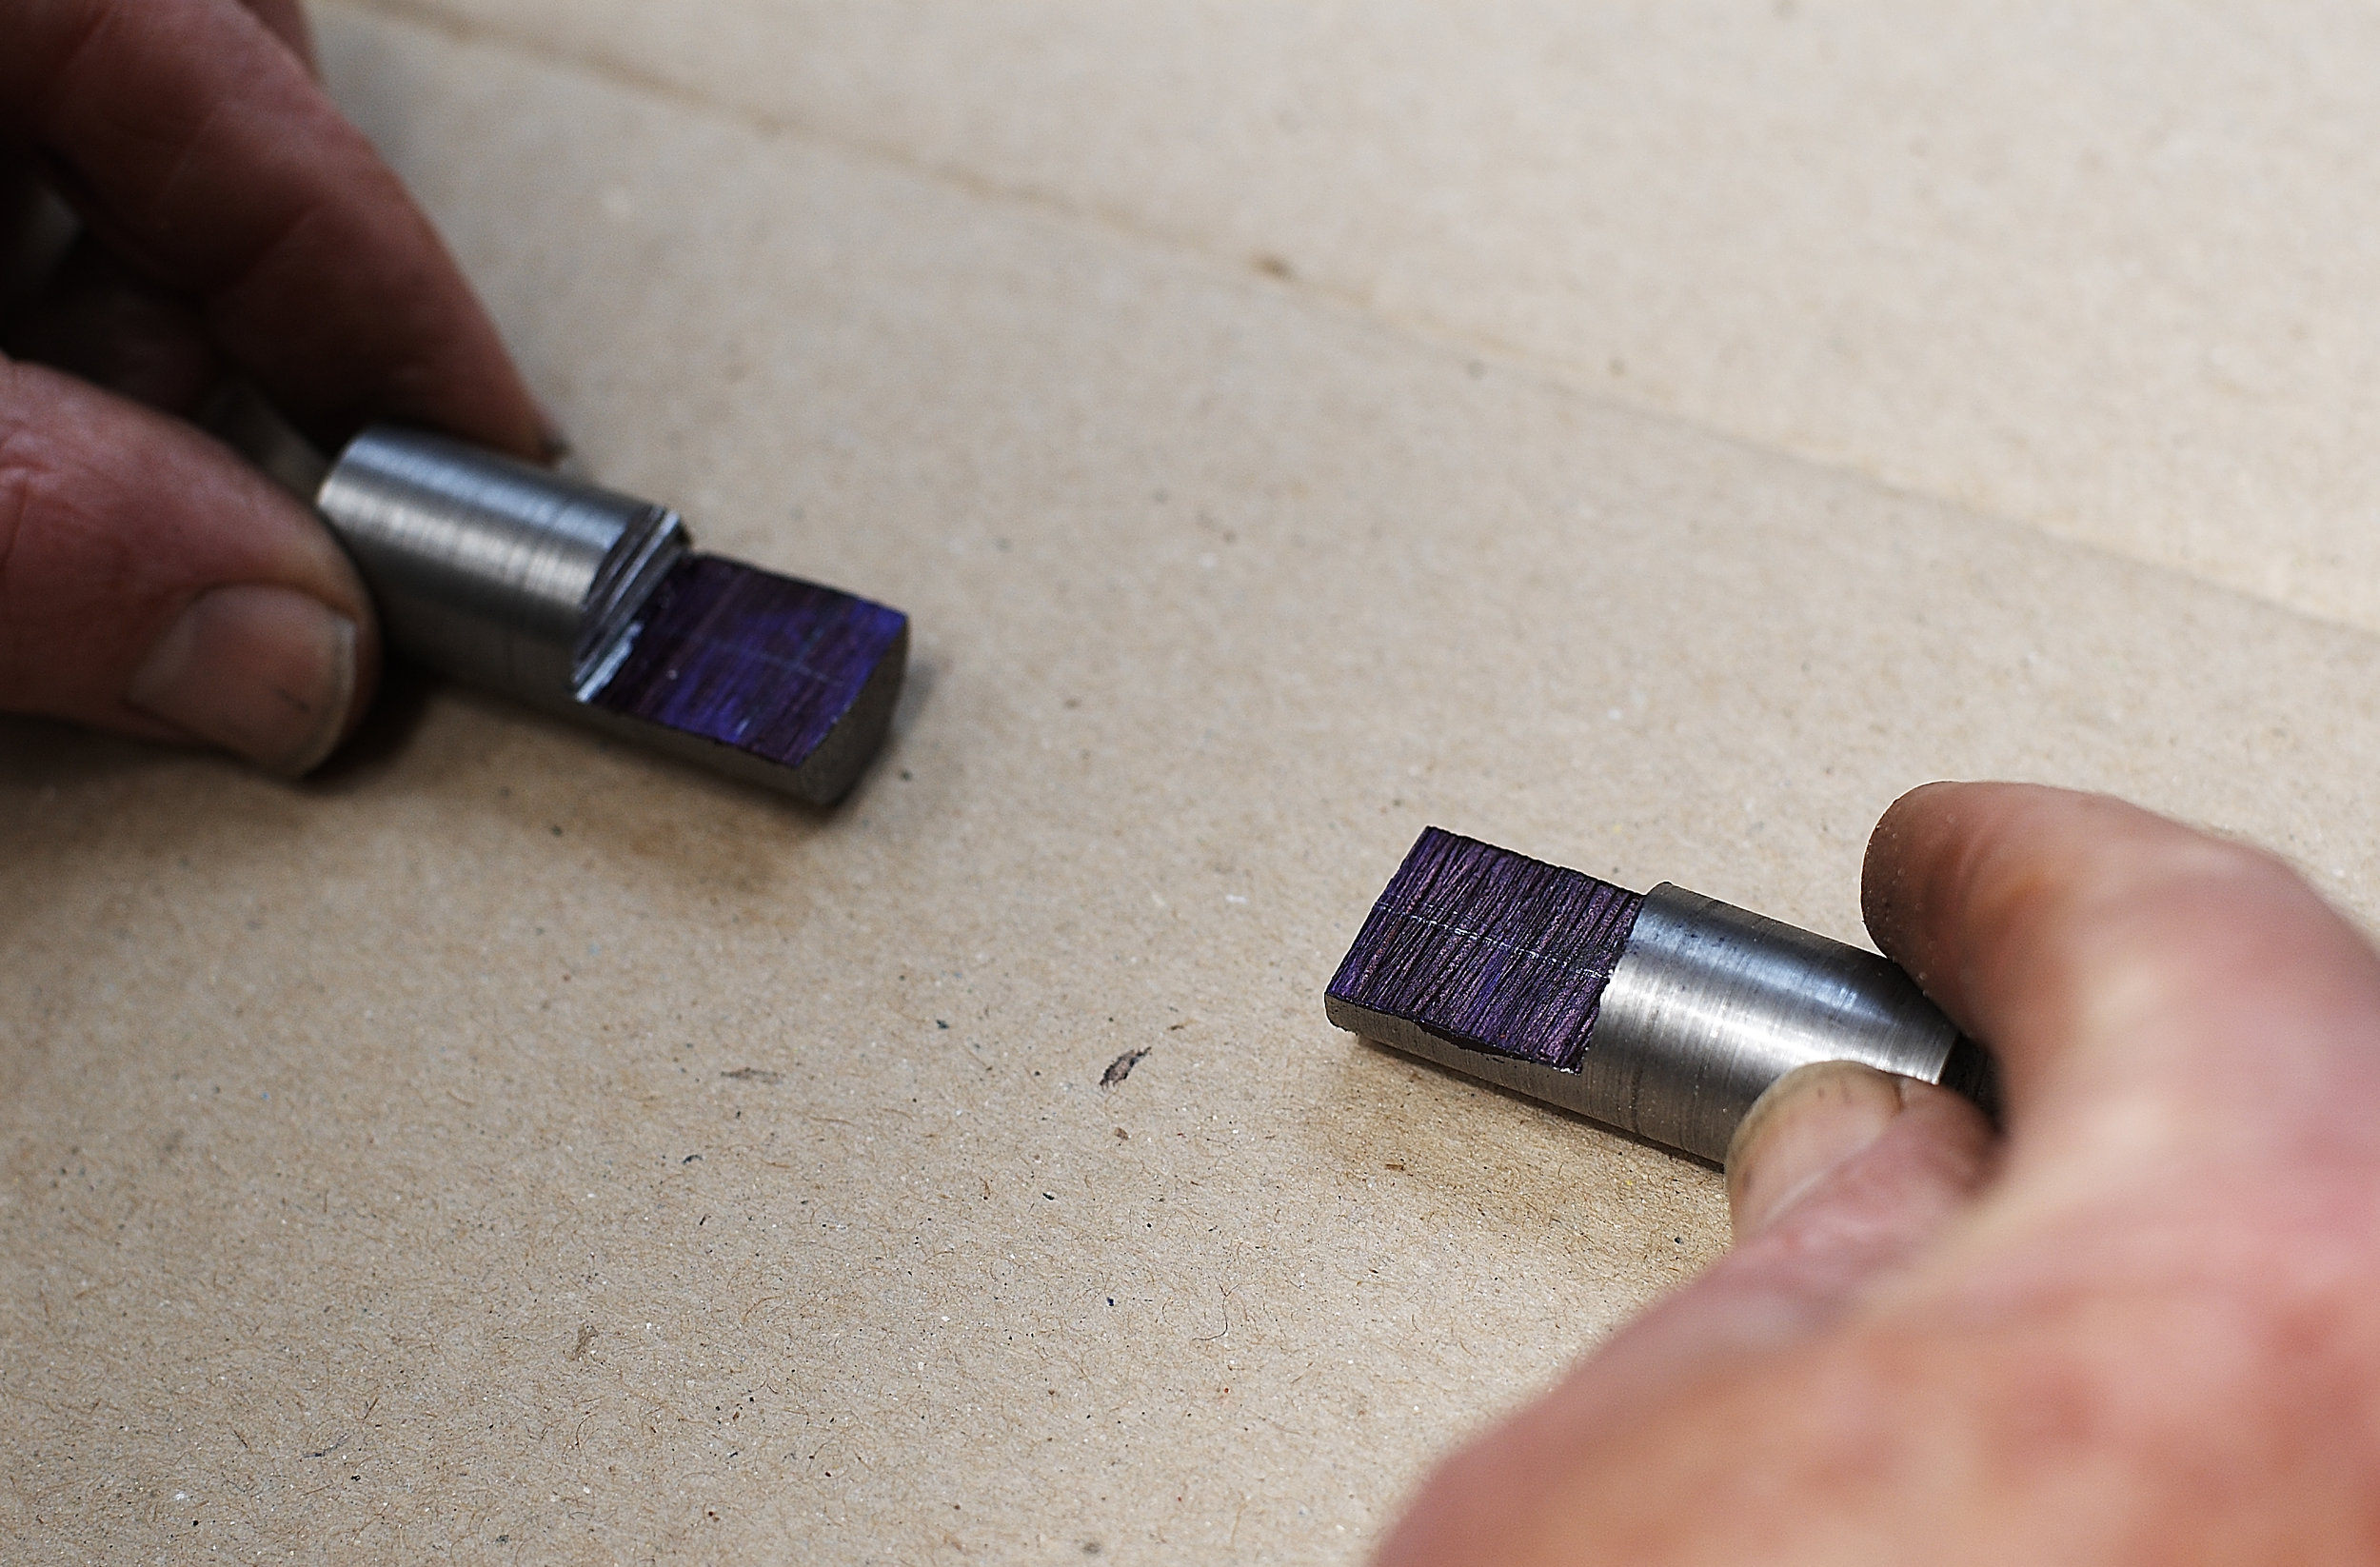
Prepare the axle by marking the end face of a 16 mm round bar with a diameter (centre) line and use a hacksaw to cut down to the limit of the flat to be on the waste side and then cut at 90 degrees to remove the waste part. Carefully finish the flat with a file, ensuring the flat is strictly on the diameter line. The anvil is the part that does the work of bending. It’s made from a substantial bar of mild steel 30 mm x 8 mm x 396 mm. Mark out four holes and centre-punch them carefully. Drill a pilot hole, then use a 5 mm tap drill. Tap the two holes by first mounting the 6 mm tap in the drill press and starting the tap in the hole by about three threads by turning the drill chuck by hand. Then release the tap from the drill press, but leave the tap in the work-piece, and finish the tapping by hand. This method of tapping ensures that the threaded hole is perpendicular to the work-piece.
Anvil-axle Weld
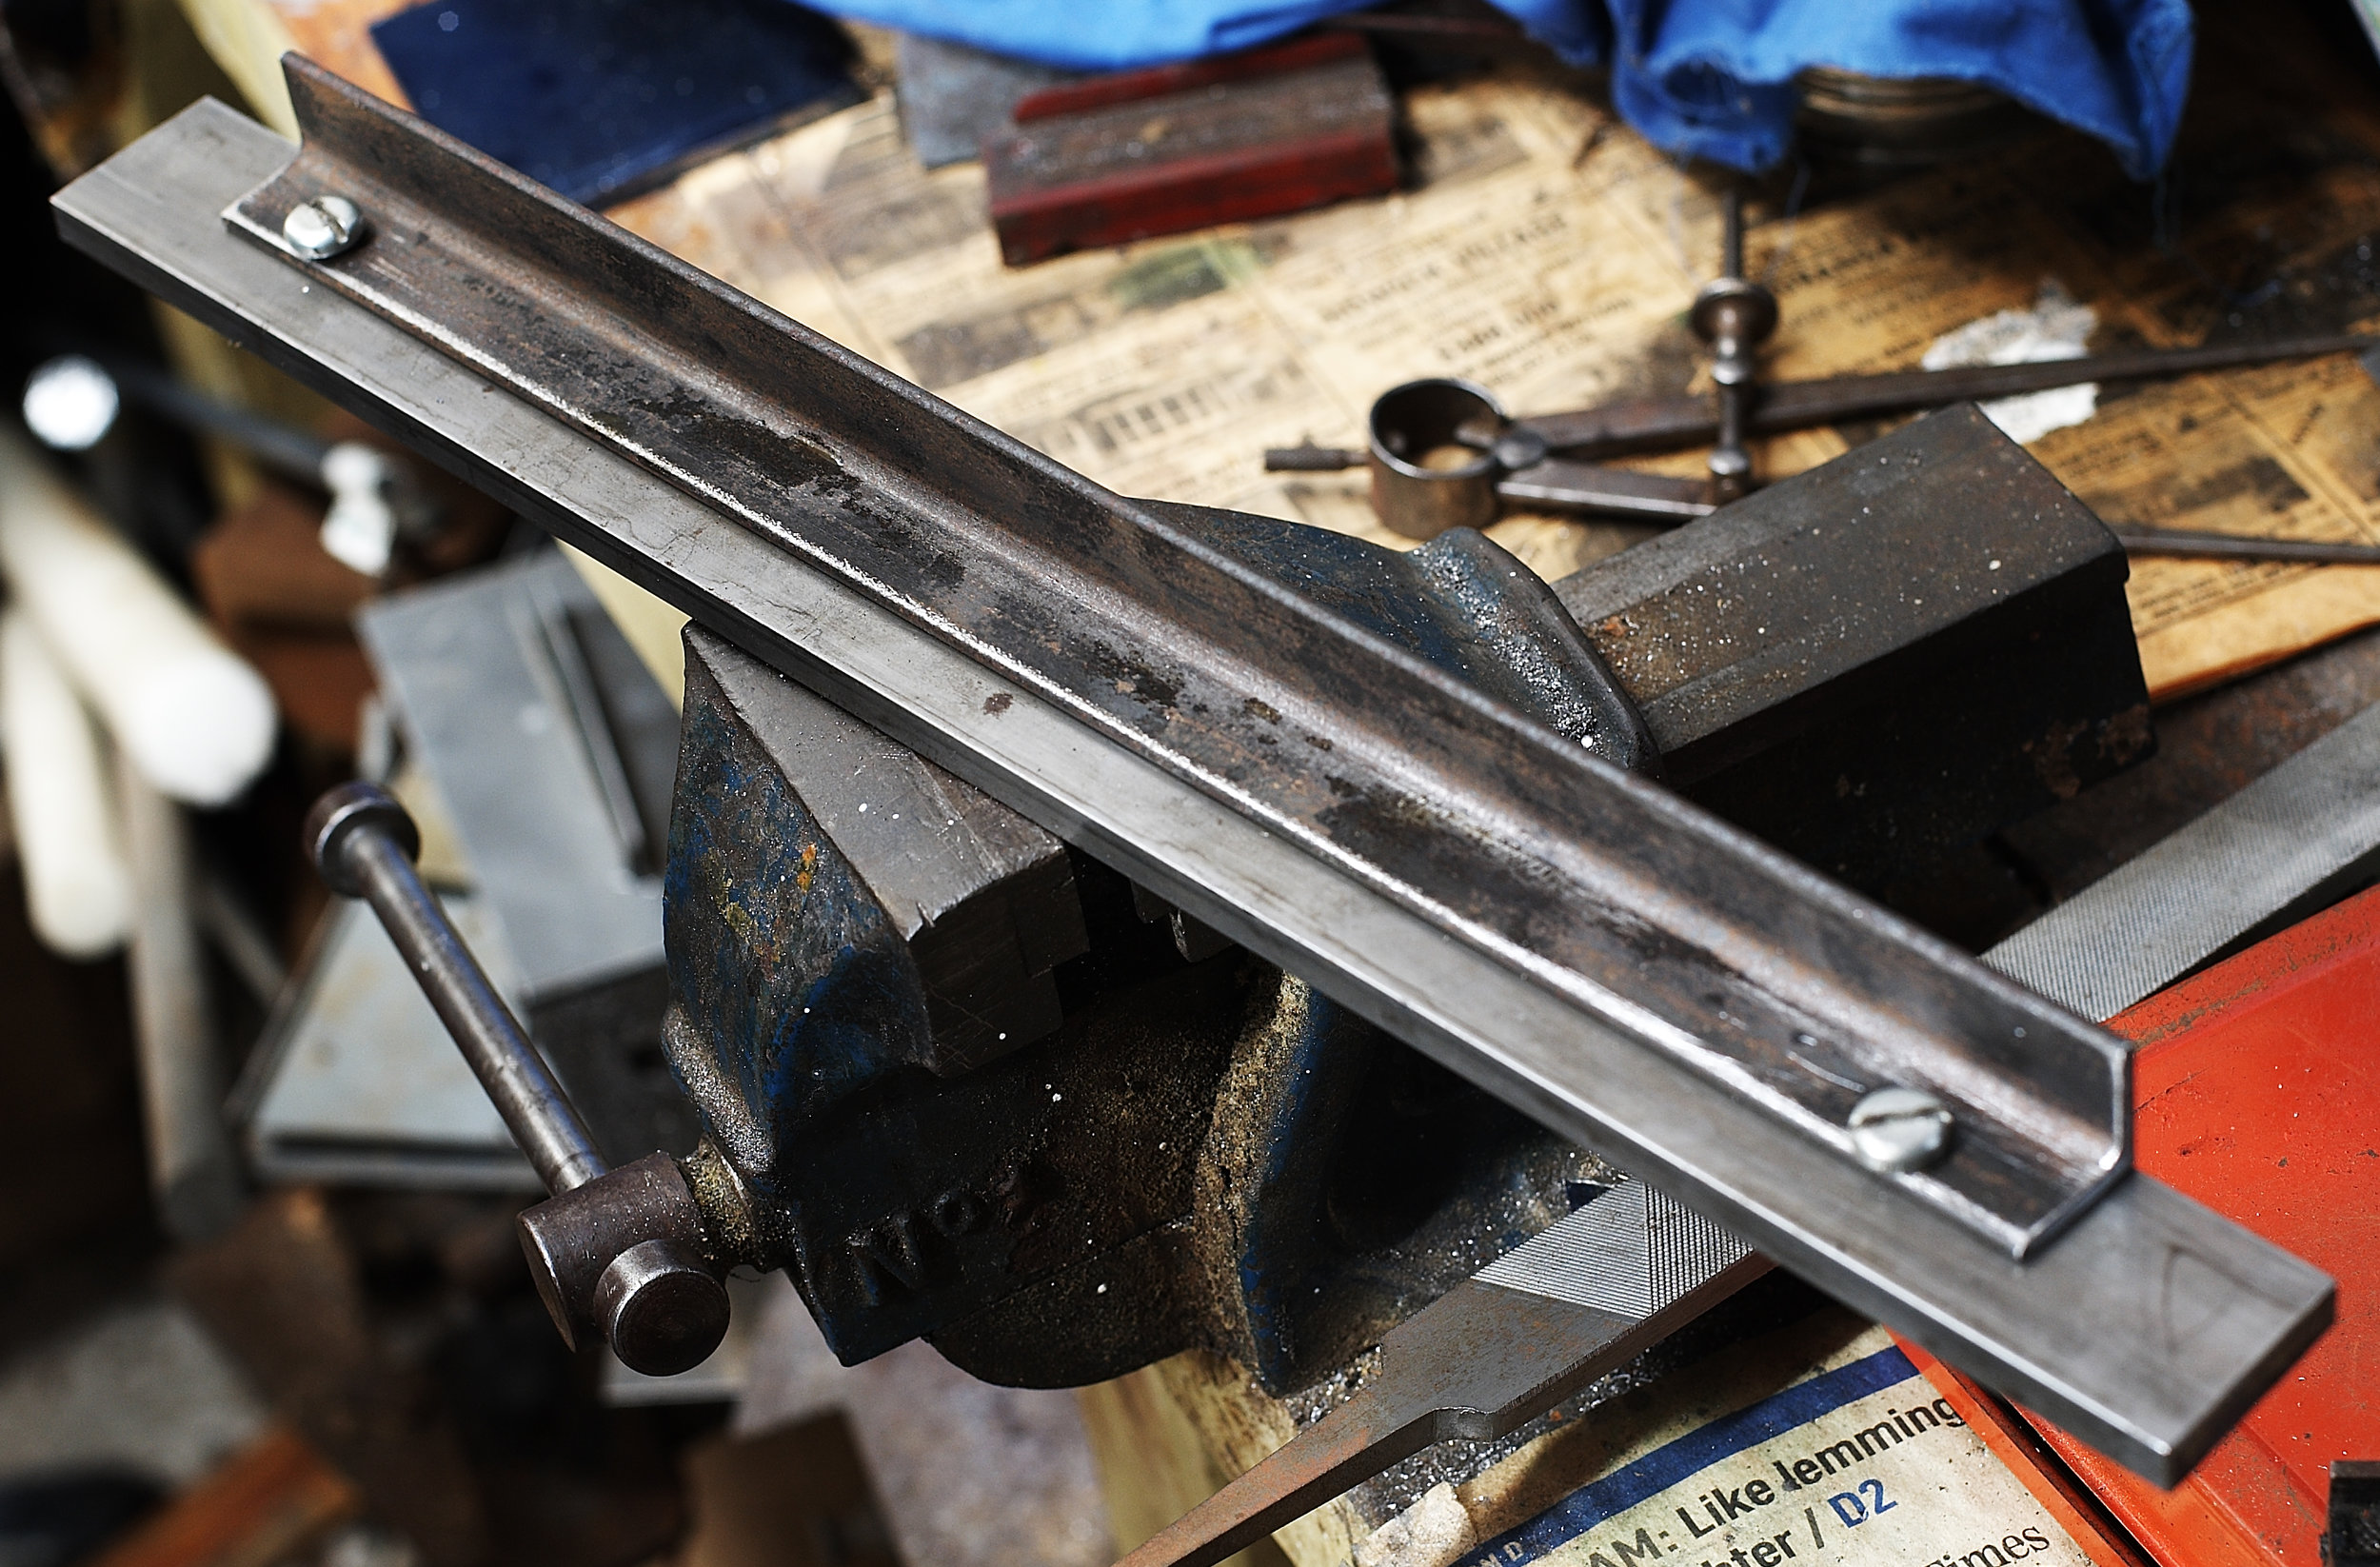
The axle is welded to the anvil. It’s critical to get the weld of the anvil to axle correct, as this takes a lot of pressure during the metal-folding operation. The rear top-edge of the anvil must be opposite the top front edge of the lower form bar (see the design drawing). The alignment of the axle with the anvil during welding is achieved by placing the parts in a length of angle iron and holding them in place using magnetic clamps near the centre. A MIG weld gives more localised heat and control. It is essential that the rear top edge of the anvil is fractionally below the axial centre-line of the axle—say about 0.5 mm. Grind or file off any excess weld material. The pressure bar is a piece of angle iron 20 mm x 20 mm attached to the anvil that forms the bend by applying pressure on the workpiece. To drill the pressure bar, clamp it centrally to the front of the anvil, ensuring the 20 mm flat is level with the top of the anvil. Spot-drill 4.5 mm pilot holes into it through the anvil holes at each end. Finish drill the holes in the pressure bar out to 7 mm. Note: Do not cut the handle material to length before forming it to the shape you want. Mark out the 190 mm length of the straight section. Mount a 50-70 mm diameter pipe in the vice with the steel 10 mm square bar between the pipe and the vice jaw. Make sure the 190 mm mark is level with the righthand side of the pipe. Using brute strength fold the bar around the pipe to a right angle. Mark out the bar again, but this time to the 325 mm length and bend as previously done. Cut the long protruding arm to the length of the short arm and de-burr the ends. The handle is then fixed to the underside of the anvil by welding or using 4 mm countersunk tool screws, as I did (see the design plan). Attach the pressure bar to the anvil front face using 6 mm x 10 mm pozi or pan-head screws so that the 20 mm face is level with the top face of the anvil.
Form Bars
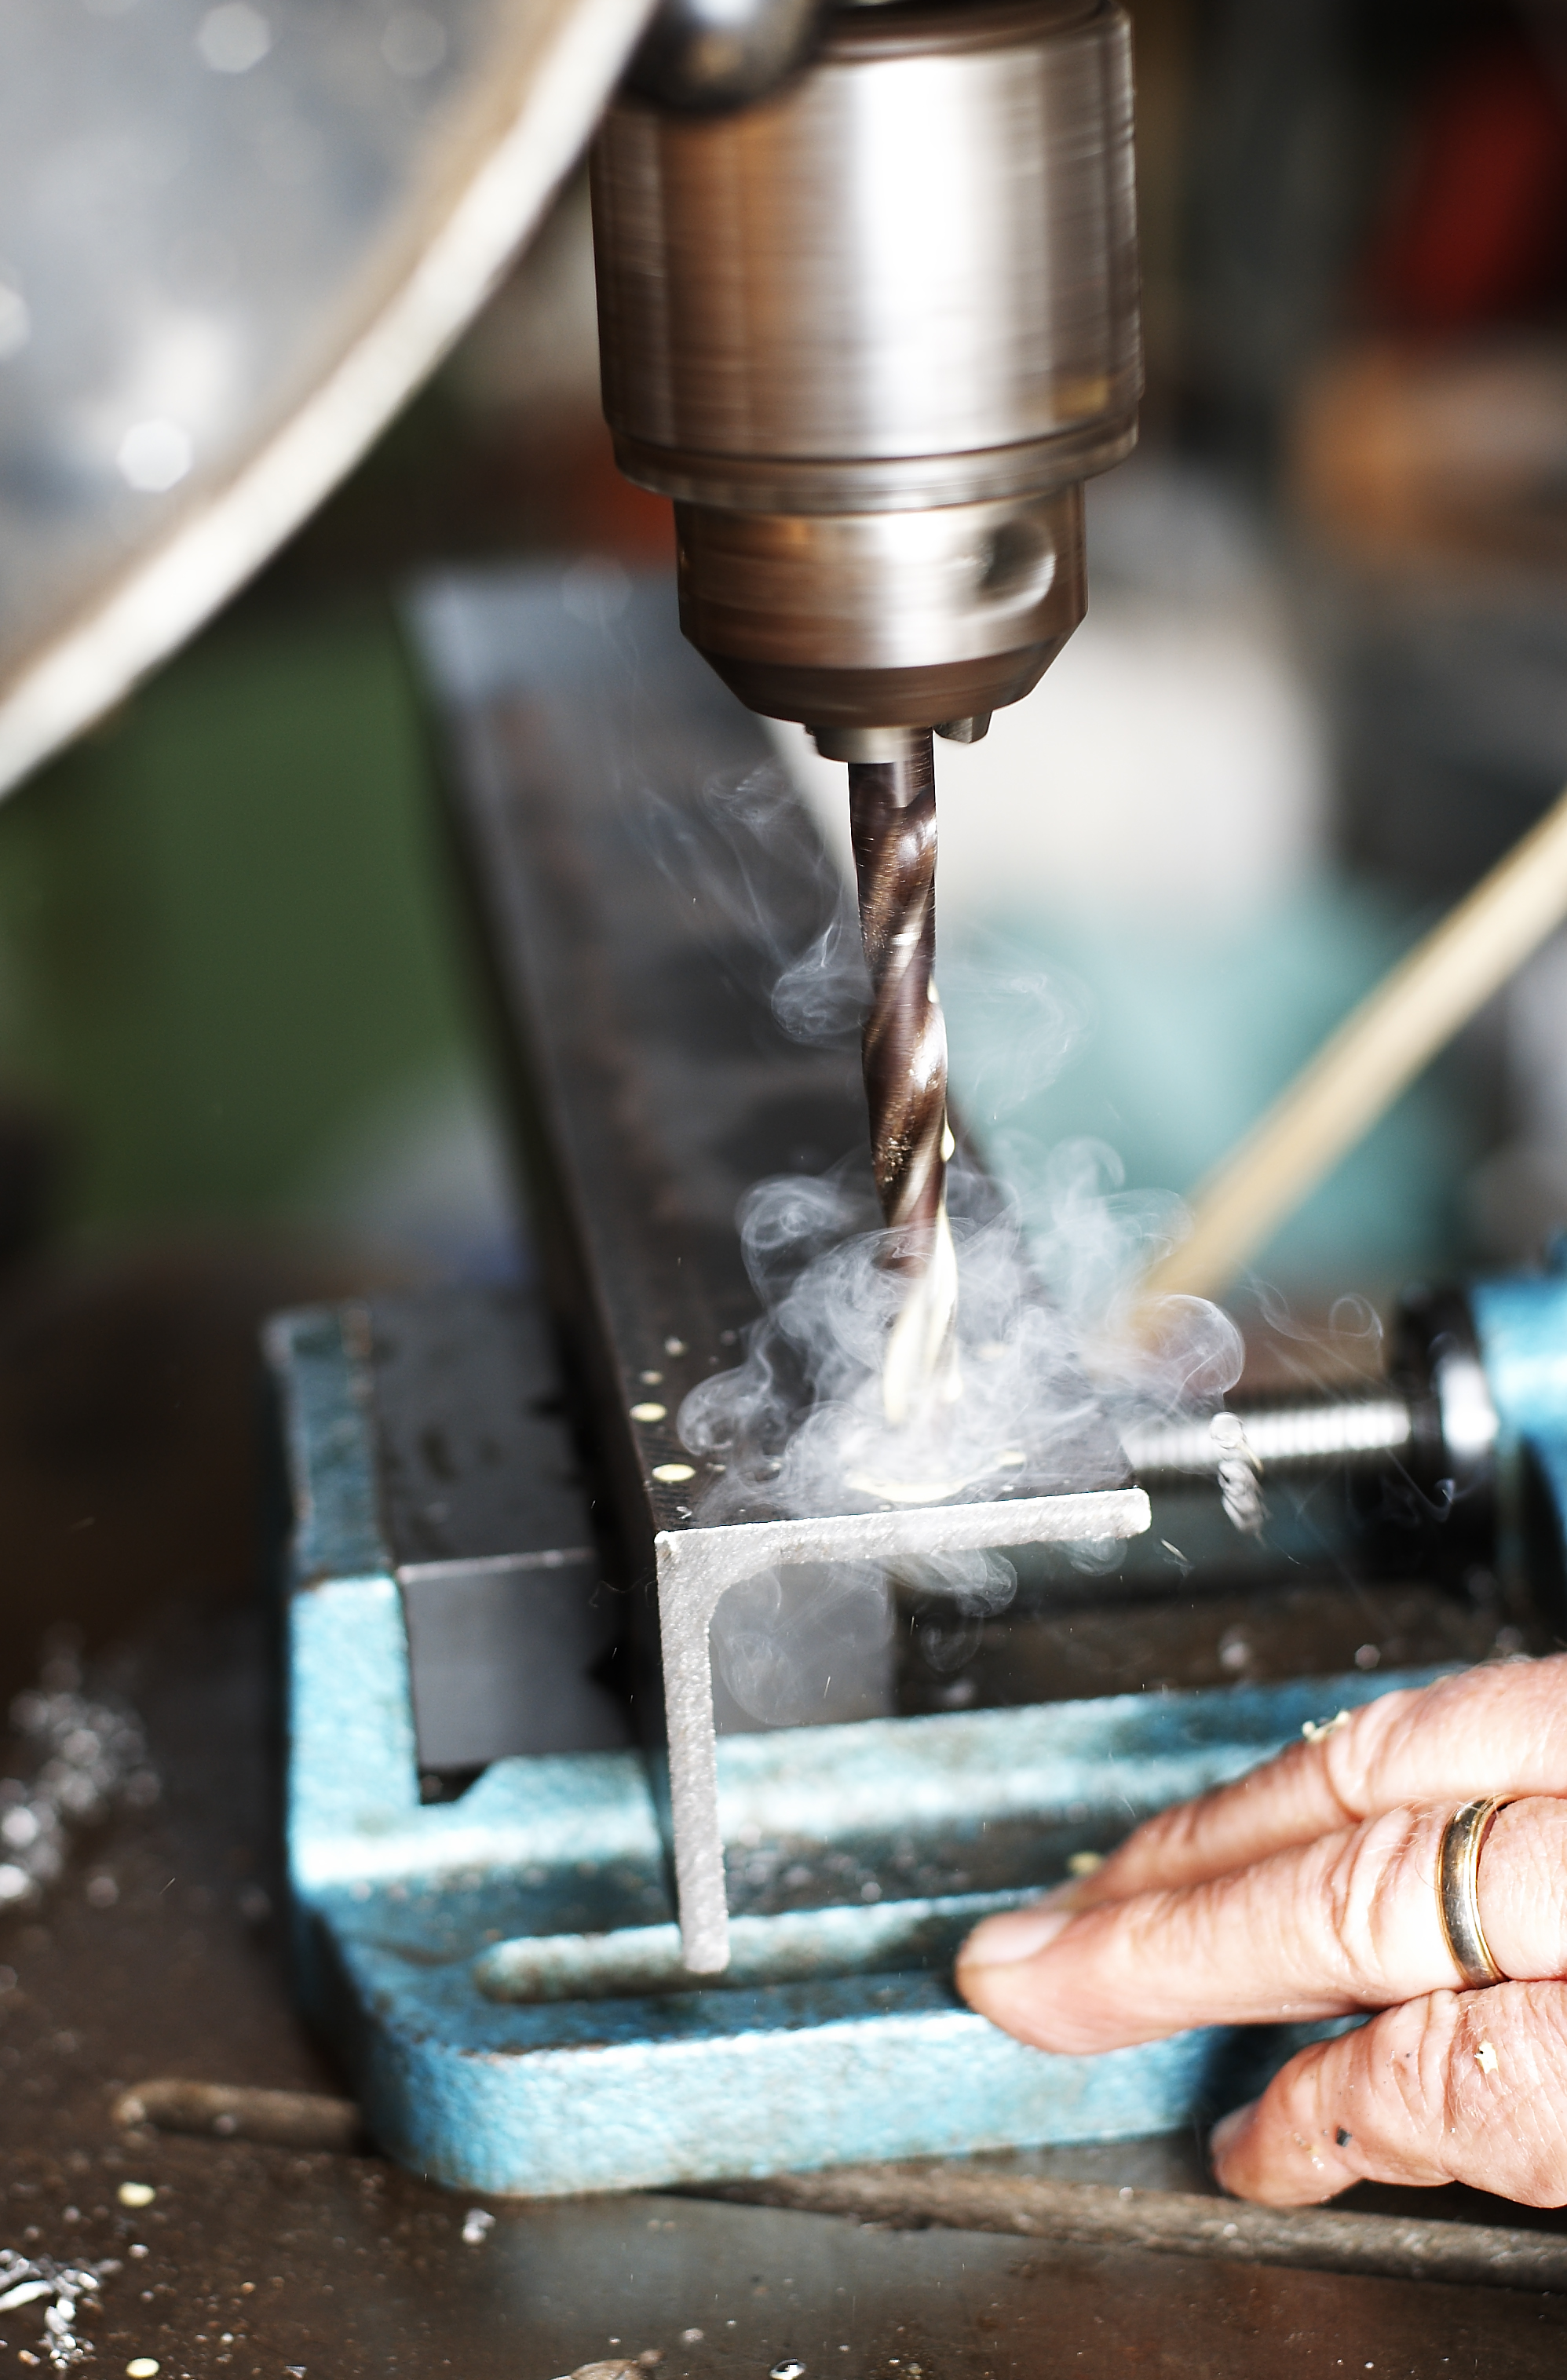
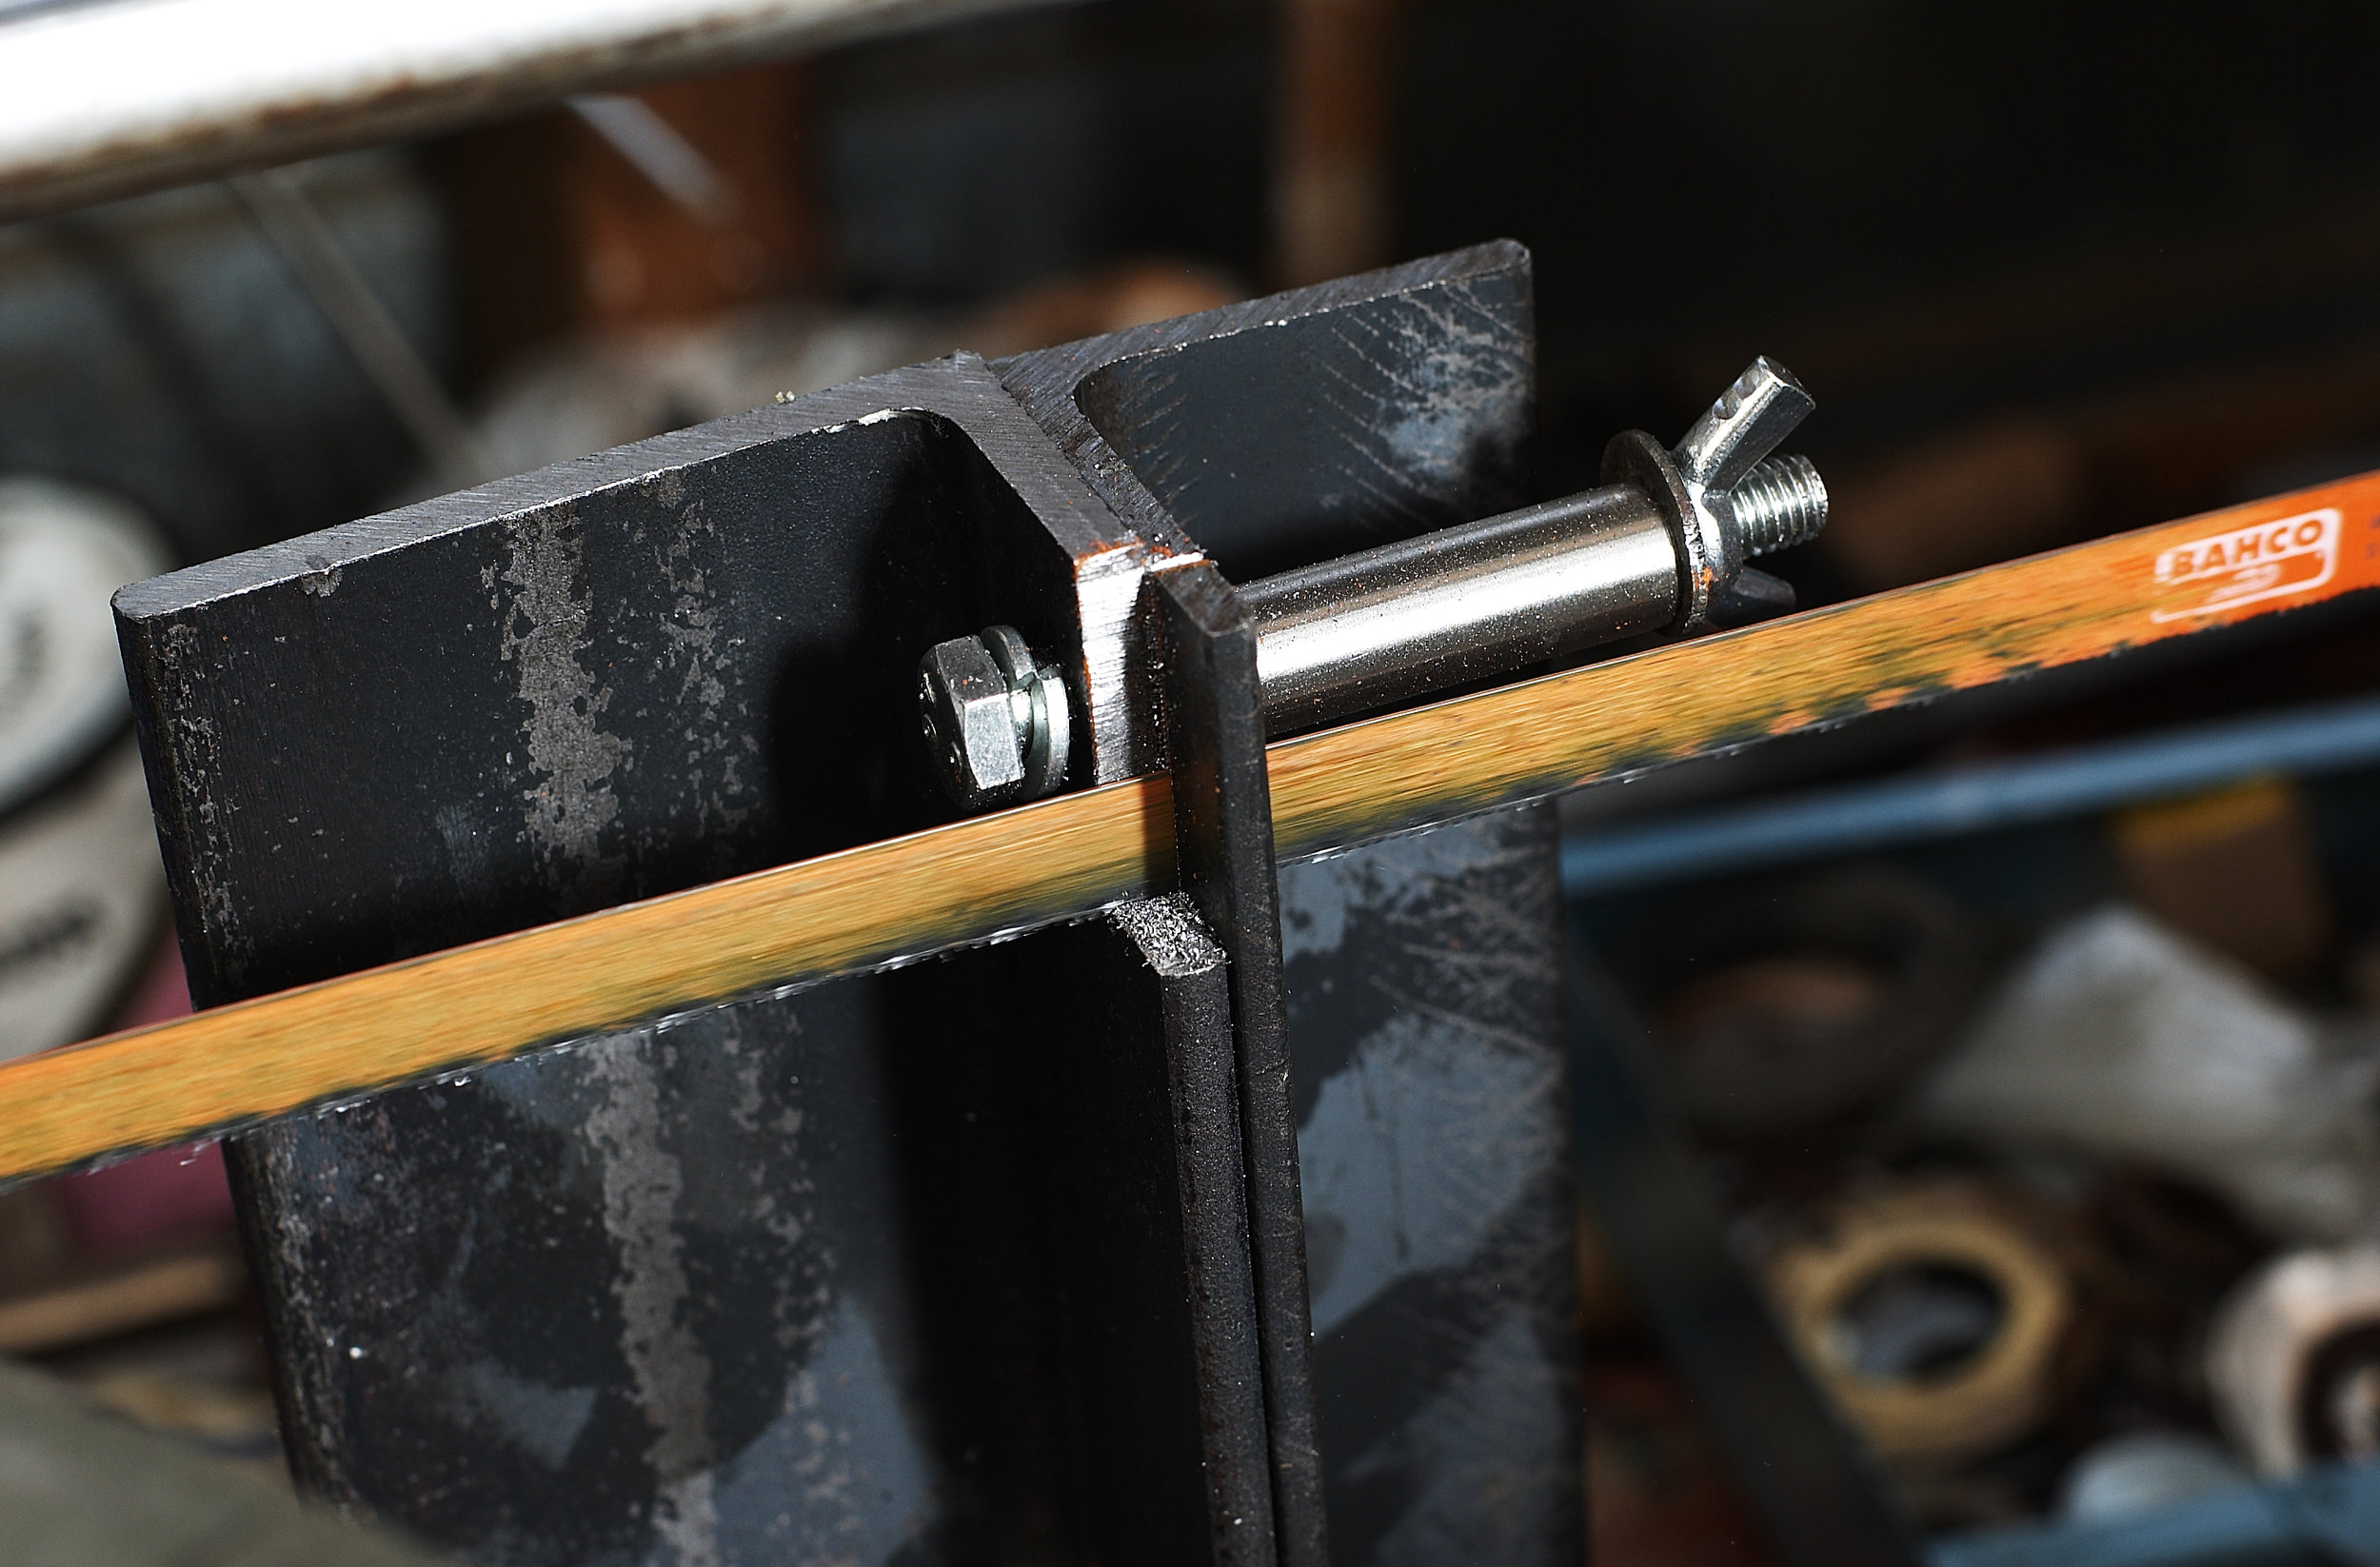
The form bars hold the workpiece in position and determine where the bend will be made. The top form bar is made from 50 mm x 50 mm angle iron and the bottom bar from 75 mm x 50 mm angle iron. The two bars are attached via two bolts at either end. The holes in the bottom form bar are tapped to receive the bolts. Mark out the top form bar for drilling then centre punch the position for the holes. Drill a pilot hole of 2.5 mm through these hole positions. Drill a pilot hole 2.5 mm at each end of the bottom form bar, using the top form bar holes as a guide. Drill a 6.7 mm hole through both the top and bottom form bars while they are still clamped together. Remove the clamp and drill out the top form bar holes to 8.5 mm. Place an 8 mm tap in the drill press chuck and the lower form bar in a drill vice with the 6.7 mm holes uppermost. Turning the drill press chuck by hand, drive the tap into the hole about three to four threads and then release the tap from the drill press chuck. Finish the threading by hand, using a tap wrench. Repeat for the hole on the other end. Both bars are notched to allow the hinge to seat and the anvil to align with the edge of the form bars. Notch out the top form bar at each end as per the drawing, using a hack saw. Bevel the front edge of the top bar at 45 degrees to 3 mm depth with a grinder. Mark out the position of the notches in the bottom form bar and cut these out. Clamp the two form bars together with their 50 mm sides facing and their open side with the notches to the front and adjacent. Drill a pilot hole 2.5 mm at each end of the bottom form bar, using the top form bar holes as a guide. Drill a 6.7 mm hole through both the top and bottom form bars while they are still clamped together. Remove the clamp and drill out the top form bar holes to 8.5 mm. Place an internal-tooth, shake-proof washer (preferred) or an 8 mm spring washer over the 8 mm clamping bolt and screw it into the bottom form bar from underneath. Take it to medium tightness so as not to strip the thread. Check that both the top and bottom form bars fit together comfortably without binding.
End Plates
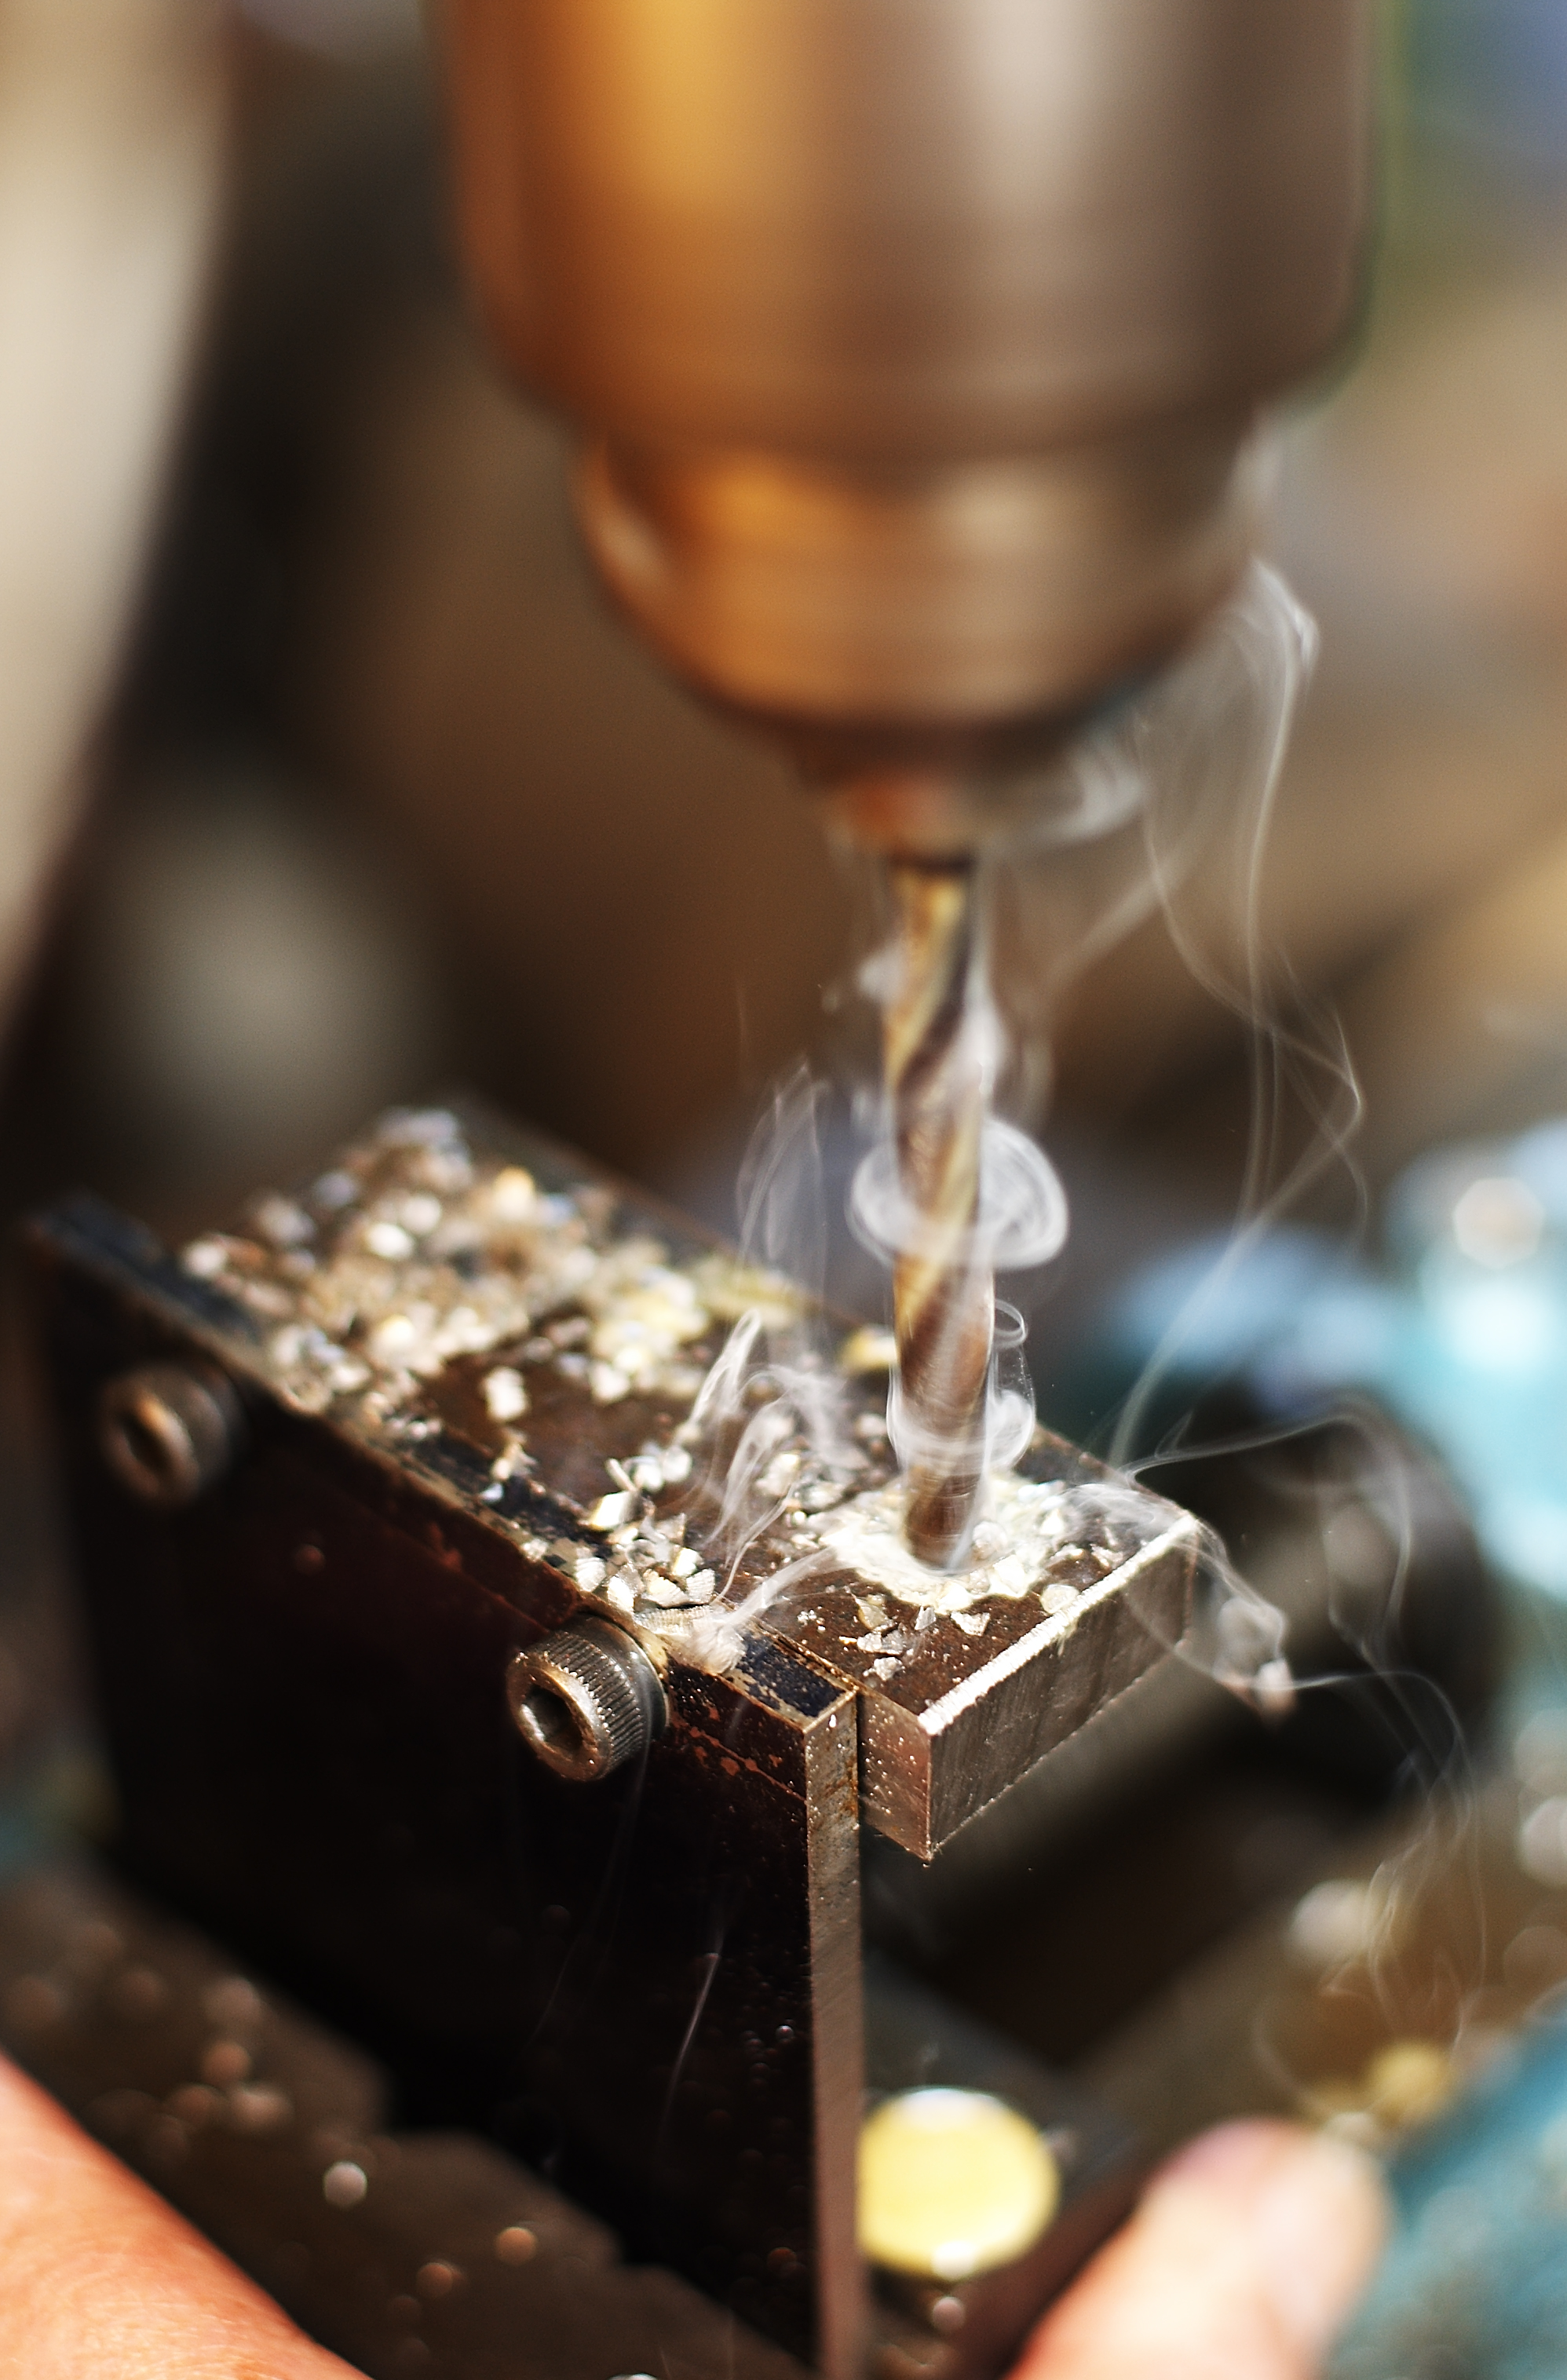
Next, the end plates have to be drilled for the holes that will take the support block screws and the axle rods. The measurements on the plan show the distances where the holes have to be drilled on the two 70 x 83 mm end plates. Liberally coat the cut-to-size plates with engineer’s blue to allow you to see the layout better. I use oddlegs, with the measurements taken from a steel rule, and inscribe the line on the end plate, but a pair of dividers carefully used would suffice. Carefully check your measurements at this point. With a centre punch, pinpoint the spot for the pilot holes in the end plates and drill all three in each end plate. (I drill pilot holes because they give greater accuracy when you come to drill the finished hole size.) At this point we need to drill the end plate to support block mounting holes, which must be in the correct position.
Support blocks
The support blocks help to hold the whole arrangement together. They hold the bottom form bar to the side plates which in turn provide the hinge points for the anvil axle and are made from two pieces of mild steel 12 mm x 25 mm x 70 mm. Clamp the 12 mm side edge of the support block under the two pilot holes that are on the same edge in the end plate. Ensure the edge of the support block is flush with the edge of the end plate. Check that the top edge of the support block is 11.2 mm below the top edge of the end plate. (This is another of the crucial measurements that it is essential to get correct.) Drill pilot holes into the support block through the pilot holes in the end plates to a depth of 20 mm into the support block. Unclamp the two components and drill the holes in the support block out to 5 mm and tap in a 6 mm thread to full depth. Repeat this operation for the support block at the other end using the end plate as the template. Be mindful that the support block has to be mounted on the reverse side of the end plate. Drill out the two support block mounting holes in the end plates to 6.5 mm. Now work with the 25 mm side of the support block. Mark the hole positions on the 25 mm side at 16 mm and 60 mm on the centre line, from one end, as per the drawing. Notice the relationship to the holes on the 12 mm side (see the design plan). One set of holes supports screws put into the end plate and the other is for screws into the bottom form bar. Drill the two holes on the 25 mm side using a pilot drill. Now attach the support block to the end plate using 6 mm x 20 mm cap screws. Position the assembled pair to the lower form bar 75 mm side at the back, so that the top of the support block is flush with the top face of the lower form bar. Clamp in position. Using the support block as a template, drill two pilot holes into the lower form bar. Drill out the support block pilot holes to 6.1 mm. Next, drill out the pilot holes in the lower form bar to 5 mm and tap in a 6 mm thread using the drill-press technique described above. Repeat this operation for the other end of the folder.
Axle Hole
Checking the position of axle hole is crucial. Fit the end plate plus the support block assembly to the lower form bar. Using the pilot drill that had been used to drill the pilot hole for the 16 mm axle hole, check that the pilot hole centre is indeed level with the top face of the lower form bar and in front by about 2-3 mm. (This “in front” measurement is adjusted later using rubber packers under the support blocks.) Do not proceed until this hole position is correct. Drill out the pilot hole to approximately 4 mm (wide enough for 16 mm web width) and clamp the end plate in a drill vice (essential for safety) and drill the hole out to 16 mm. Check that the axle will fit the hole. If not, ream or carefully file out the hole until it does. Repeat for the other end plate. I put packers in under the support blocks. There they will compress and adjust the distance between the anvil and the form bars automatically for the different thicknesses of sheet metal. Using one of the support blocks as a template, cut about six rubber packers. I compressed the rubber packers one at a time to the support block, using the bench vice to mark where the holes have to go in the rubber. Then, using a “wad” punch, I cut the holes out to 8 mm (not a critical size). At one support block, using 16 mm cap screws to tighten, ensure that sufficient packers are used to bring the anvil to about 1.5-2 mm in front of the front edge of the lower form bar. Repeat this operation for the other end of the metal folder.
Final Assembly
Using two 20 mm cap screws, loosely attach the left-hand end plate to the left-hand support block. Insert the left-hand axle into the lefthand end plate and fit the right-hand end plate to the right-hand axle. Then fix the end plate to the support block using two 20 mm cap screws. Tighten the cap screws at each end and check that the anvil/pressure bar/ handle assembly rotates freely. Place the top form bar over the protruding clamp bolts. Next, fit a spacer tube over each clamp bolt together with a plain 8 mm washer at the top and the 8 mm wing nut. Insert various thicknesses of sheet metal into the folder and pull up the handle to bend them and check its operation. When folding a piece of metal, ensure that you square up the piece before folding. Disassemble the unit and give each of the parts a coat of metal primer, then a final coat of enamel using spray cans. There are possibilities for extending its usefulness by fitting stops at the axle ends and cutting slots in the upper form bar and pressure bar for “box folding”. Give us your ideas!

